

Ultimate Player Guide to My Hero Ultra Rumble
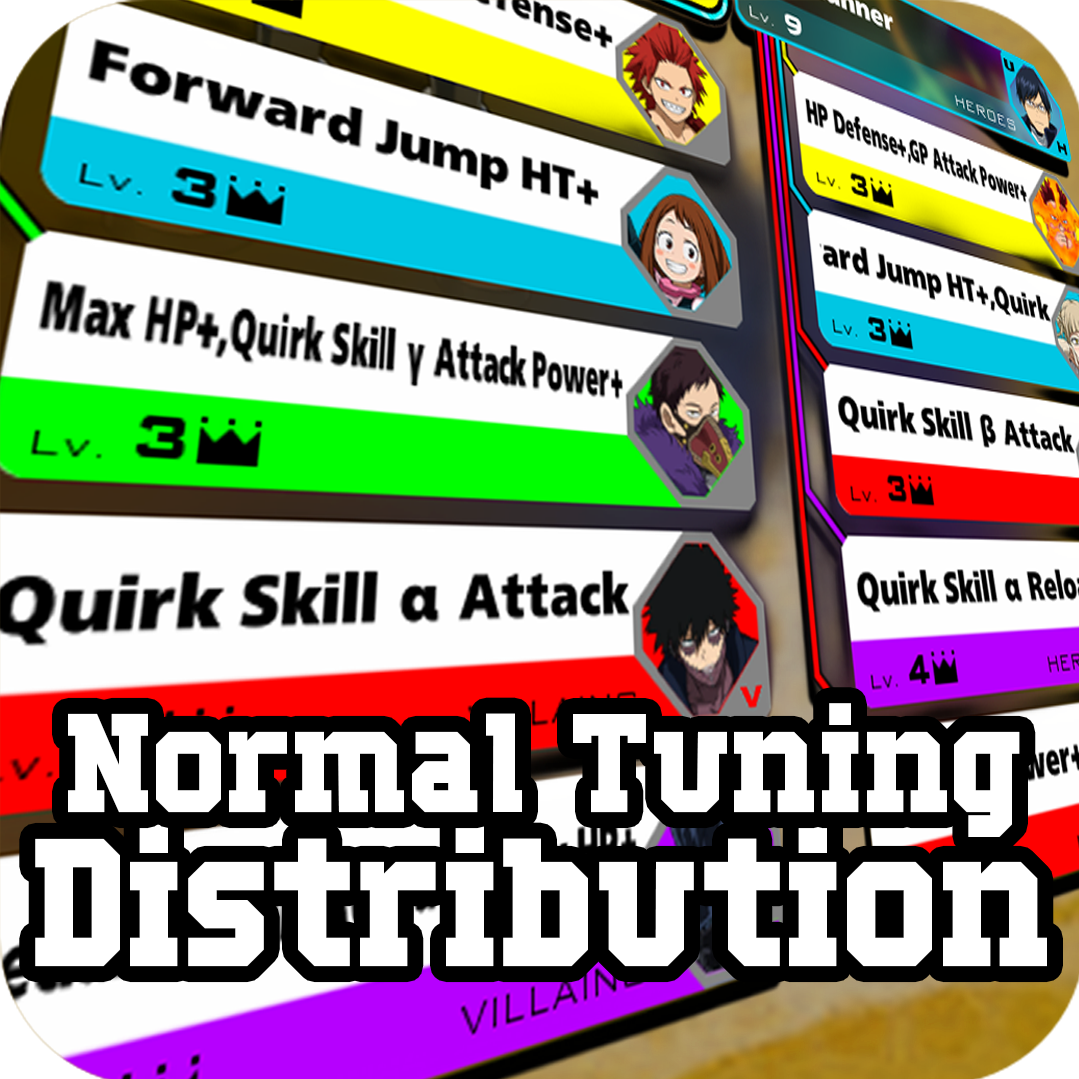
Welcome to the My Hero Ultra Rumble Ultimate Player Guide! This is a macro-guide that contains smaller guides, such as the New Player Guide, the Character Guides, the General Player Guide, the TUNING Guide and the Teamwork Guide. You can click one of the buttons below to travel to the one you're interested in. When reading this guide, check each header's title to see if you're interested in that specific bit of the guide or if you'd rather scroll to the next.


Not affiliated with or endorsed by Bandai Namco Entertainment Inc. / Byking Inc.