

Cementoss Guide
Guide developed and supervised by: potato (Switch), itzkaje (Steam)Last Update: -
Create sturdy platforms with cement! A fortress of protection keeps enemies at bay.
Cementoss is one of My Hero Ultra Rumble's starter characters alongside Izuku Midoriya, Ochaco Uraraka, Mt. Lady, Tomura Shigaraki and Dabi. He is a unique Support character who can modify the battlefield; being a beast against any grounded characters but struggling when fighting high mobility and flying characters.
Best Map: ???


Alpha Skill - Pillar Split
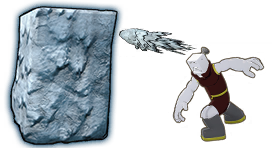
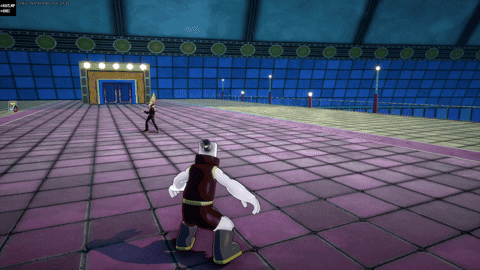
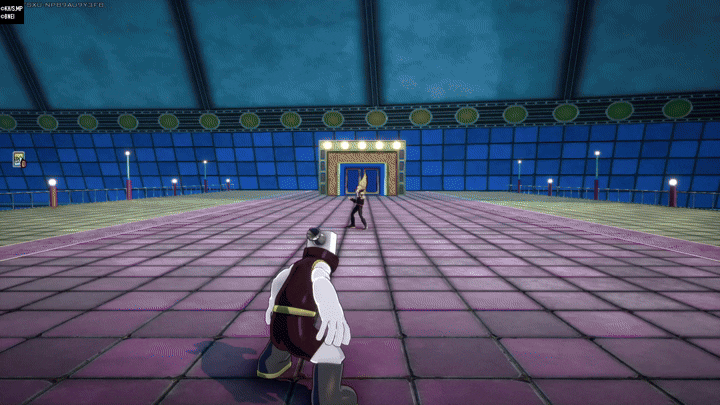
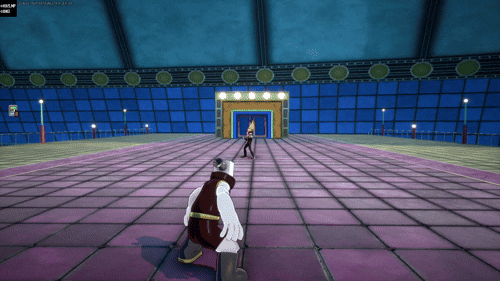
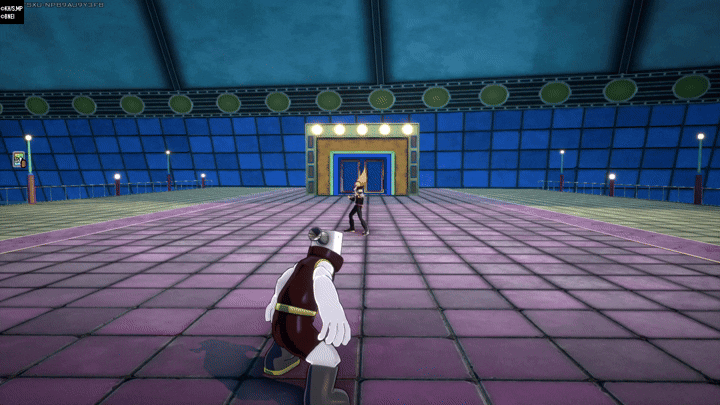
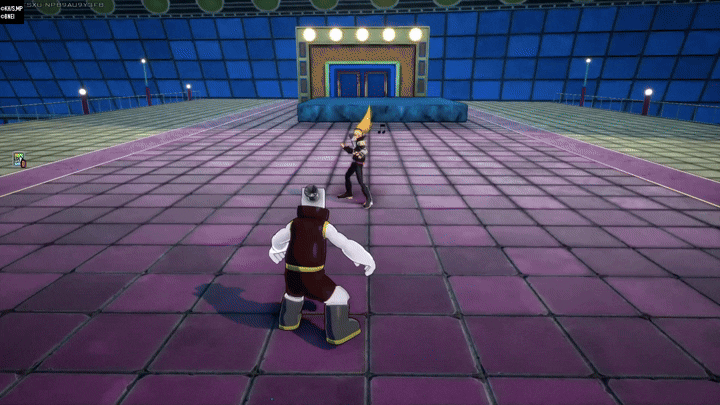
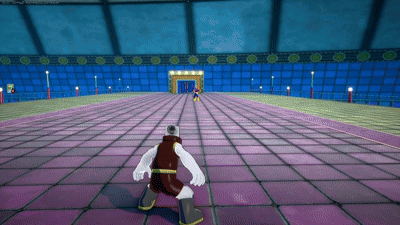
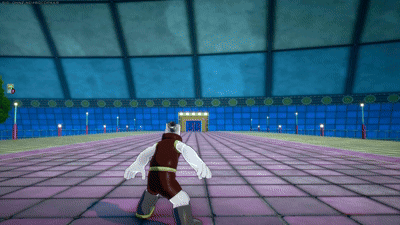
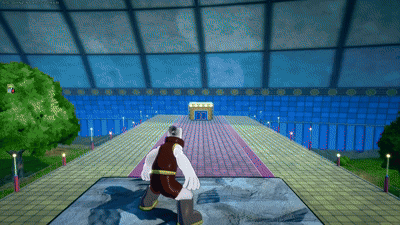
Pillar Split is Cementoss's main form of damage, mobility, cover and movement. With this ability, Cementoss fires a cement ball that becomes a pillar on impact against a surface. Both the pillar and the initial cement ball projectile do damage, so to hit the full damage you should aim at the enemy's feet to hit both the cement and the pillar creation, as otherwise the cement ball goes through players, creating the pillar behind them, though this mostly applies when shooting at opponents that are in the same height level than you or above.
Up to 3 Alpha pillars can exist at the same time; trying to create a 4th one makes the oldest pillar break. This pillars will last around 30 seconds and greatly expand in size the more the skill is leveled up, almost doubling its initial size.

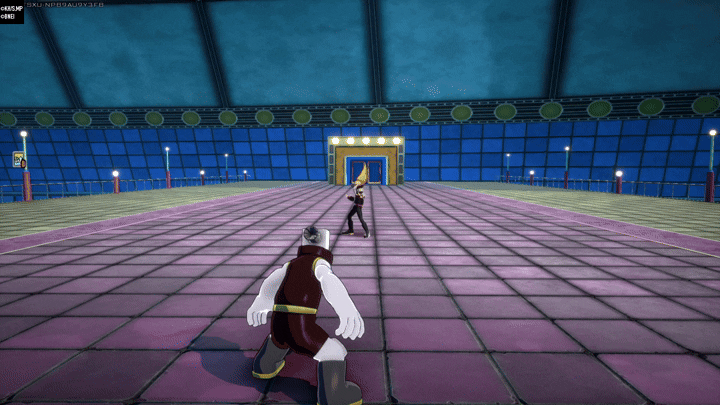
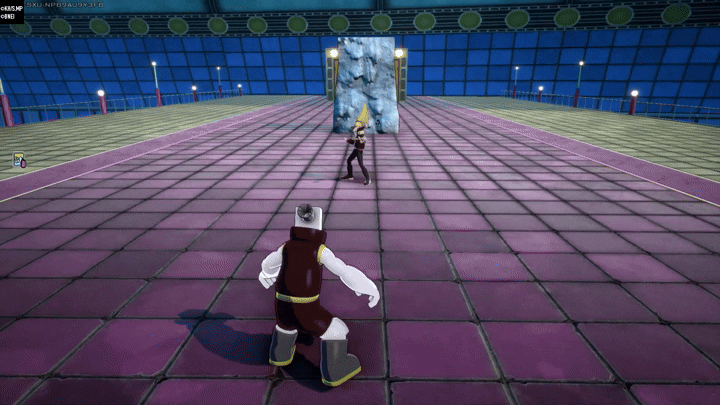
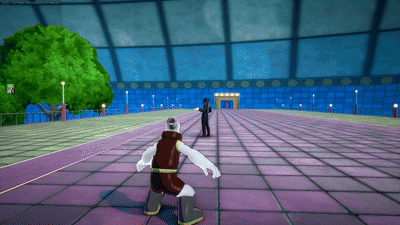
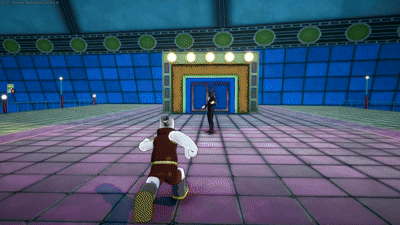
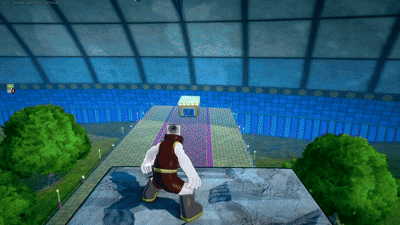
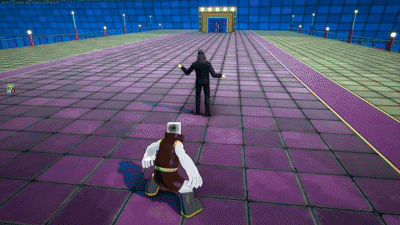
Level 1 vs. Level 9
Alpha: Building
One of the Alpha's main uses consists of building structures; when firing at your feet you will automatically ride the pillar, esential for his overall gameplay. The pillar can be piled up on virtually any surface, including itself, Beta and Gamma. It's one of the best forms of vertical mobility in the game and can even nullify entire characters. Pillars can be stacked up to 3 times due to the natural limit, resulting in different scenarios like safe healing, pulling a DOWNd ally from danger by throwing an alpha at them (or towering up with them) or creating quick cover in a fight, as some areas are pretty flat and empty, so Cementoss's pillars can be a lifesaver to heal in peace without being spotted.

Alpha: Blockage
Due to the Alpha pillar size, it's one of the best methods to block passages and entrances in My Hero Ultra Rumble. Since the pillar can be created in almost every surface blocking is very easy and rewarding to perform. Furthermore, Alpha pillars are resistant and will take many hits from the enemy to break. While this is often recomended, full teams or certain skills like charged All For One's Alpha can break the pillar fast.
Beta Skill - Load-Bearing Wall
When activated, this skill will create a cement wall in front of you at your aim's direction. The cement wall will only pop up once Cementoss is touching a surface, so activating in the air will make him fast fall until he lands on one. This skill is the most damaging move of his kit.
When towering up with alpha, you can place a beta wall for cover and to break line of sight with beamers, but be aware that you will still be unprotected from behind.
Molding
Beta can be molded by using various inputs as it's being built (if no input is given the wall will default to a forward wall):
Basic: Holding the left, right or back input will create a horizontal wall expanding to the left and right, while holding forward will create a forward wall. The former is useful mainly when you need quick cover in an open field, while the later is best to directly use this move offensively, where you get its maximum range.
Mixed: By mixing inputs such as "Forward -> Left -> Forward -> Left" you can get more complex shapes. A common shape used in offense is the "T-Shape", achieved by using a lateral input (left, right or back) after a forward input, this will allow you to quickly change the direction of the wall creation to switch to the sides if the enemy quickly moved to the side. Another shape is the "U-Shape", achieved by using first a lateral input and then a forward input, which will give you cover while also being able to hit enemies that aren't right in front of you but more to the left or right.
Exceptional: If there is an object blocking the wall from going horizontally on one side, holding any side input will make it be created on the opposite direction.

Gamma Skill - Structural Slab
Launches a blob of cement which forms a slab on impact. Both the projectile and slab deal damage, with the projectile flinching on hit. This skill is a great combo tool thanks to the flinch effect, as well as an alternative mobility tool if used in the air, as Cementoss will get launched in the opposite direction of where he’s facing. This technique can be improved further by performing it on jumping wake-up towards the ground, which will launch you into the air, leading to escaping or combos. Offensively it's great outdoors, since unlike alpha and beta which can get in the way of teammates, gamma's slab doesn't really have this issue, only indoors. It should also be noted that, like alpha, gamma's blob goes through enemies, so at ground level it's better to aim at the enemy's feet so that the blob hits the ground below them, otherwise if you aim at their body the slab might generate behind them instead.
Gamma is also often used as a structure element, used as a base on top of alpha towers, which sometimes are accompanied by beta walls, though this can be kind of redundant as the slab already does a good job at covering you from projectiles below you. This move can also be used to block entrances/exits/passageways, but it's more messy and inconvenient than using alpha or beta.
Special Action - Defensive Wall
Revives a downed teammate, forming a concrete box around them. This skill can go through walls but has a limited range, only 1 charge and can't be activated in the air. It's a very powerful skill but can be tricky and situational to use. Some noteworthy interactions:
-
If the downed ally is falling at the same time you use Special Action on them, they will spawn under the concrete box.
-
There is a bug that makes the concrete box spawn around yourself instead of your ally, although what causes it is currently unknown with some believing it might be caused by lag and/or pressing the Special Action button at the same time as you land.
The box can be tricky since it might either place you in a disadvantageous spot, or trap the enemy with you to shred their health with strong close combat abilities.
Basic Attacks
Ground Melee
A 3-hit combo string in which Cementoss does 2 slaps followed by a series of repeated strike. While it is a decent combo tool, Ground Melee is hard to reliably use due to Cementoss' knockback and how short range it is. Where Cementoss' Melee shines is in breaking his own structures: Cementoss' Pillars have a unique property that is shared among other characters who can generate structures aswell, being that he can break his own structures very quickly while both allies and enemies require a bigger amount of hits. Ground melee requires all 3 hits of the move to break a structure at all levels.
Air Melee
Air melee consists on an uppercut which is easier to use than his regular Melee due to the versatile nature of air melees, but also due to the fact that you can use this move while dropping from Pillars. Similar to his Grounded Melee, Cementoss can break his own structures with this move, taking only 1 hit for all structures under Level 9 and 2 for this last one.

Leveling Paths
Basic Path
This is the most common Levelling Path for Cementoss. It consists on levelling up Alpha to Level 9, followed up by levelling up Gamma to this same level, leaving Beta for last. This route is based on mobility and will give Cementoss various movement options aswell as a lot of ranged attacks, at the price of not having a reliable big damaging move.
![]()
![]()
![]()
![]()
![]()
Striker Path
This is the least common Cementoss levelling path and it consists on levelling up Alpha all the way up to 9, and then level up Beta to 9, levelling up Gamma last. With this method Cementoss will have his primary tool at maximum power, size and charges, as well as a very powerful and damaging attack, at the cost of less mobility and building options.
![]()
![]()
![]()
![]()
![]()
Belligerent Path
This path is often used when Cementoss are forced to fight in earlier game. Since Cementoss is a level dependant character (weak early game, really strong late game), this is the most optimal route if you want to have a chance at fighting. This path will make his Alpha and Beta reach the sweet spot between Weak and Really Strong (Level 4) leaving him with decent movement and attack options. After reaching those sweet spots you can keep levelling up following The Striker path.
![]()
![]()
![]()
![]()
![]()
![]()
![]()
![]()
![]()
Why Alpha level 9 first?
All of these levelling paths have something in common: they always level up the Alpha Skill first, reason being that this move is crucial for Cementoss. It's his movement, attack, cover, structure move,... While you technically can play without using Alpha, it's the move that makes Cementoss... well, Cementoss. It's STRONGLY recommended to always prioritize this move.
Techs
Walk Cancelling
Walk Cancelling is a must learn tech that reduces endlag on all moves and is required for some combos and mixups. It involves moving back and forth or in a circle during quirk usage in order to reduce frames for certain moves. This can be done by moving your joystick in a semicircle on console or pressing a/d quickly on pc. Some good uses of this are: Pillaring, Beta cancelling, Gamma combos and some alpha combos.

Alpha Shelfing
Shelfing consists in placing an Alpha Pillar infront of you on a Pillar Tower without riding it, giving the illusion of being on top of it while you are actually hiding behind it. This is most often used for healing and can be done just by throwing an Alpha Pillar at the corner of the previous one you are standing on and then walking off onto the "shelf". Most enemies won't know to look for a Cementoss healing on a Shelfed Pillar however you are still very visible from behind. Shelfed pillars can also be used in tandem with beta in order to hit the ground from max pillar height. Beta travels down shelfs when at level 9 and can be used on people trying to climb up or people at the base of your pillar.
Alpha Pushing

Beta Elevator
Beta elevator is a tech that can be used in order to gain height mid fight, an alternative to pillaring. It can be done just by looking up and using your beta. This is best done at level 9 (thanks to the size). Enemies often don’t expect this Tech due to how fast it is and the fact that you can hit them with the Beta at the same time as this is done.
Unfortunately this Tech cannot be done on the Nintendo Switch version due to framerate limitations.
Indoors Creation
Both Gamma and Alpha are useful for hitting opponents through walls, however gamma is the most reliable for this by far. Placing gamma anywhere near a wall without letting the projectile itself hit it will create the slab indoors, ignoring all objects. This can be useful for stopping healing, reviving, or can simply be used if you trap an opponent indoors and the room is small enough. With the size increasing at level 4 and 9, it is easier and more effective to hit opponents the higher the level of your Gamma. Alpha can also be used for hitting indoors however it can only hit if the opponent is directly against it due to how much smaller the alpha hitbox is compared to Gamma's. Beta can also be used to hit through walls, yet it won’t actually create the beta on the other side and only the initial section will deal damage before disappearing on spawn. Additionally, this only works on thin walls like glass or temporary structures, and only works if both you and the opponent are directly against the wall.

Combos
The different ways you can combine and chain various skills for higher damage within 500 DP (Downpower). The downpower of Cementoss's abilities are as follows:
Alpha Skill: 100 DP (Cement Ball), 100 DP (Pillar Creation)
Beta Skill: 200 DP
Gamma Skill: 100 DP (Cement Ball), 100 DP (Slab Creation)
Ground Melee: ??? DP (Individually), ??? DP (Whole Chain)
Air Melee: 250 DP
The DMG of the following combos is classified under the tags "Basic DMG", "Light DMG", "Medium DMG", "High DMG", "Heavy DMG" and "Deadly DMG", given to combos that at max level do damage in the 100s, 200s, 300s, 400s, 500s and 600s respectively.
Alpha (Pillar) -> Alpha (Pillar) -> Alpha (Pillar) -> Alpha (Pillar) -> Alpha (Pillar)

Alpha (Ball + Pillar) -> Alpha (Ball + Pillar) -> Alpha (Pillar)
A faster version of the previous combo that does its job faster and saves 2 alpha charges. It deals a bit less damage, but still substantial. The order can be changed at will so long as it's 1 alpha pillar and 2 full alphas (ball + pillar).

Beta -> Alpha (Pillar) -> Alpha (Pillar) -> Alpha (Pillar)
Beta -> Alpha (Ball + Pillar) -> Alpha (Pillar)
An alternative version of the previous combo that sacrifices a small bit of damage in exchange of being way easier to execute, save an alpha charge, and being faster.
Gamma (Ball + Slab) -> Alpha (Ball + Pillar) -> Alpha (Pillar)
A commonly used Cementoss combo that makes use of gamma's stun and creation delay to sneak in a full alpha, which you can follow with a pillar hit from a 2nd alpha.
Gamma (Ball + Slab) -> Gamma (Ball + Slab) -> Beta
Cementoss's most damaging combo. A close-range combo that makes use of both gamma charges and one beta, making it a bit resource-heavy, but the high damage and the fact that's a combo that works well indoors too (albeit ceiling height is an important factor) makes up for it. This combo is powerful enough to take down by itself characters with 250 HP or below (Iida, Rapid Mirio, ...) in a tuning-less scenario.


Recommended Normal & Special Tunes
Normal Tunes
Special Tunes
Recommended Builds and Costumes
