


STAGES
In this sub-guide you'll learn about My Hero Ultra Rumble's stages/maps!
Battle Royale Stages
USJ
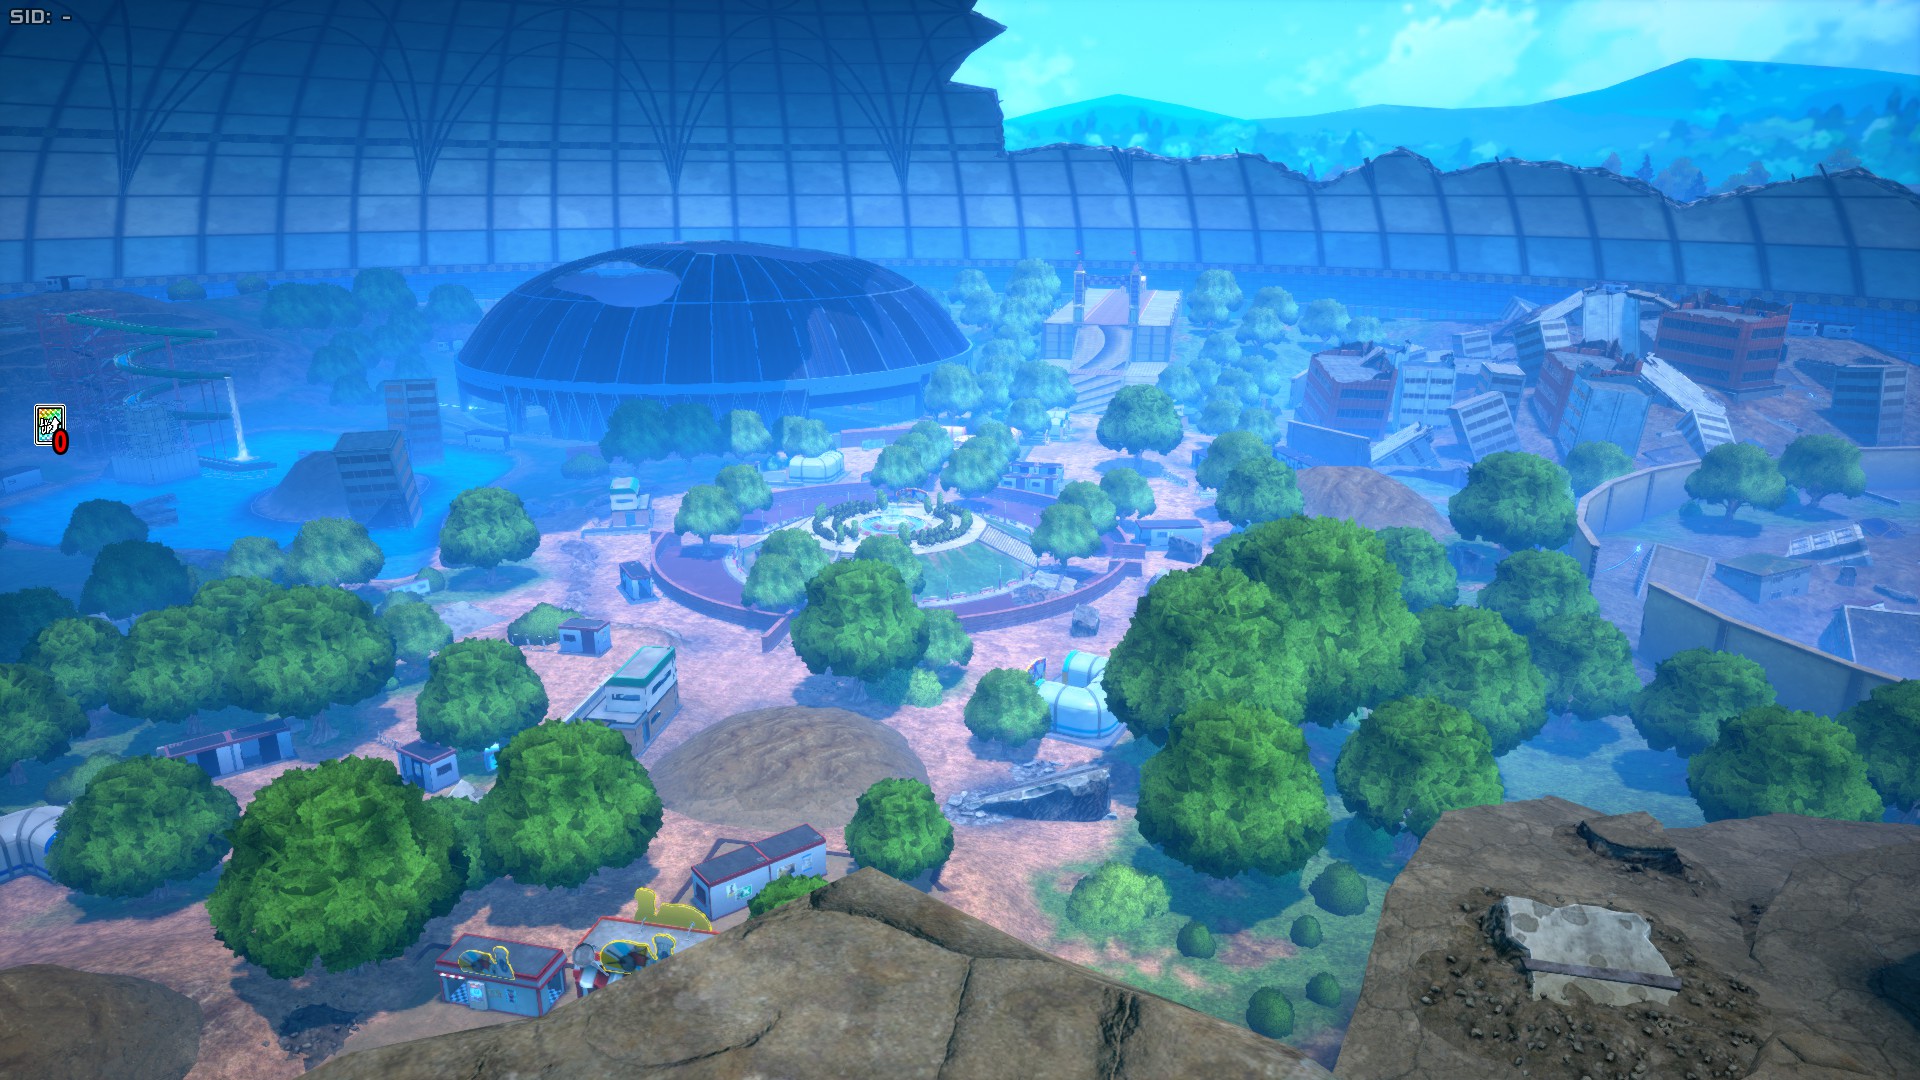
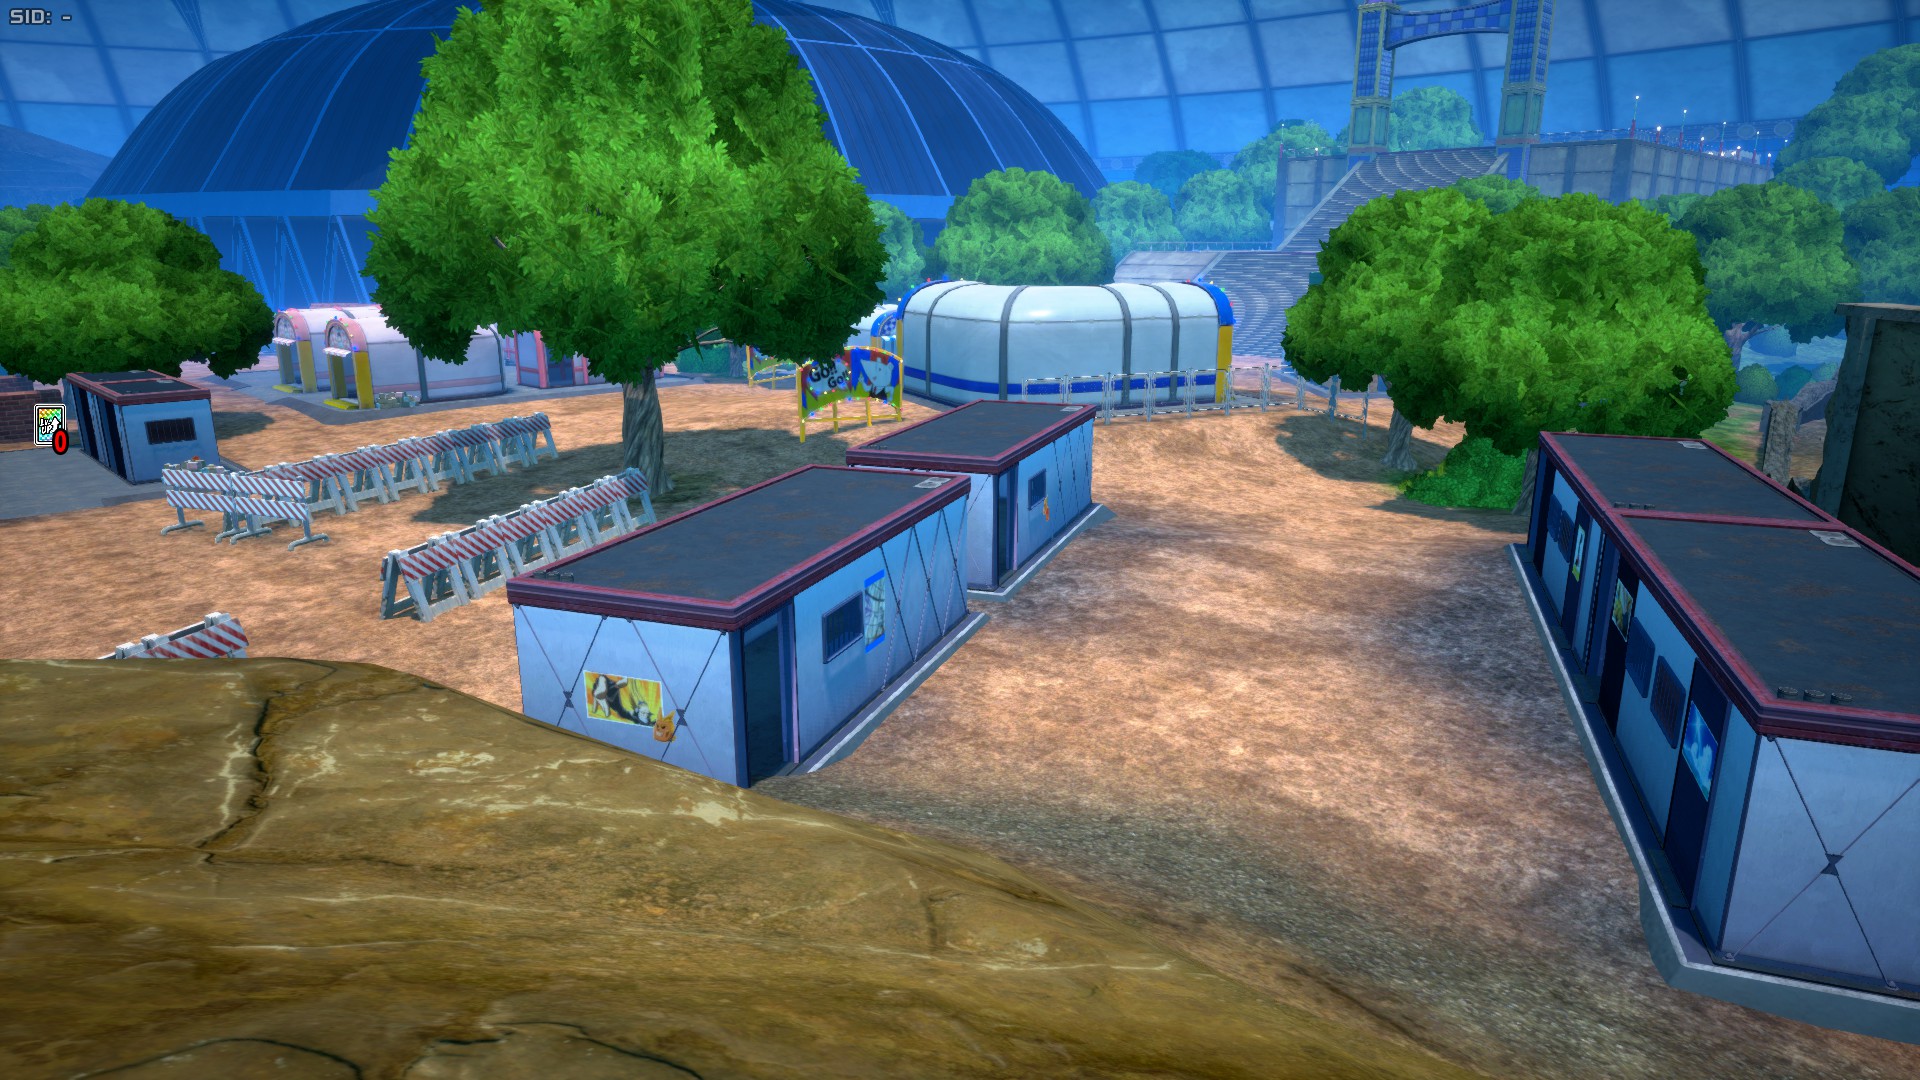
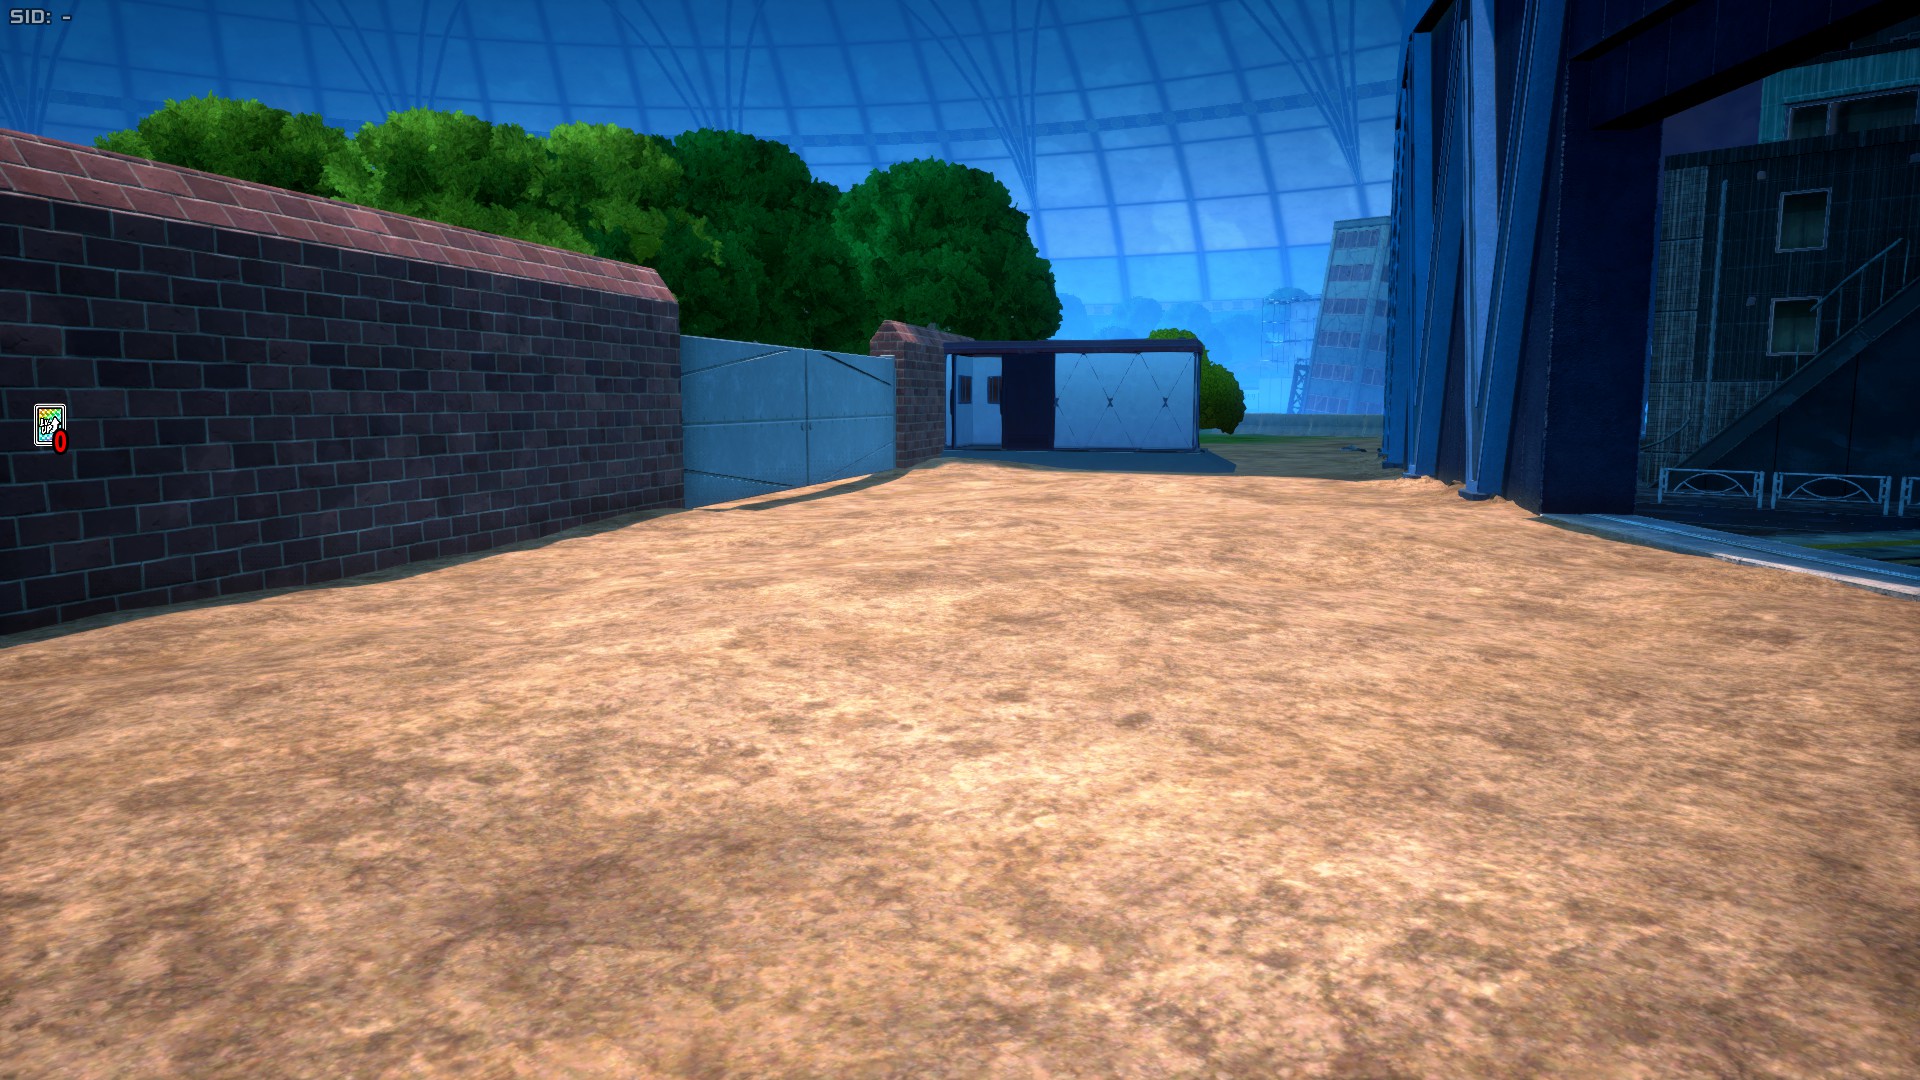
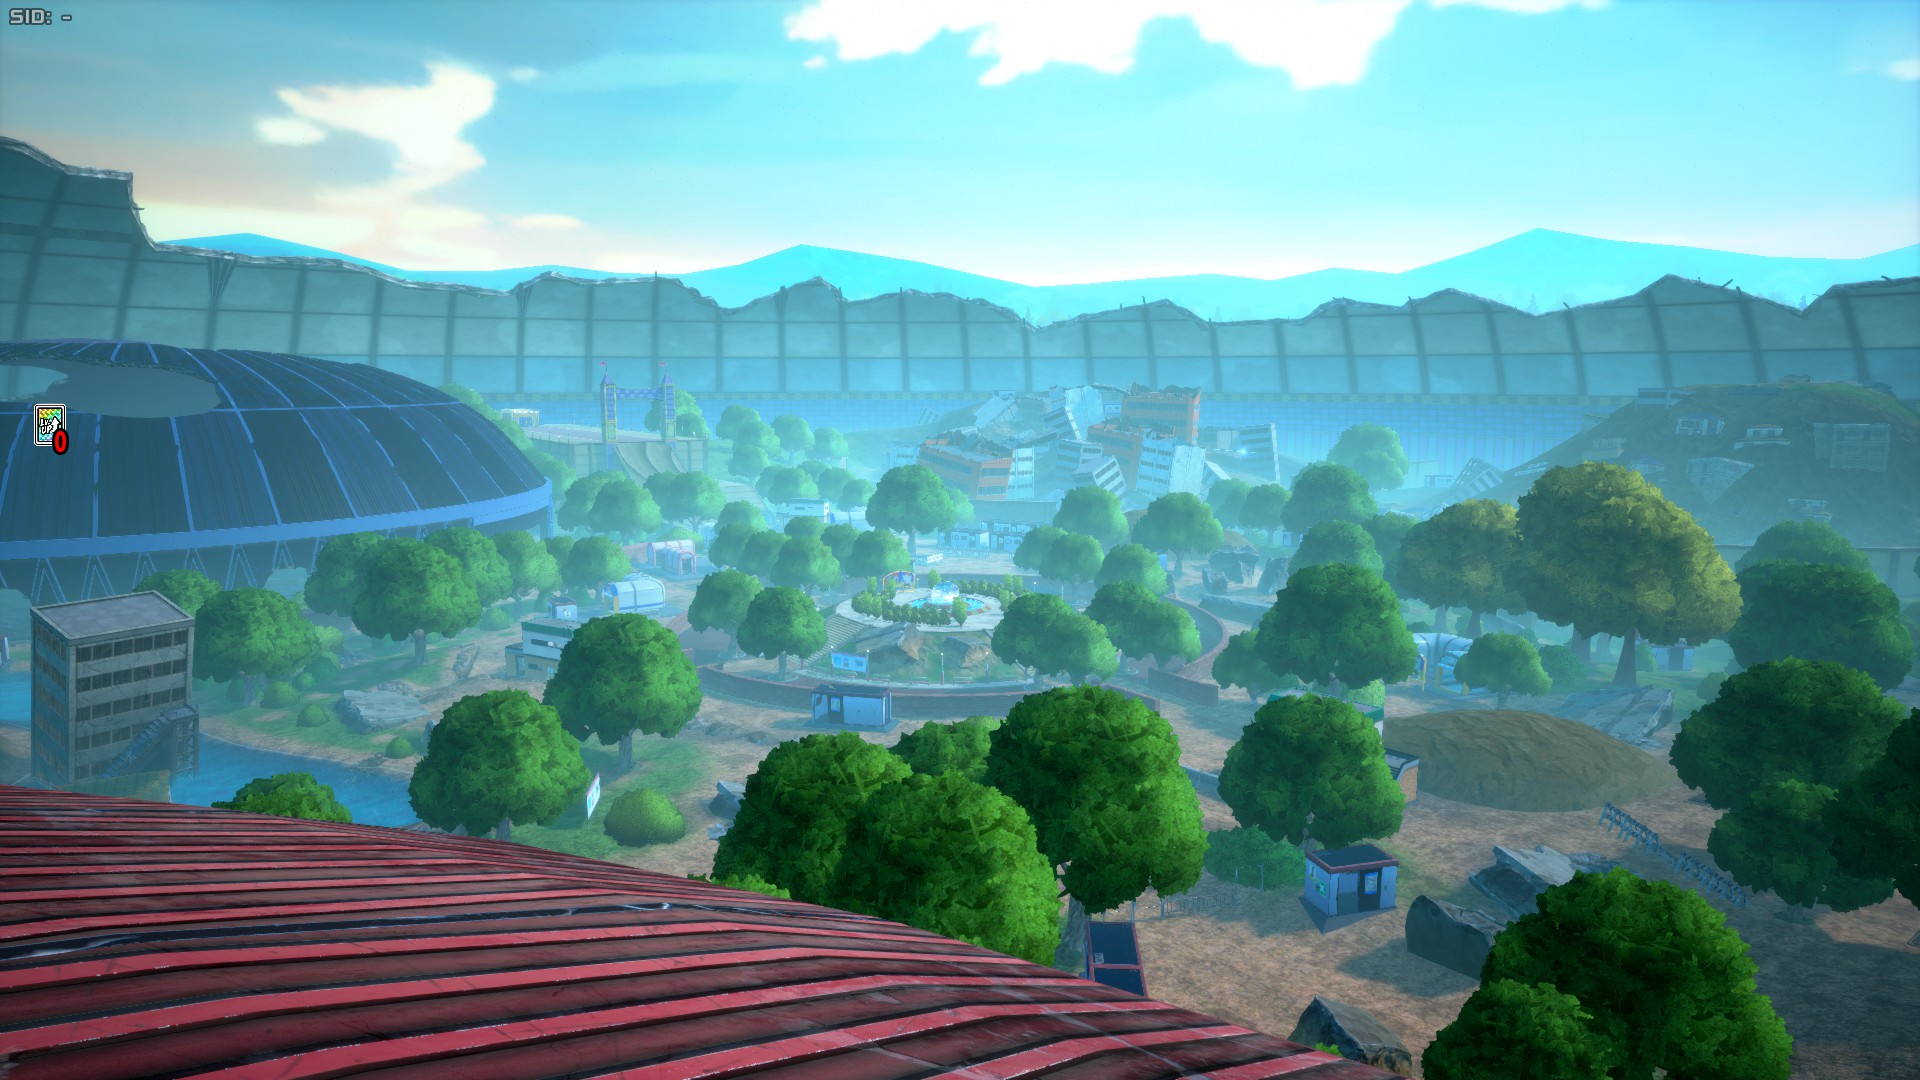
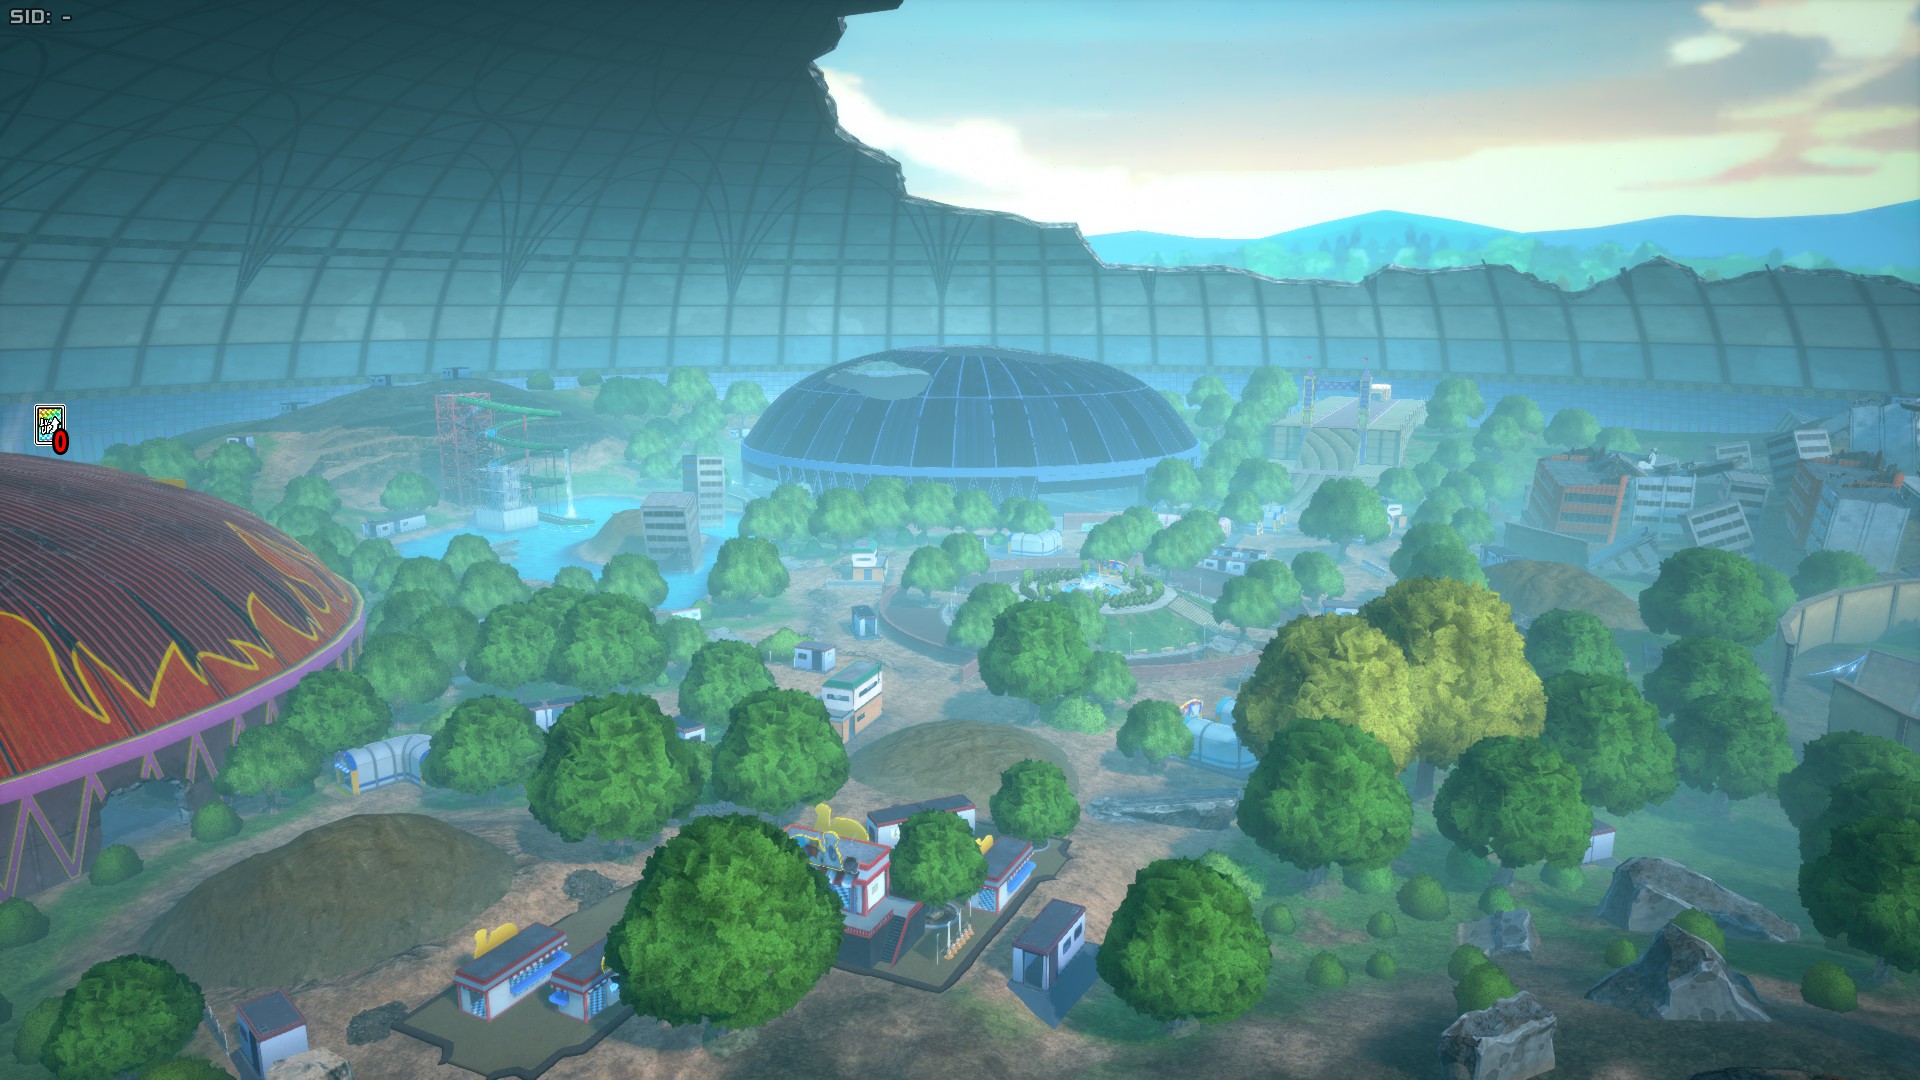
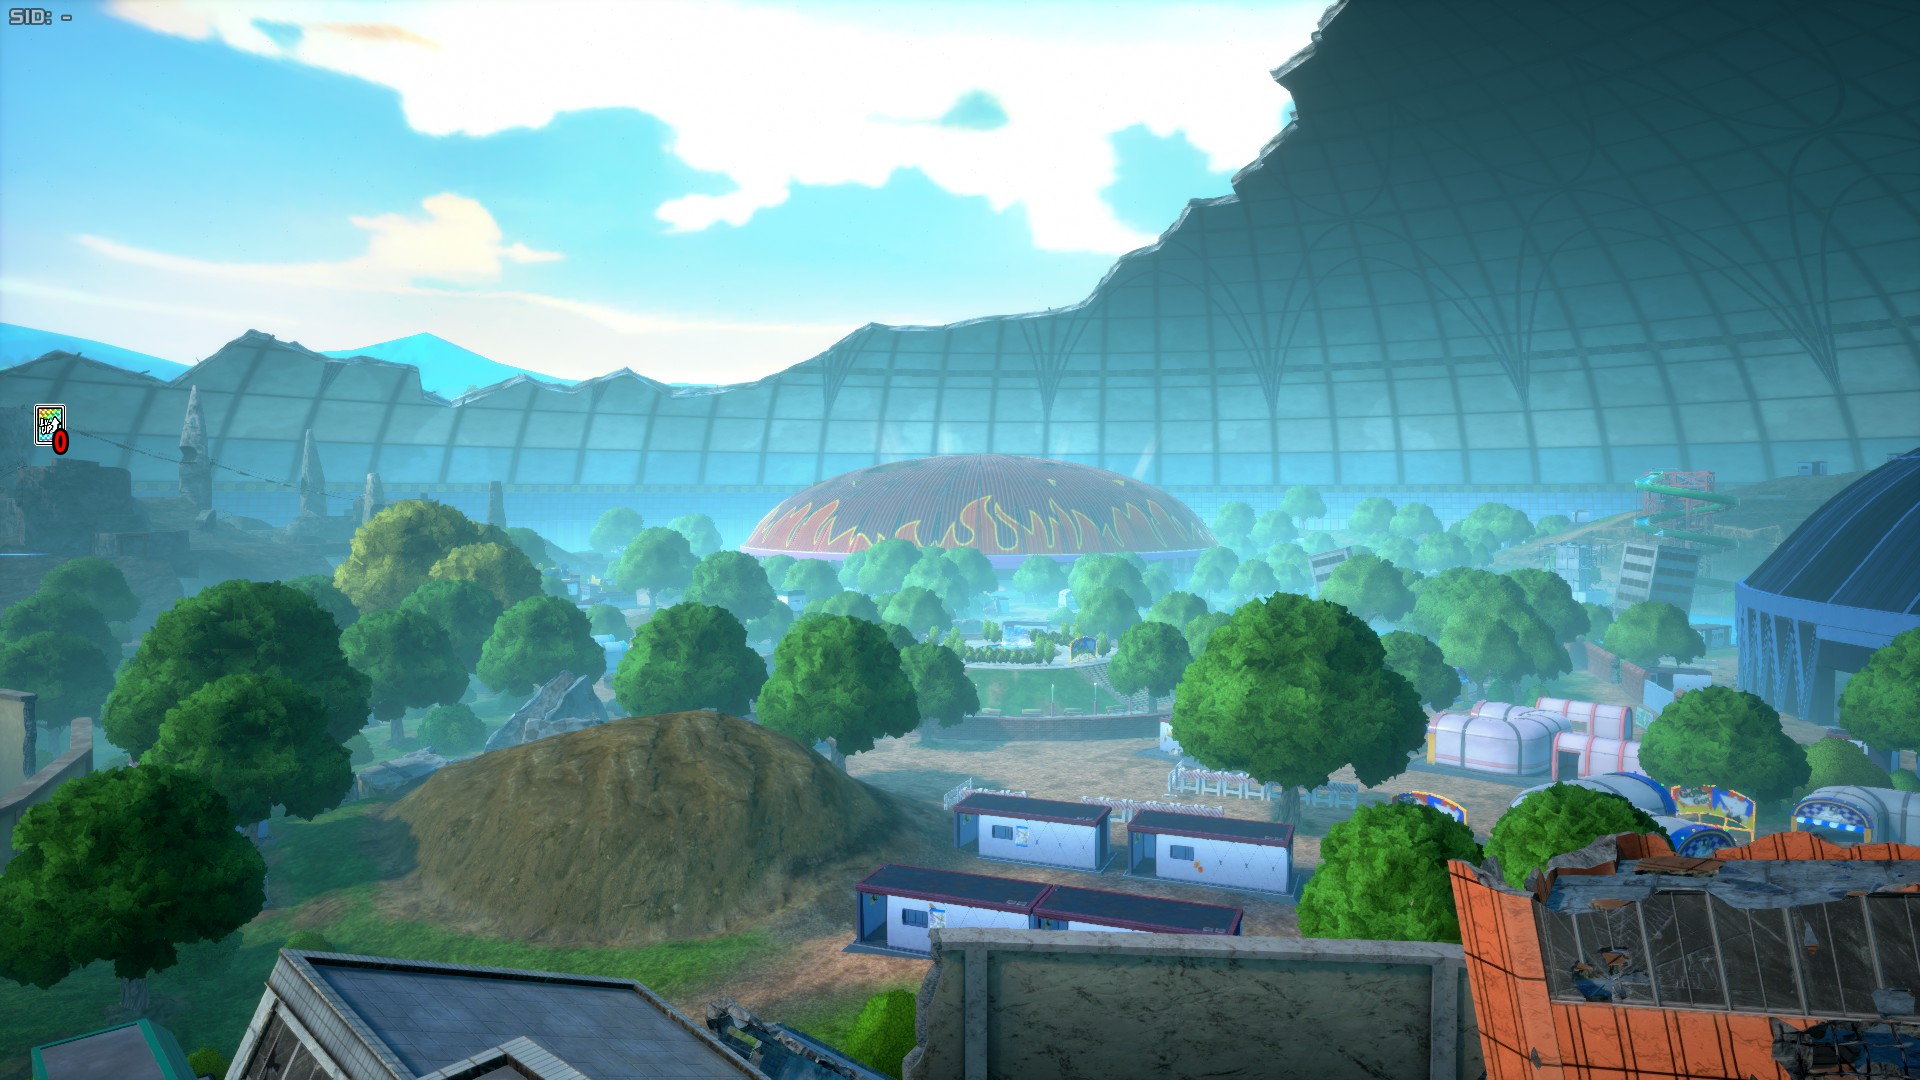
USJ (also known as Stage 1 or St01), is the very first stage added to My Hero Ultra Rumble. It features 7 unique areas, these being: Fire Zone, Typhoon Zone, Collapse Zone, Landslide Zone, Mountain Zone, Aquatic Zone and Plaza.
USJ is characterized by its ample open spaces with little cover besides Fire and Typhoon Zone, and with the unique aspect of having two zones that can "change" layouts through the destruction of destructible buildings, which greatly change the area, especially in the case of Collapse Zone.
Plaza
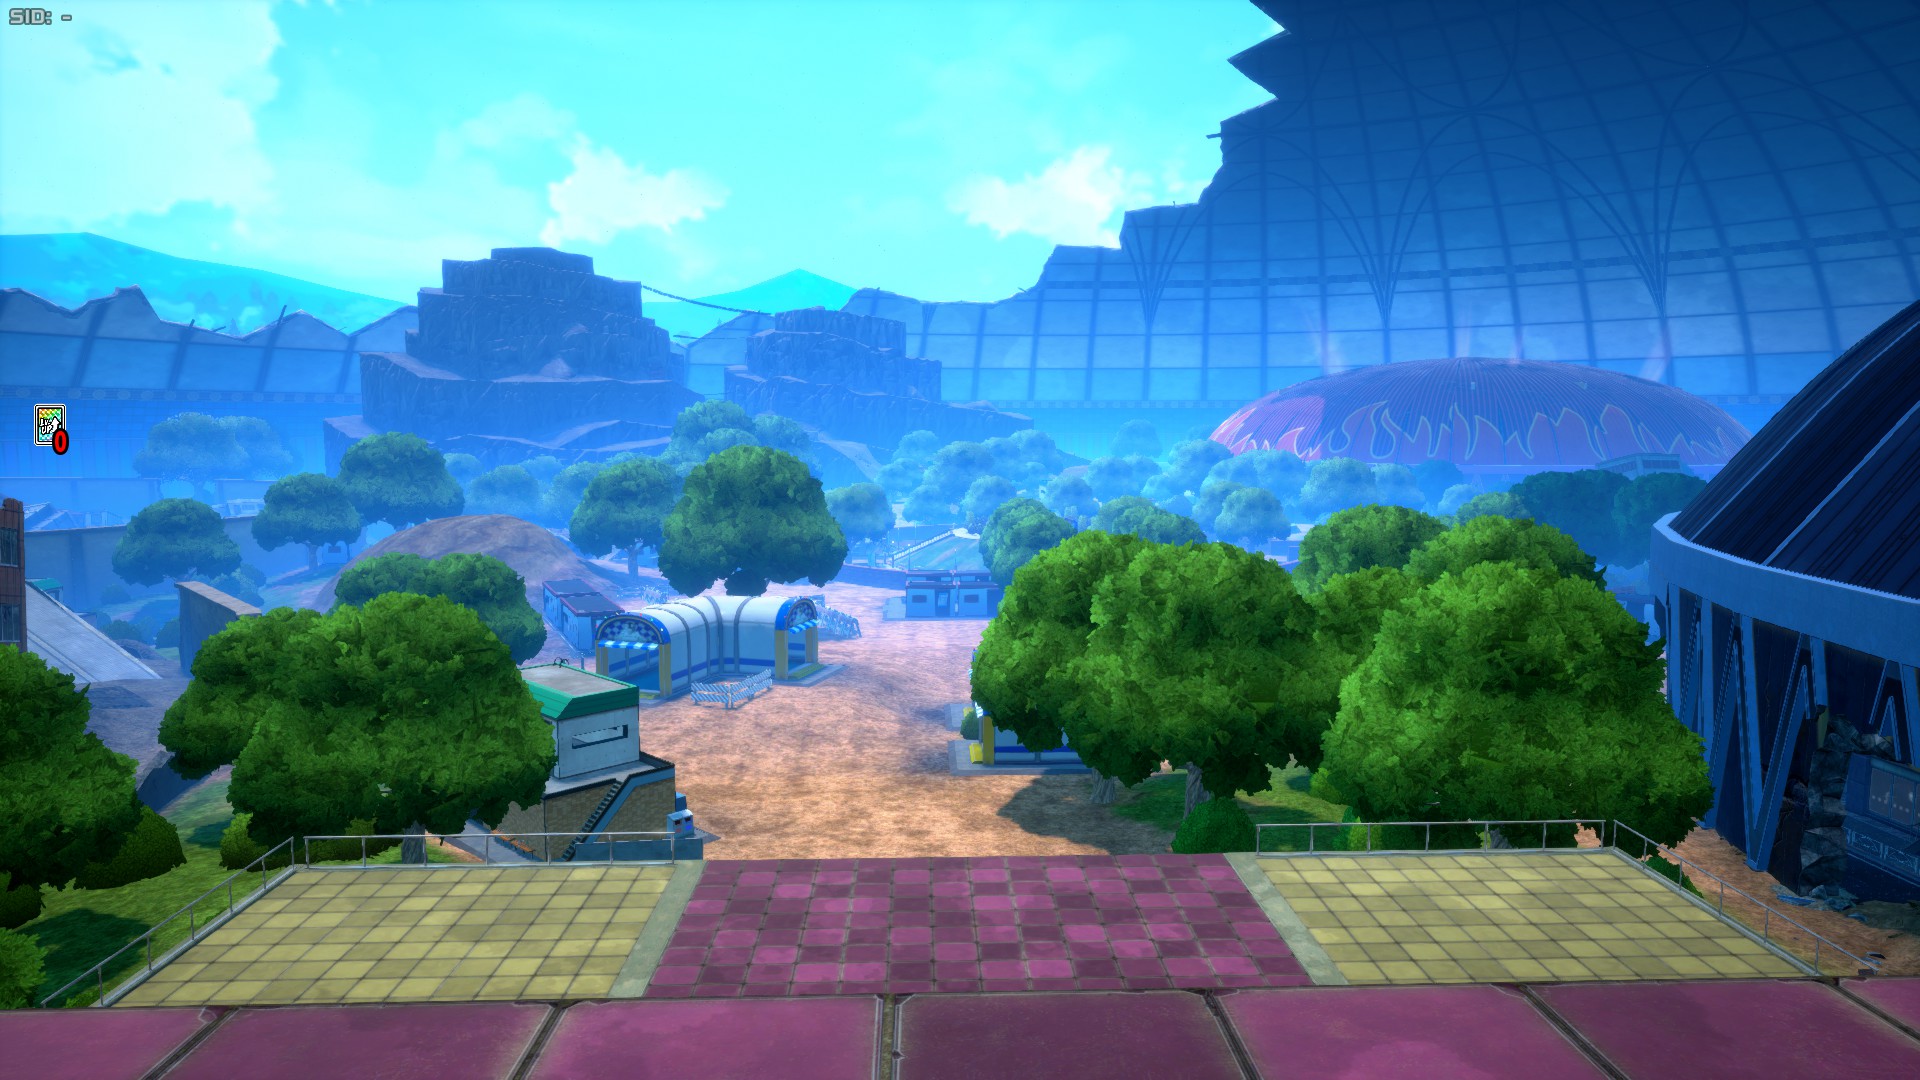
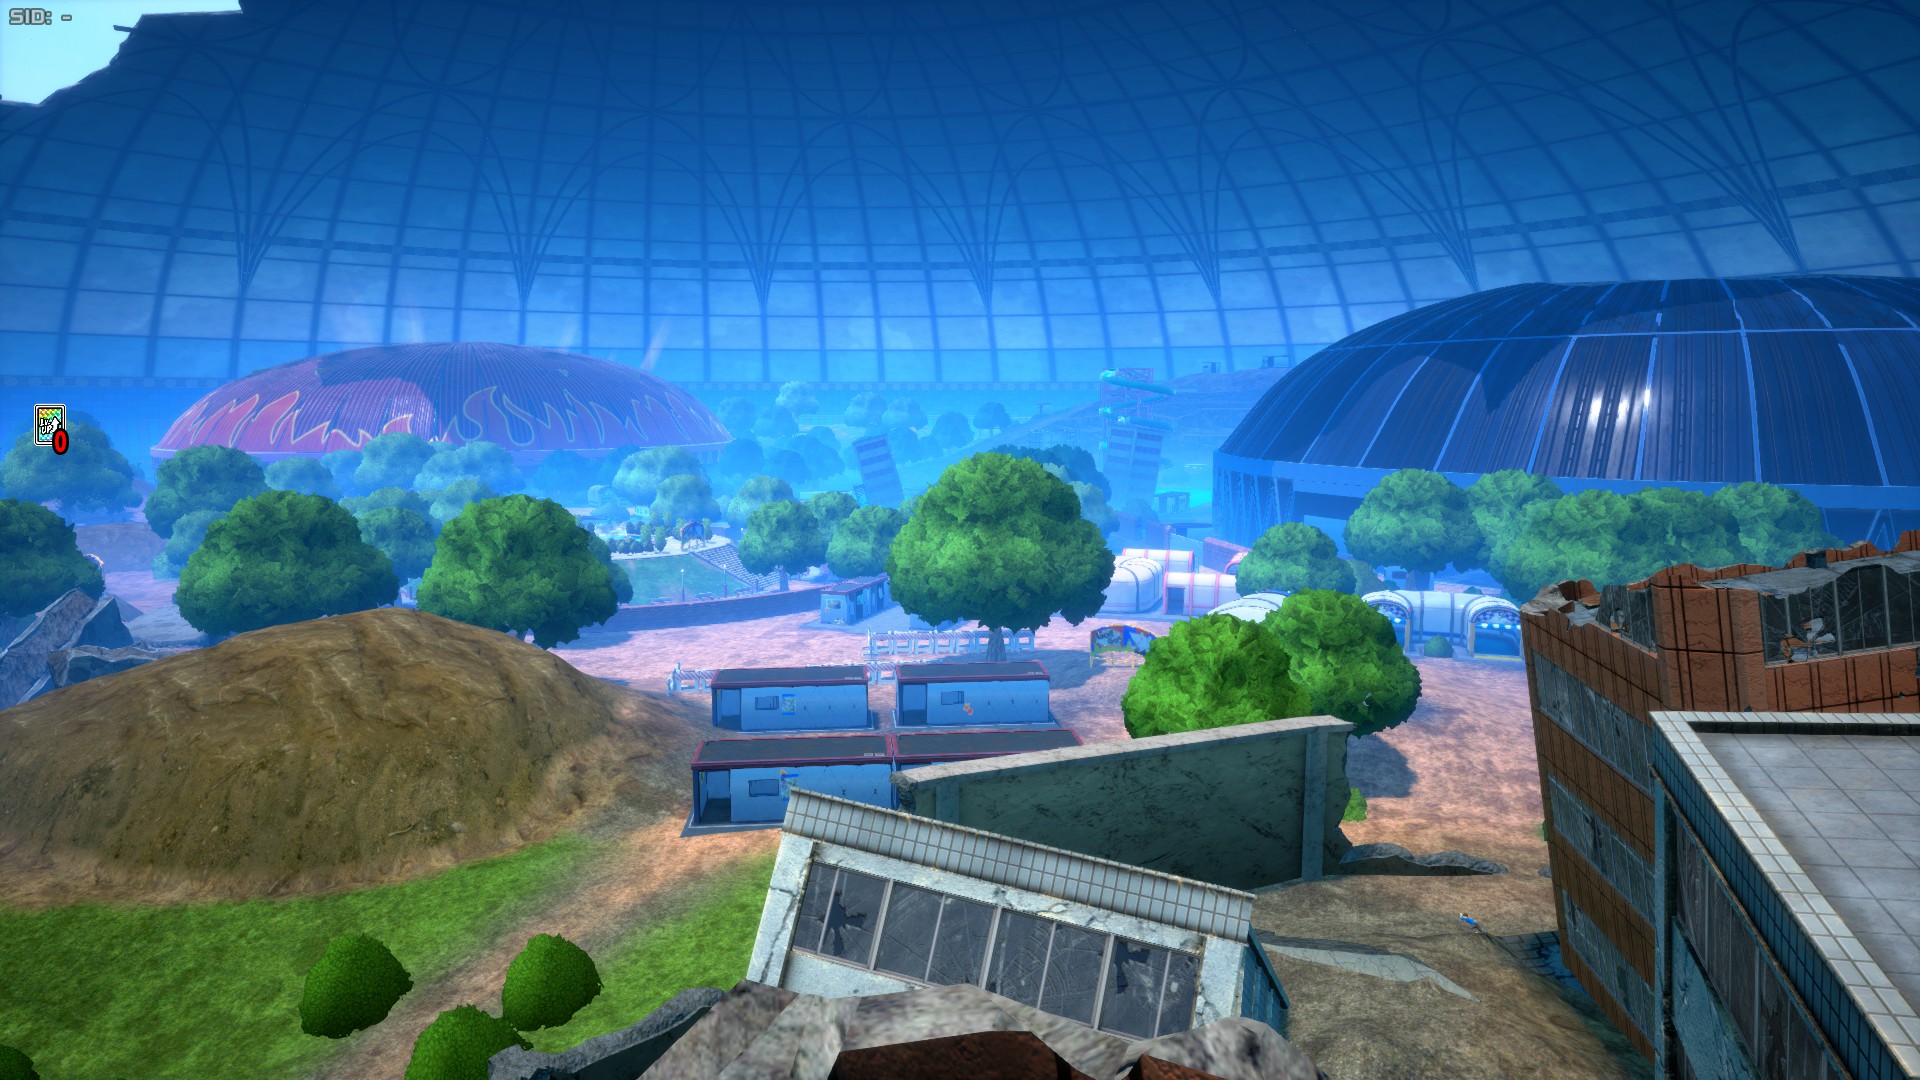
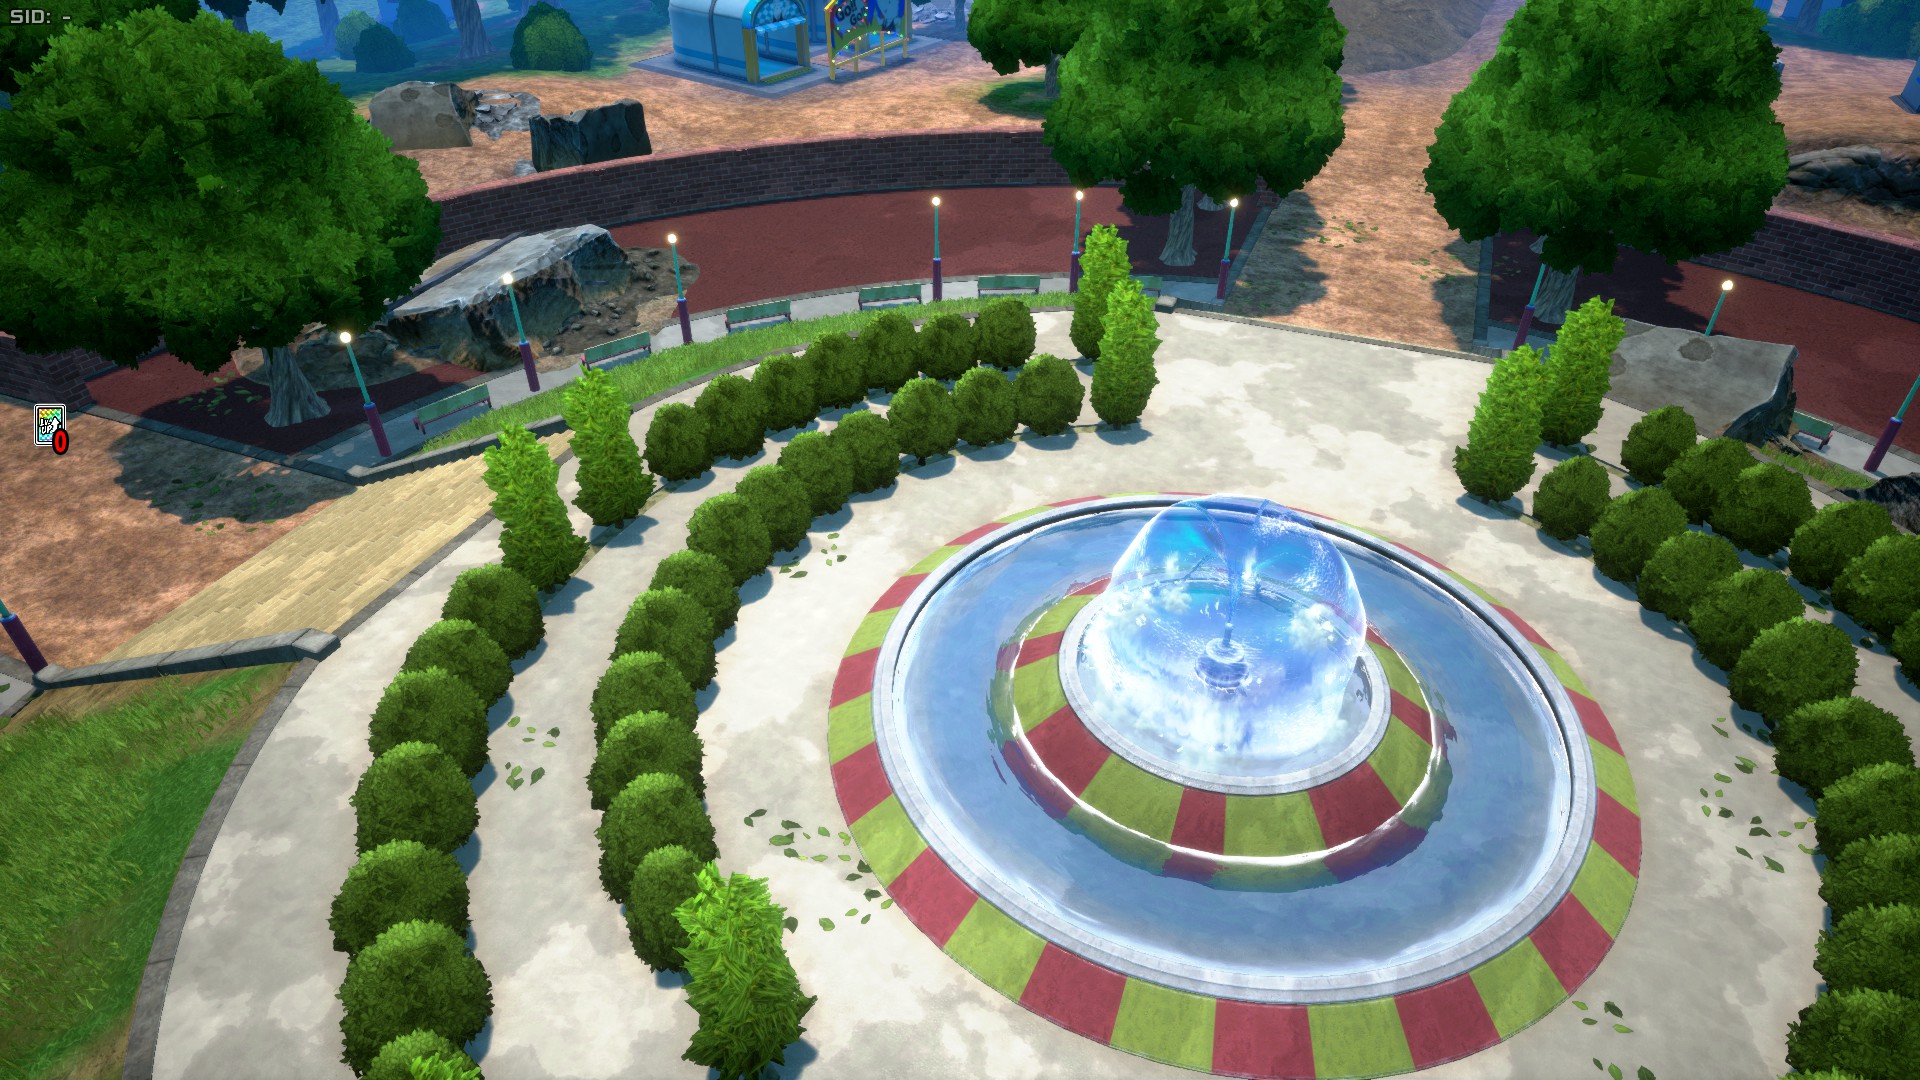
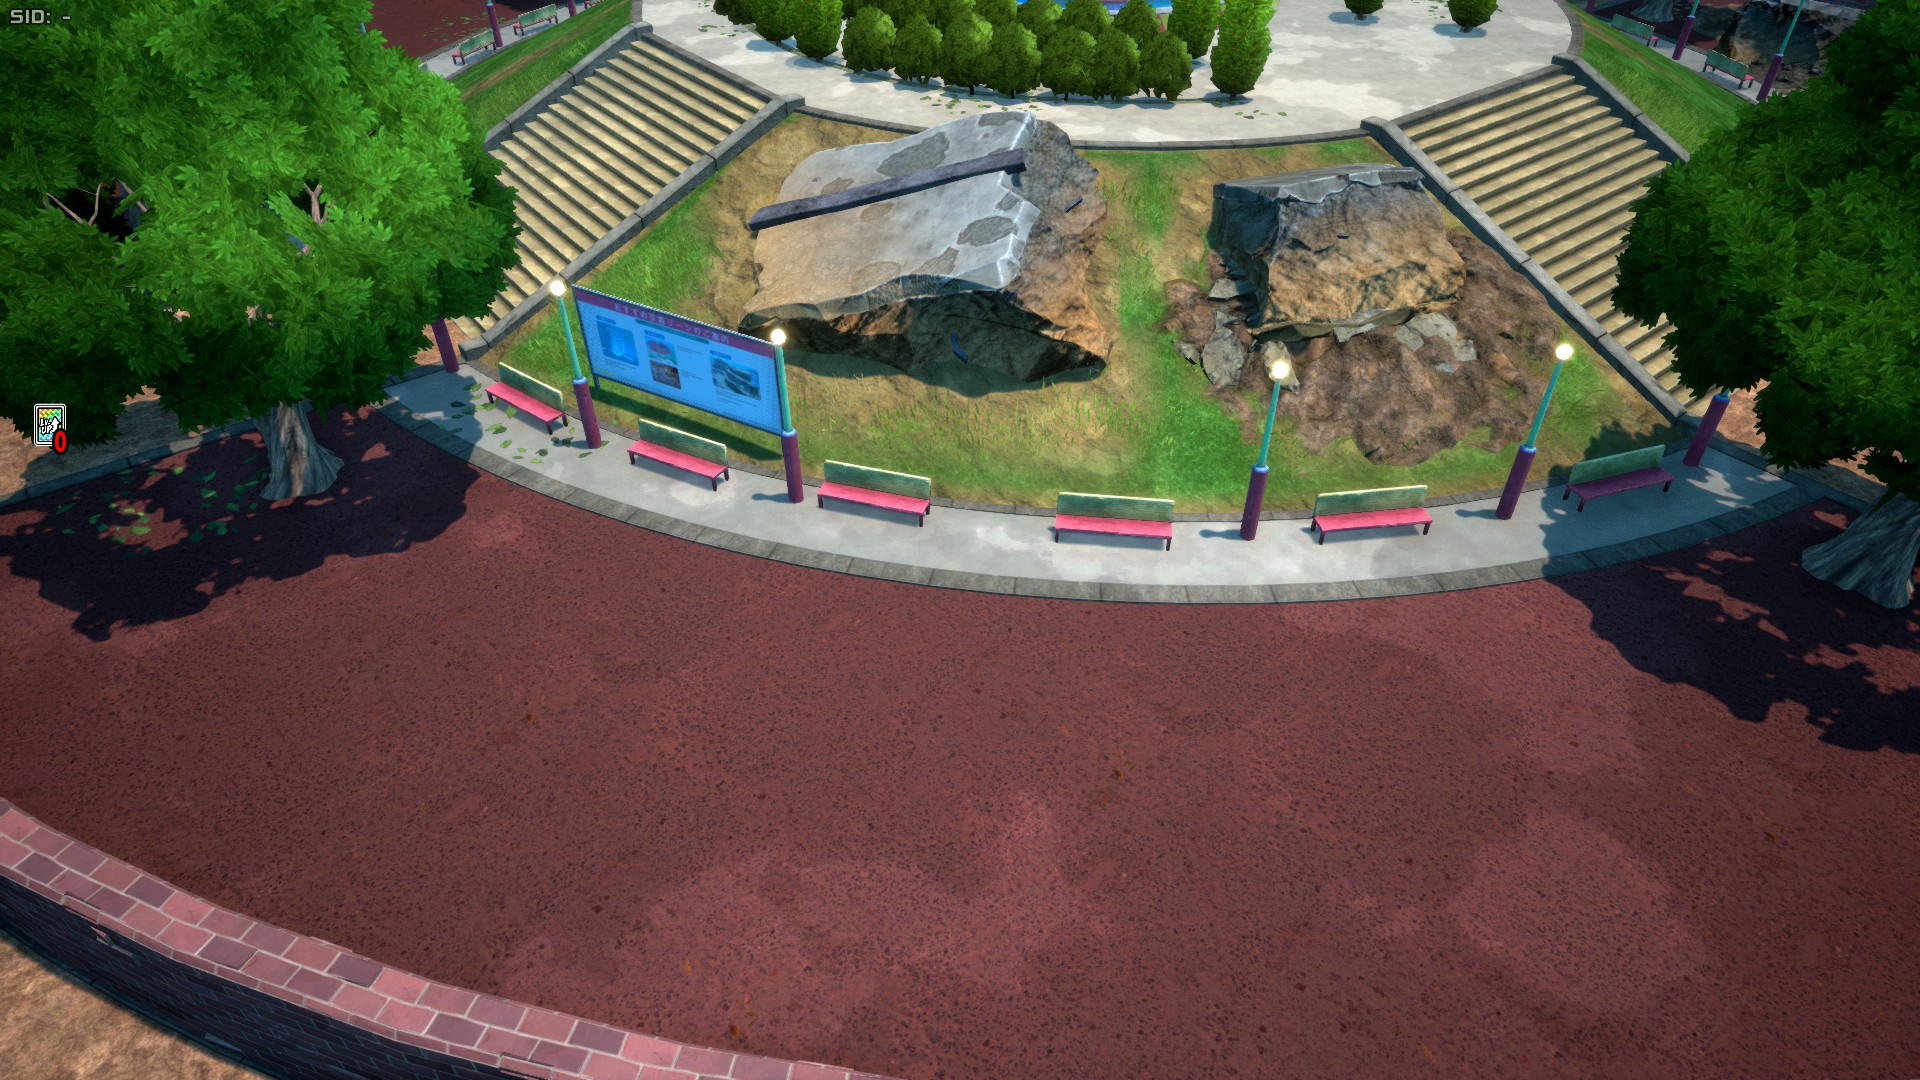
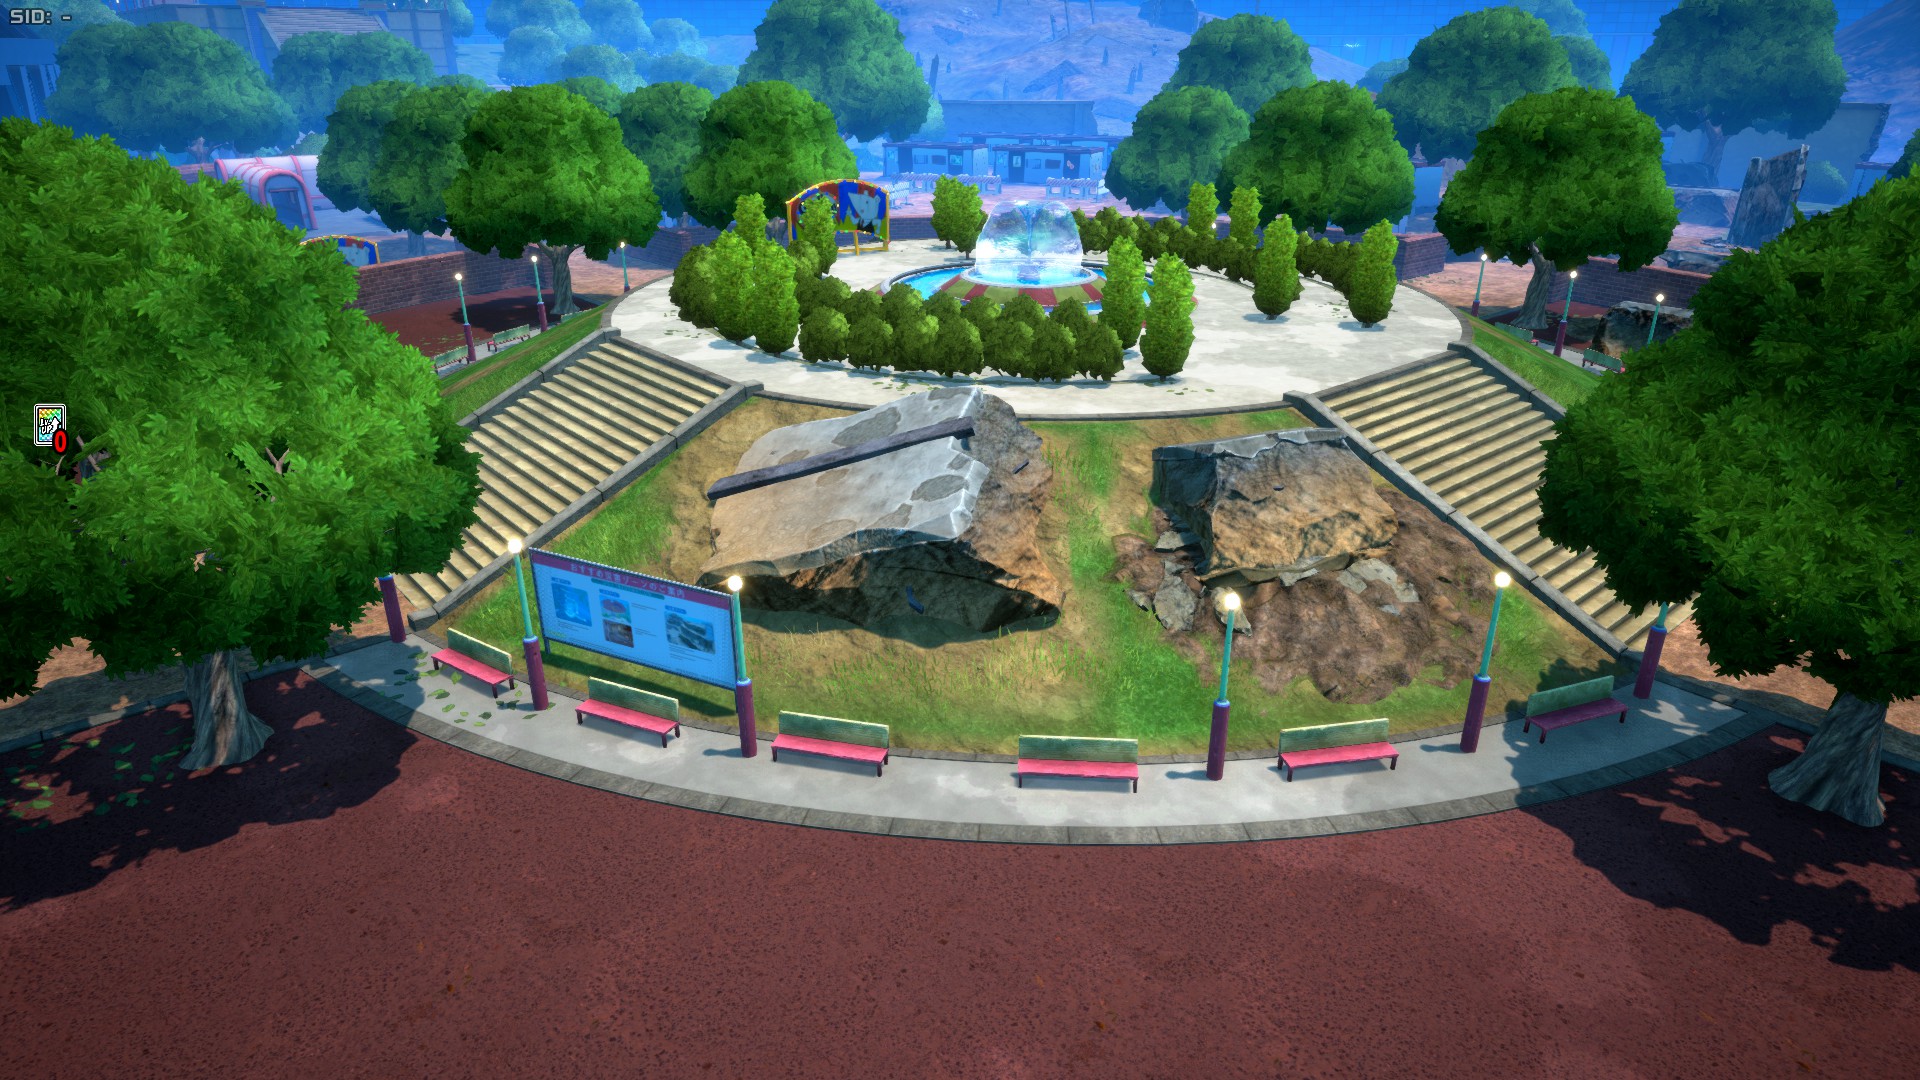
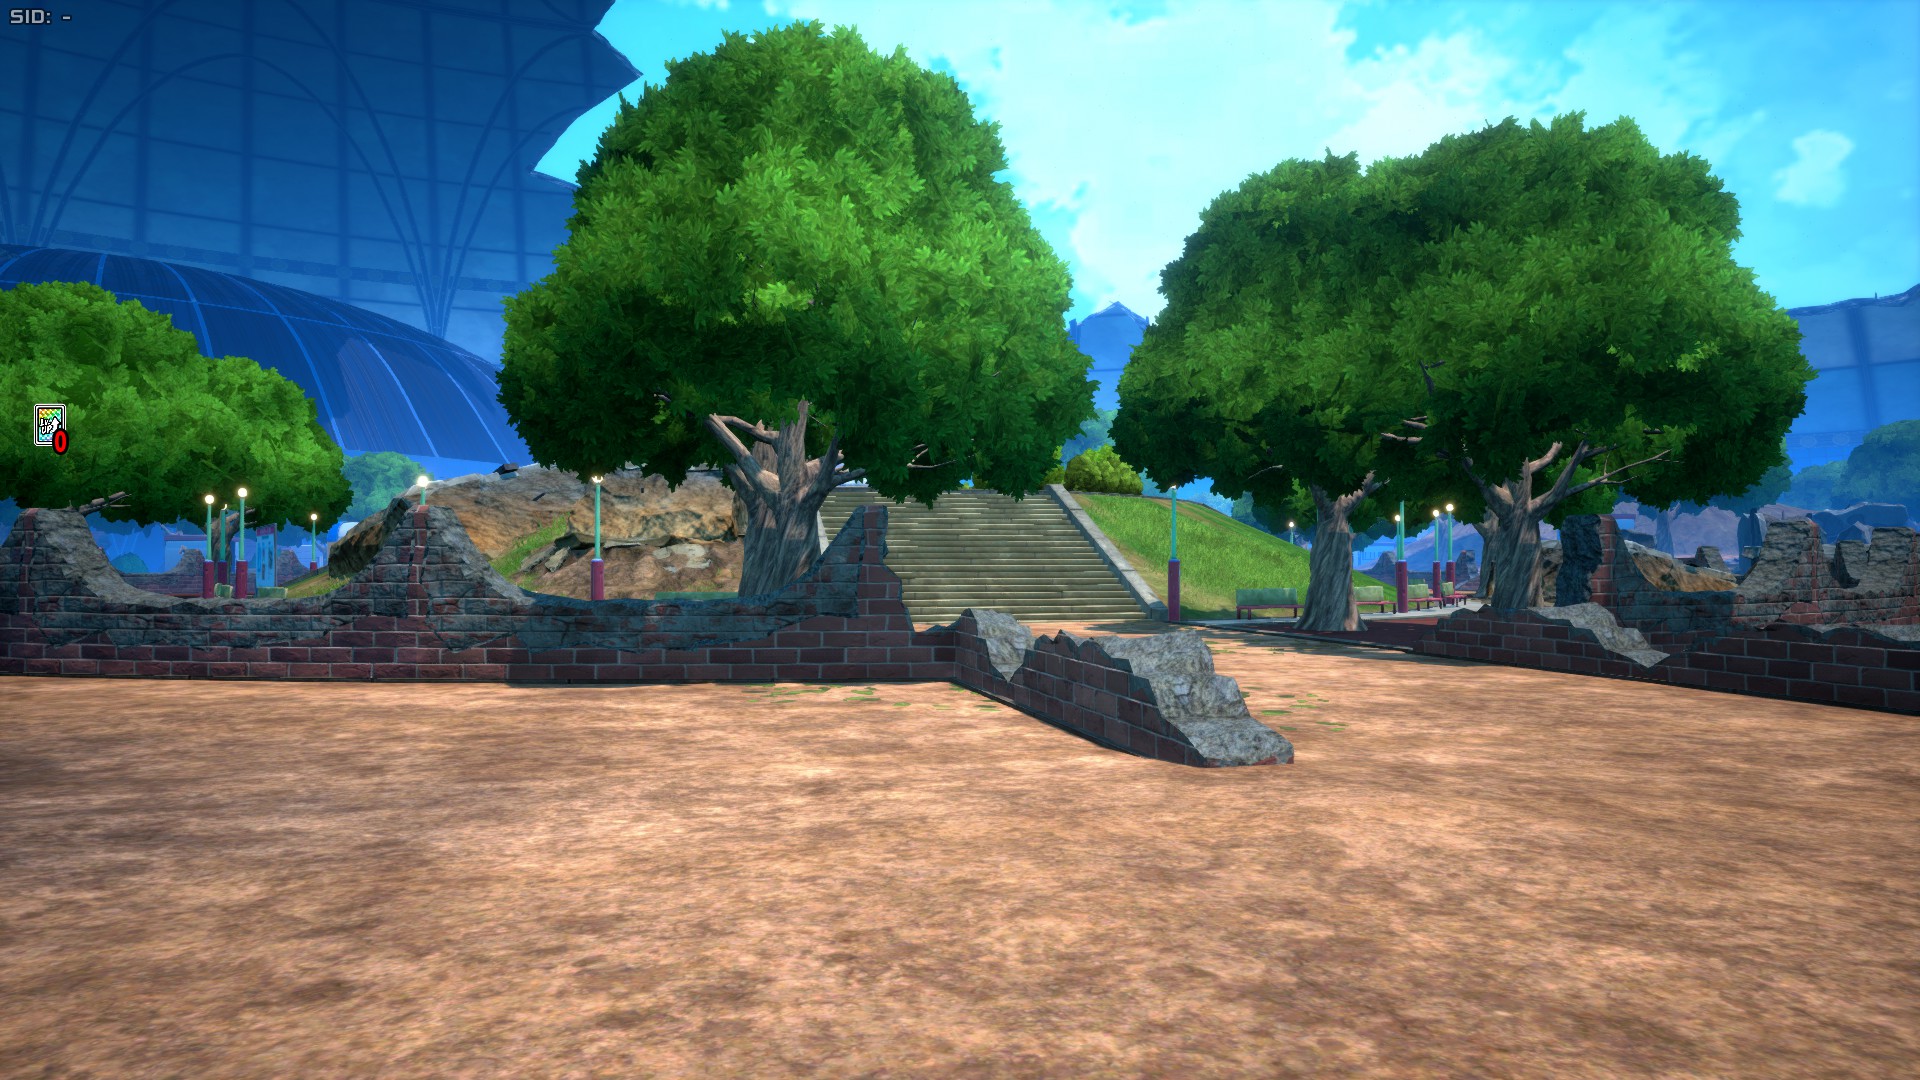
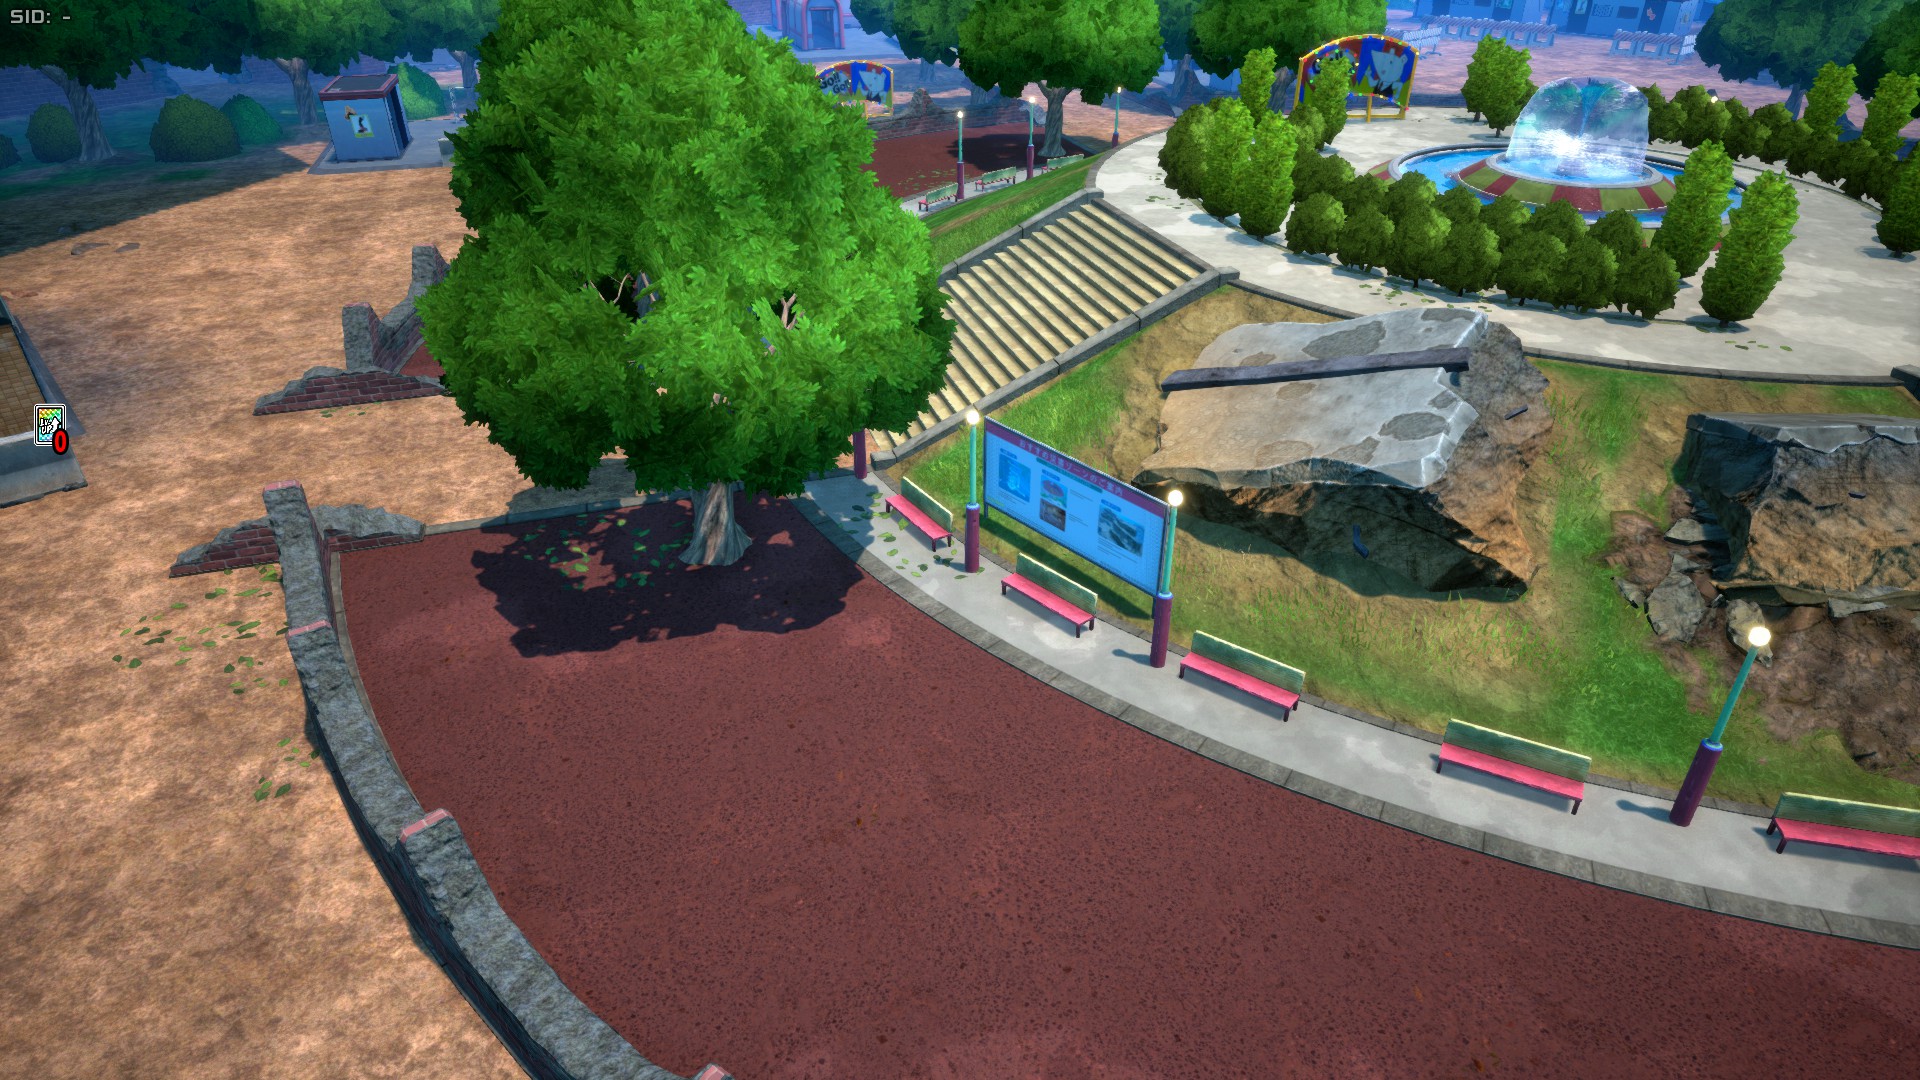
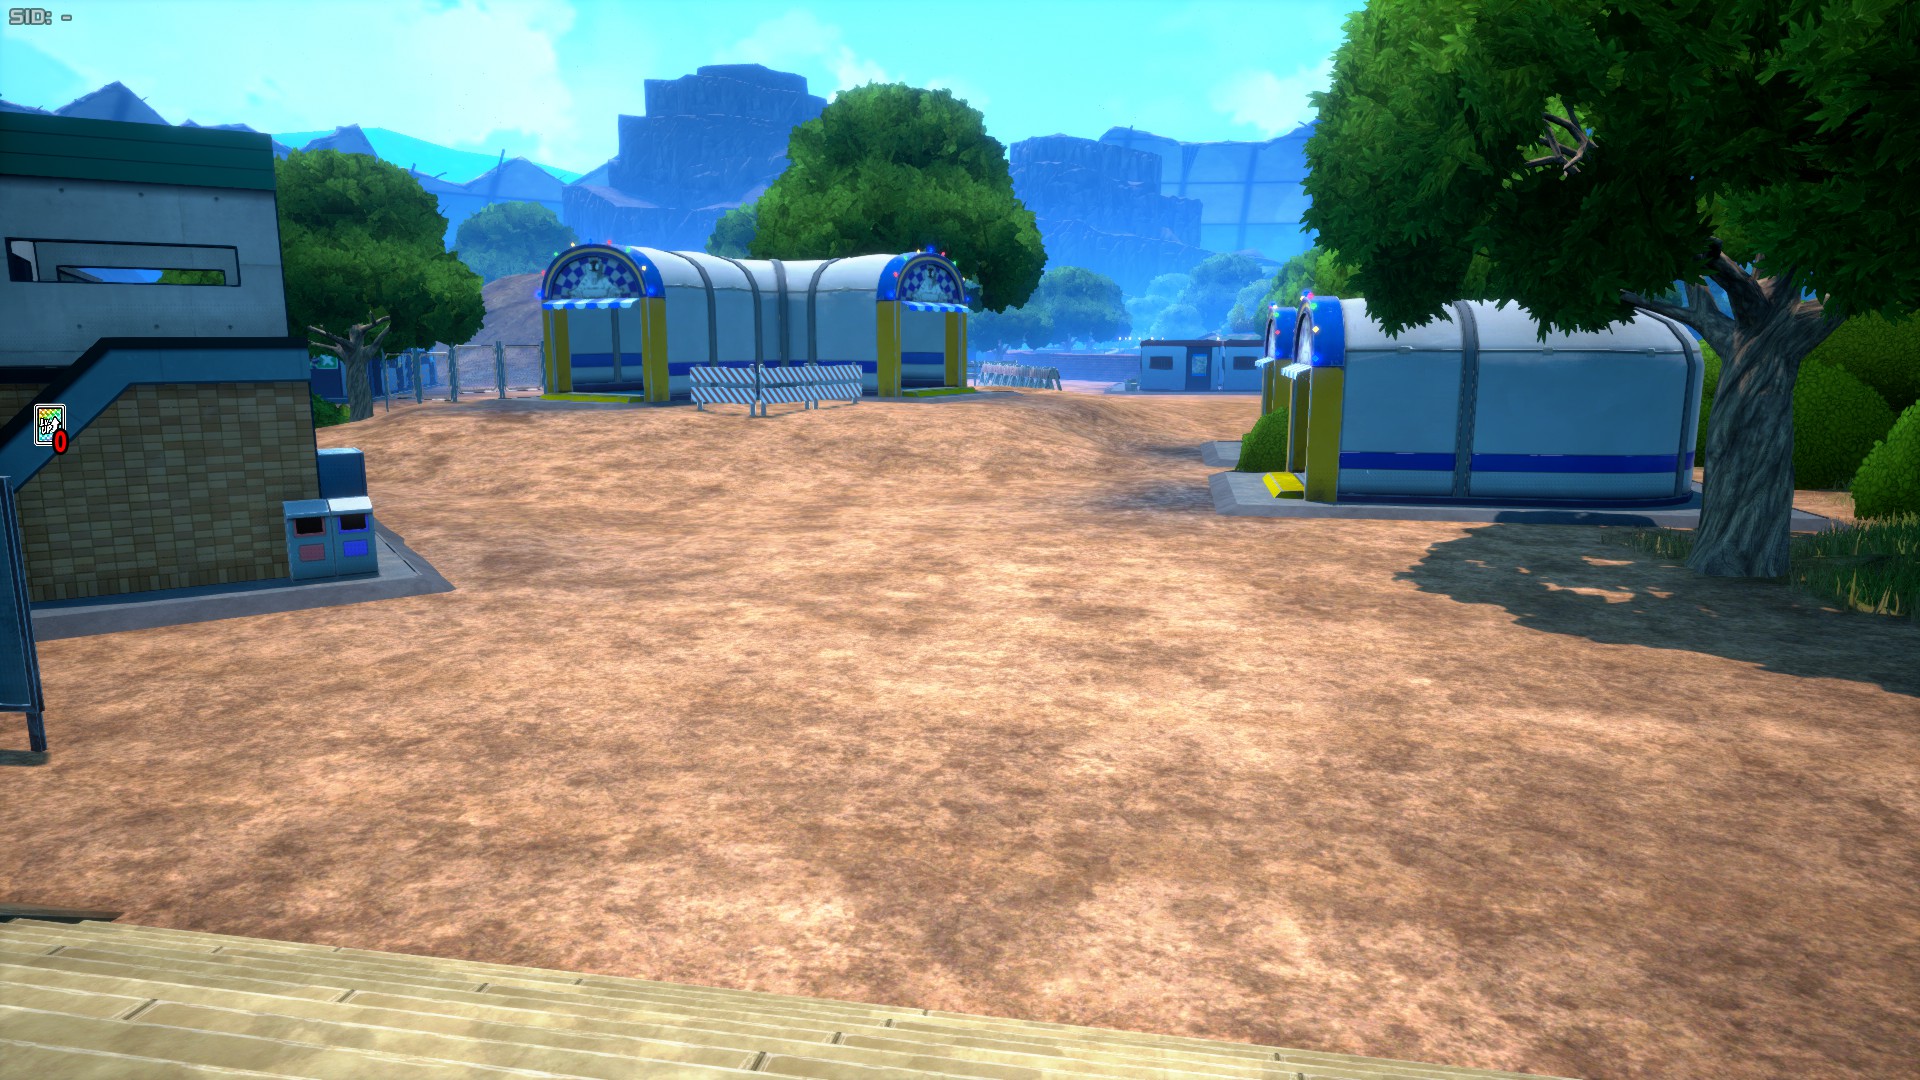
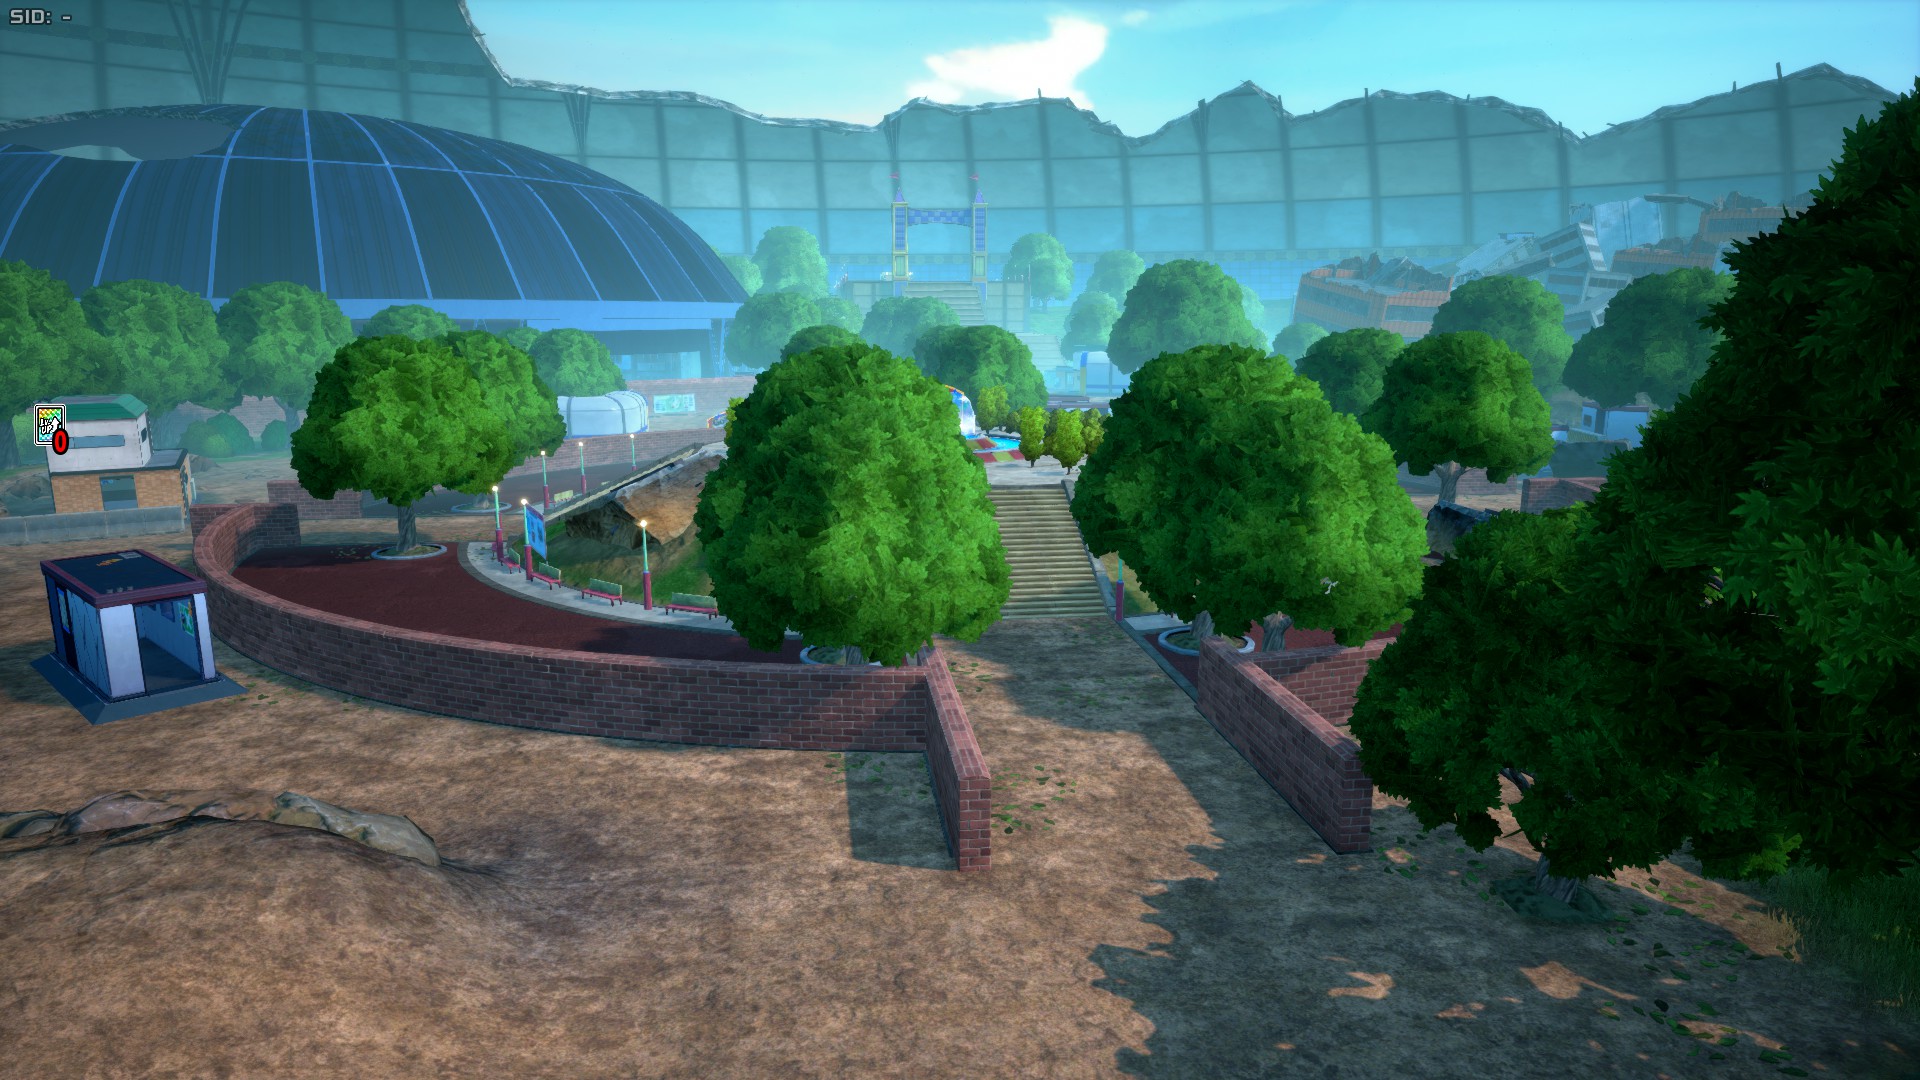
Plaza is the central area of the map, and is characterized by its bushes and easy accessibility to other areas.
Fire Zone
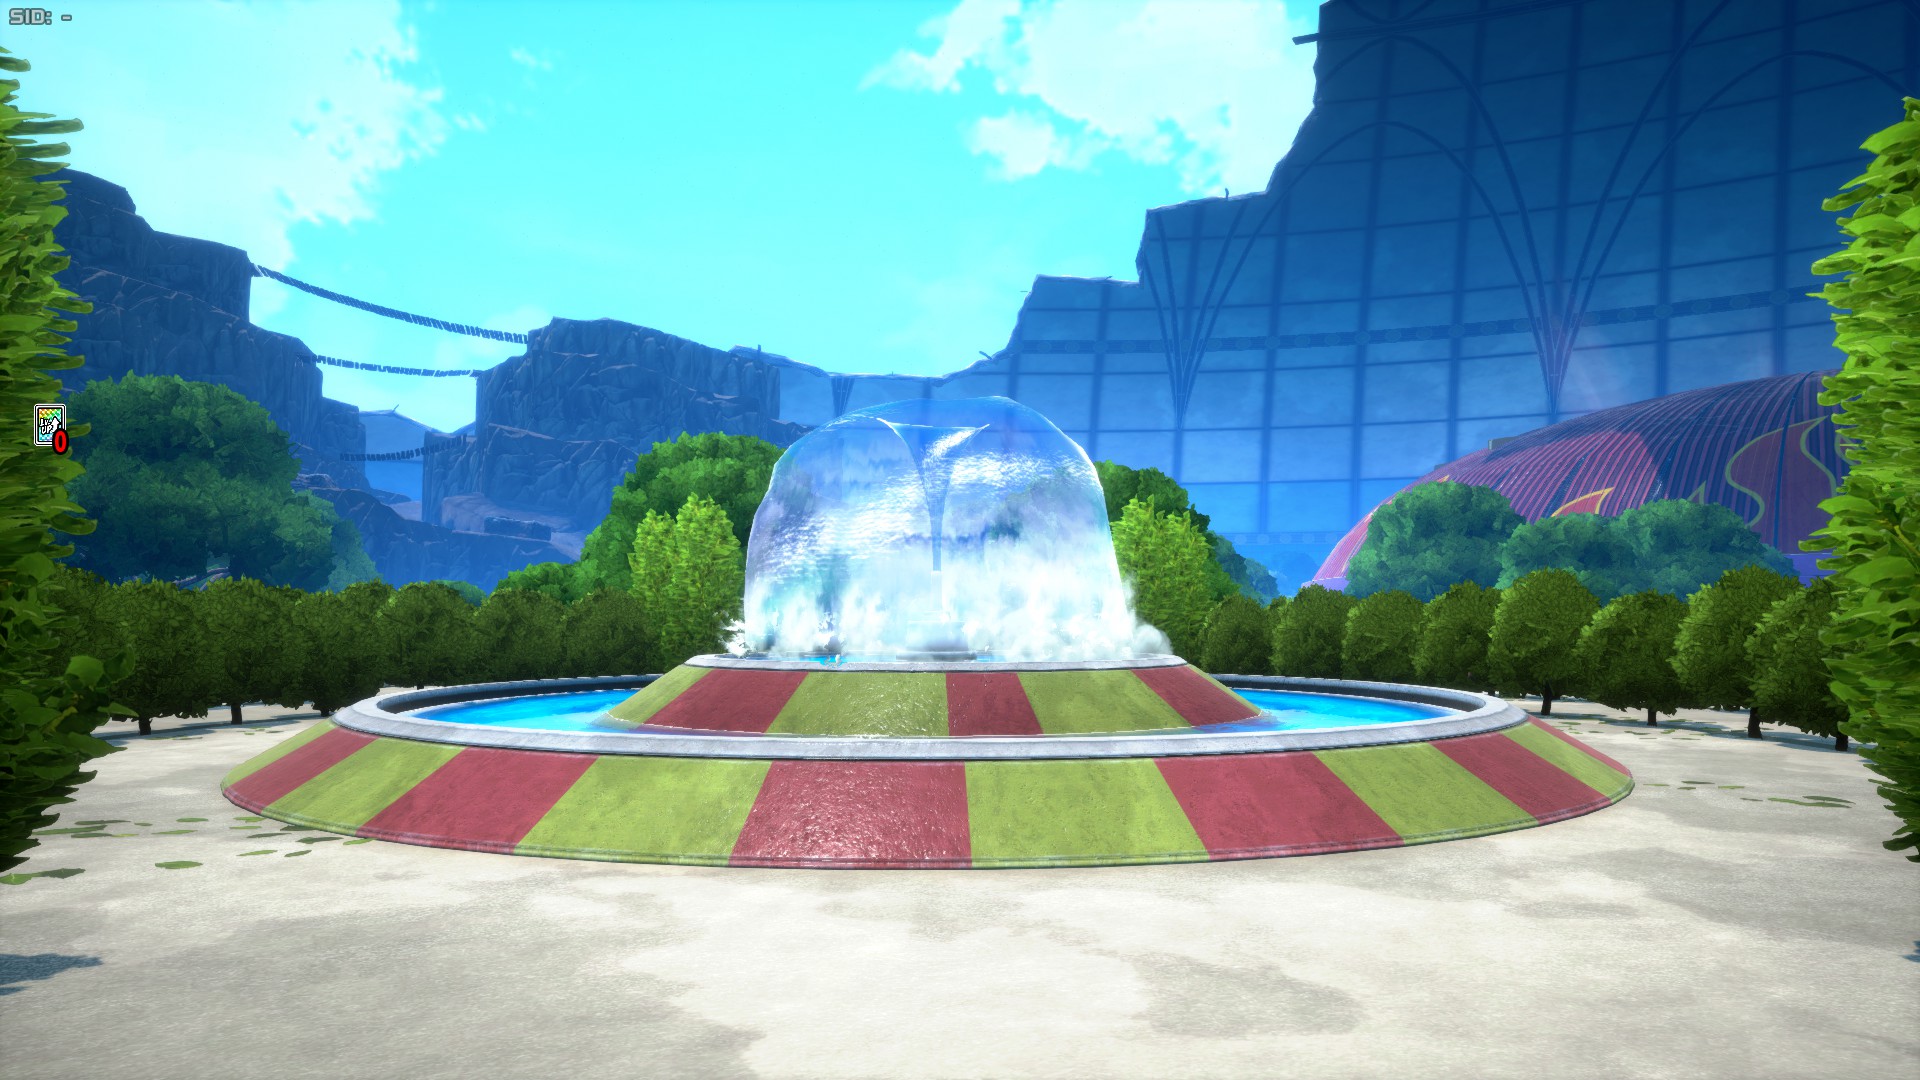
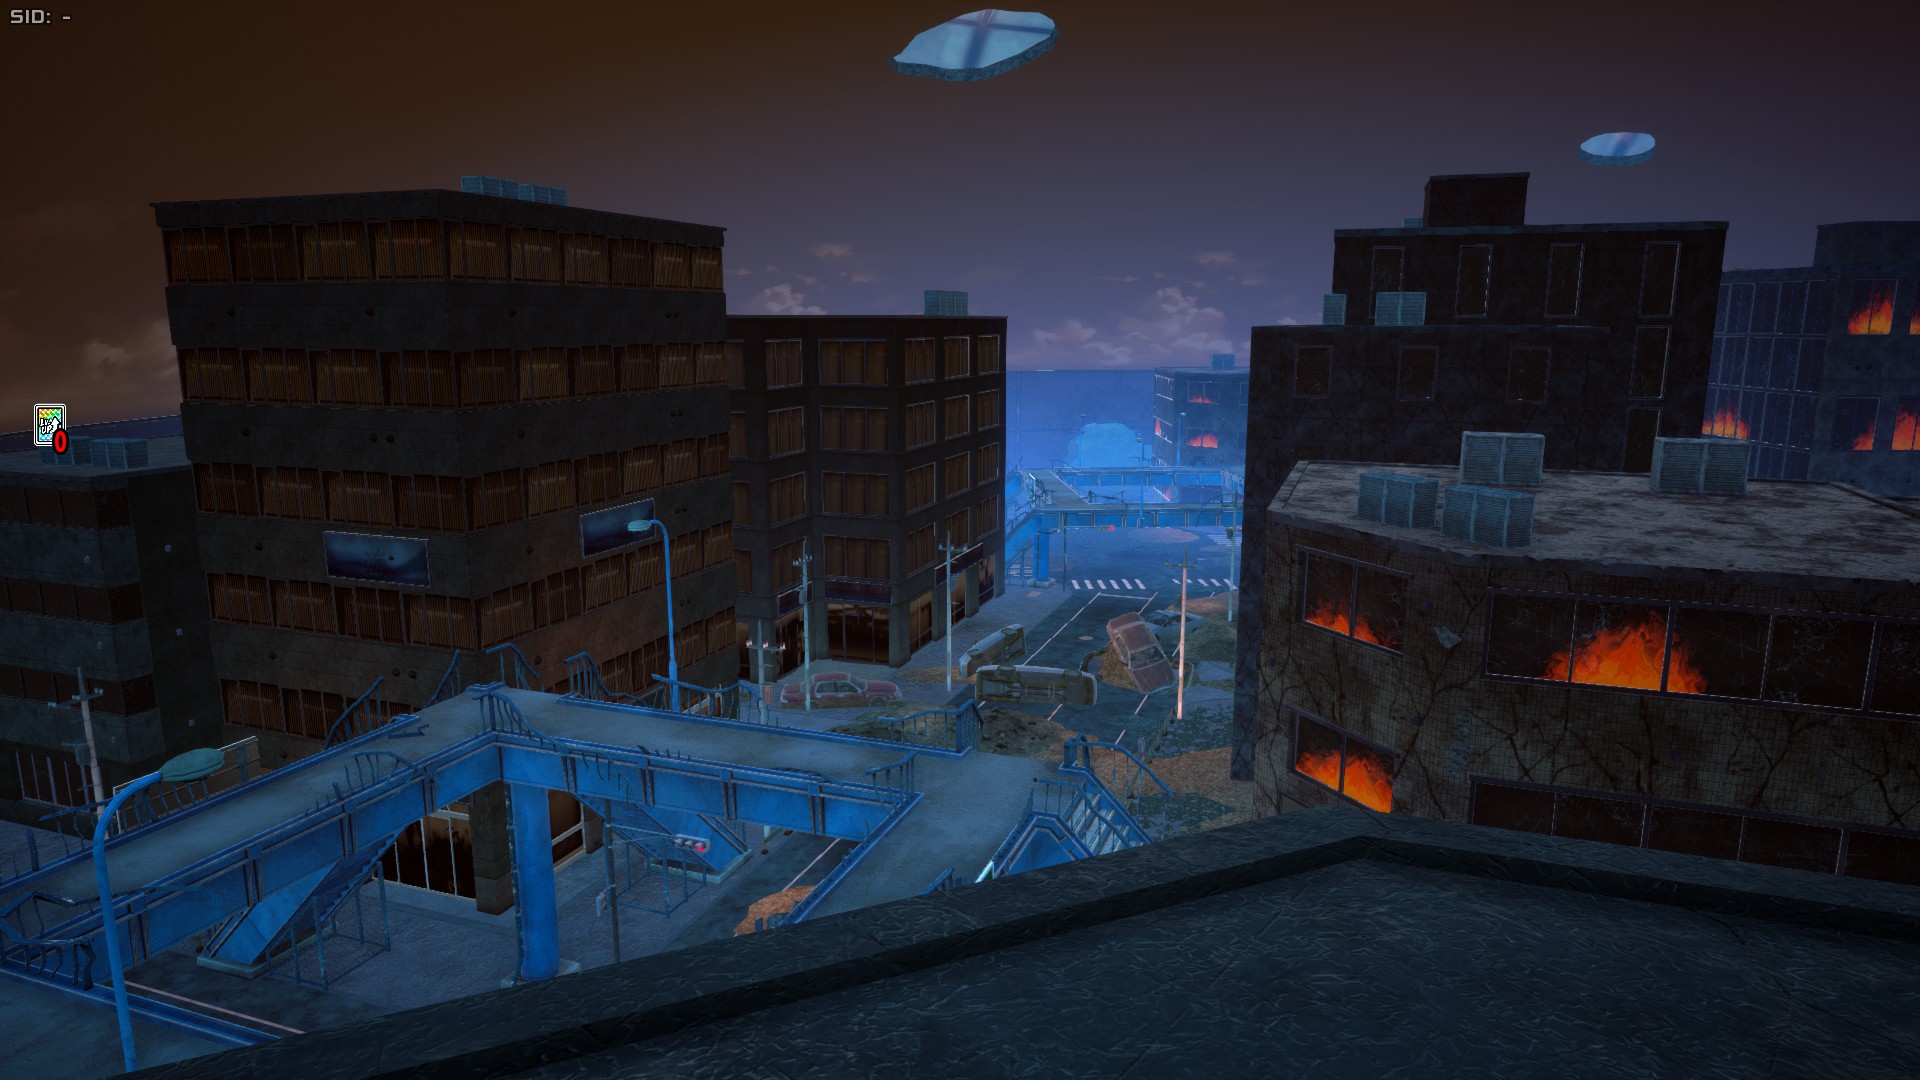
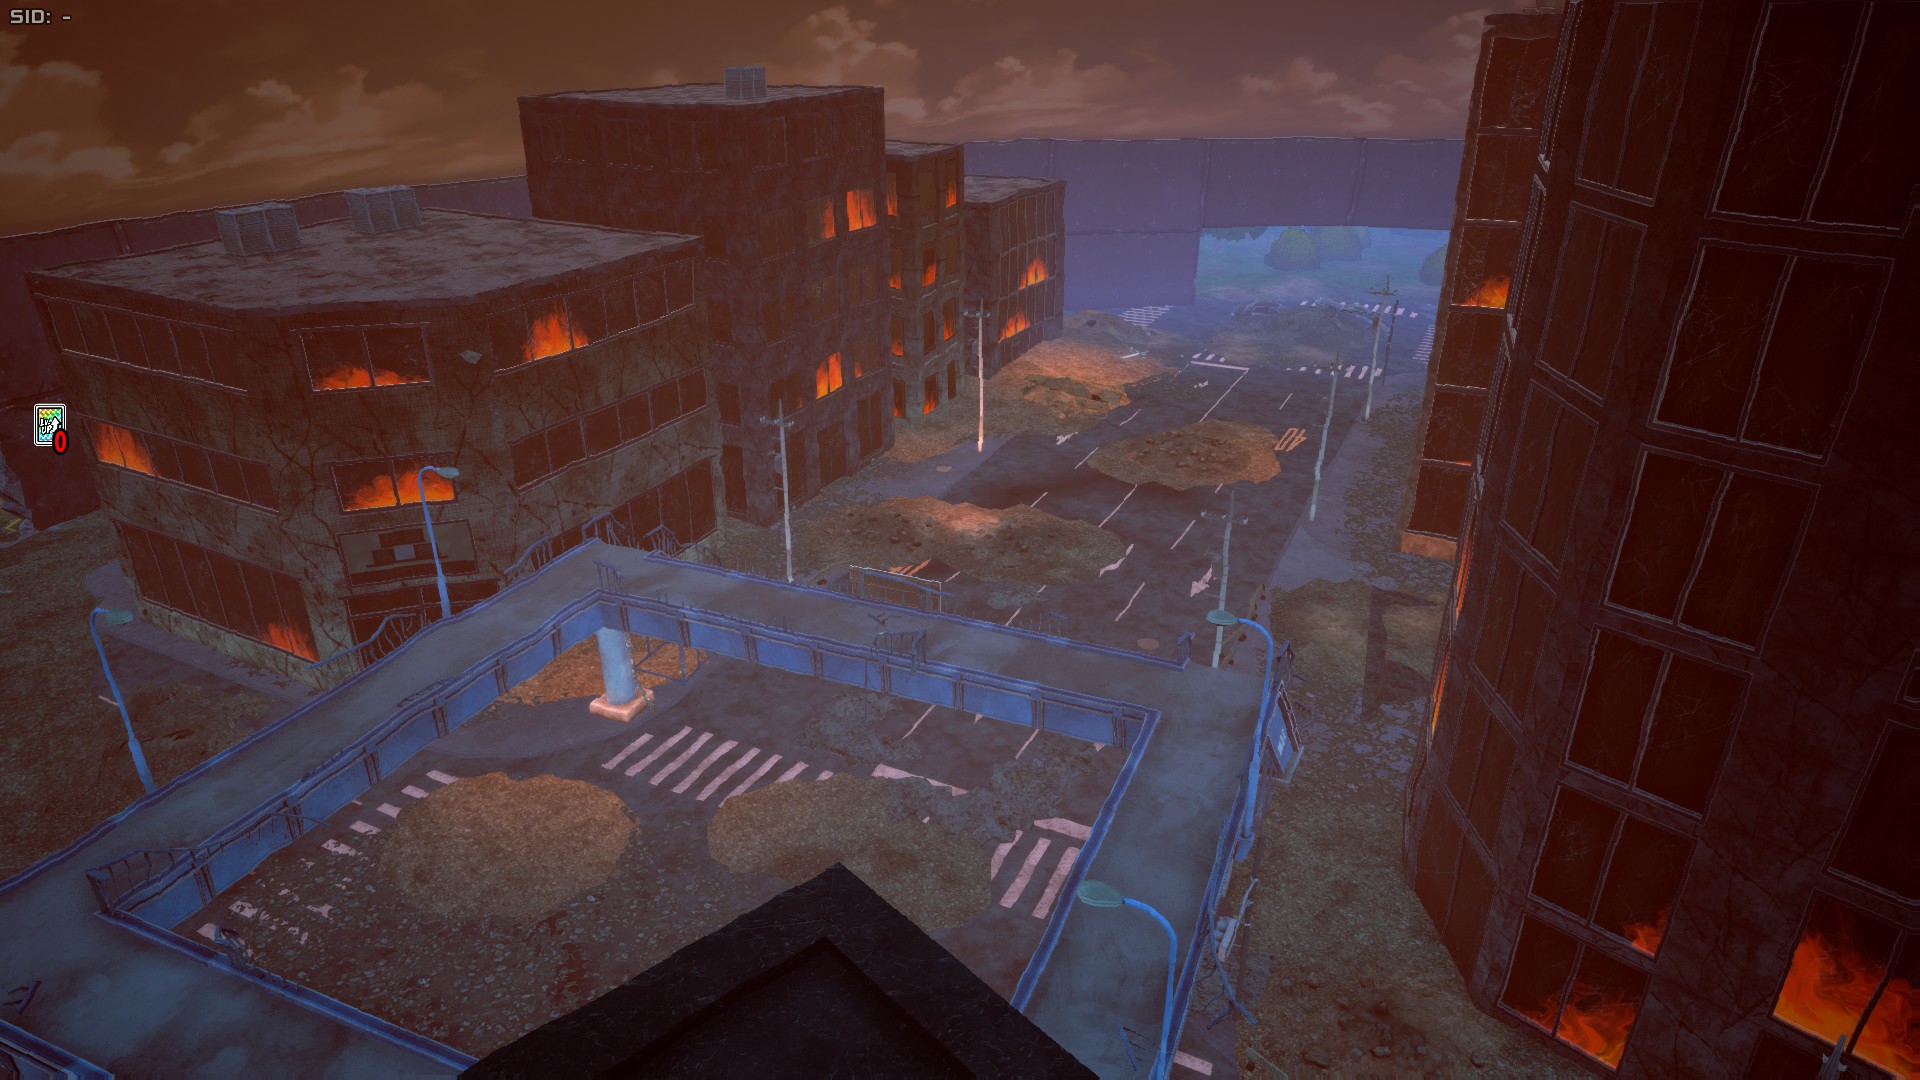
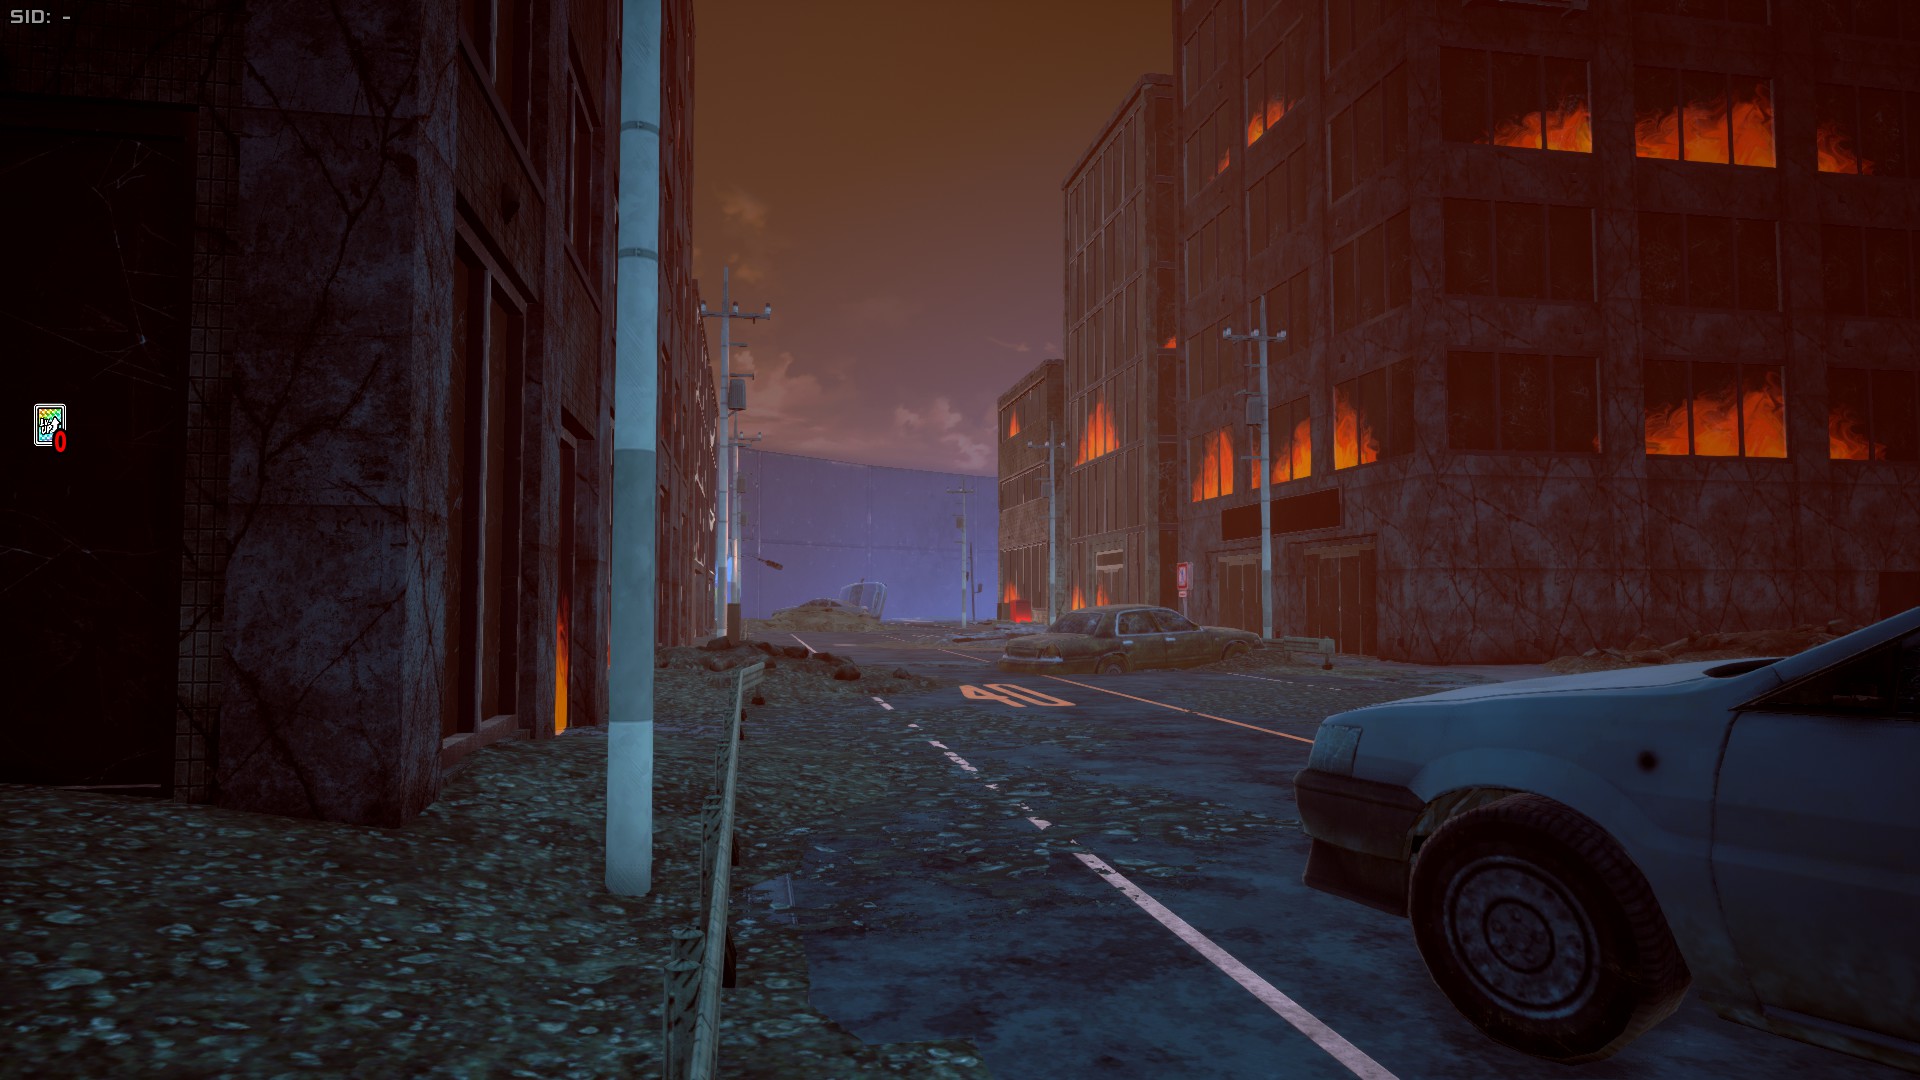
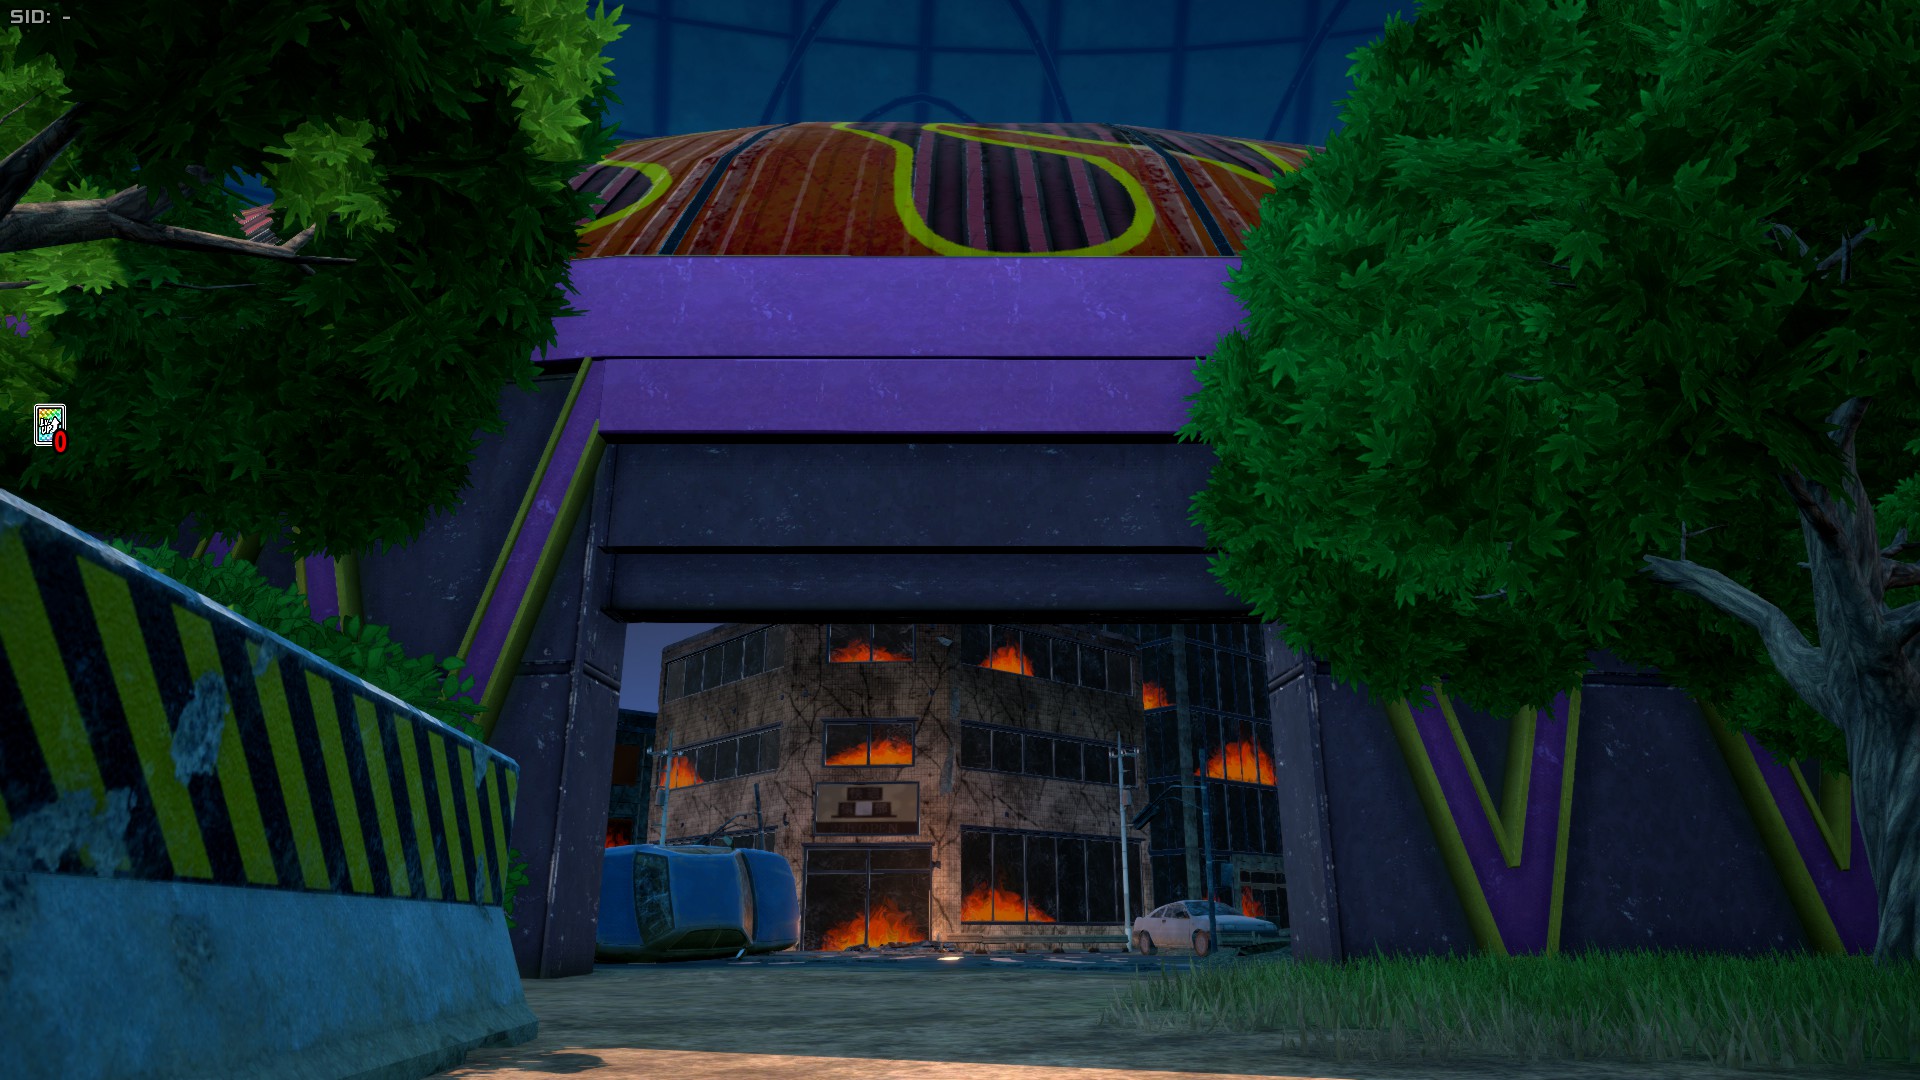
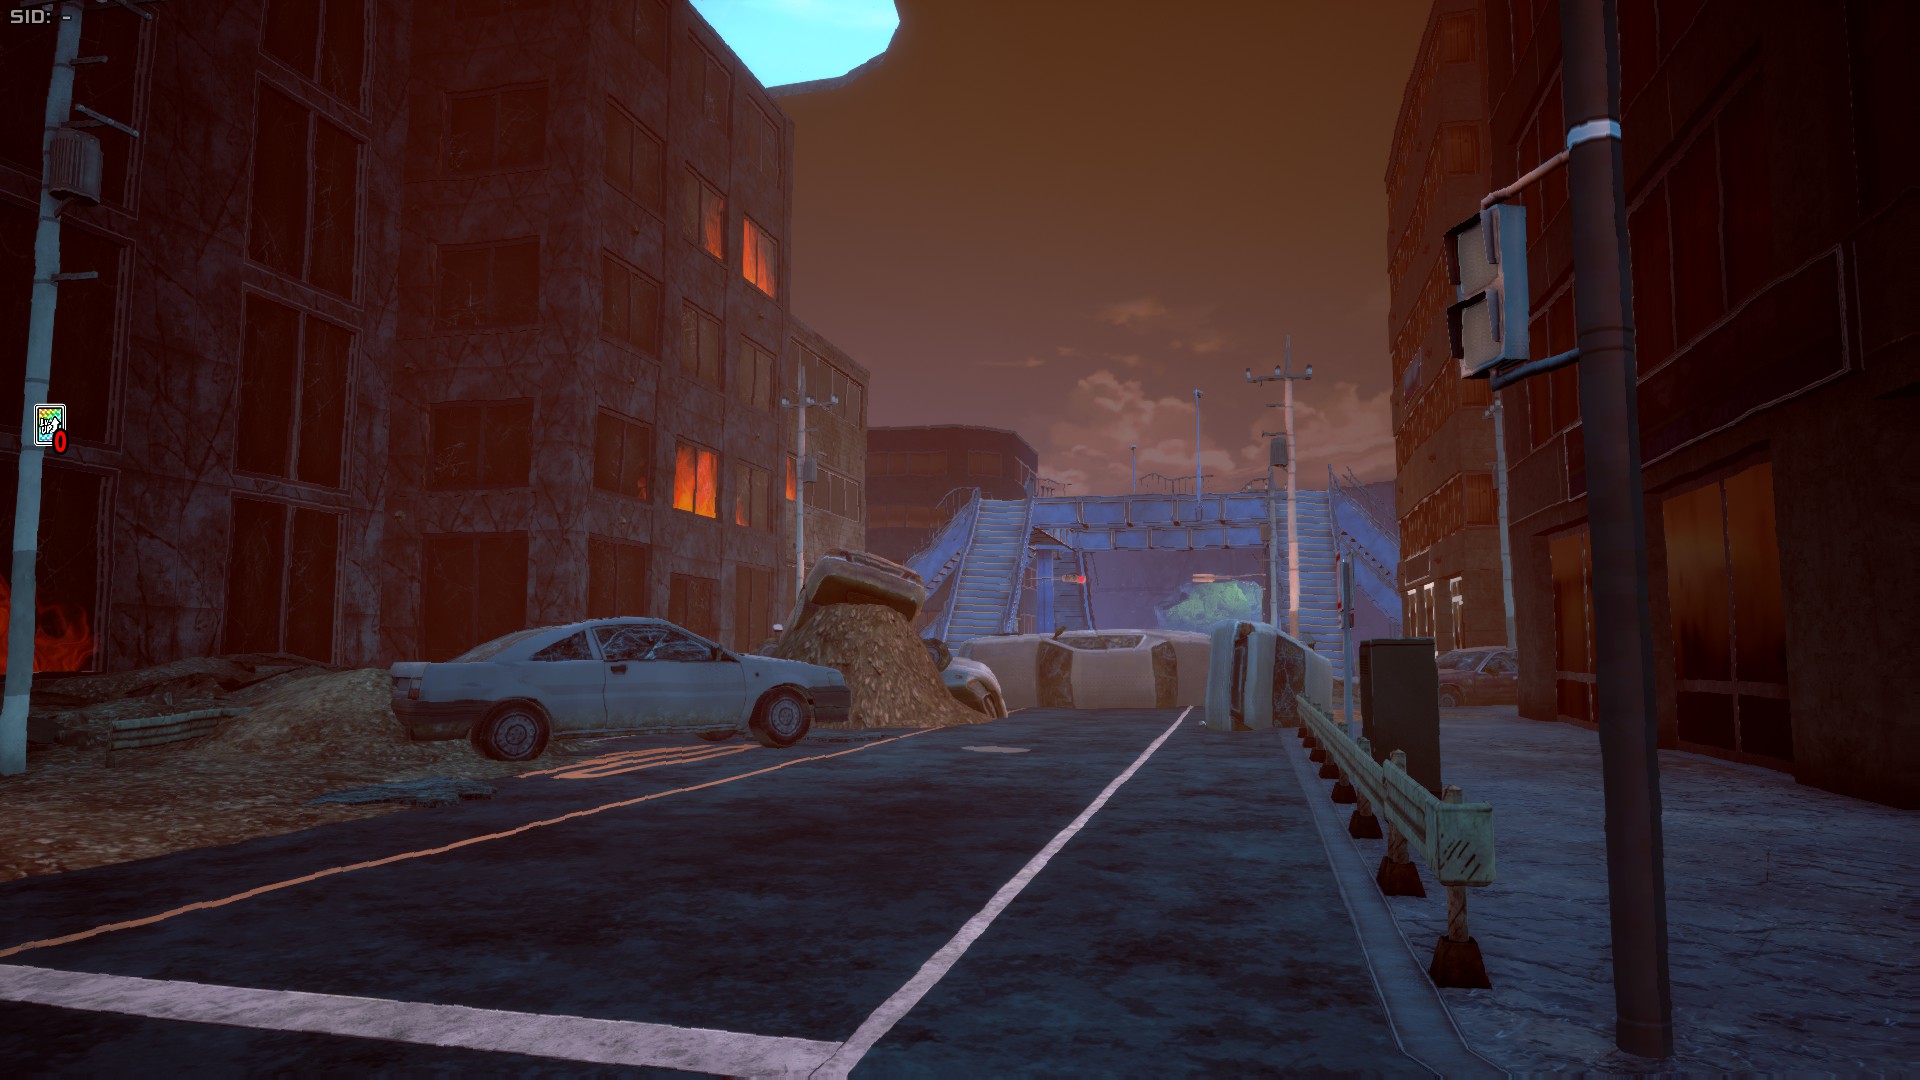
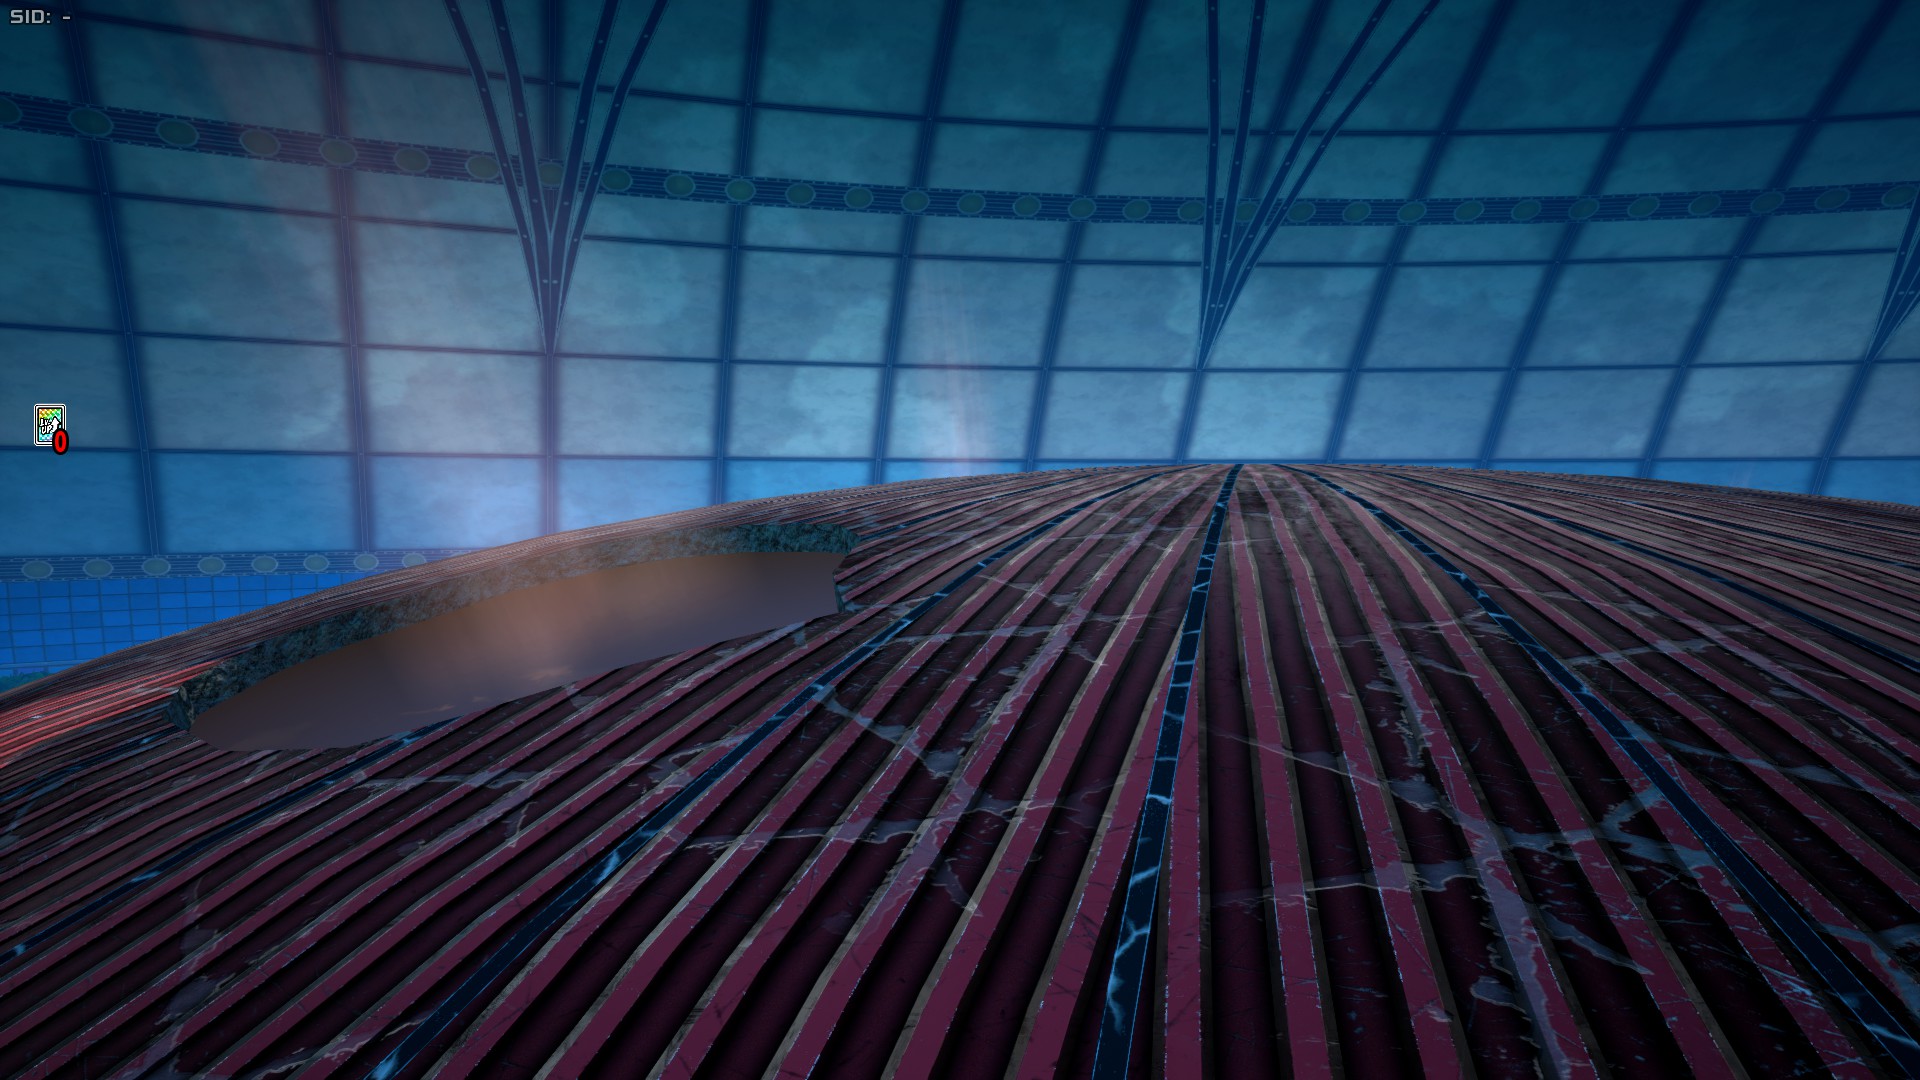
Fire Zone is one of the two massive domes present in the map. It features a blazing ambient noise and an orange fog. The buildings in this area aren't destructible, so it's one of the best 2 areas in the map for characters that shine in enclosed spaces or are weak in open spaces, as well as for characters like Ochako Uraraka and Tsuyu Asui who benefit from tall objects for mobility.
Typhoon Zone
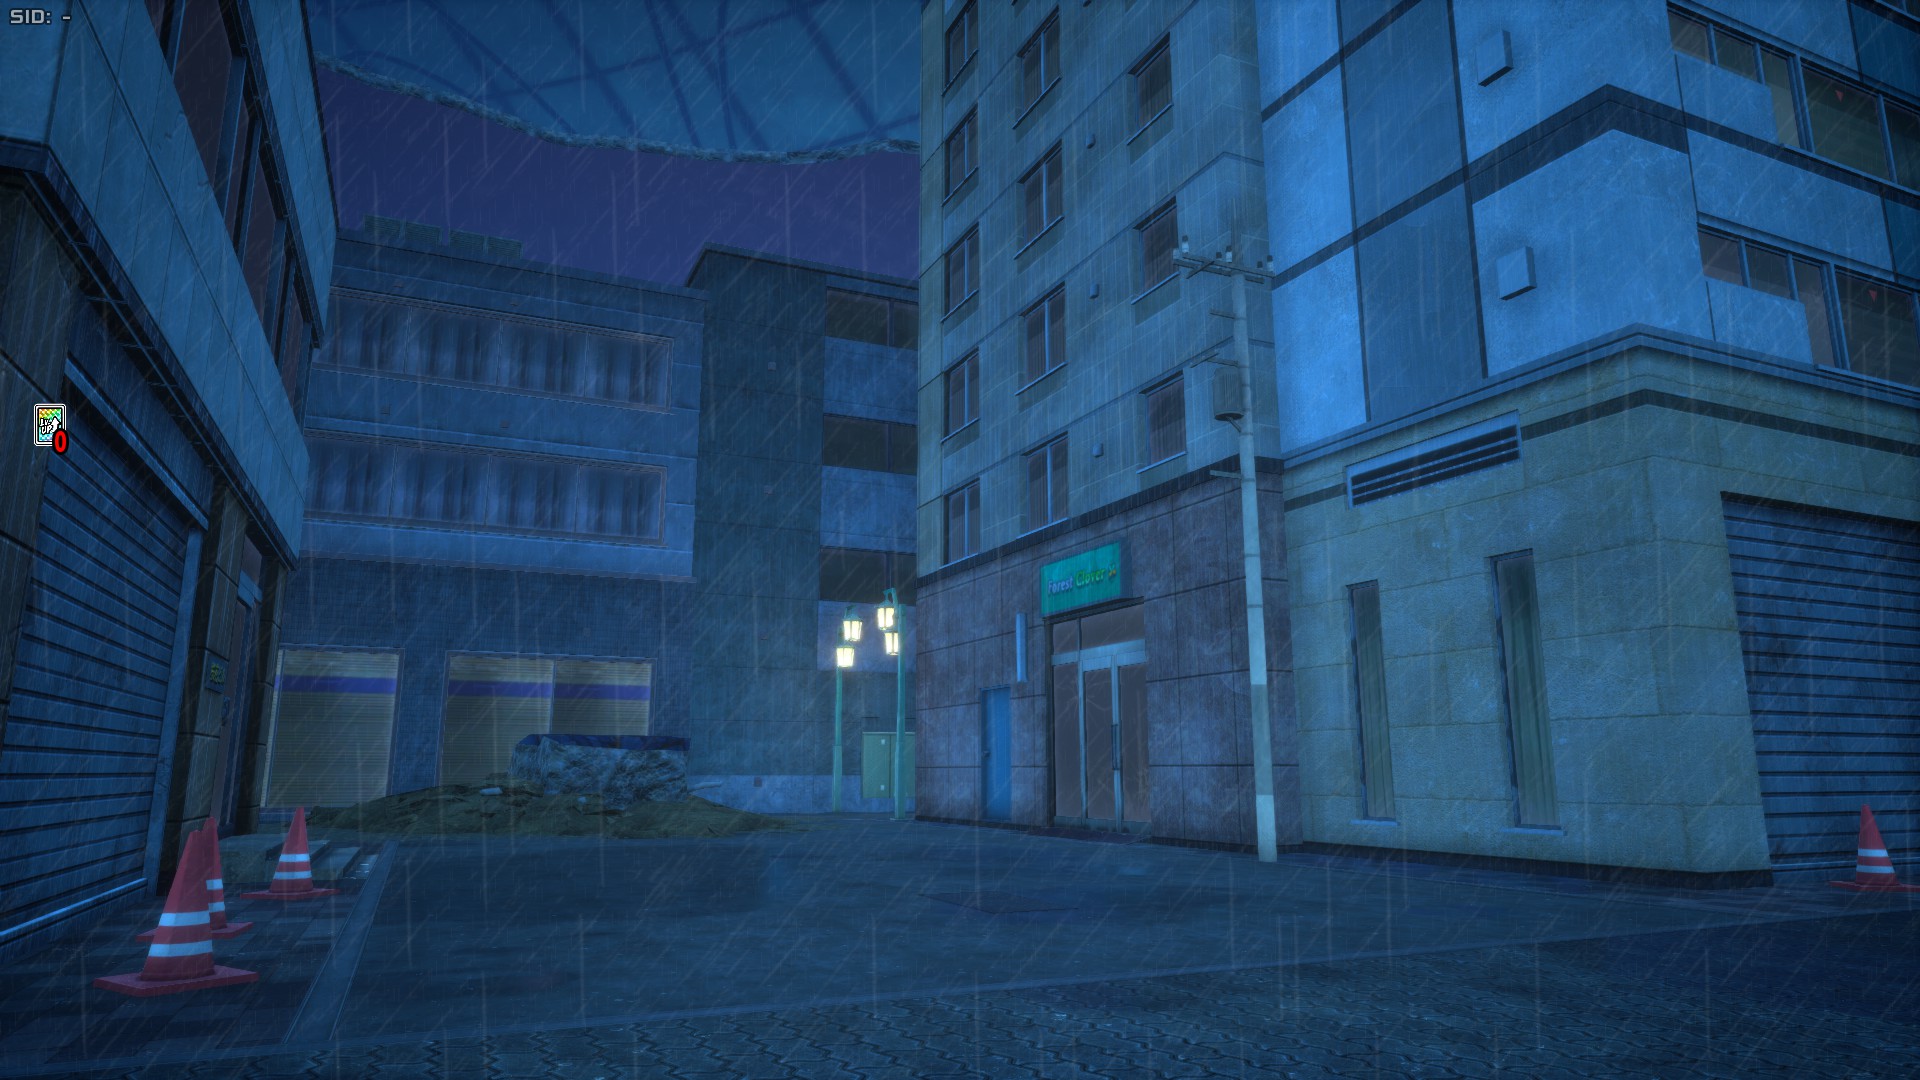
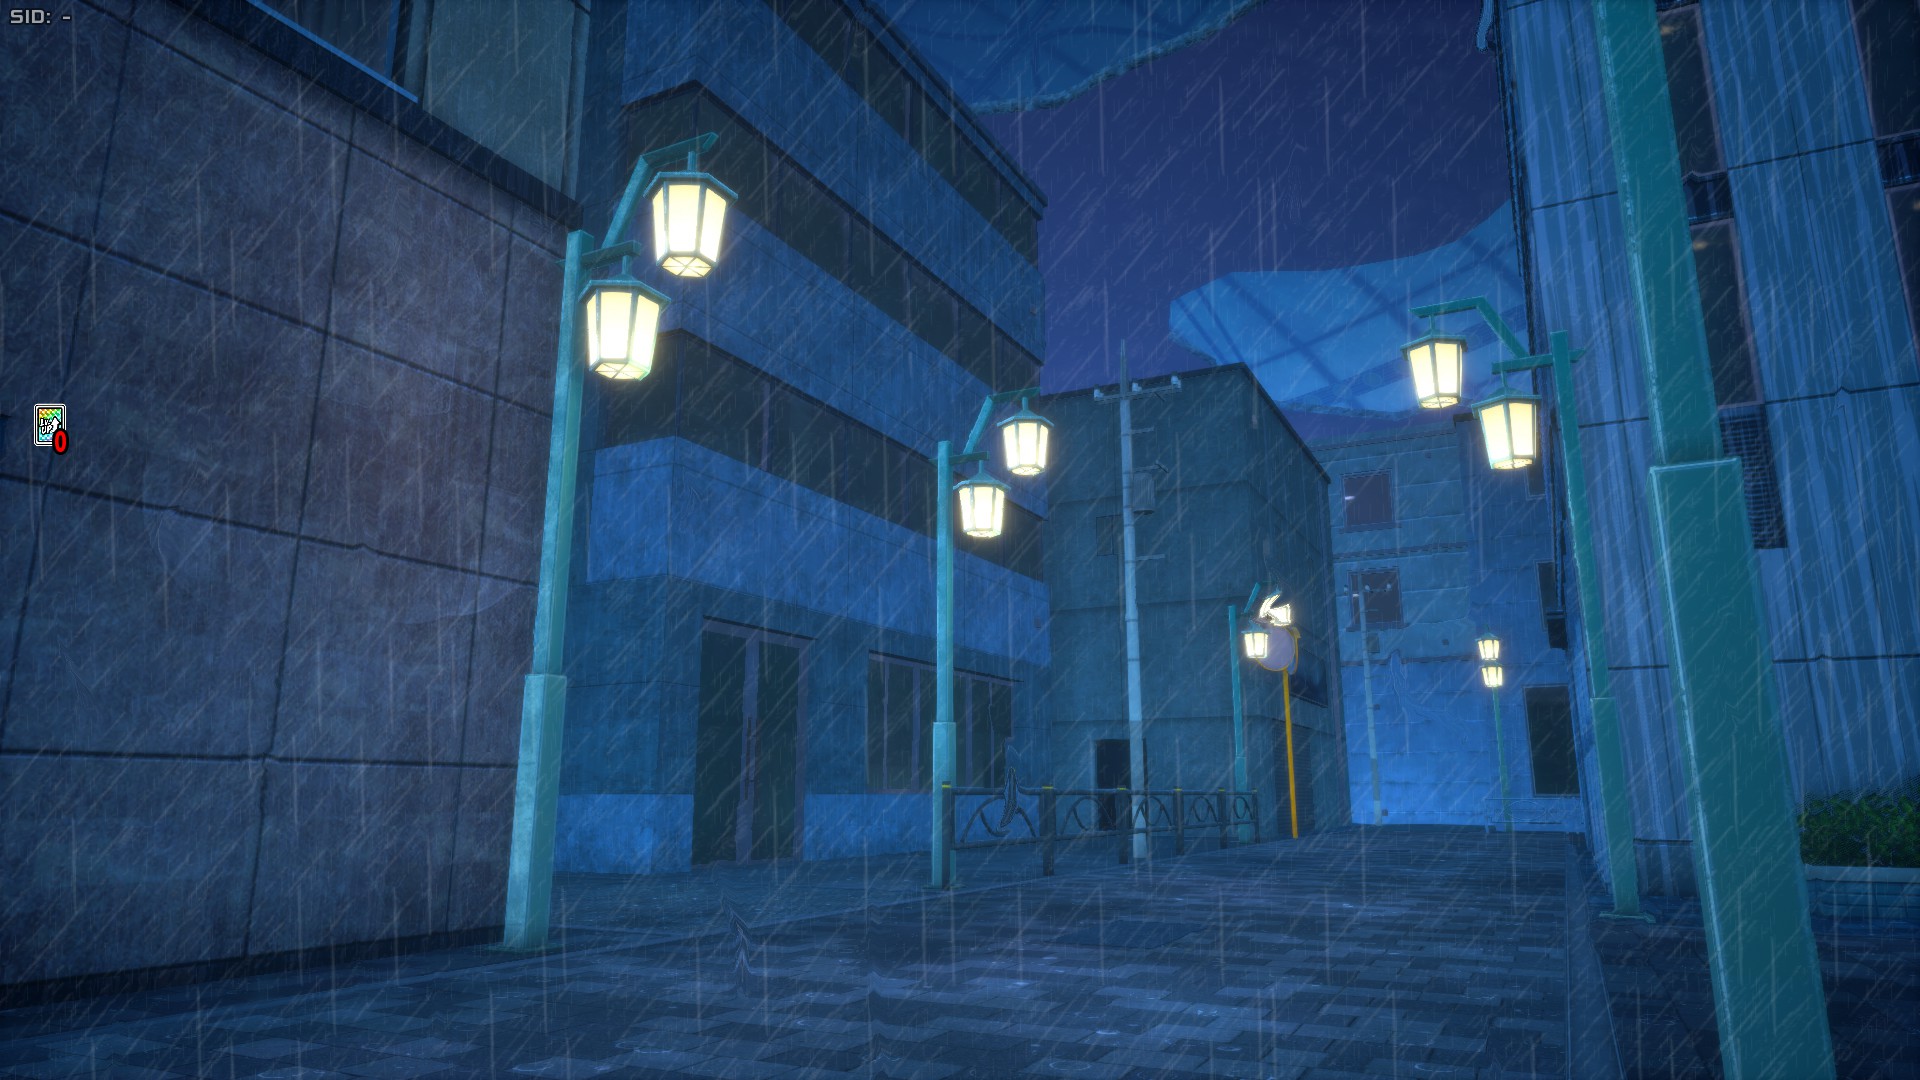
Typhoon Zone is the other of the two massive domes. It features a rain ambient noise, as well as actual rain. The buildings in this area aren't destructible either, and the characters who perform well in Fire Zone also perform well in this area, or even better, as the buildings have more ample interiors. Interestingly, the ceiling of Typhoon Zone has animated clouds.
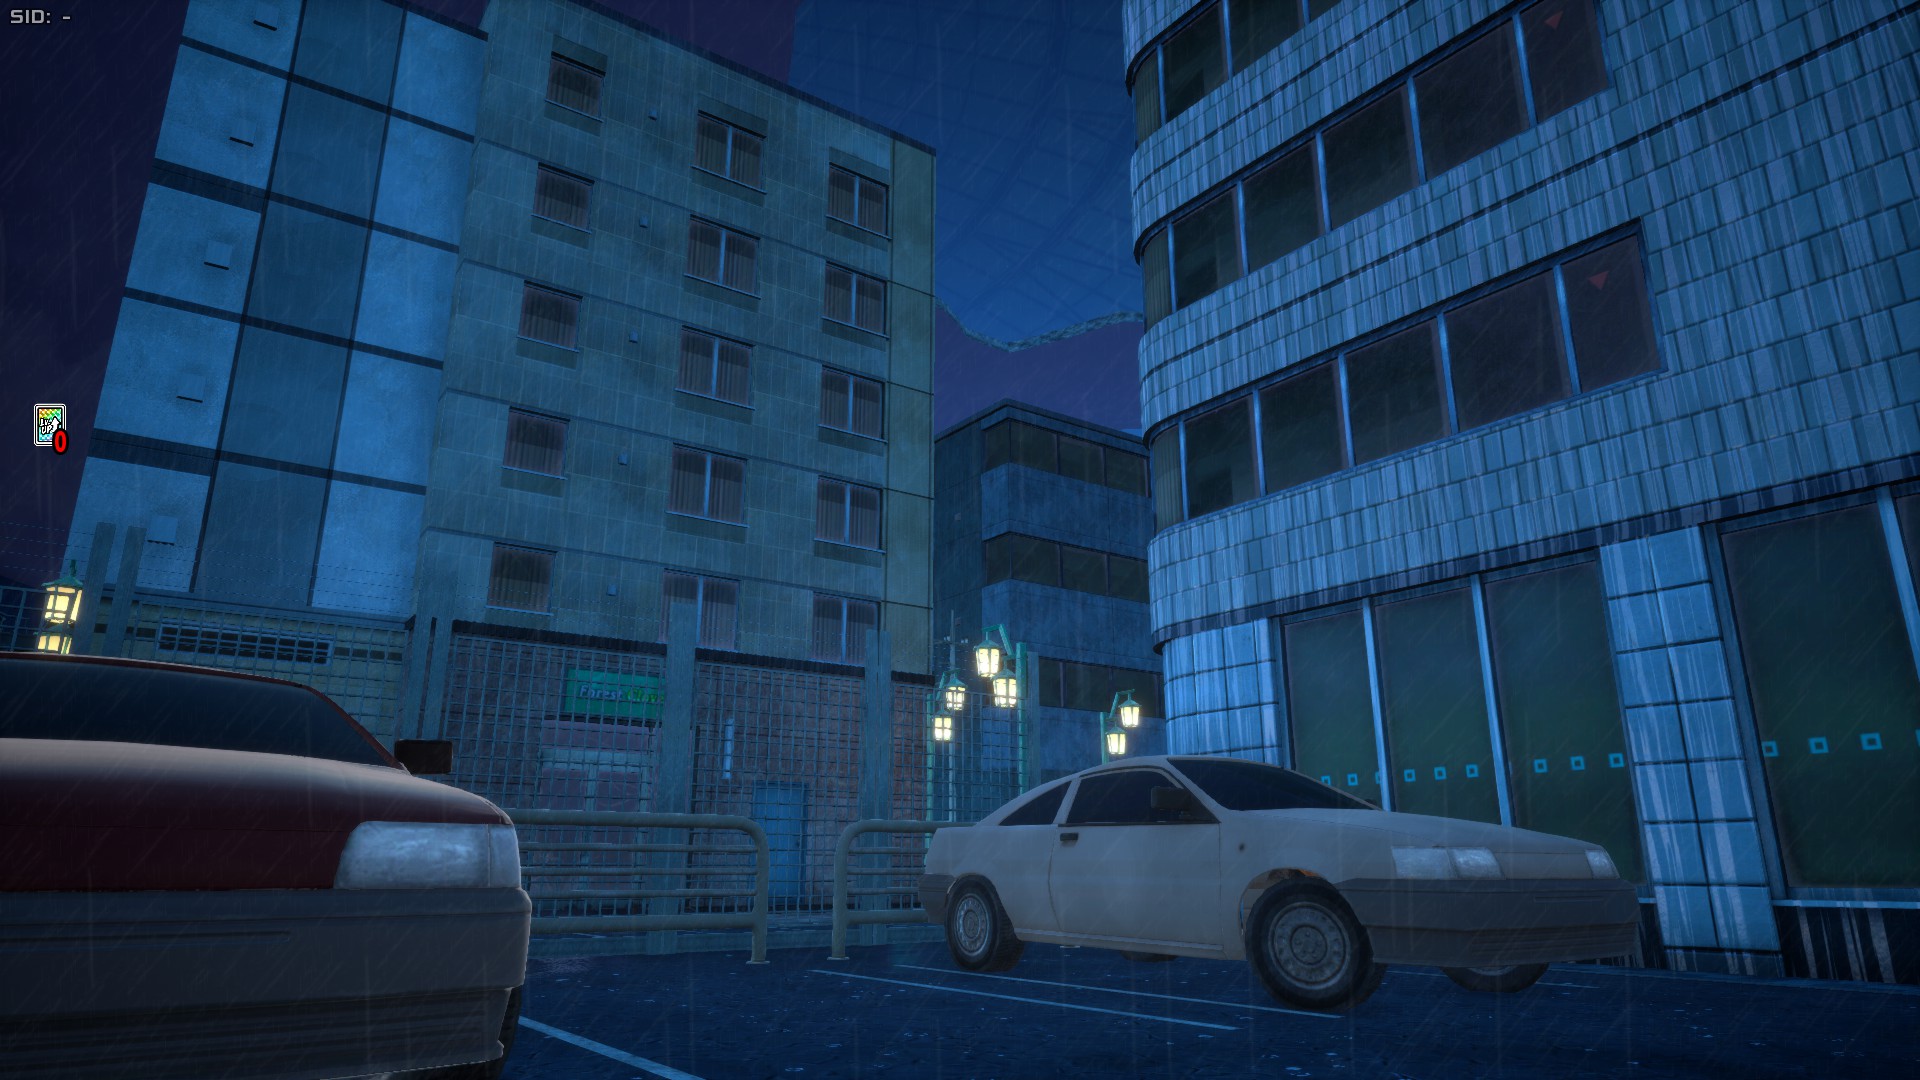
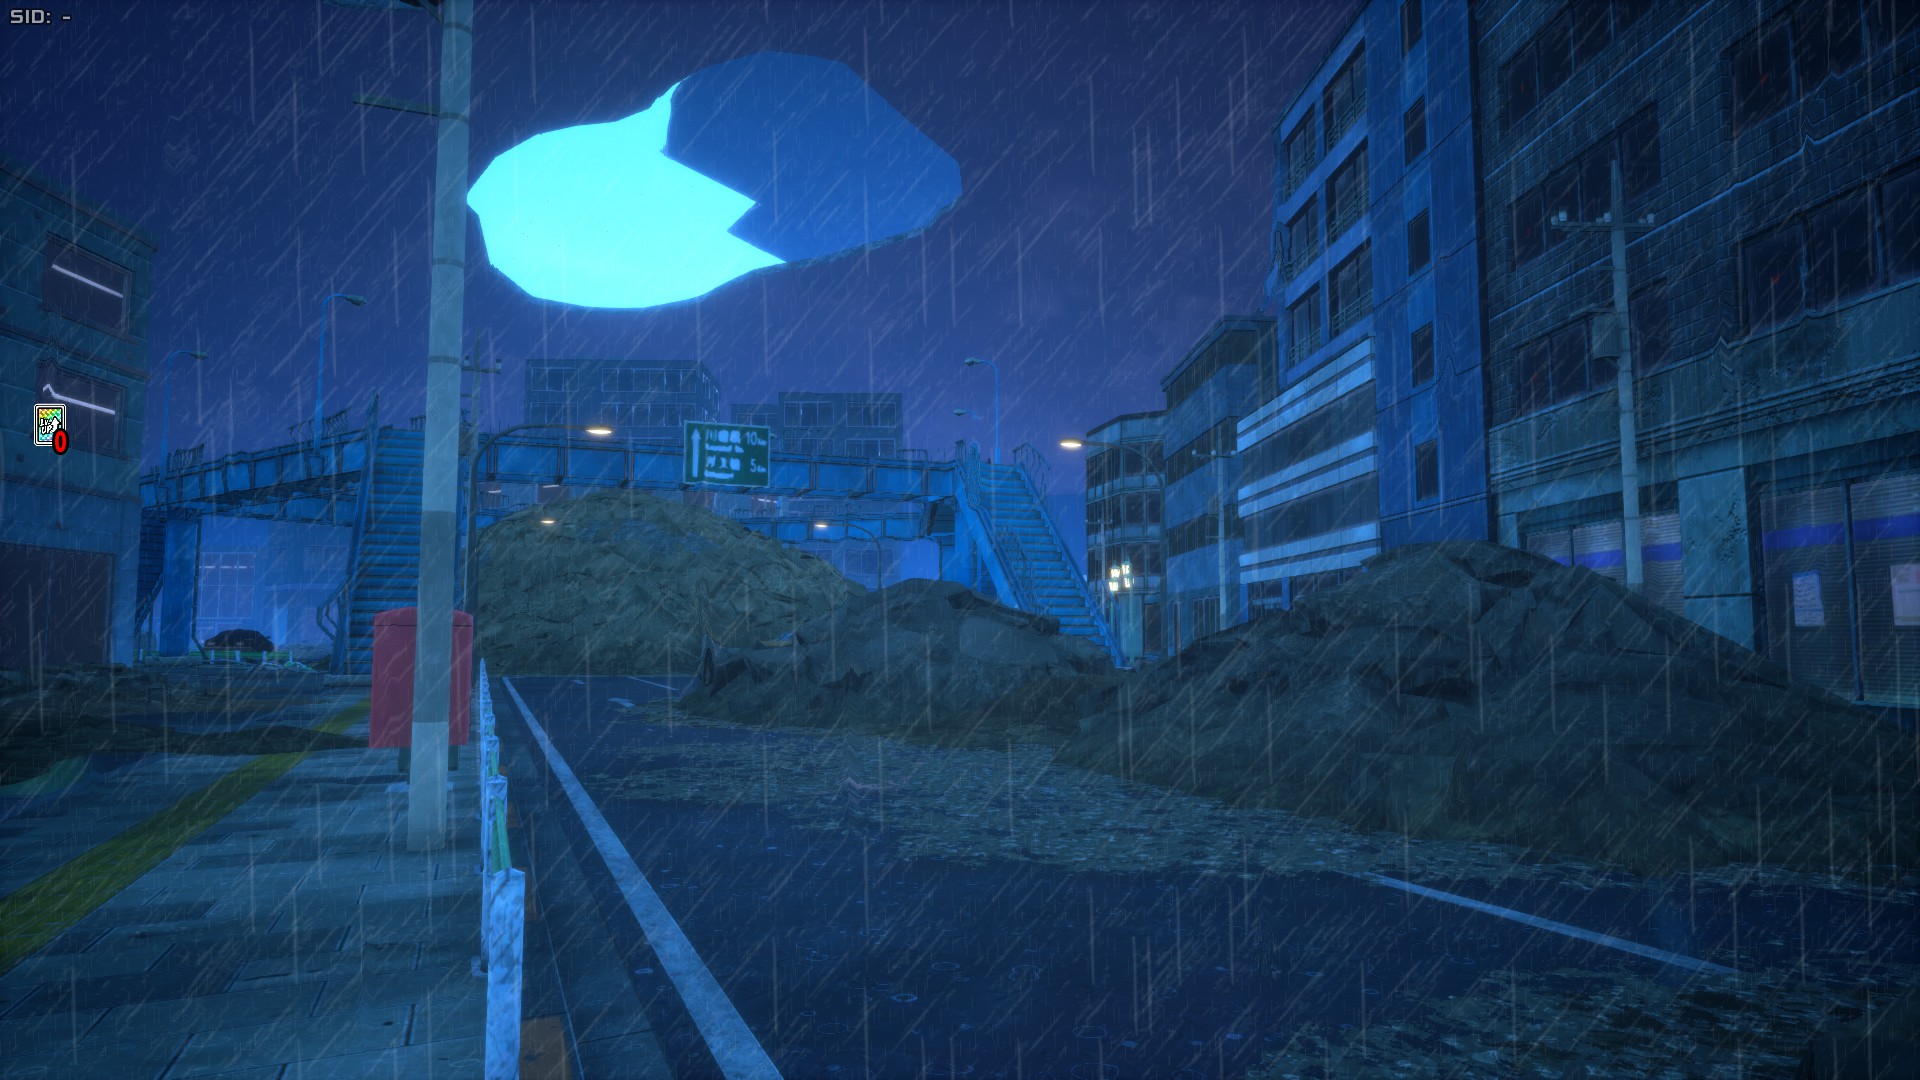
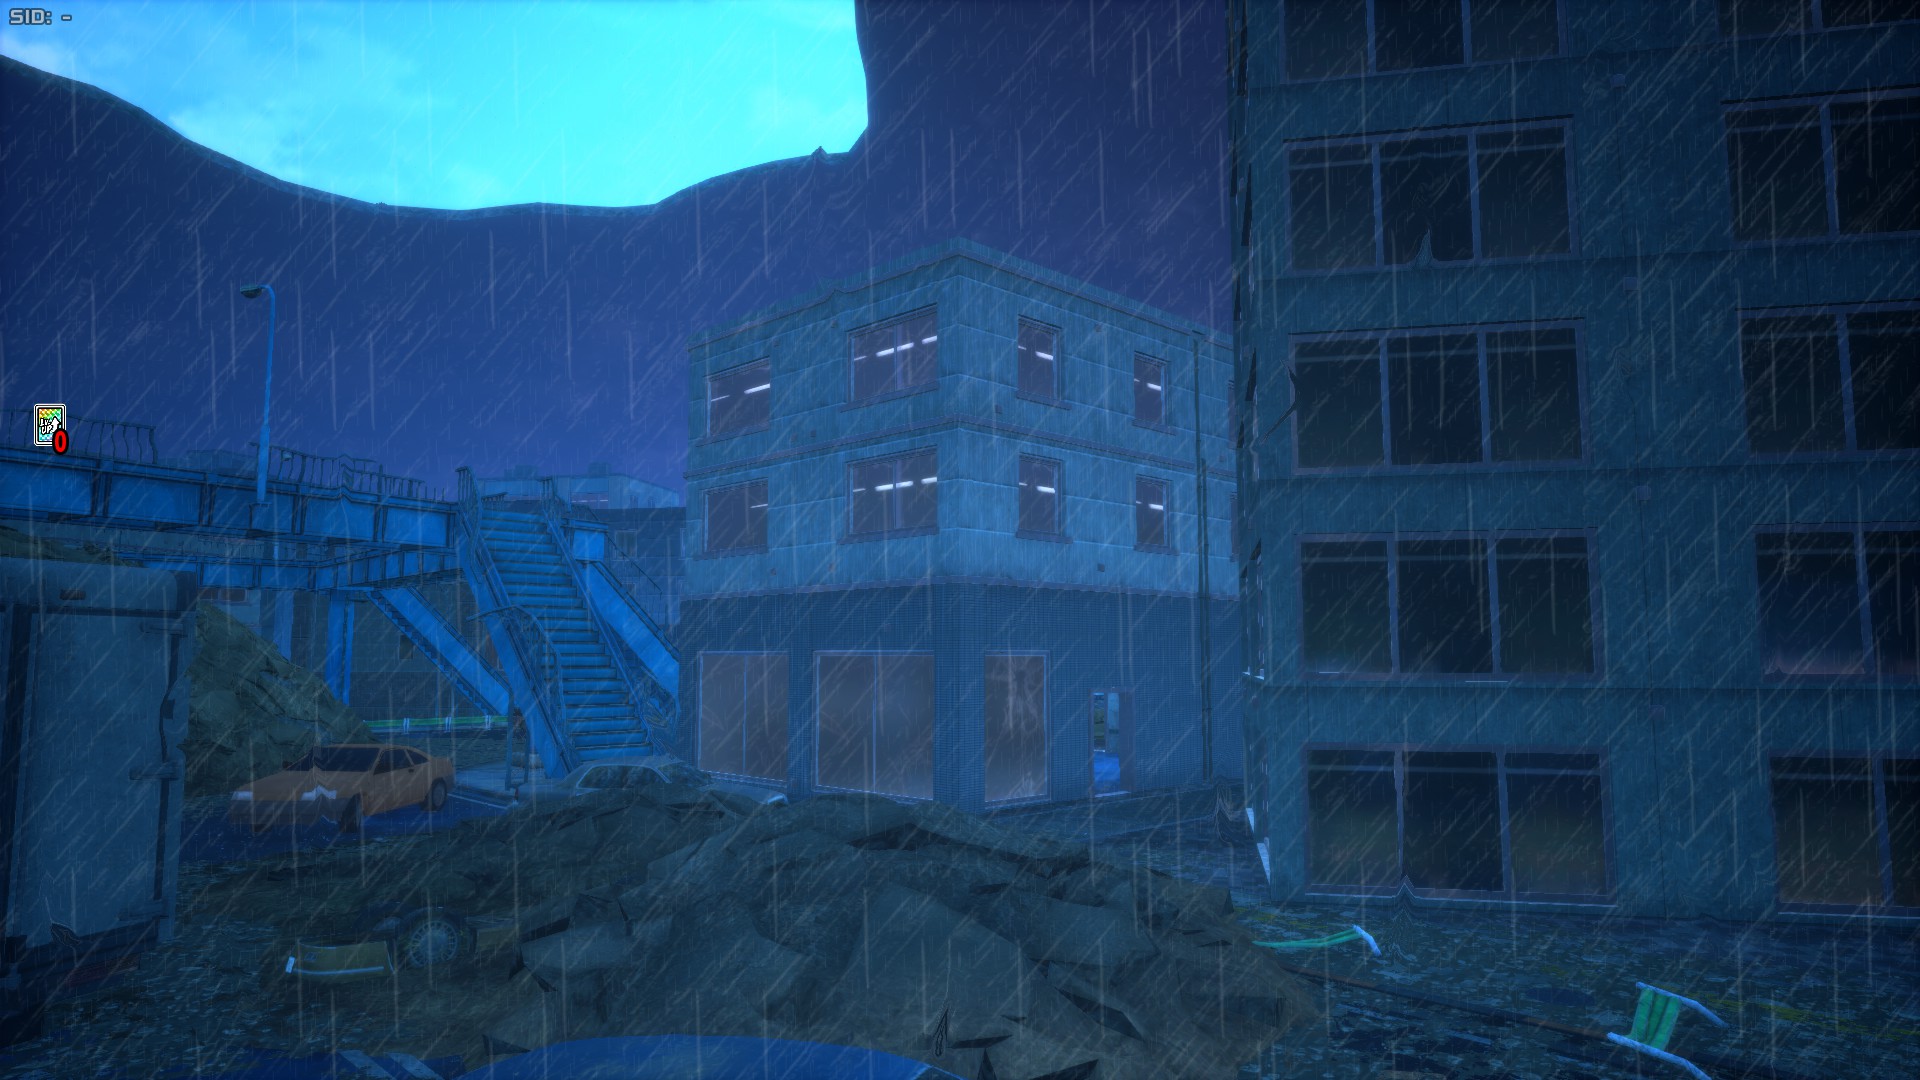
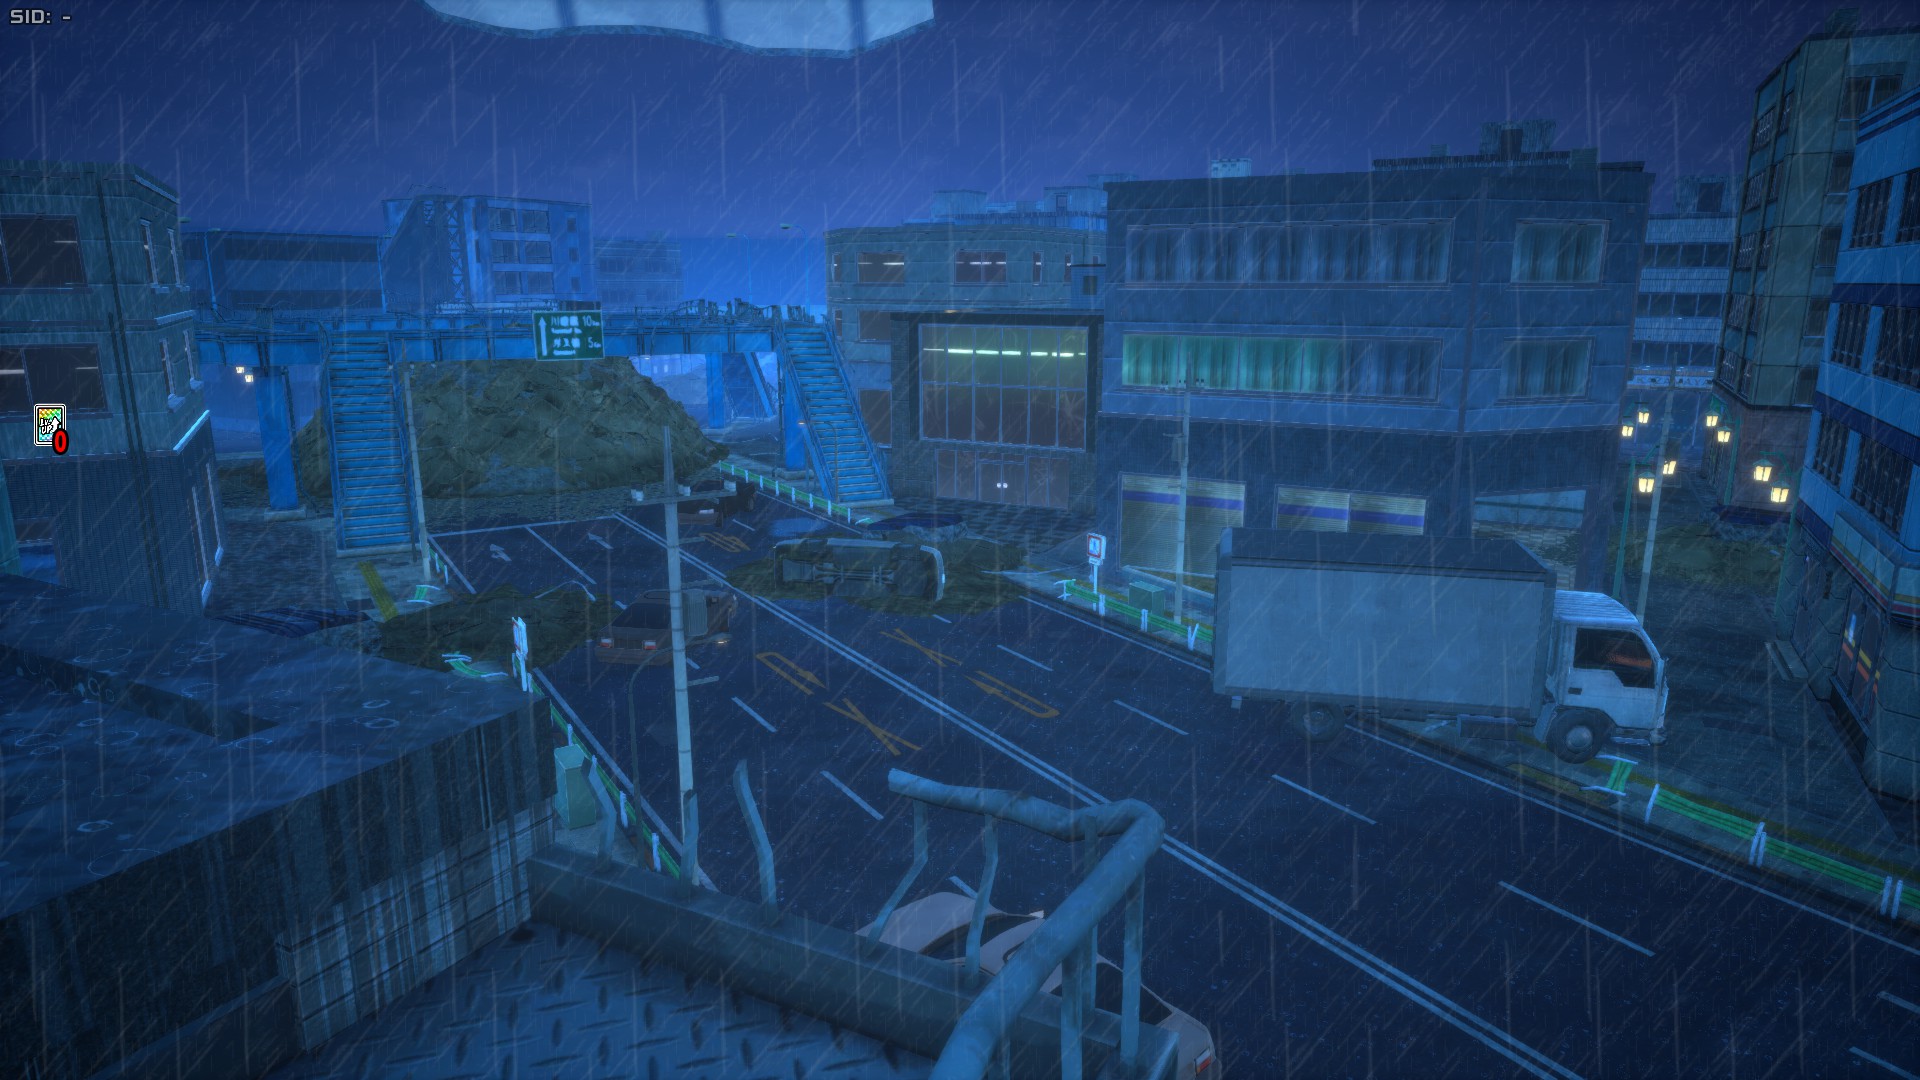
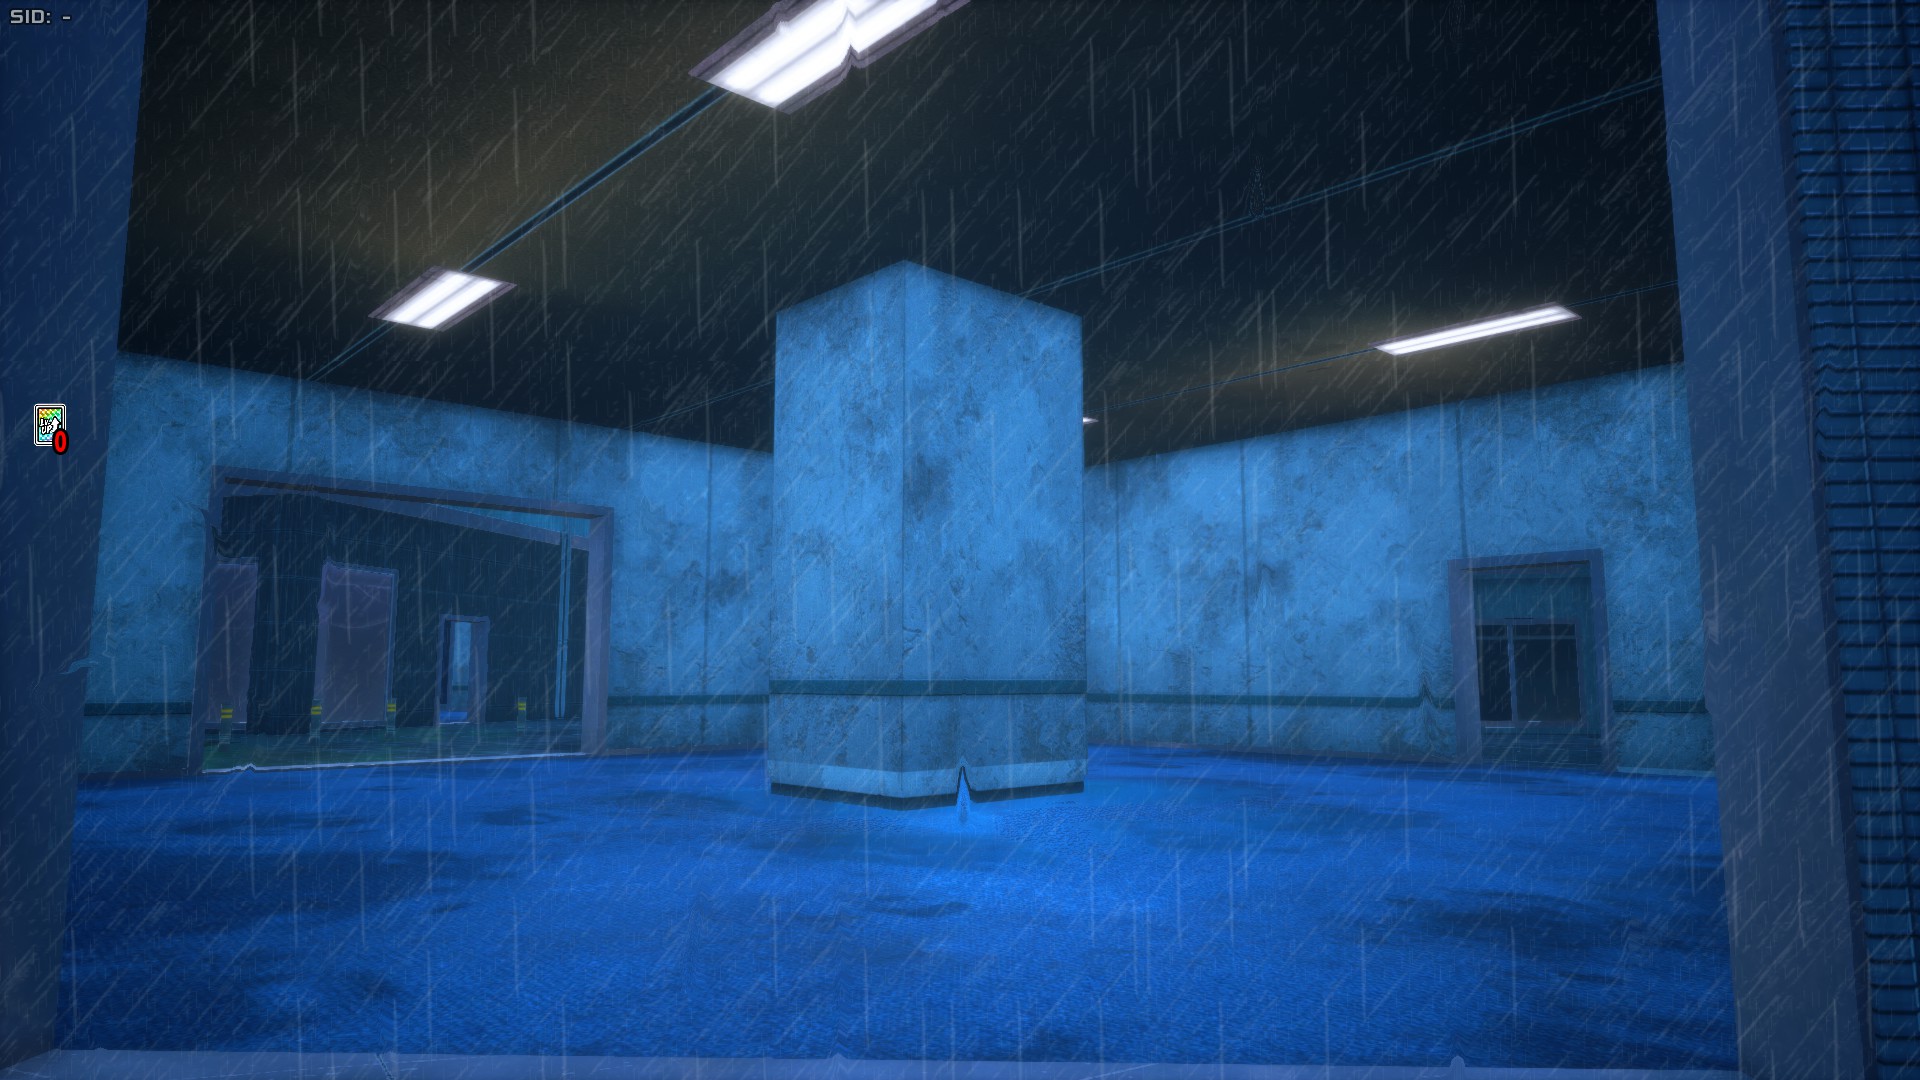
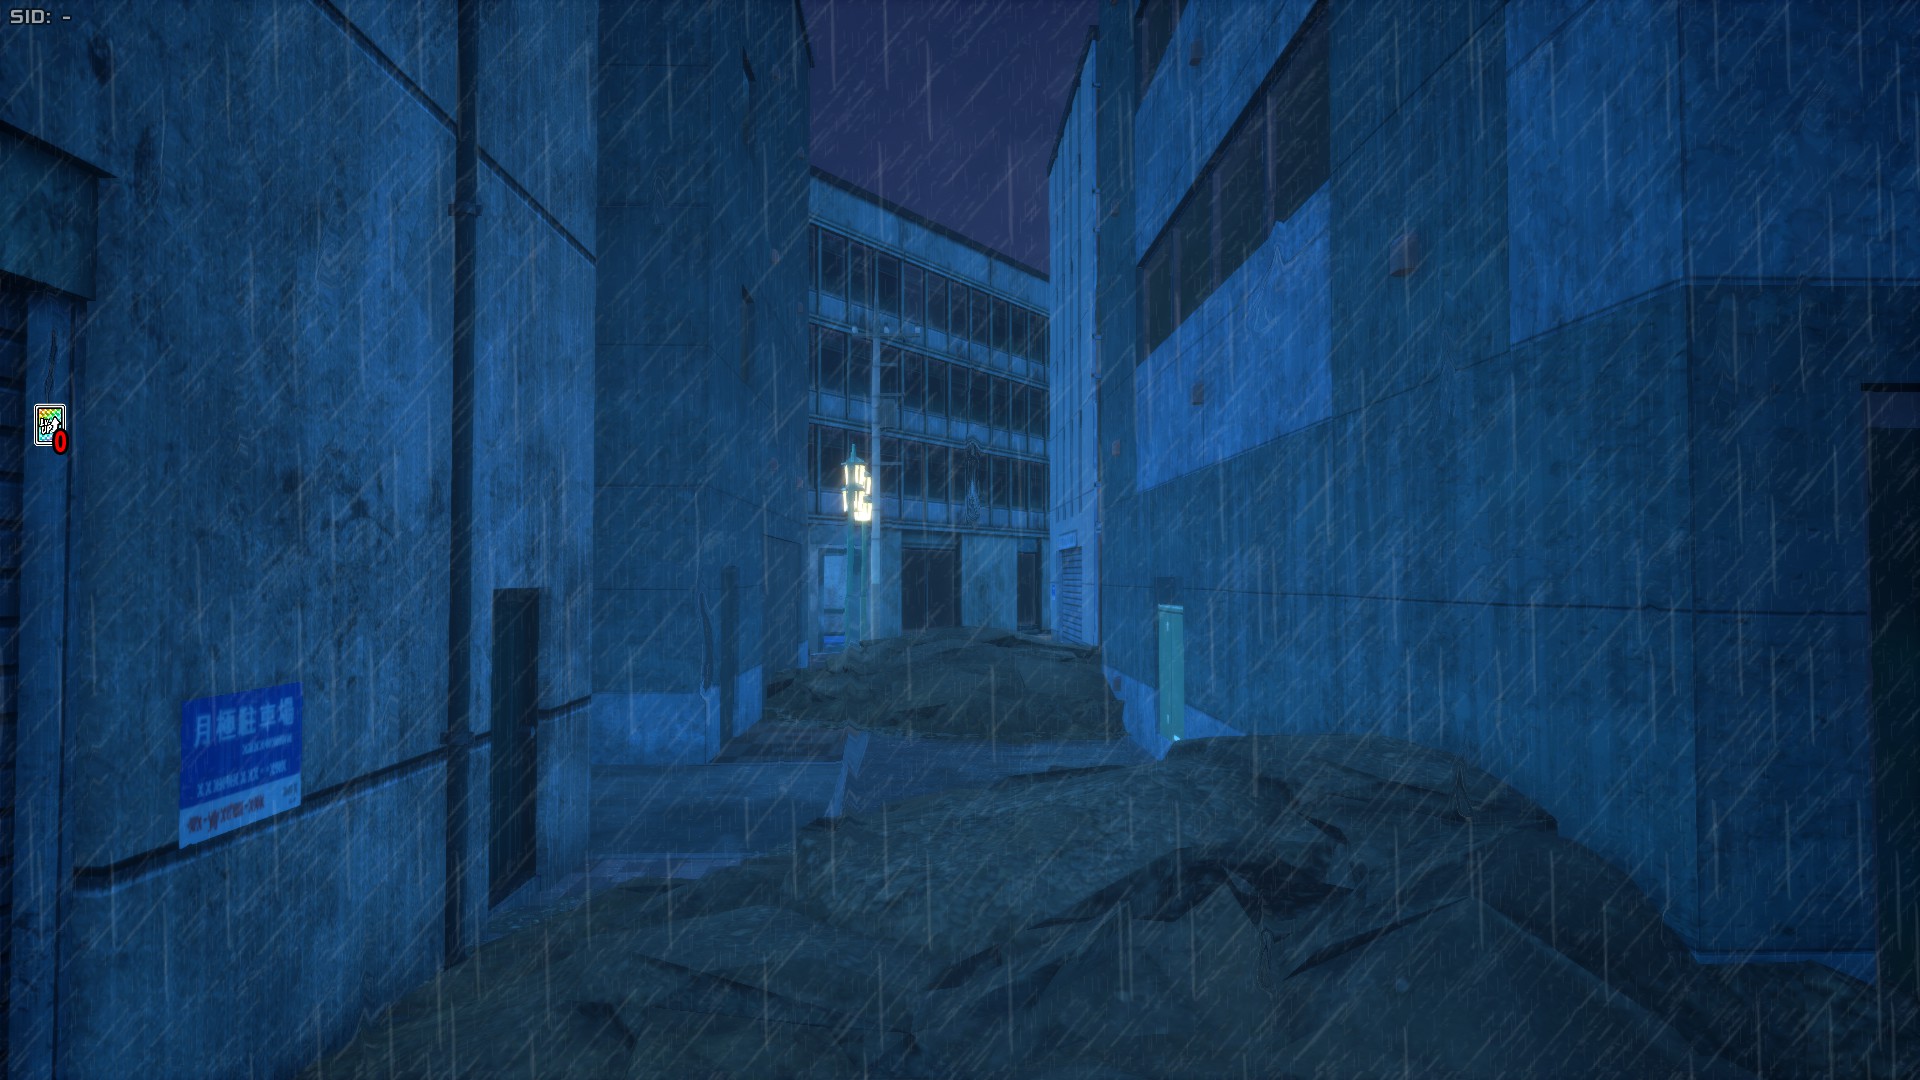
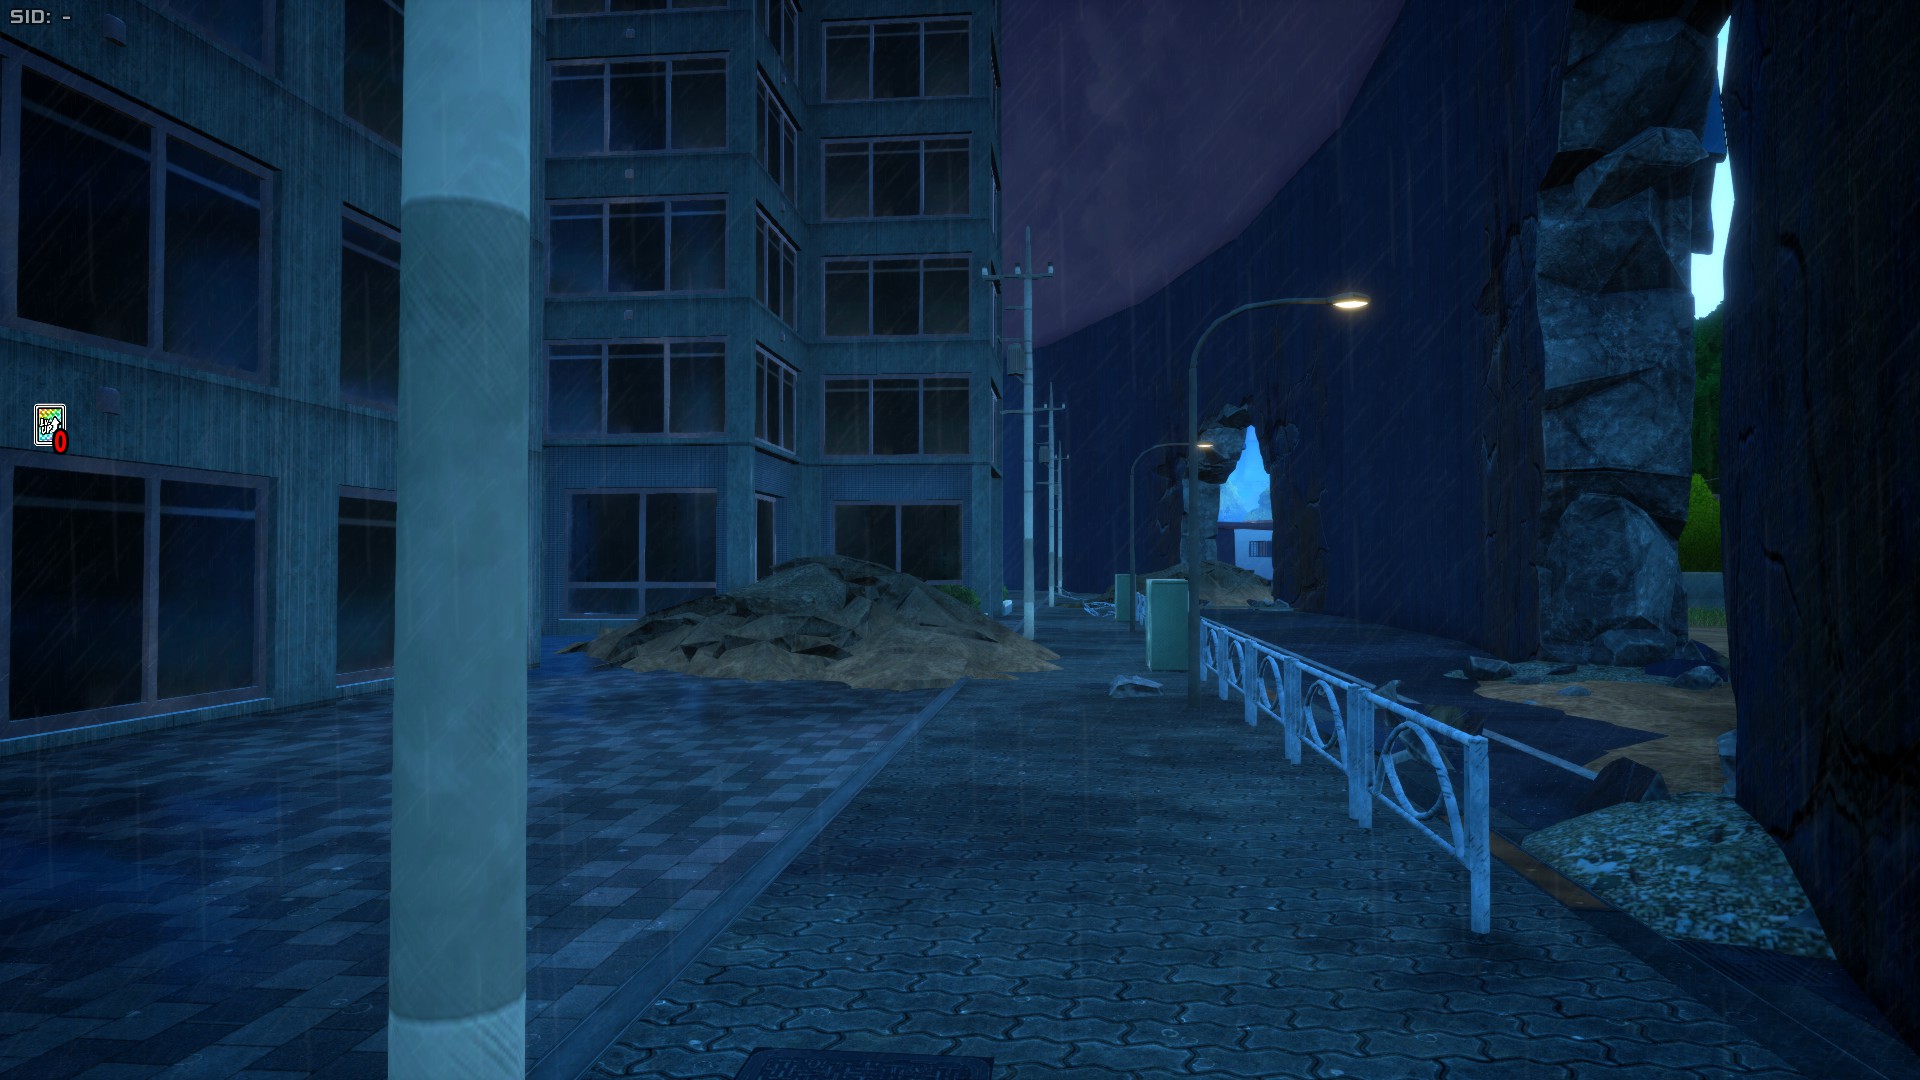
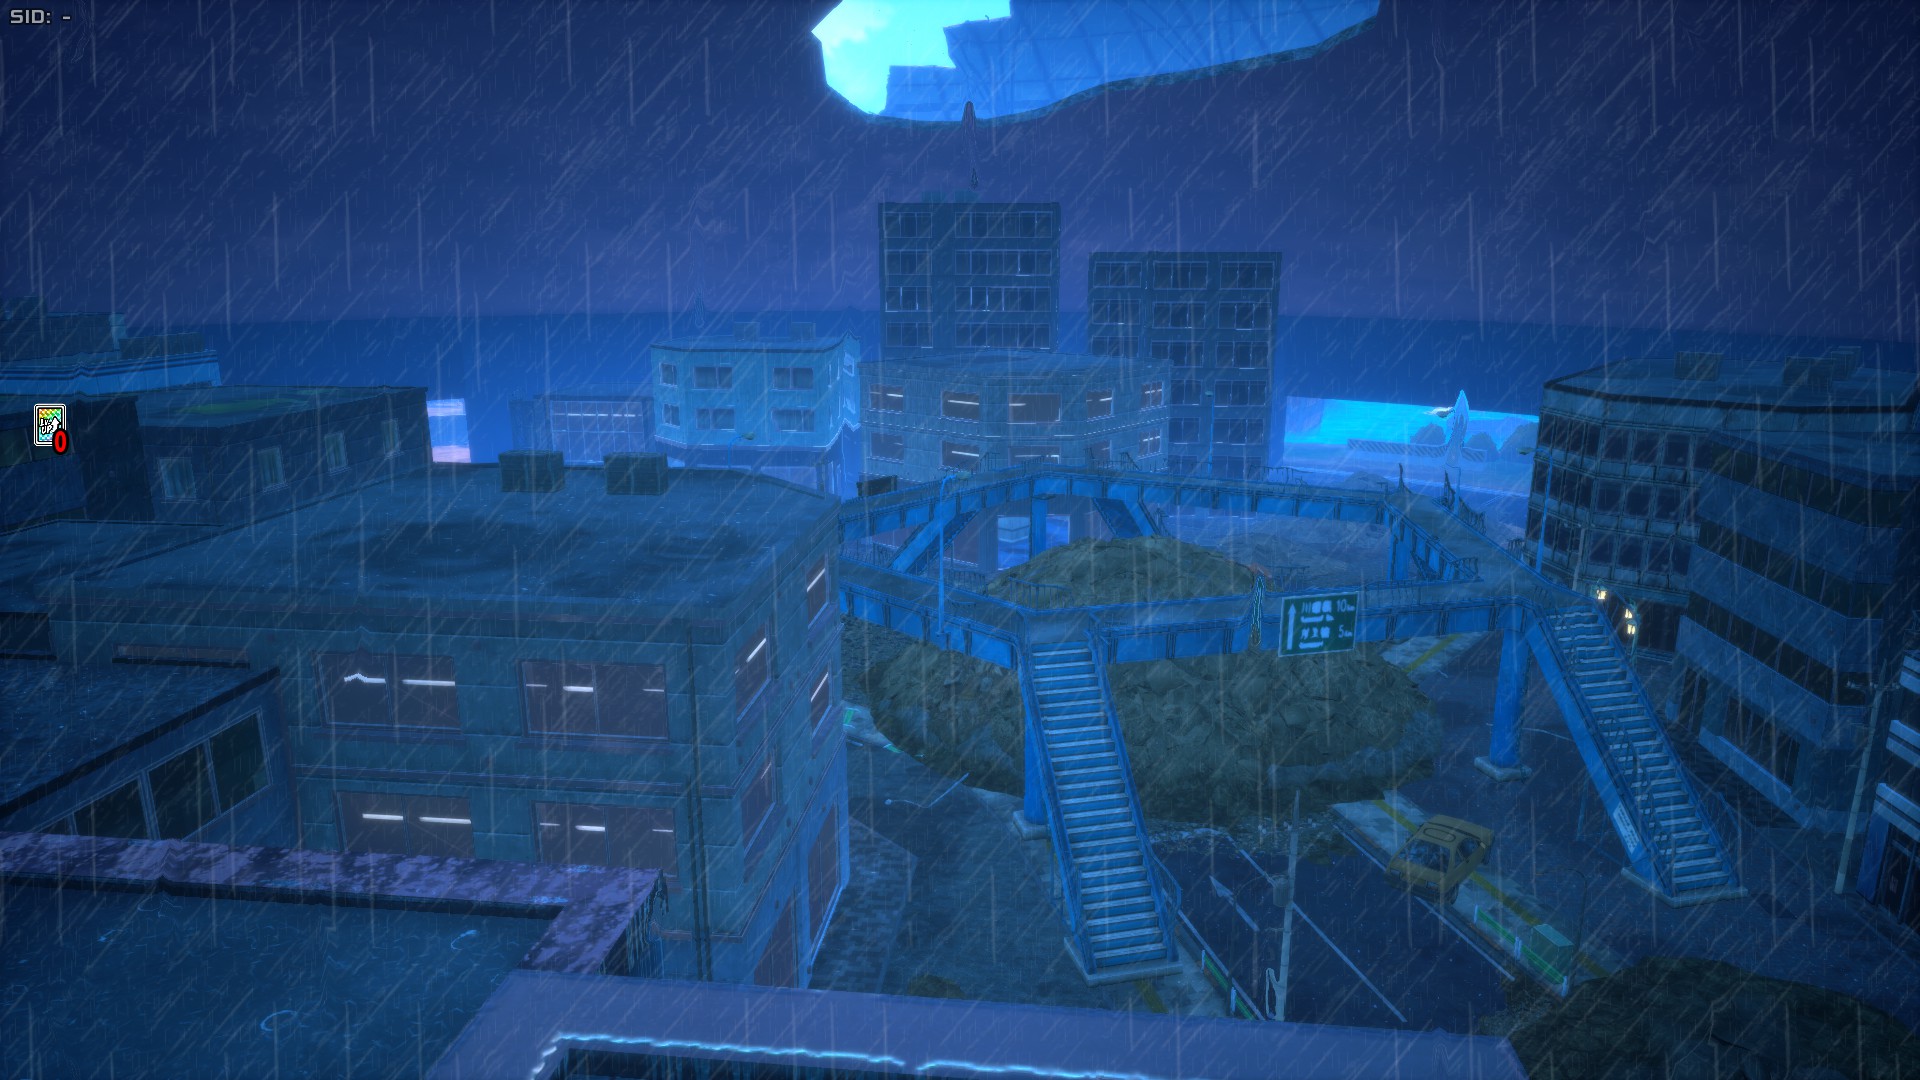
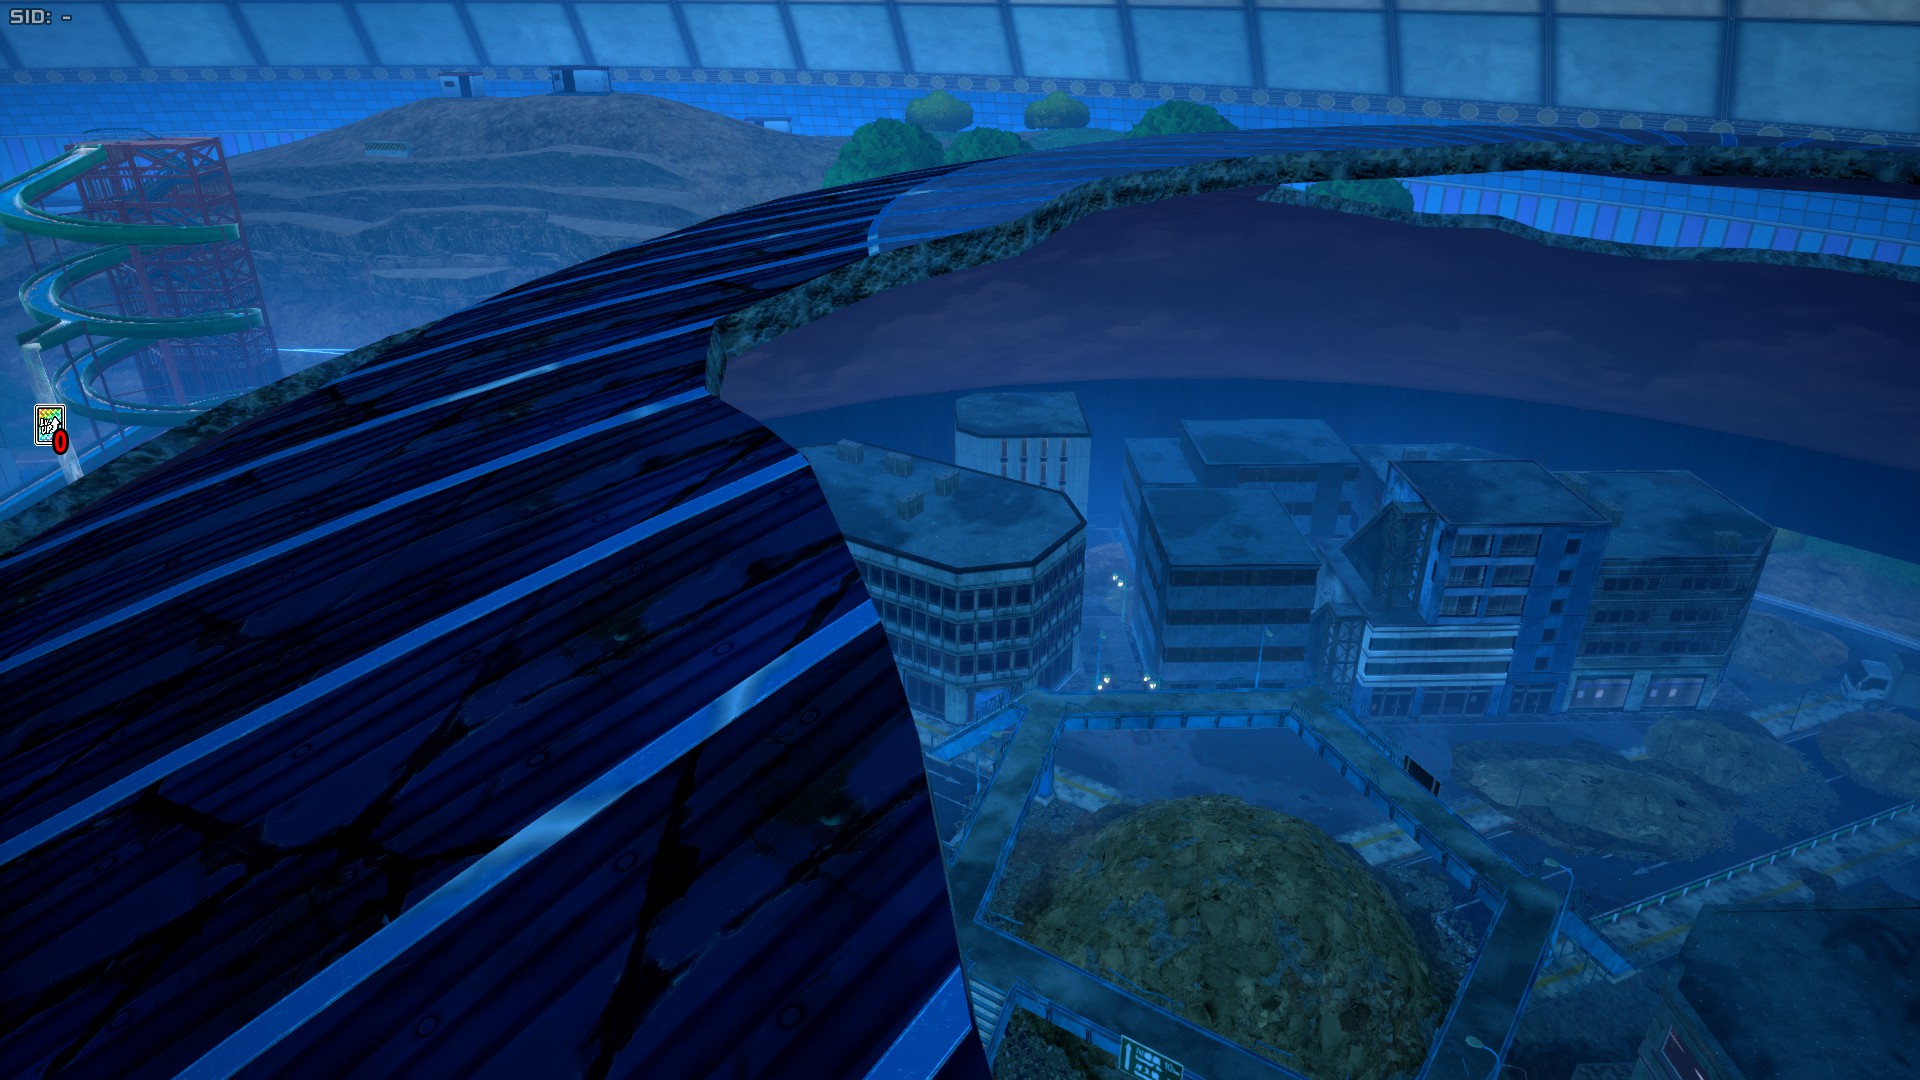
Collapse Zone
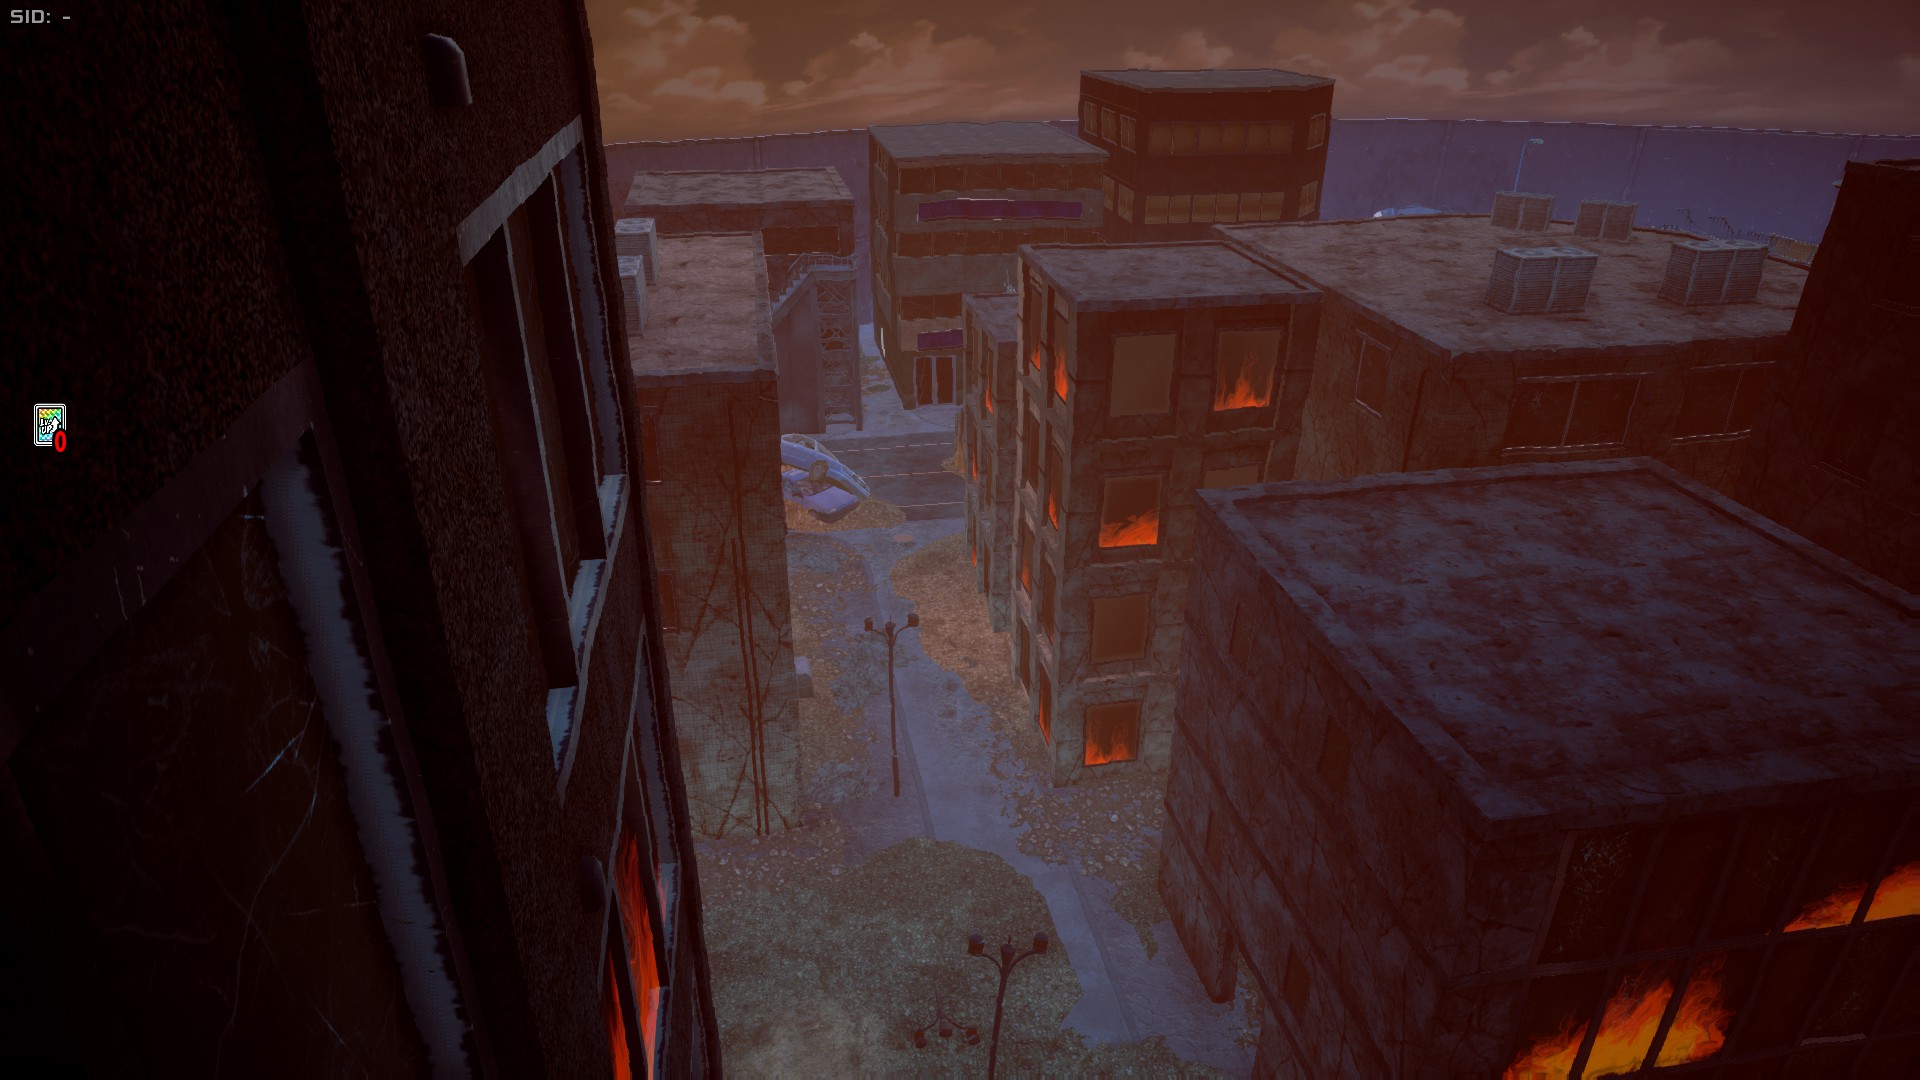
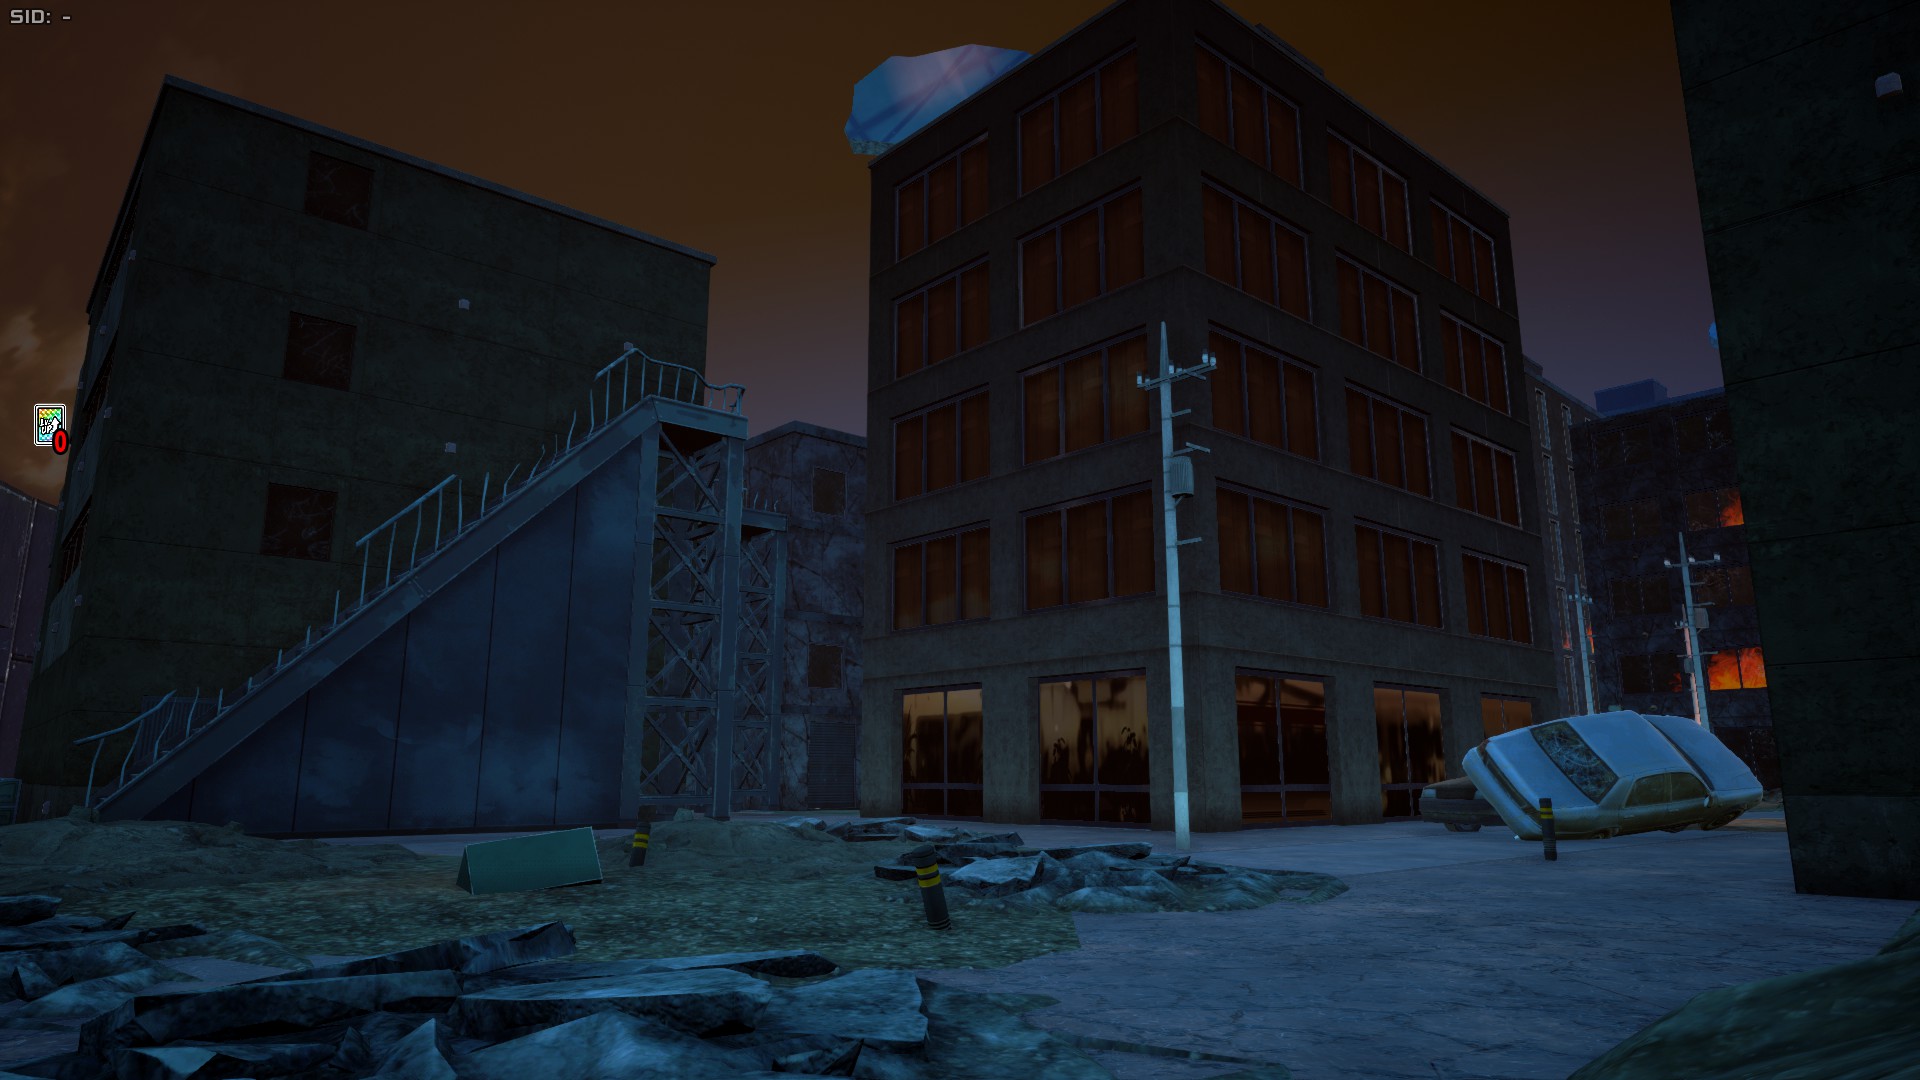
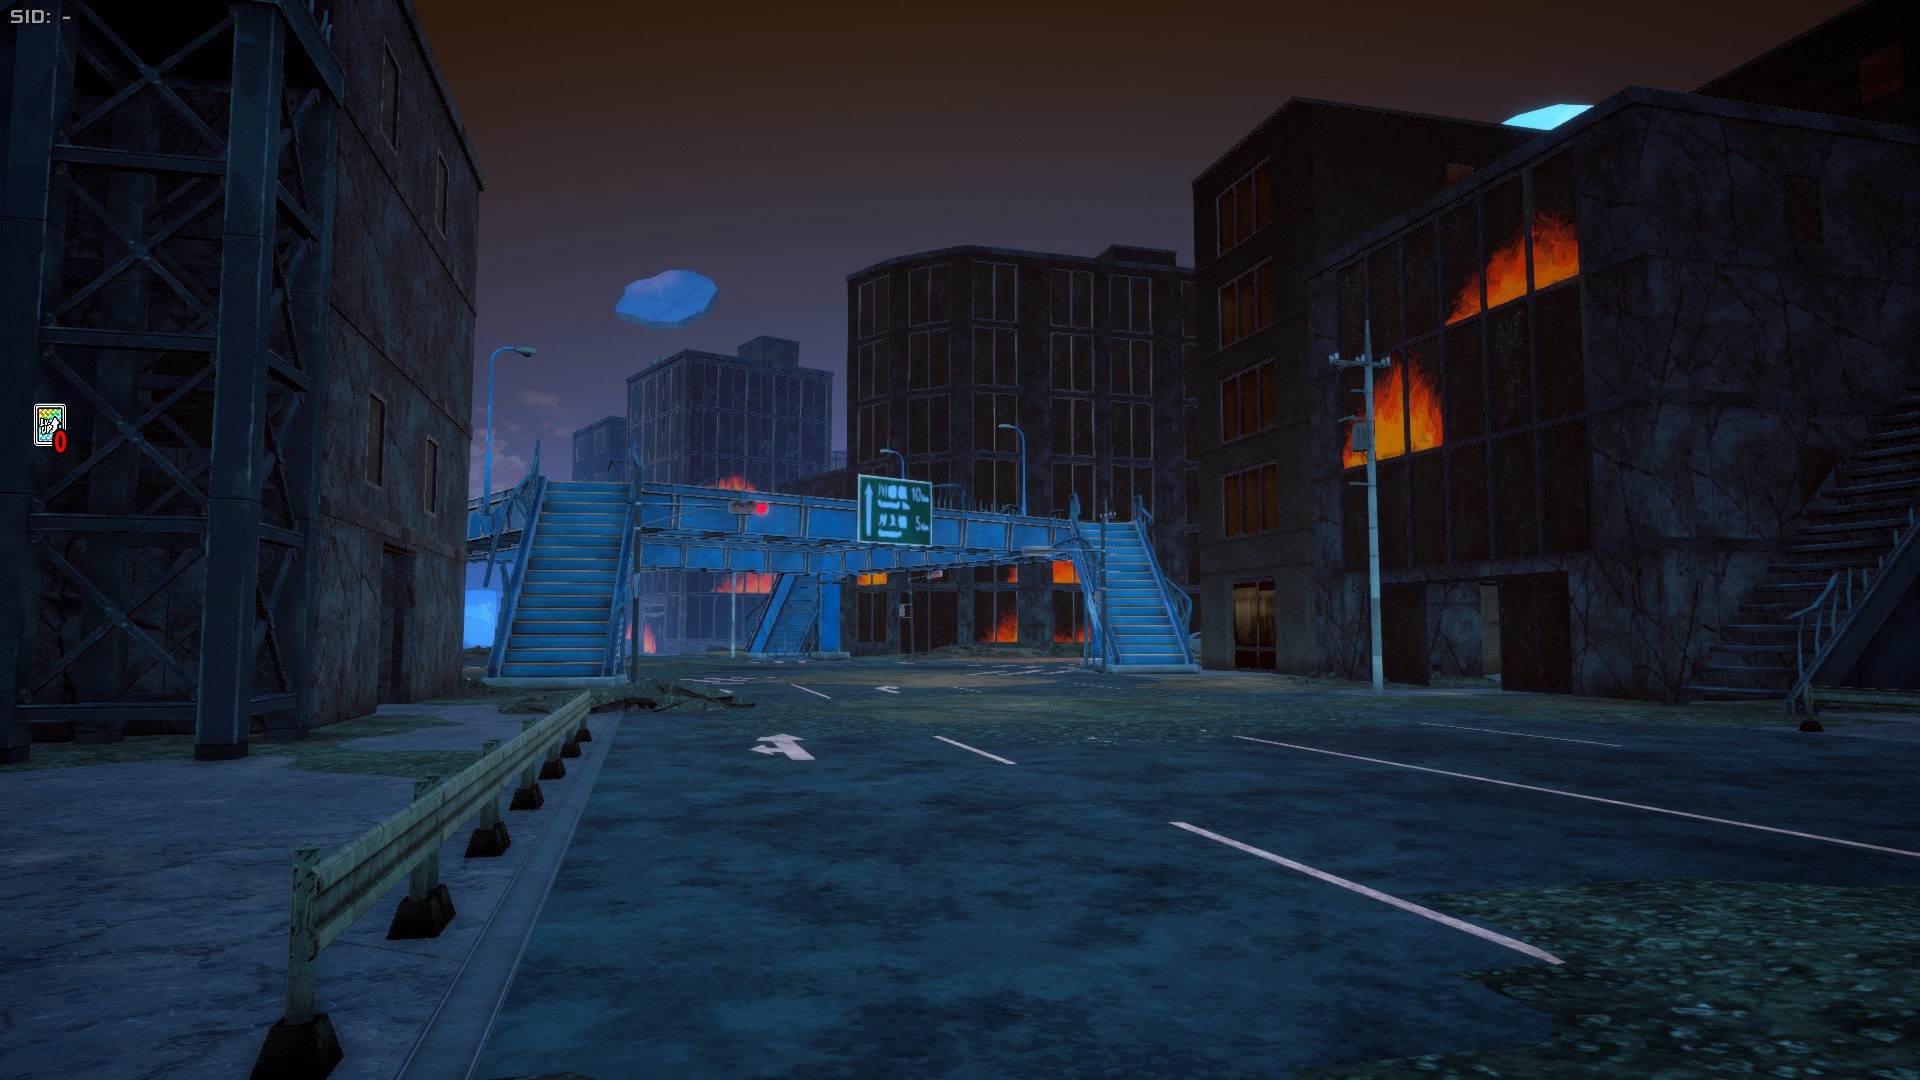
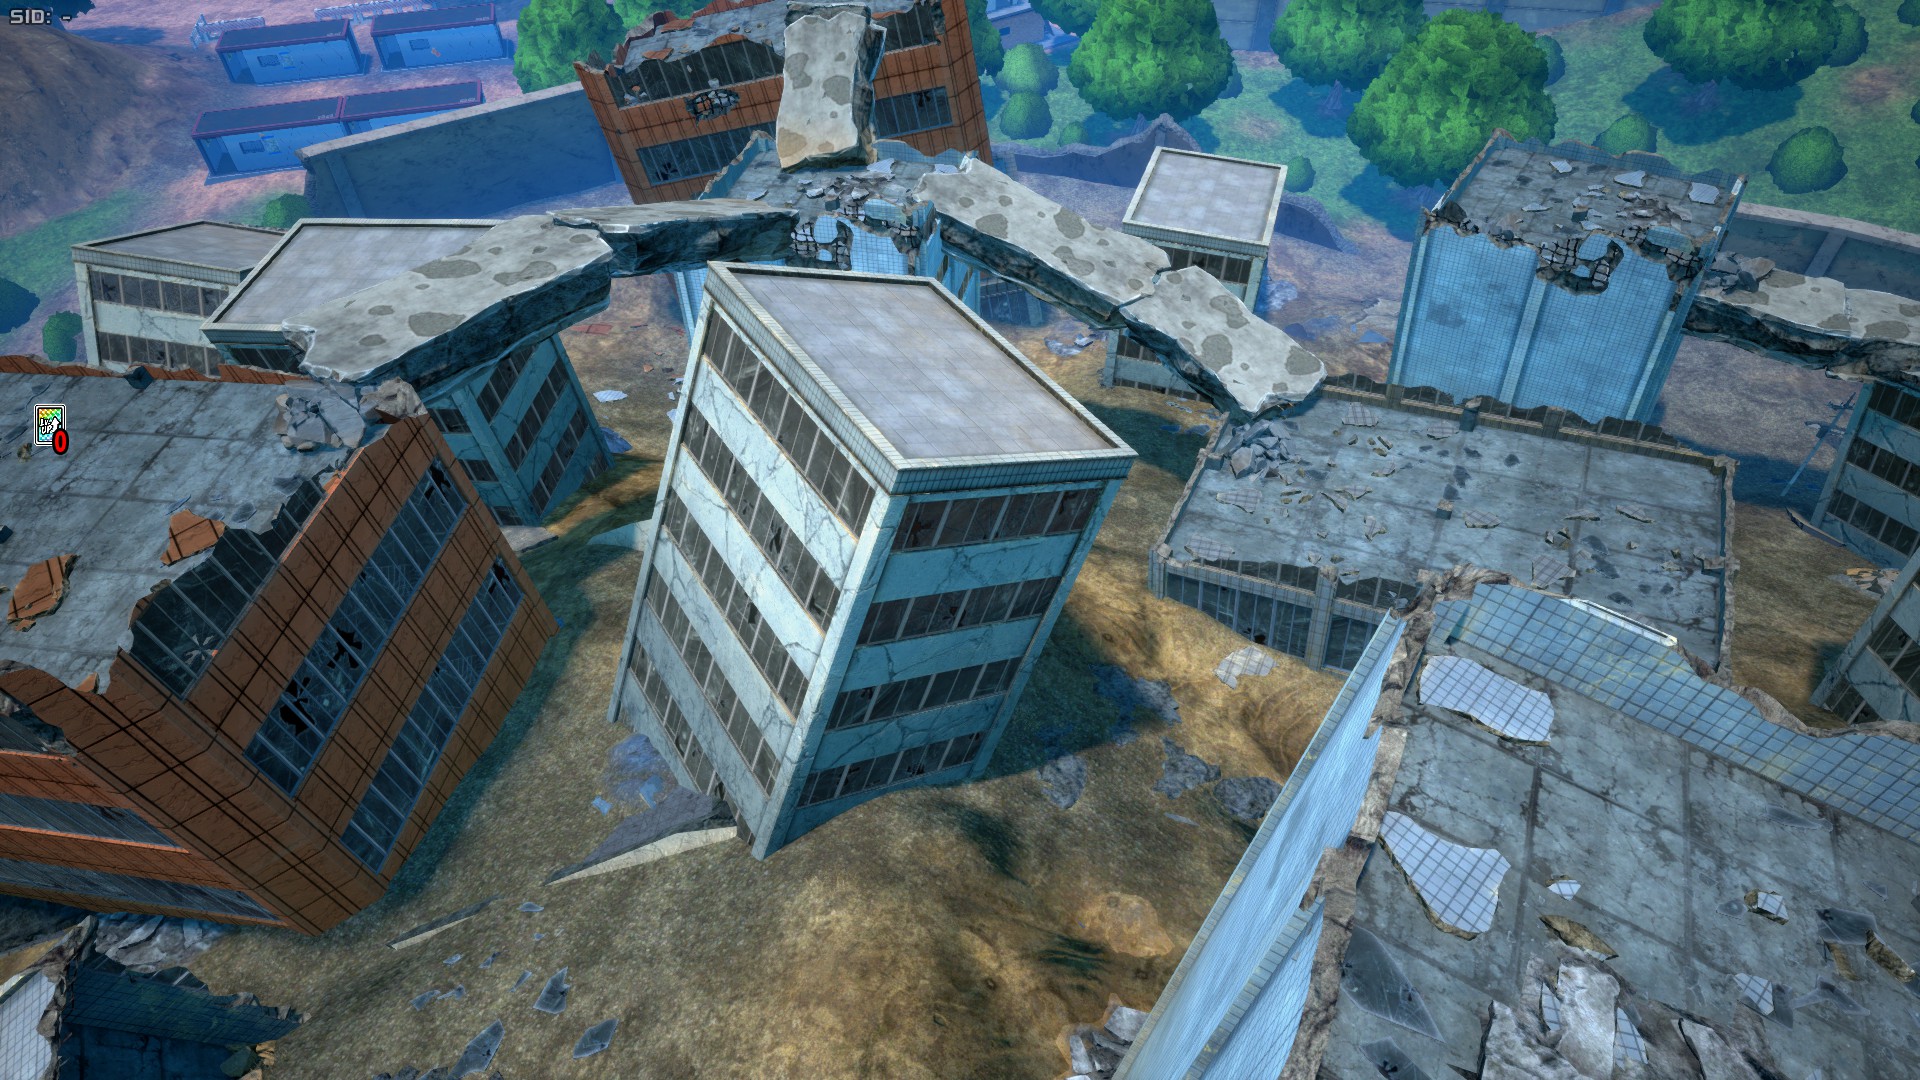
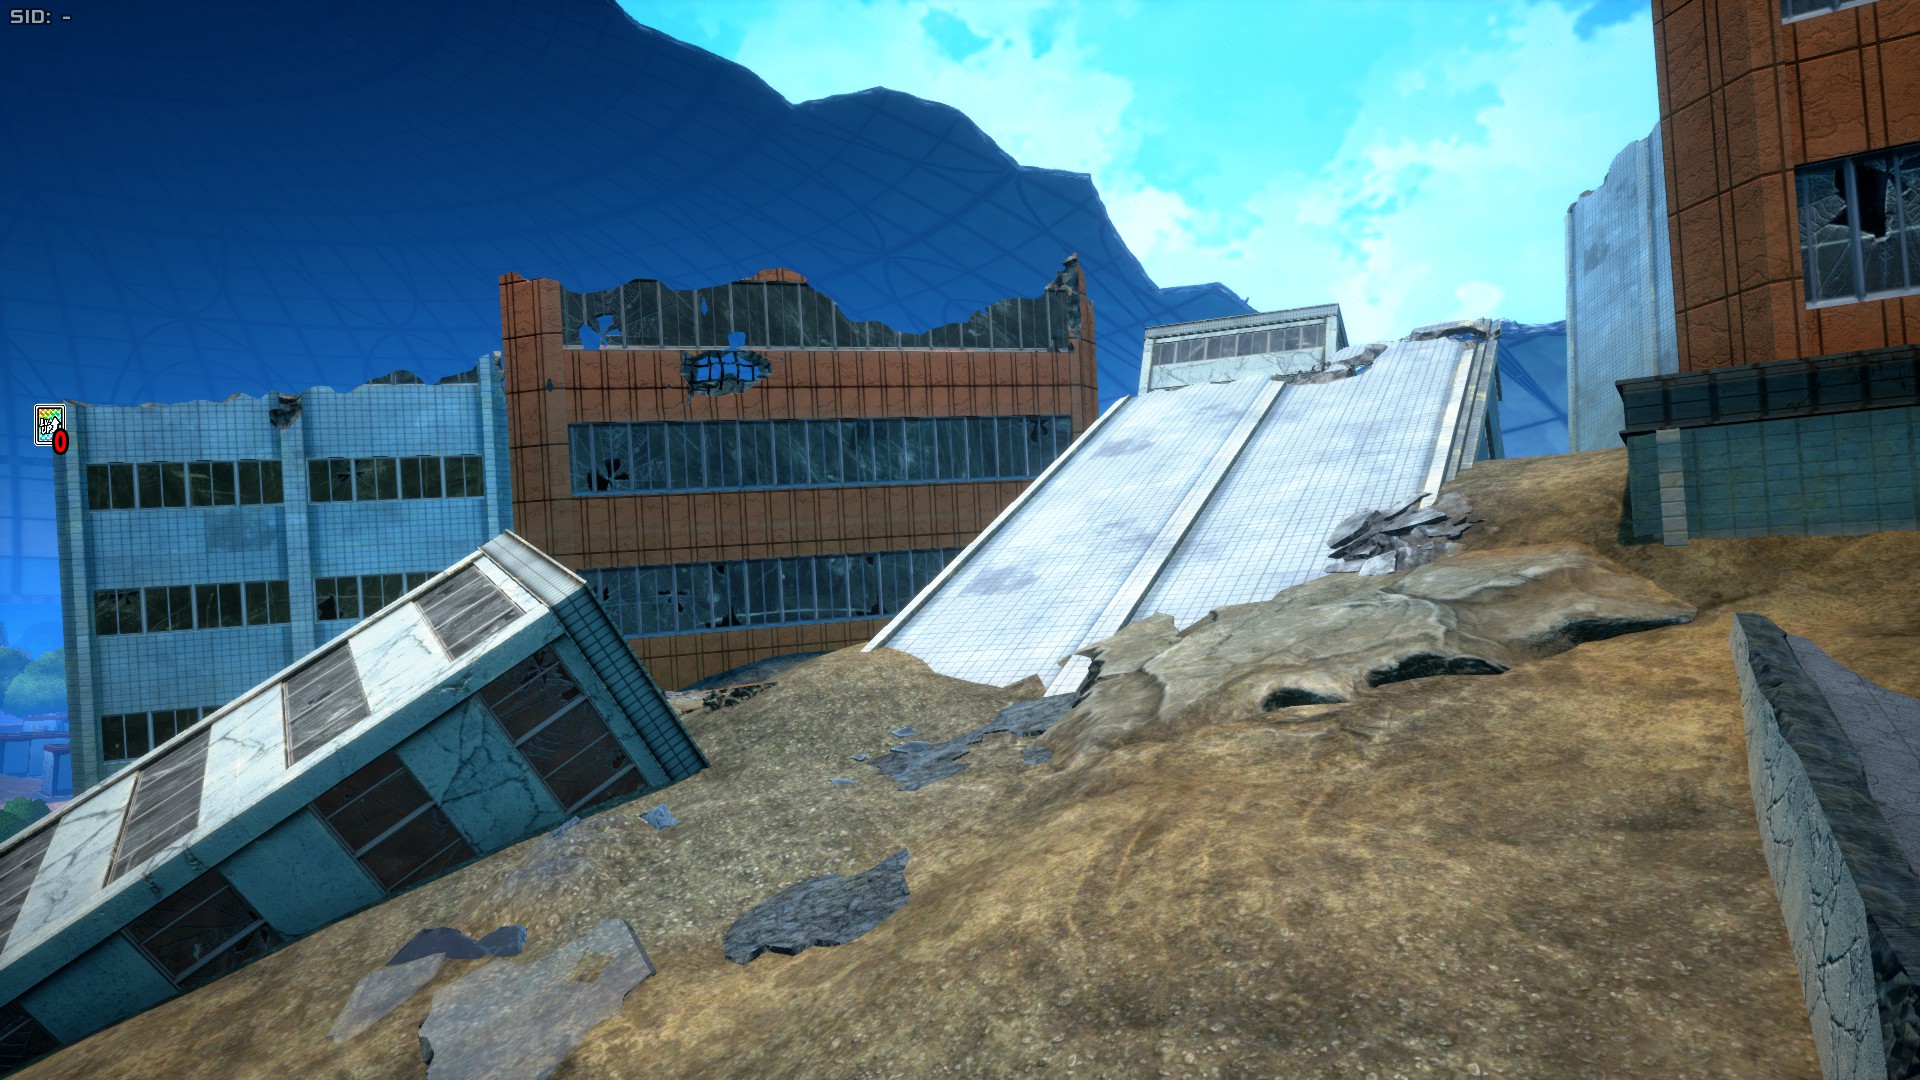
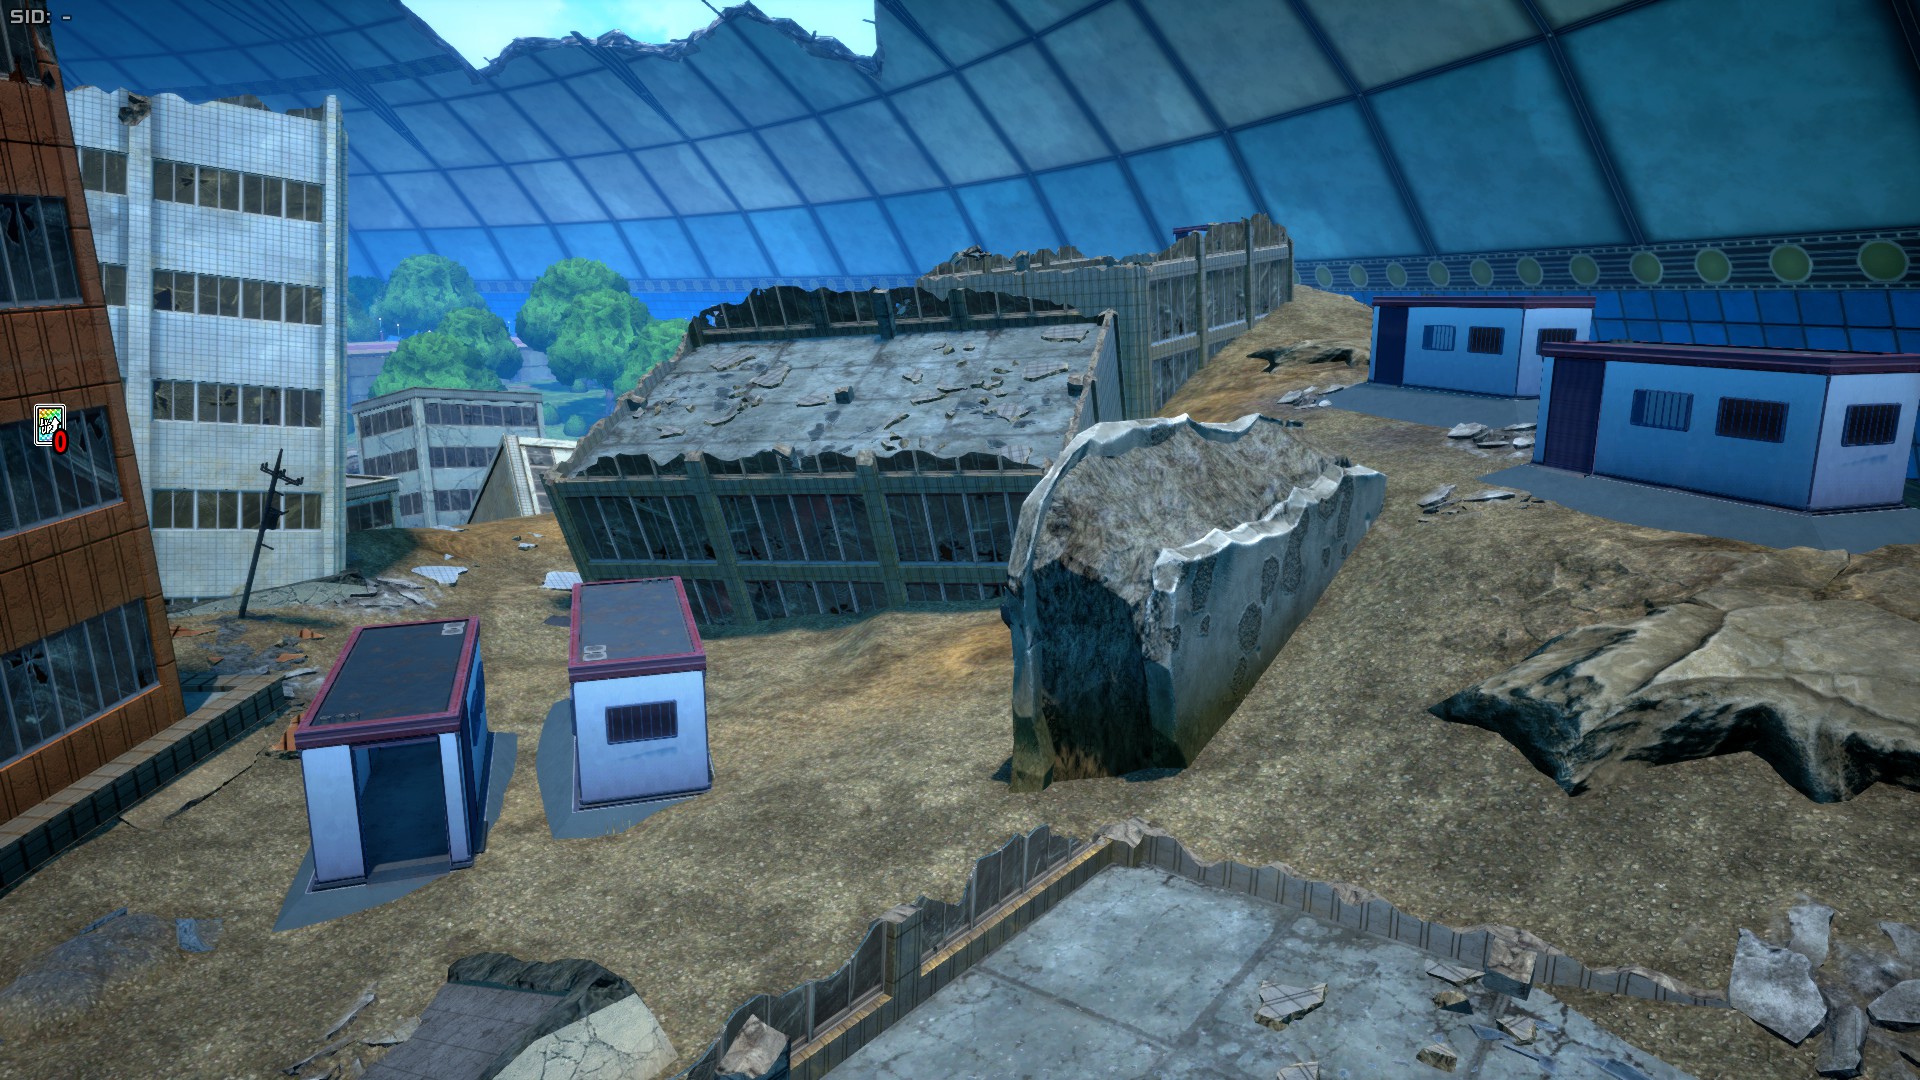
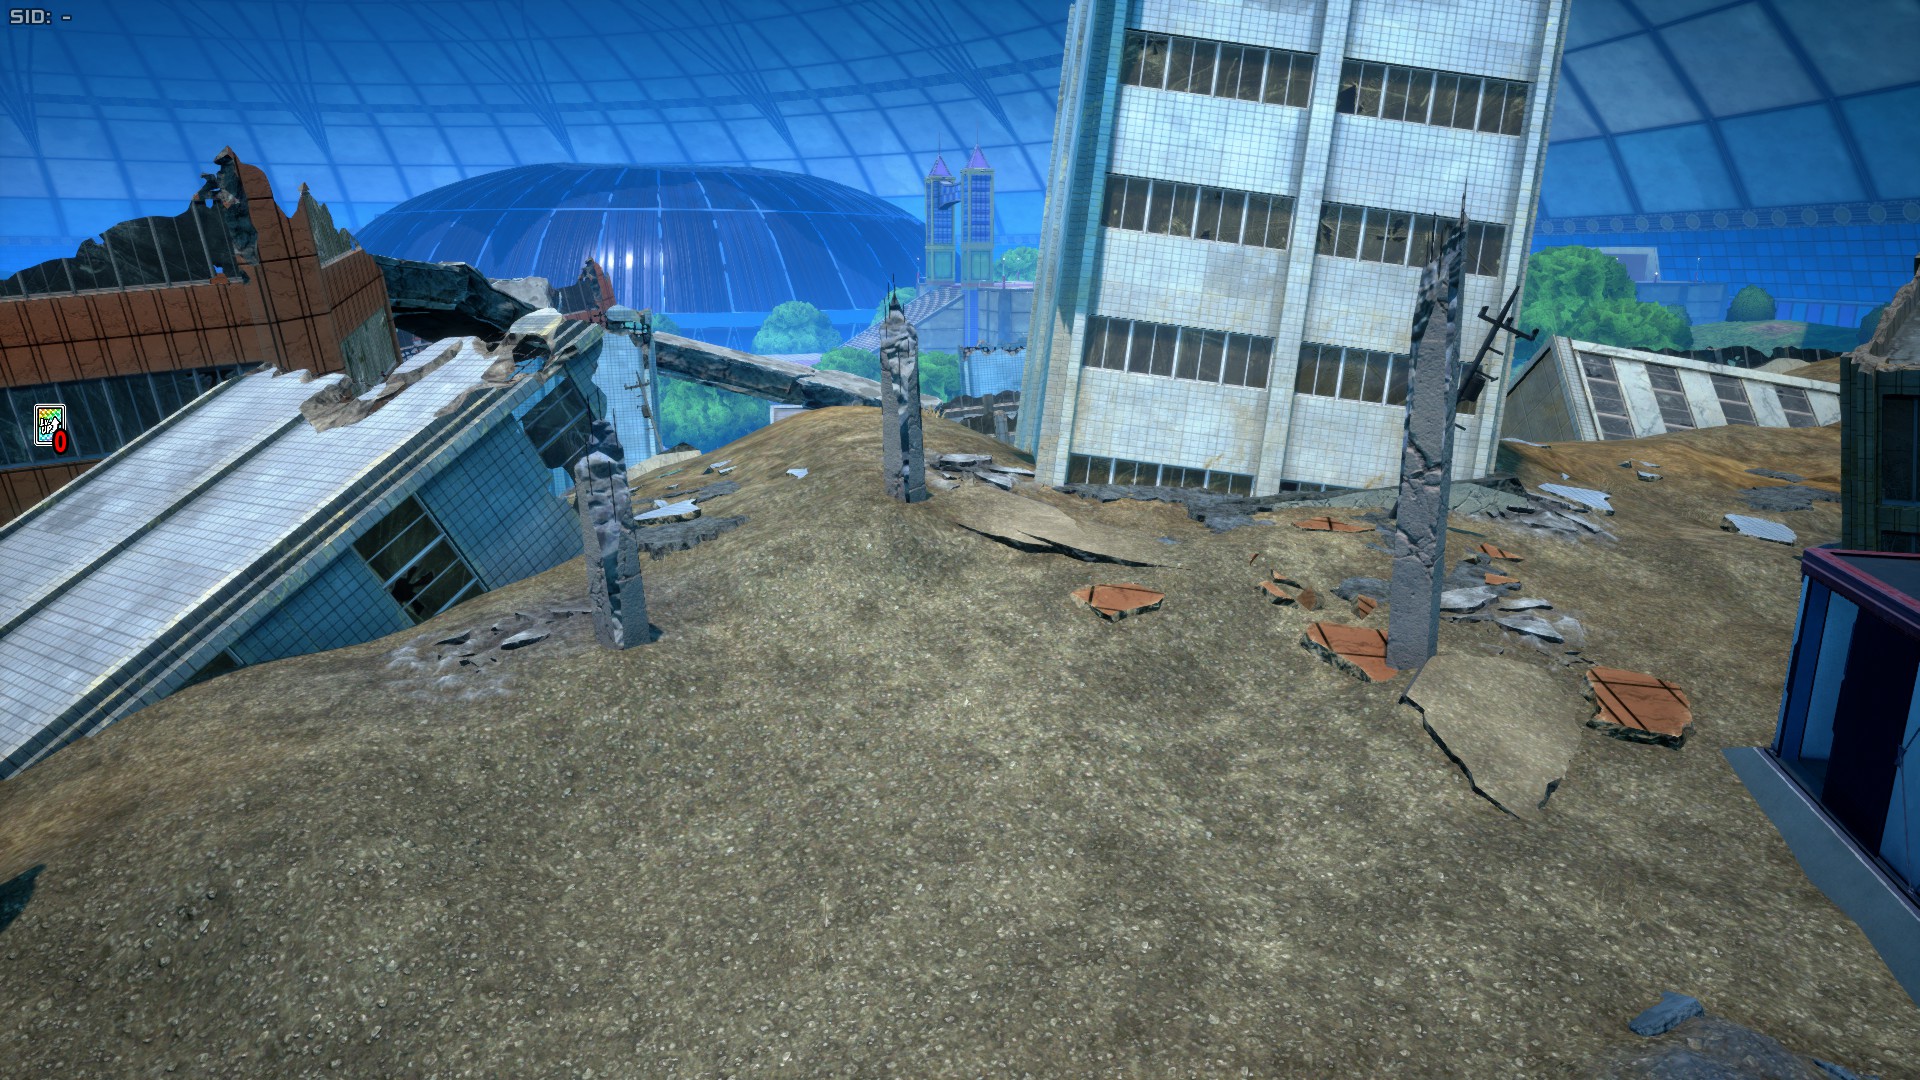
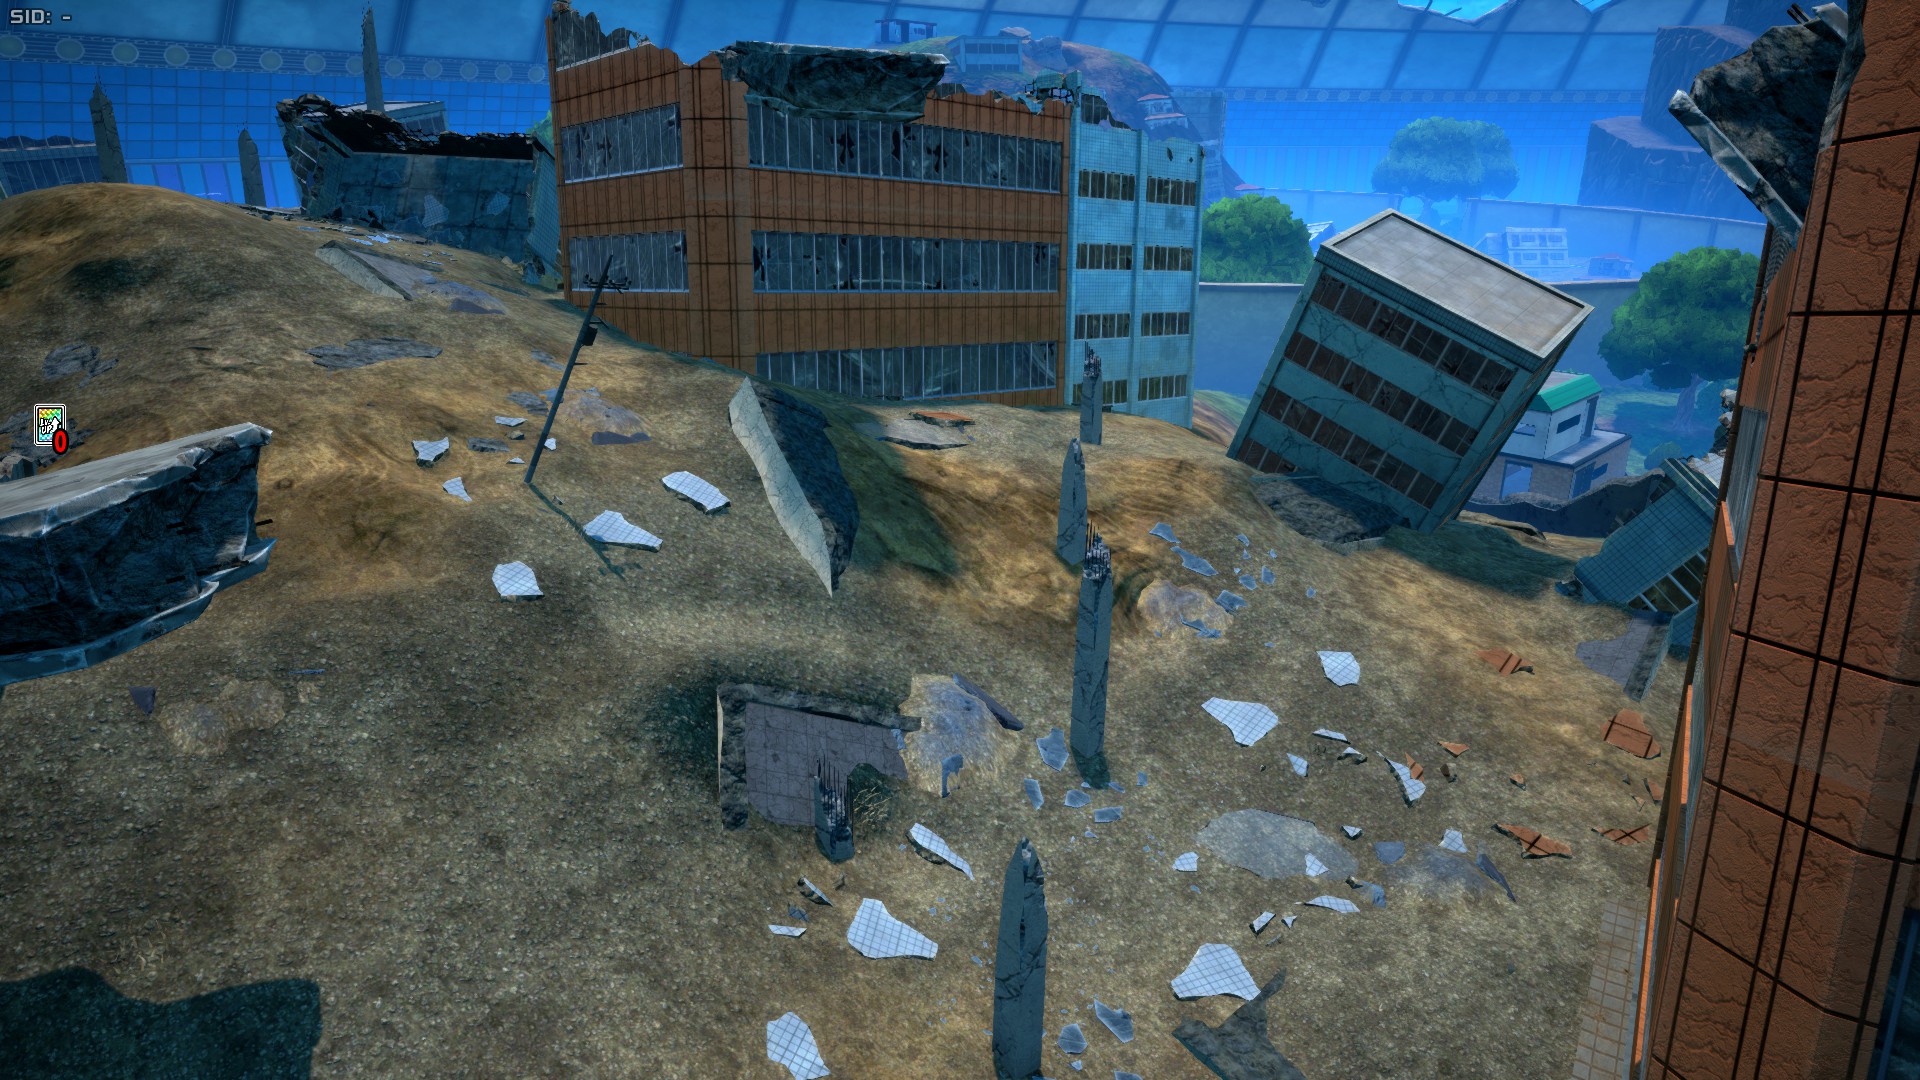
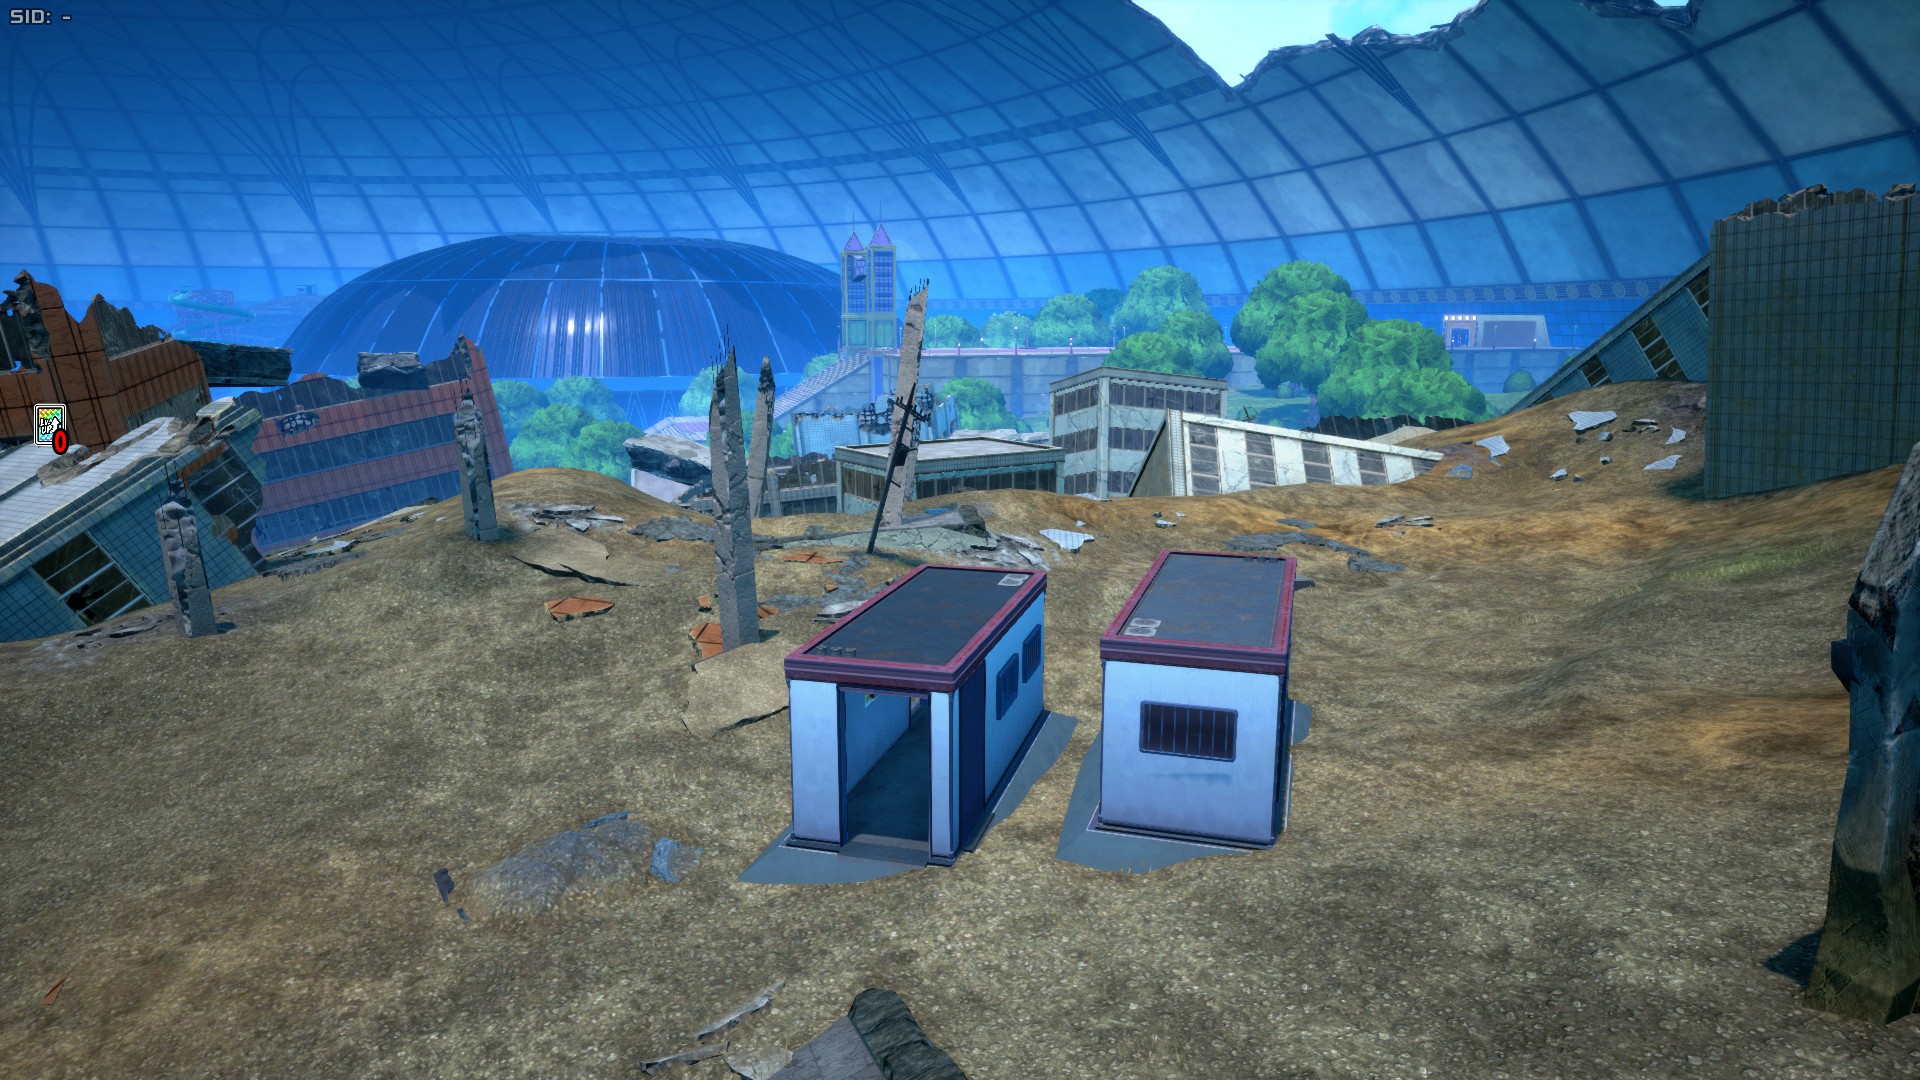
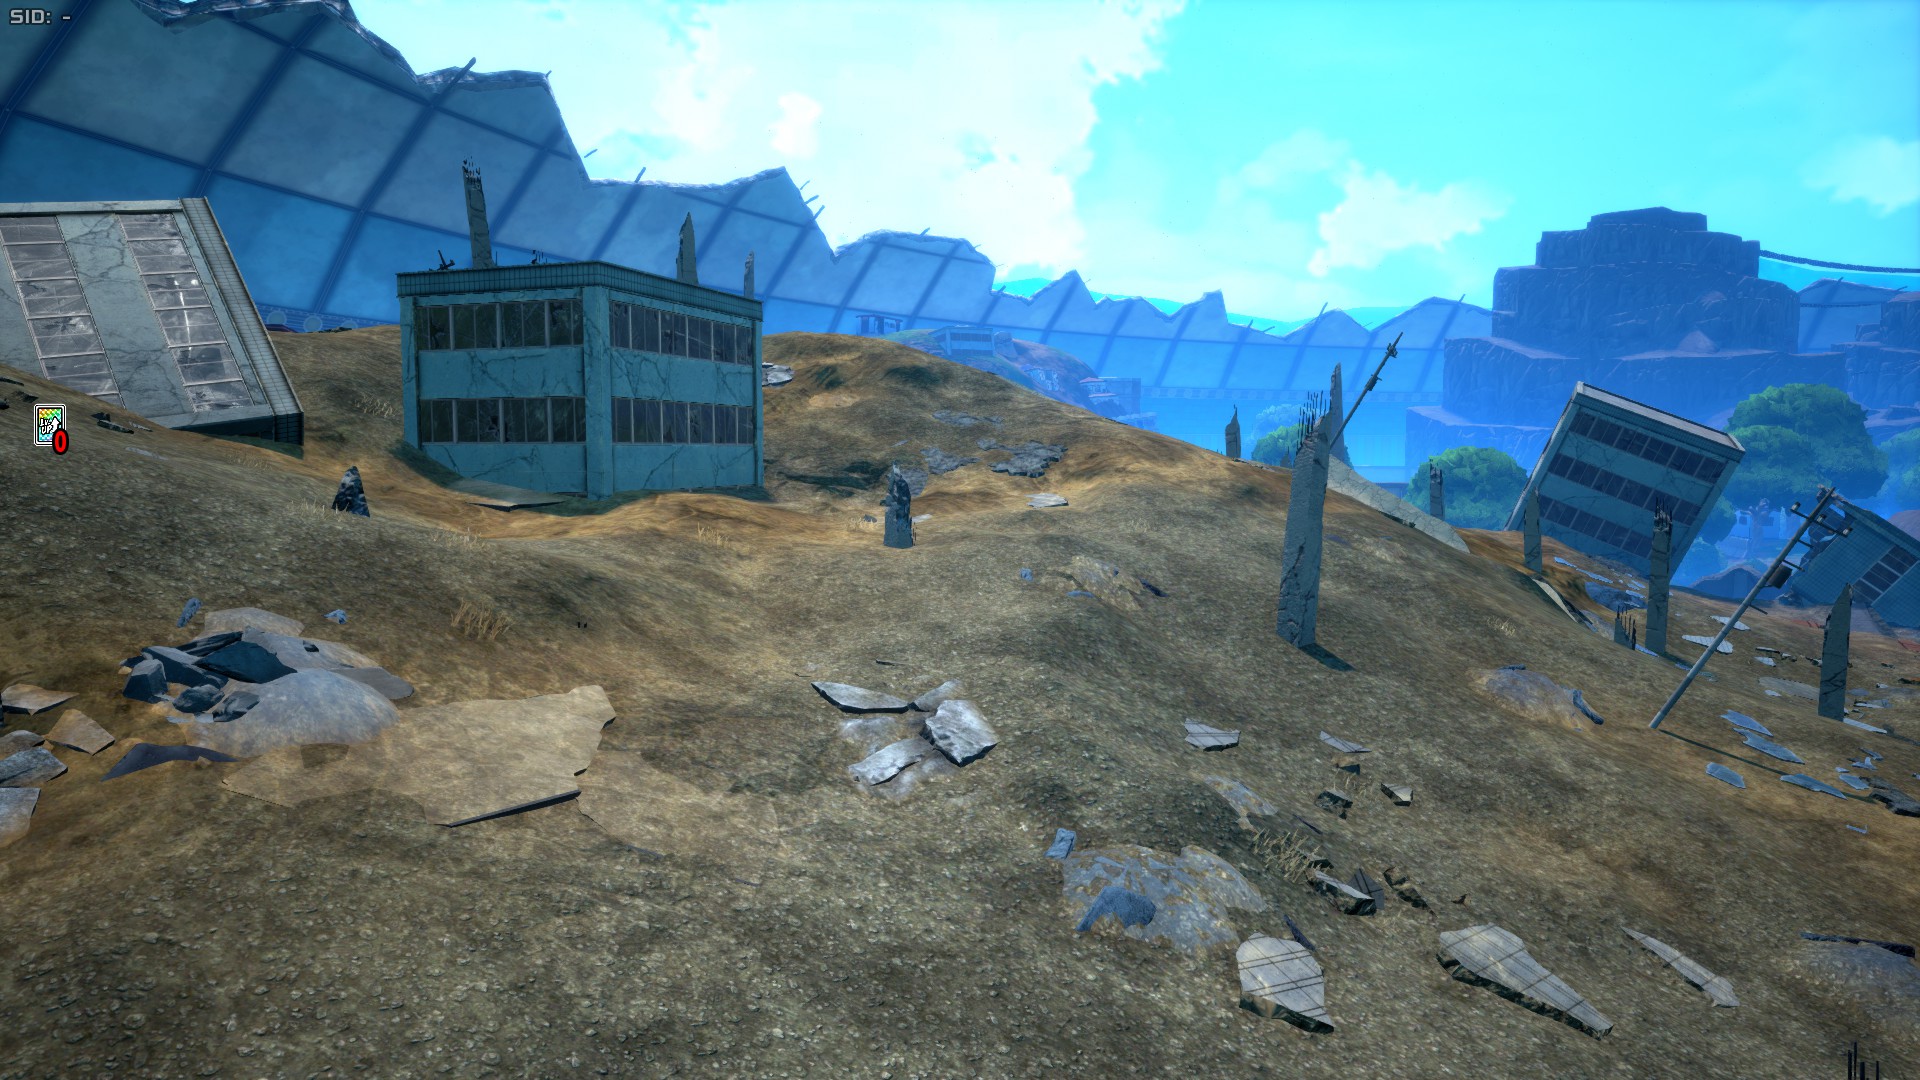
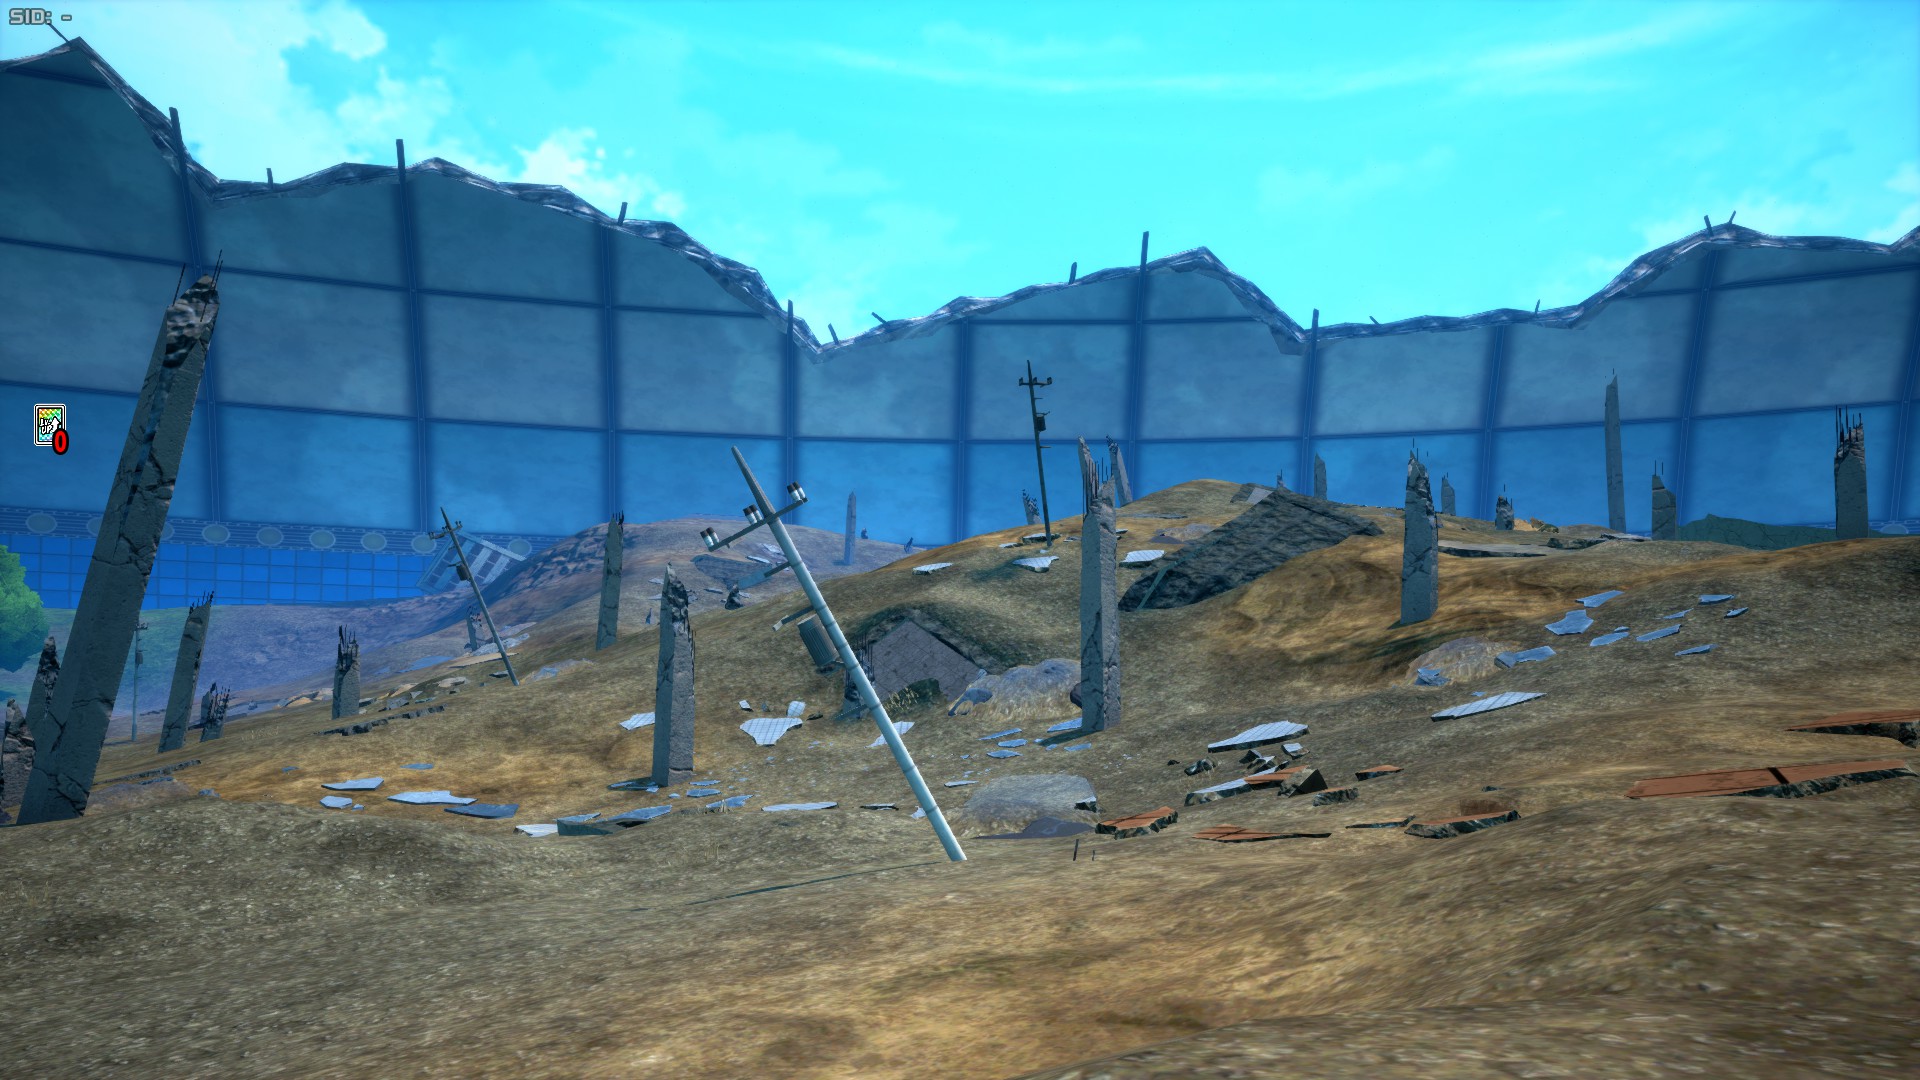
Collapse Zone is a peculiar area with abundant buildings, which are all destructible. This area is interesting because its destructible buildings paint two difference scenes between early game Collapse Zone and its late game counterpart, as initially it will have decent cover, but as time passes, chances are the buildings will take damage from attacks and eventually break, making the area progressively more open. The buildings in this area can release civilians upon being broken, so it's an okay option if Landslide Zone isn't comfortably accessible, though, all huge buildings in Collapse Zone have 600 HP.
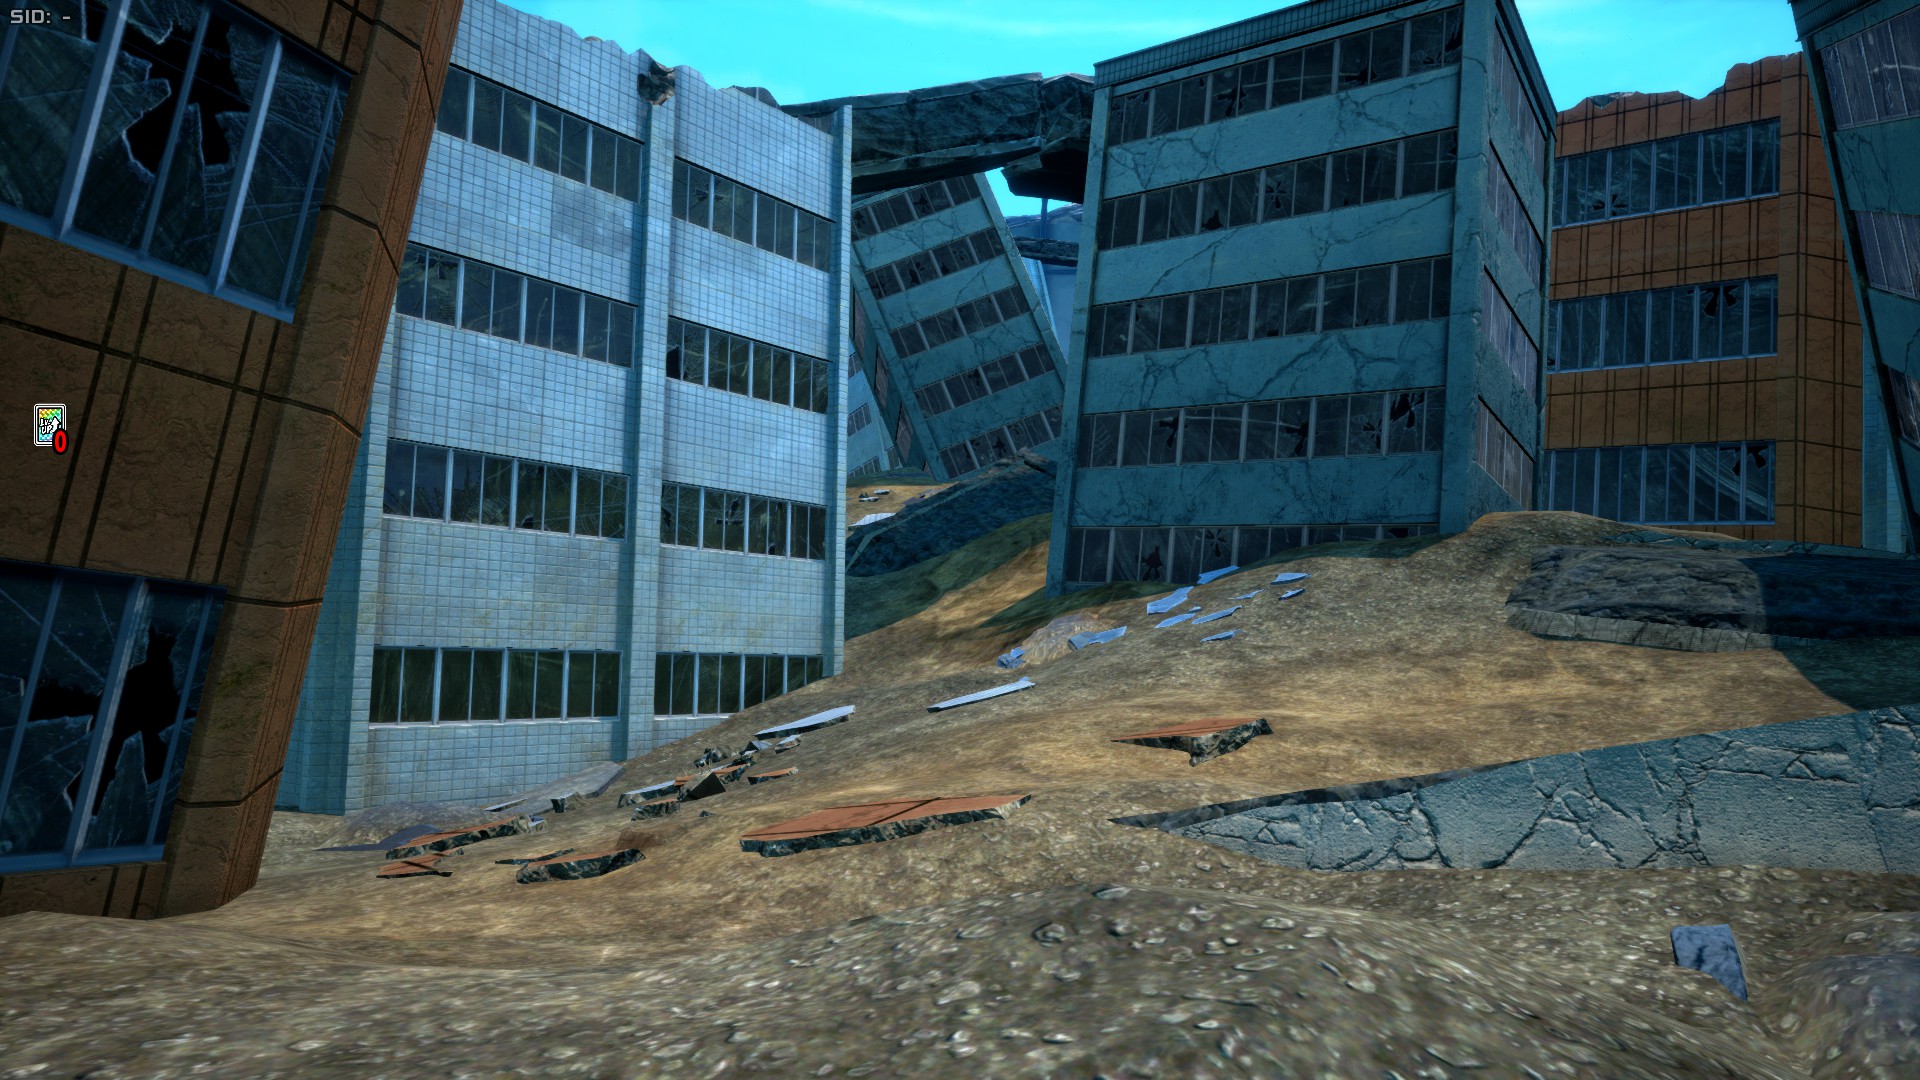
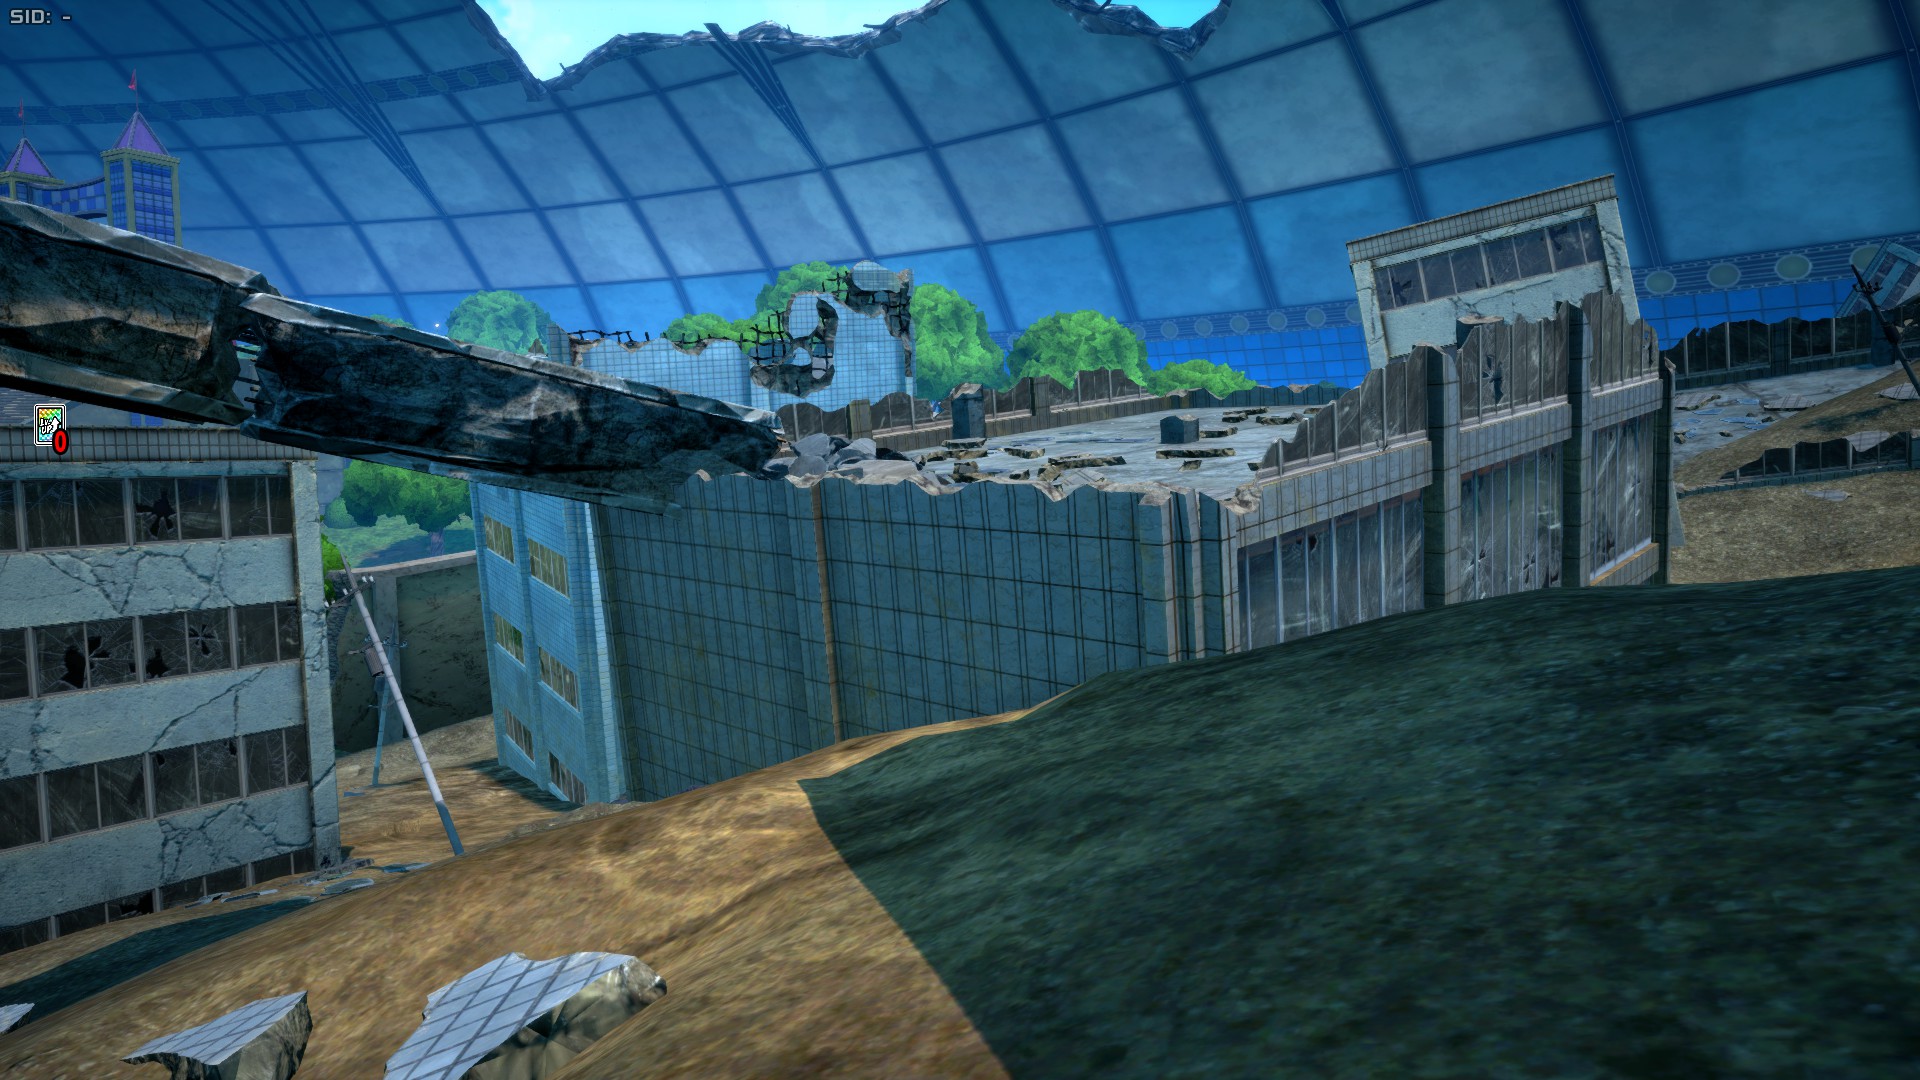
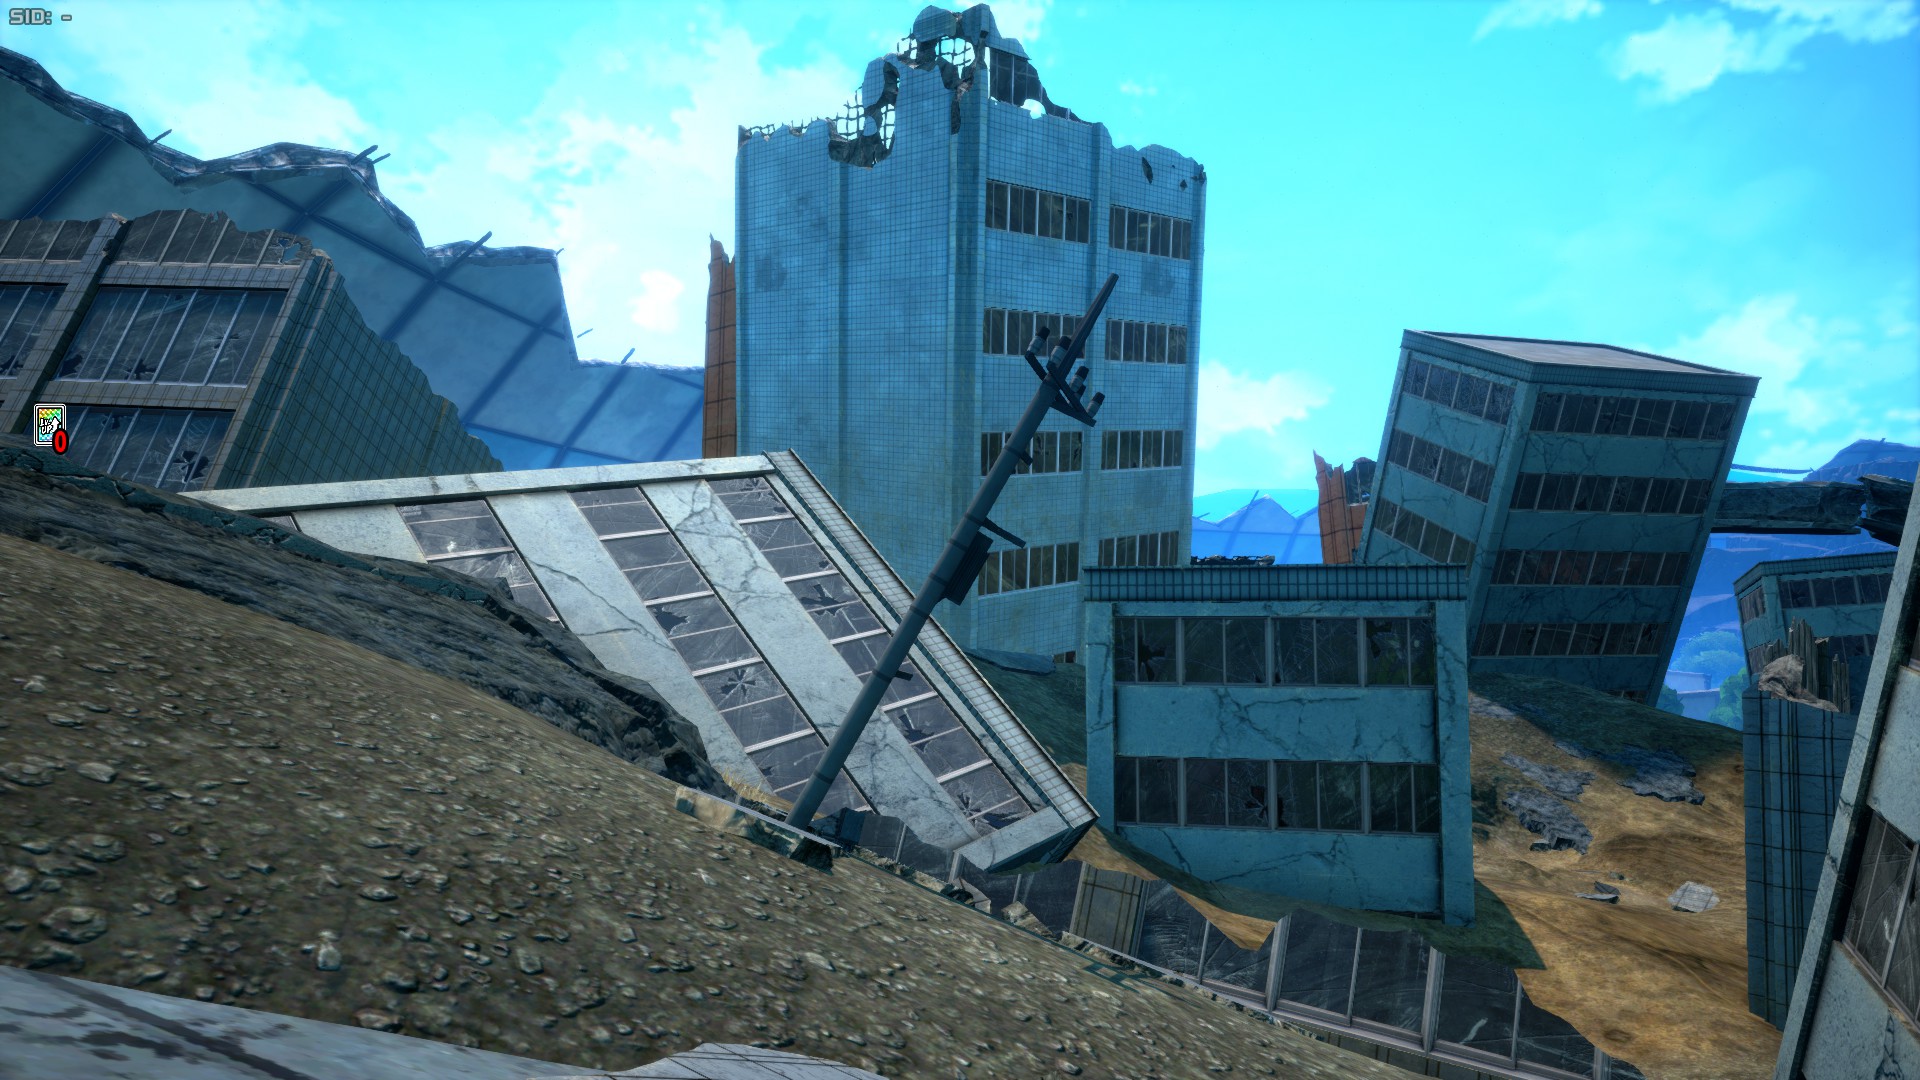
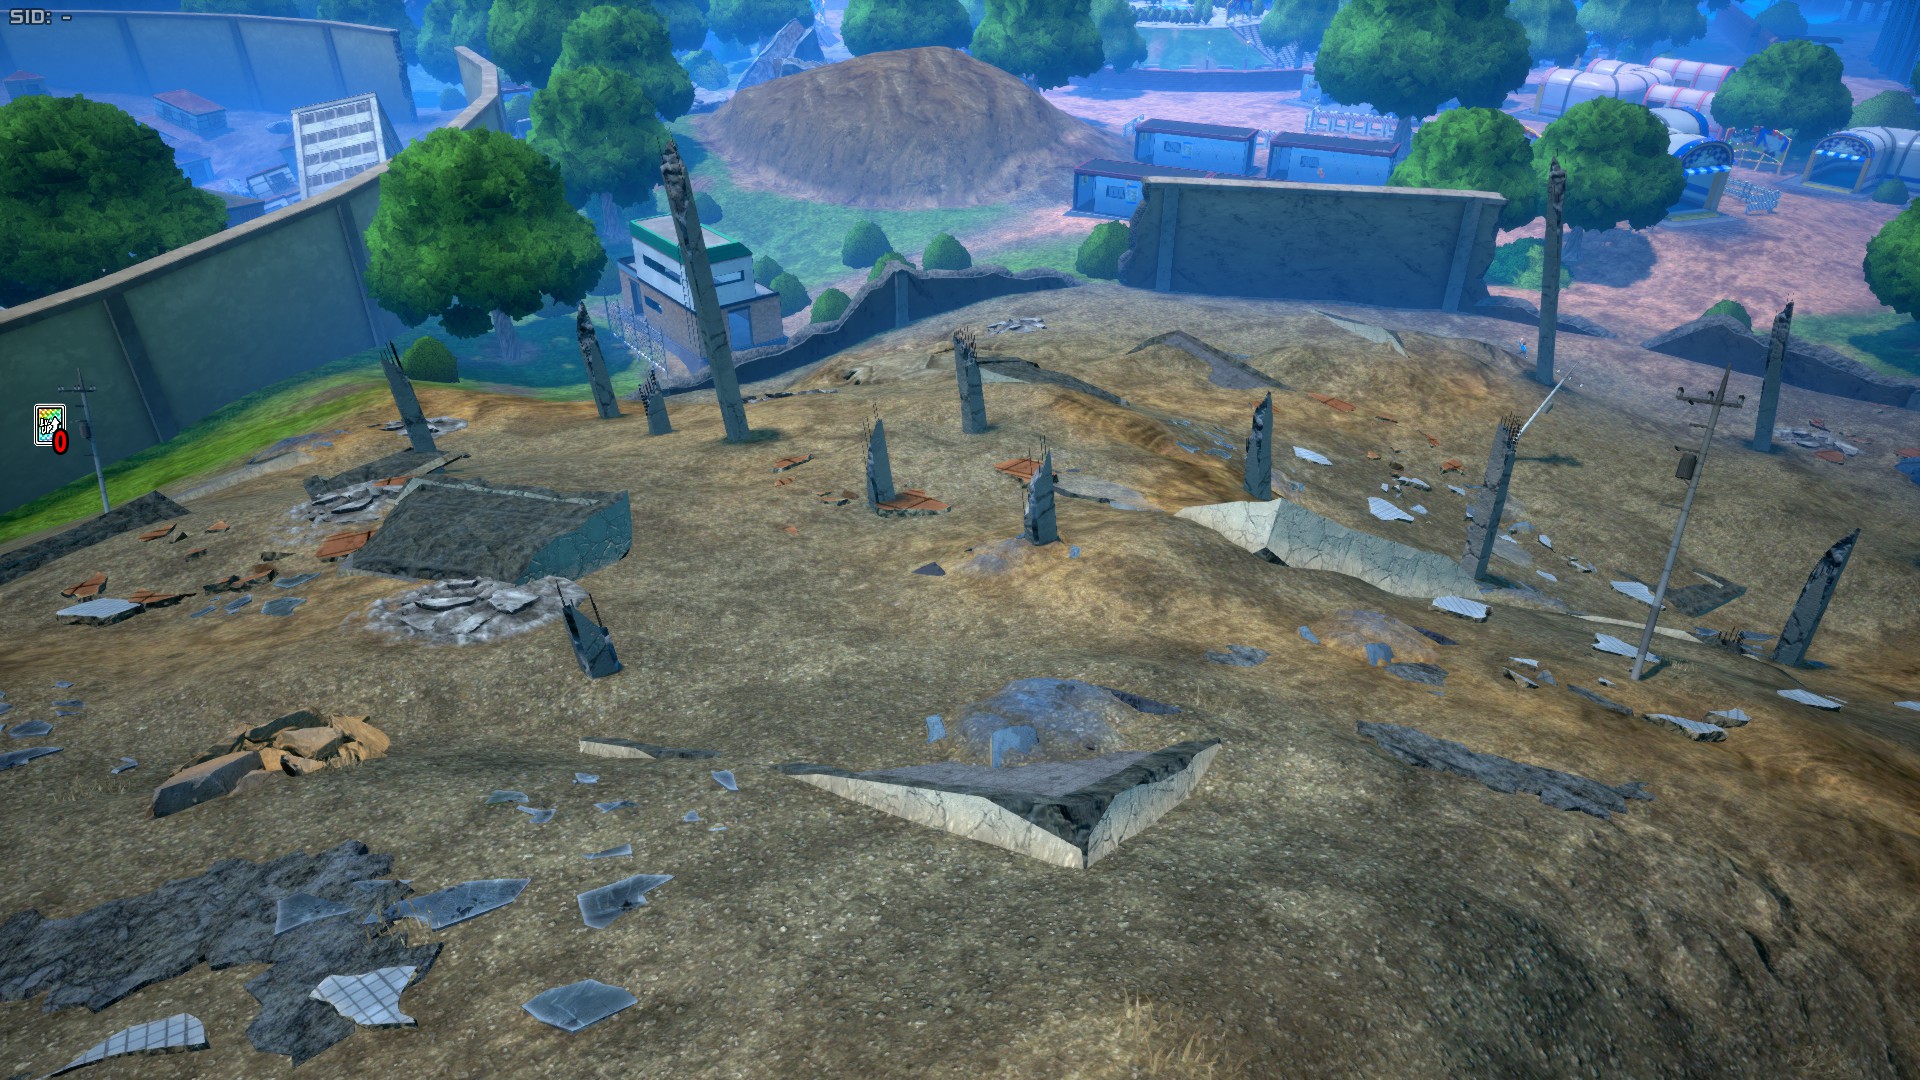
Landslide Zone
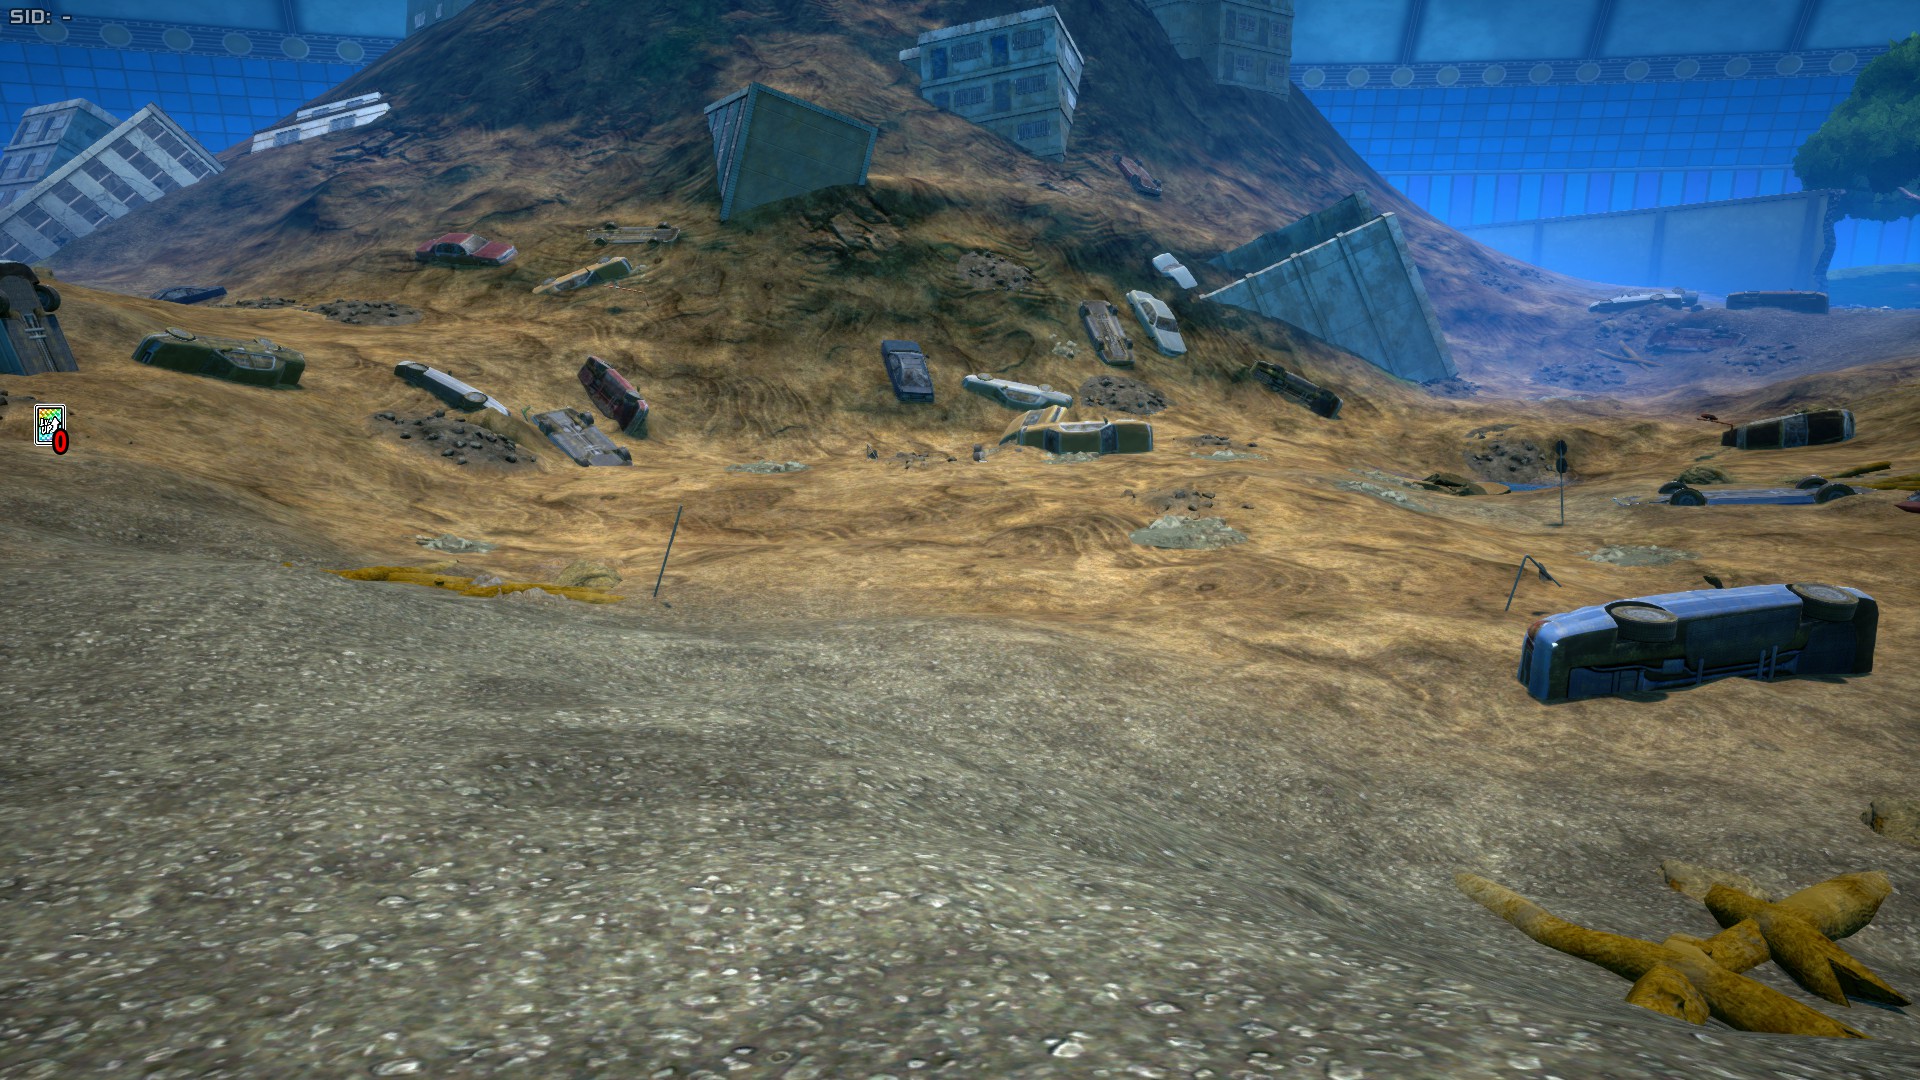
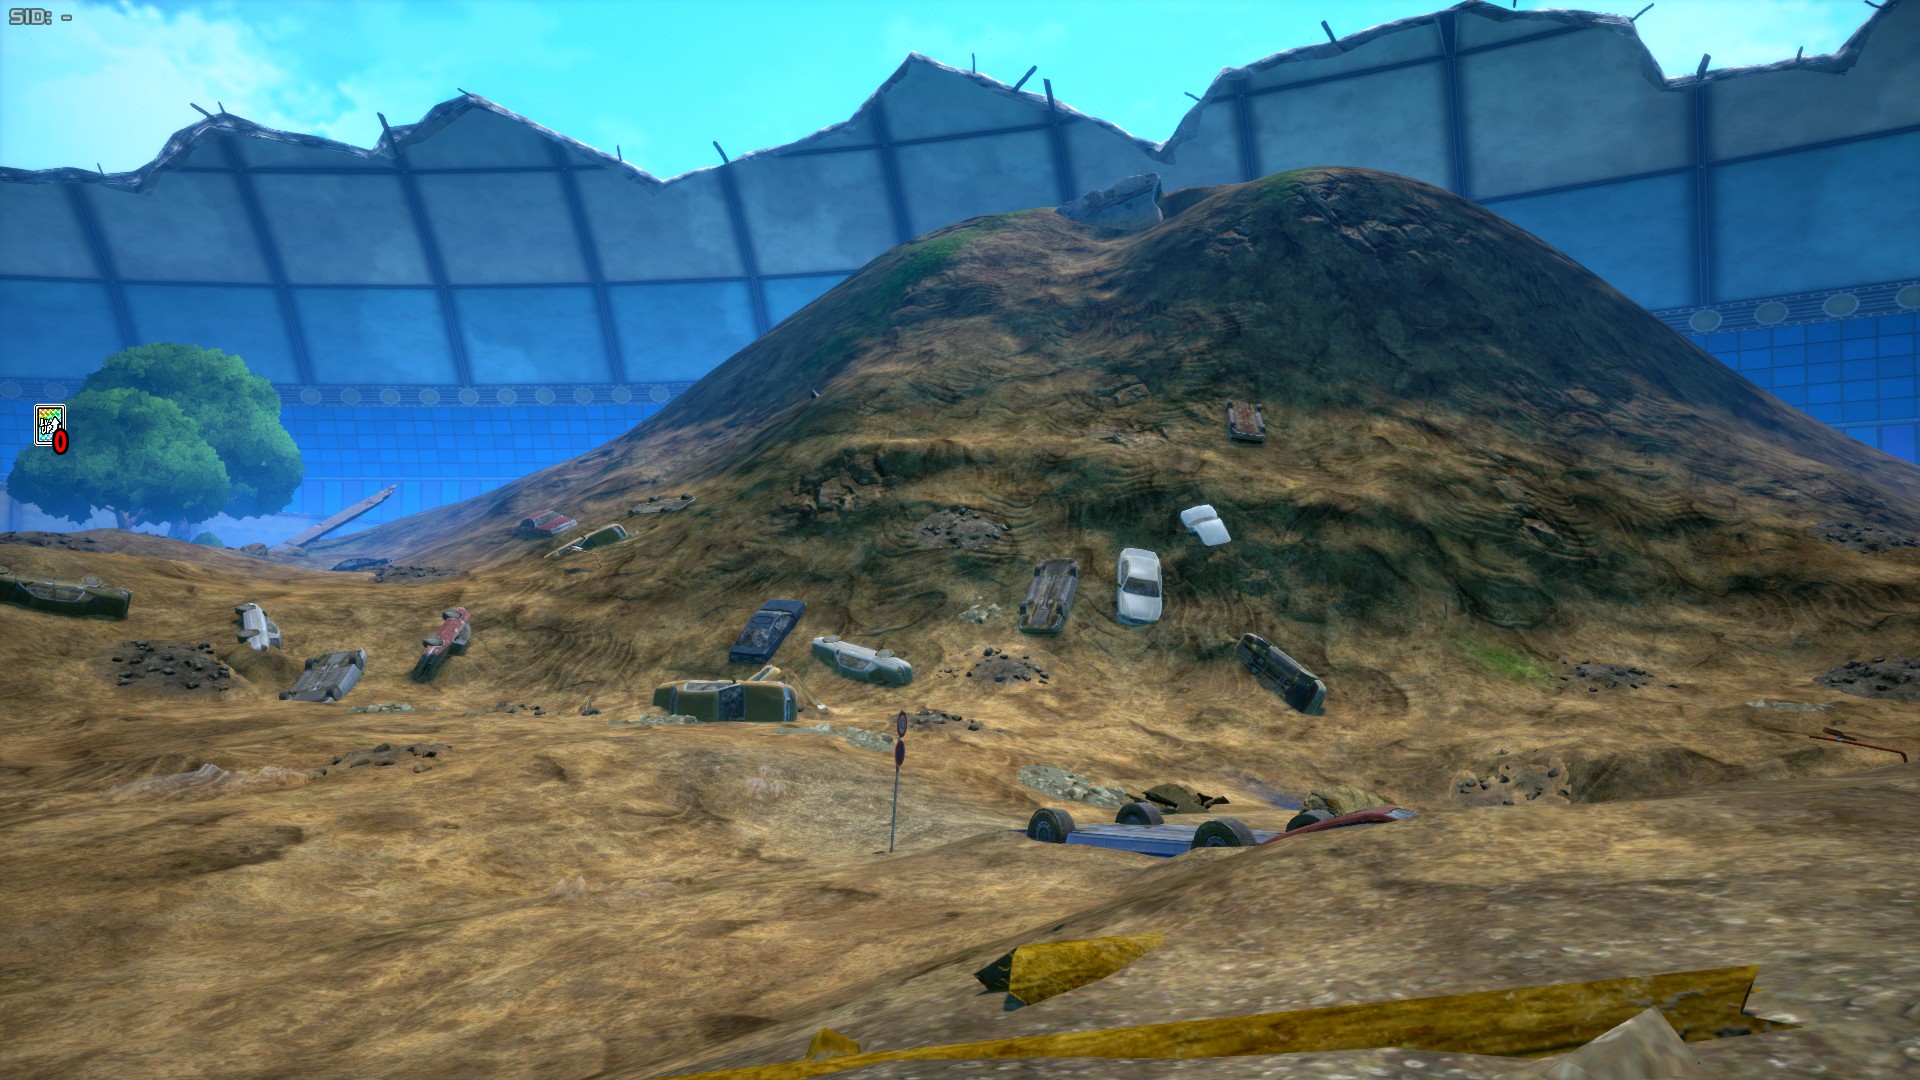
Landslide Zone has the honorable title of being the most optimal area to obtain Team Recovery Kits and Revive Cards, as the large amount of buildings make it easy to meet a bunch of civilians and rescue them for goodies. Unlike Collapse Zone, a good chunk of buildings are quite fragile, usually having 120 HP. This area is quite open however, and while the houses can serve as small cover, they're fragile, so the area can easily turn into a flat open terrain.
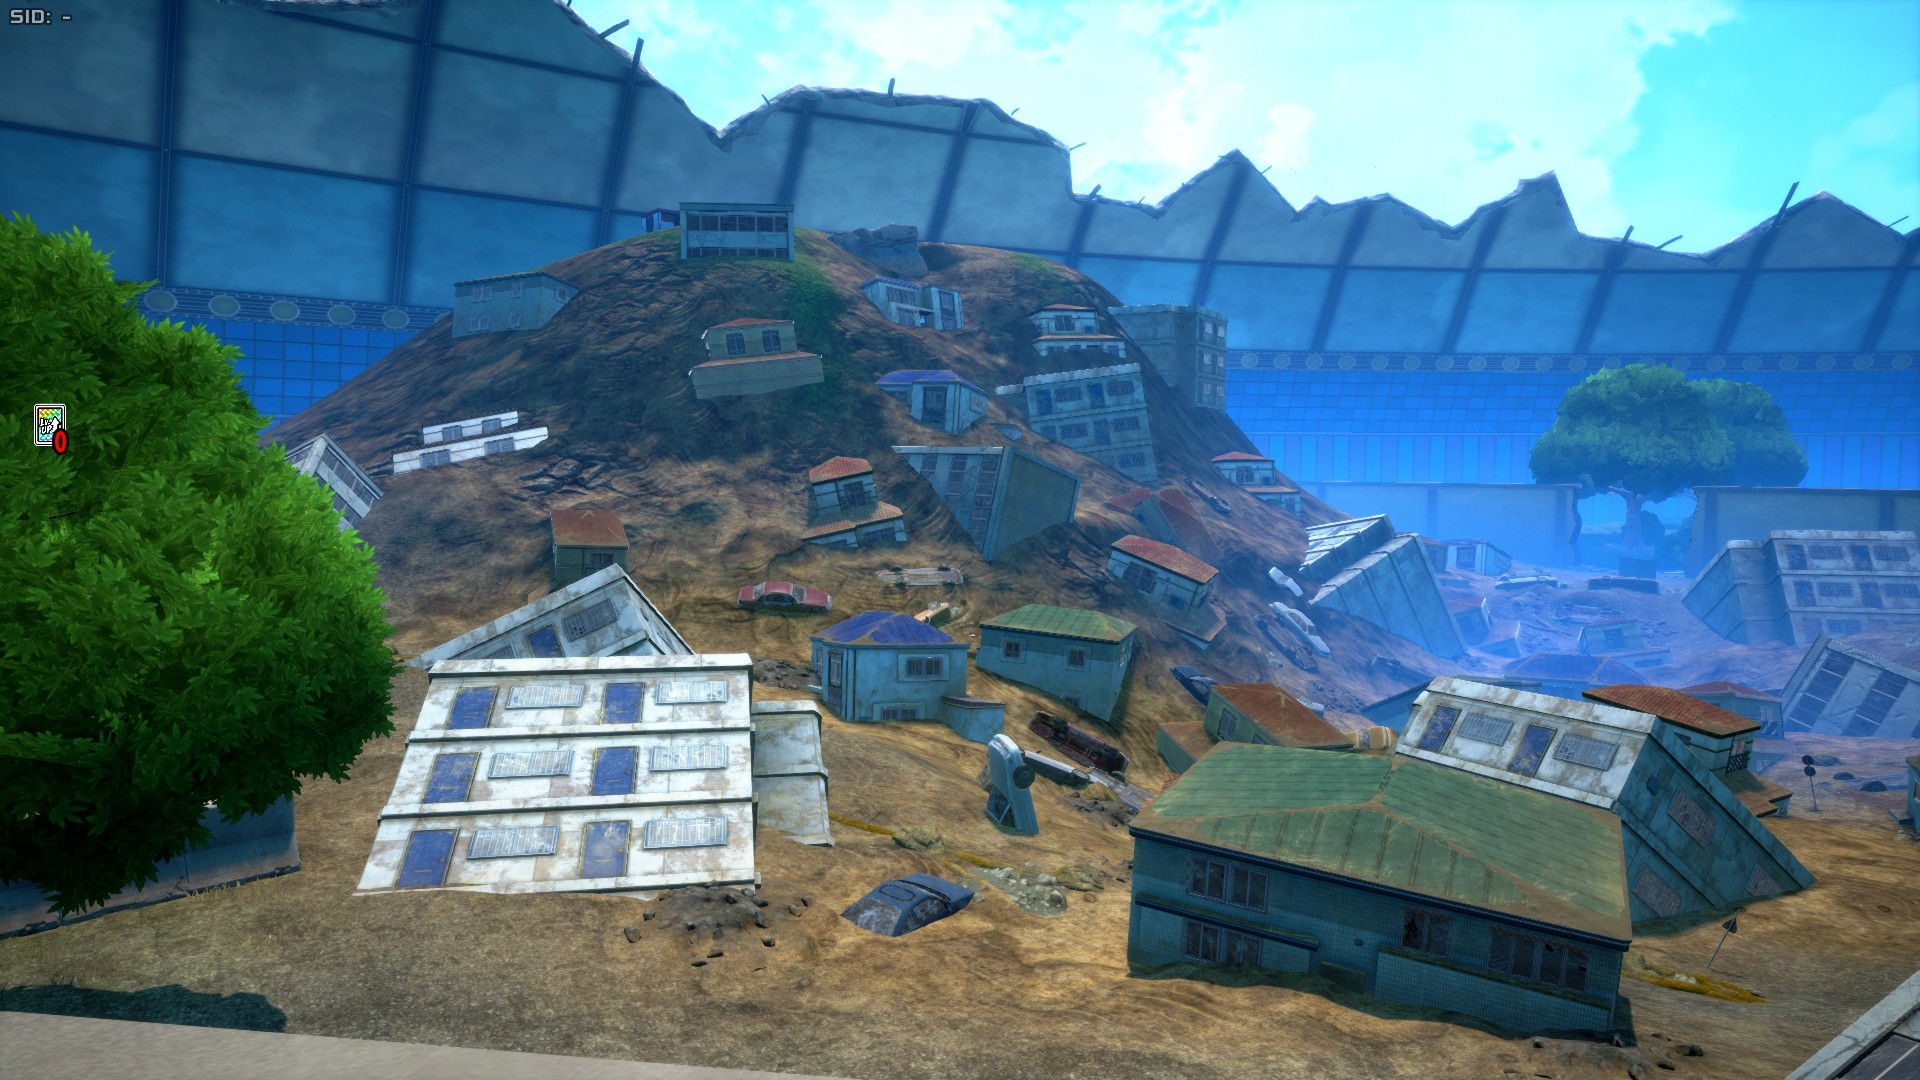
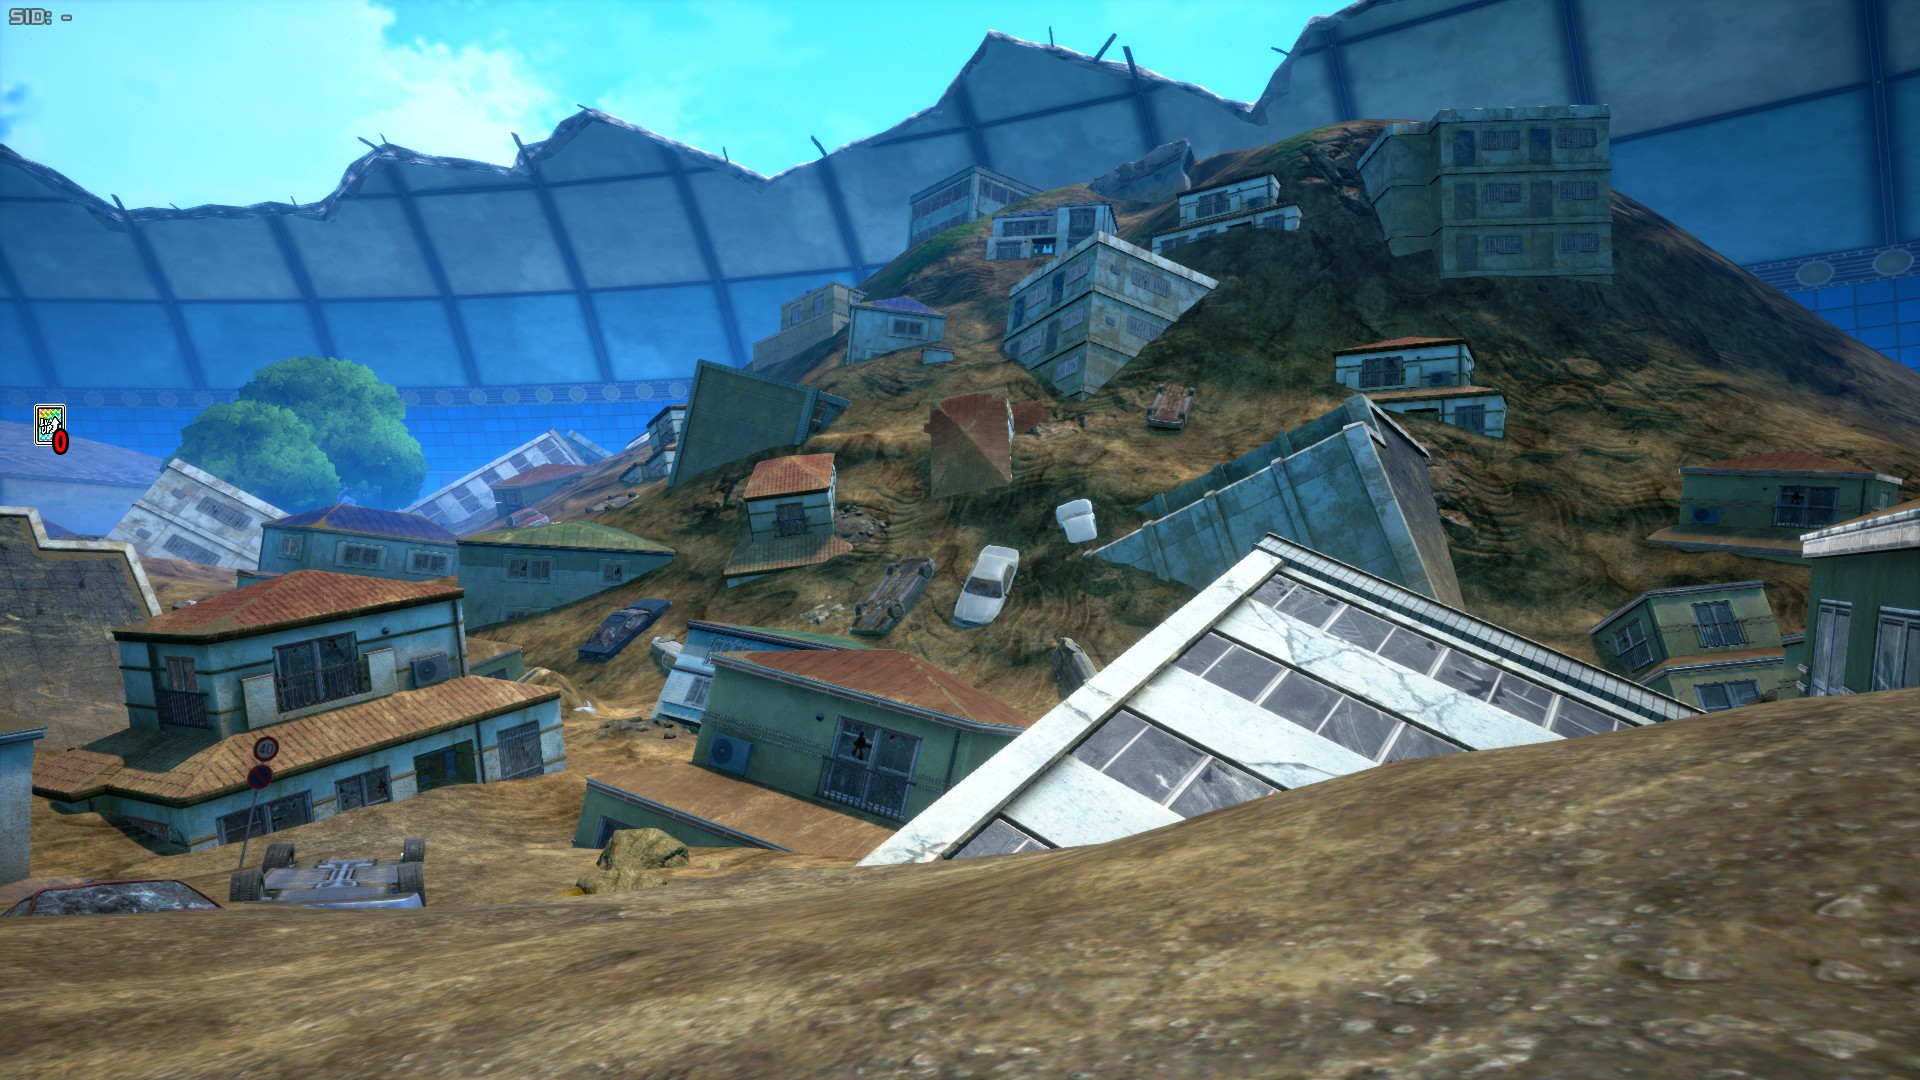
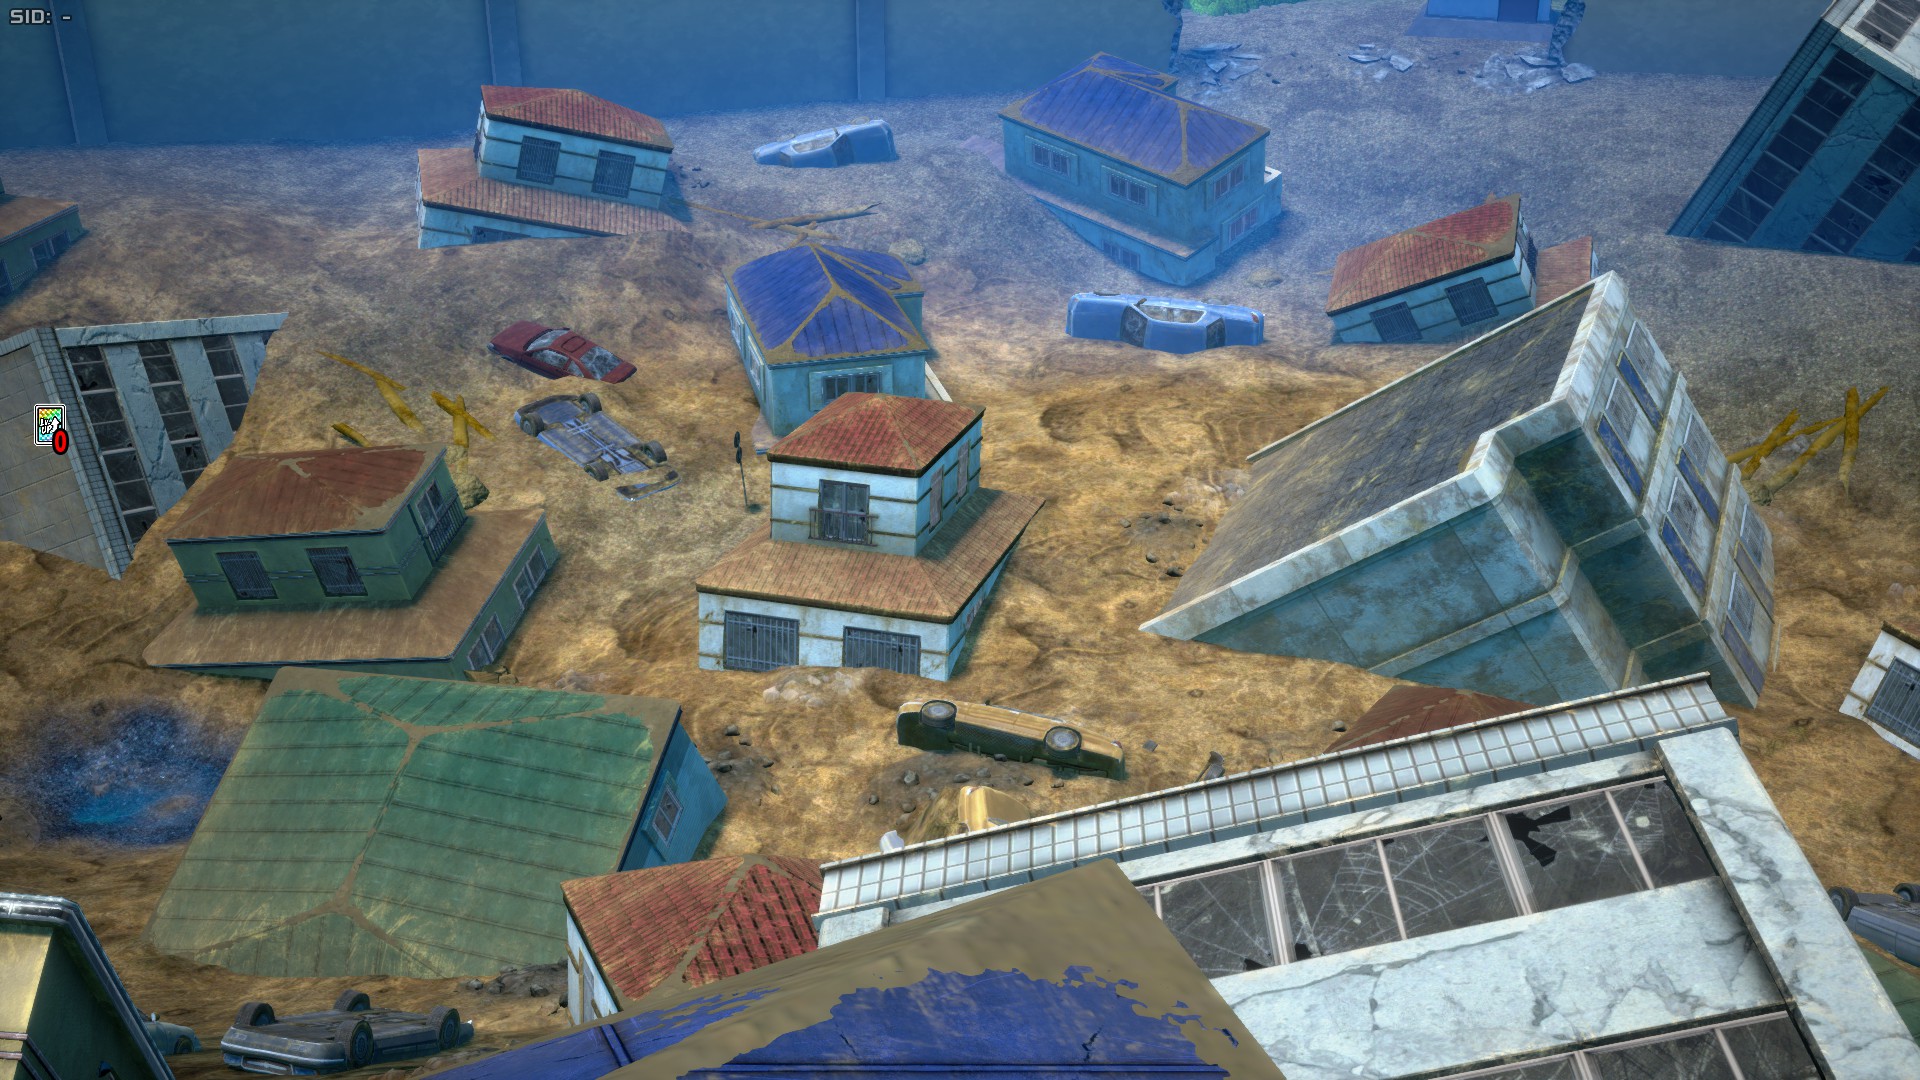
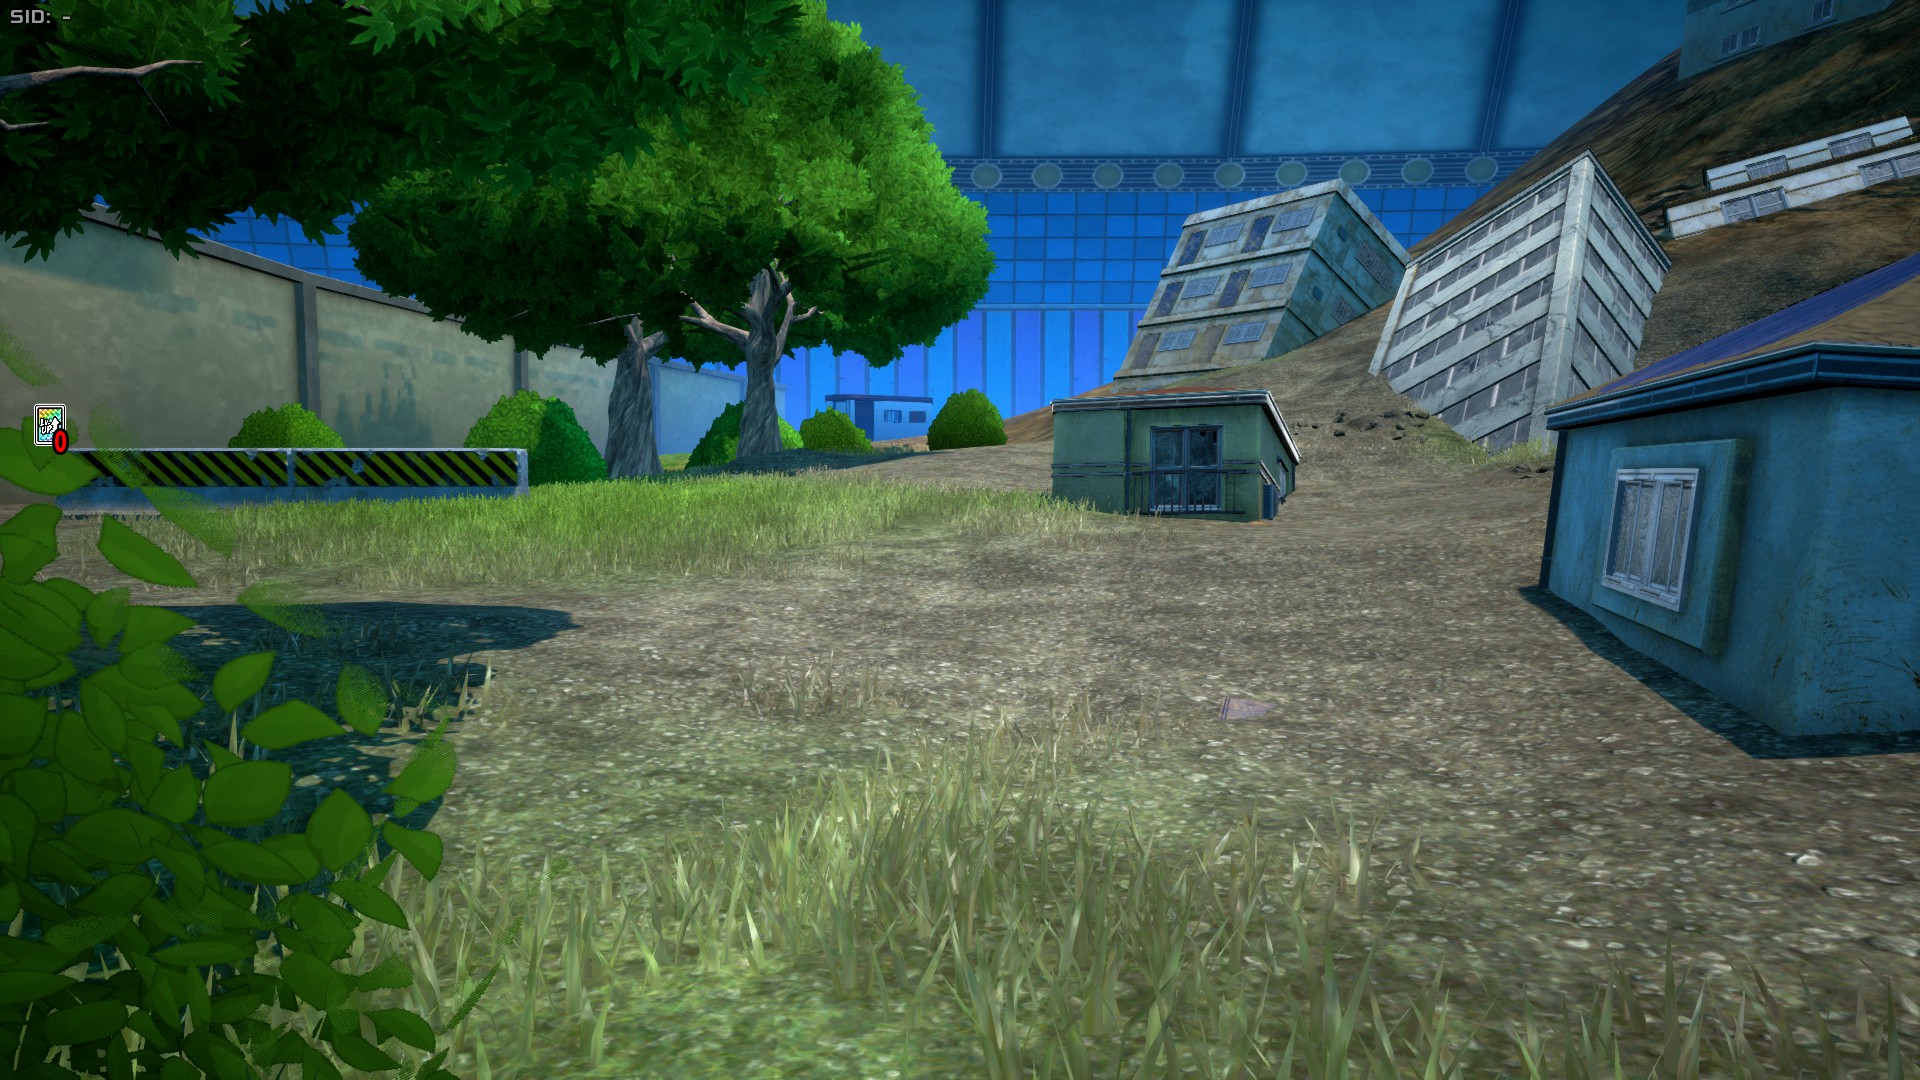
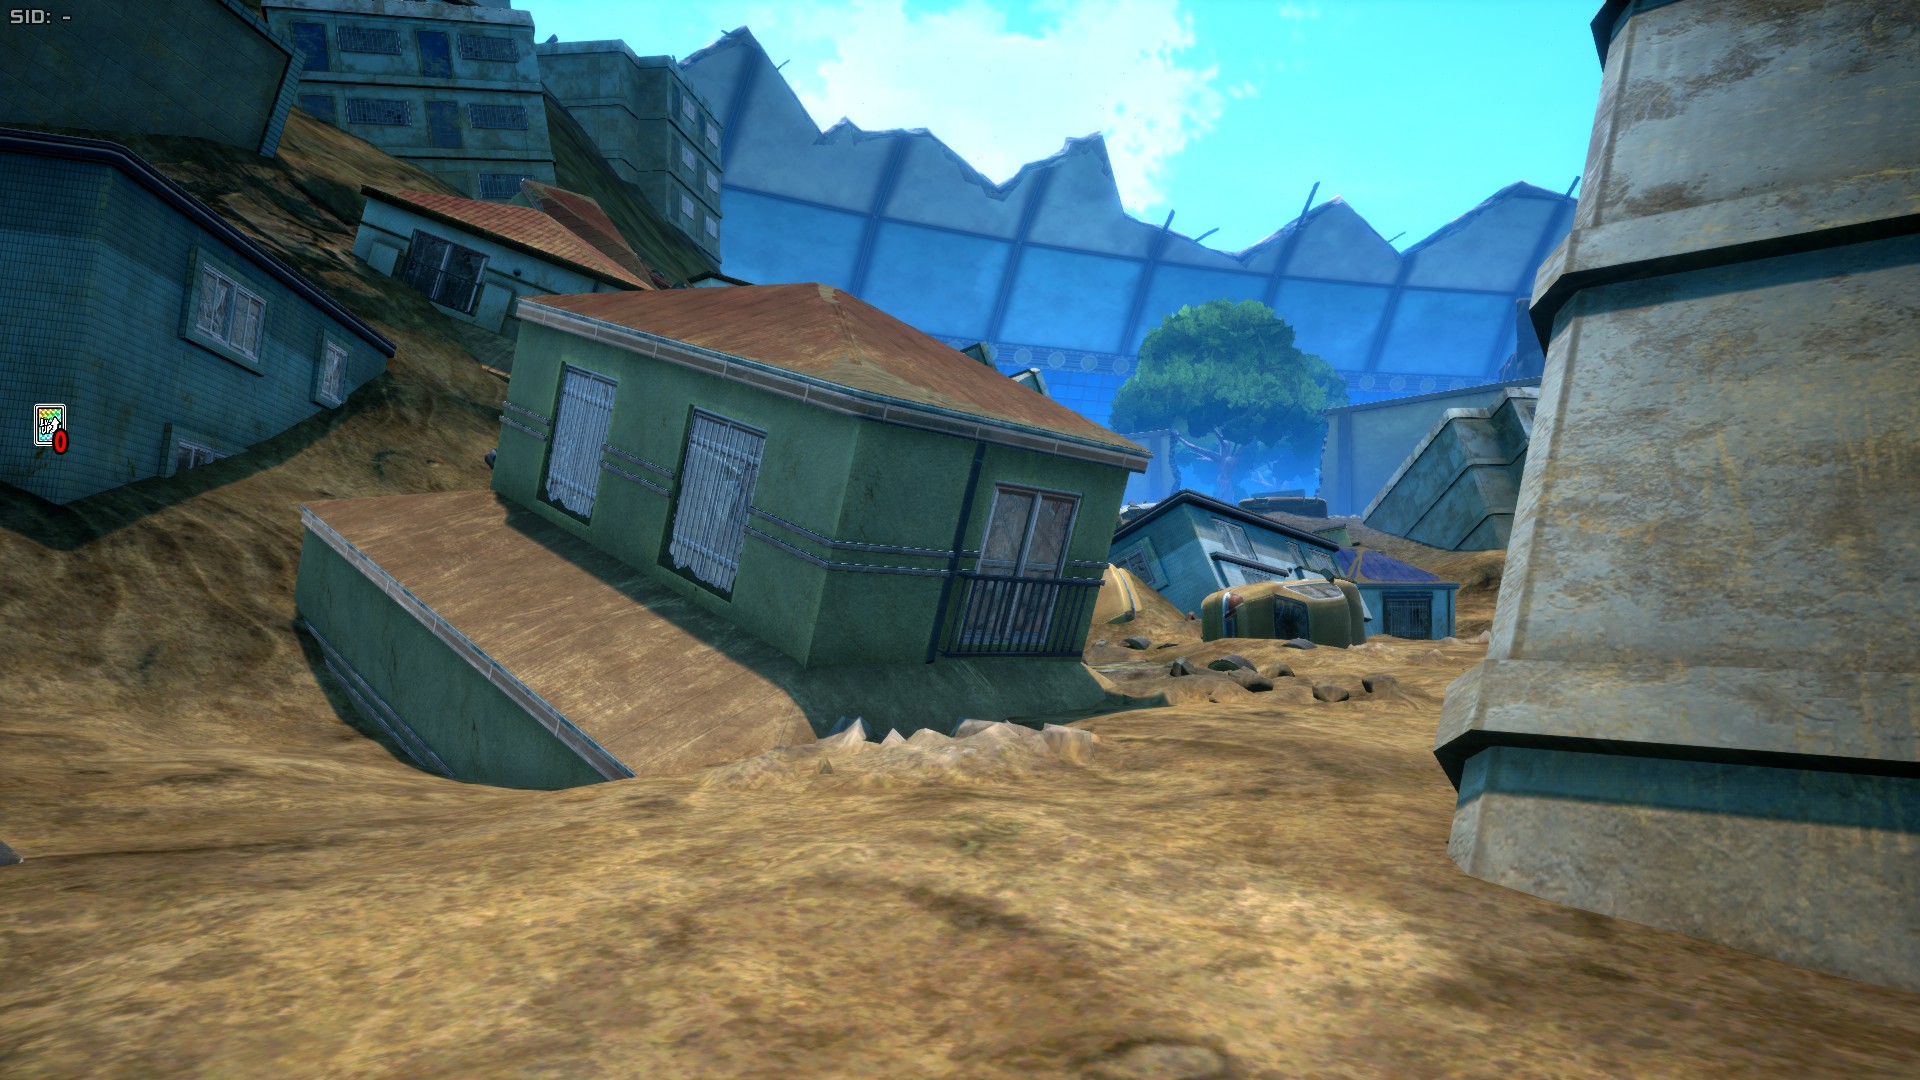
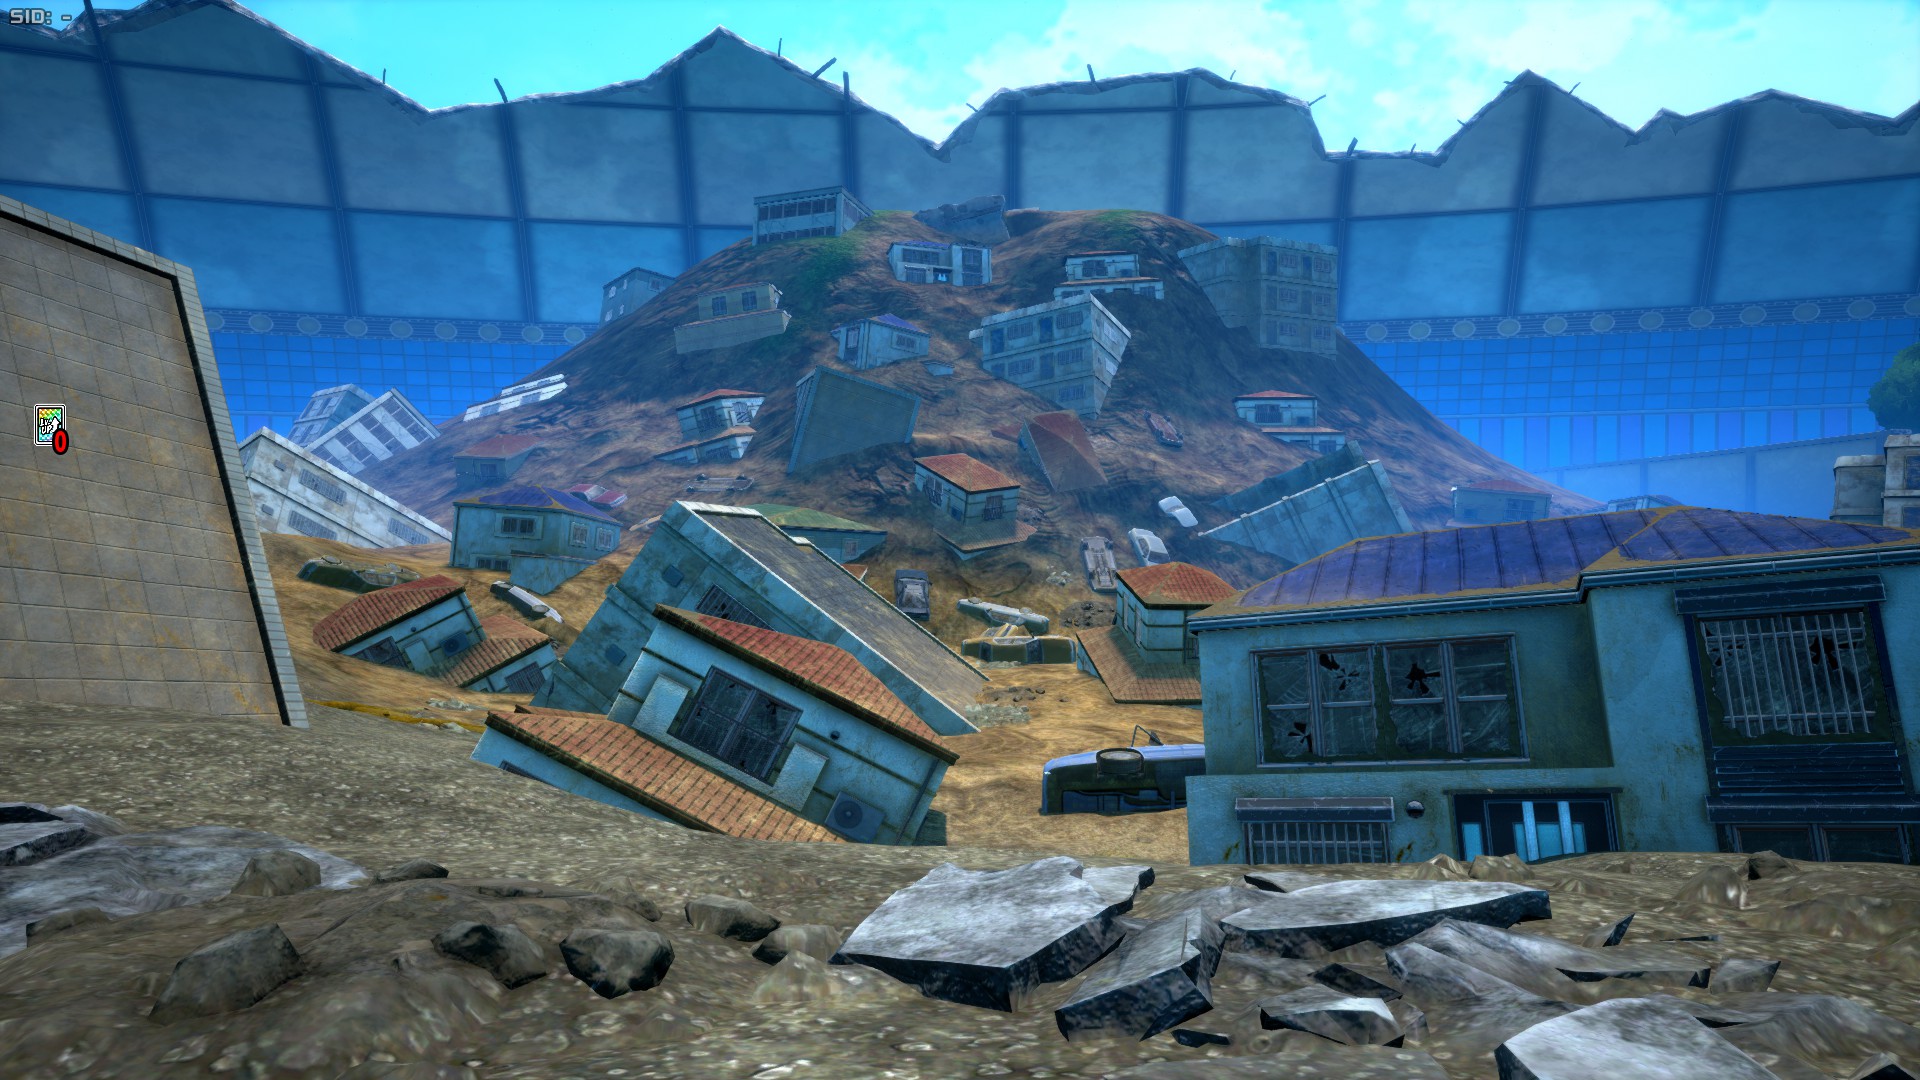
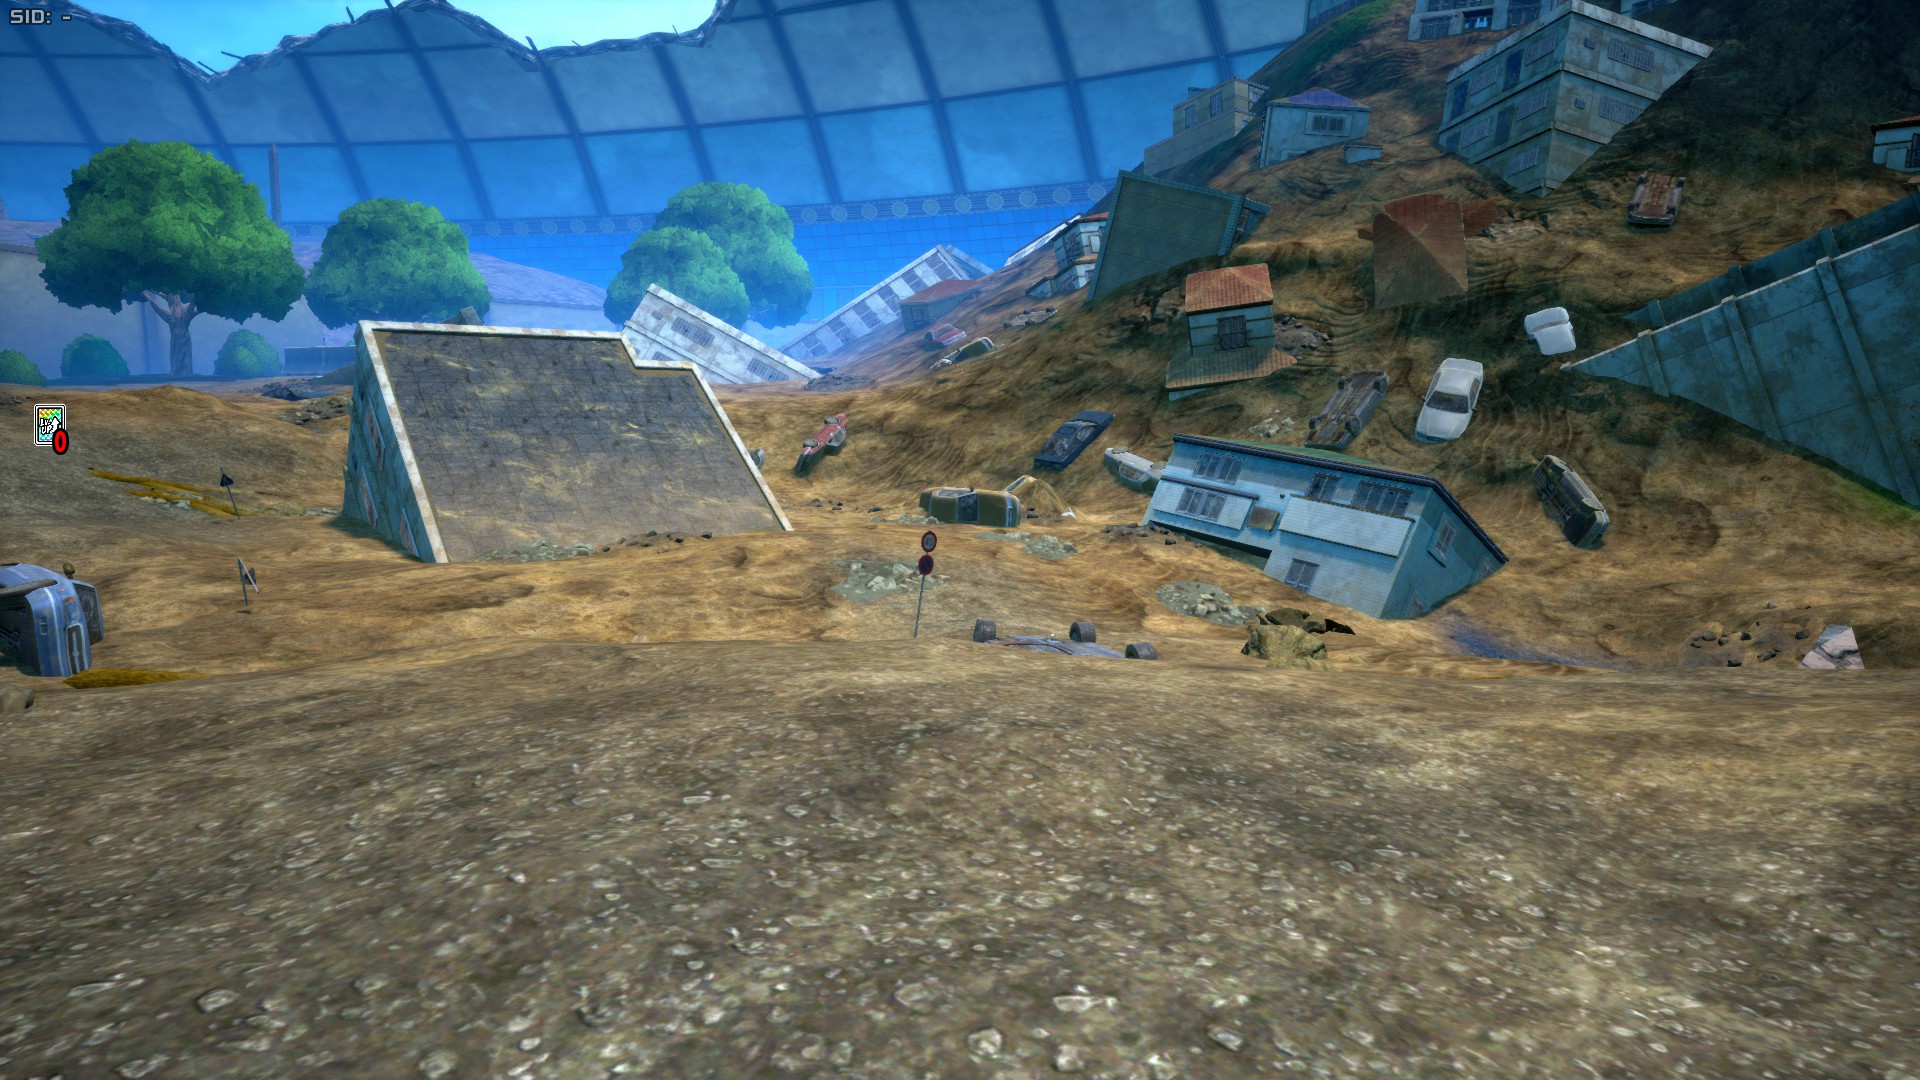
Mountain Zone
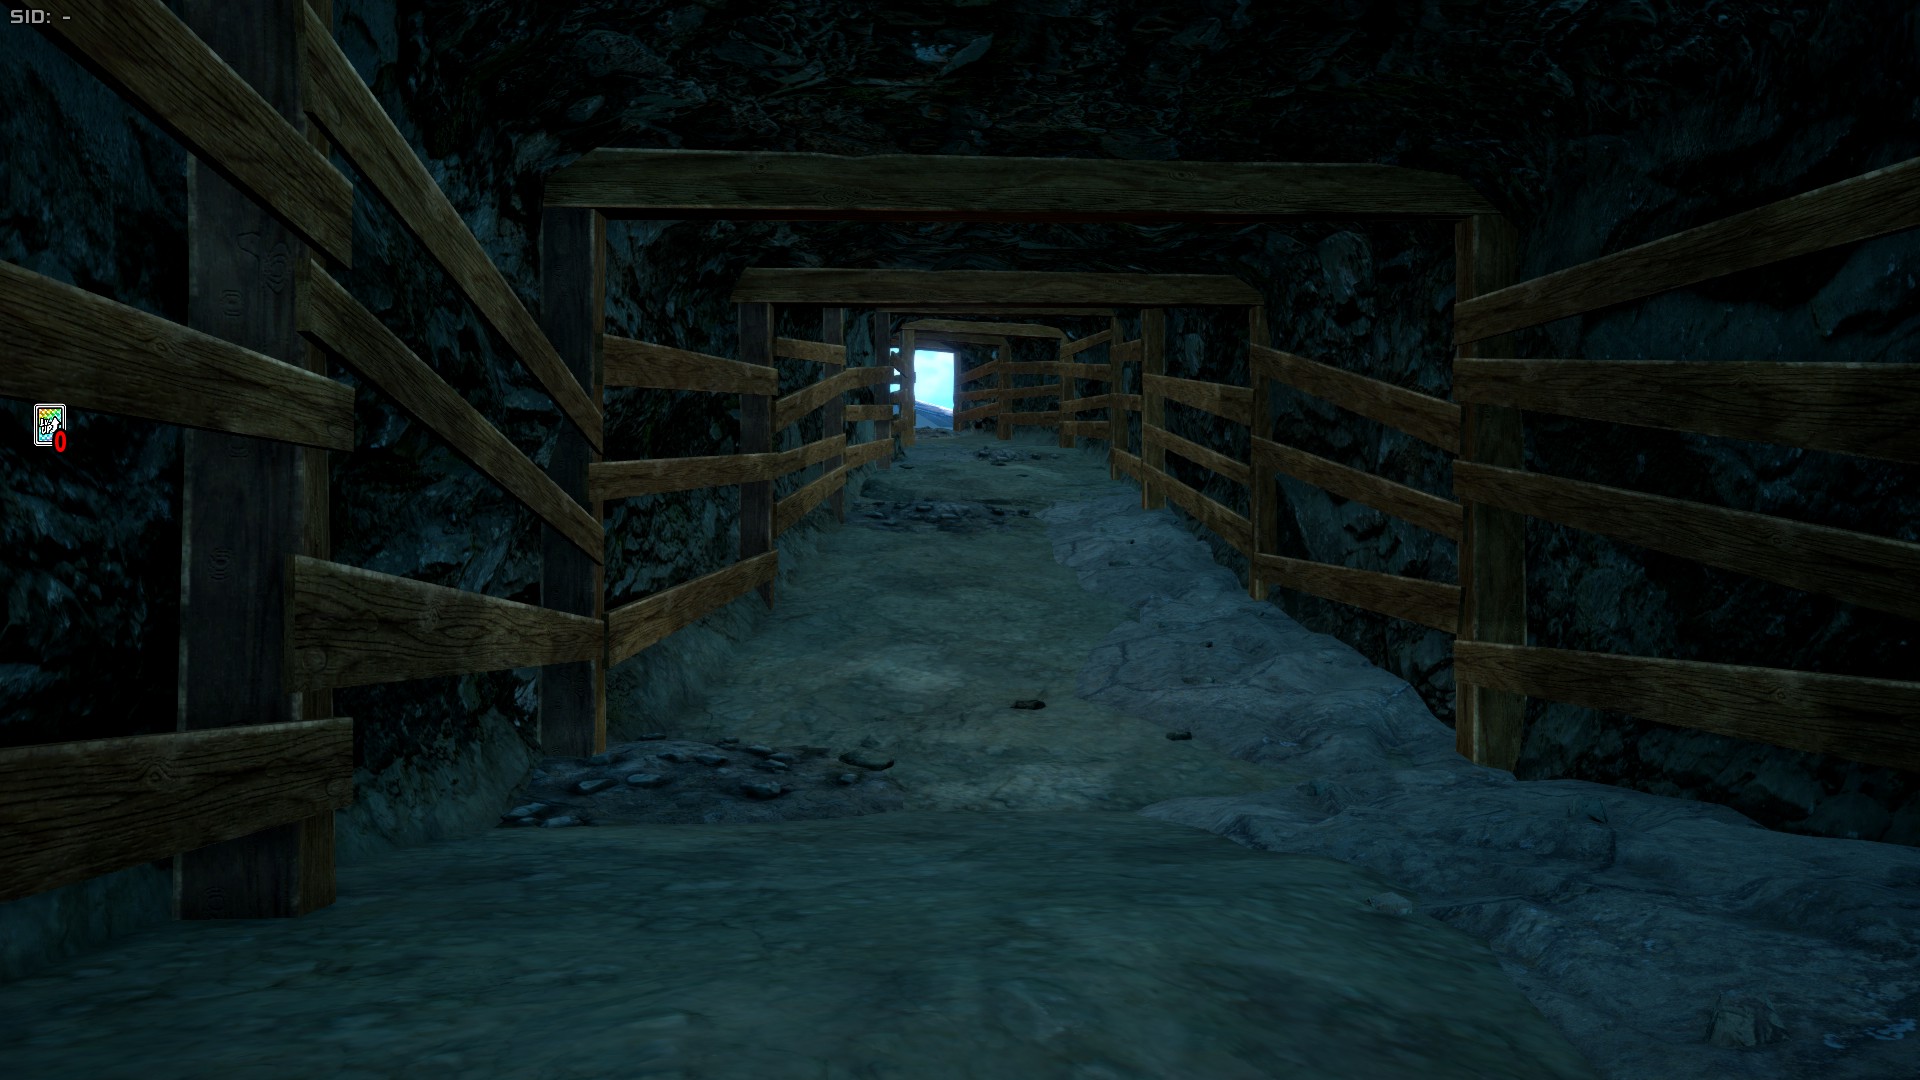
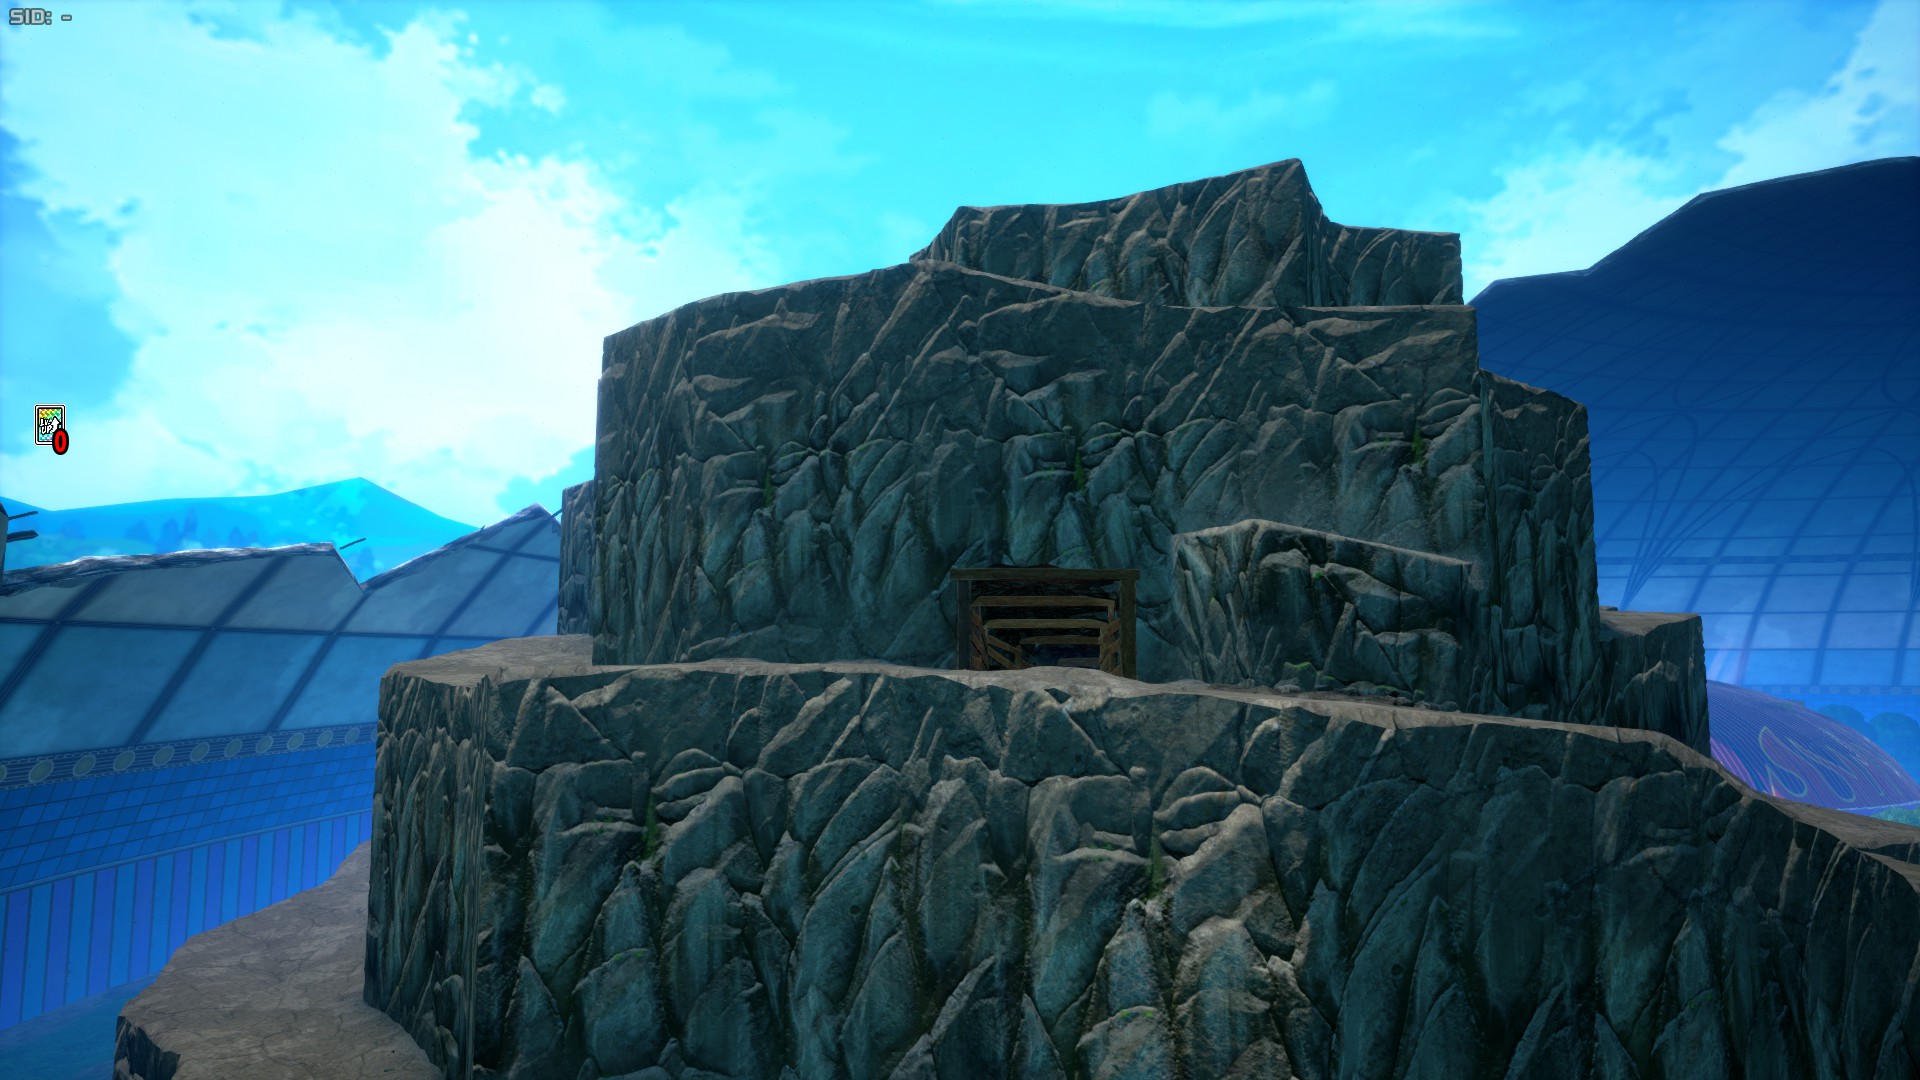
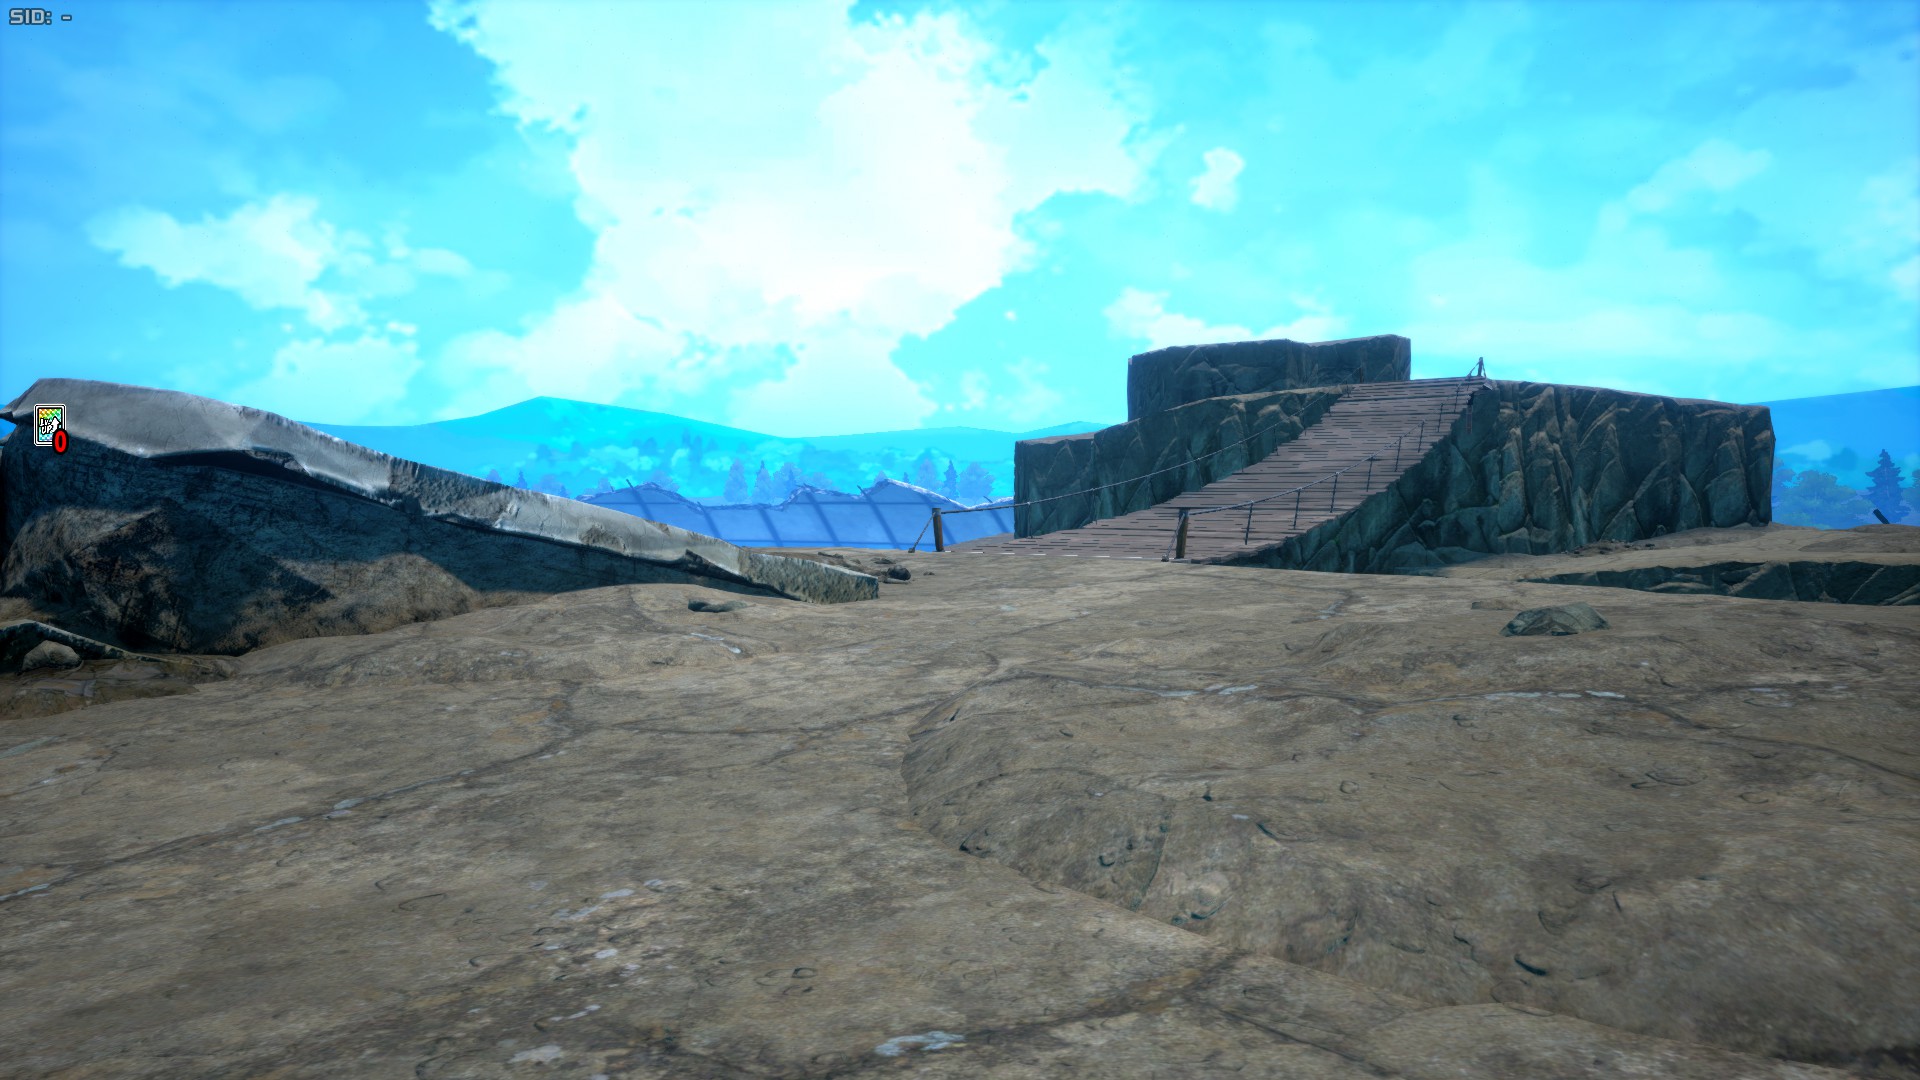
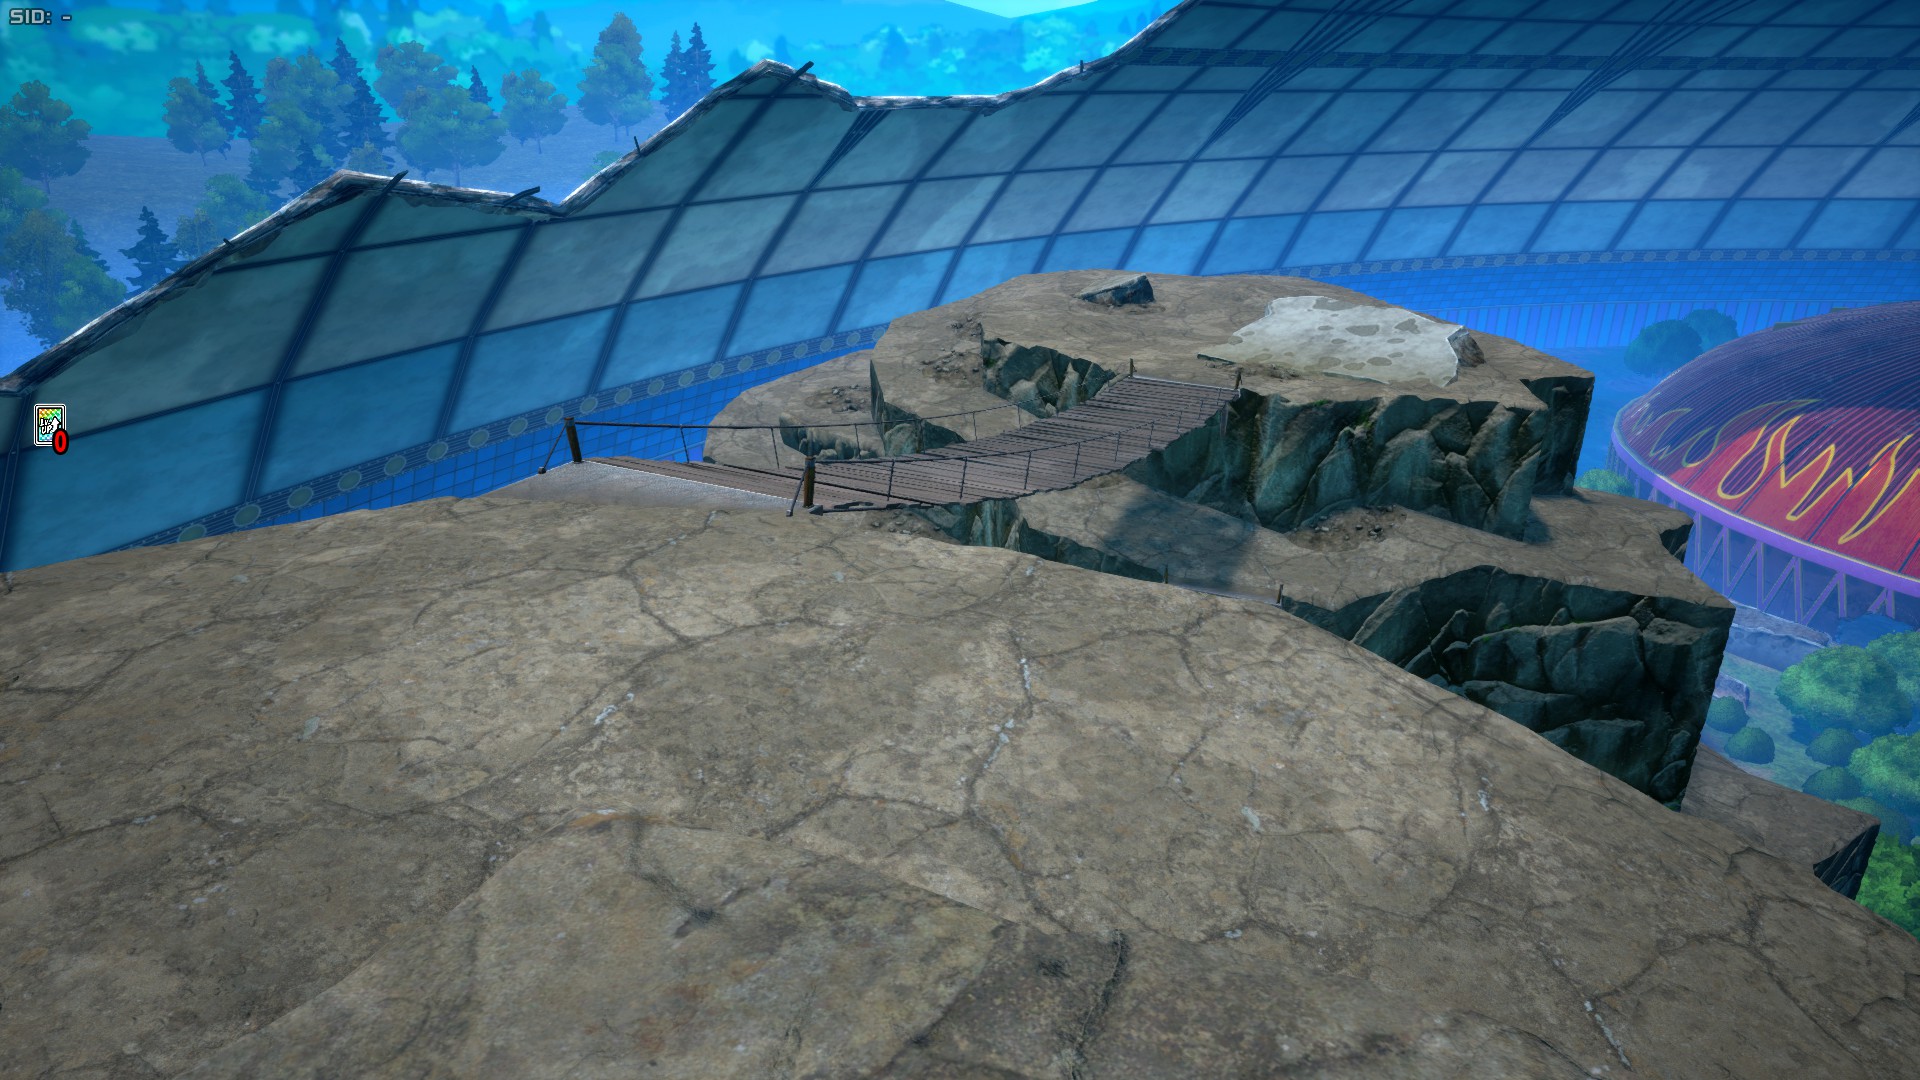
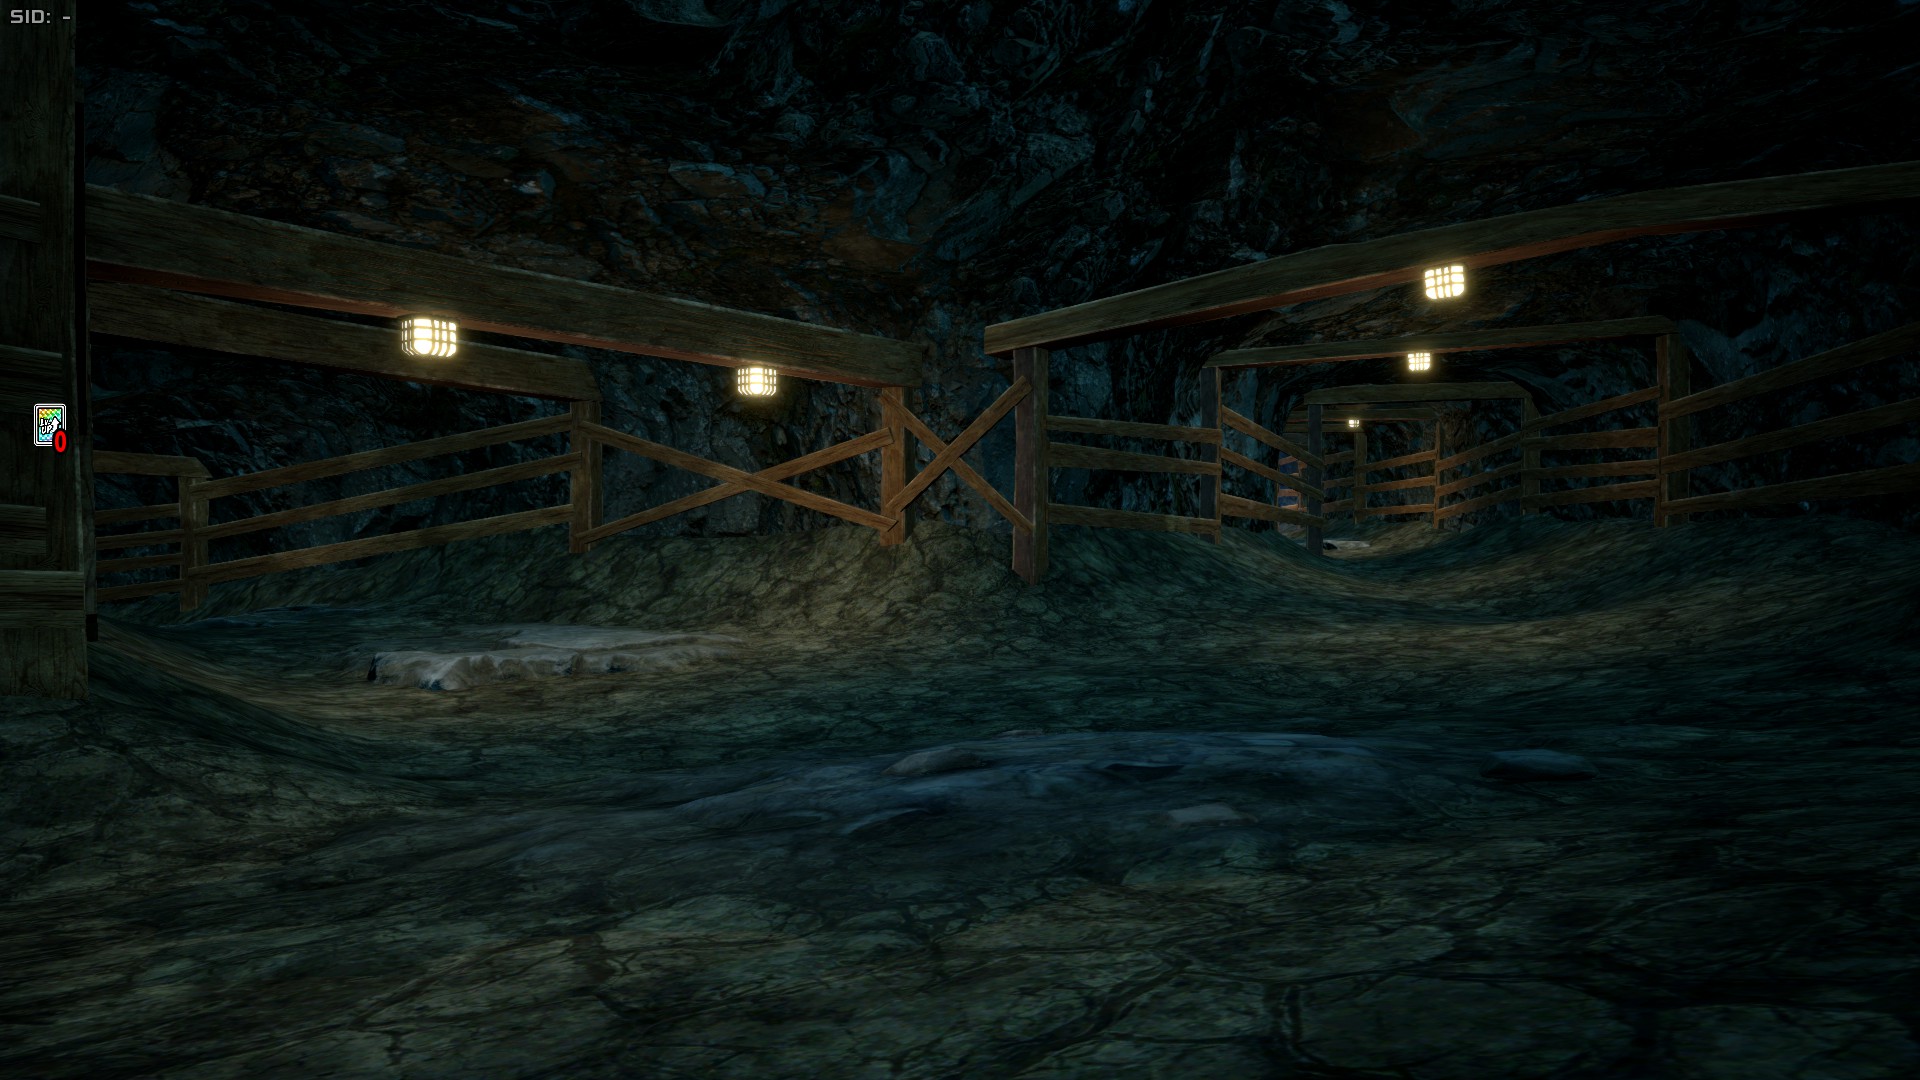
For the current version, scroll to USJ Ver.02 Mountain Zone is the tallest of all areas, being around 8500 UU tall (or 85 meters). The area features little to no cover besides having the high ground, and characters with no vertical mobility notably struggle to fight high mobility ones, as the latter can retreat and heal in a tall spot. This area also features tunnels that allow players that shine in closed spaces to have an advantage.
Aquatic Zone
For the current version, scroll to USJ Ver.03
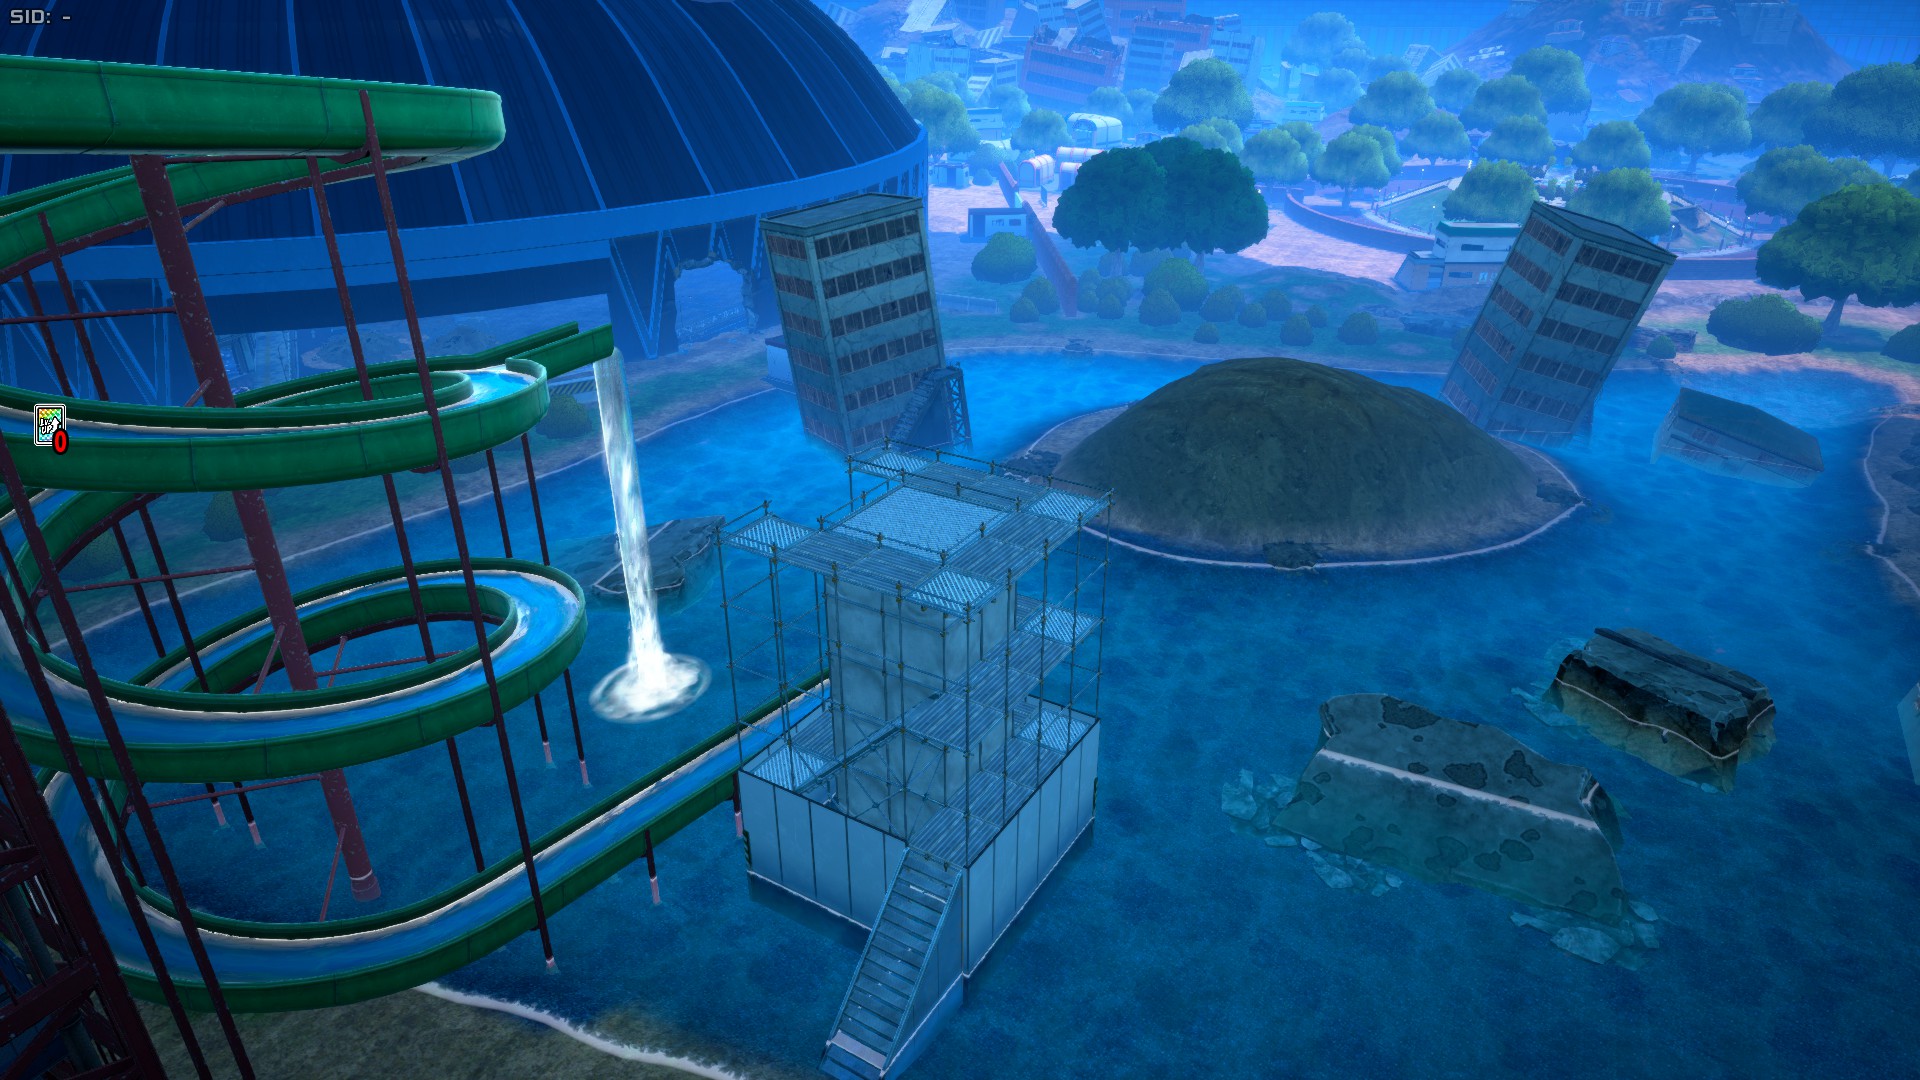
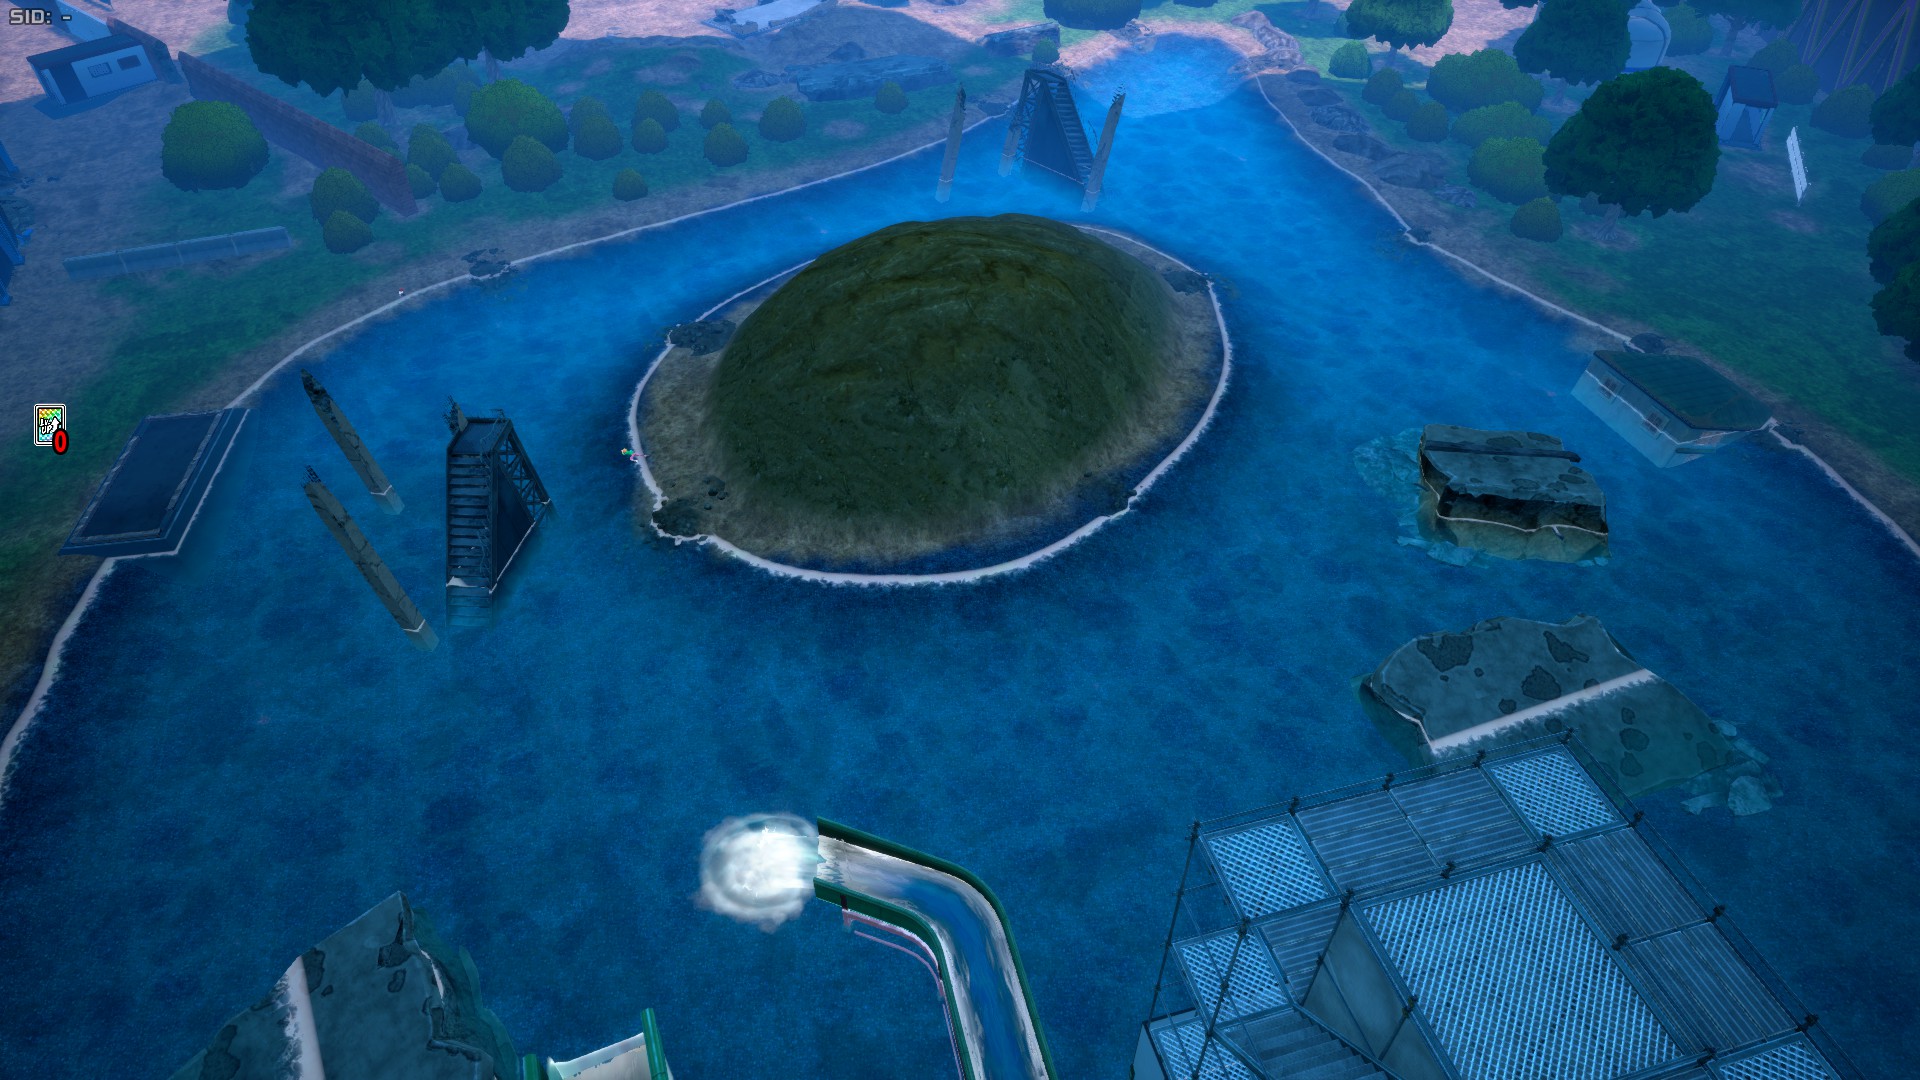
Aquatic Zone is a simple area that features two destructible buildings, a white structure, and a metallic structure with a slider. This is a pretty small area compared to the rest, so even though the loot isn't bad, it doesn't offer much else afterwards. As the name suggests, this area features water, which has no special effects.
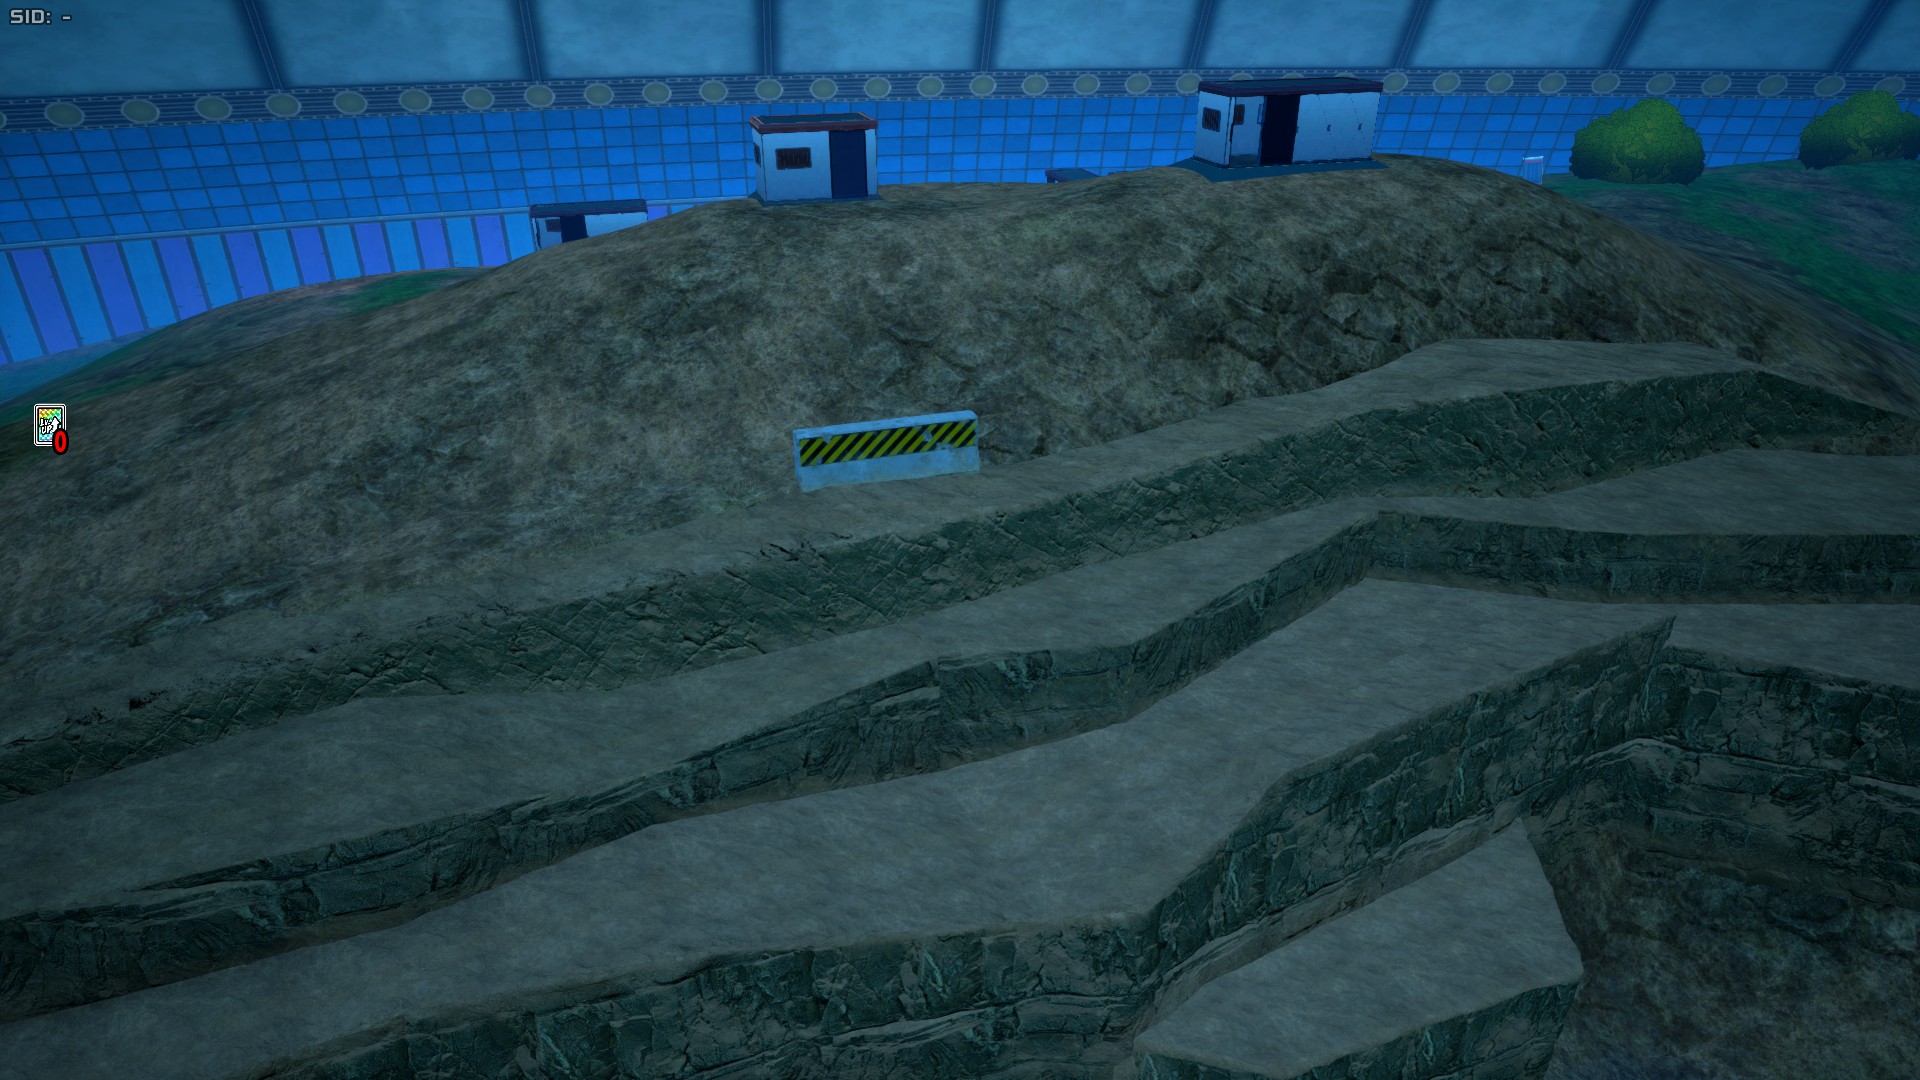
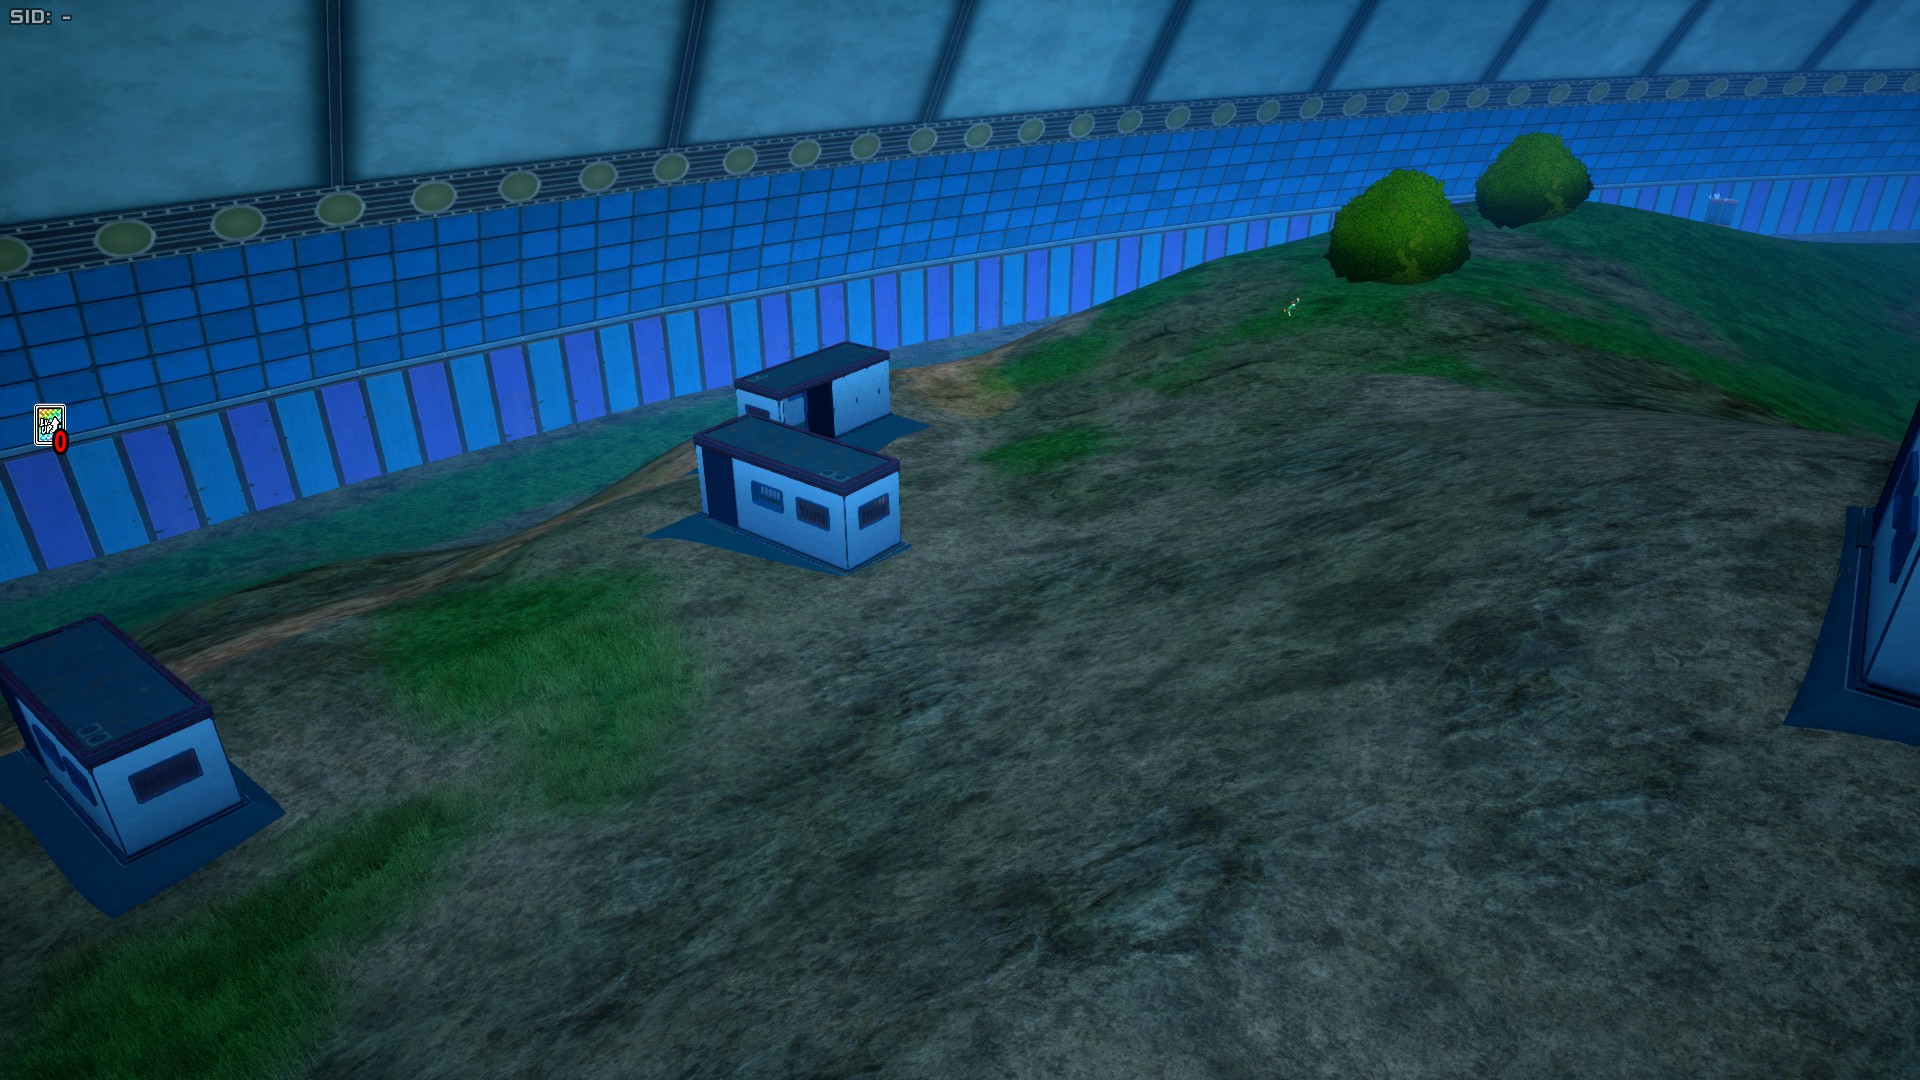
Aquatic Zone also features a rocky area behind, which doesn't have much going on besides a few small structures.
Other Spots
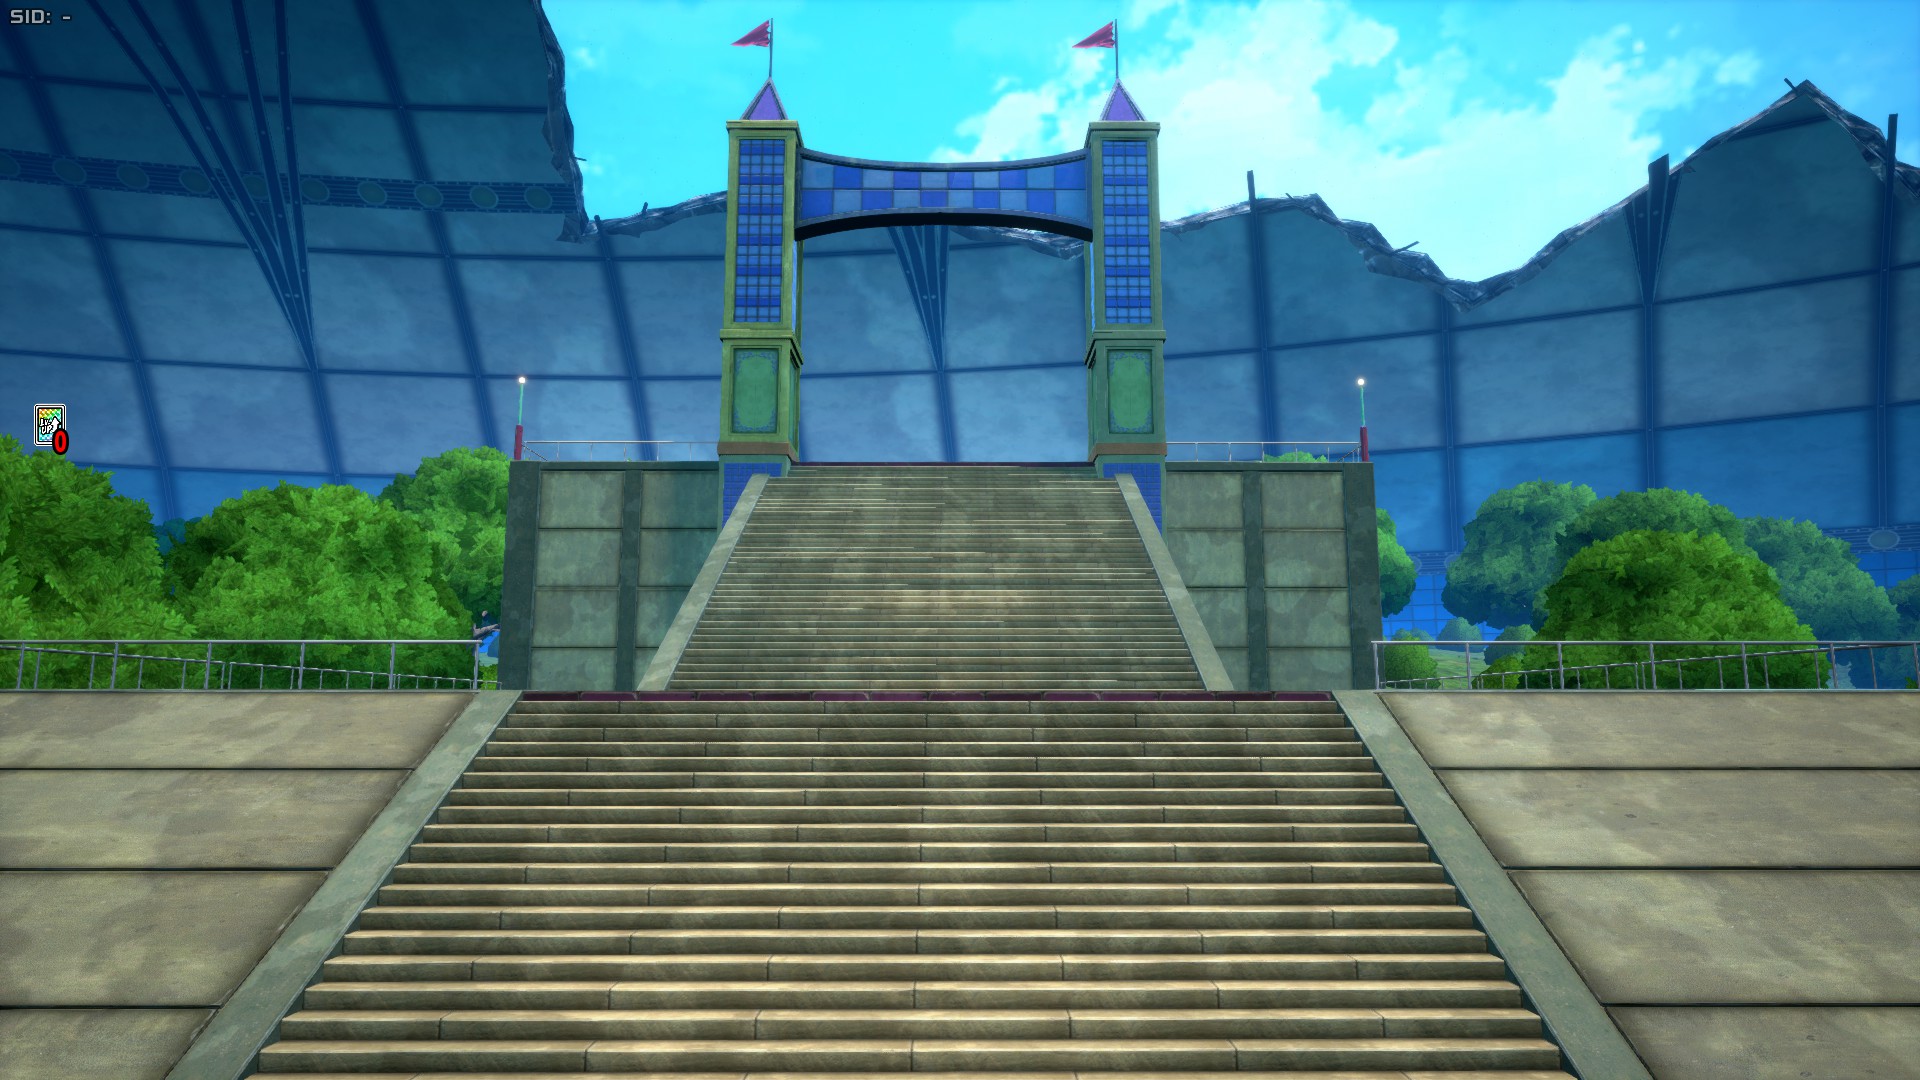
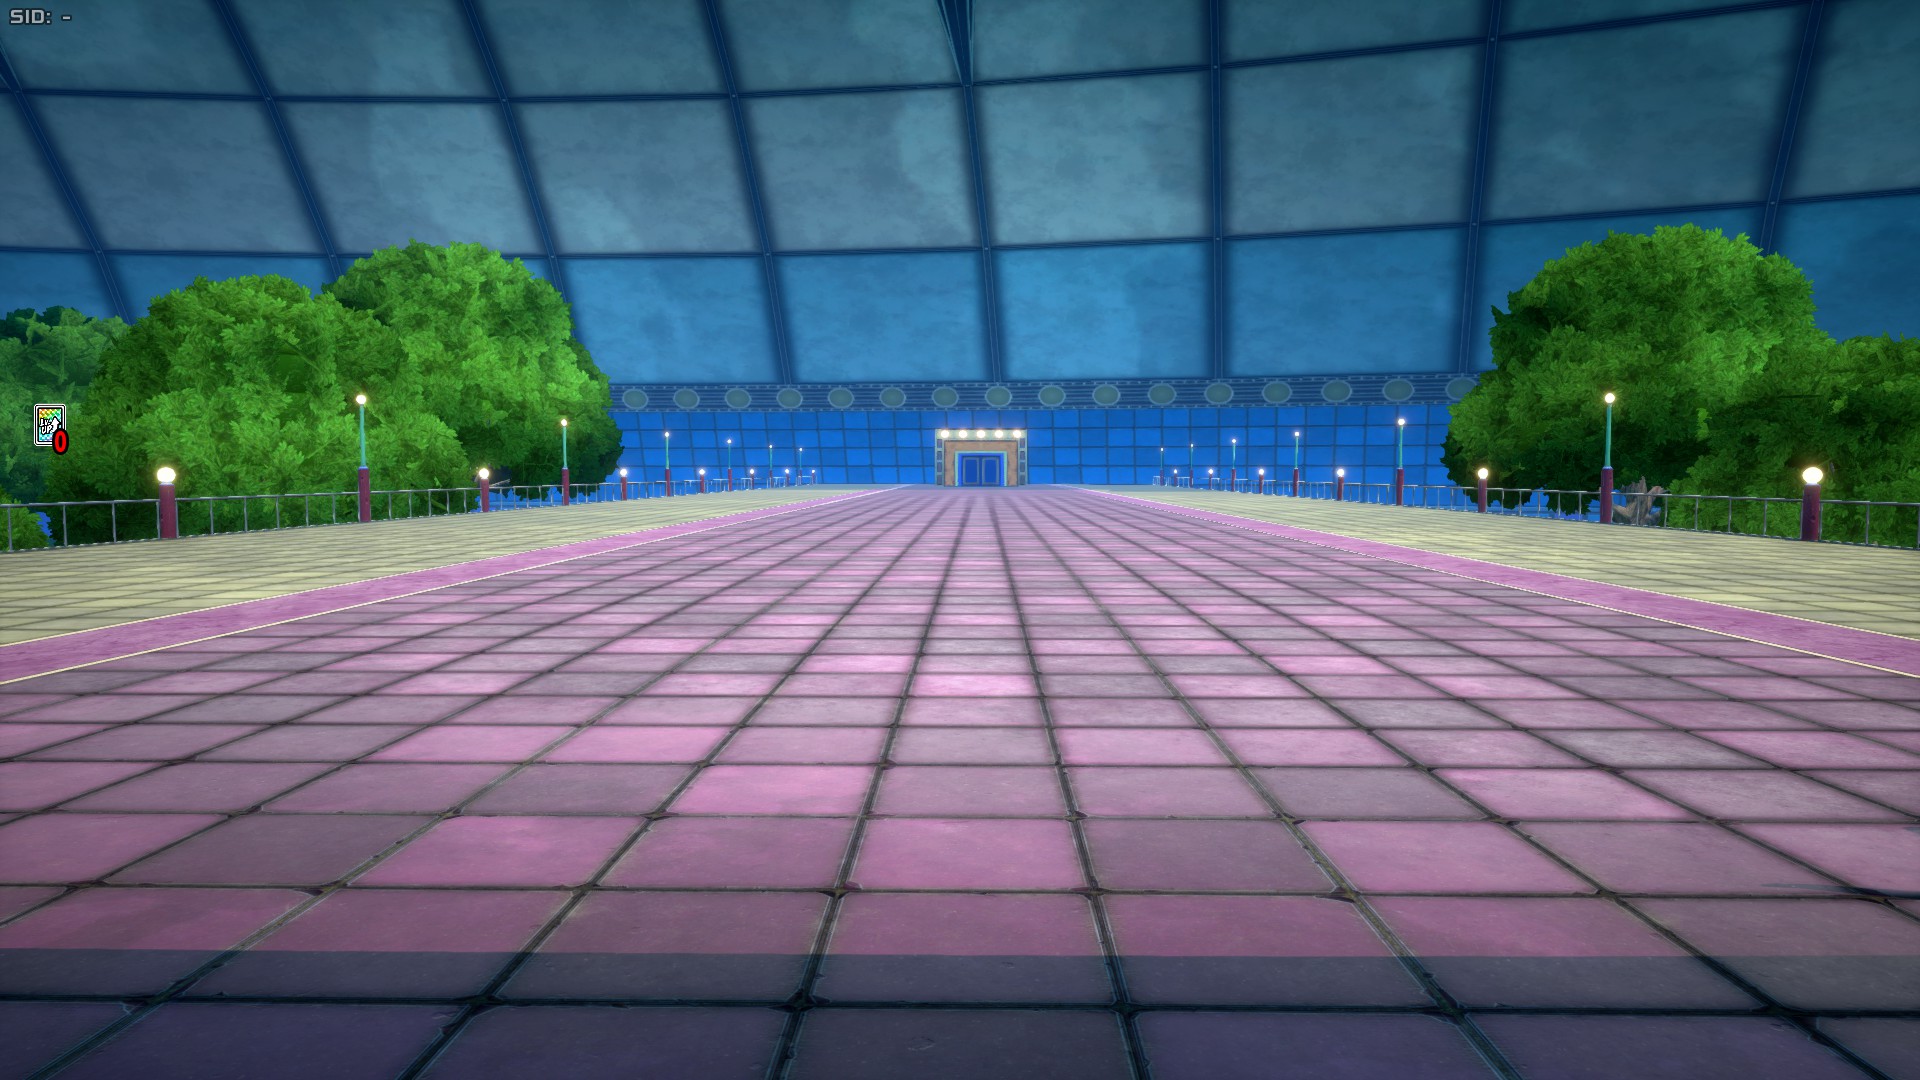
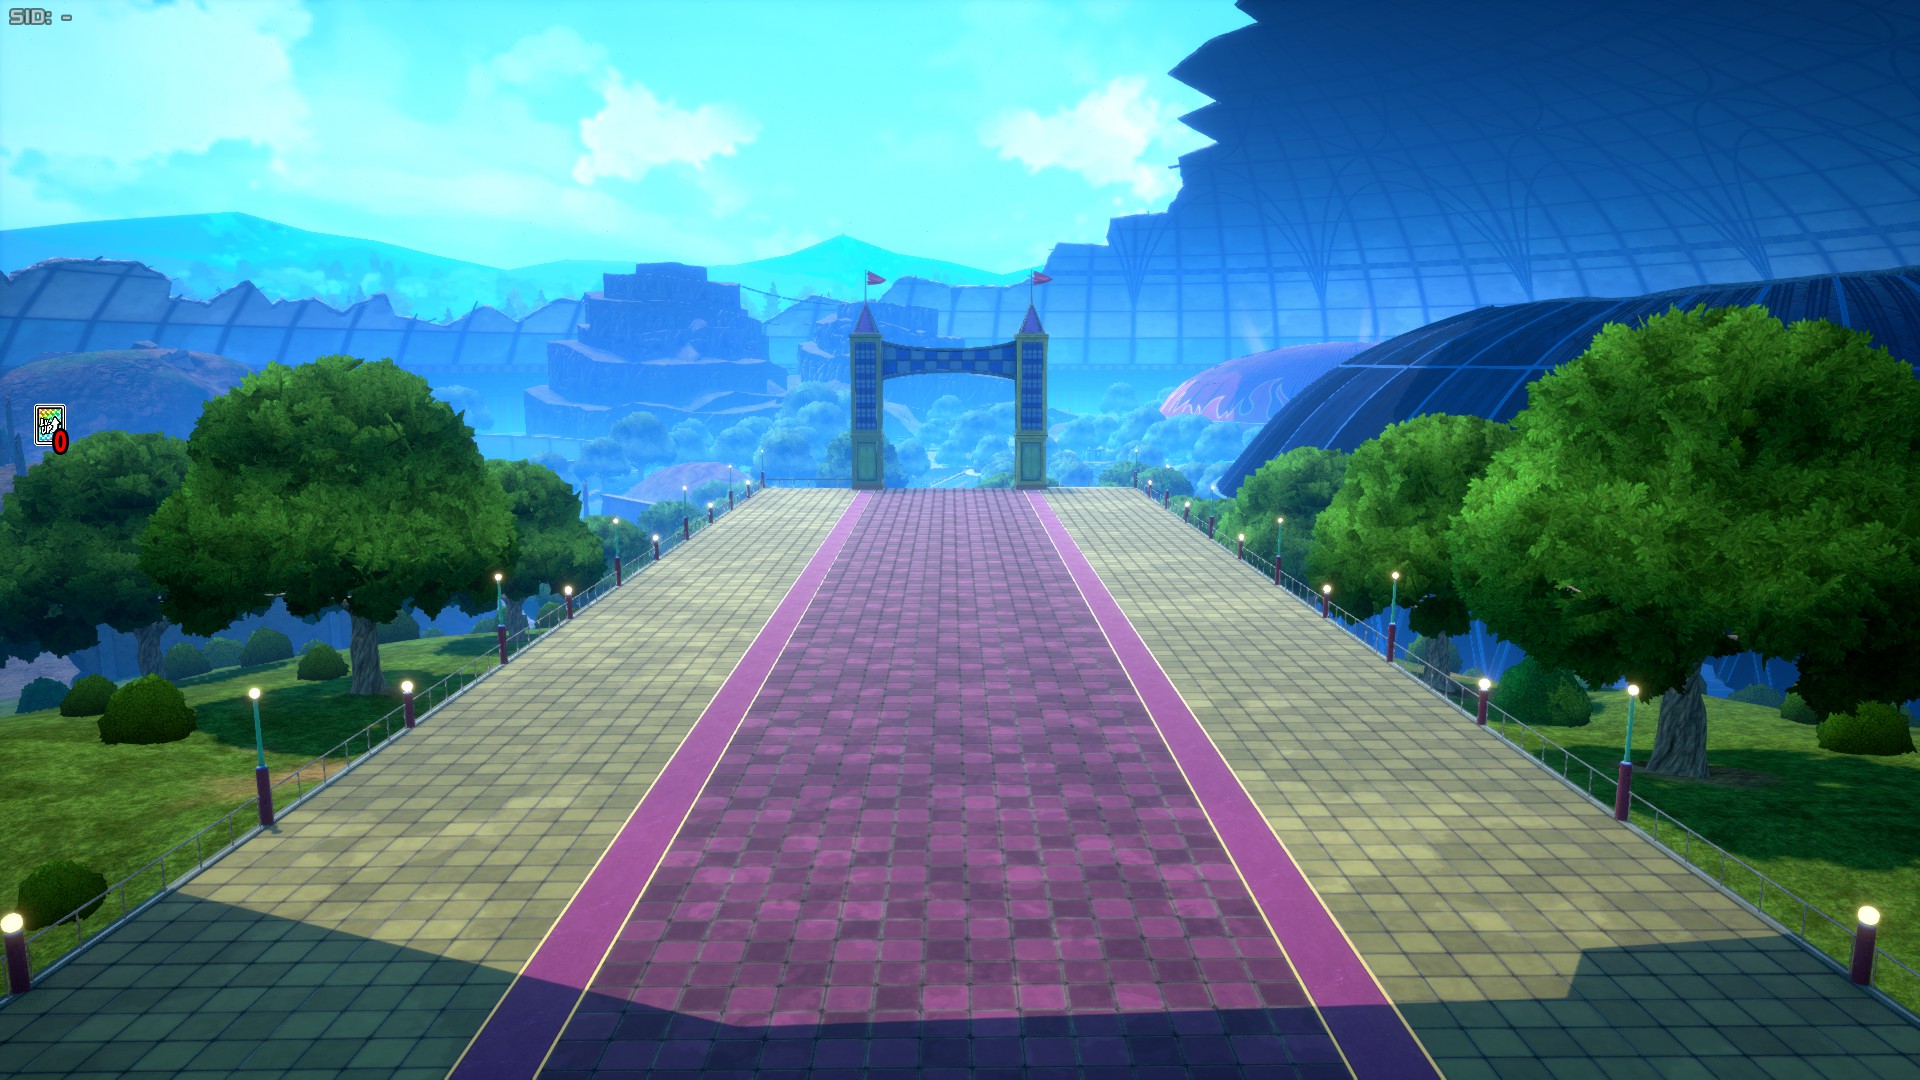
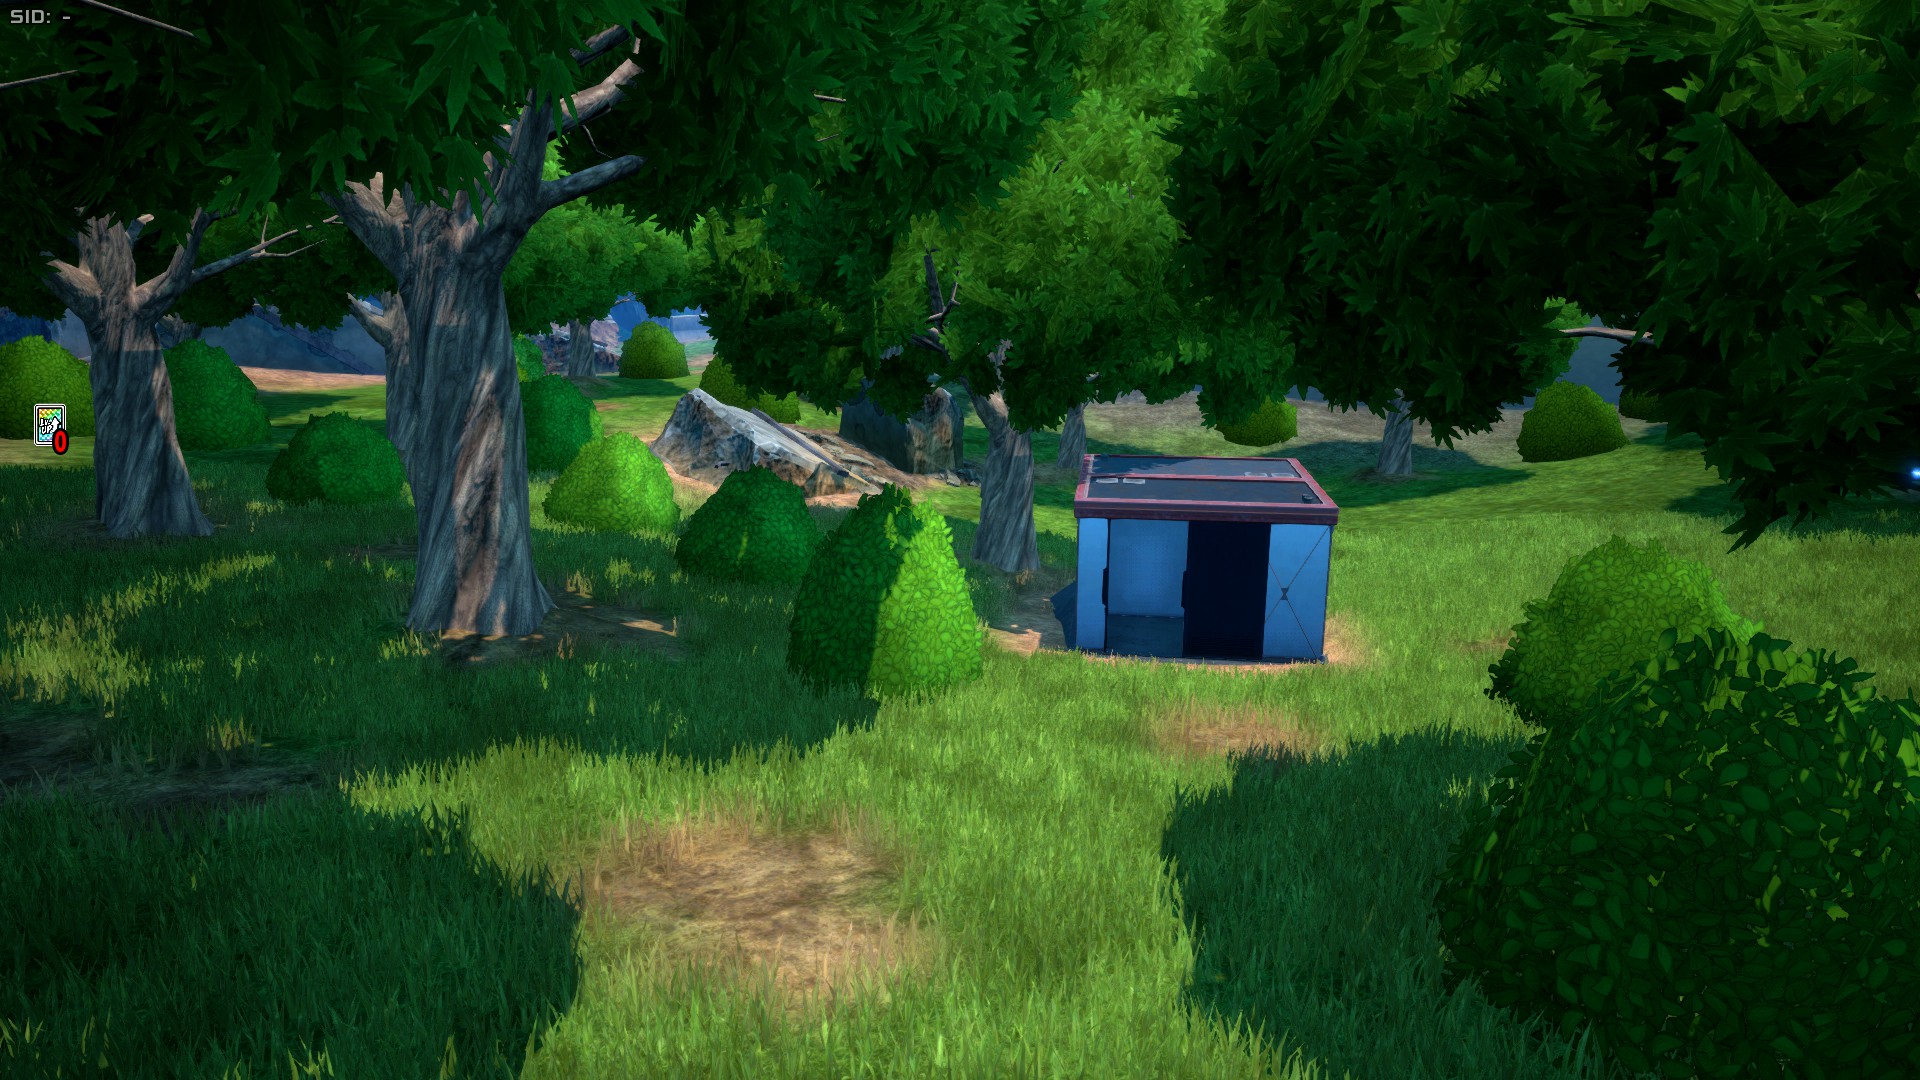
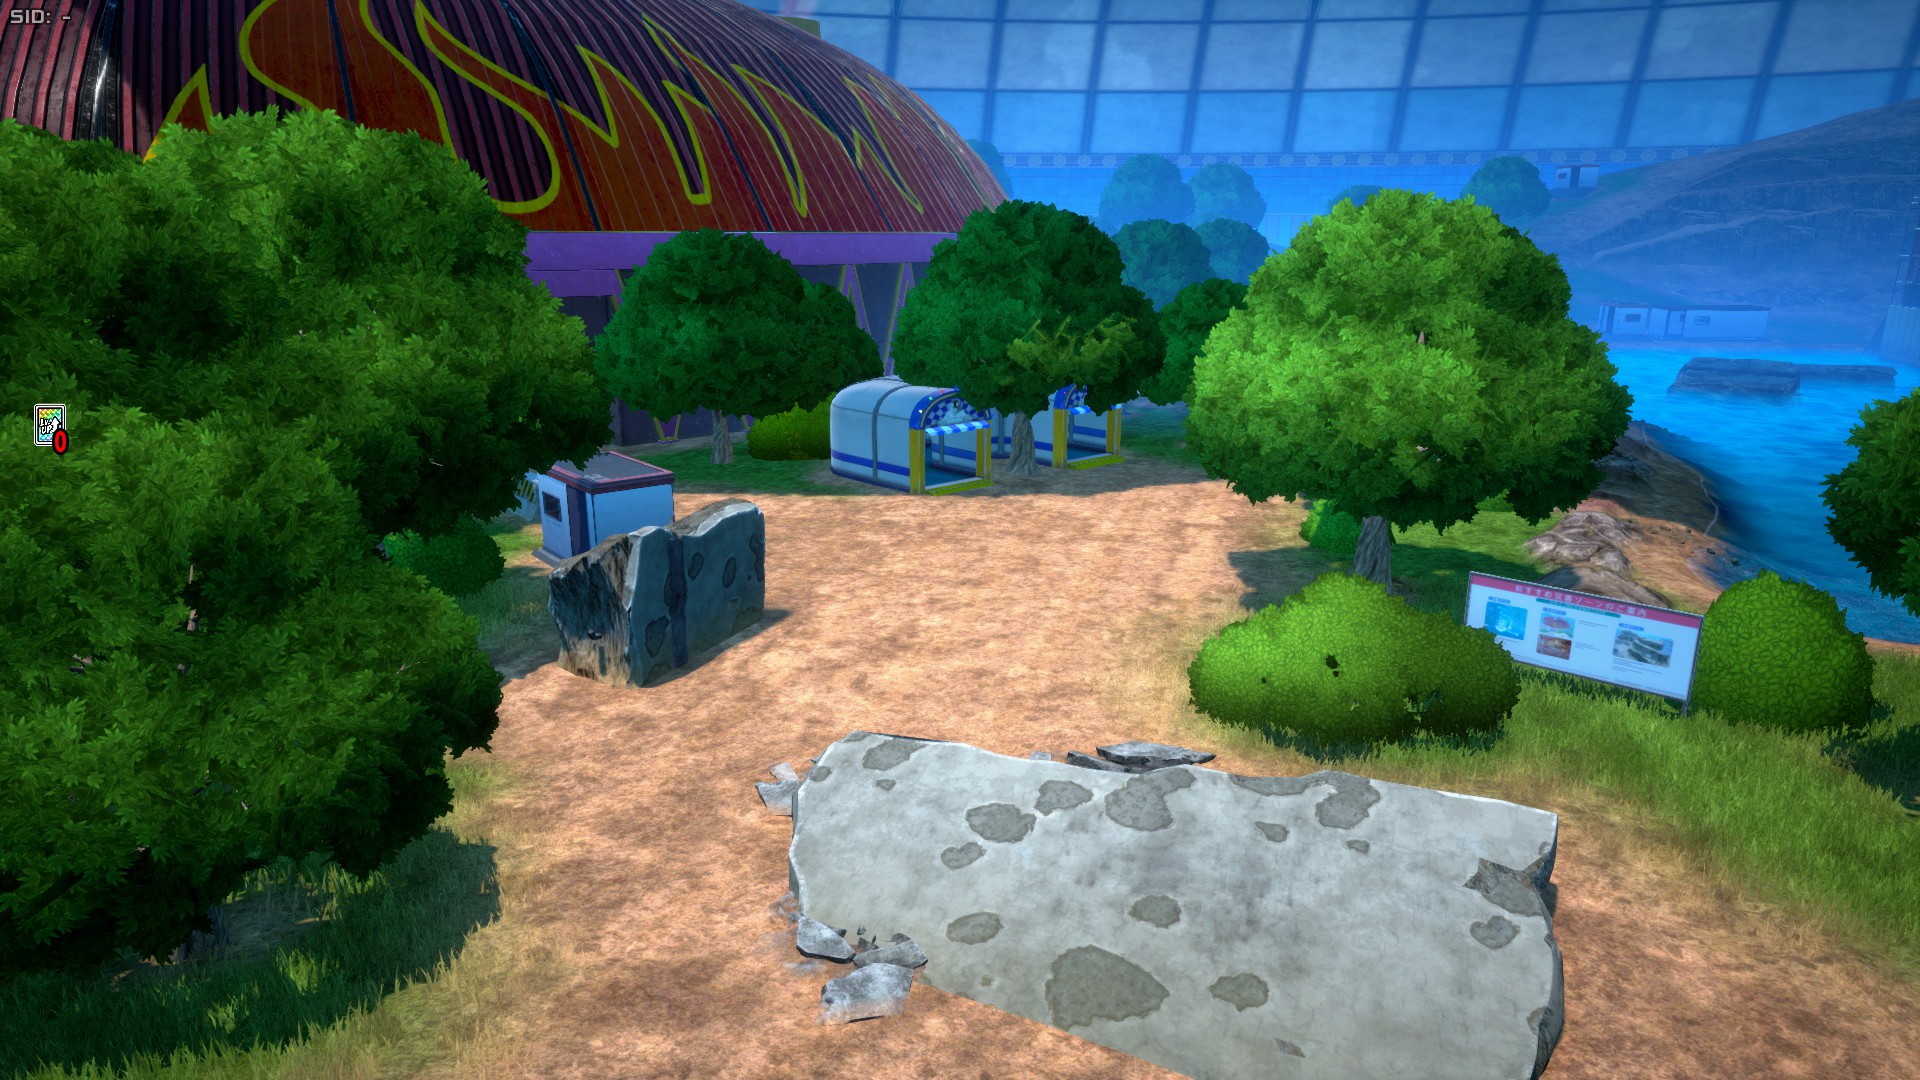
Aside from all the named areas, there are a few points of interest worth mentioning, such as the USJ Entrance, which is a long flat surface with an arc leading to the rest of USJ. This sub-area has decent loot. Other interesting points are the small structures around Plaza and in front of Mountain Zone, as well as the South-East Forest, which is home to most of Kota's spots.
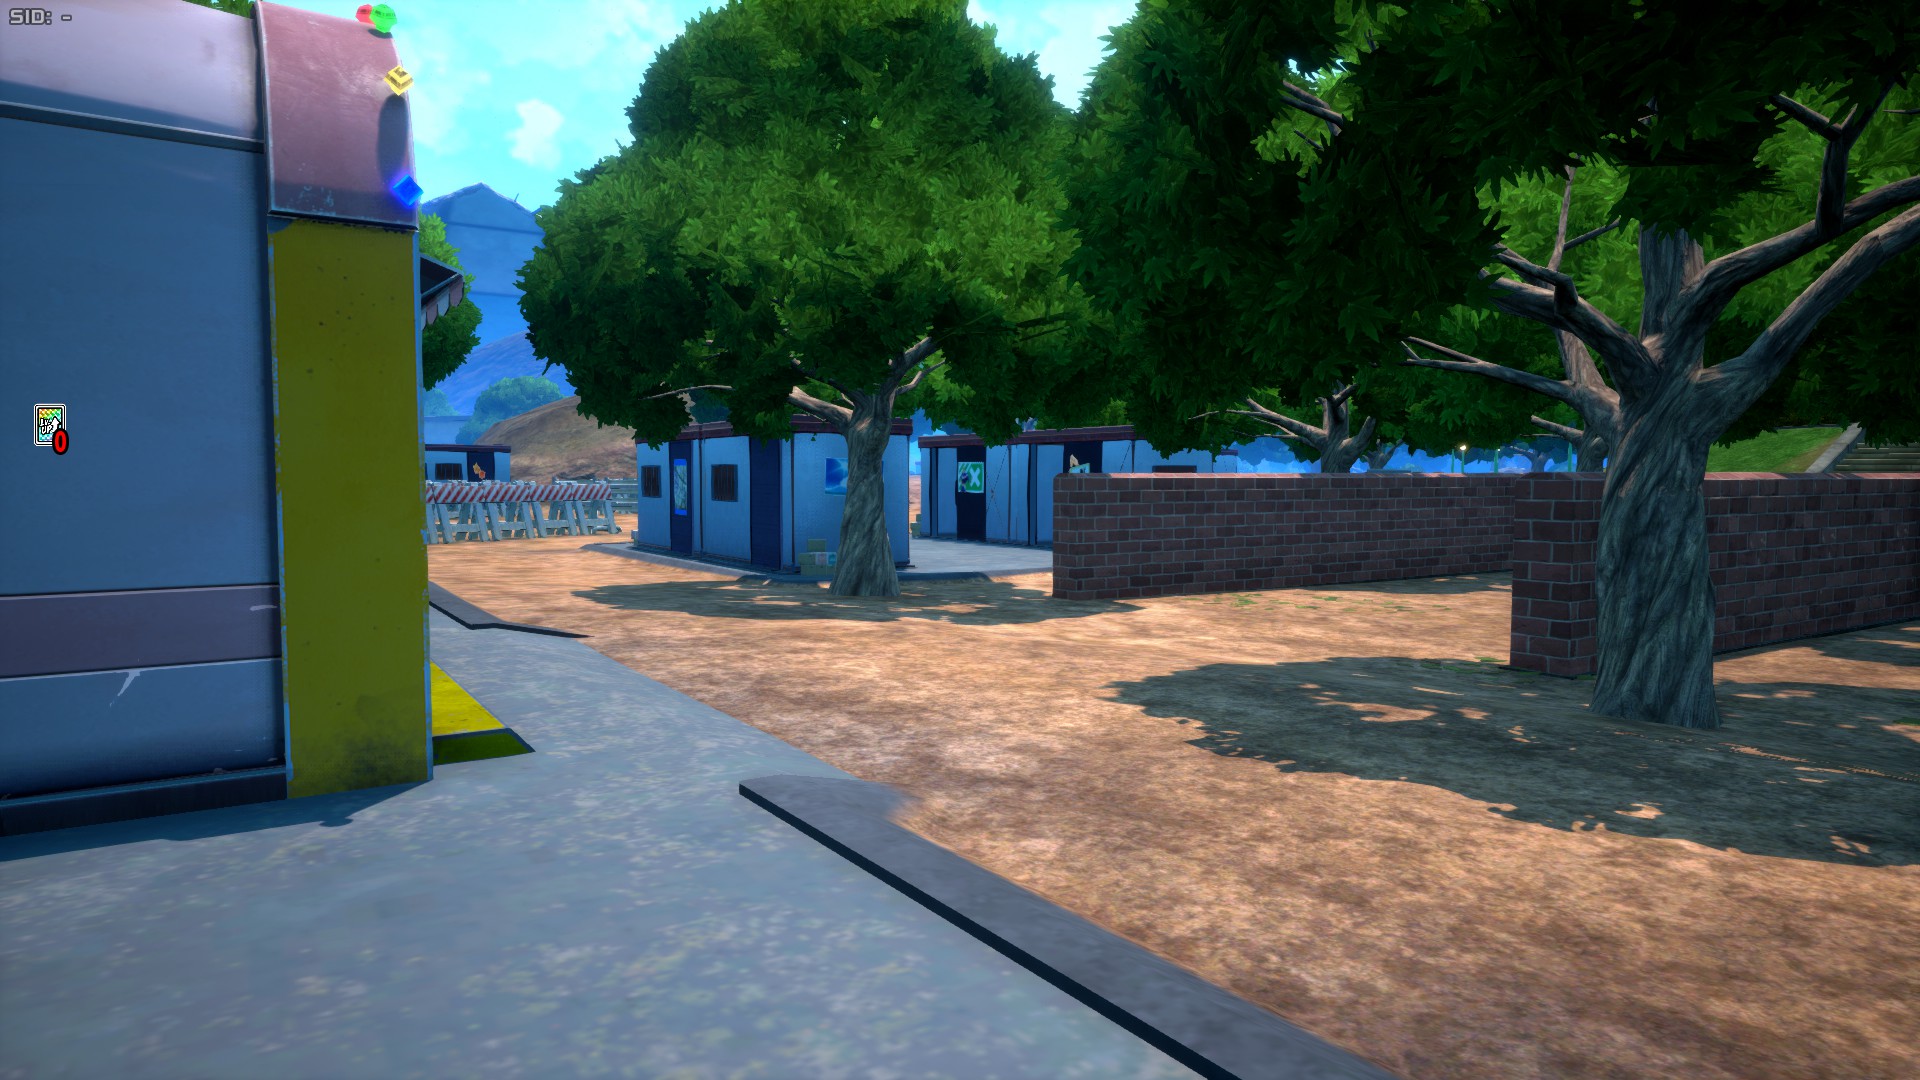
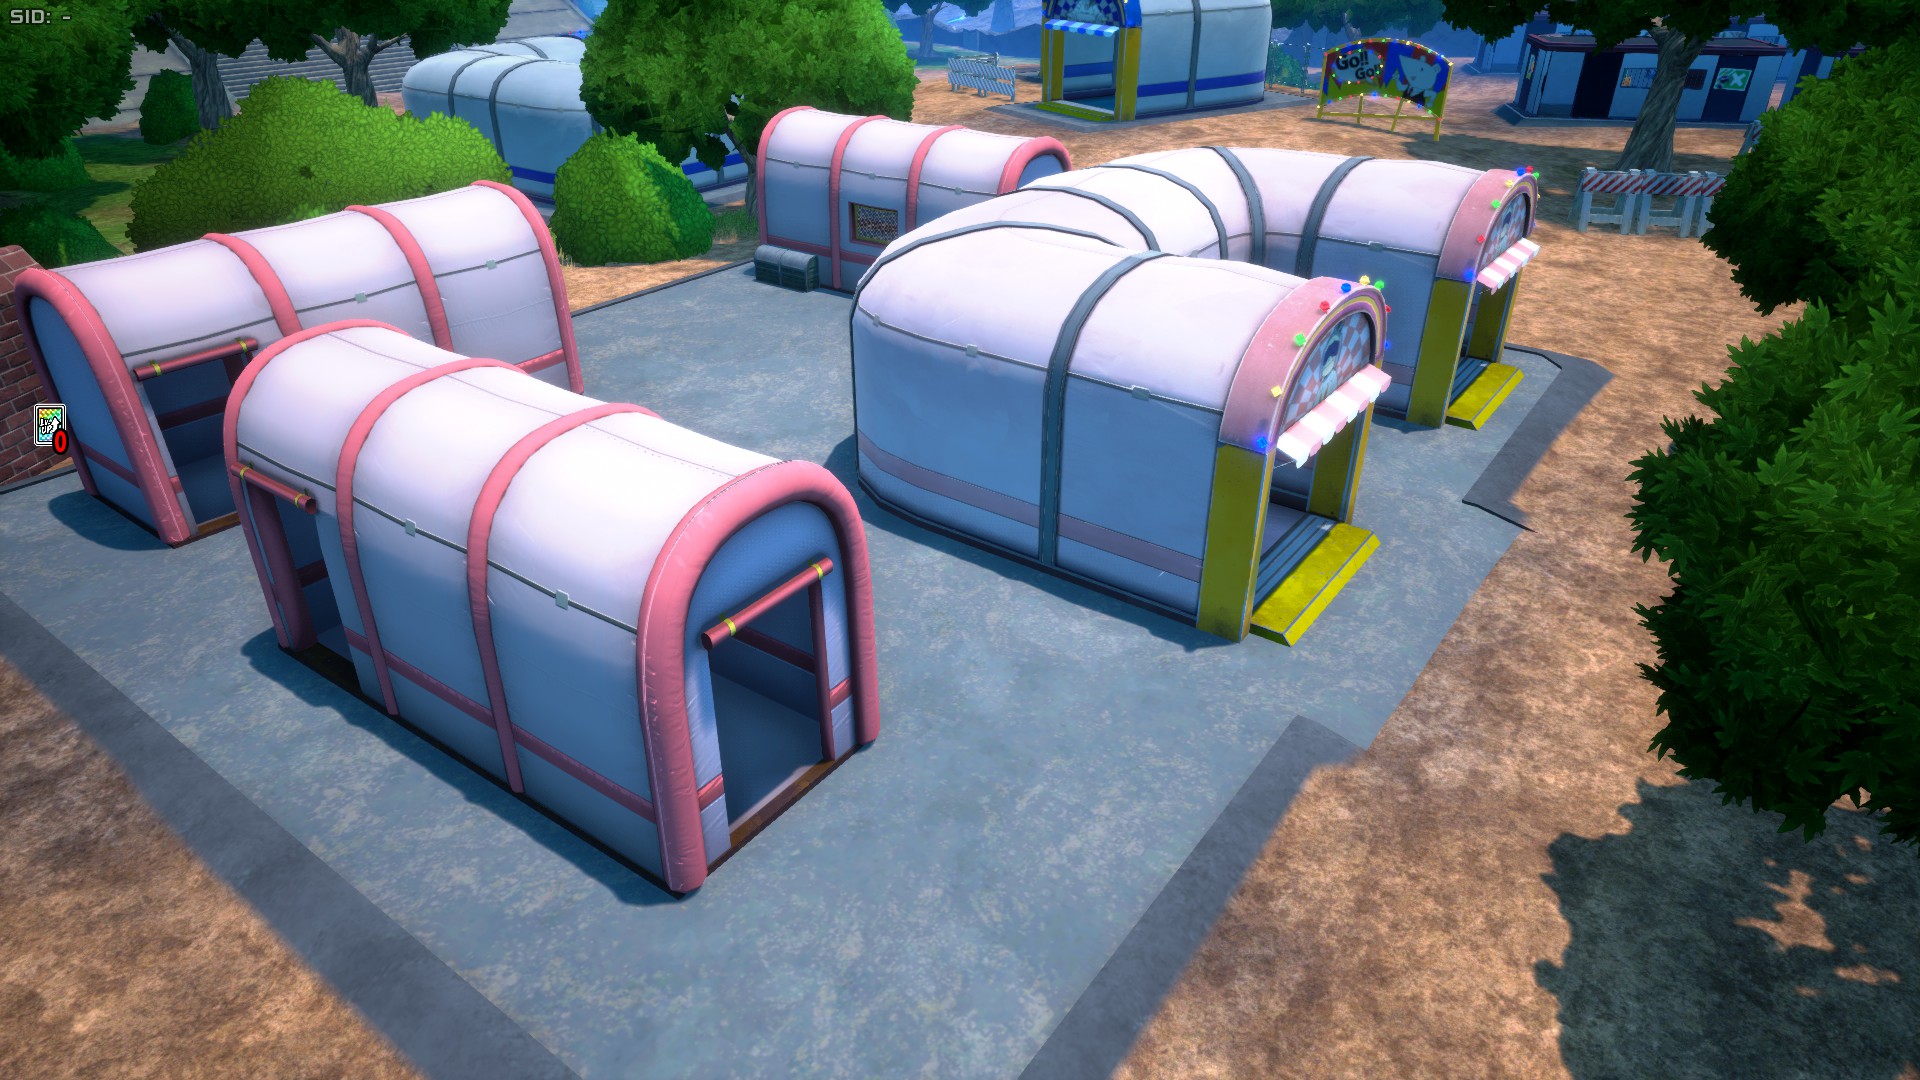
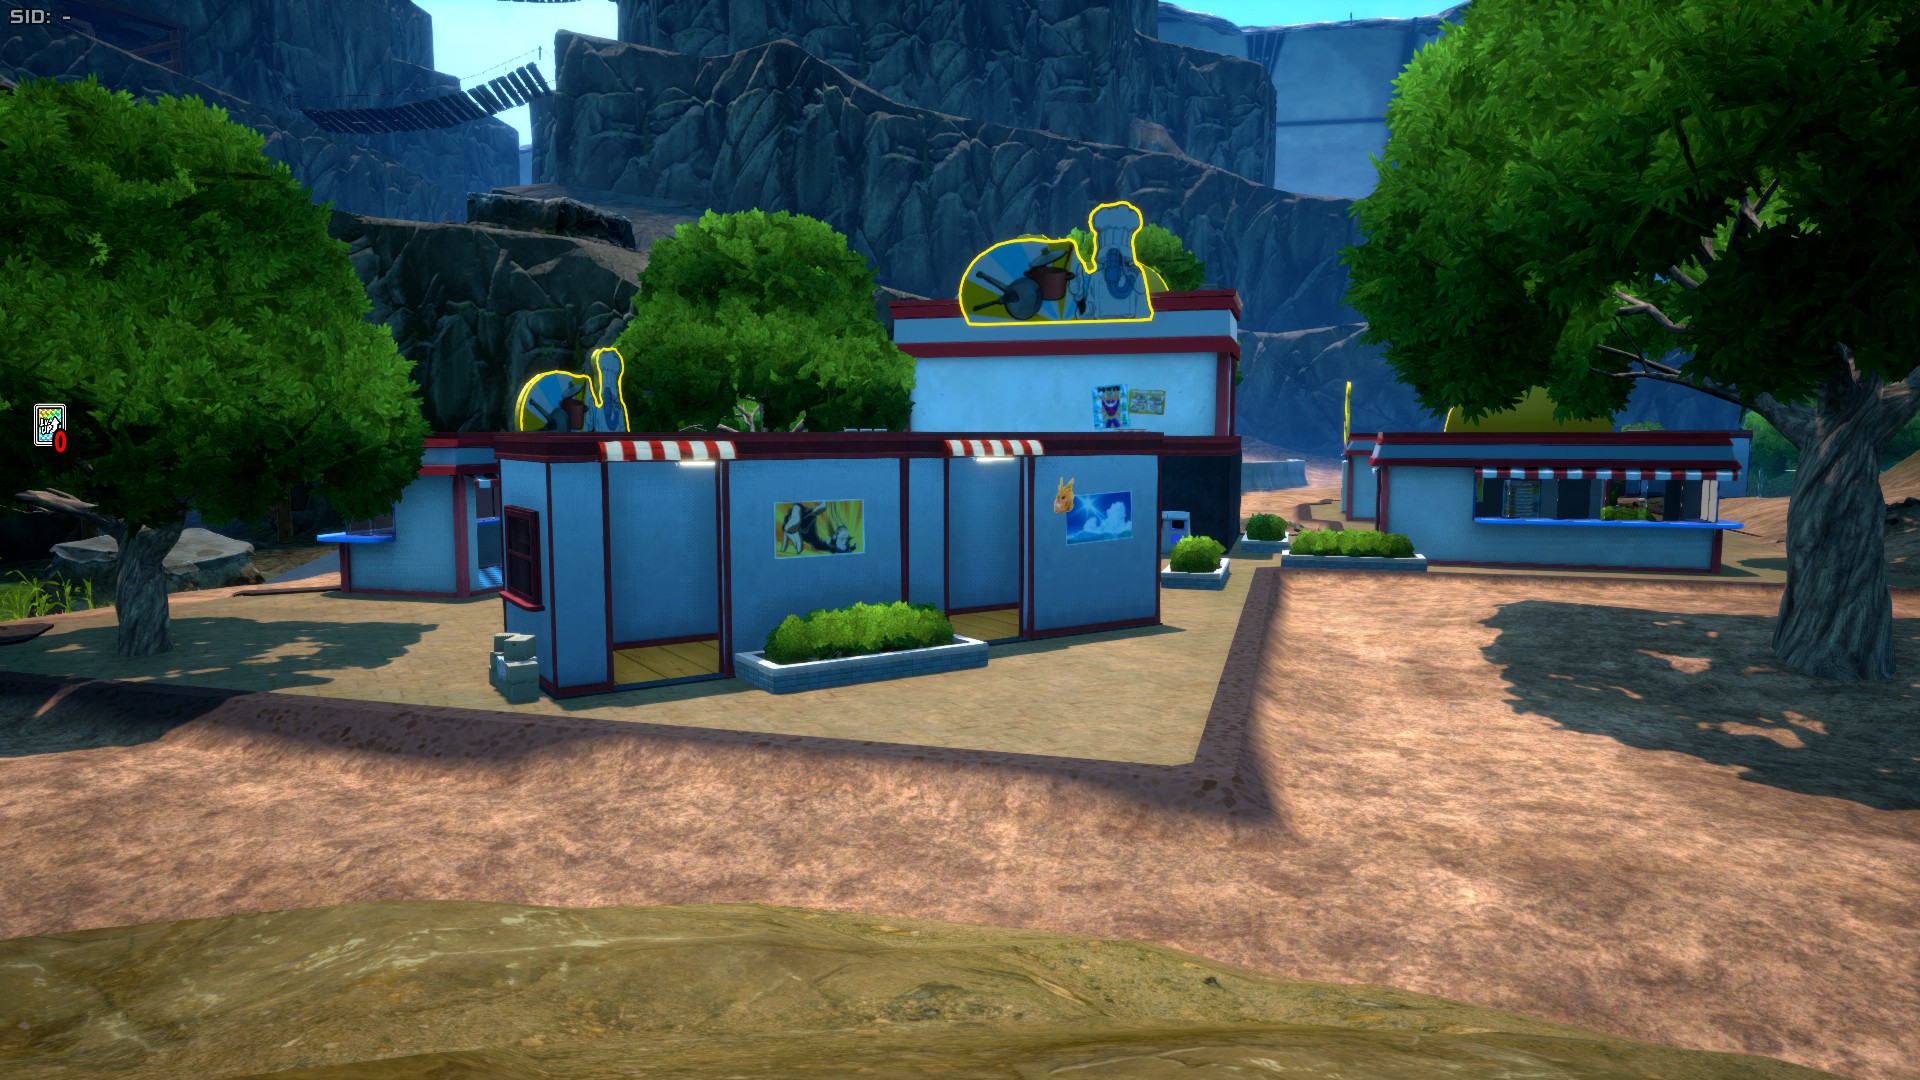
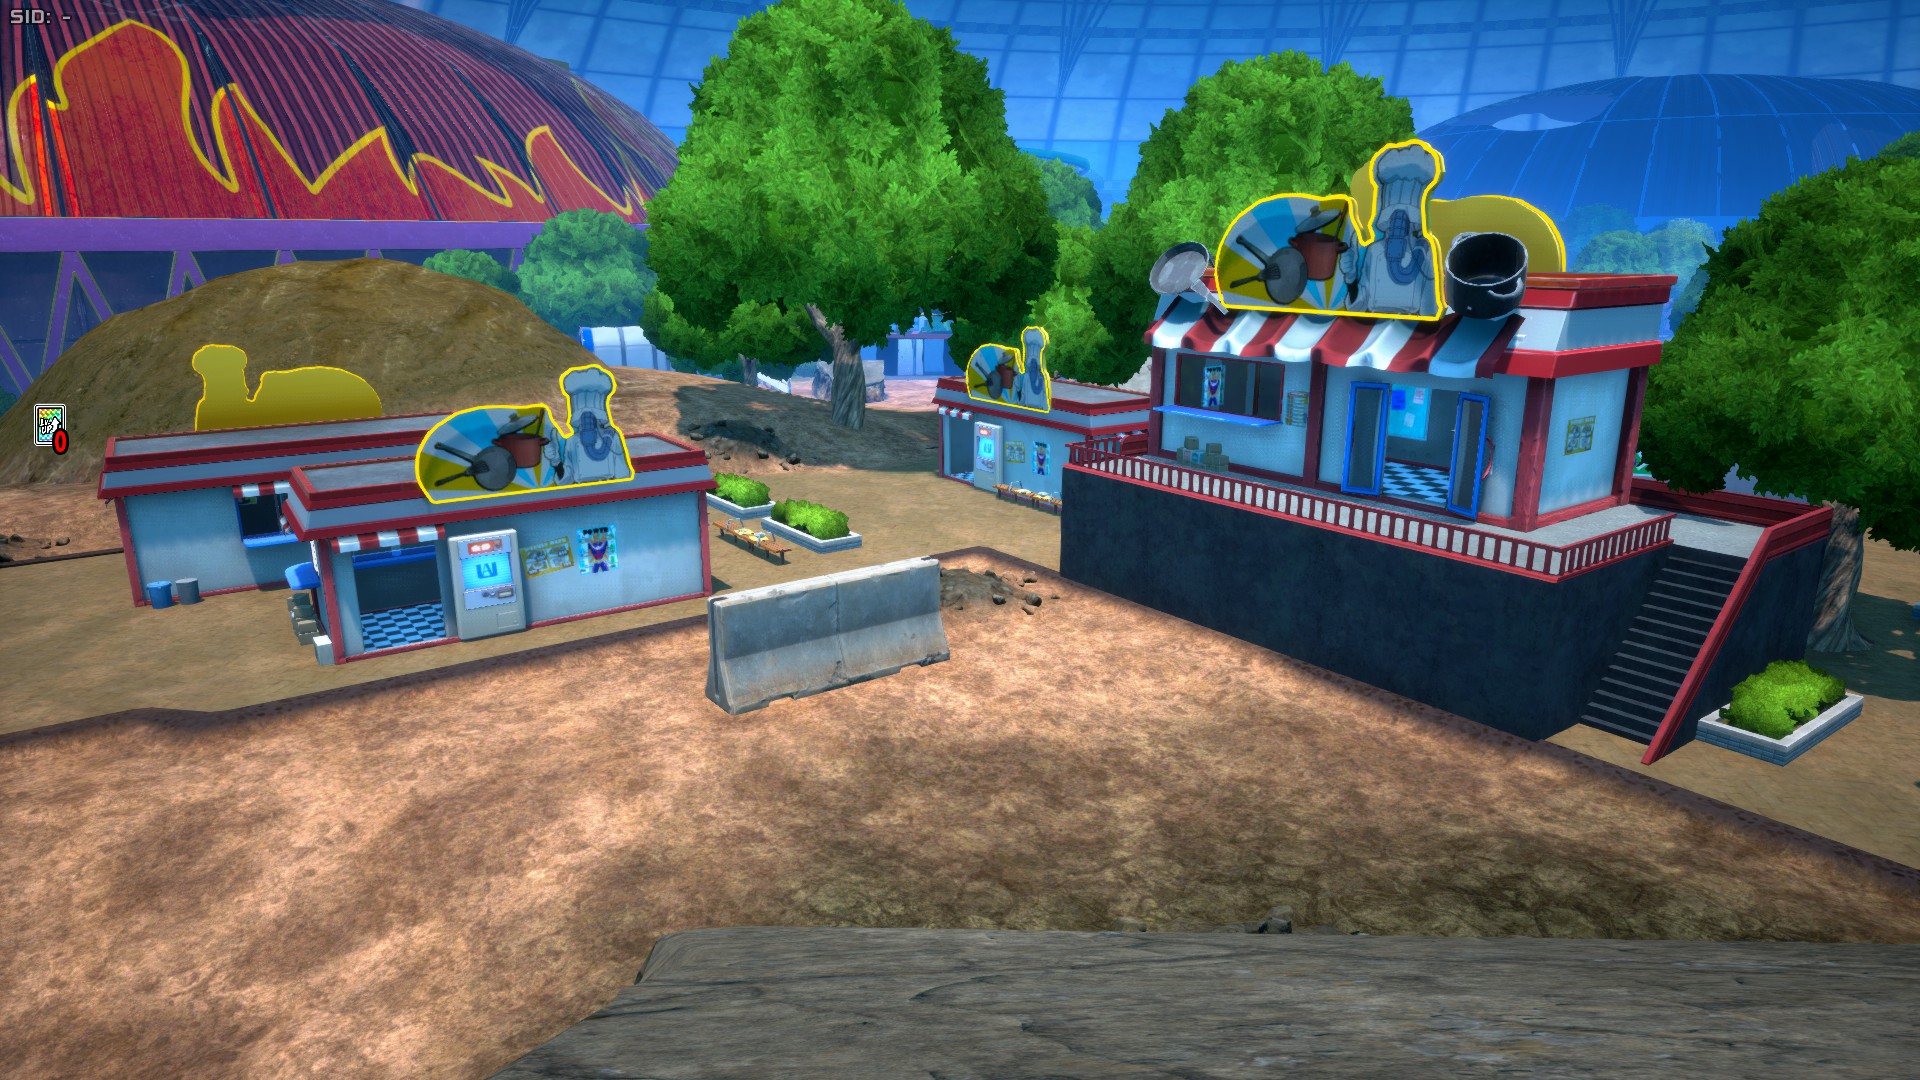
USJ Ver.02
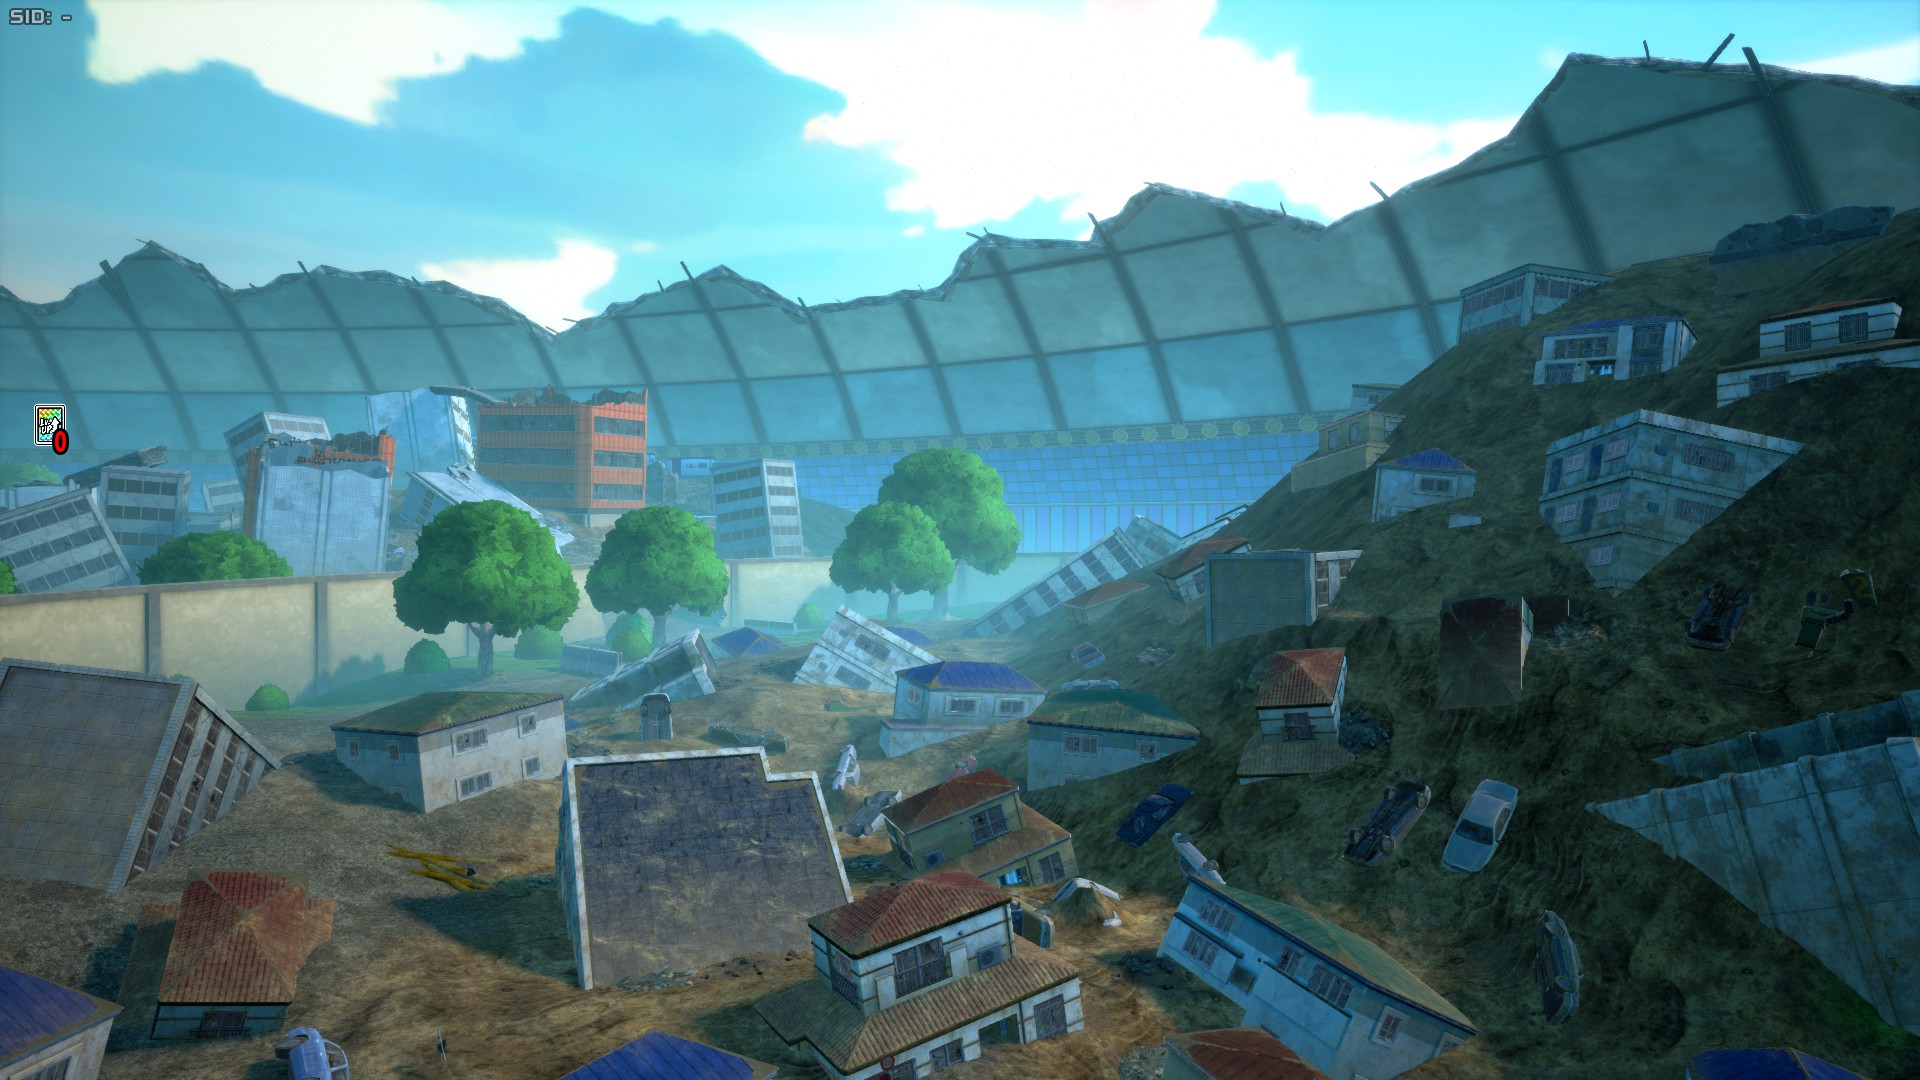
USJ Ver.02 is the first update made to the first stage, which took place in Season 5. This update revamped the totality of Mountain Zone, and also changed the lighting of the stage to be less blueish. Everything else is pretty much identical. In a later season, Nezu Boxes were introduced in this map, along with Jump Pads. While this map is an update, it's still considered a standalone map, and can be played via Custom Matches, even if a more updated version currently exists.
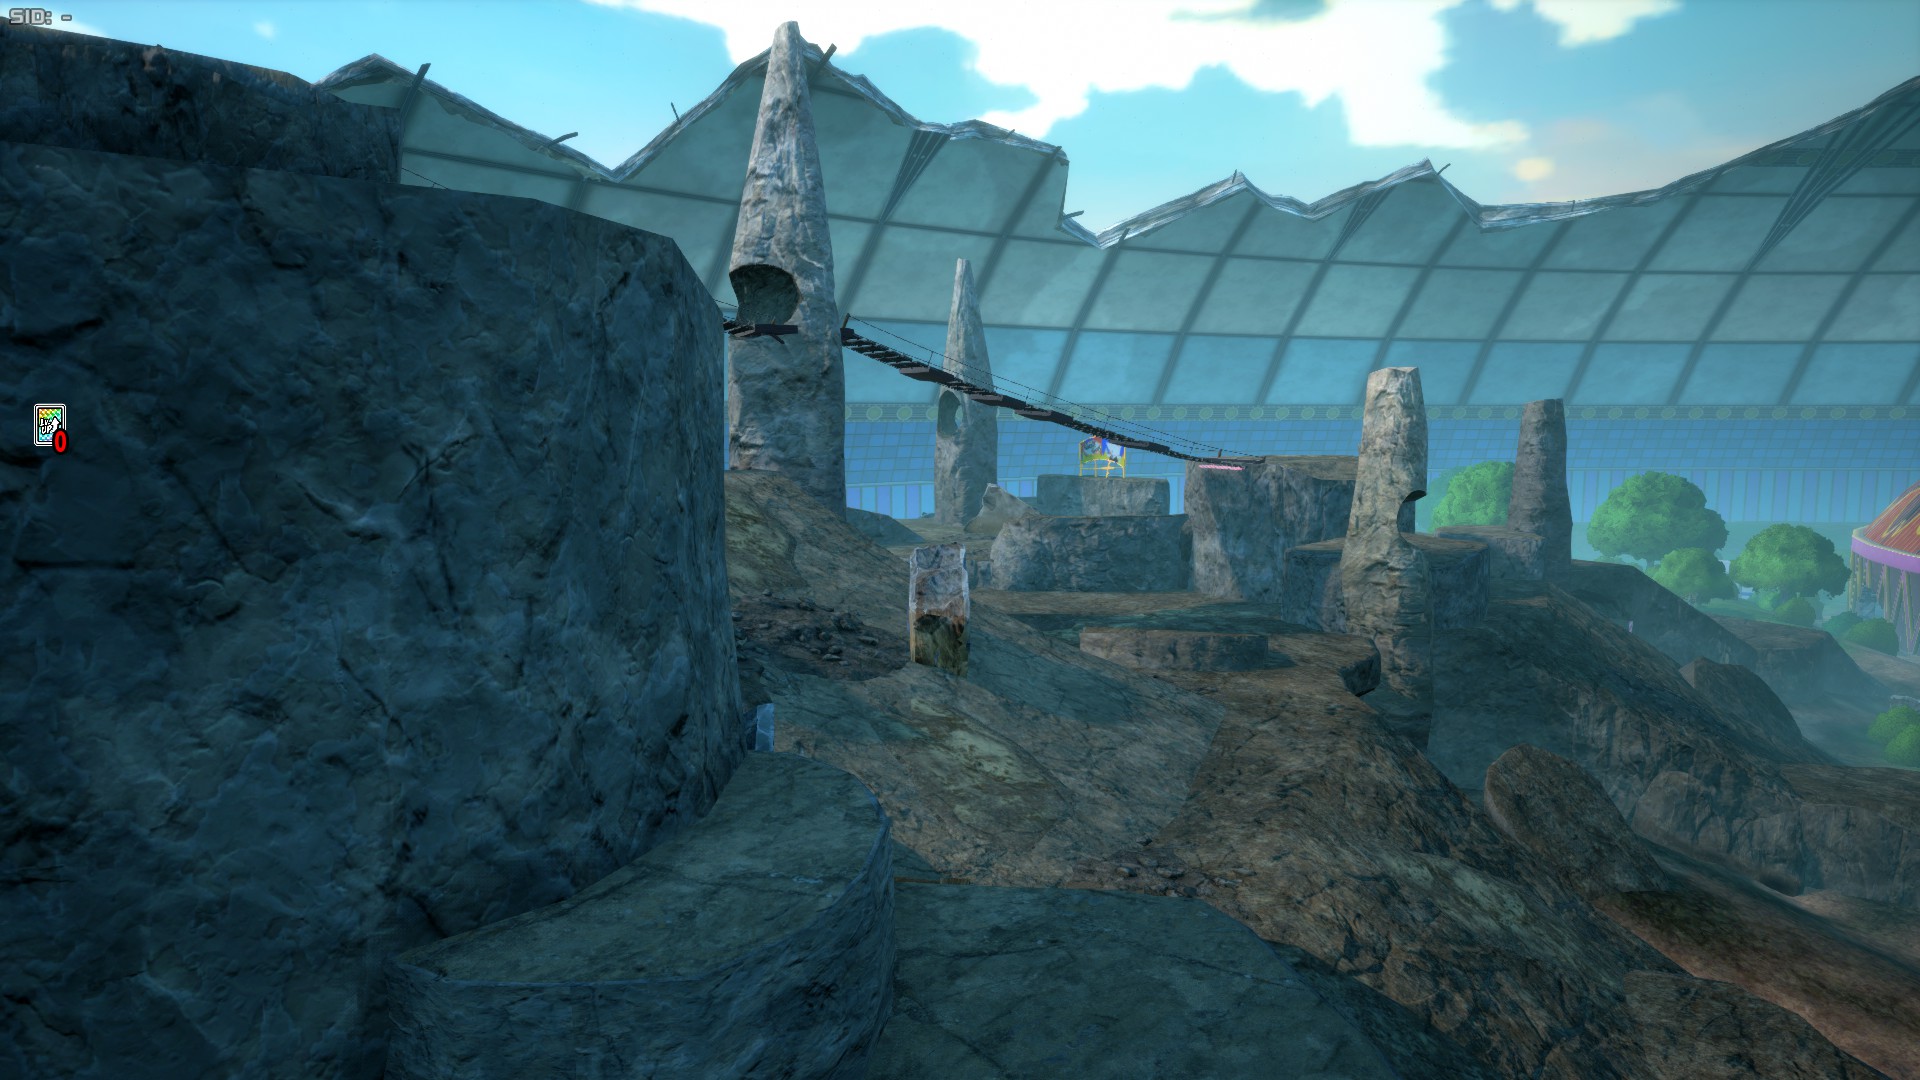
Mountain Zone (Ver.02)
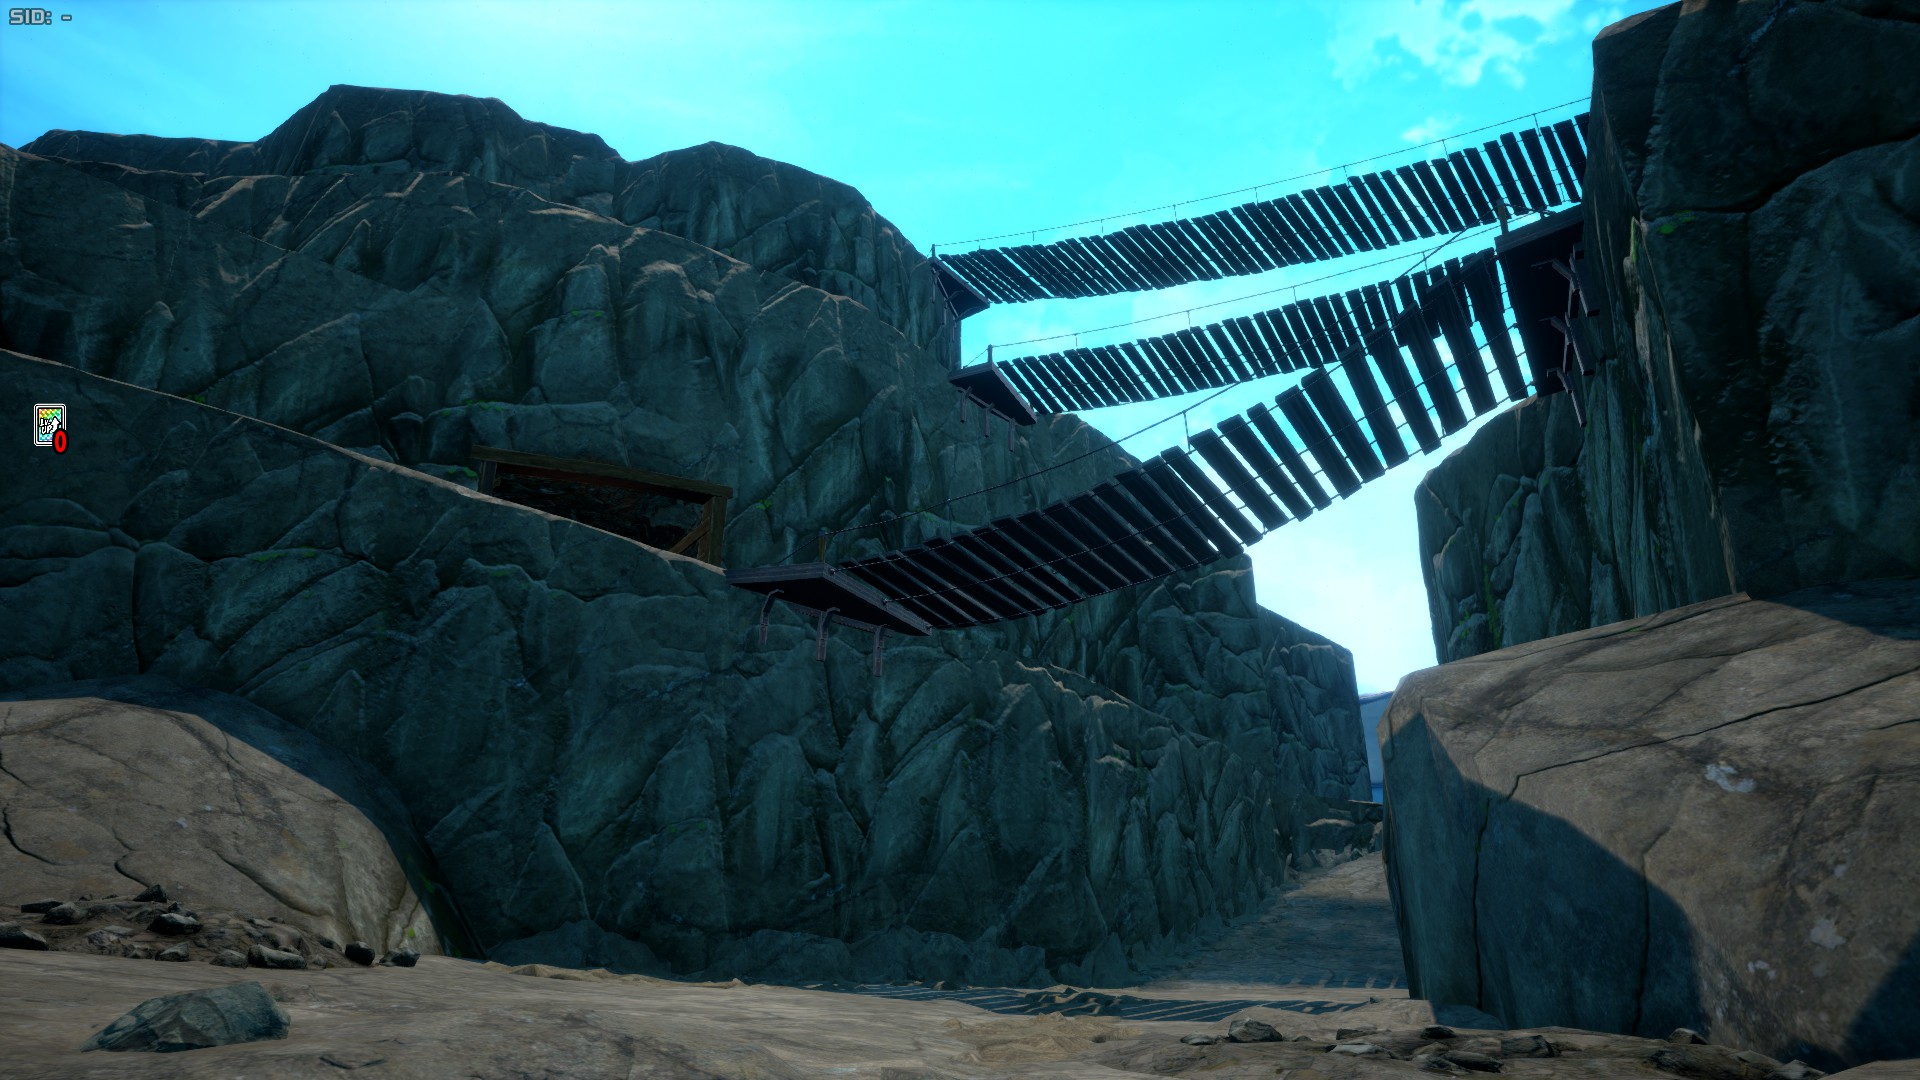
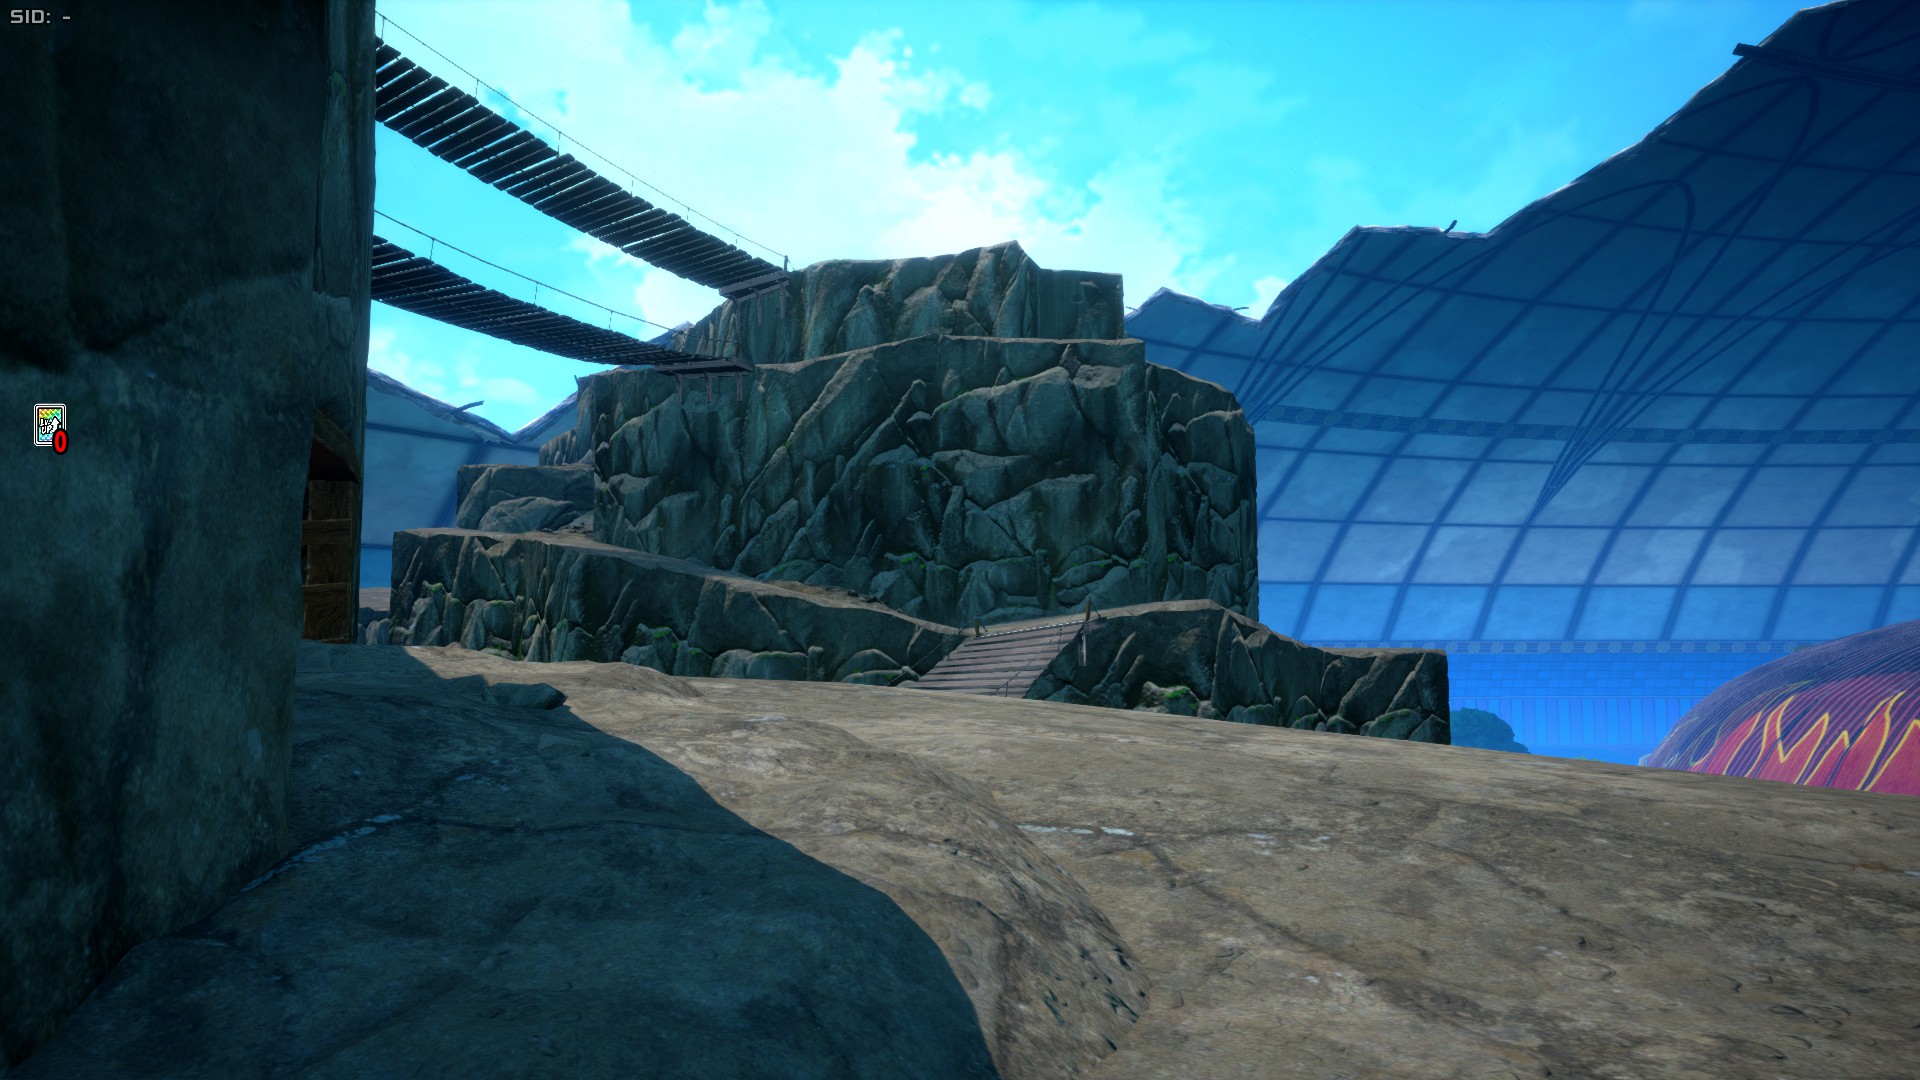
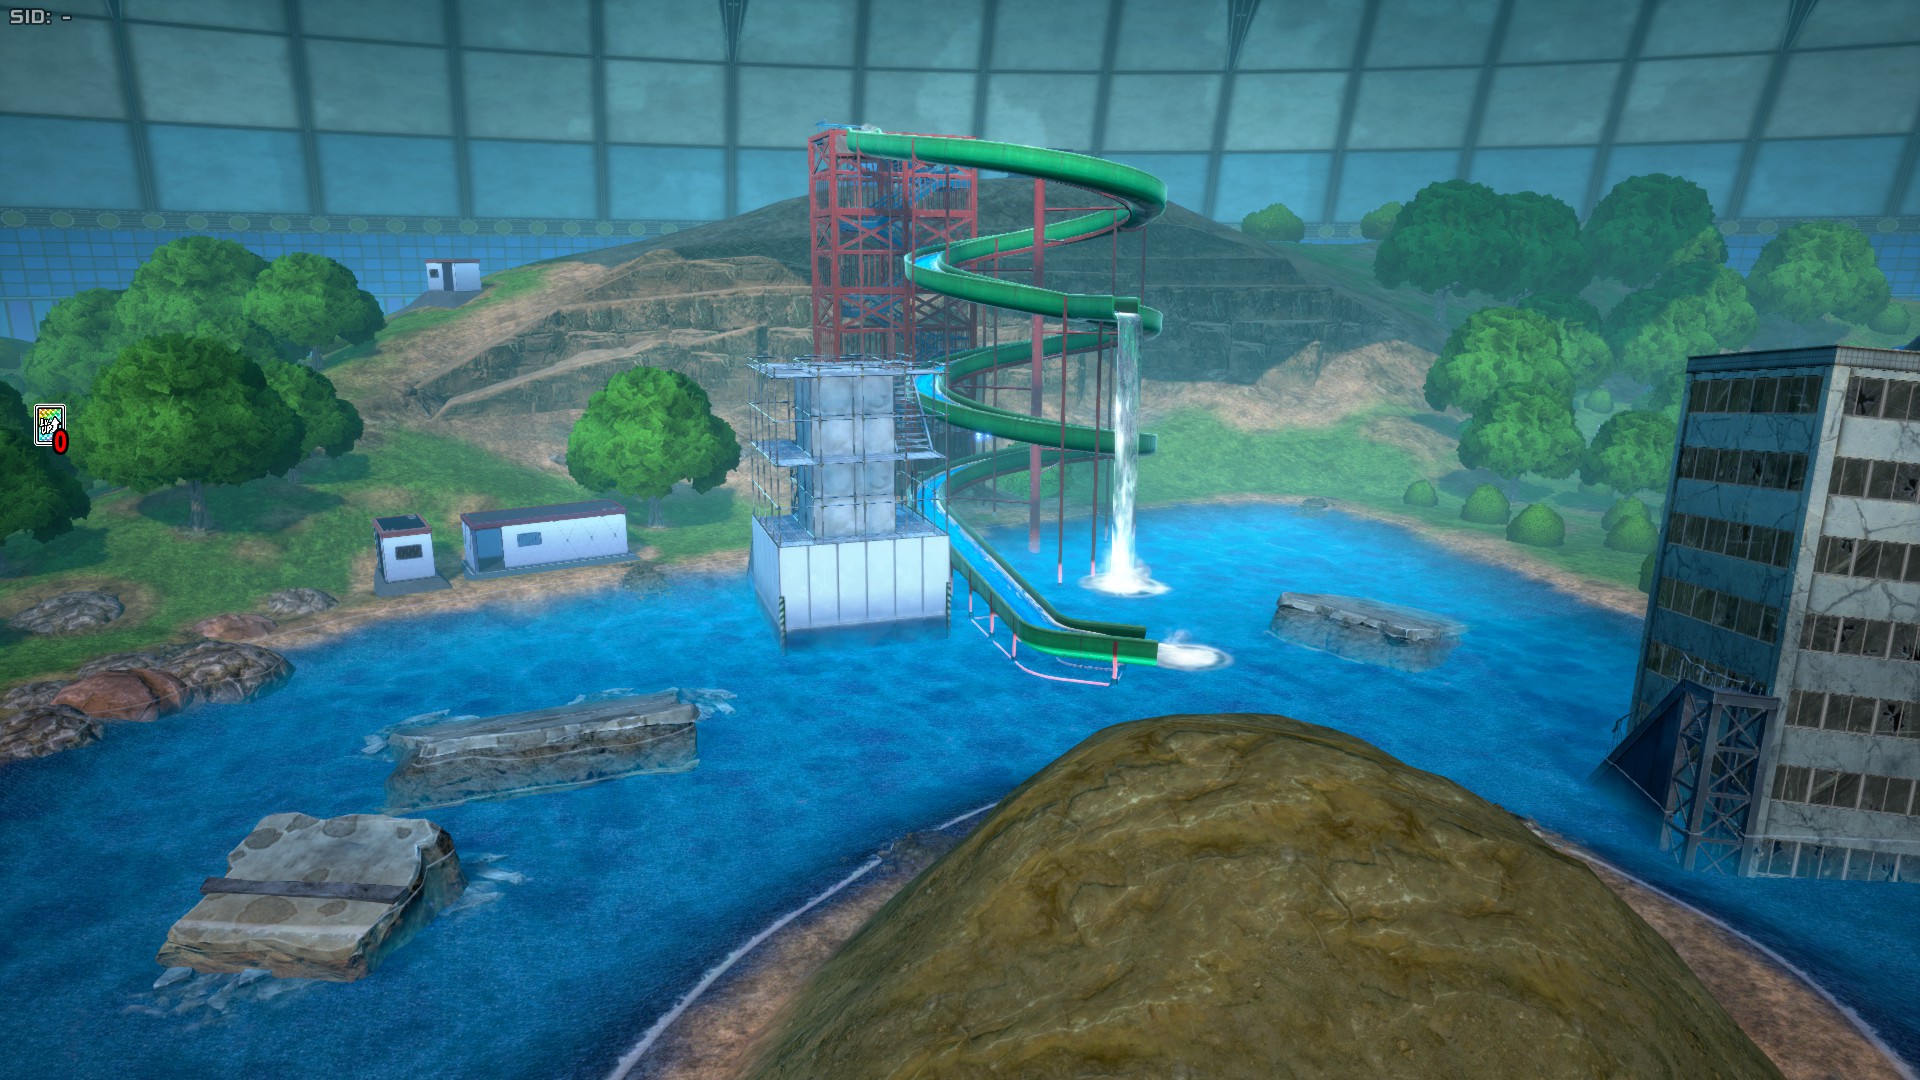
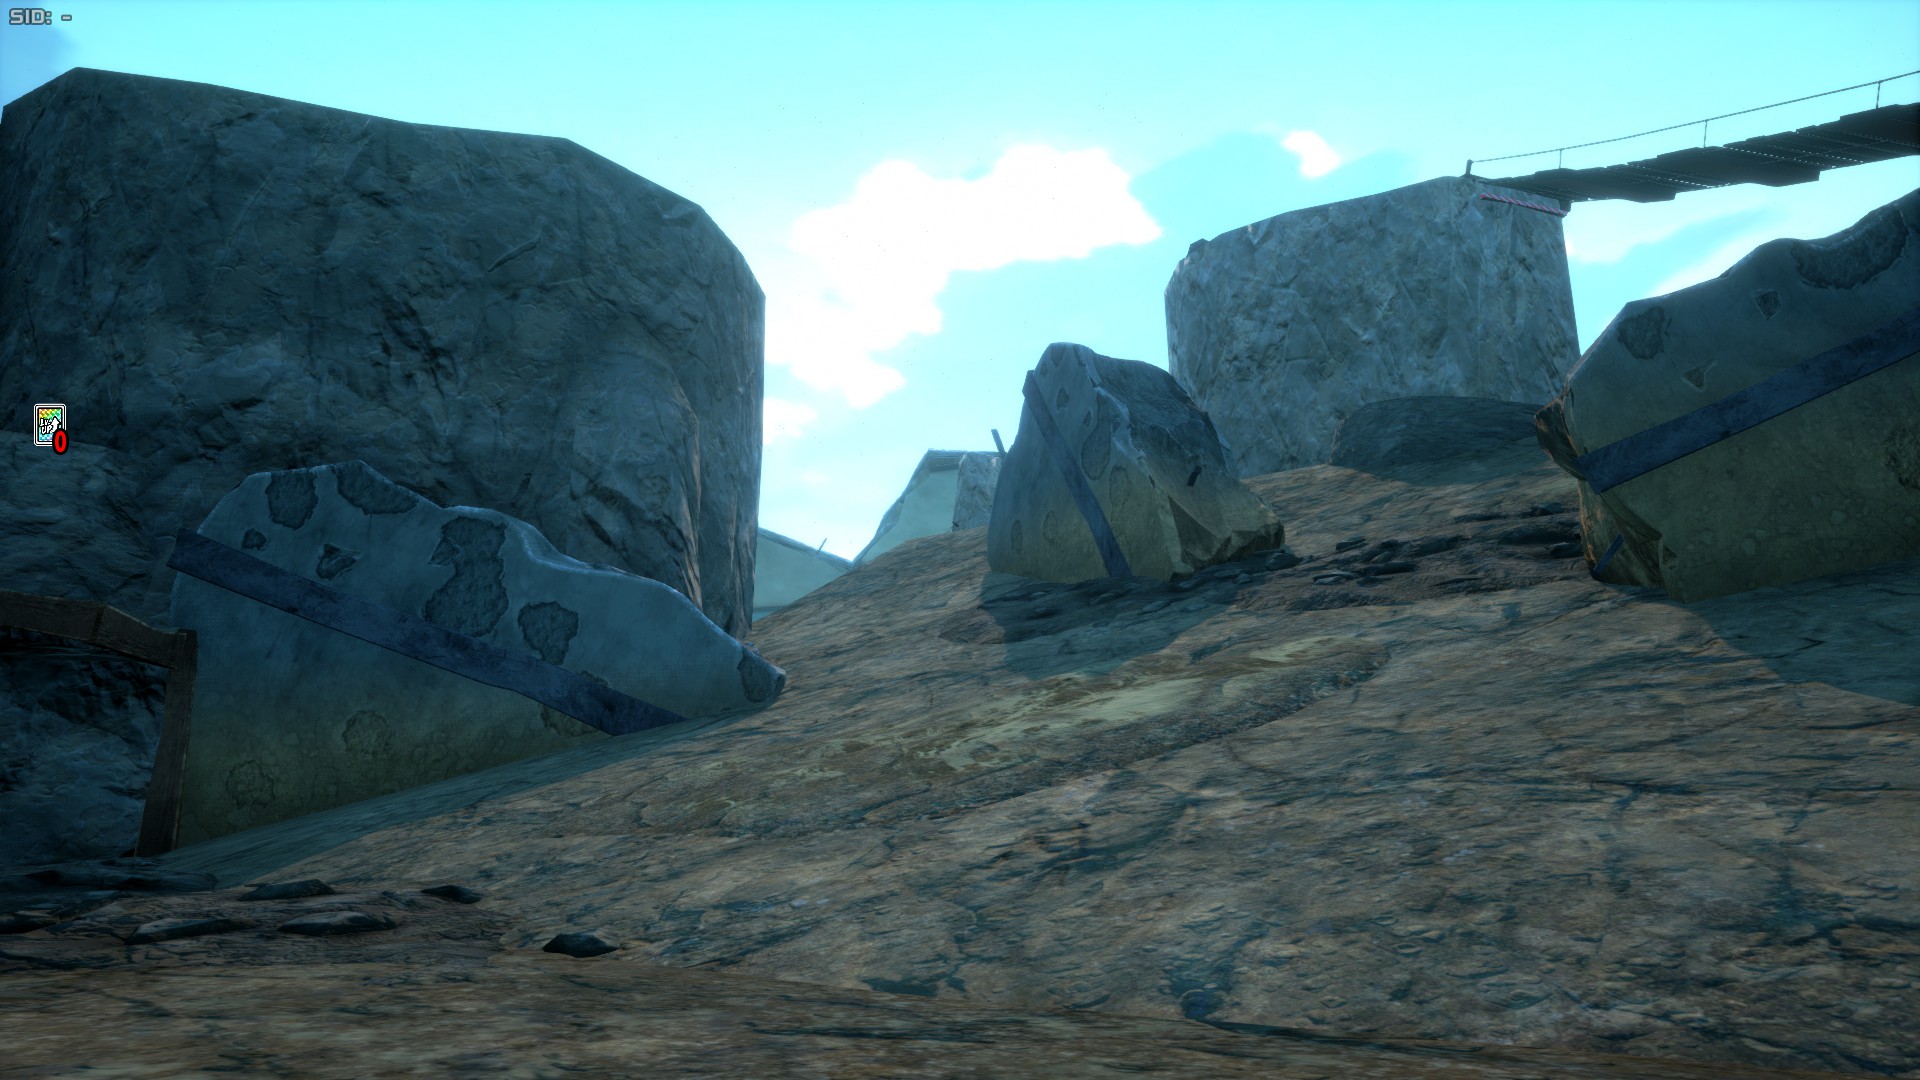
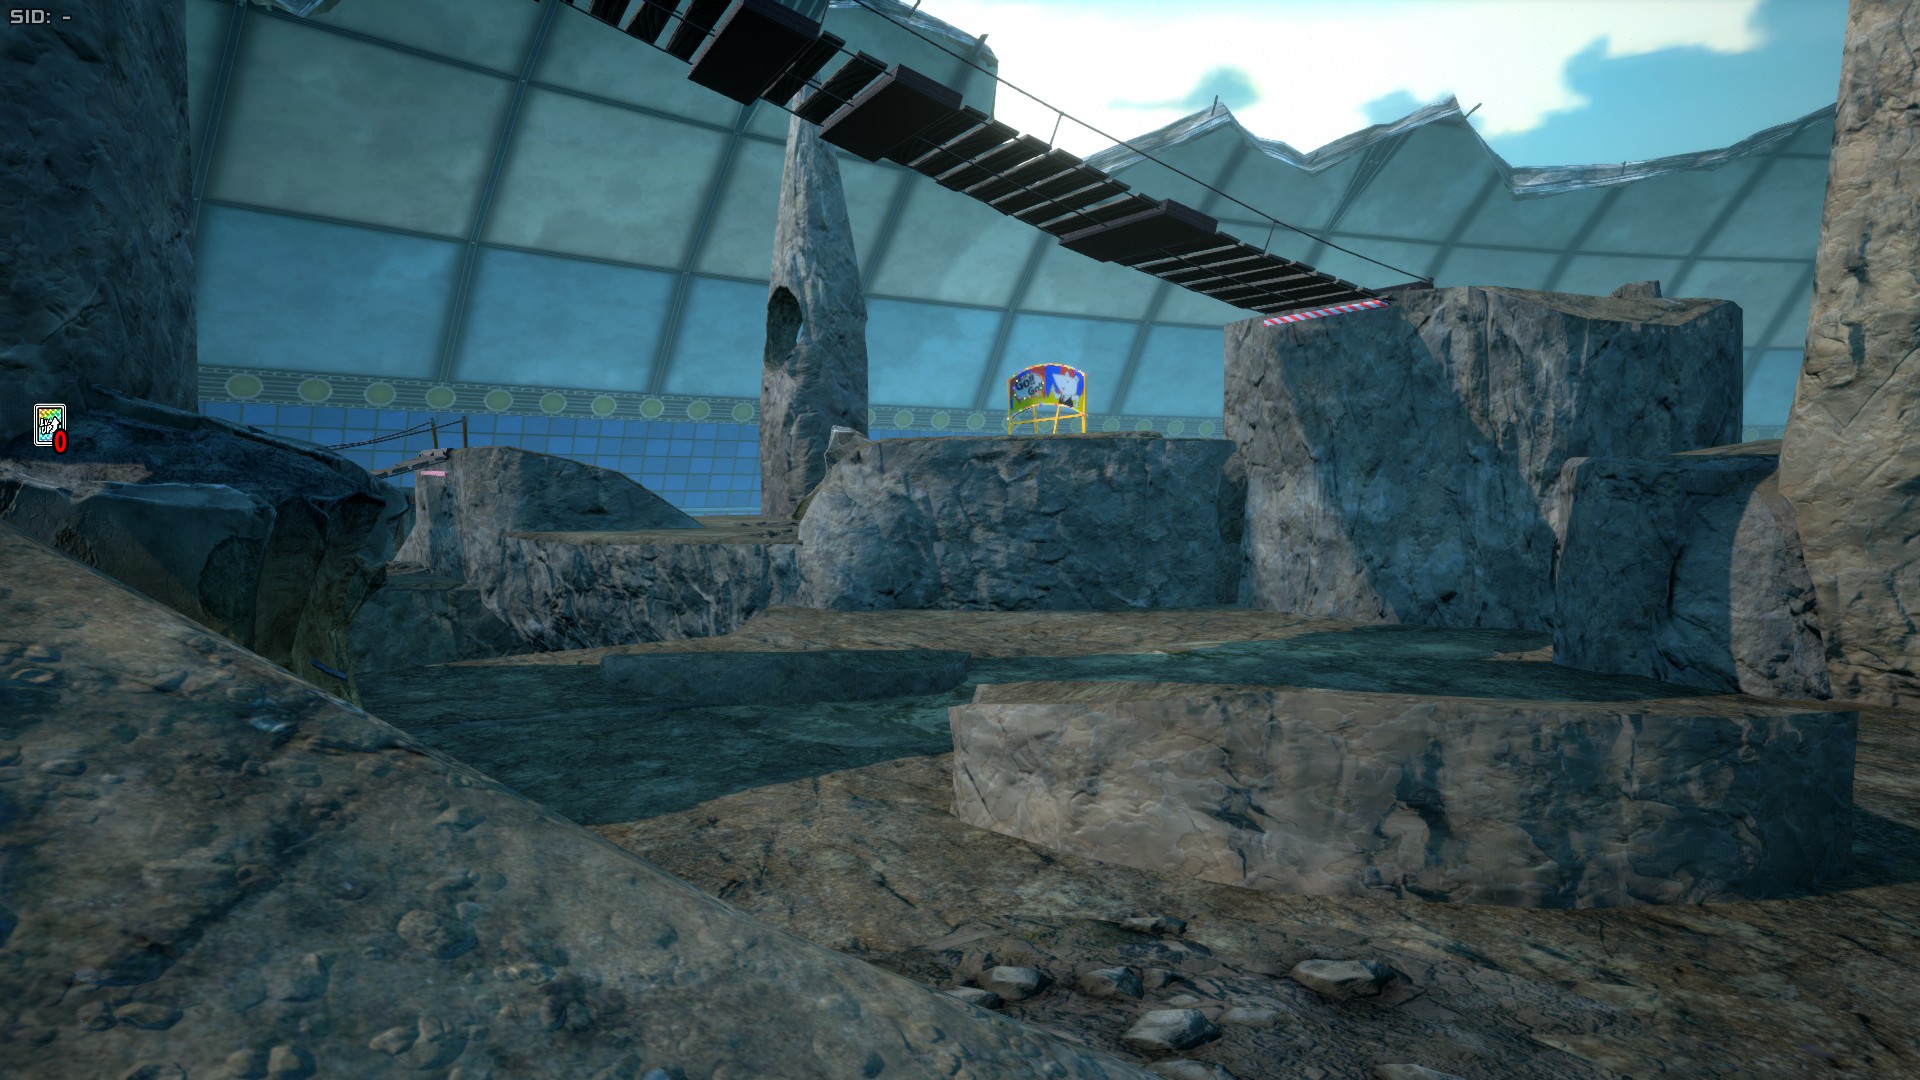
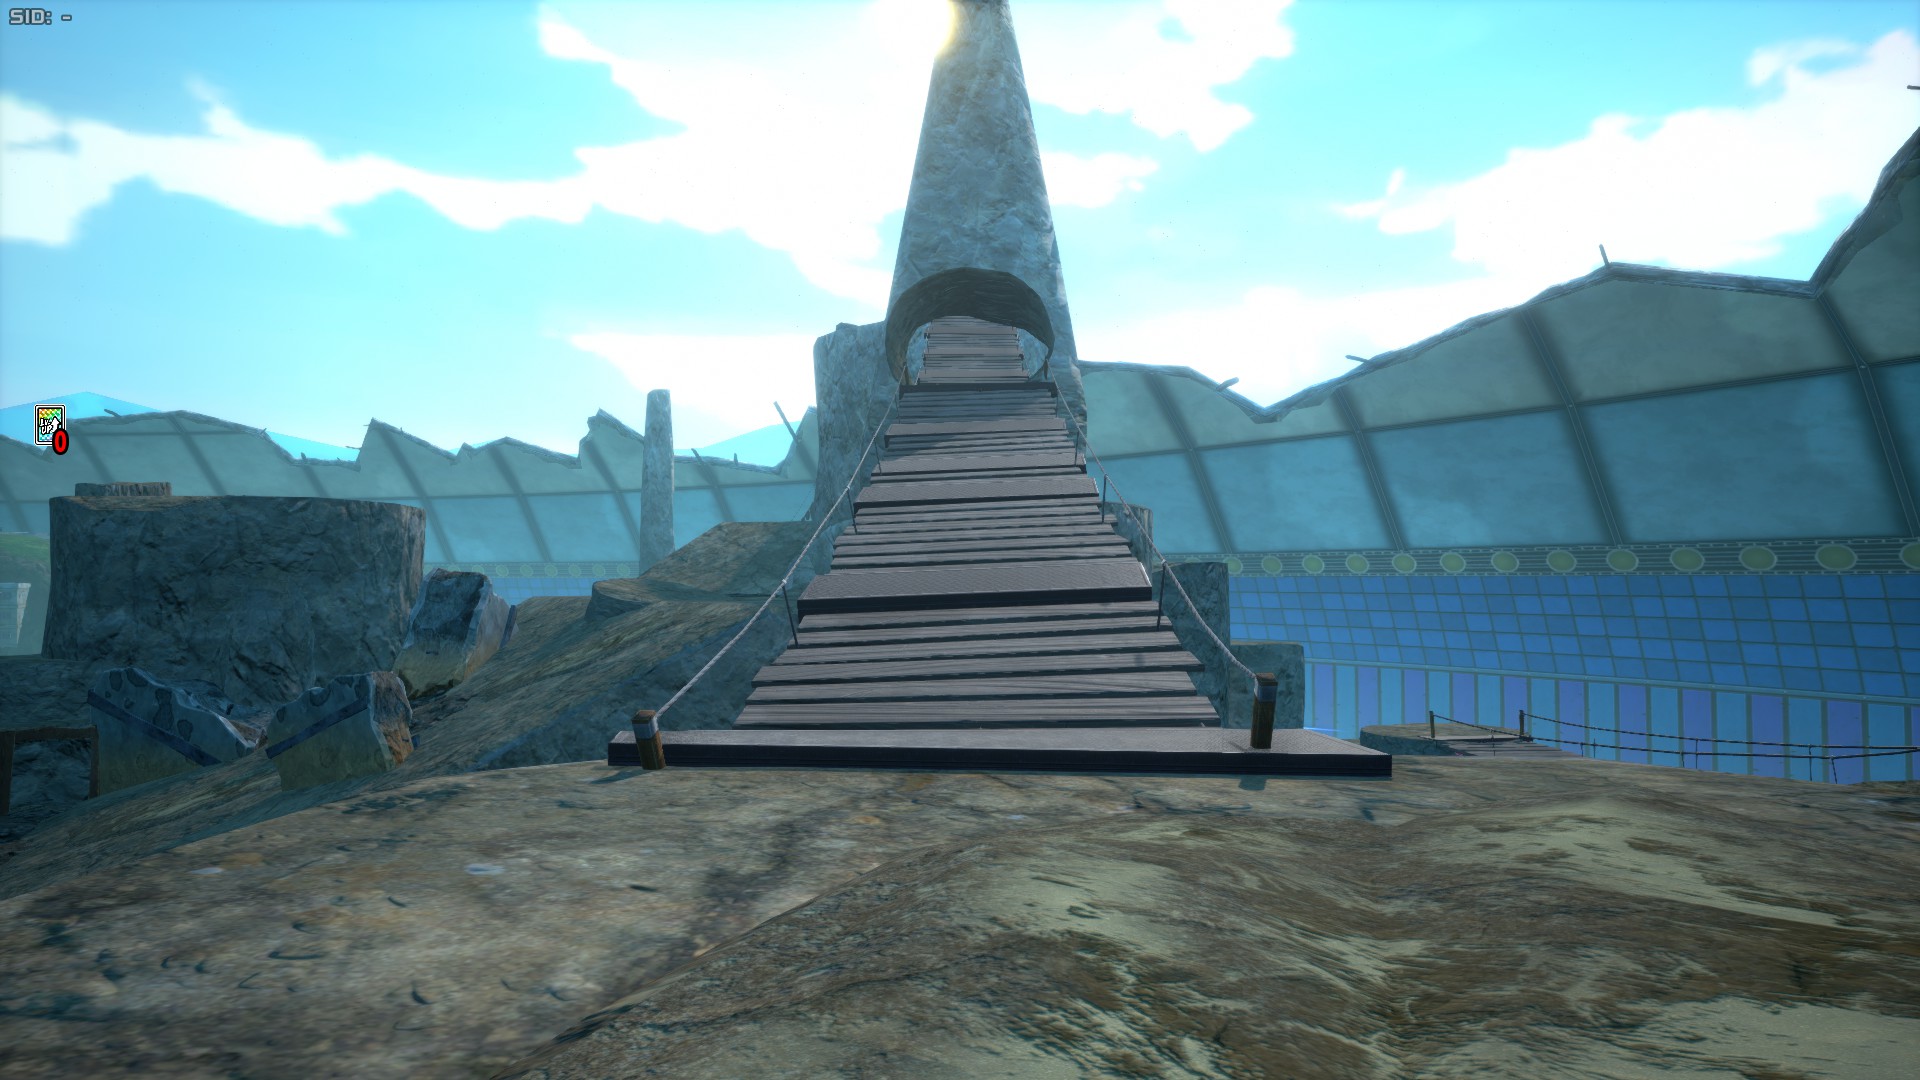
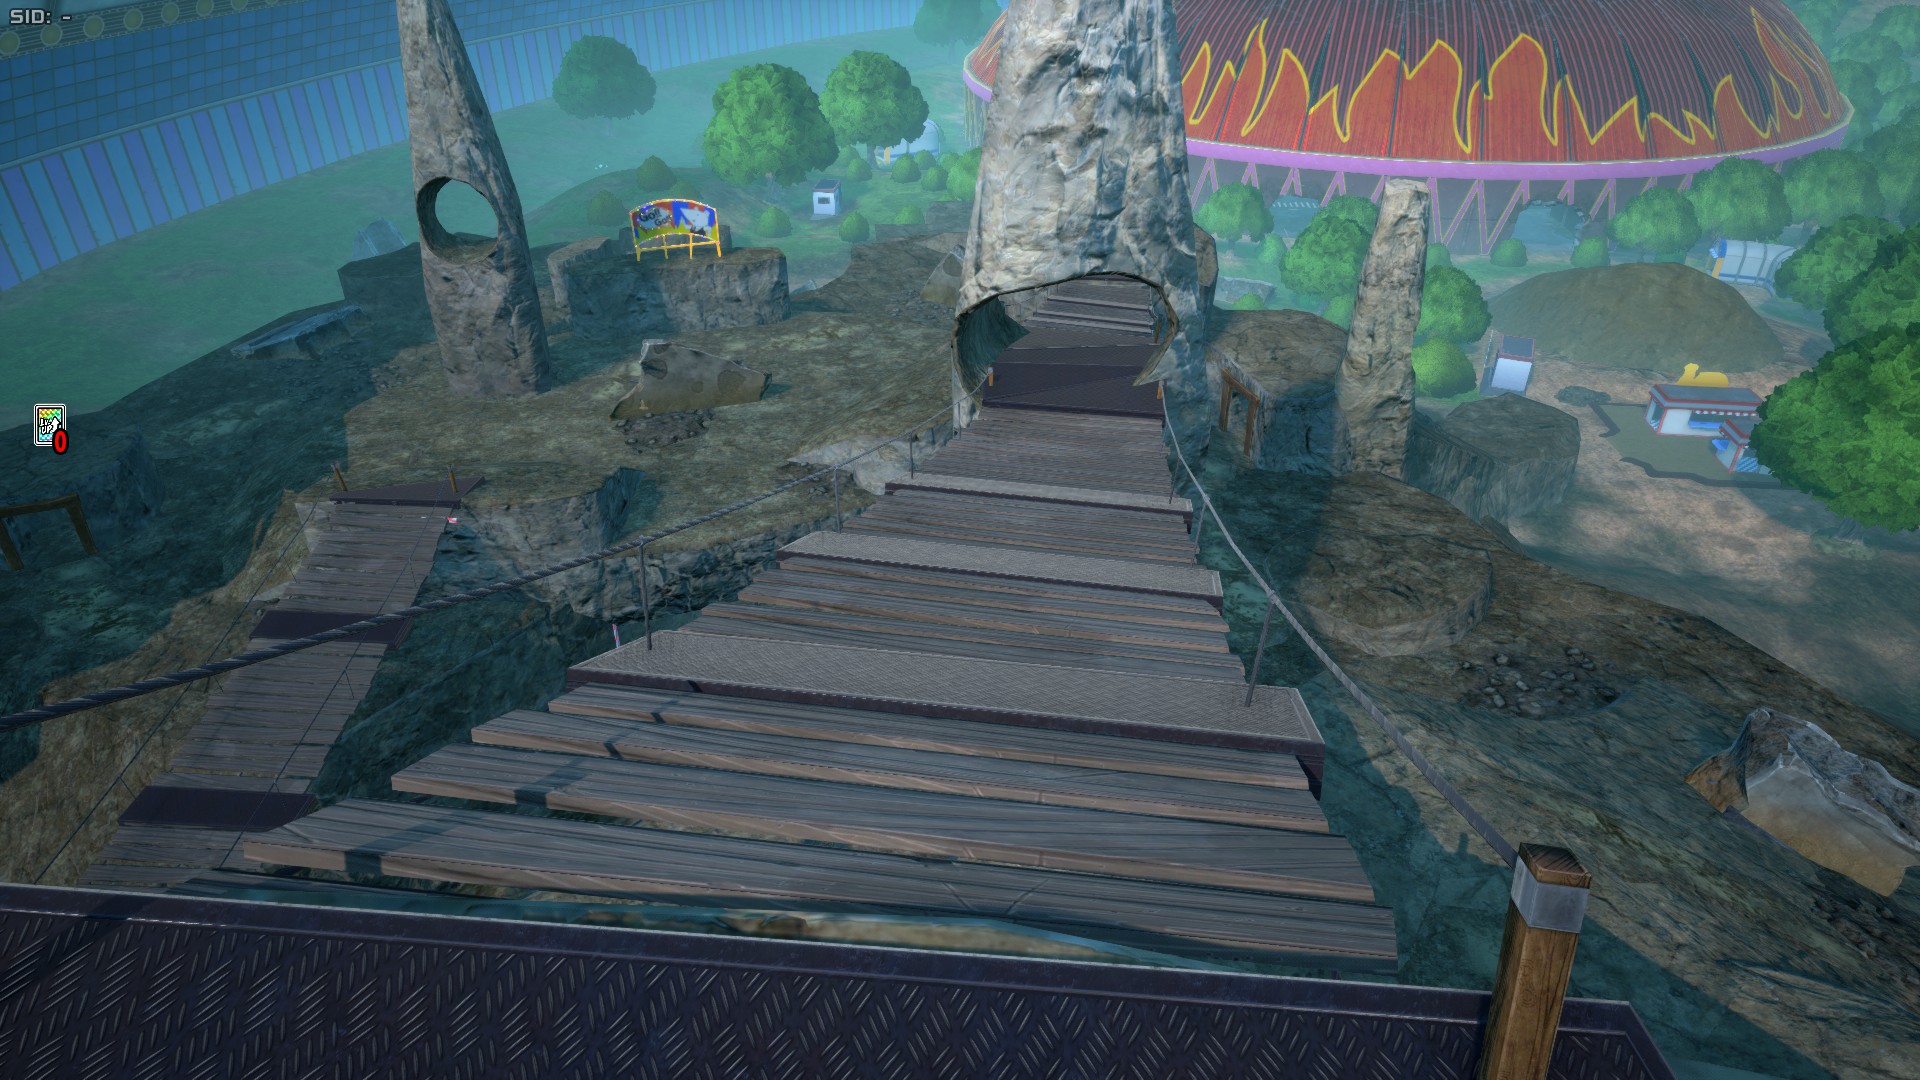
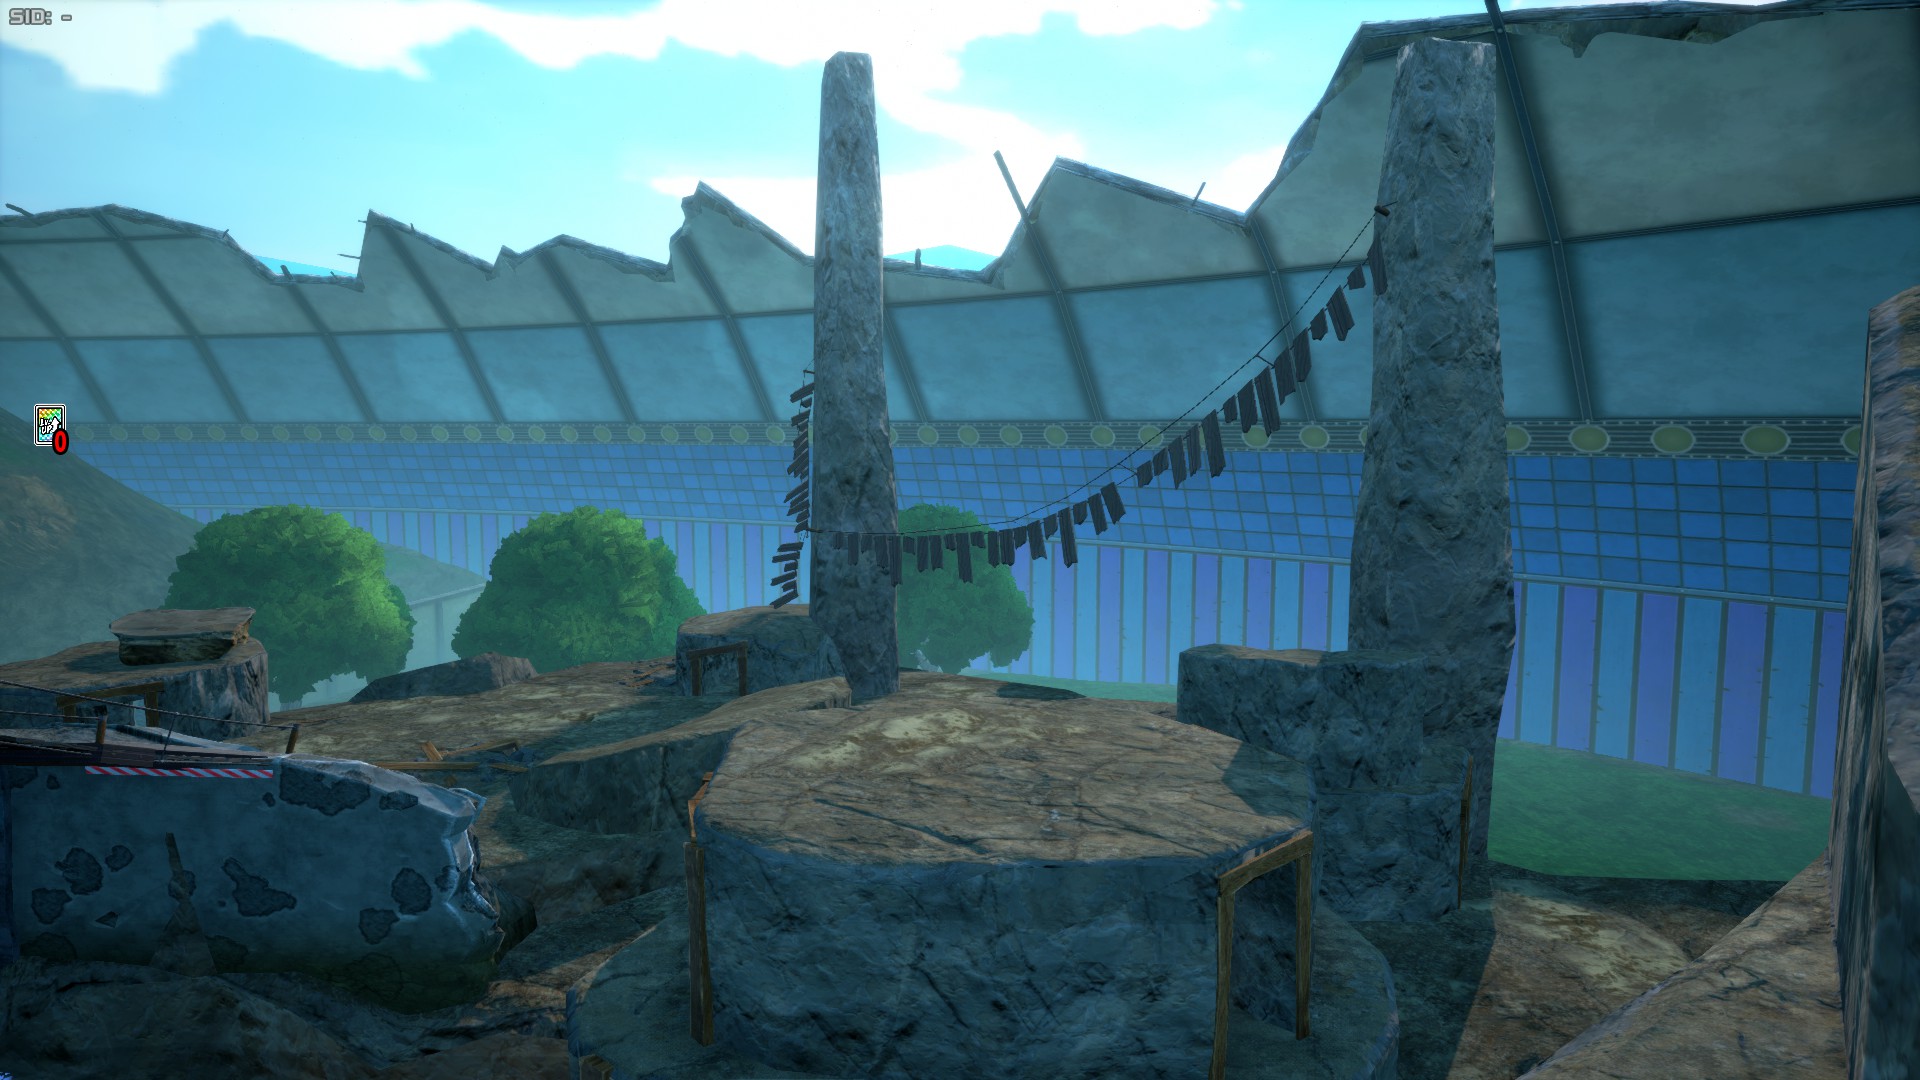
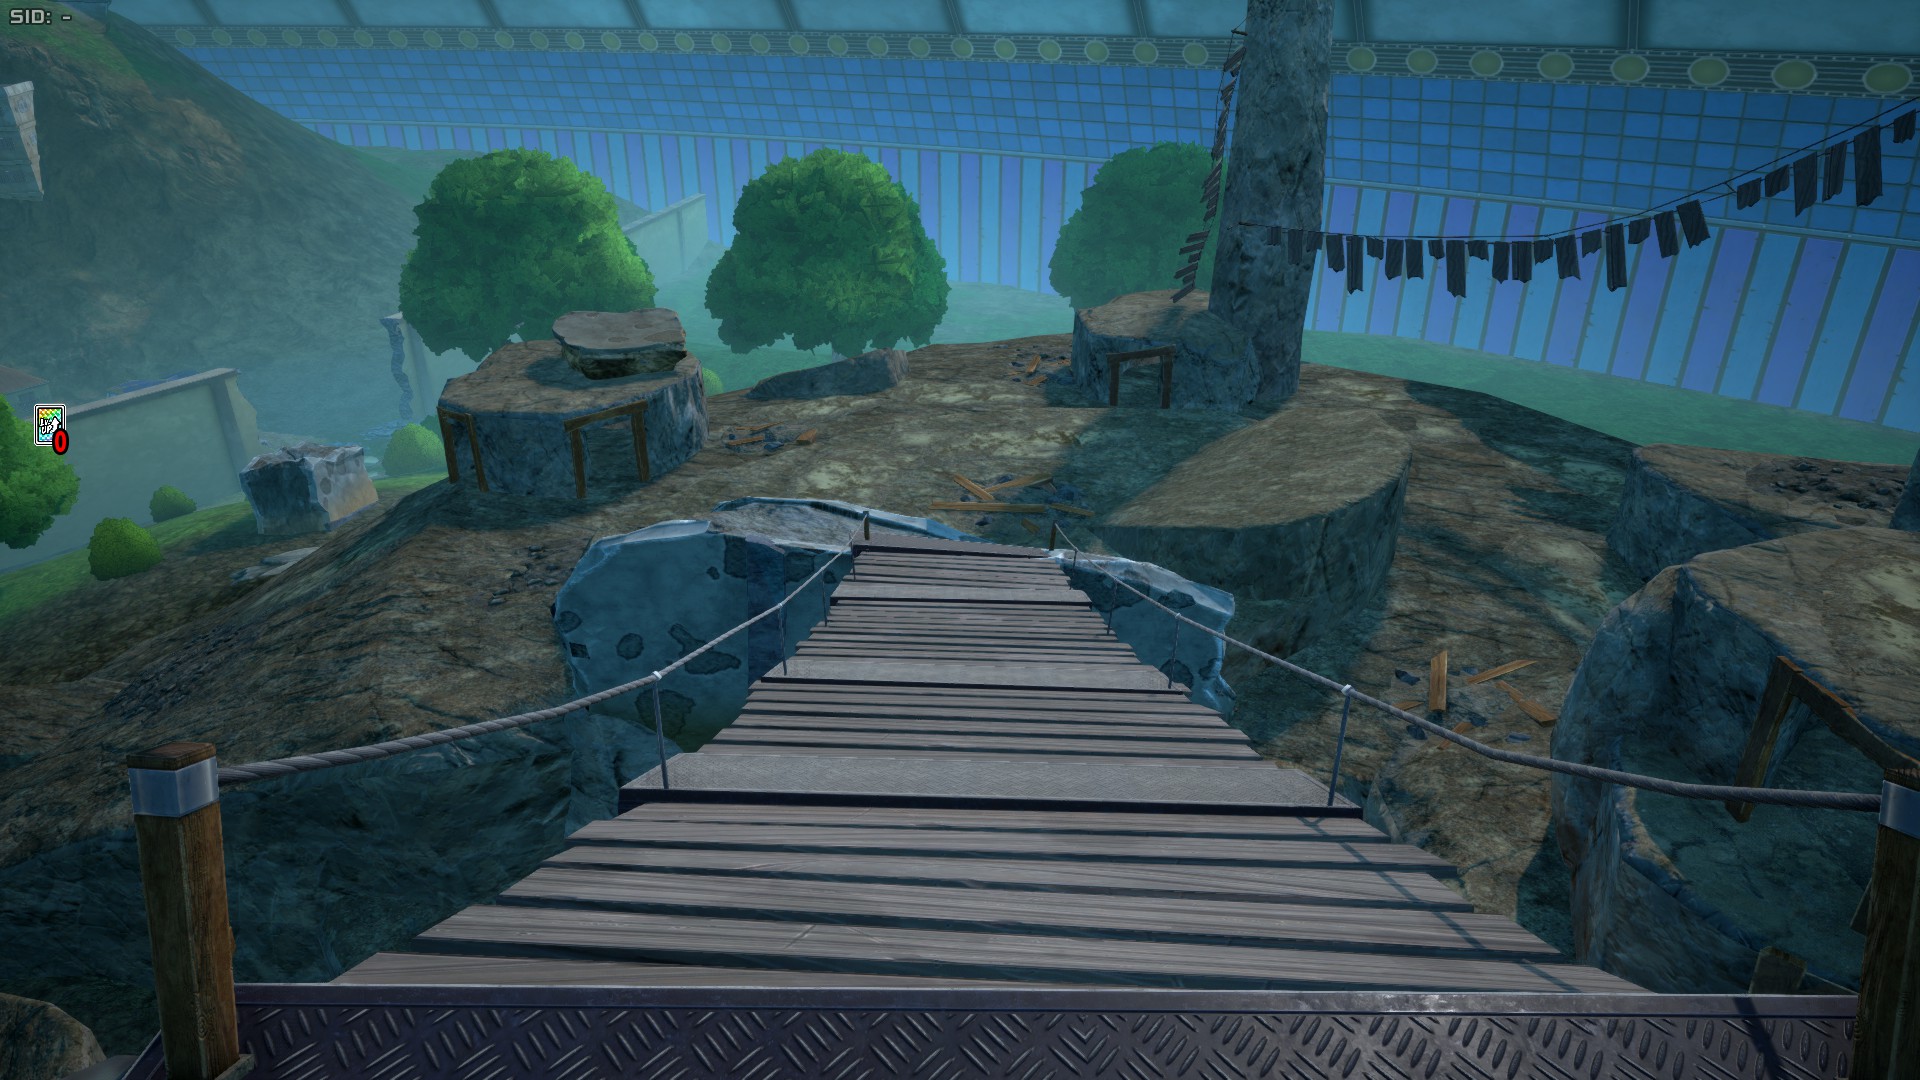
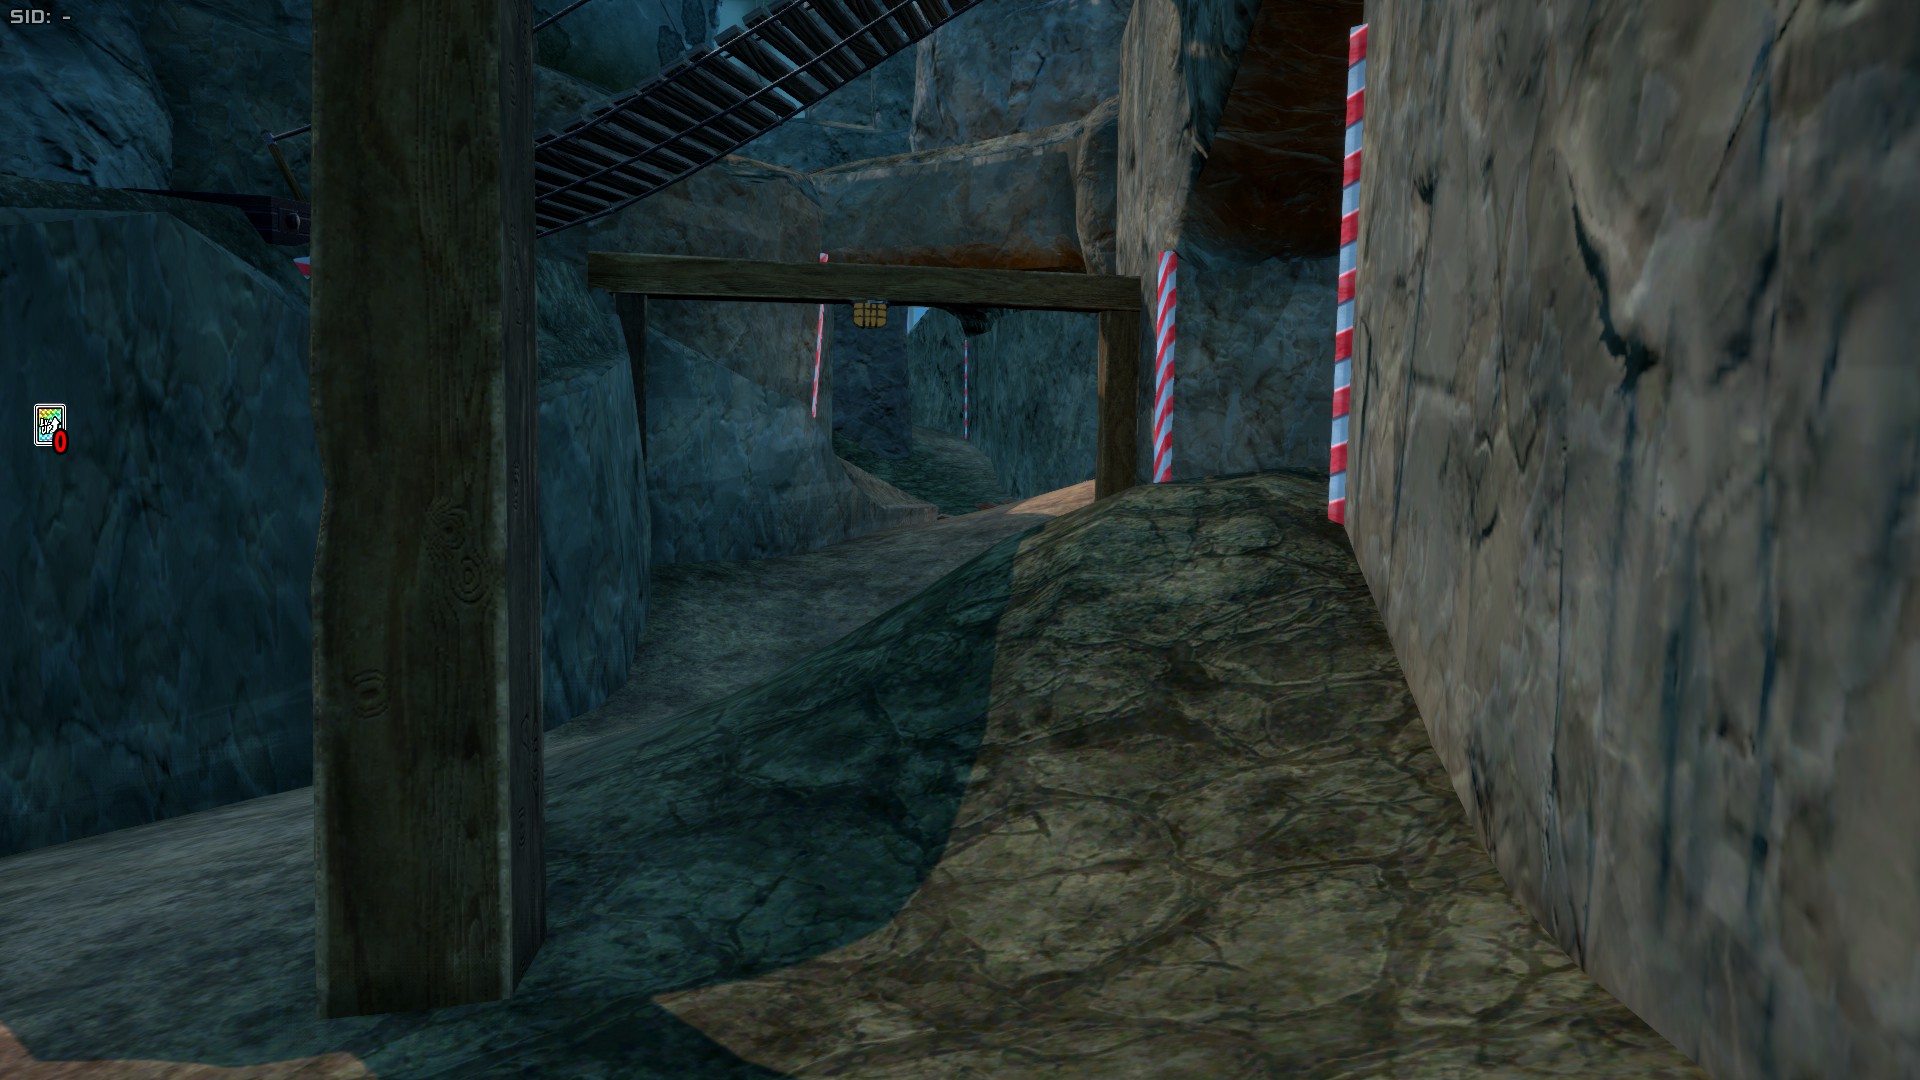
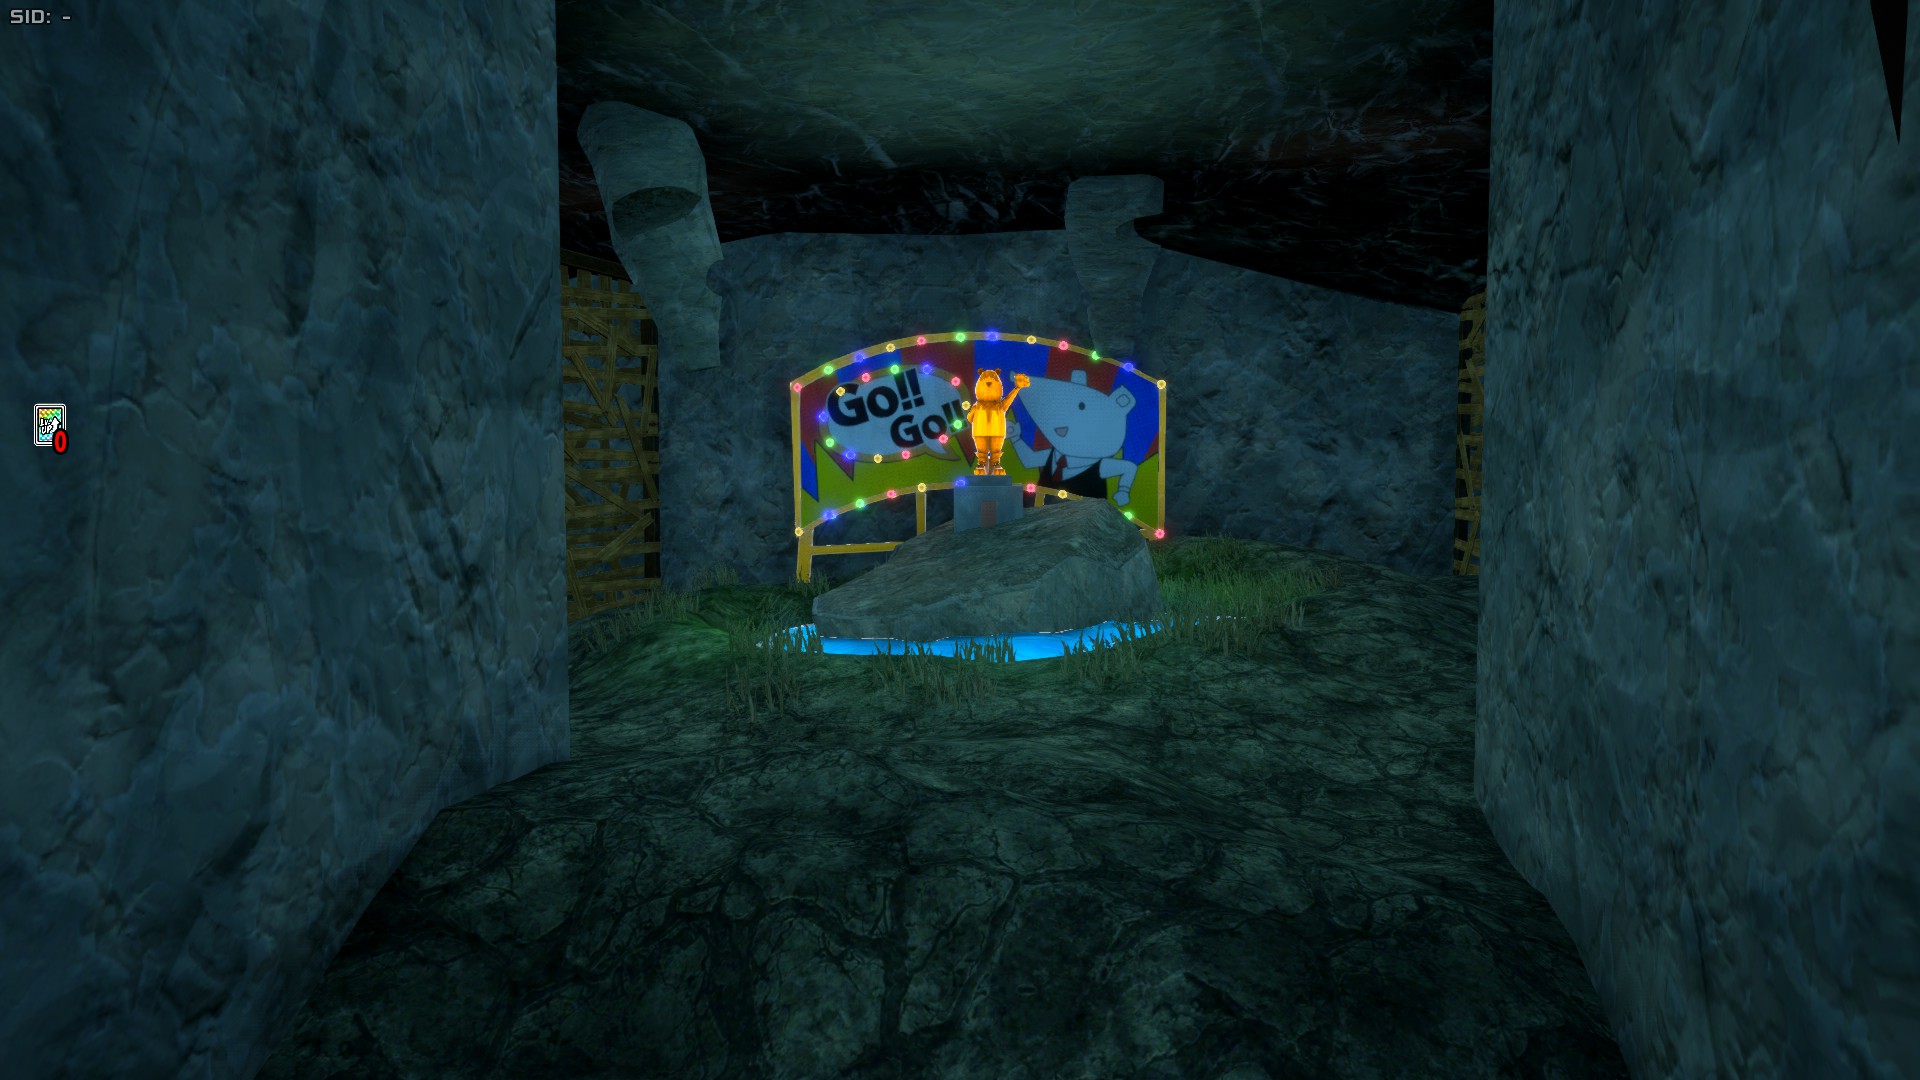
Mountain Zone (Ver.02) is the very first revamped area of the game. Unlike original Mountain Zone, this one is fairer to low mobility characters due to the area getting rid of the giant mountain in place for a shorter rocky area with thin peaks. The addition of jump pads in a later date made traversal much easier for low mobility characters. This revamp took place in Mirio Togata's season, and as such, the whole area is very permeation-friendly, allowing you to descend to lower levels to escape or chase your enemy, as well as a special sealed area with very durable barricades that take quite a few hits to break, but that Mirio can simply permeate through to quickly loot the area.
USJ (Ver.03)
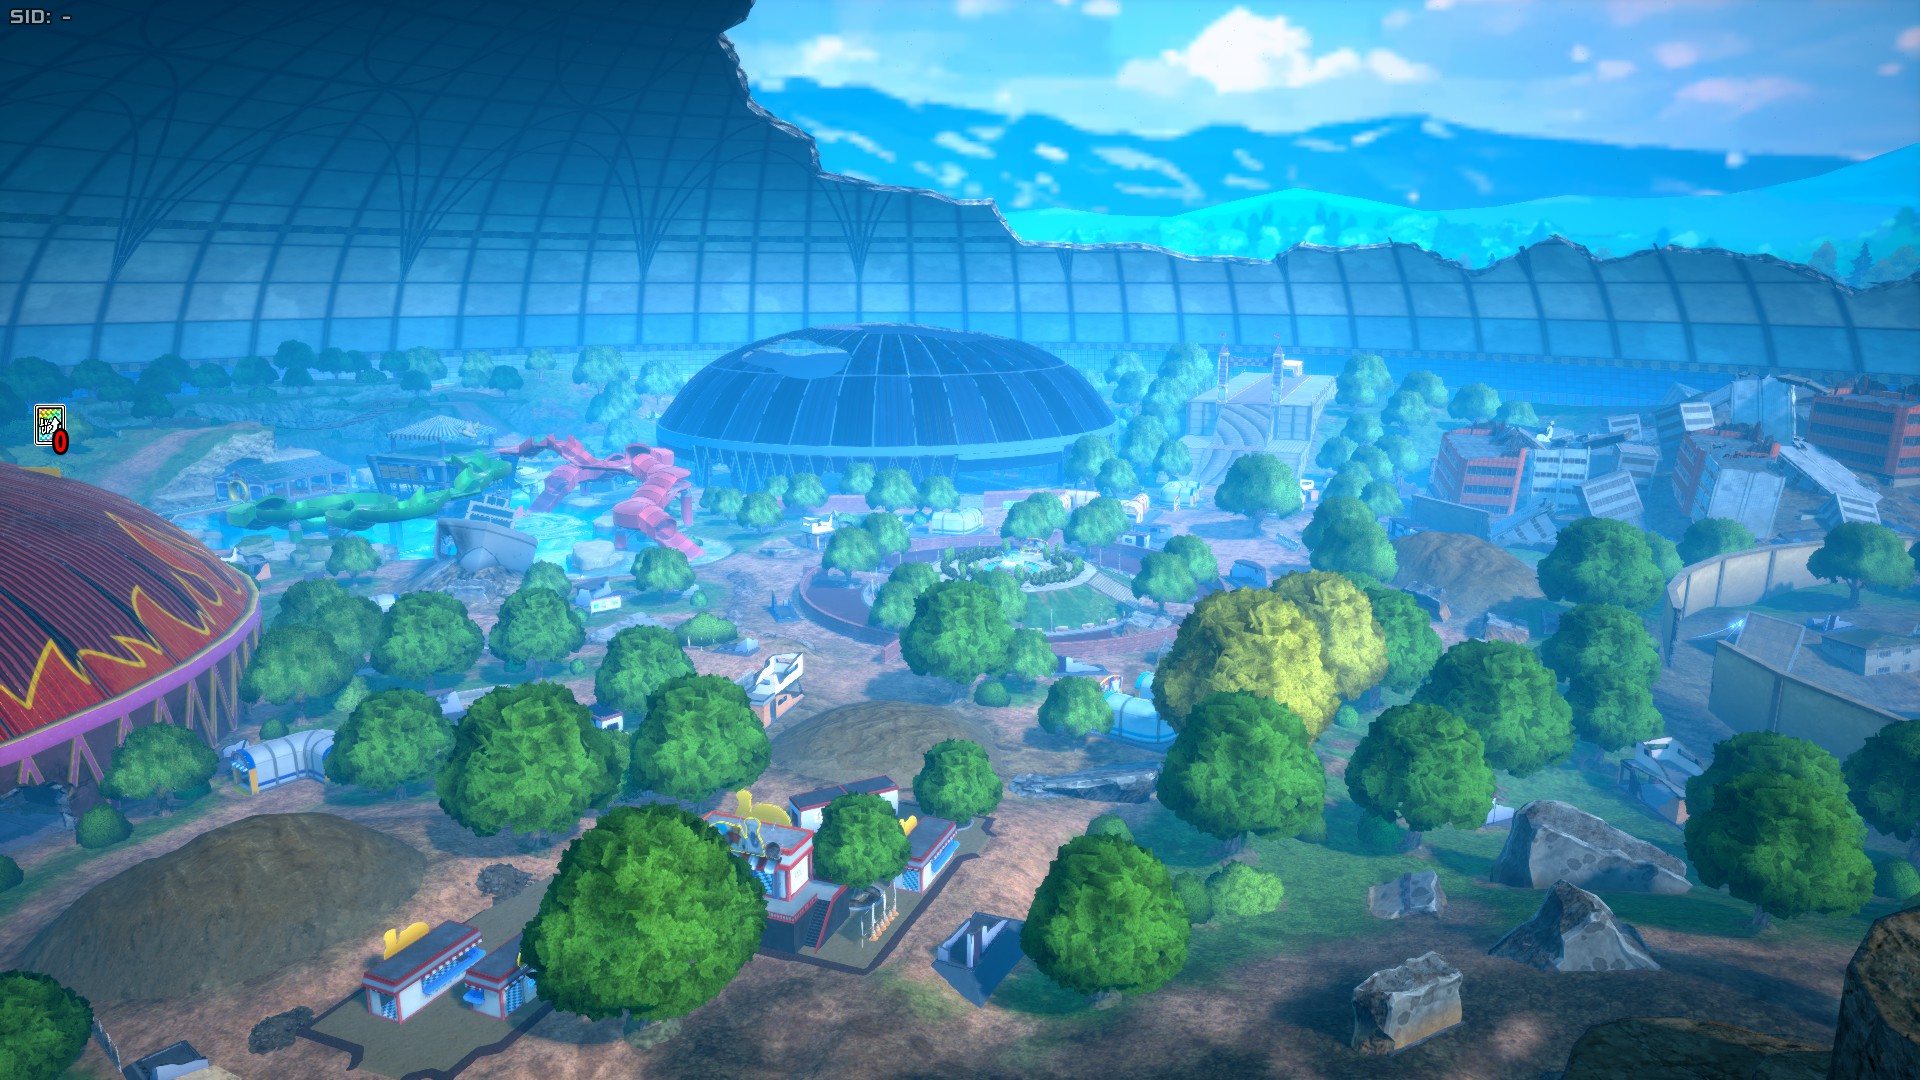
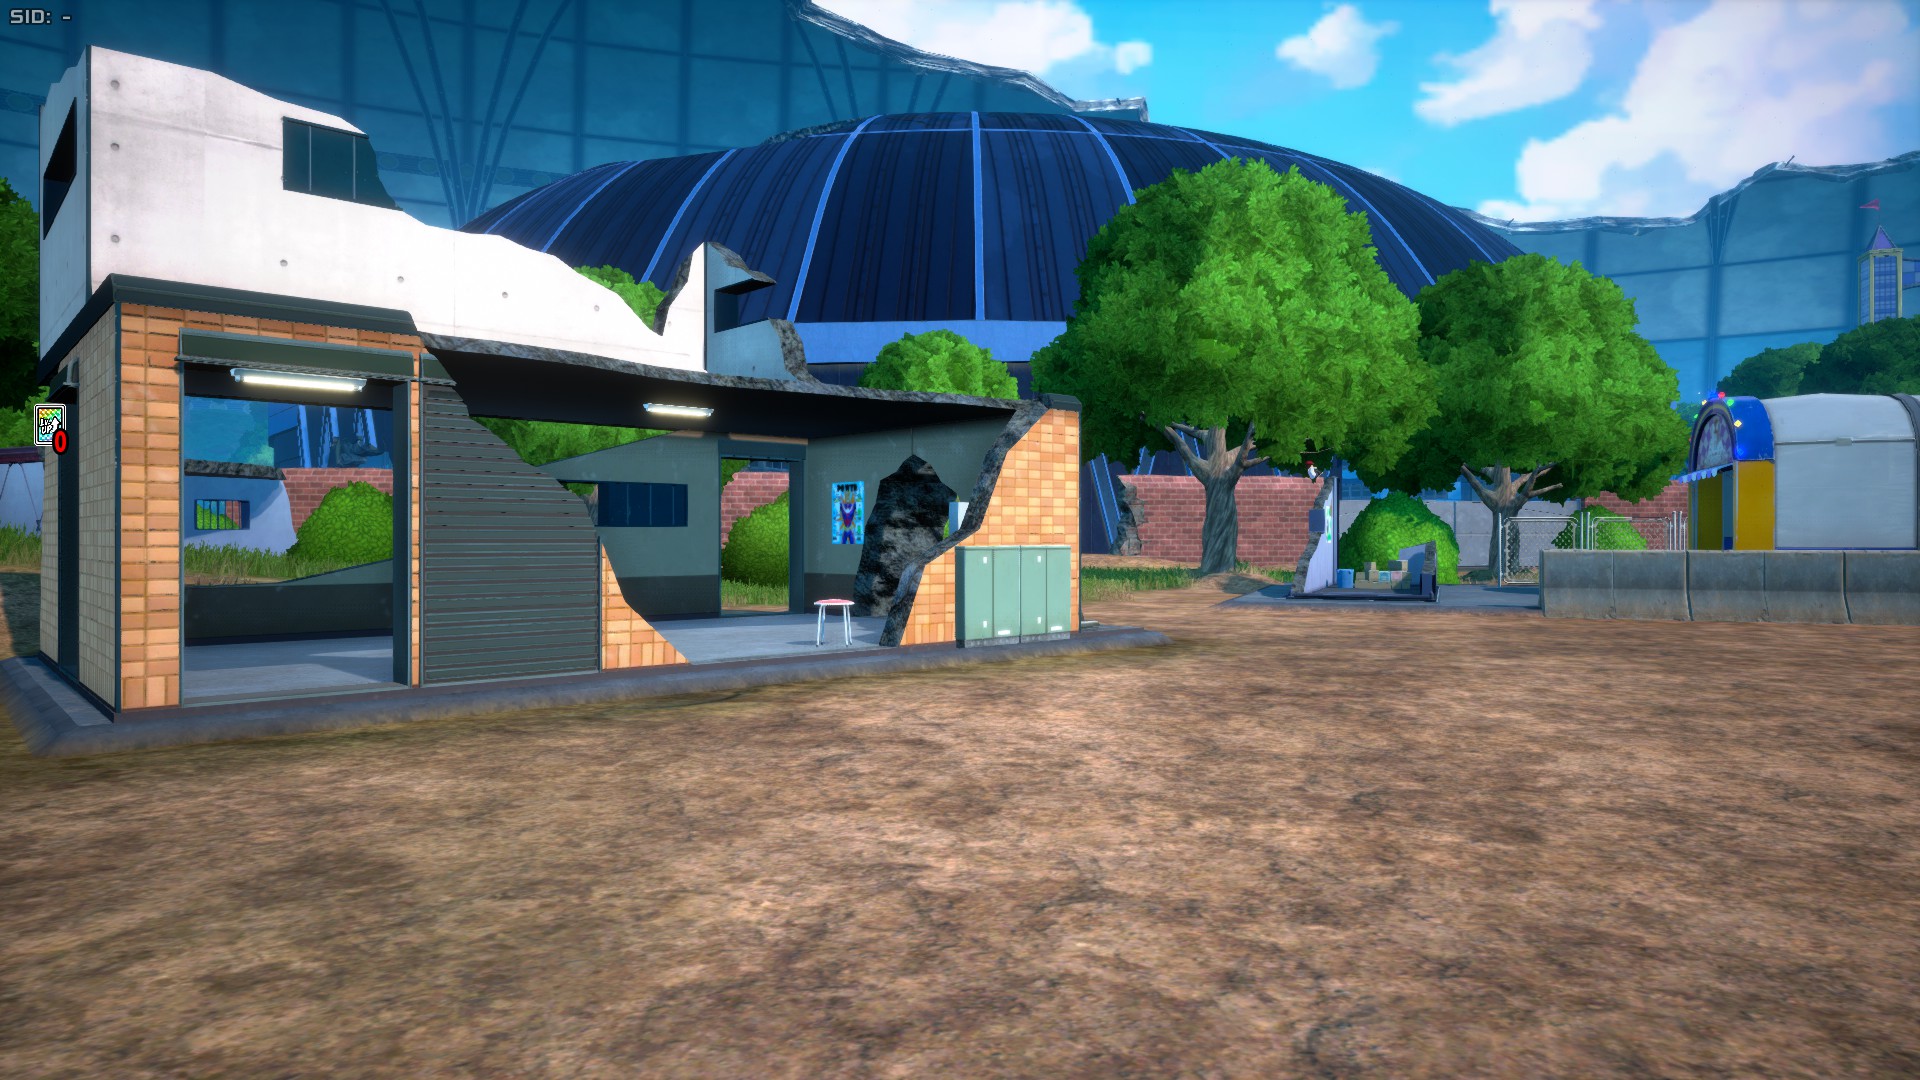
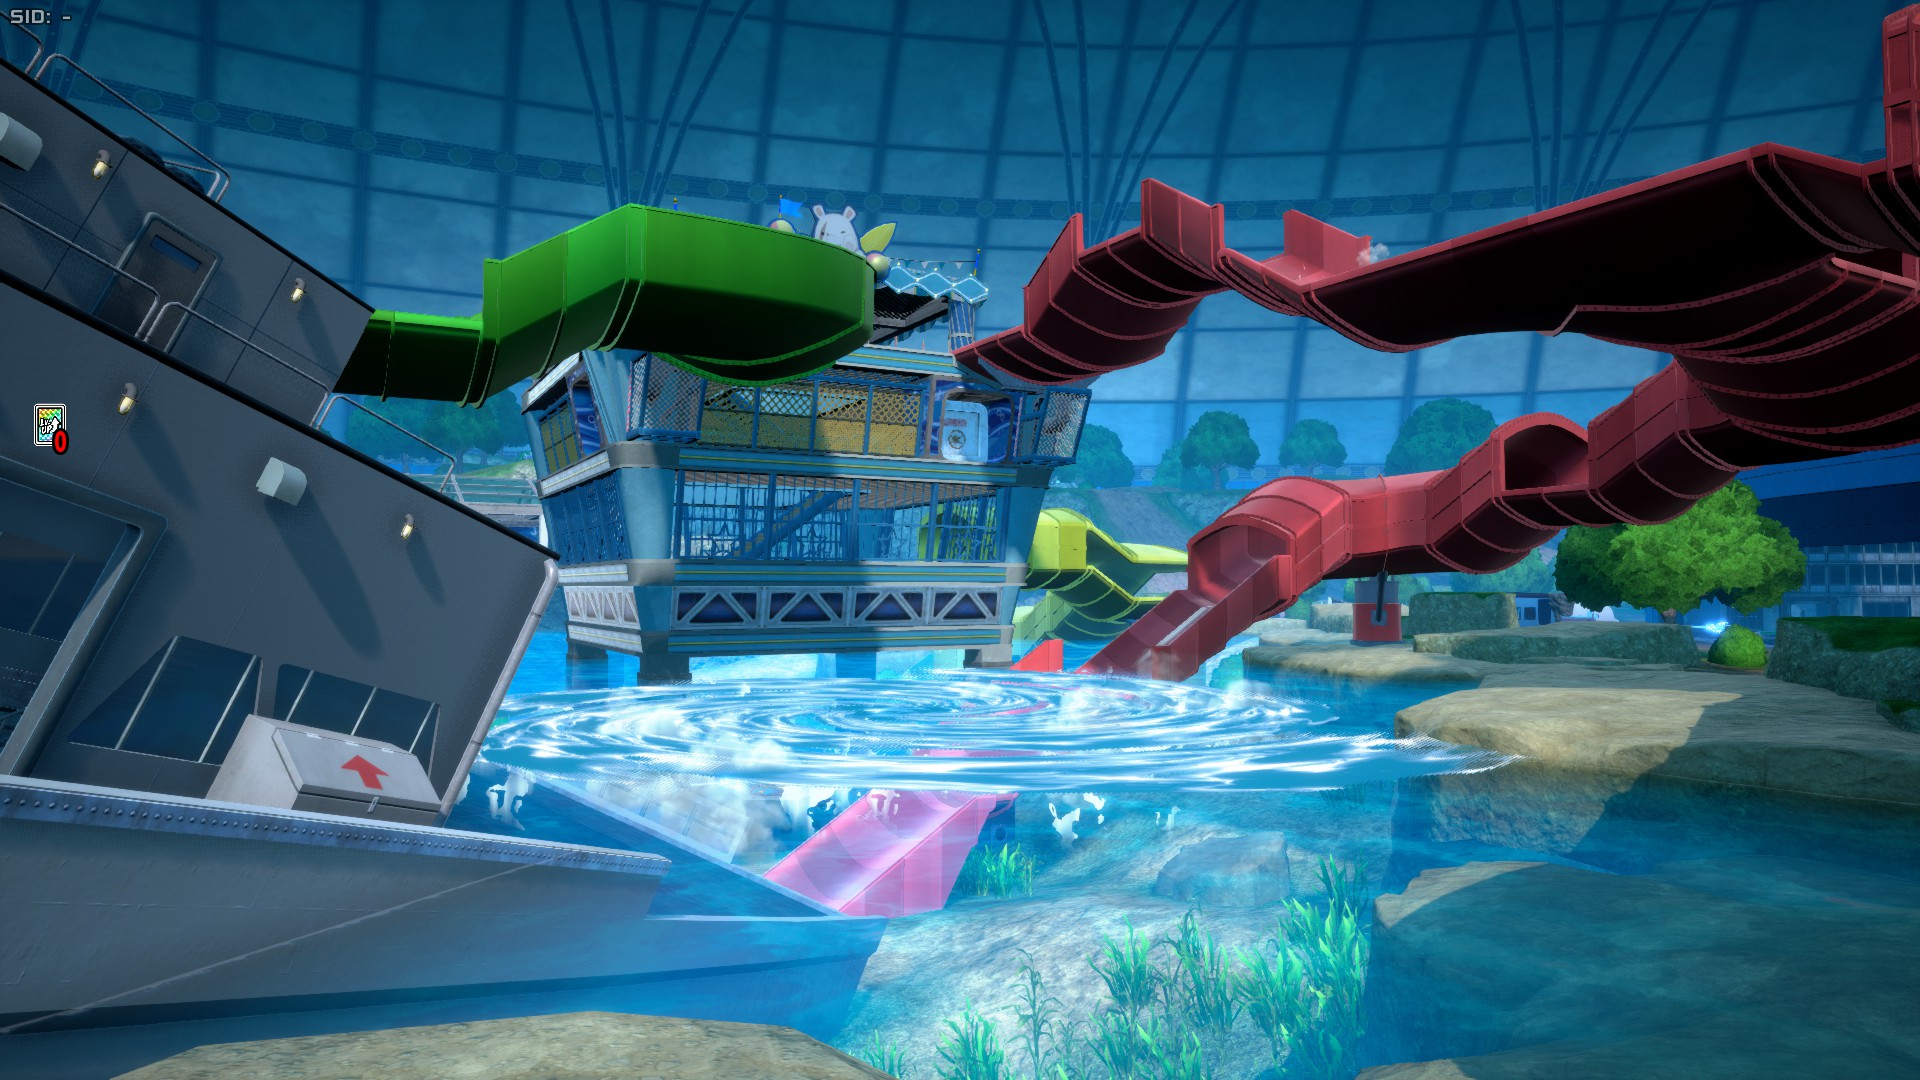
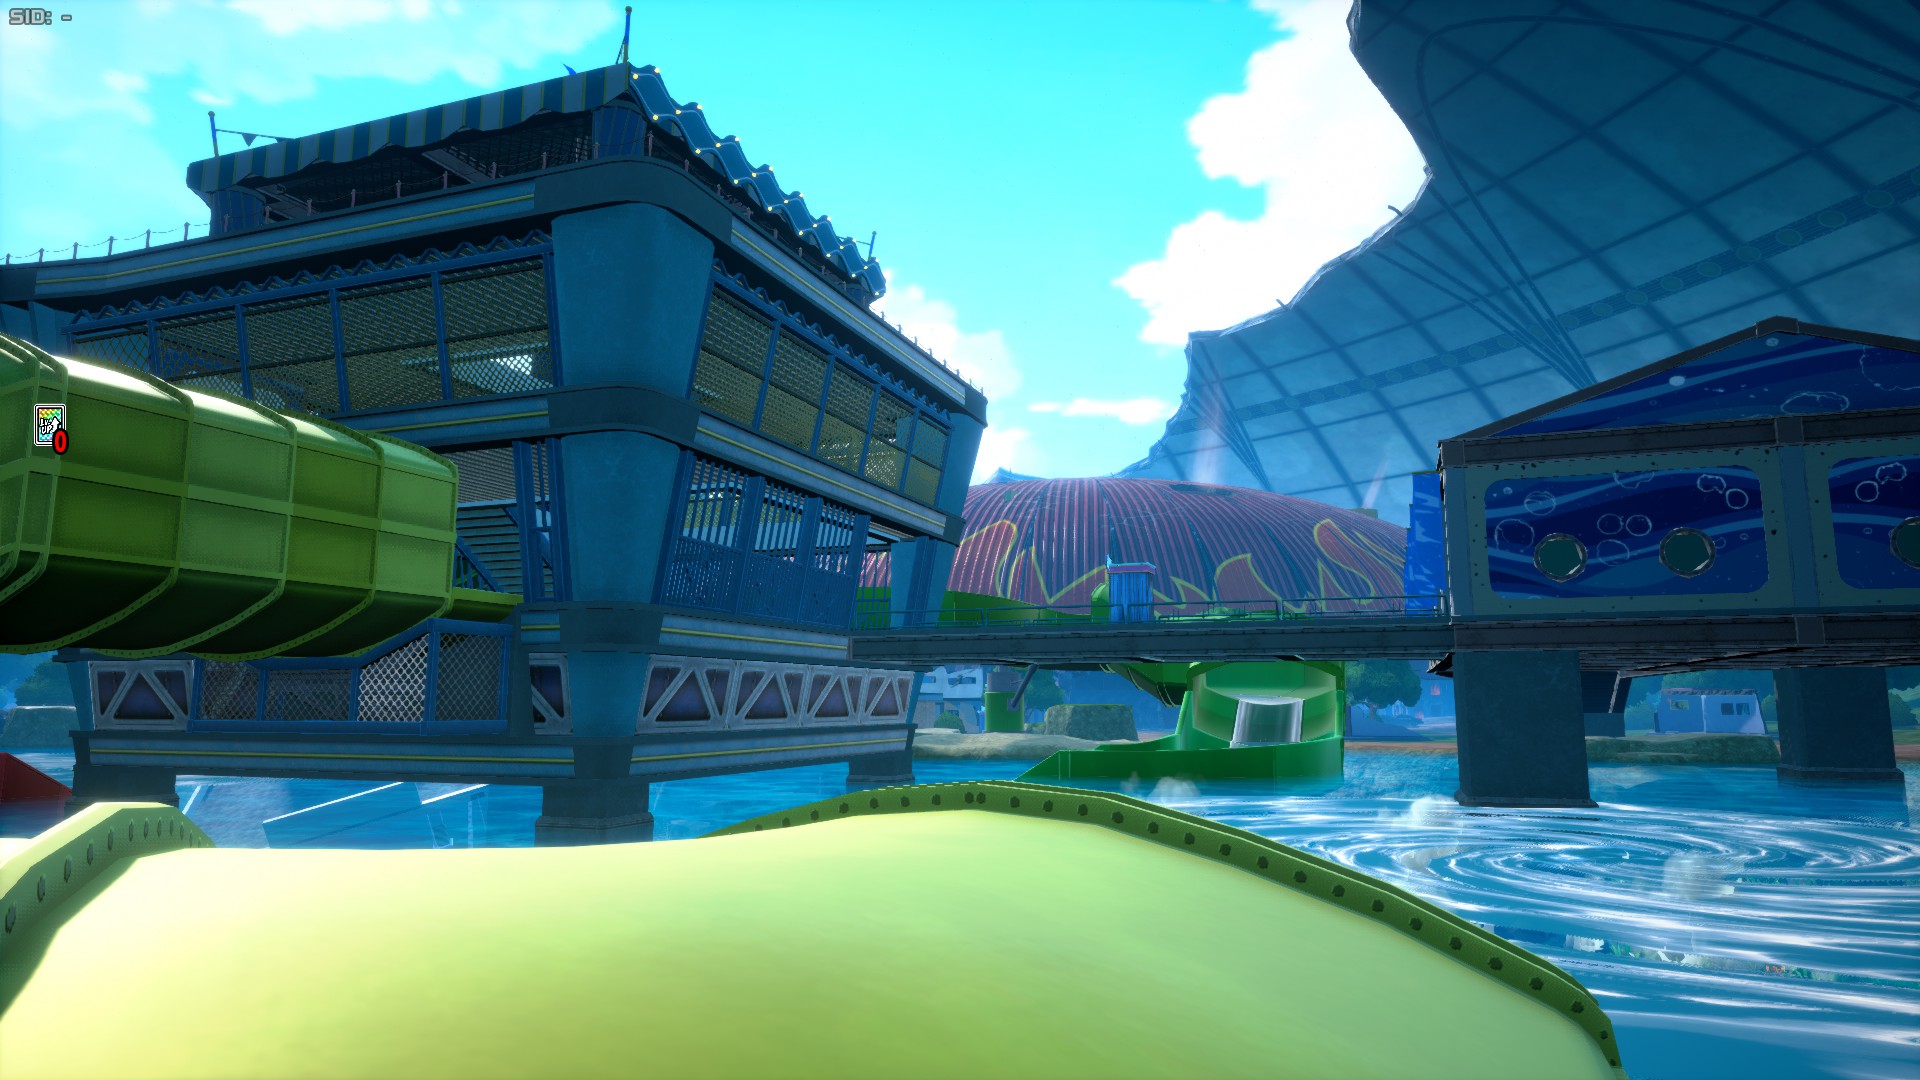
USJ Ver.03 is the third update made to the first stage, which took place in Season 11. This update revamped the totality of Aquatic Zone and the area behind it, and also made some small buildings act as terrain non-breakable objects with broken bits. The lighting in this variation also changed, being sort of a more refined version of Version 1's.
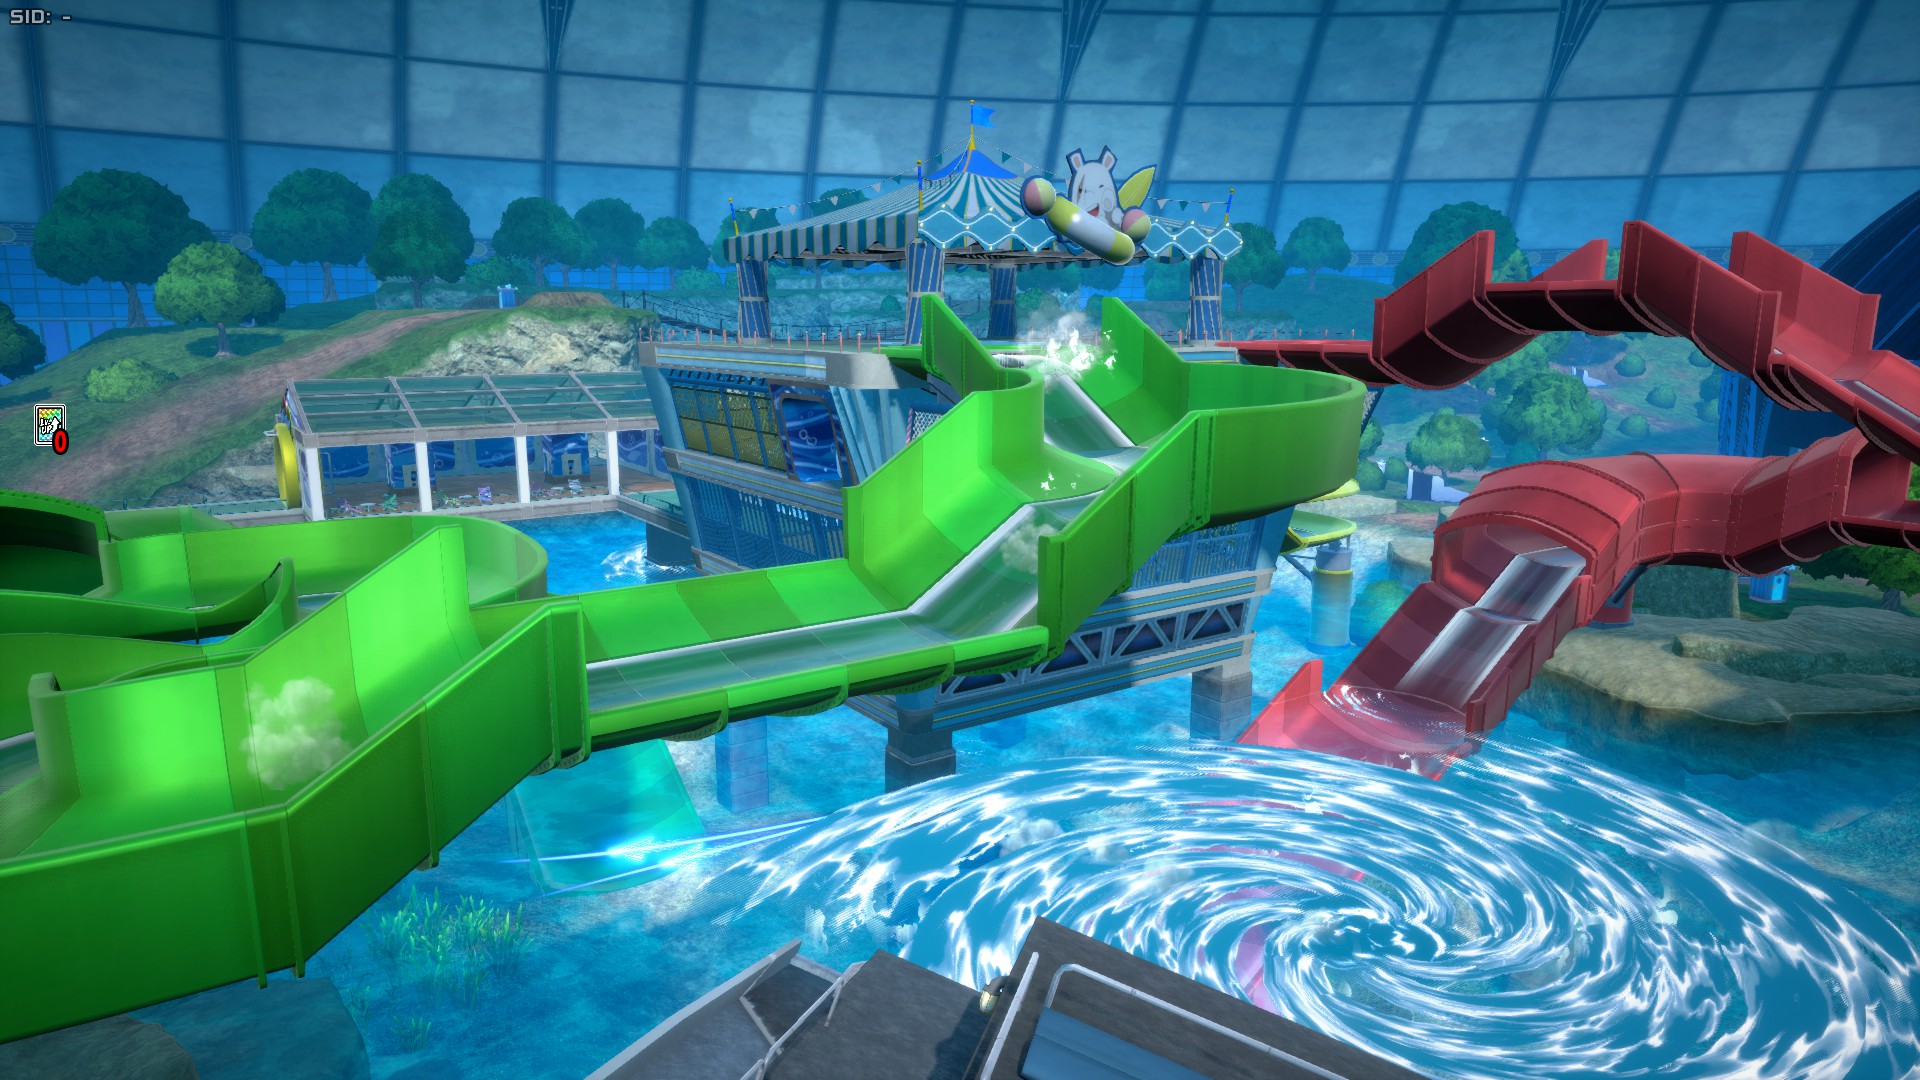
Aquatic Zone (Ver.02)
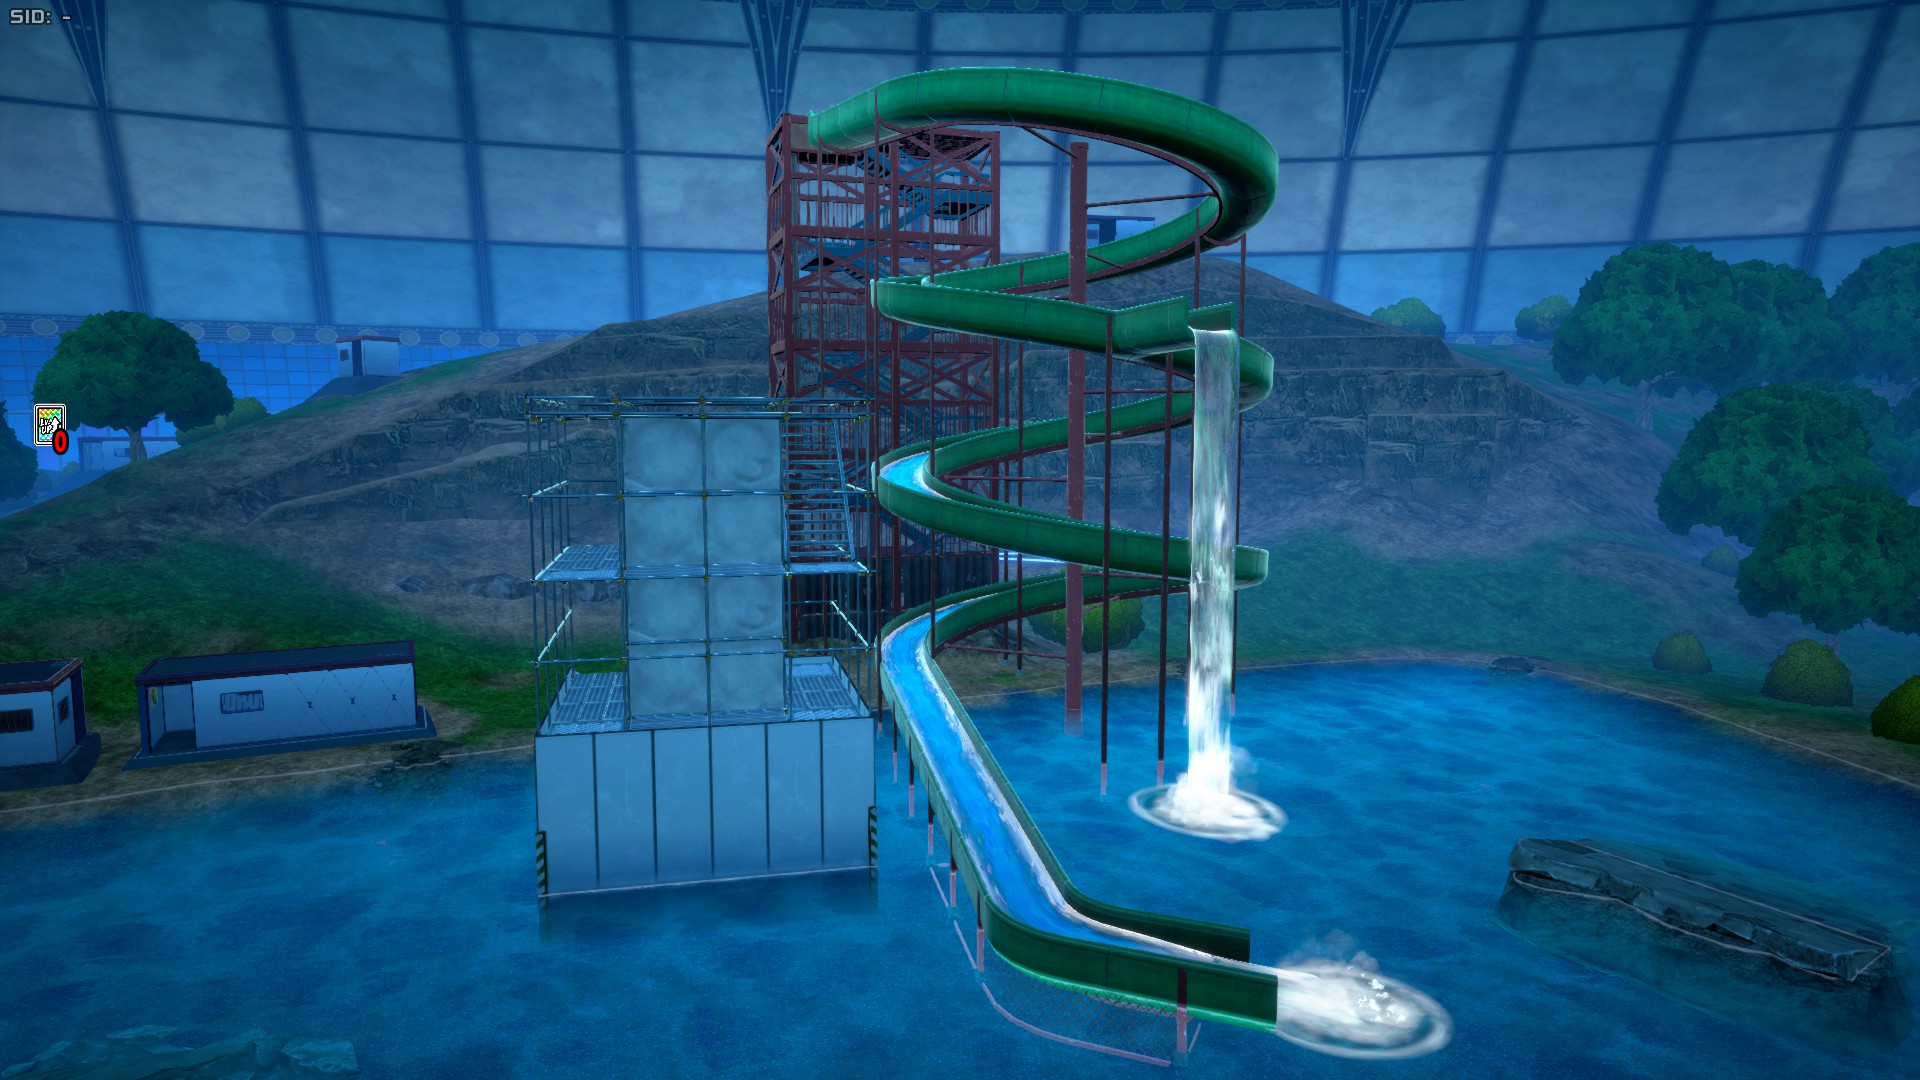
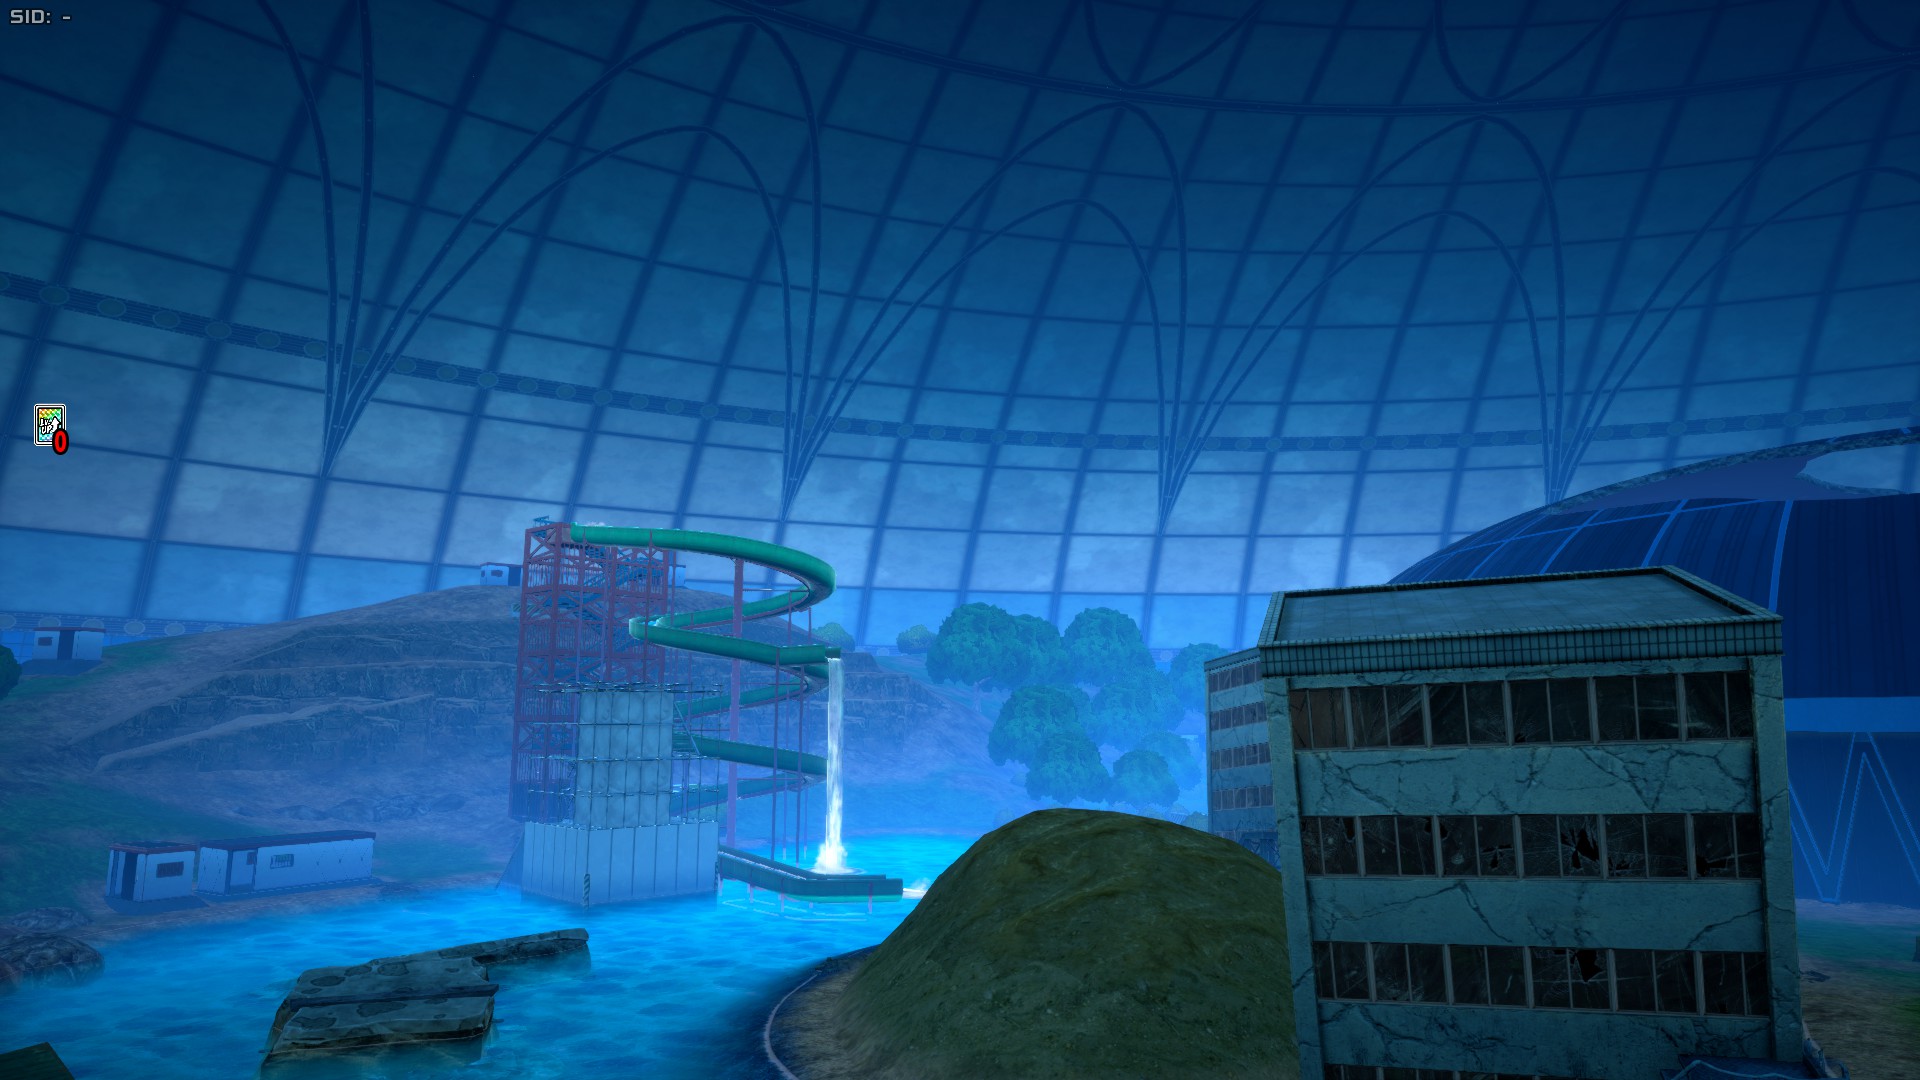
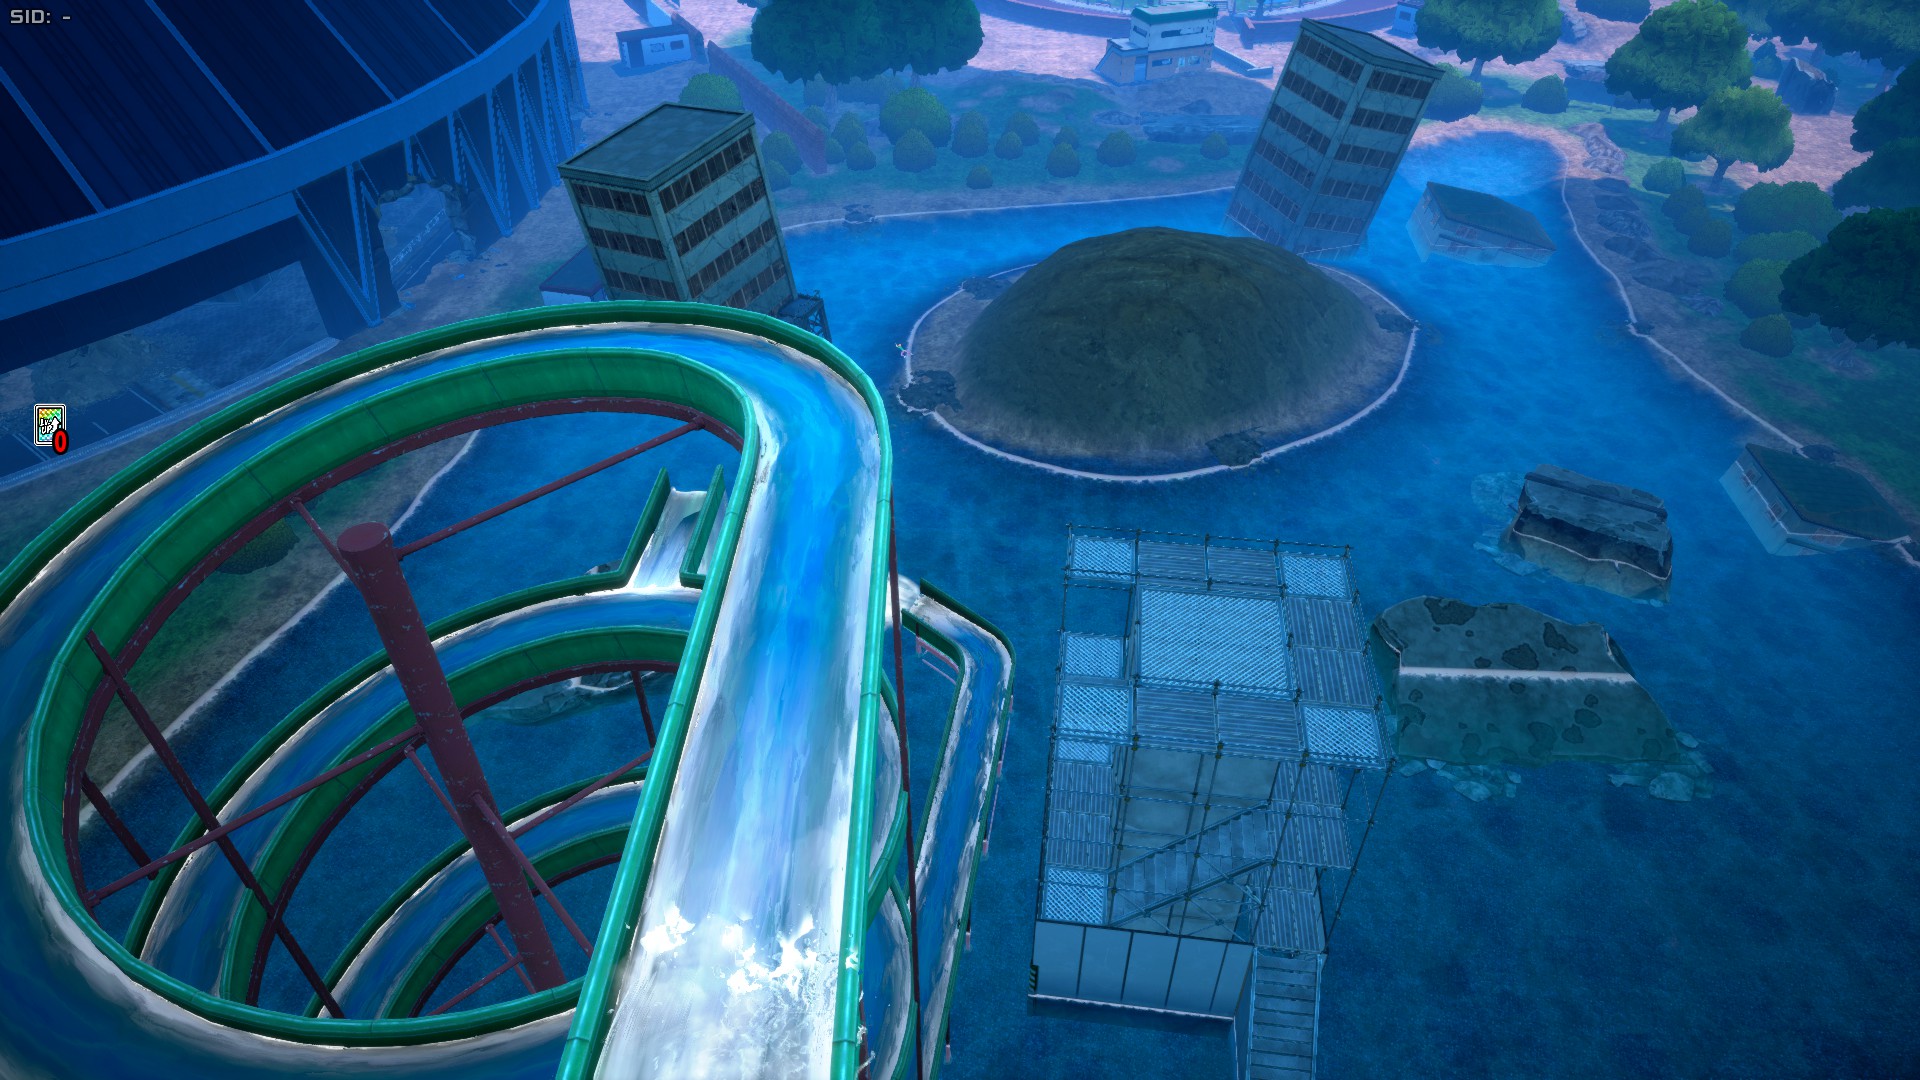
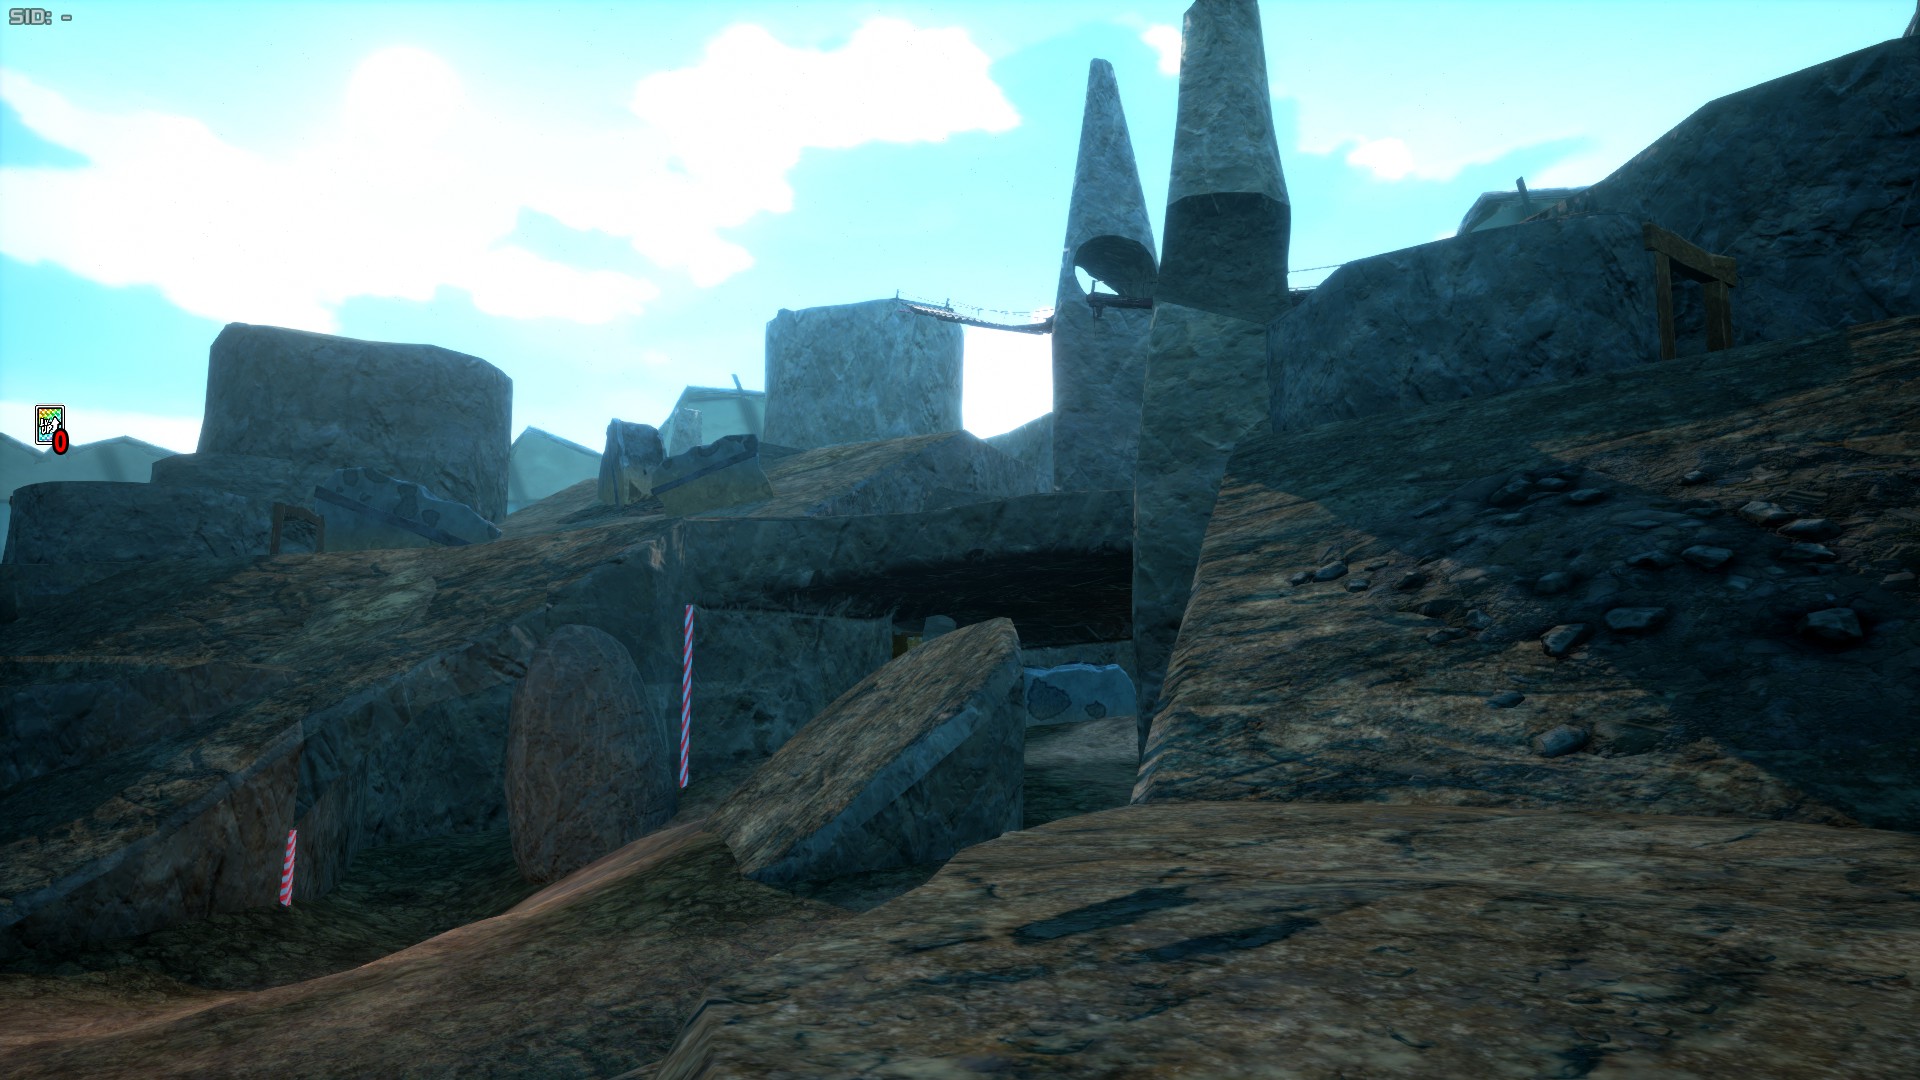
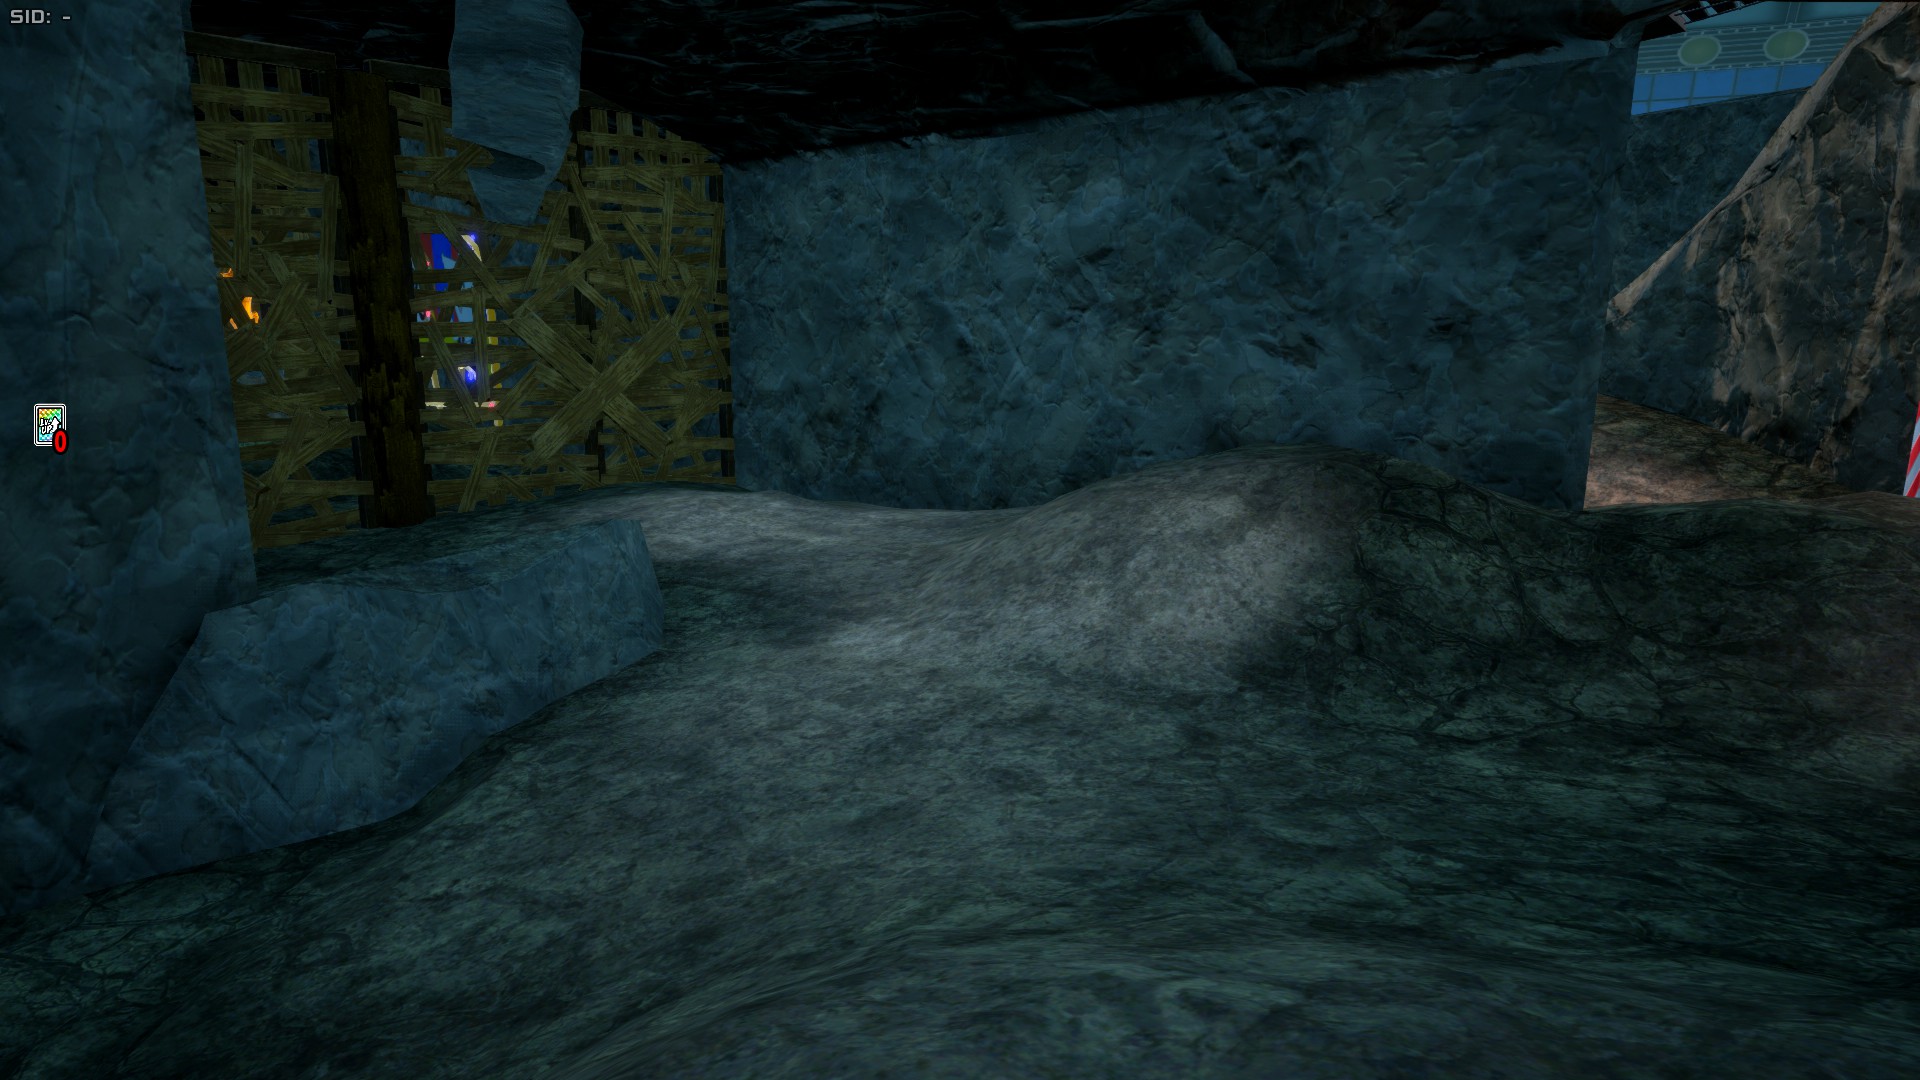
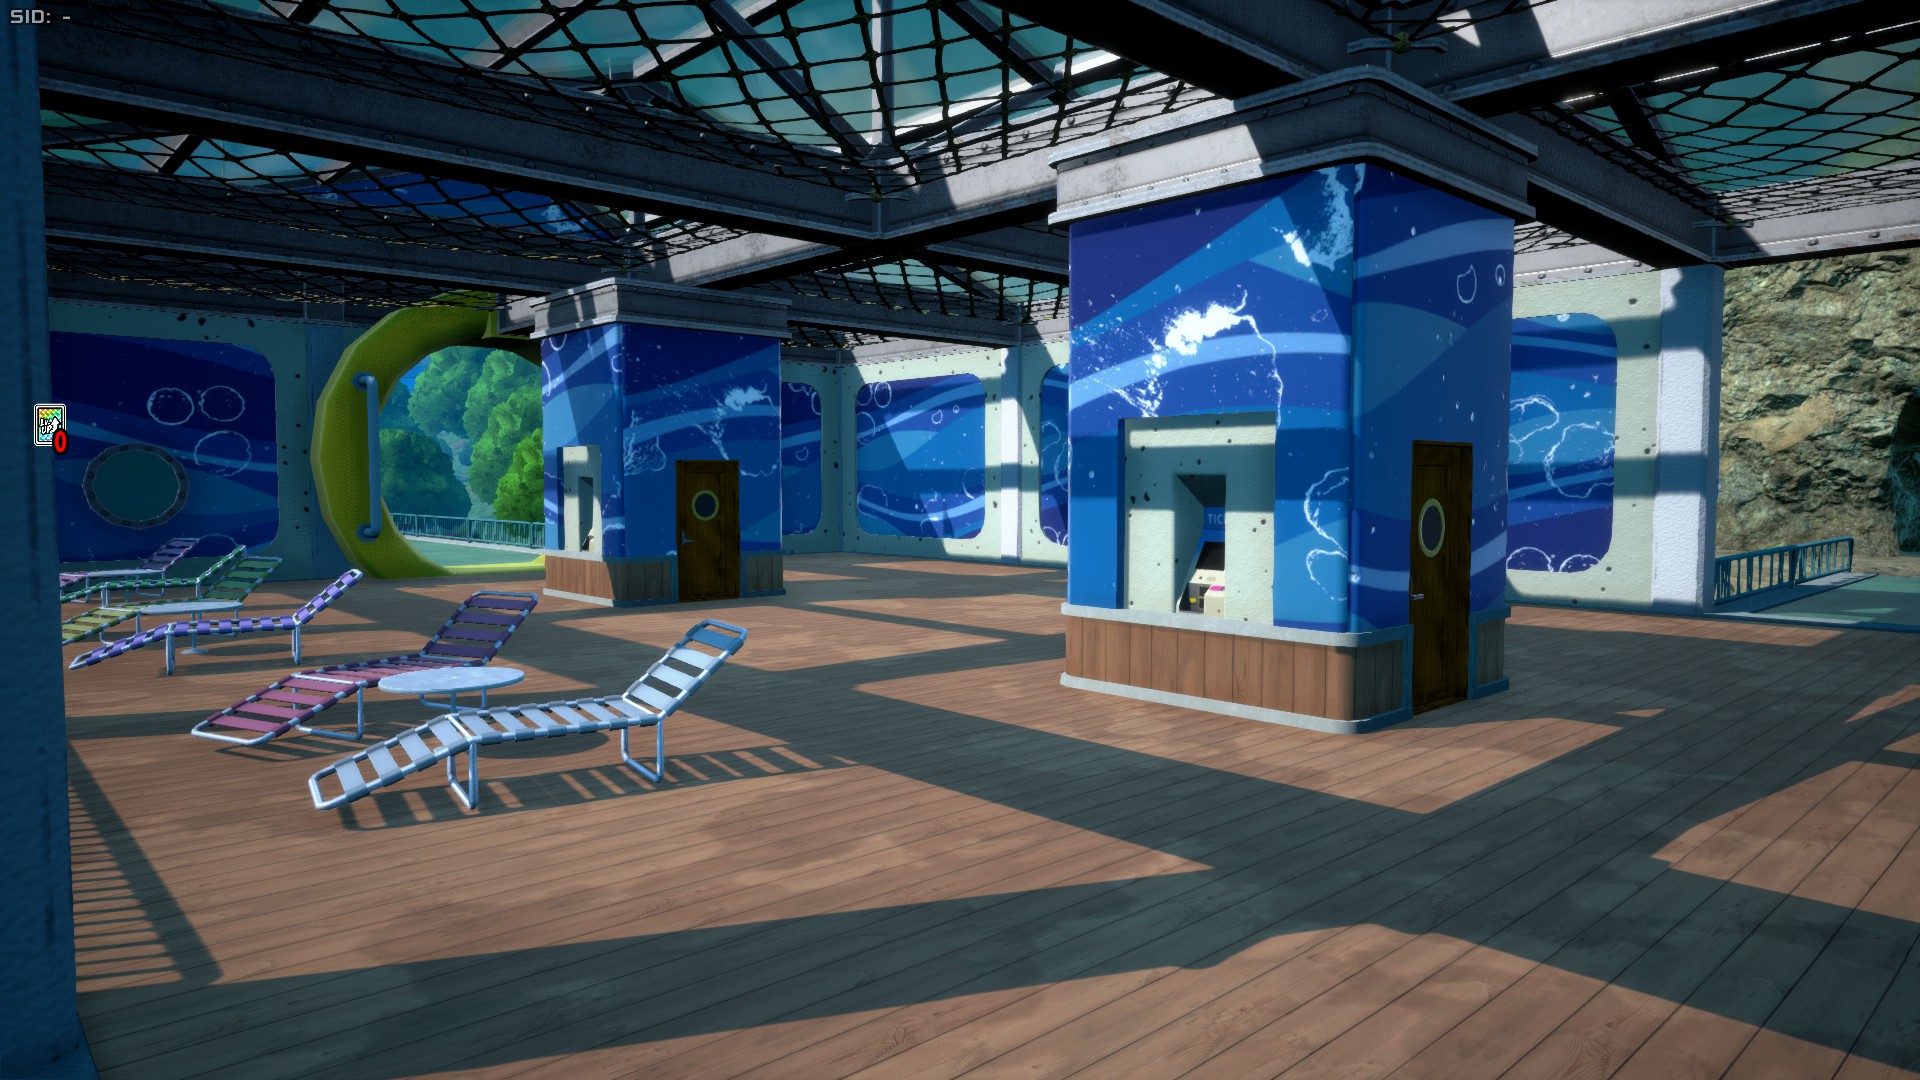
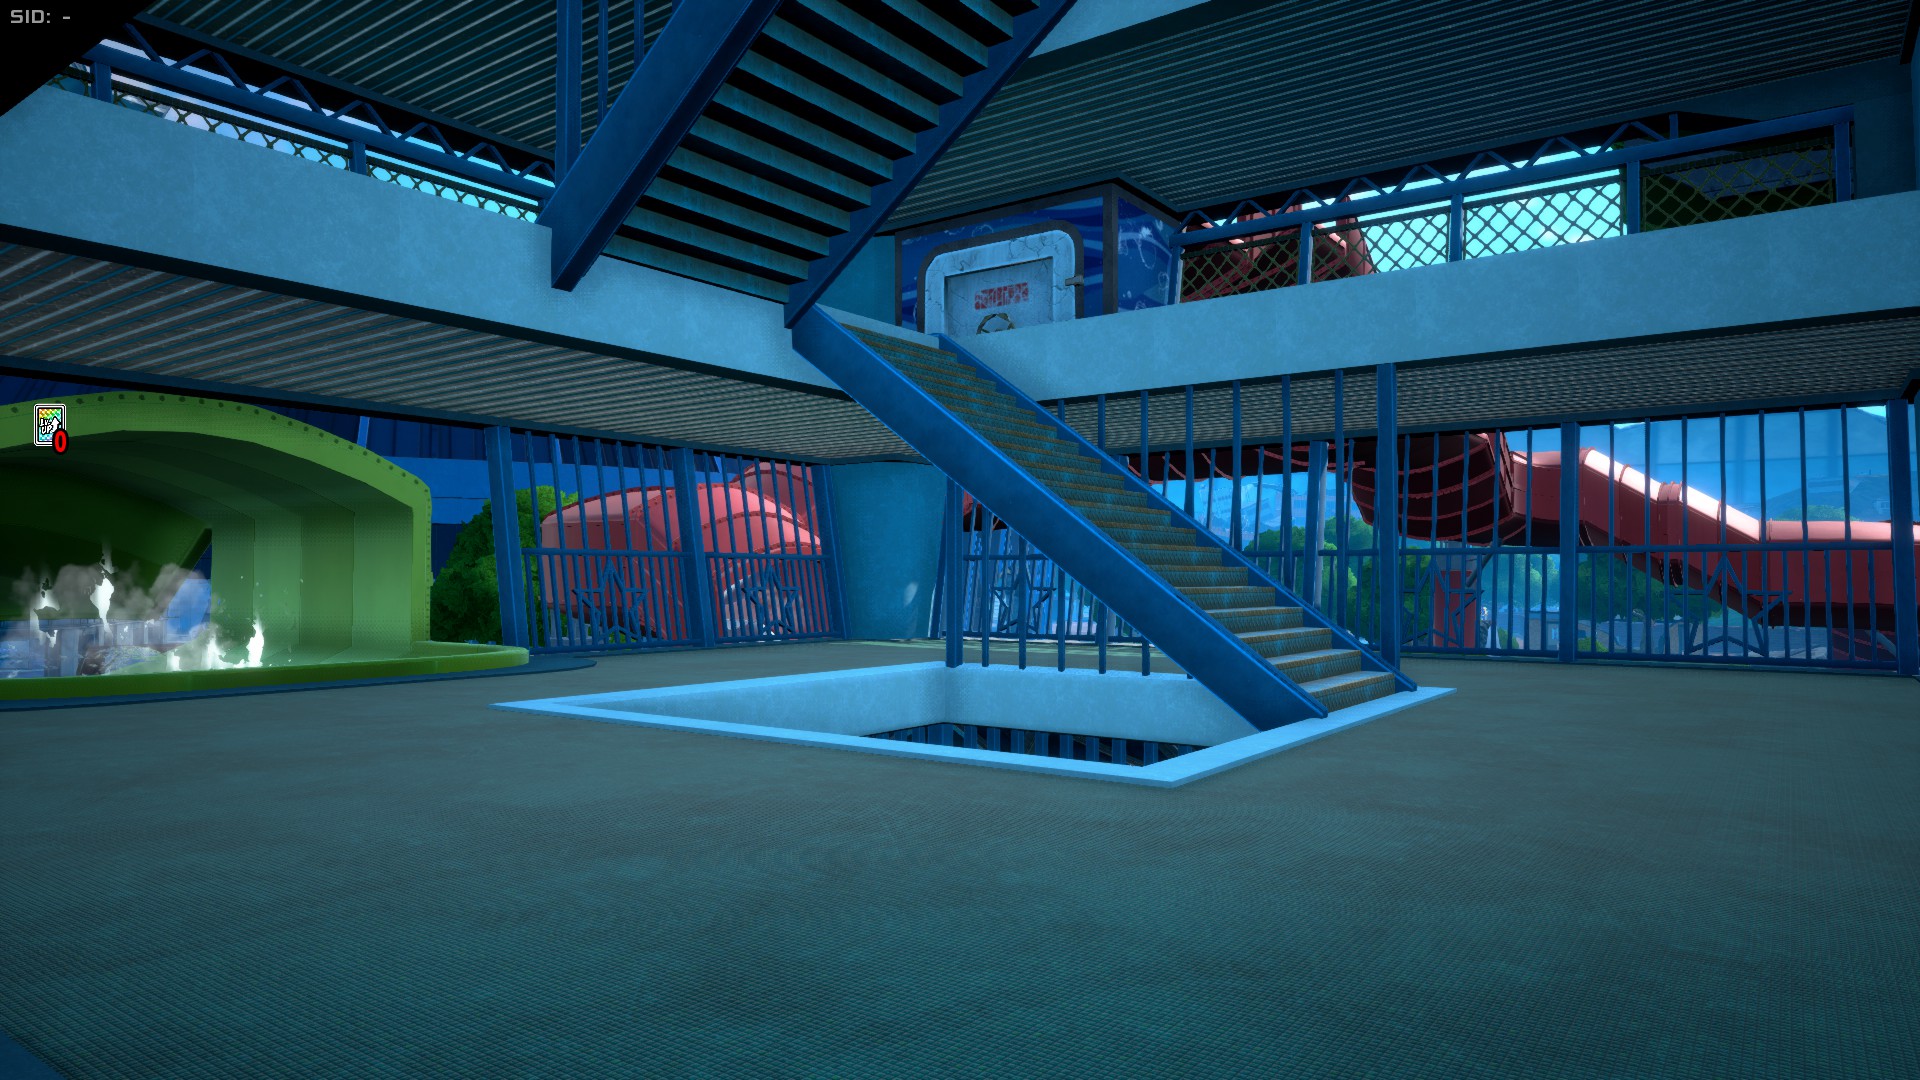
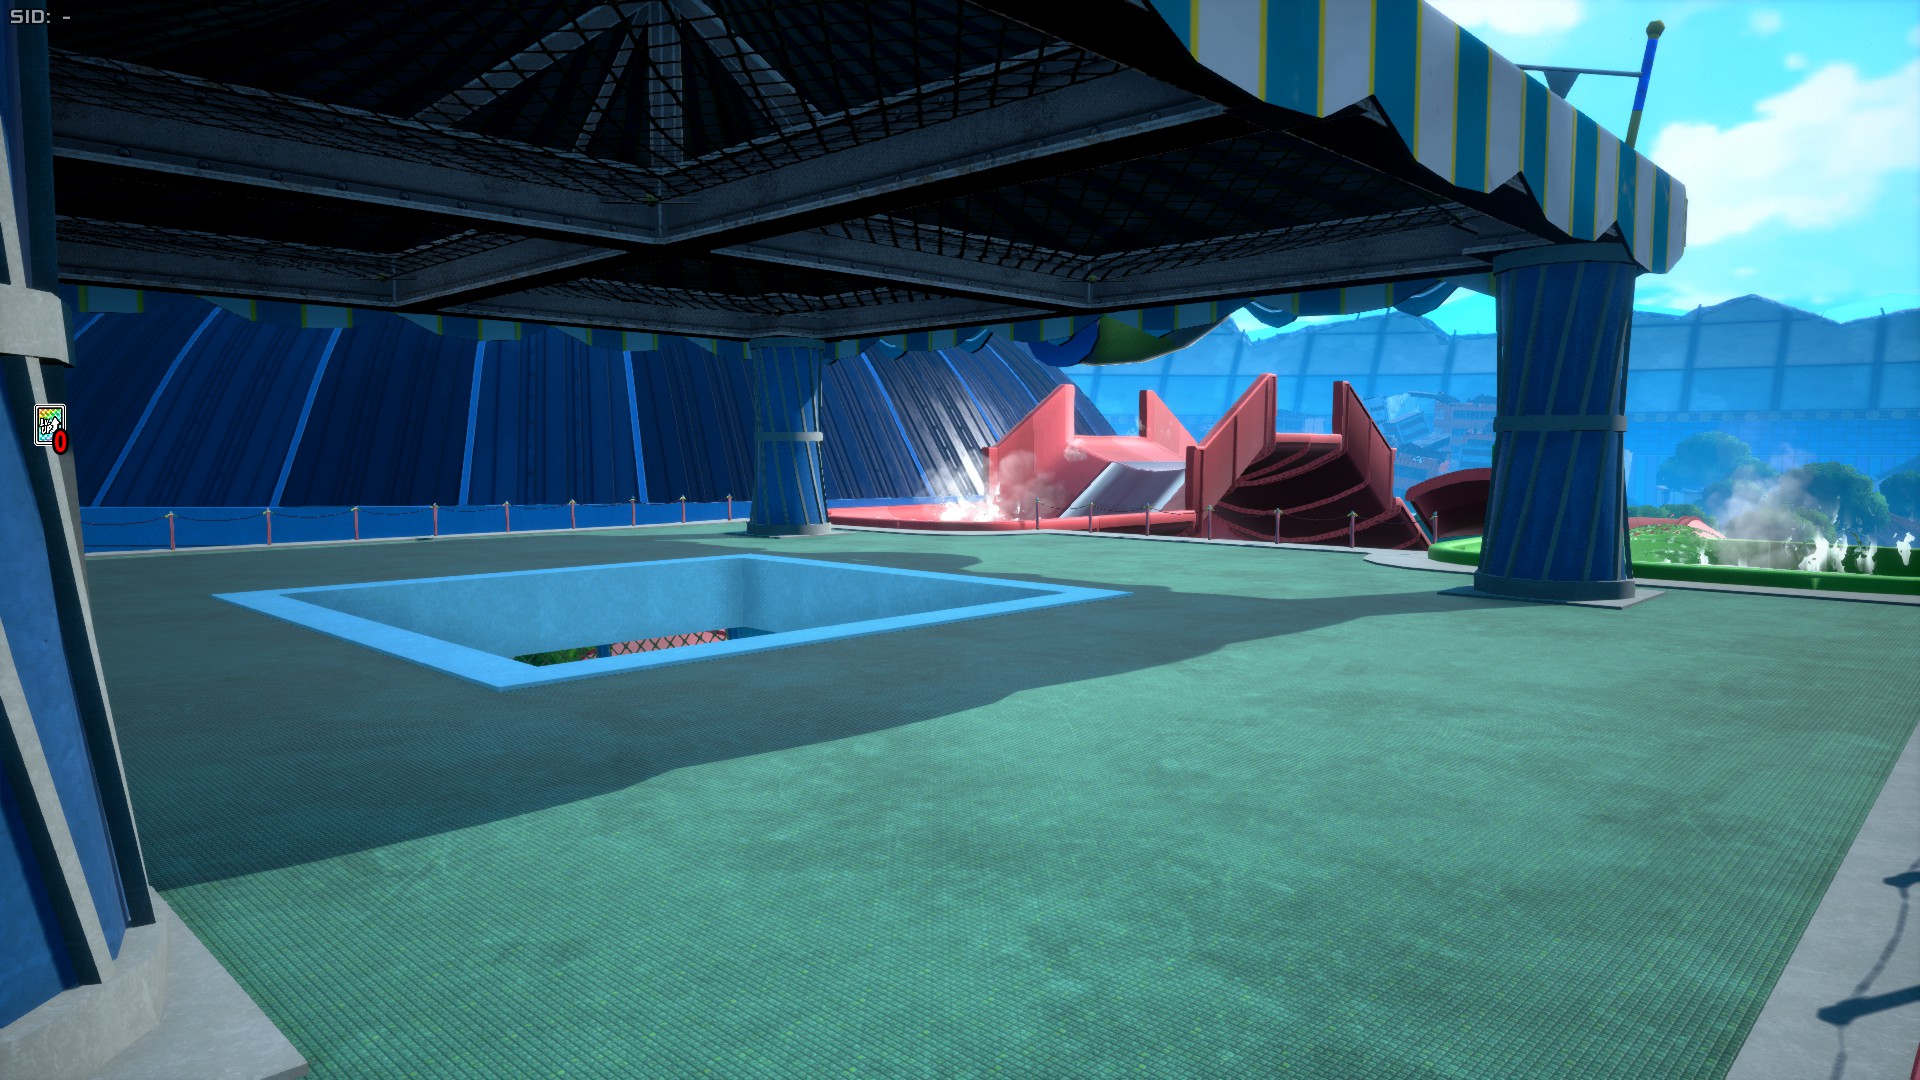
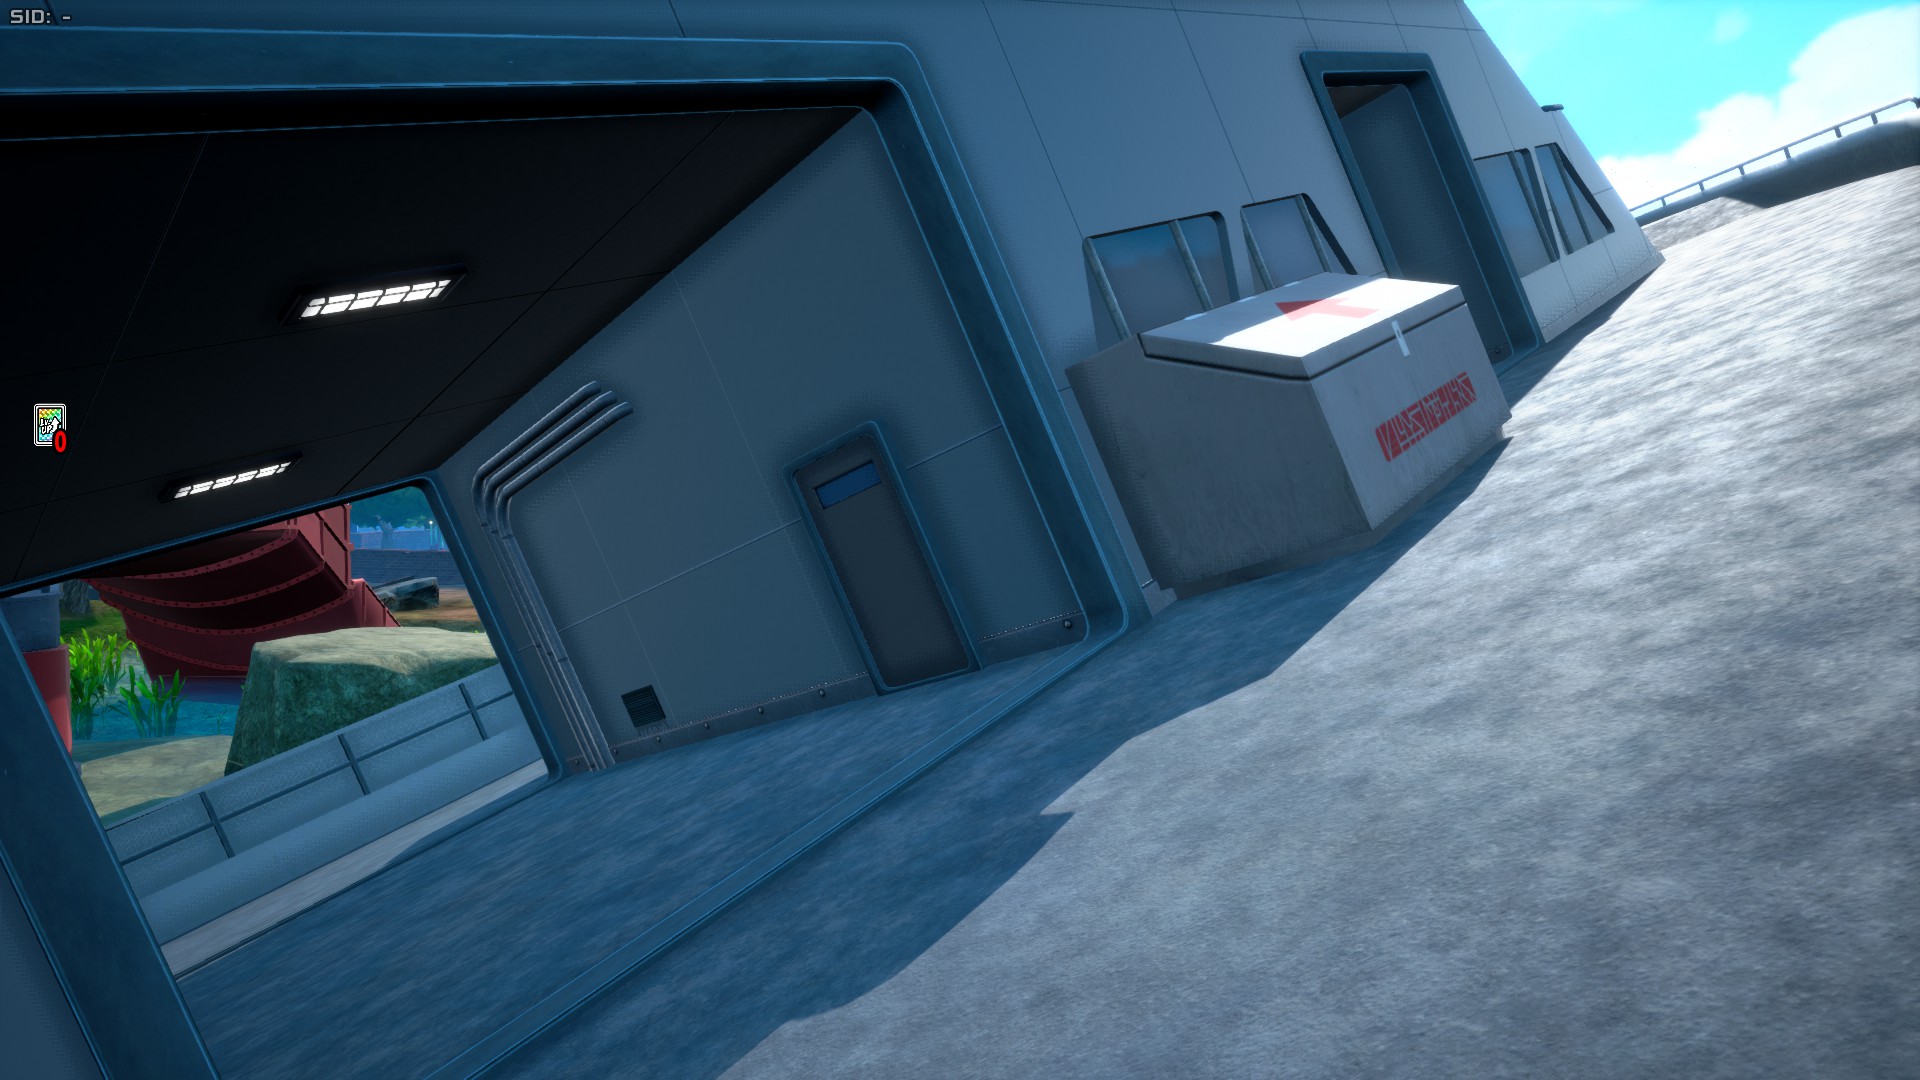
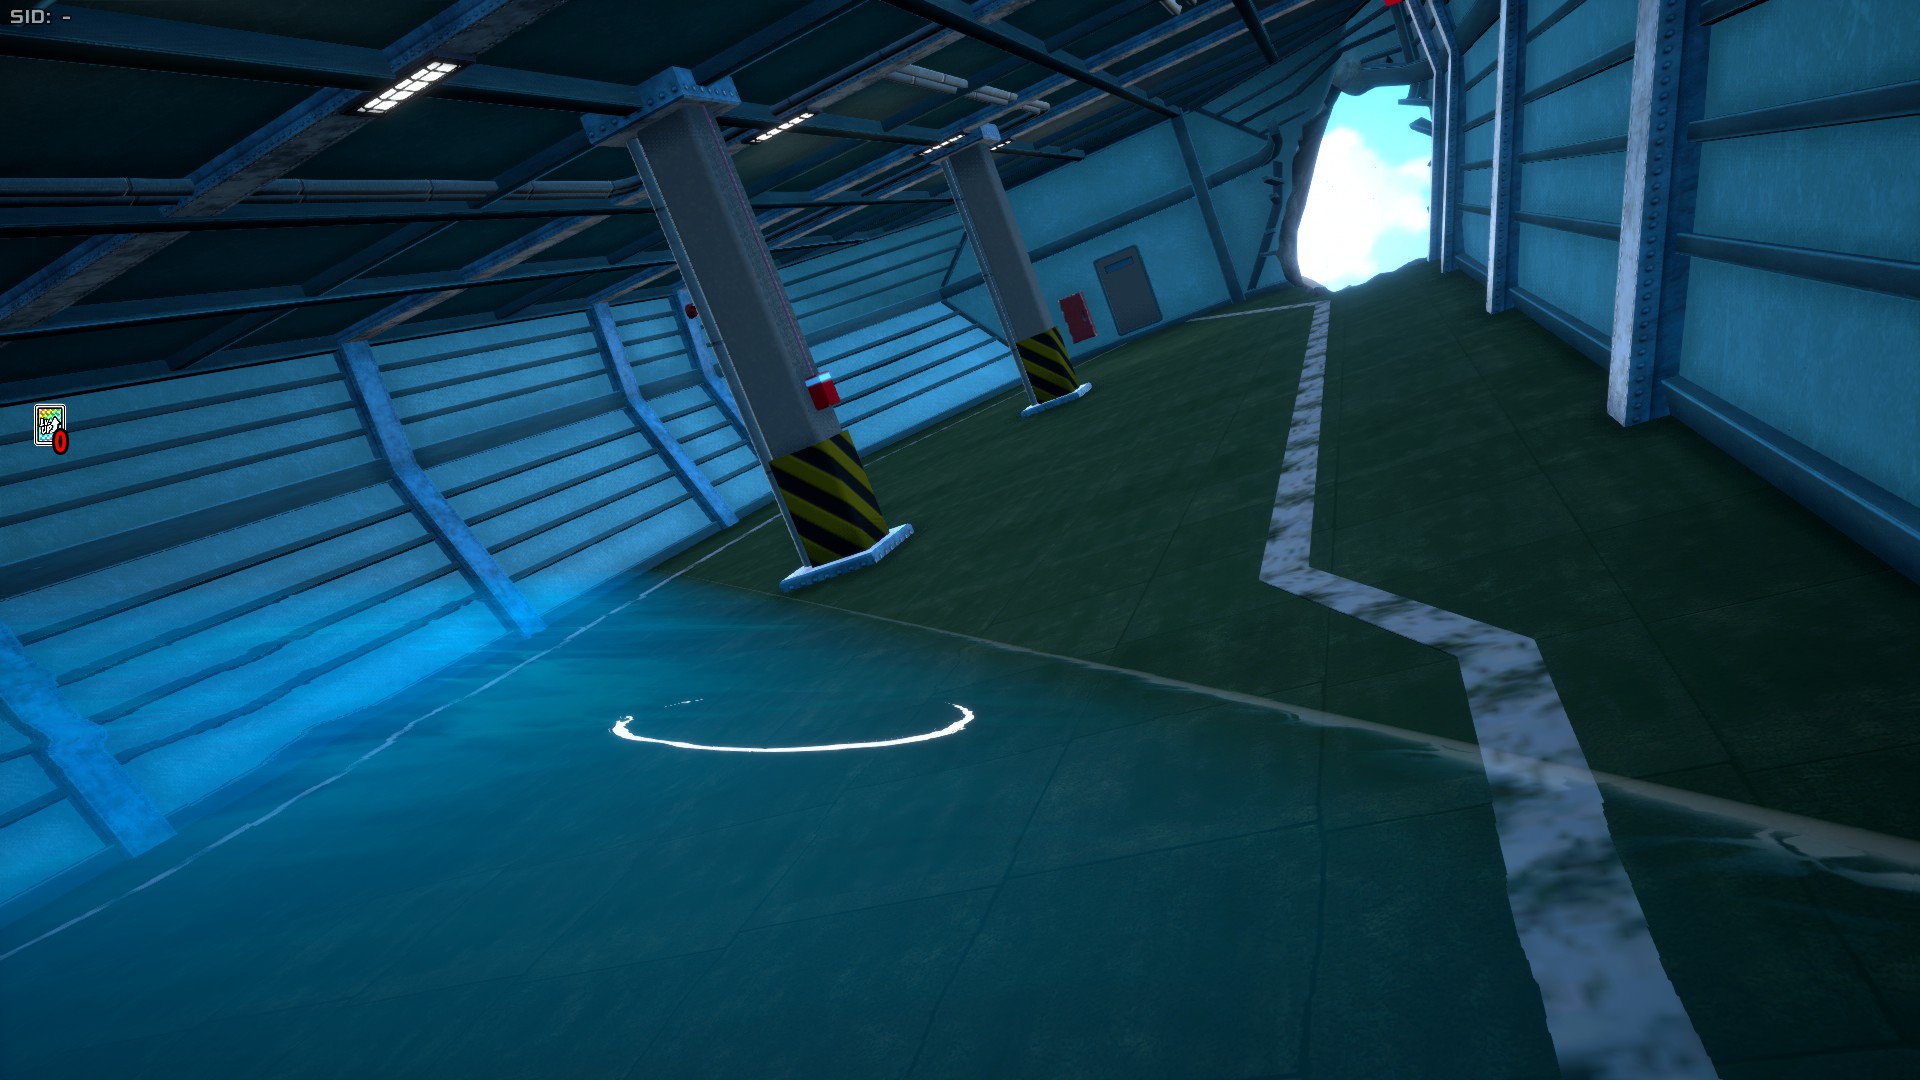
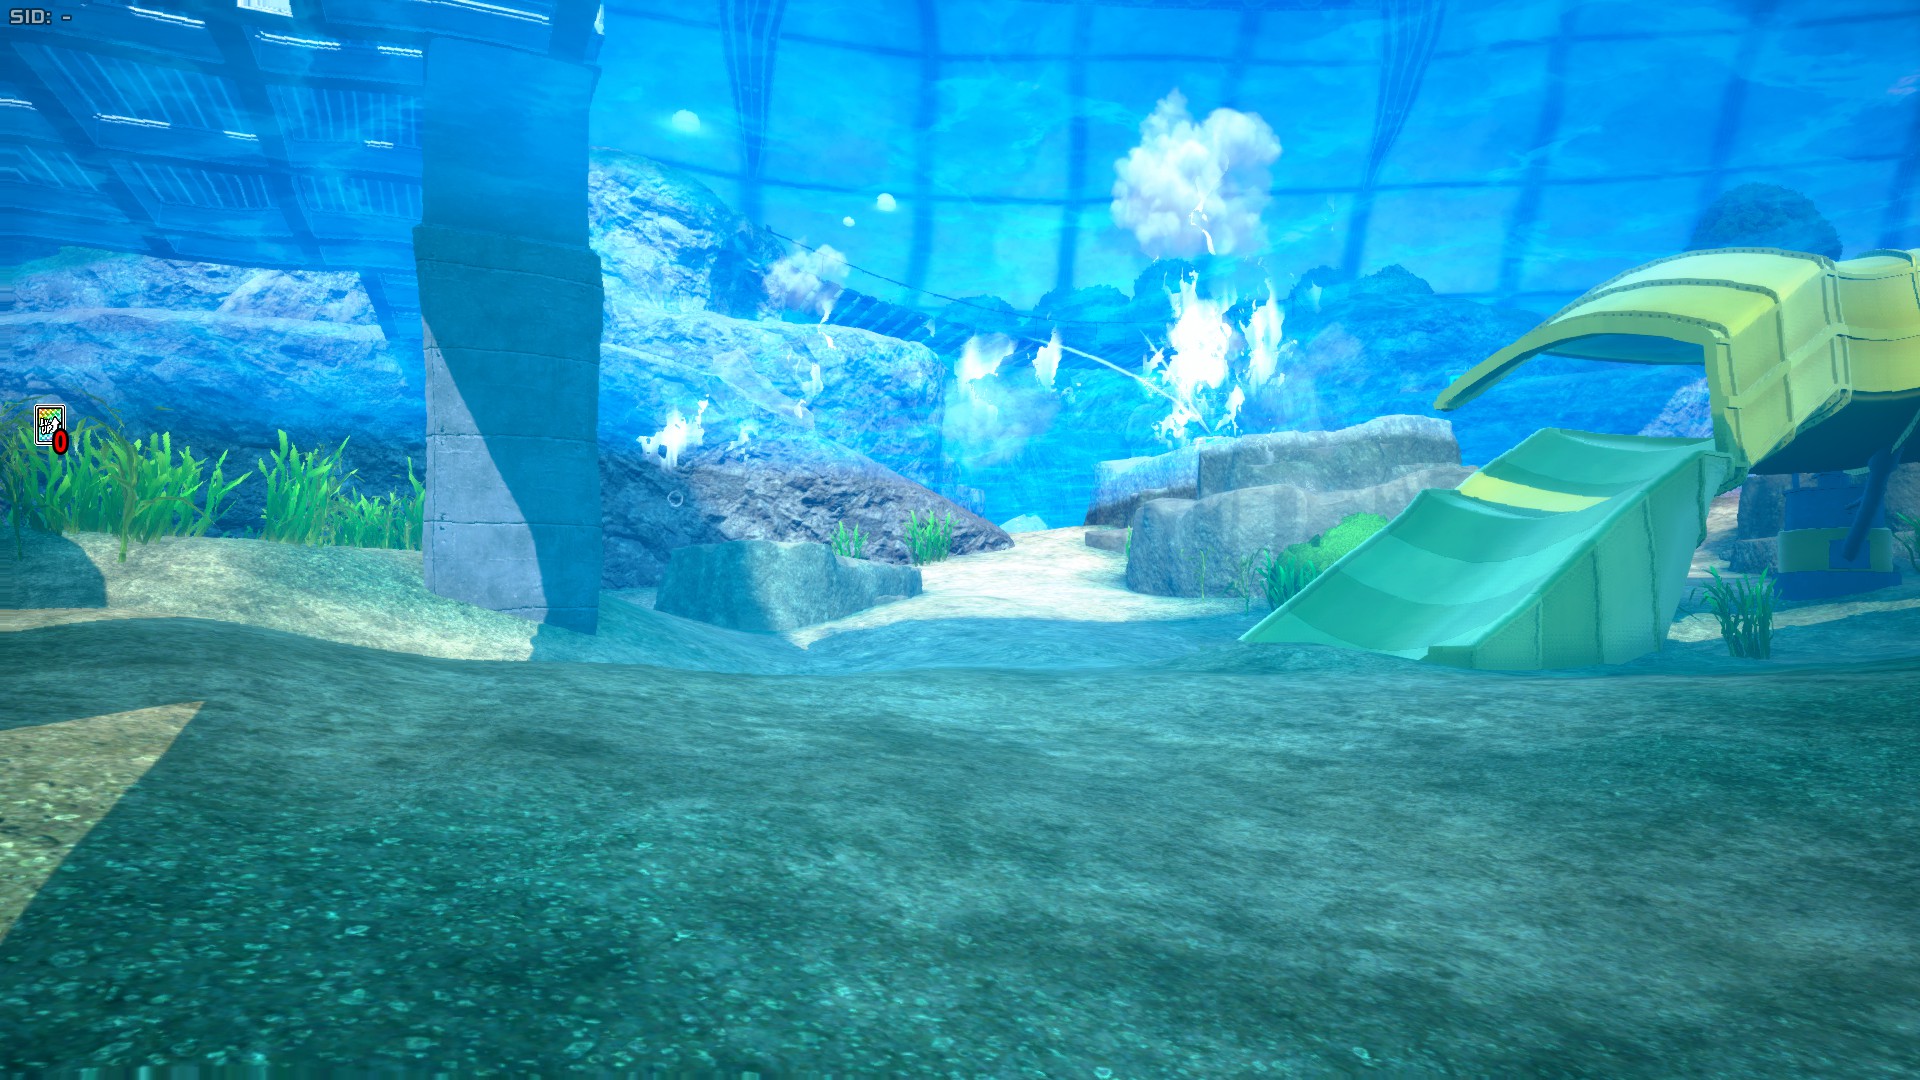
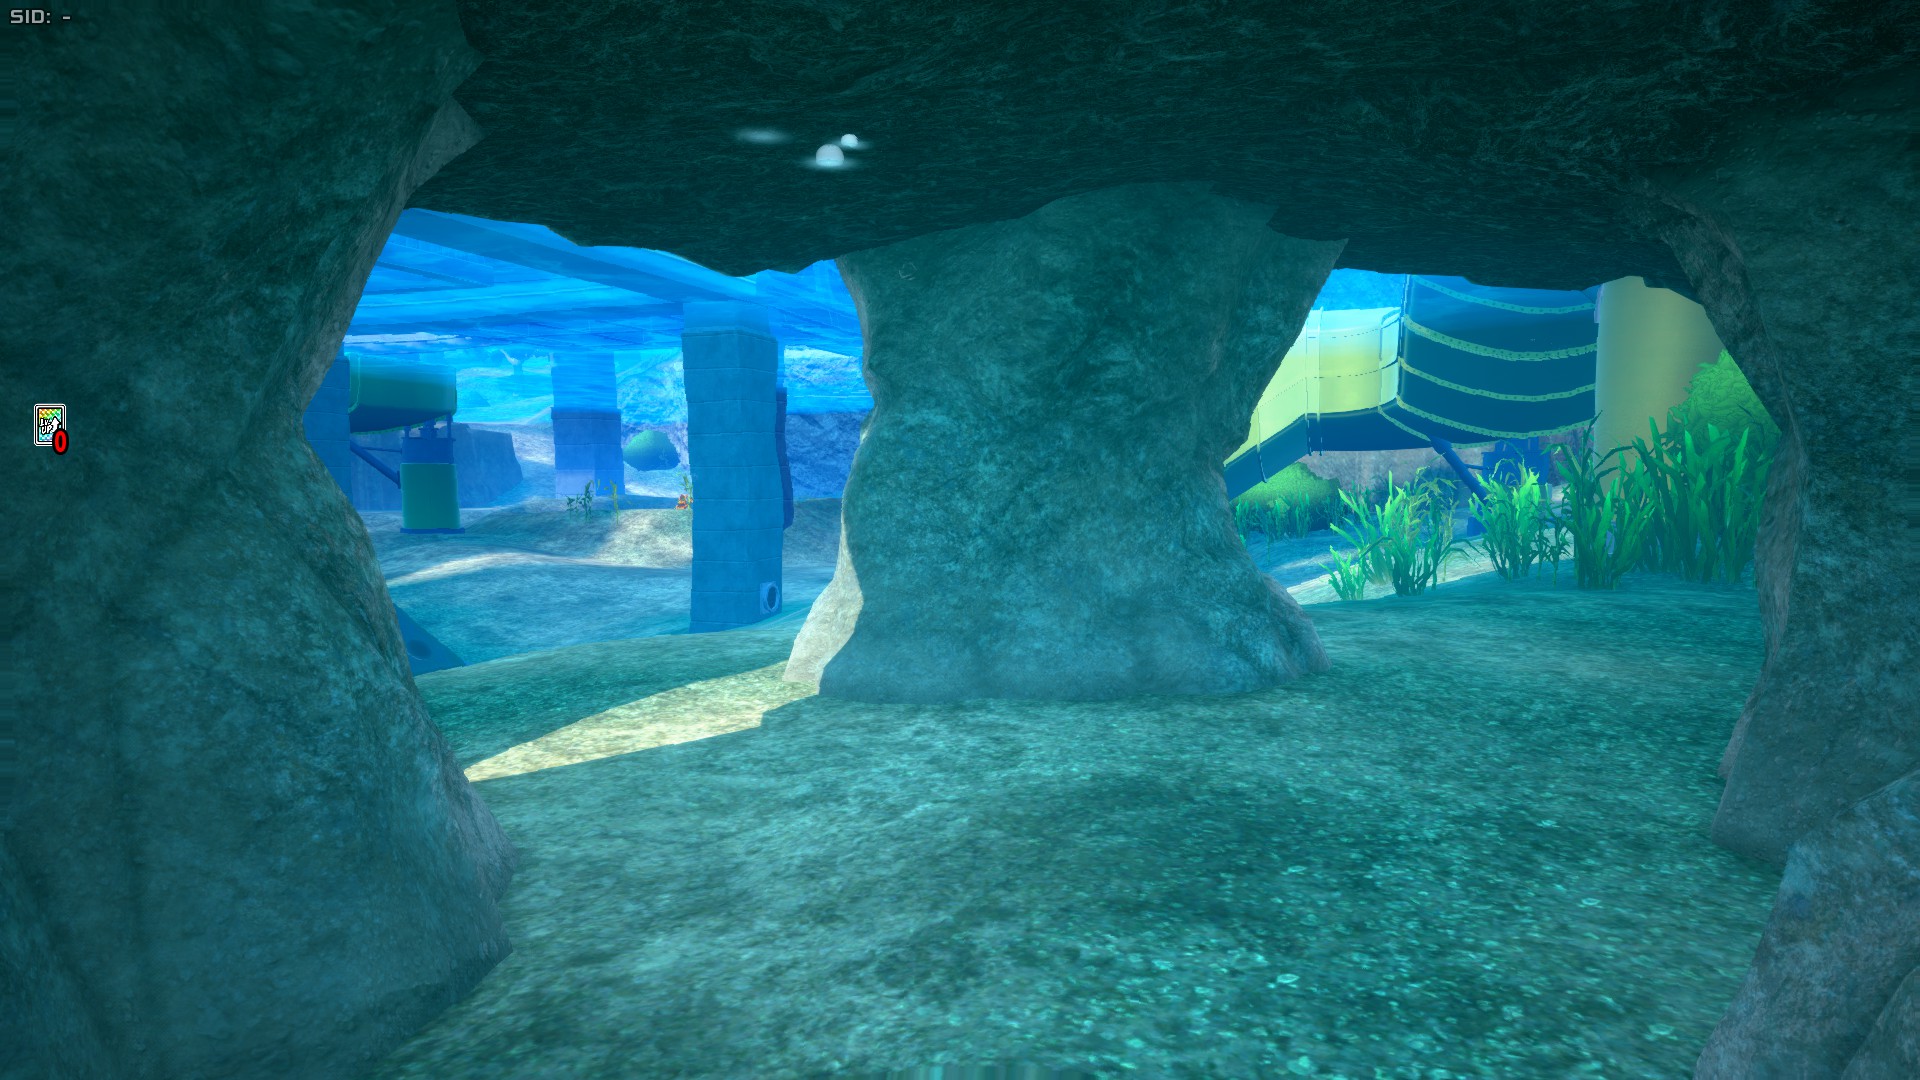
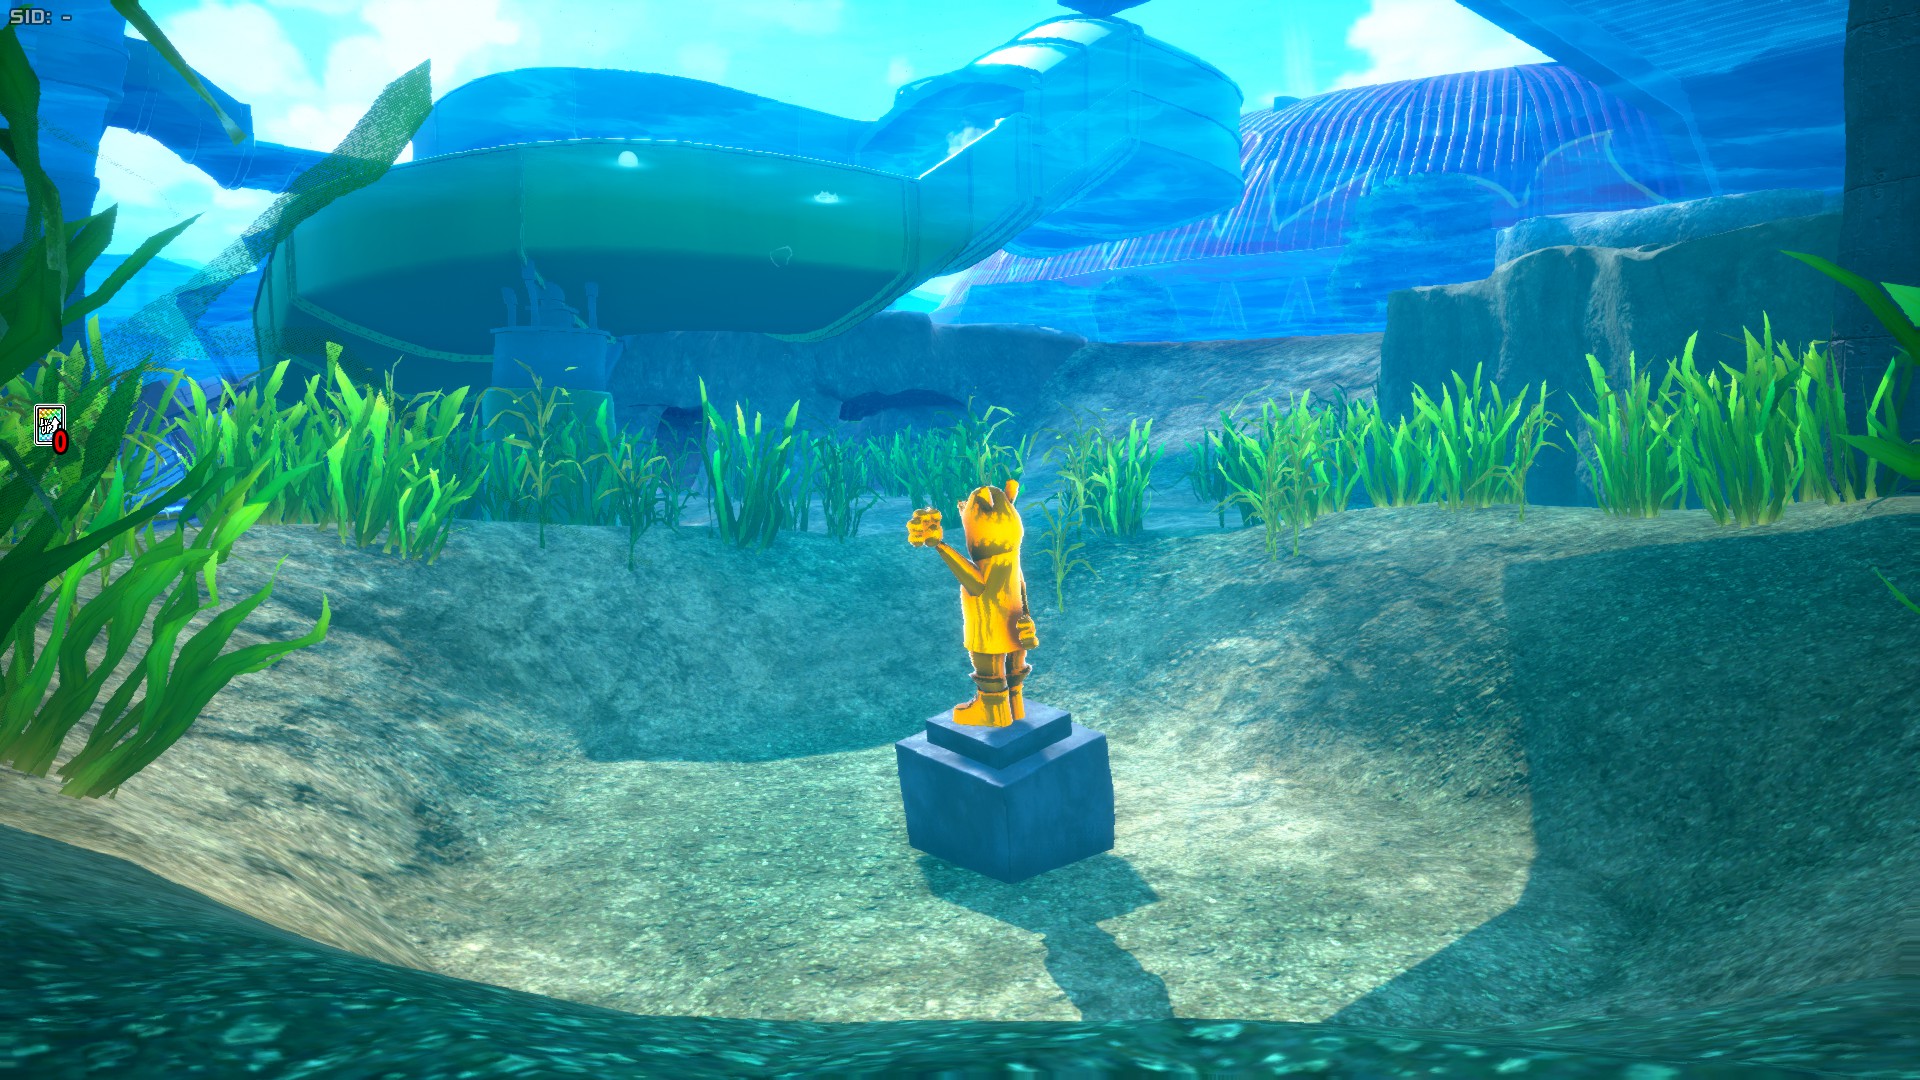
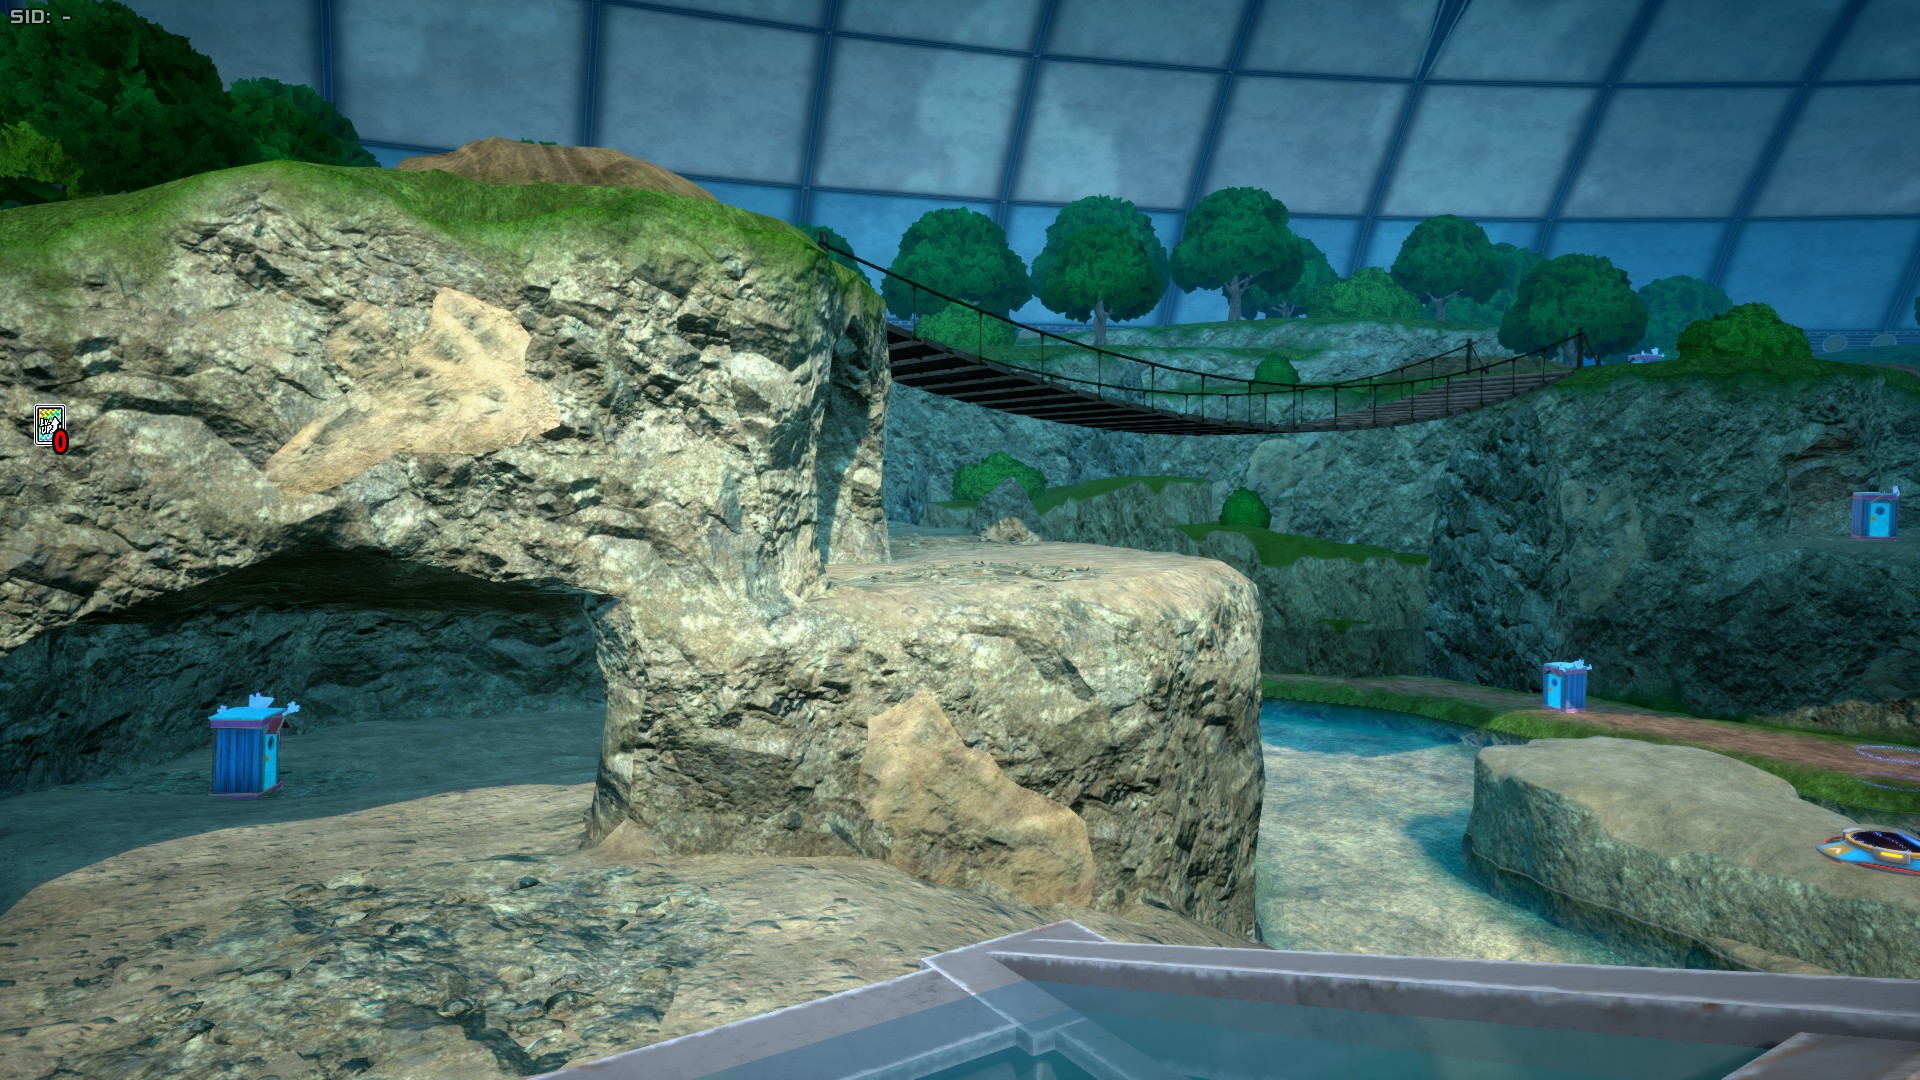
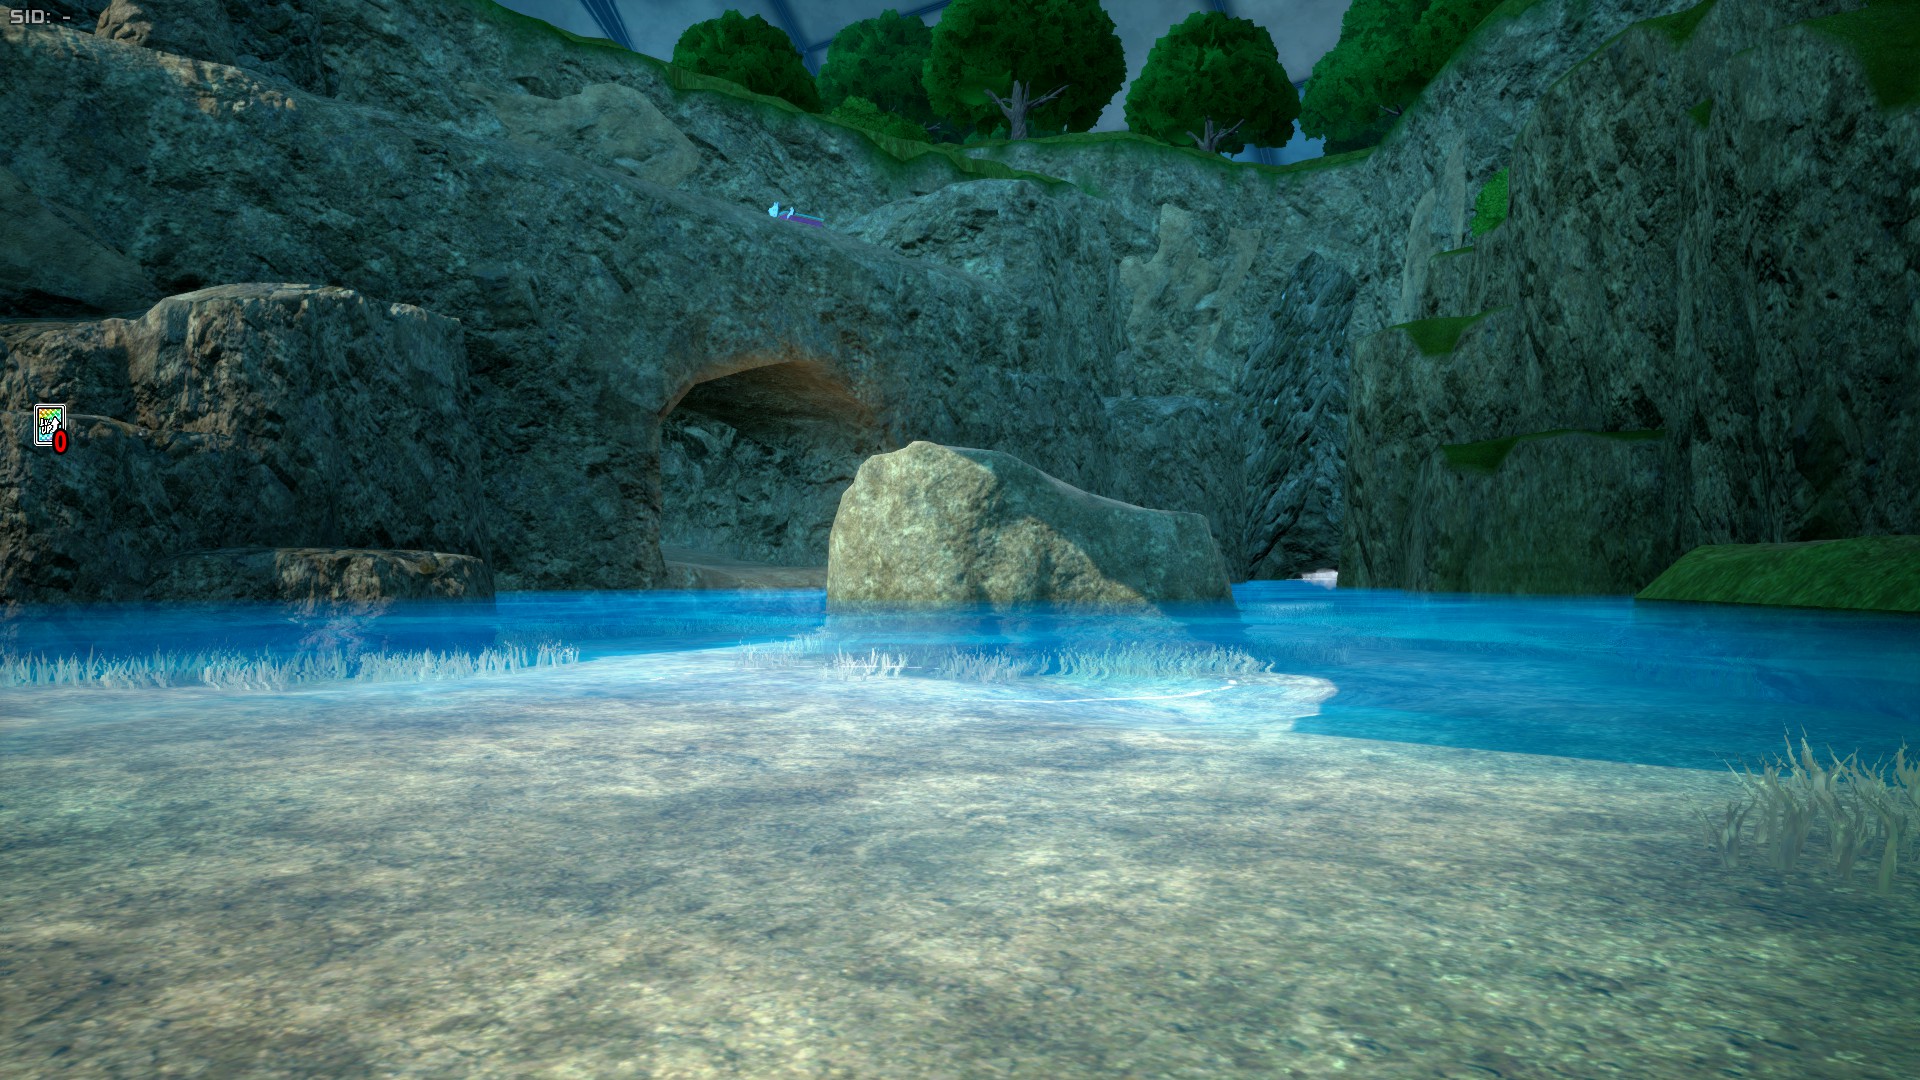
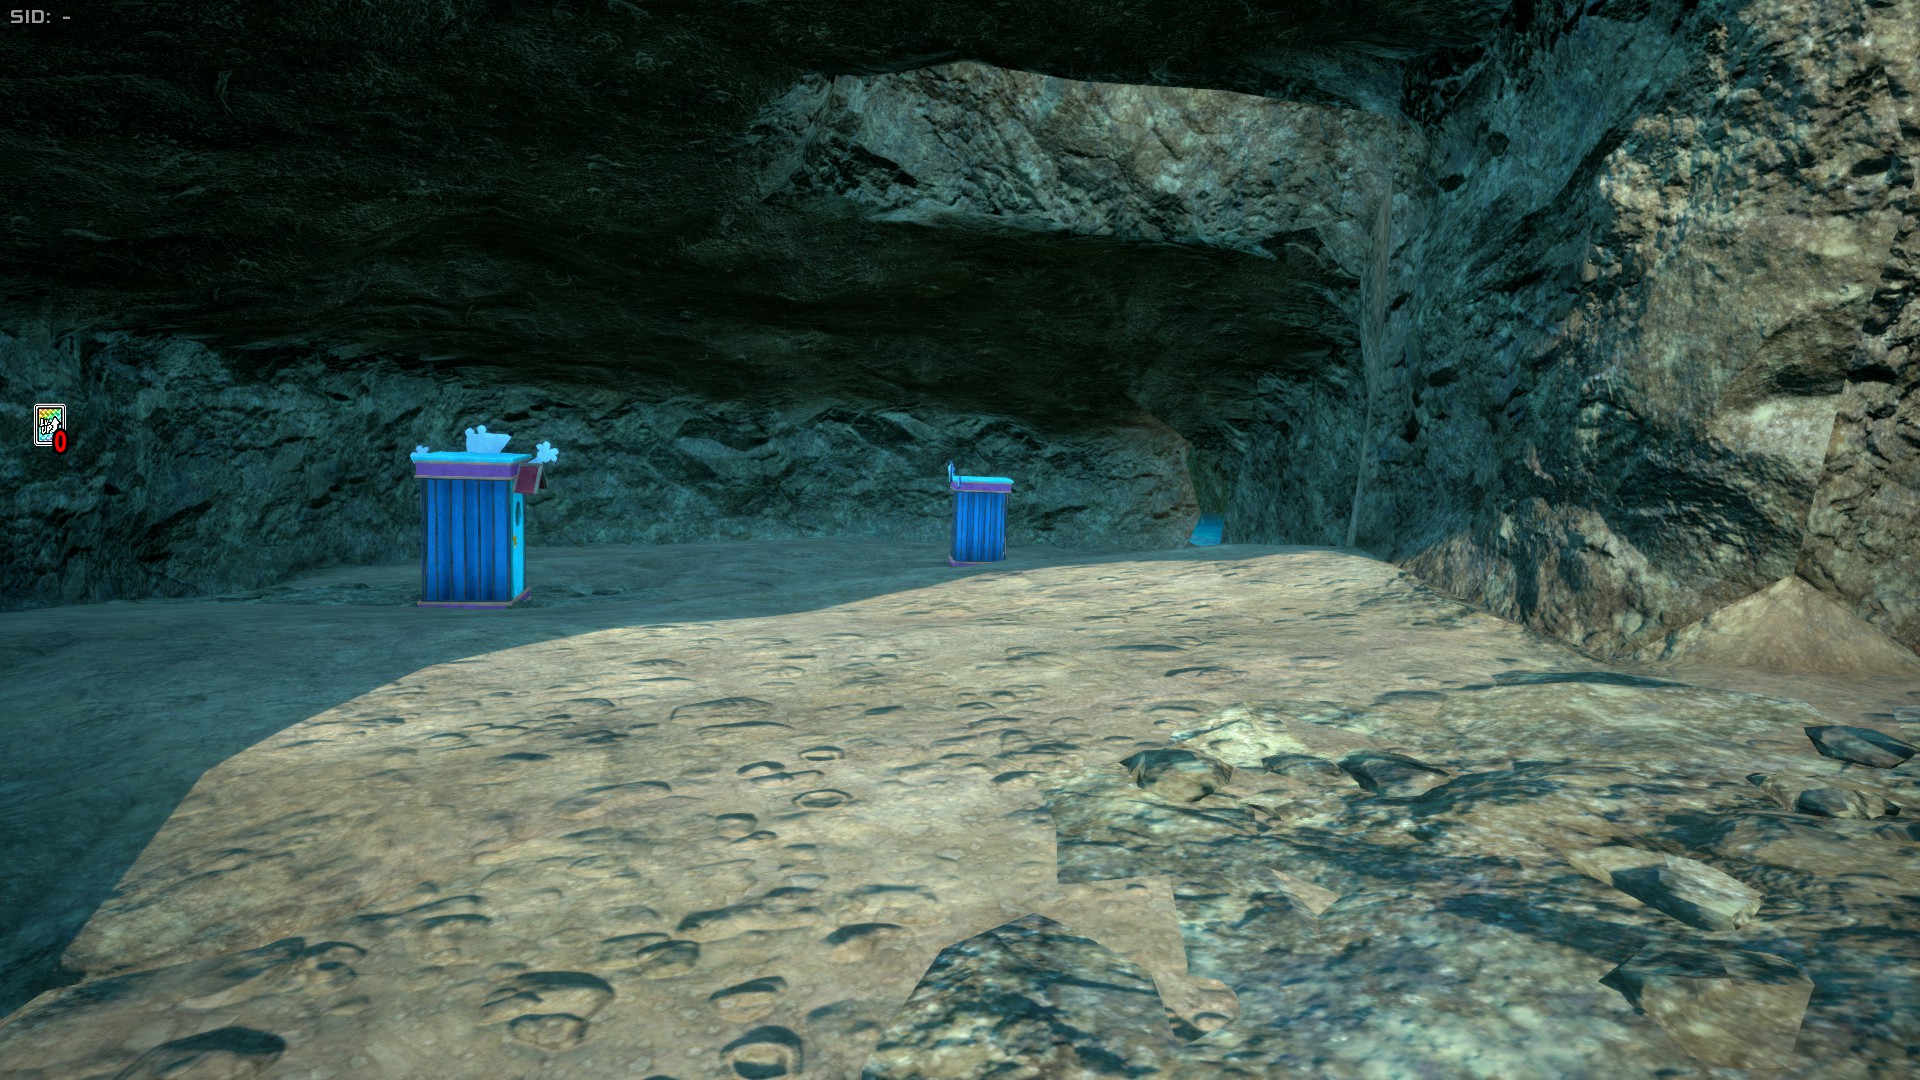
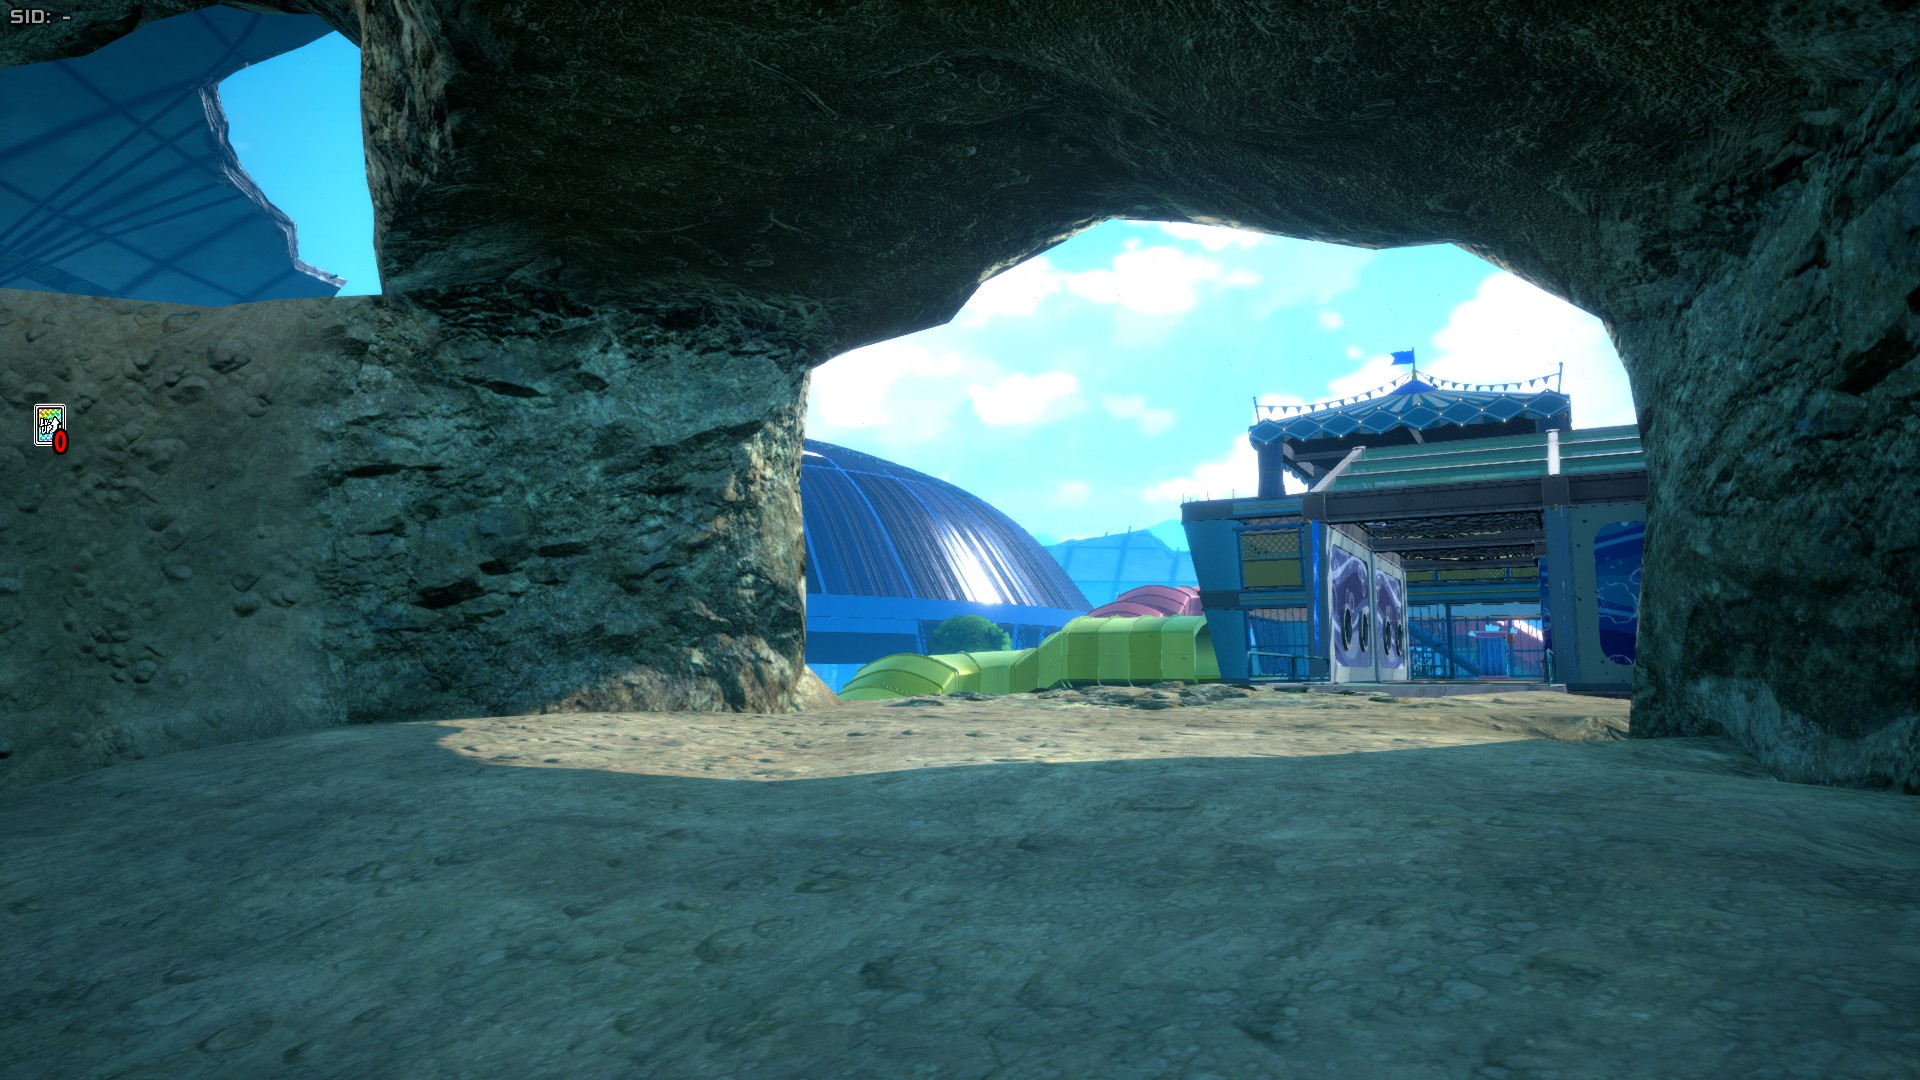
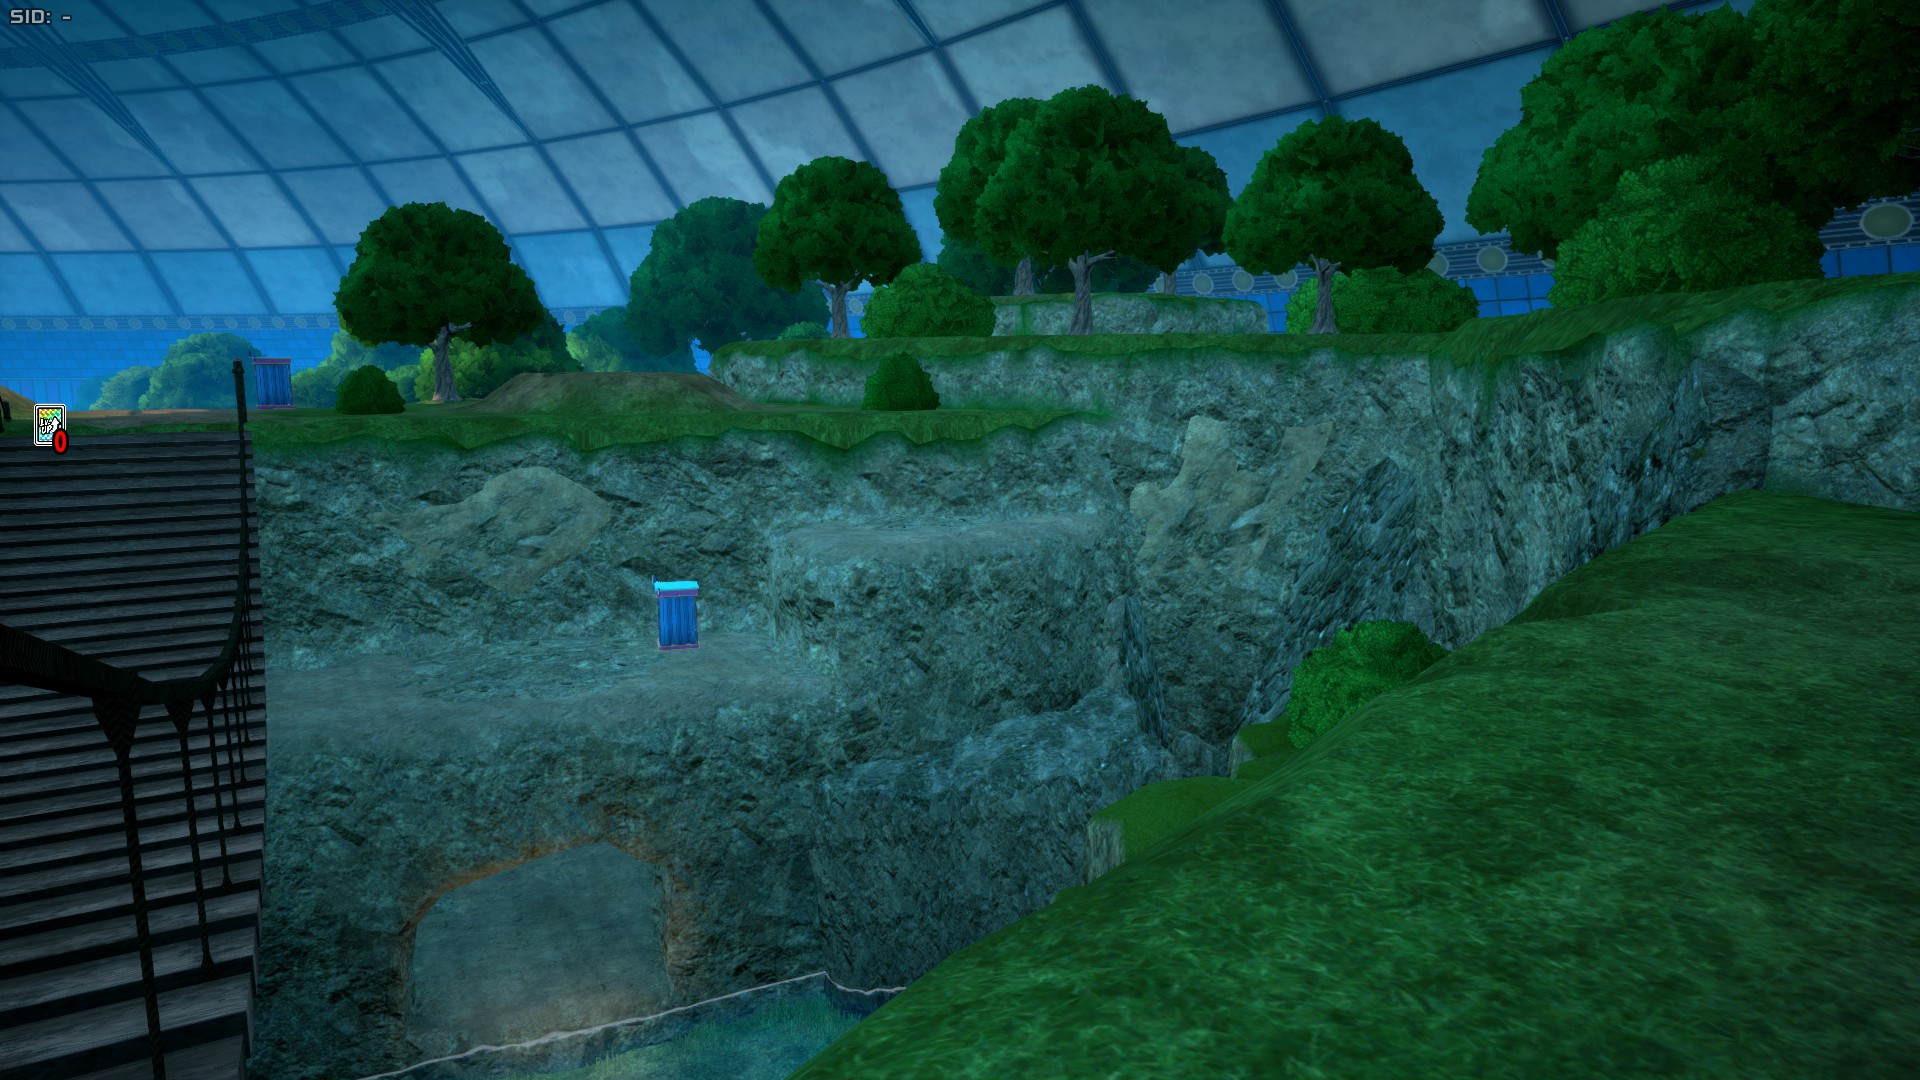
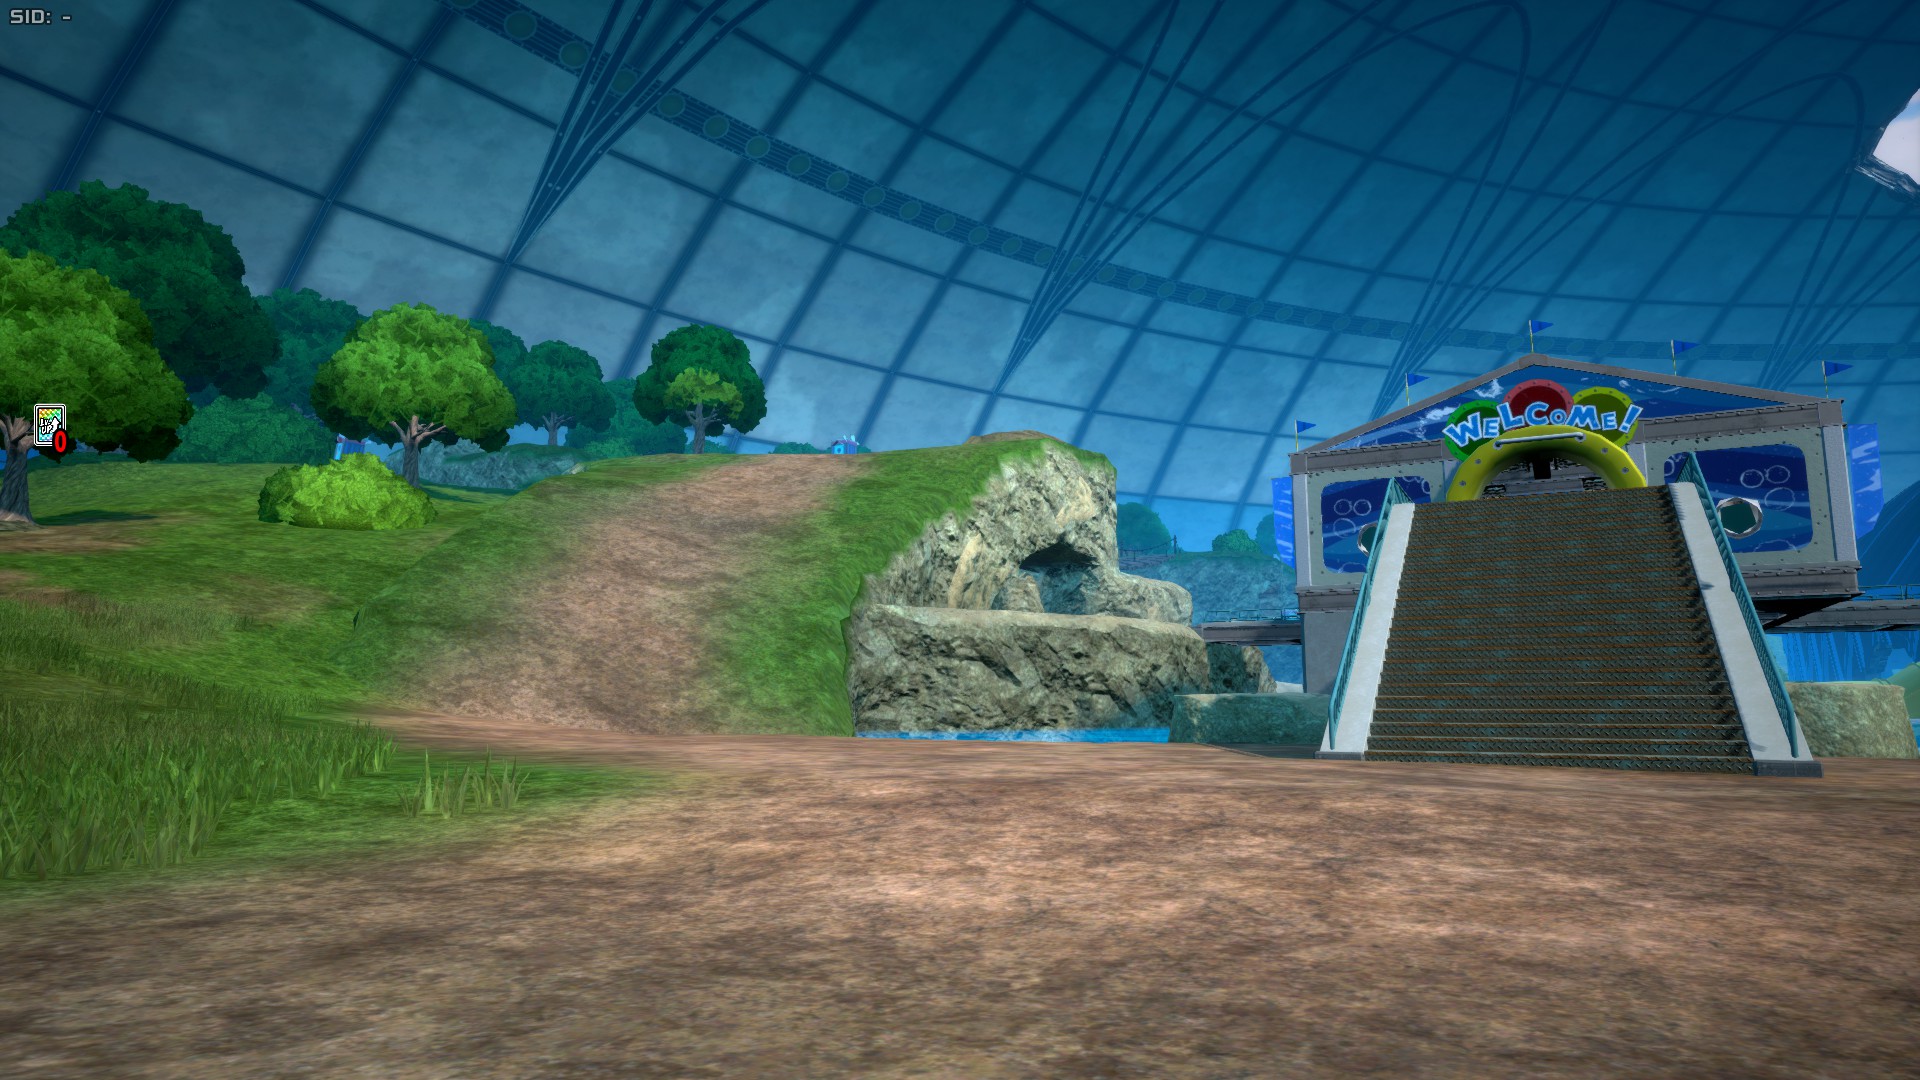
Aquatic Zone (Ver.02) is the very first revamped area of the game. Unlike original Aquatic Zone which was pretty minimalistic, this revamp turned it into a full Water Park, with two ample slides, two unique buildings, and a crashed cruise, as well as an actual submerged area. The area on the back of Aquatic that was previously just a rocky area was also revamped to feel more tropical, with a little cave, a waterfall, and a little forest.
UA Island
UA Island (also known as Stage 2 or St02), is Ultra Rumble's 2nd stage, which released in Season 3 and got an update in Season 7. This stage is split into 10 areas: U.A. High School, Urban Area, Downtown, Shopping Mall, Parking Lot, Suburbs, Destruction Area, Nature Area, Training Camp and Beach Area.
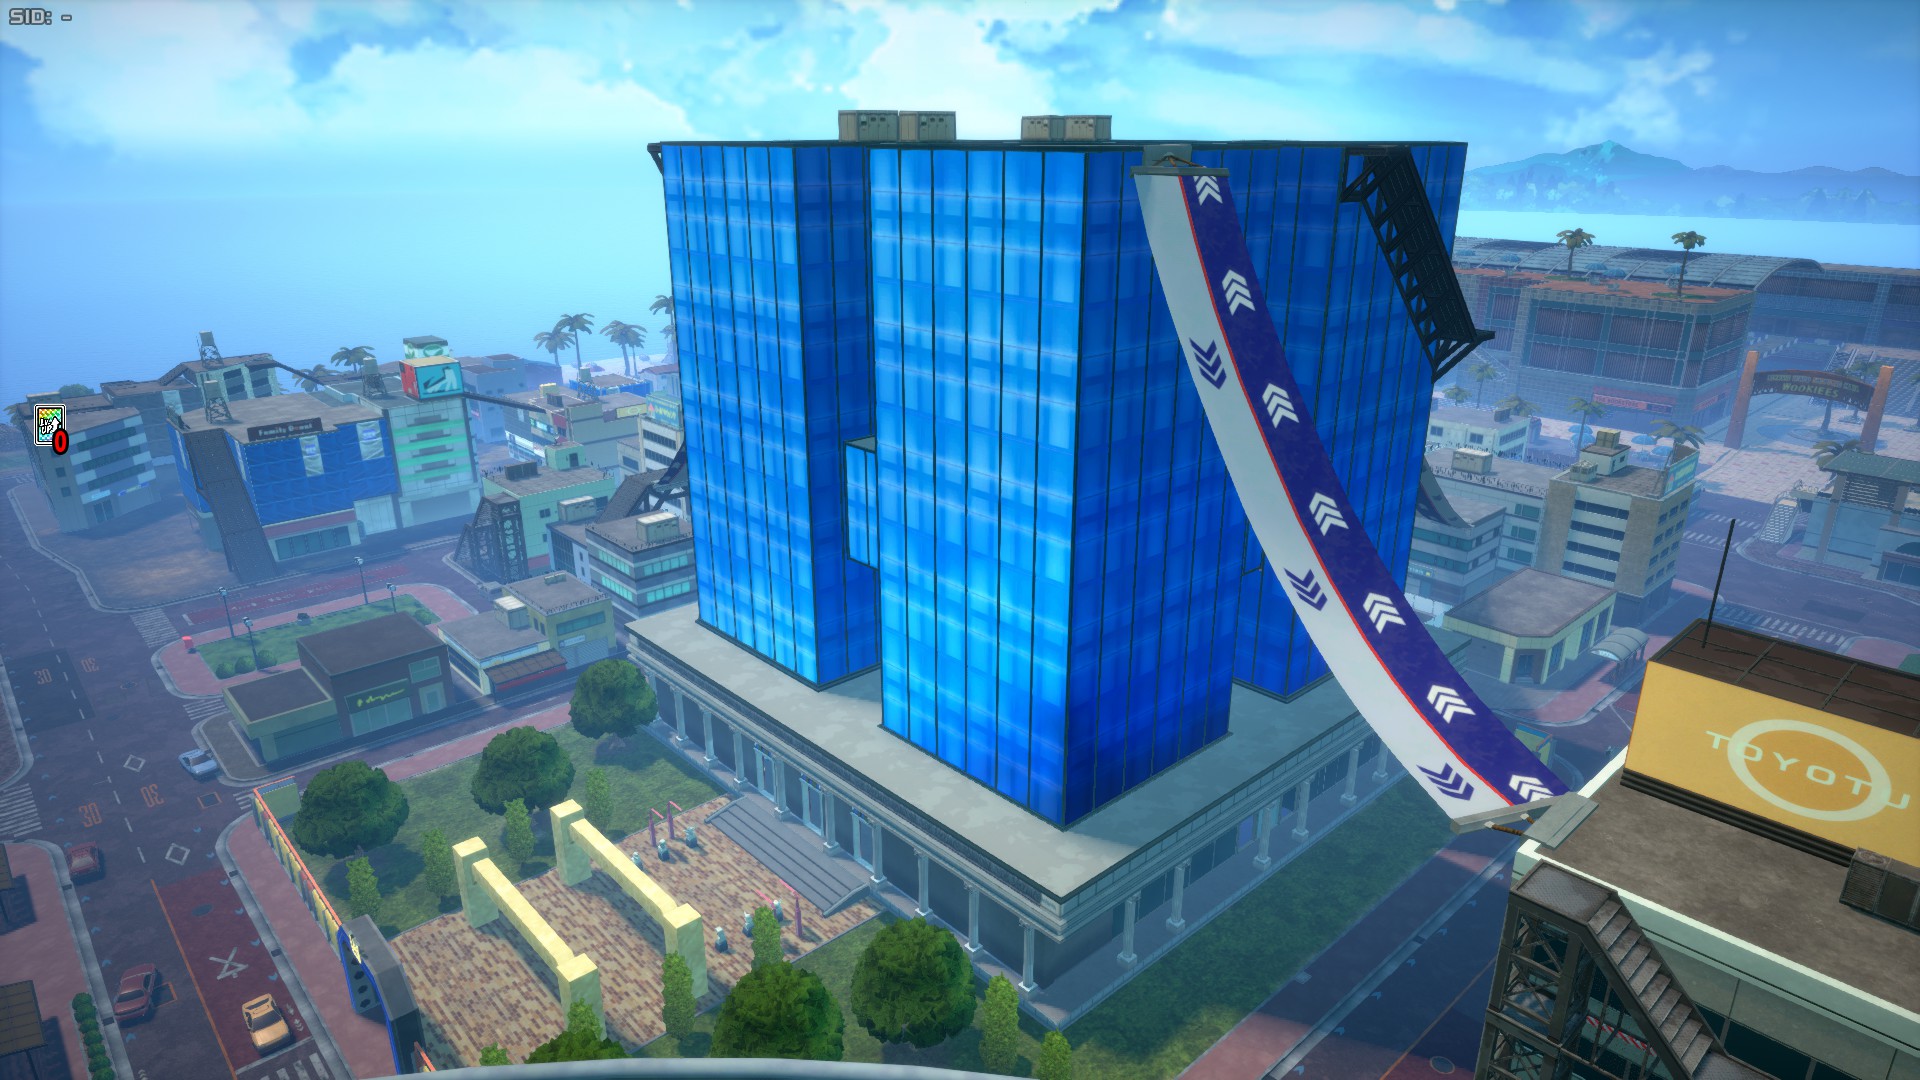
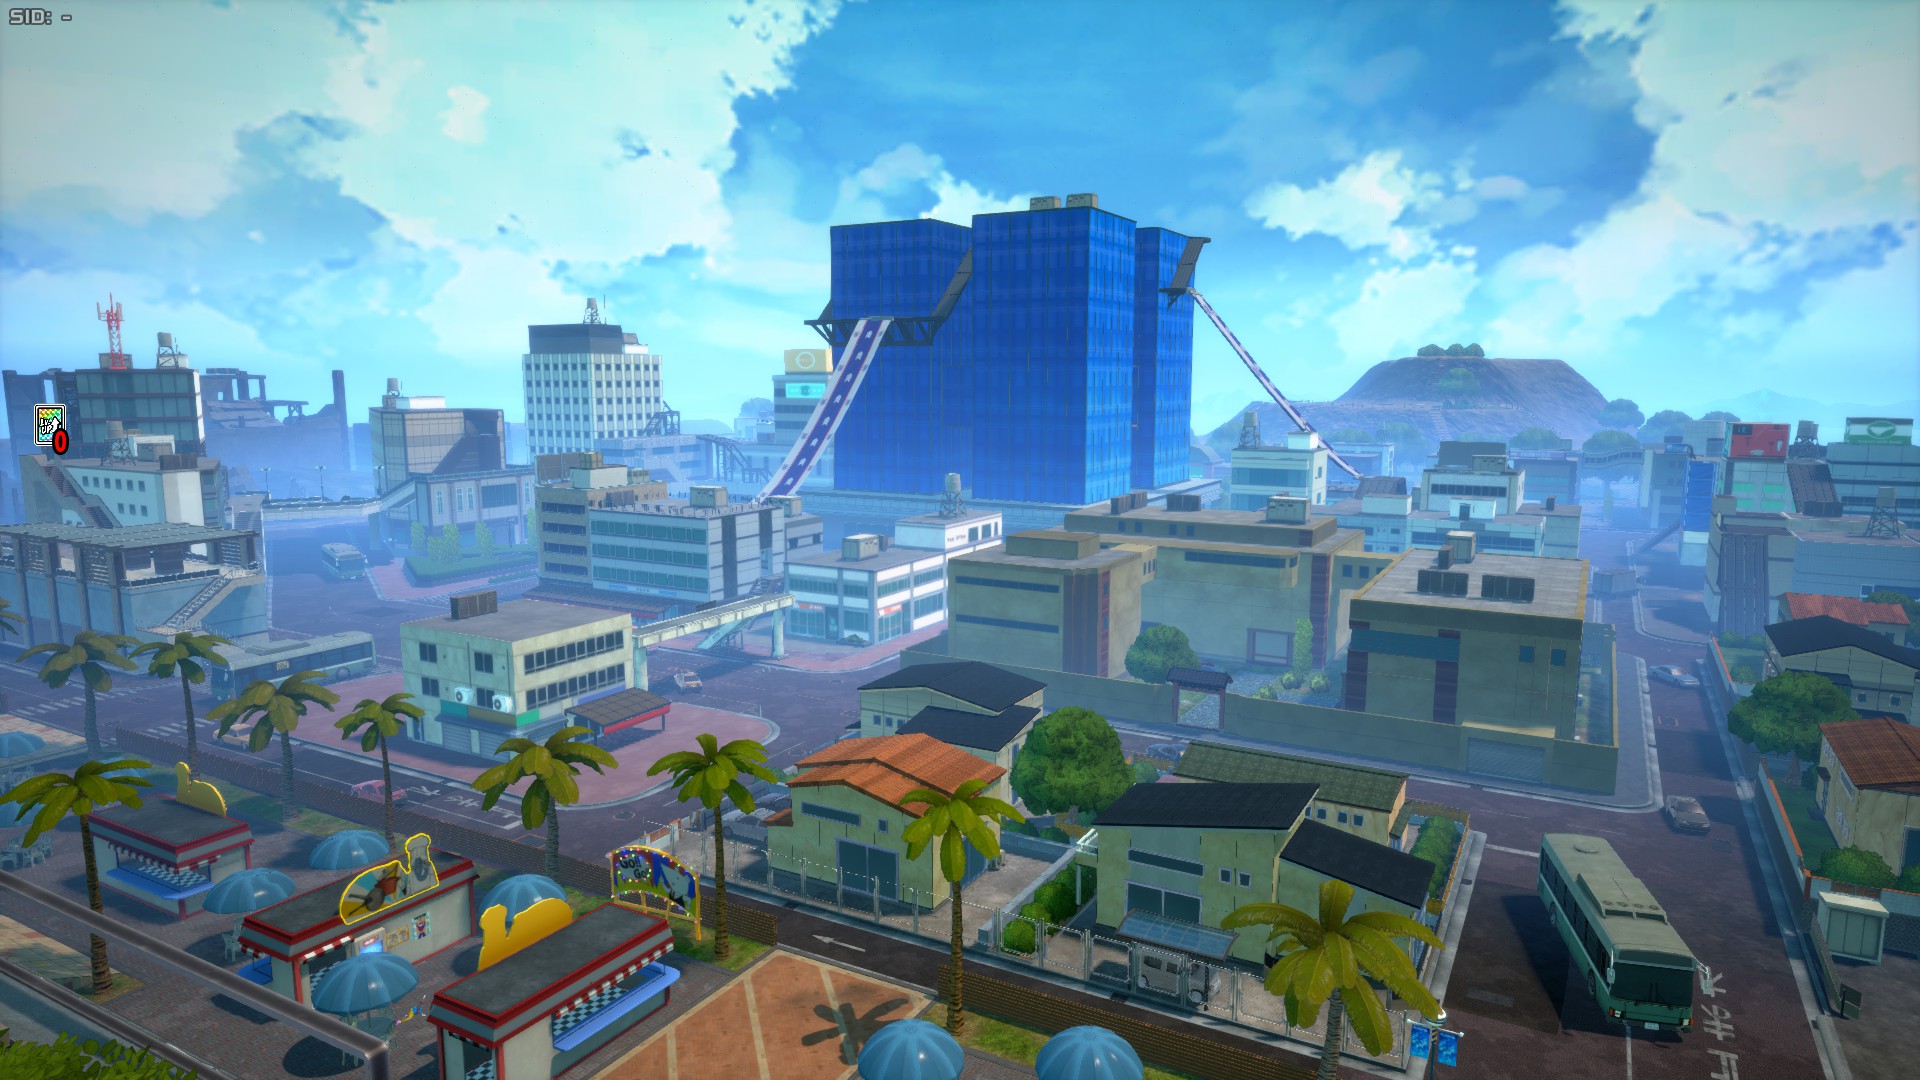
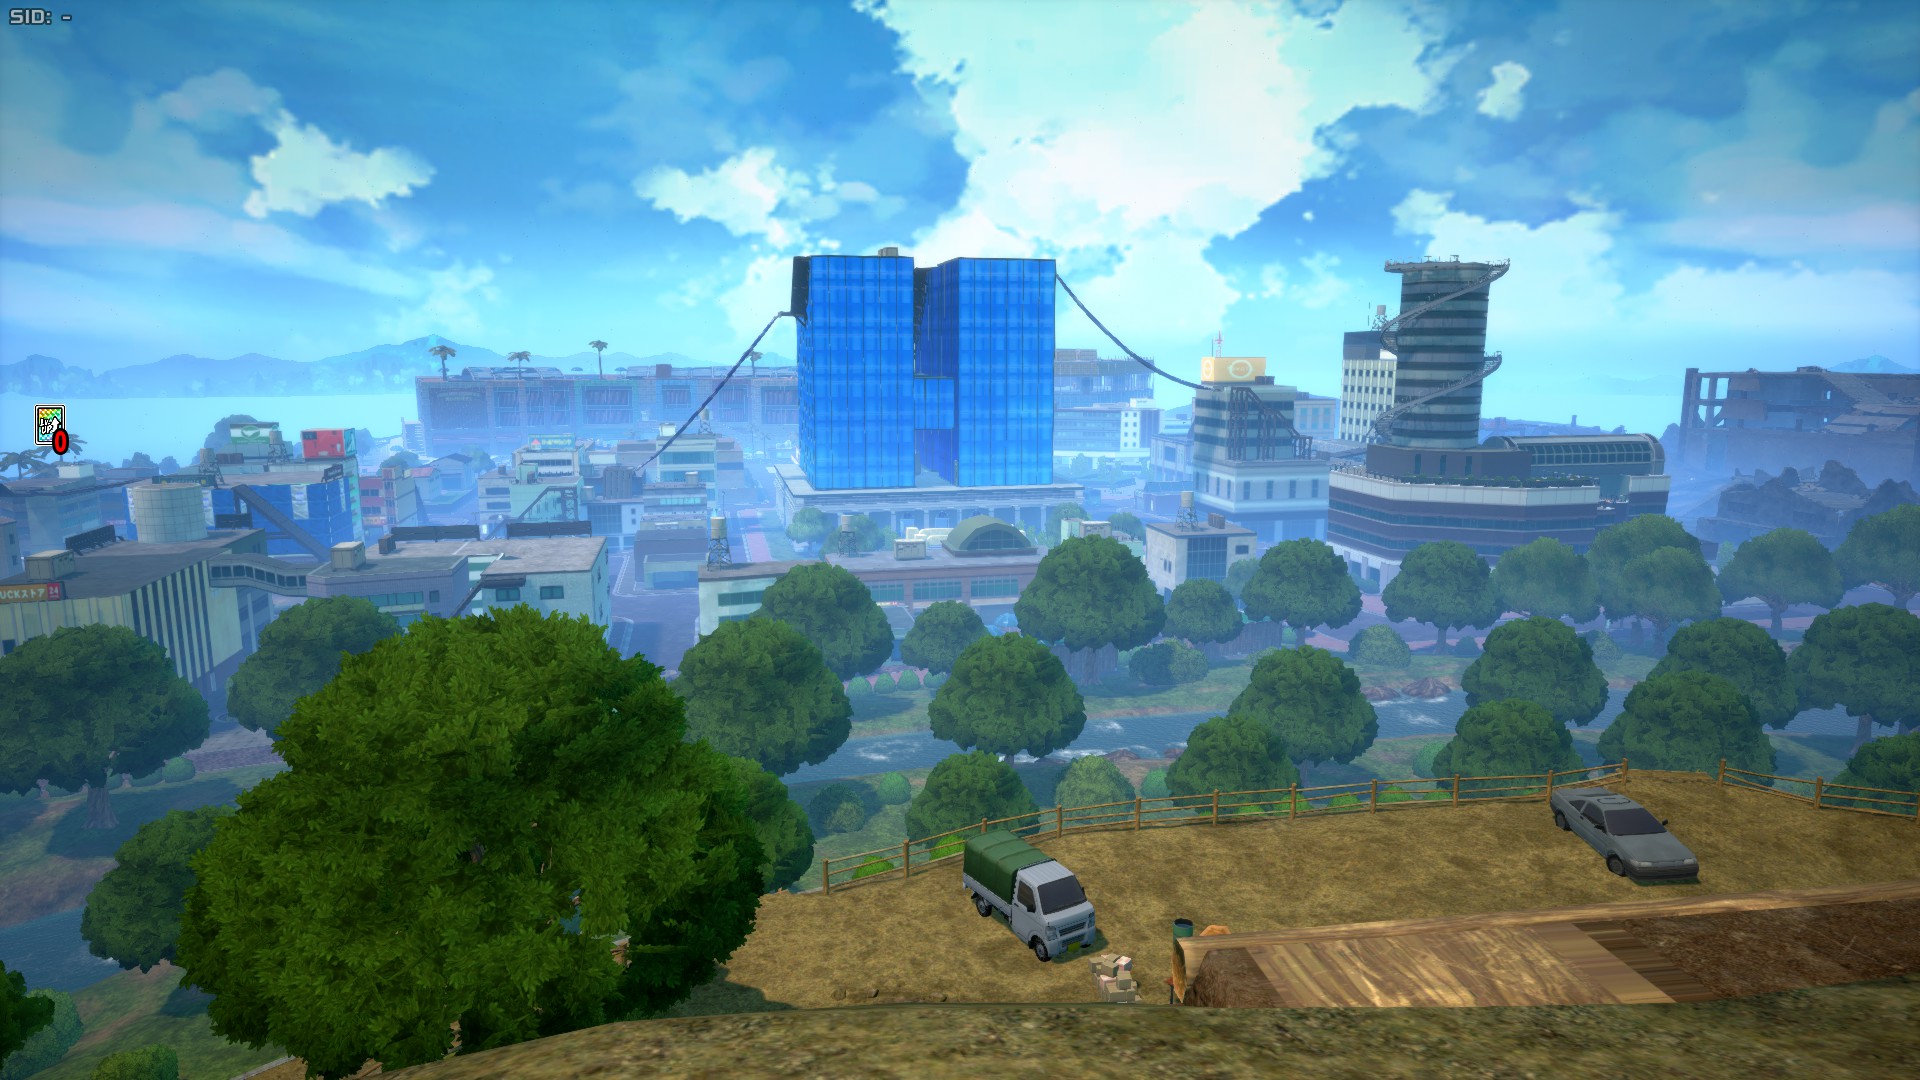
U.A. High School
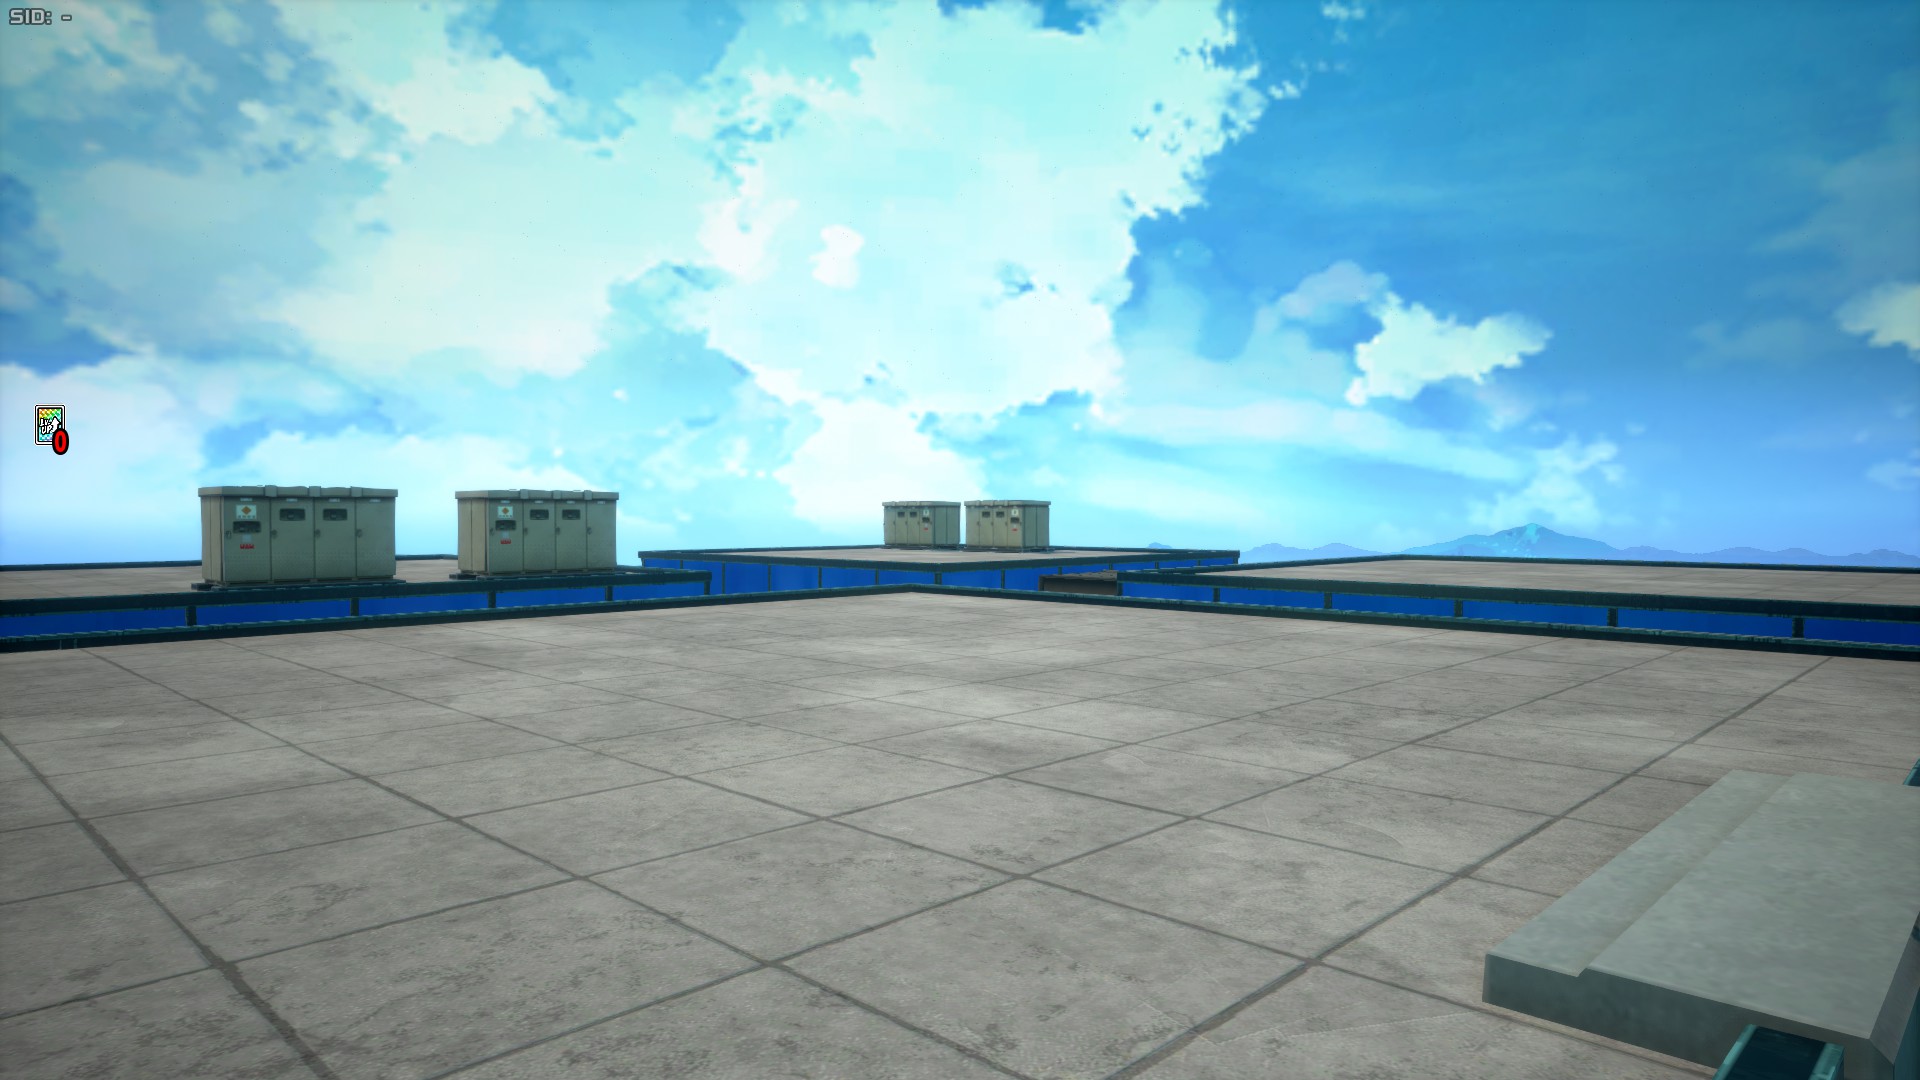
U.A. High School is the central area of UA Island. It features the U.A. High School building with a base floor but no upper floor. This building is the tallest object in the map, from which you can easily see the rest of the stage. For an area, it's pretty small, but it fulfills a key function breaking down fights, as unlike USJ where the center has pretty much no cover, here battles that are close might not overlap due to the maount of walls and other solid surfaces breaking Line of Sight. The top of the building can be accessed via banners connected to Urban Area and Downtown, or by simply using vertical mobility means.
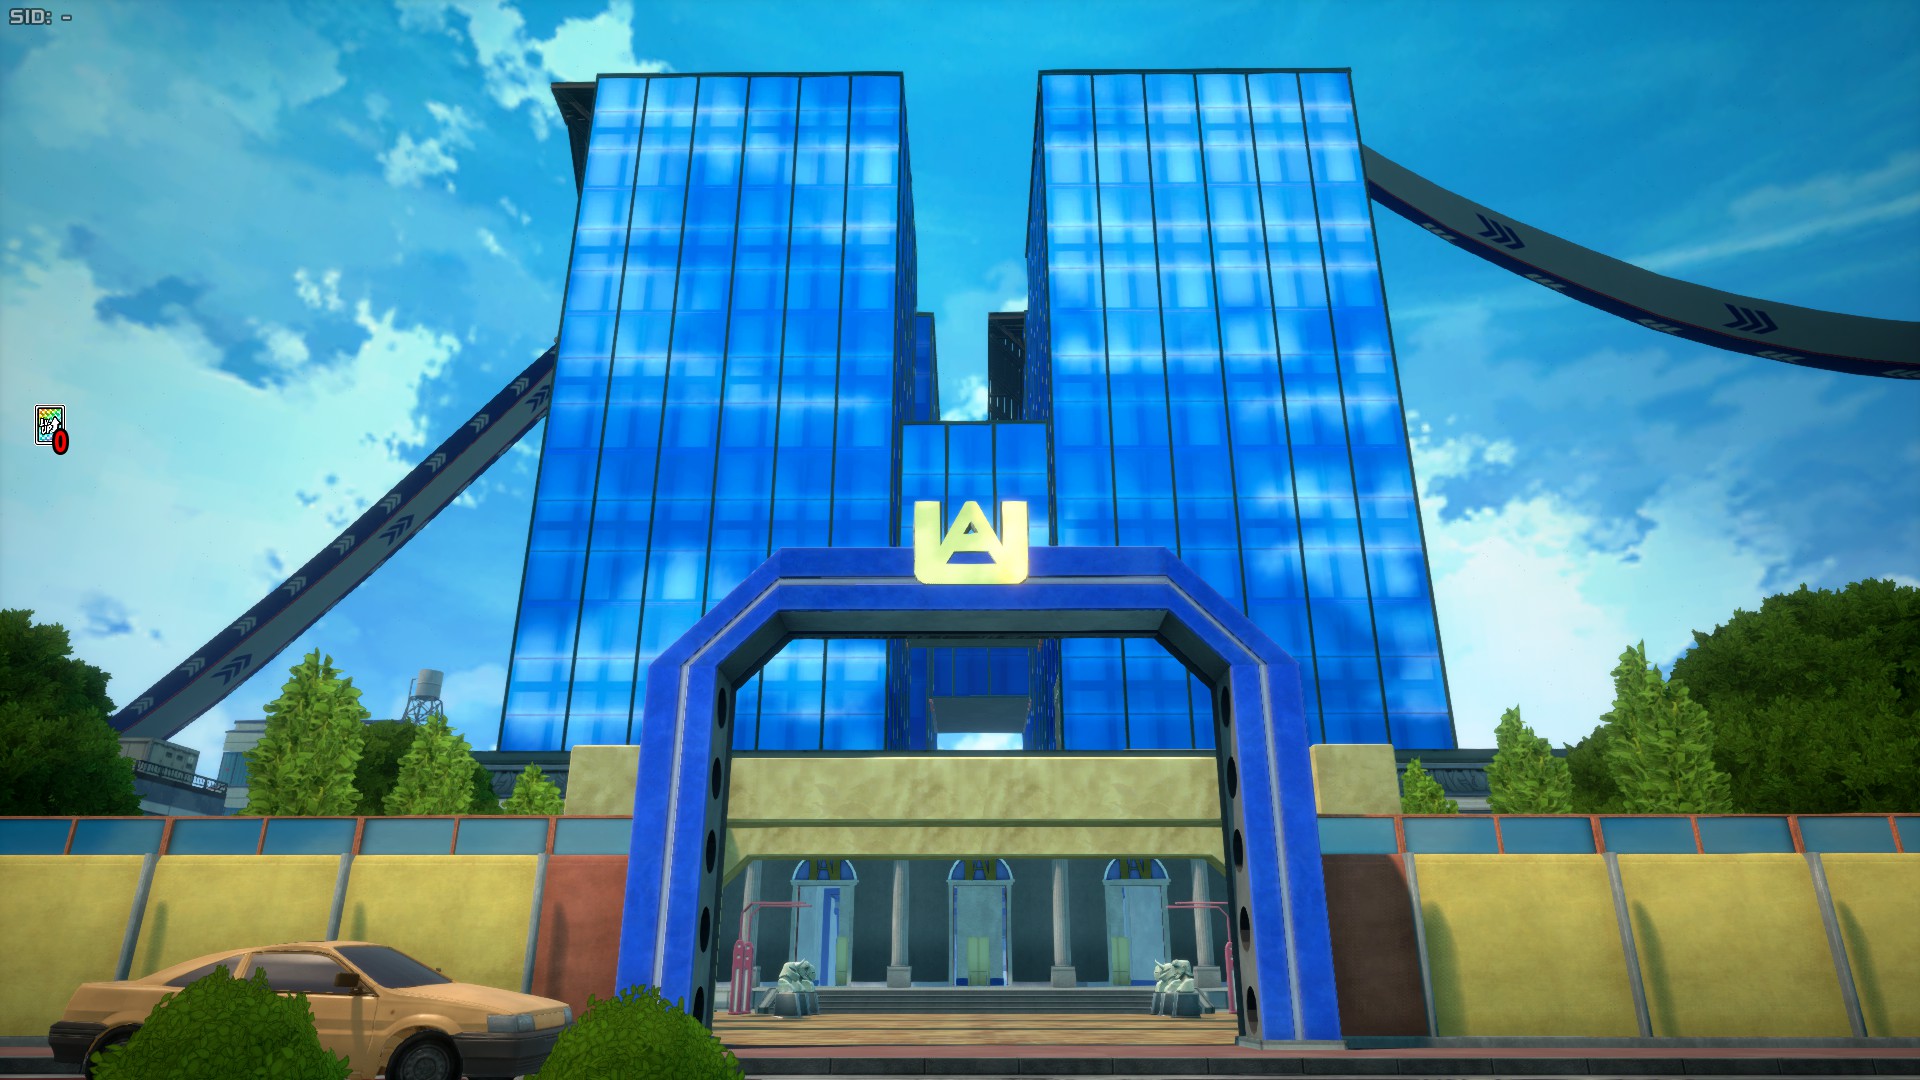
Urban Area
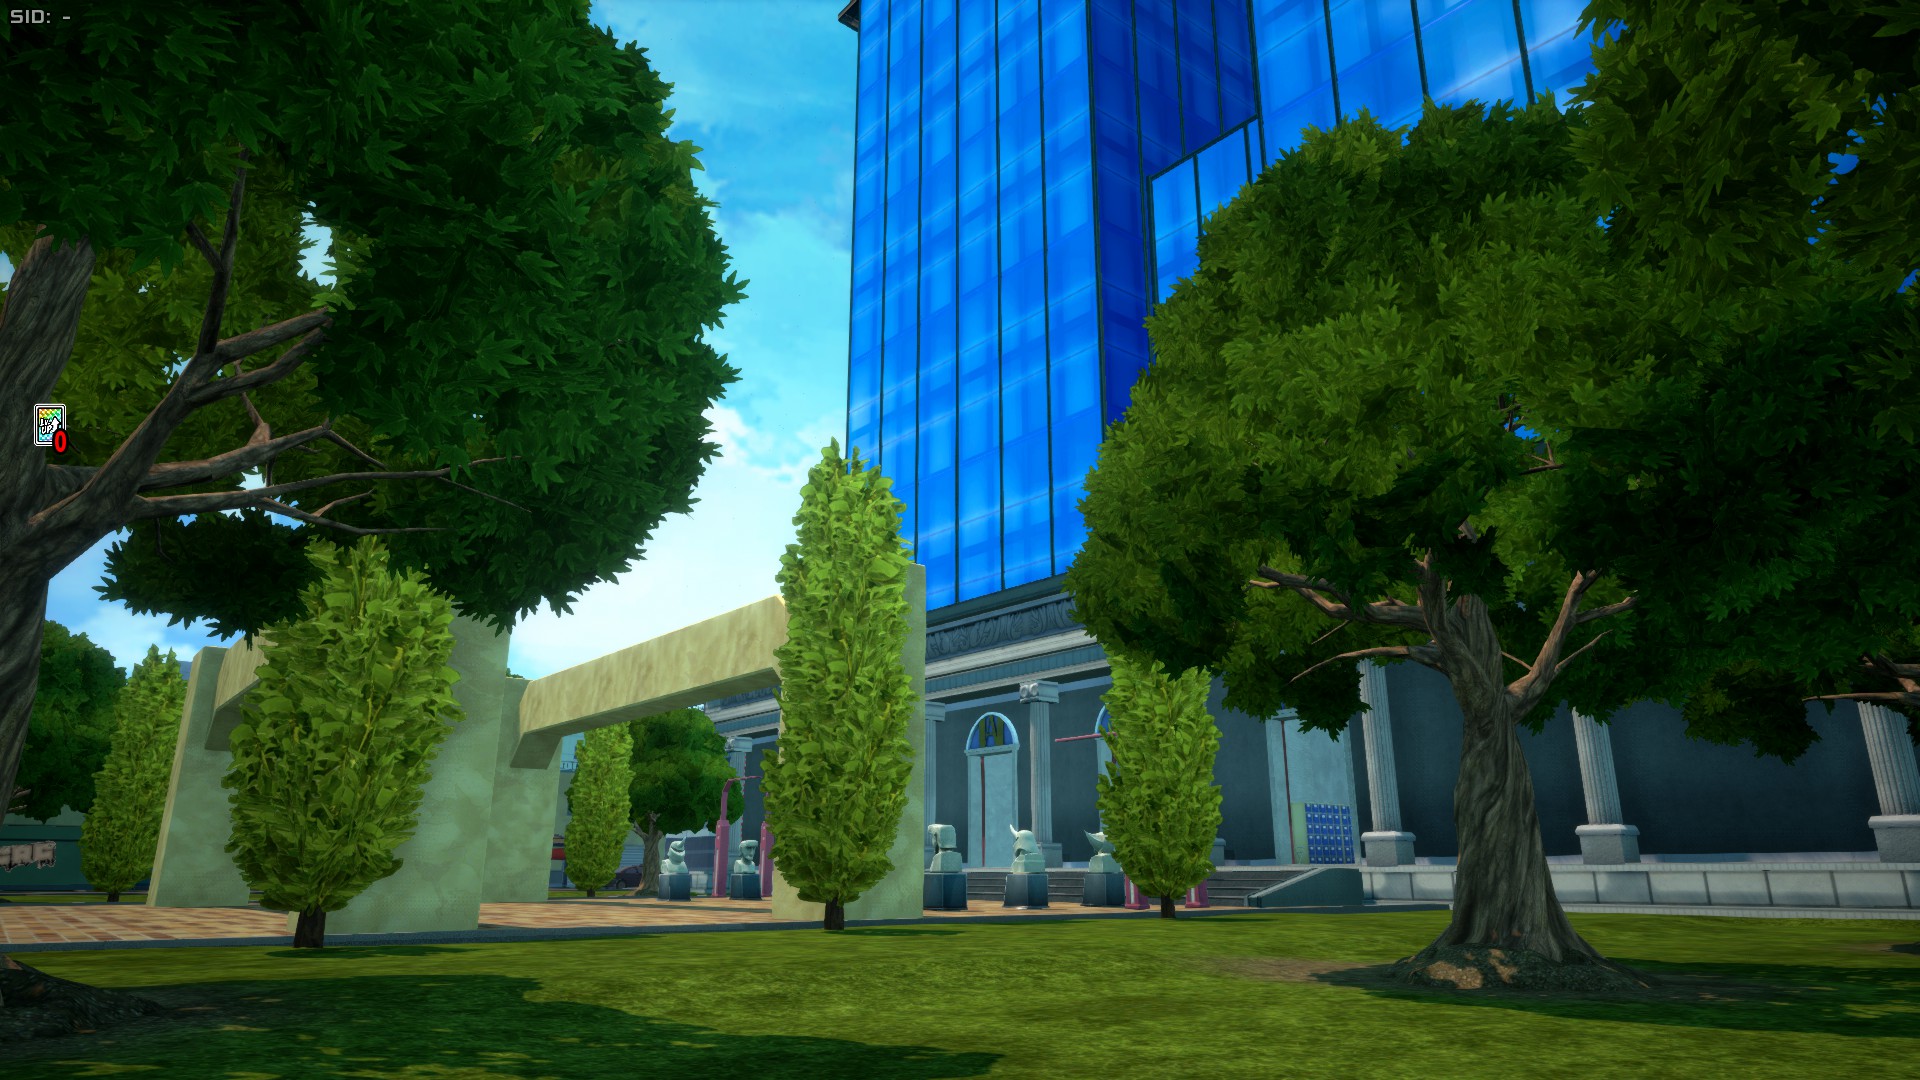
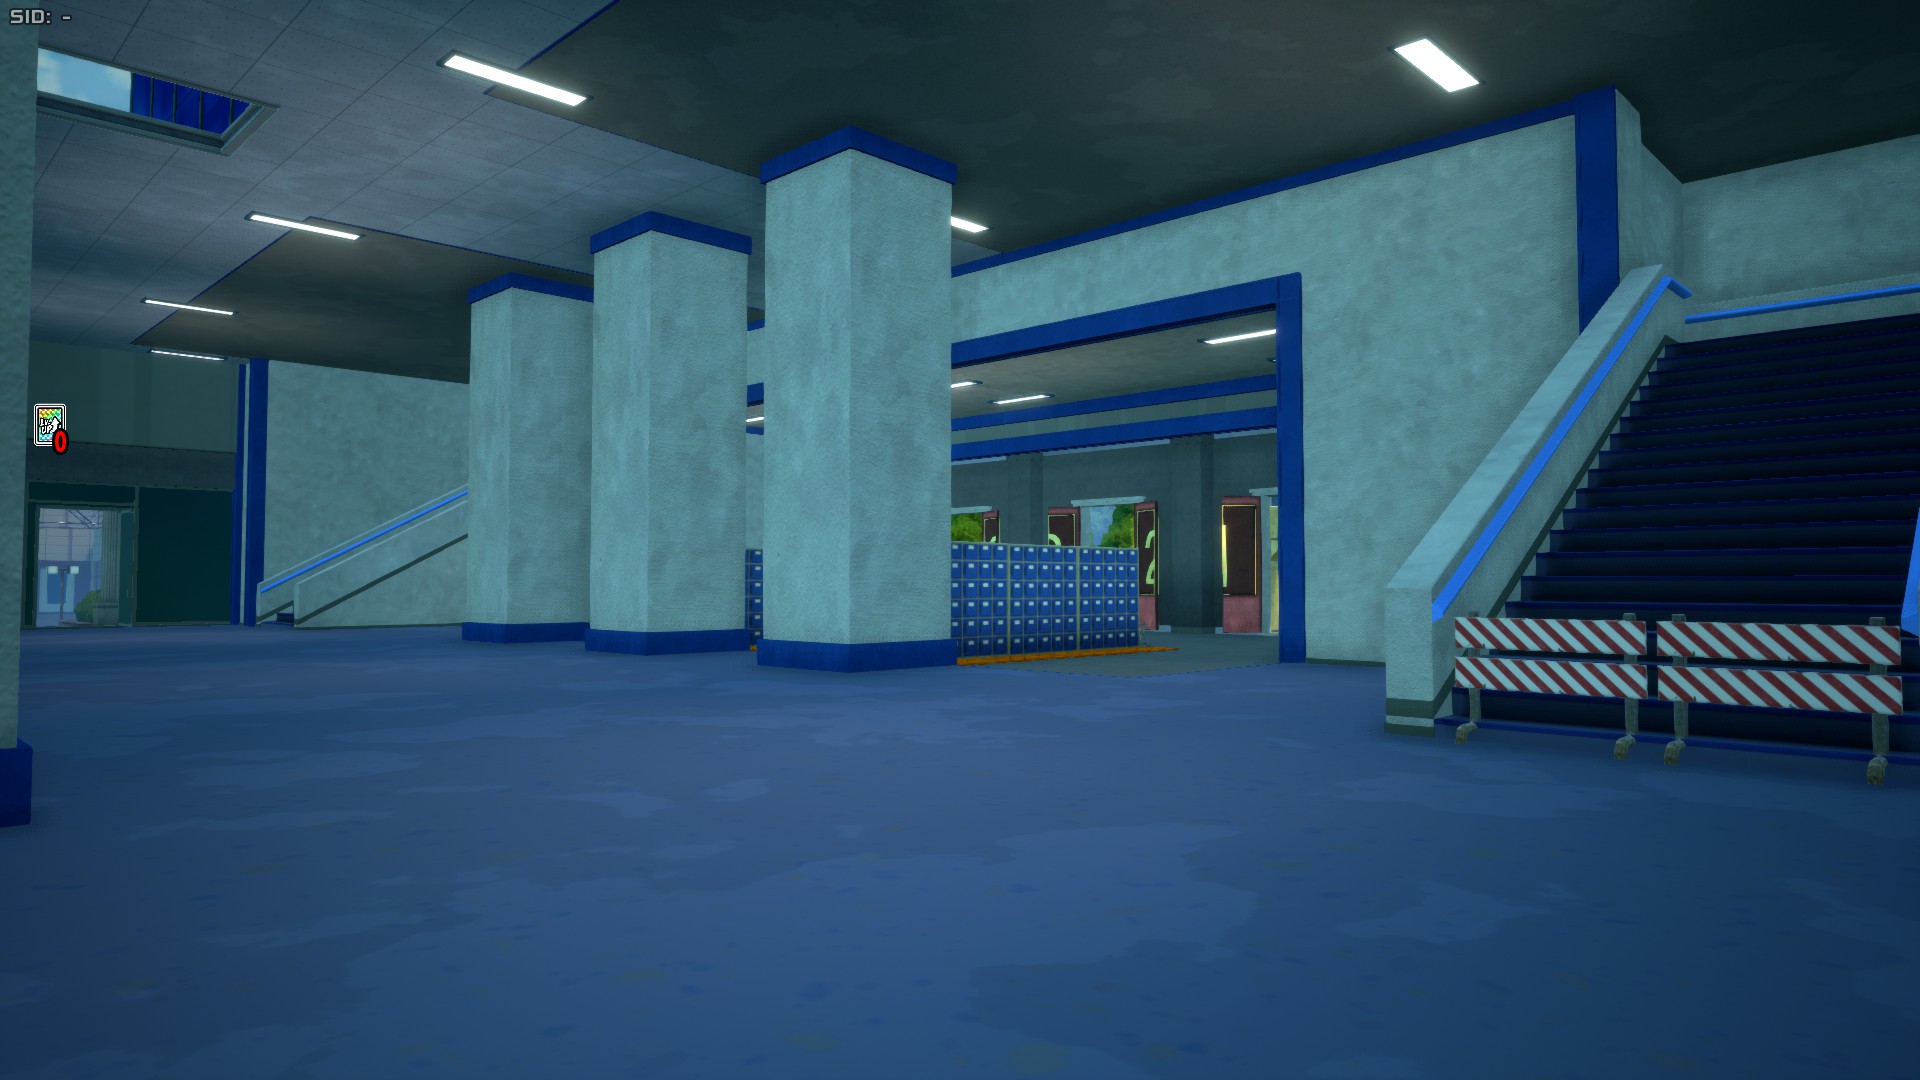
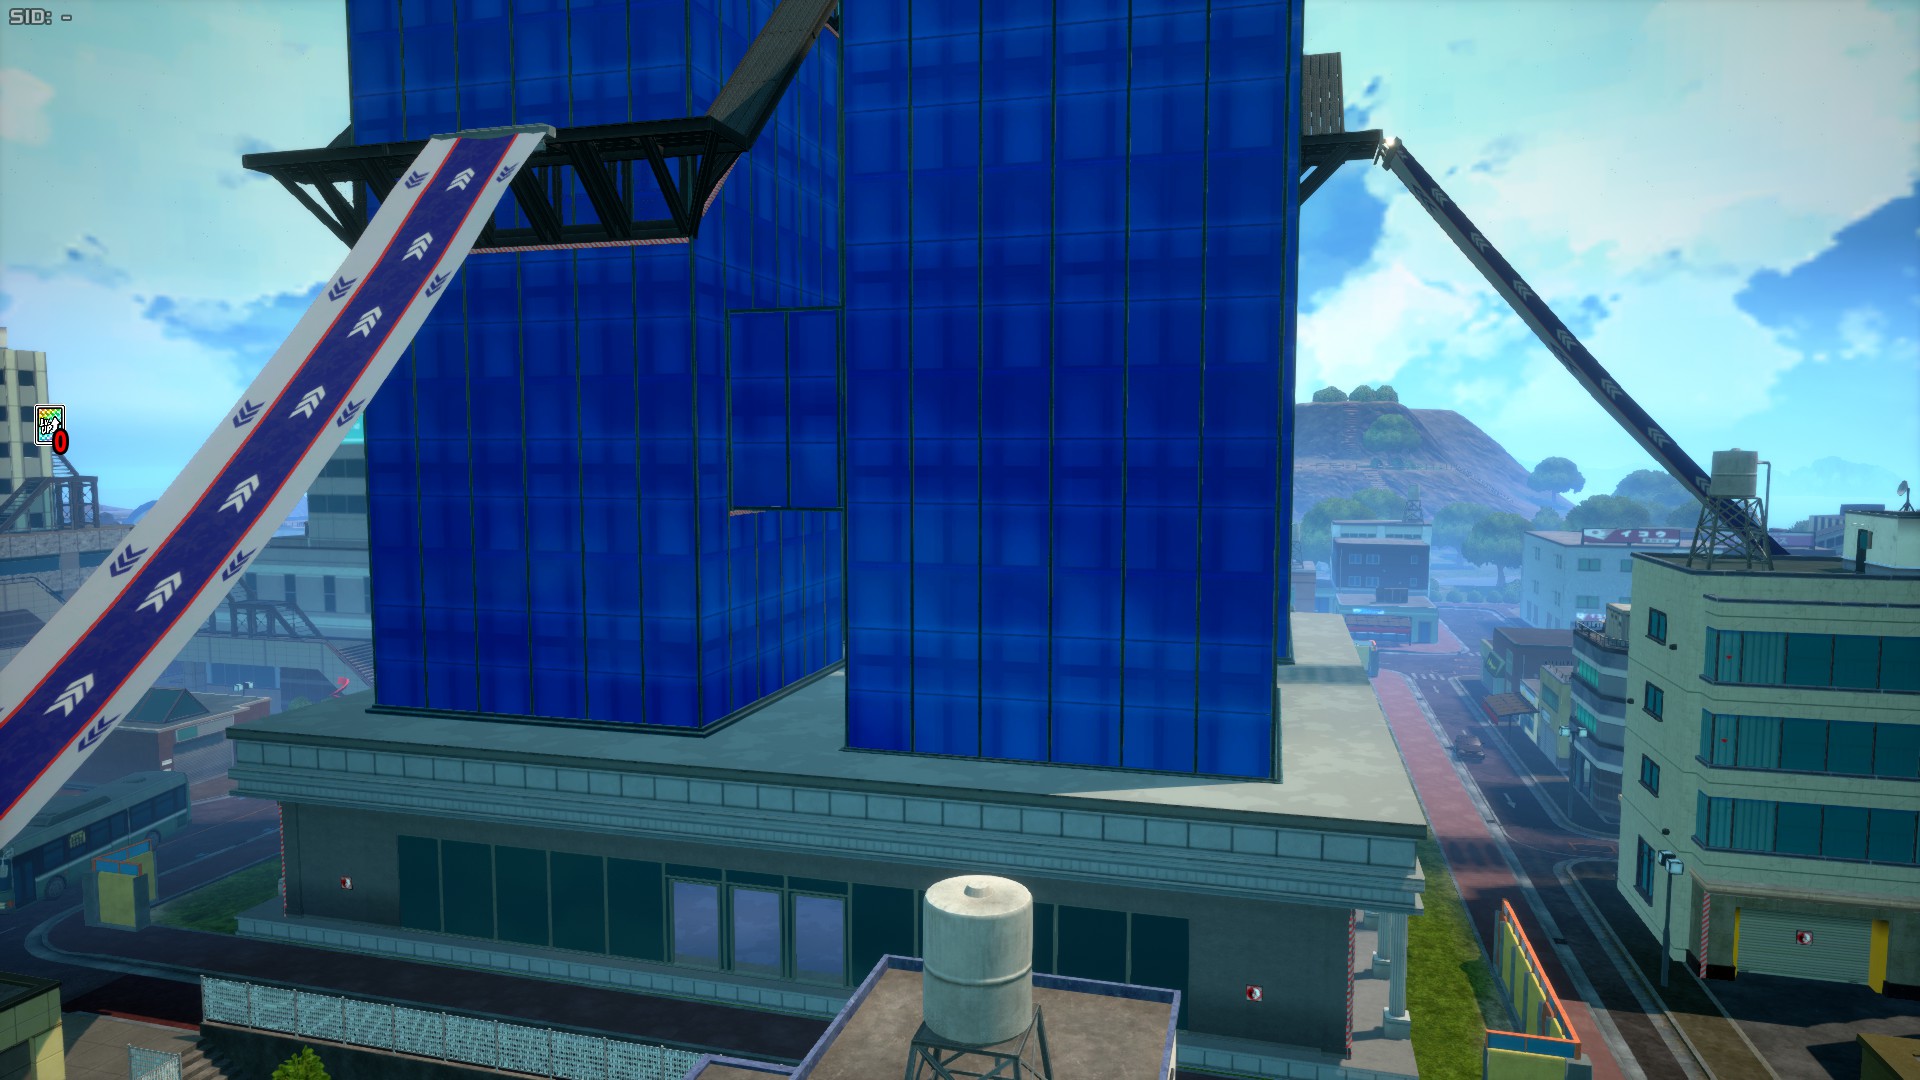
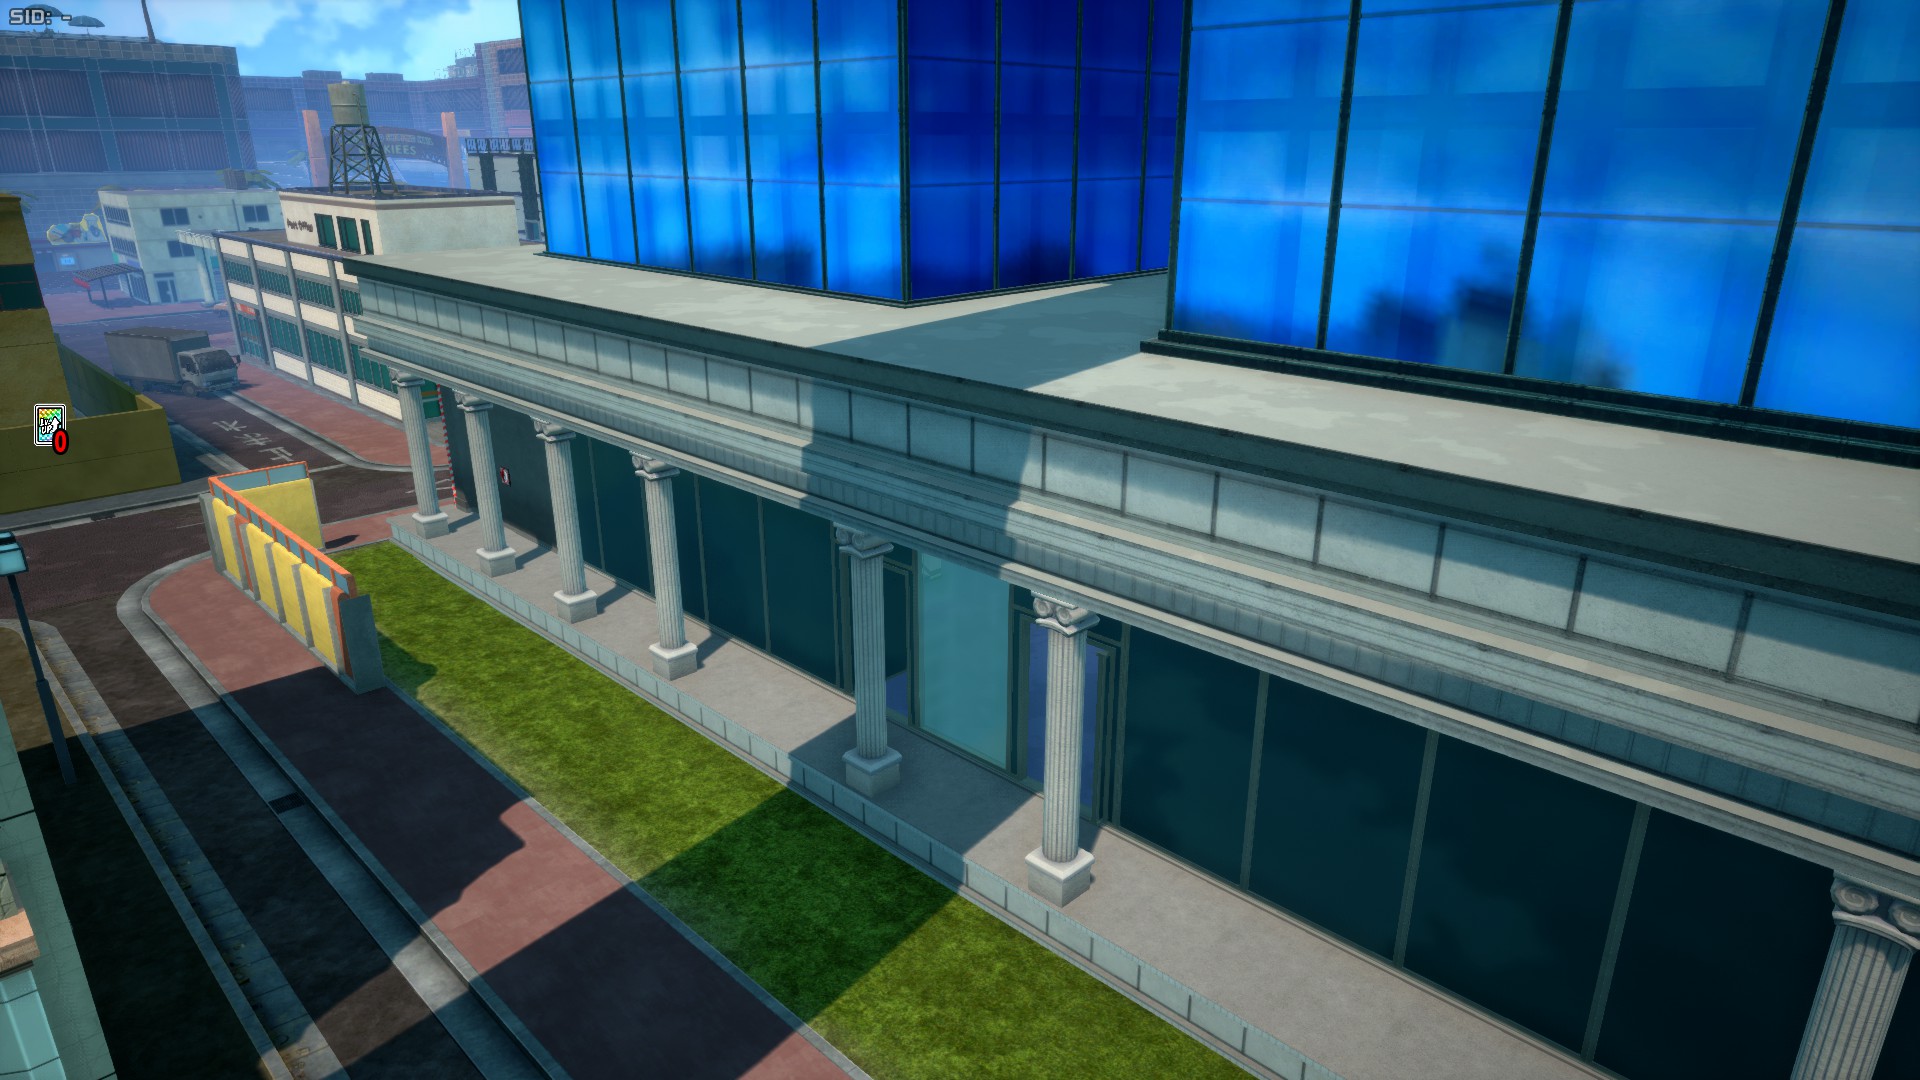
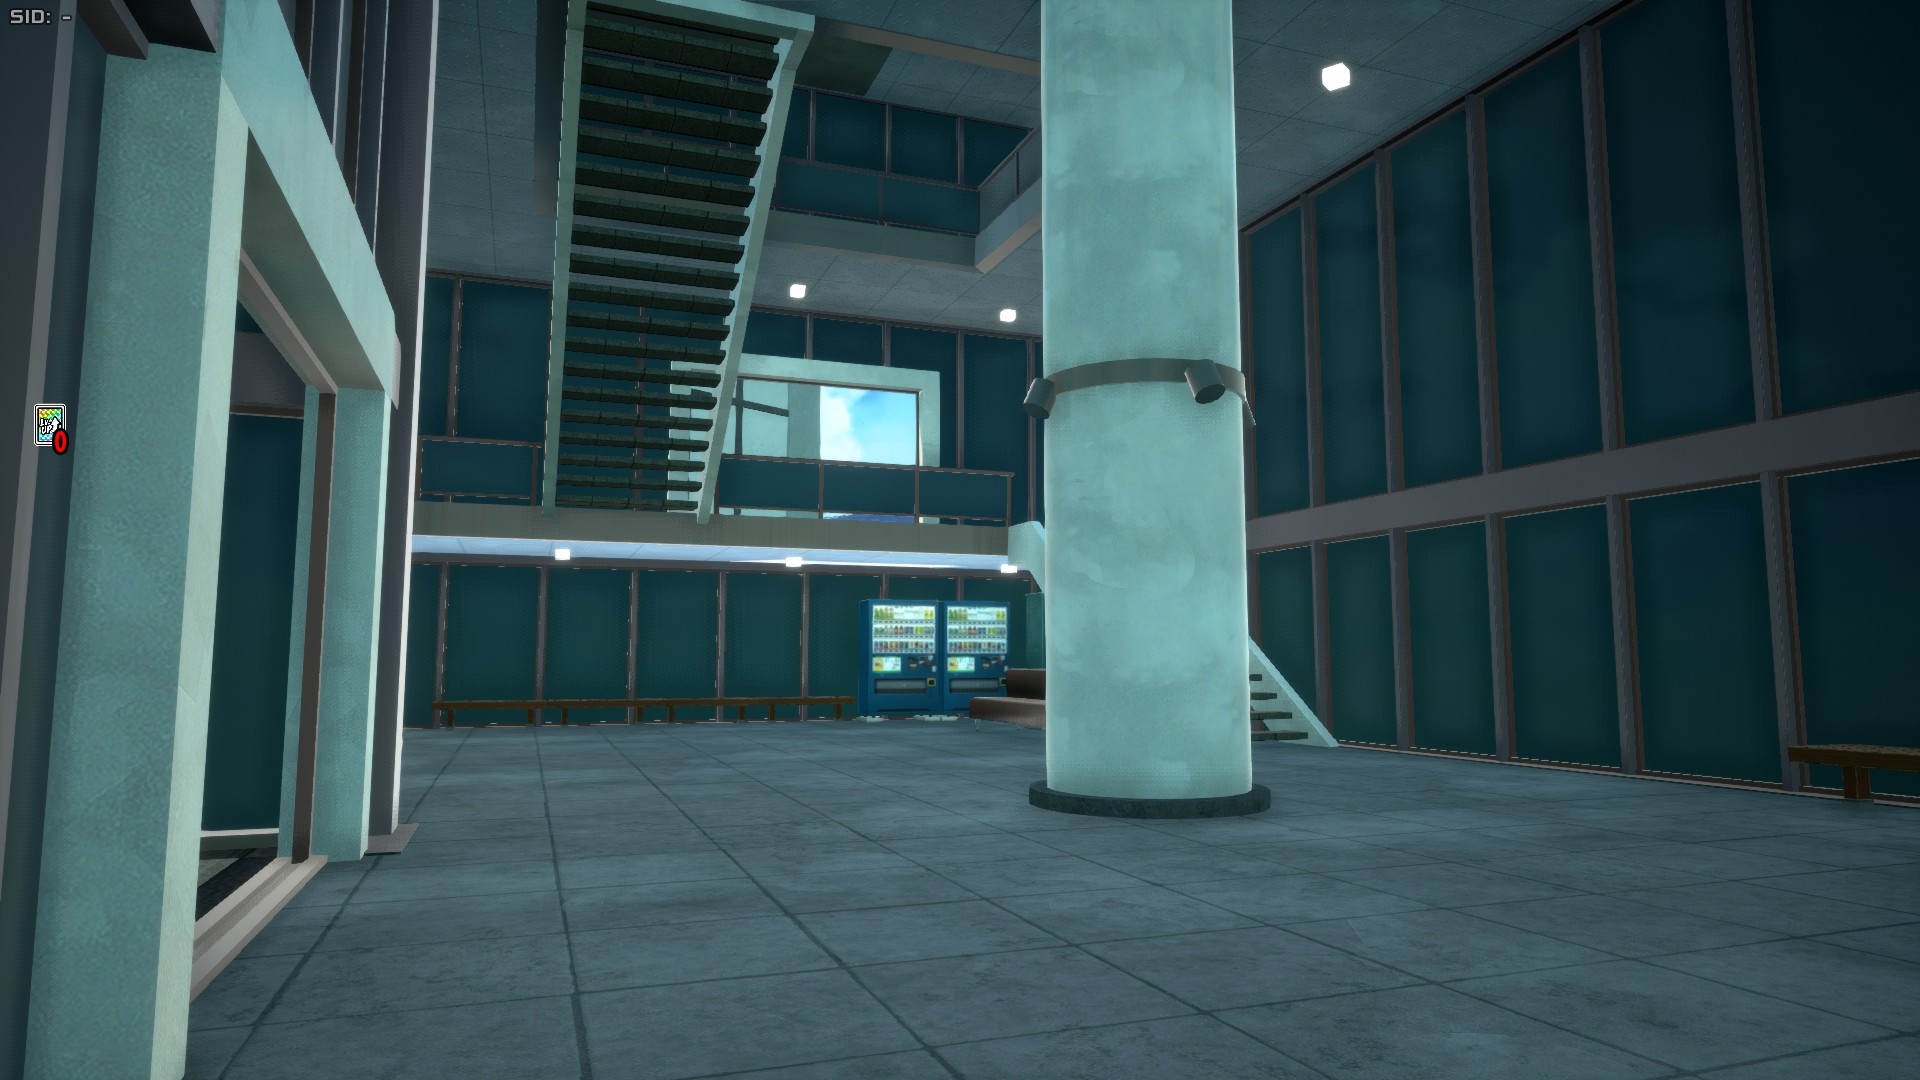
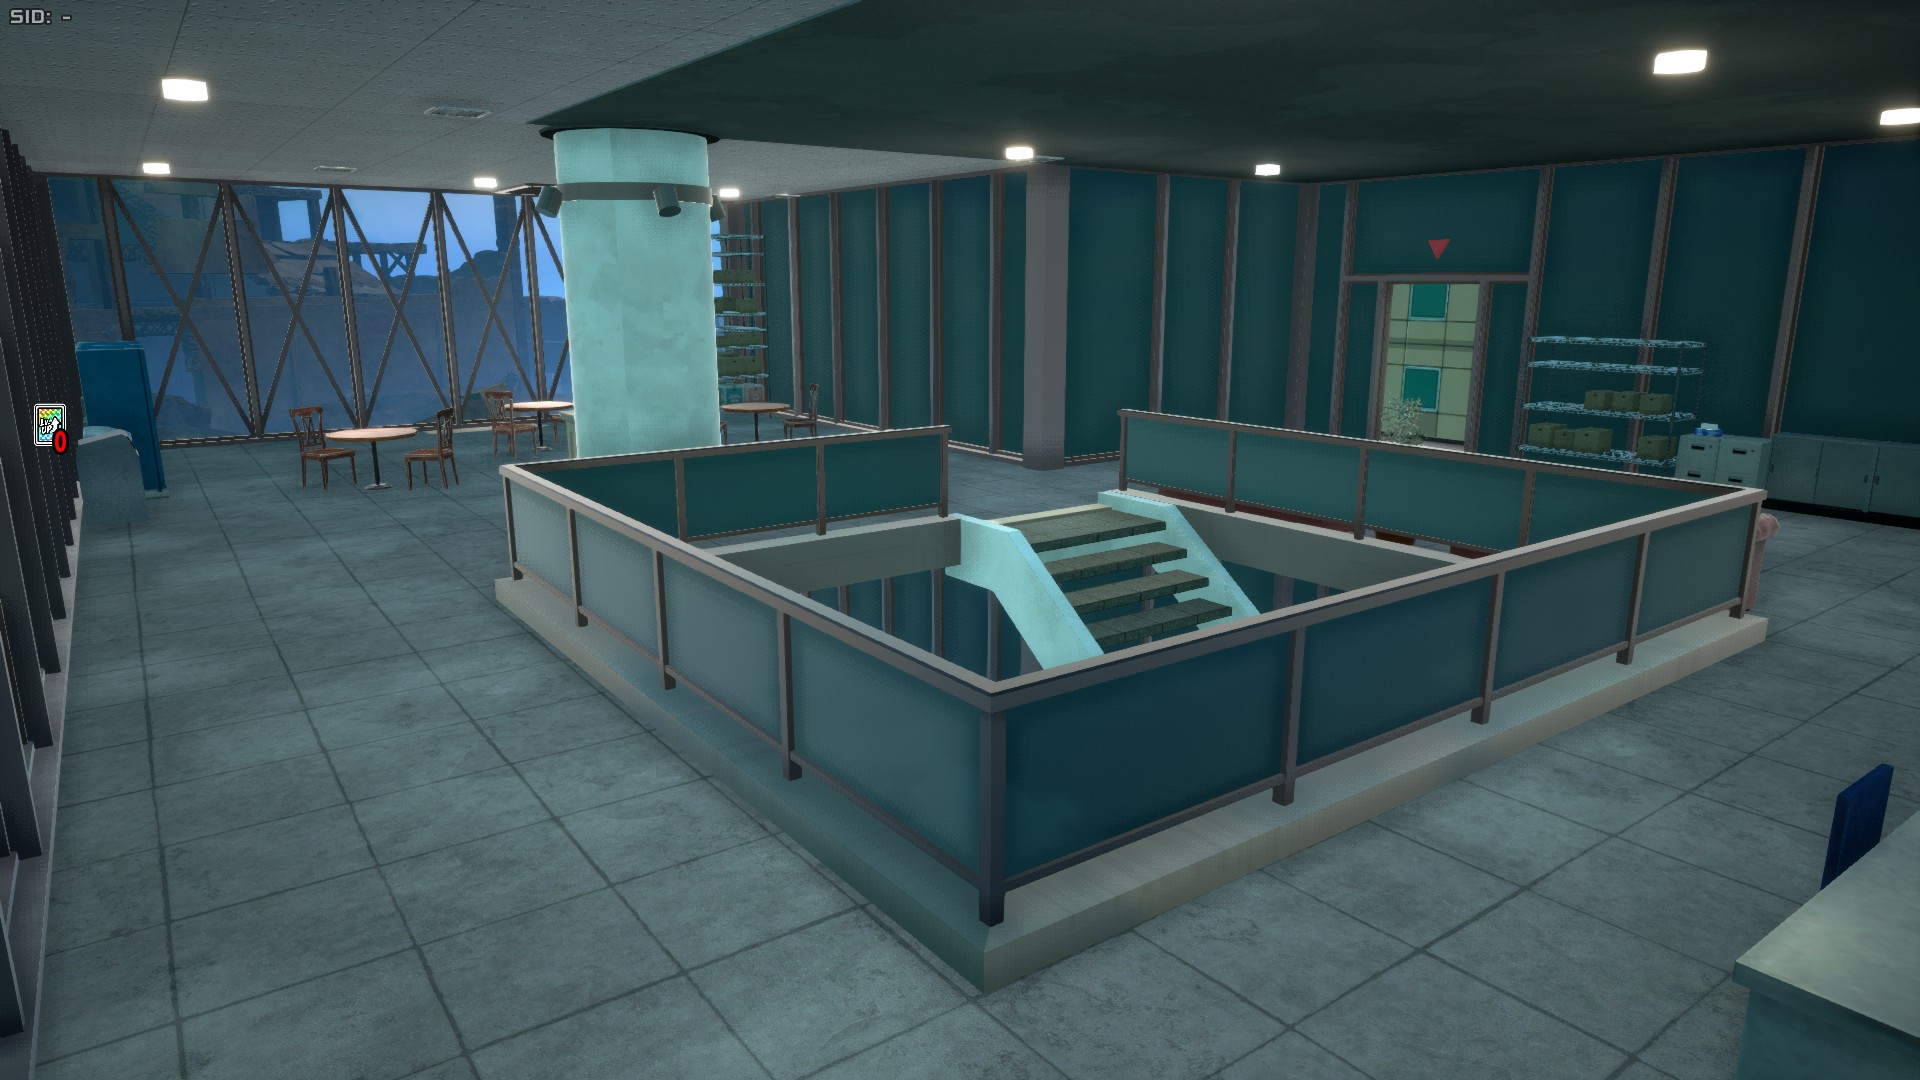
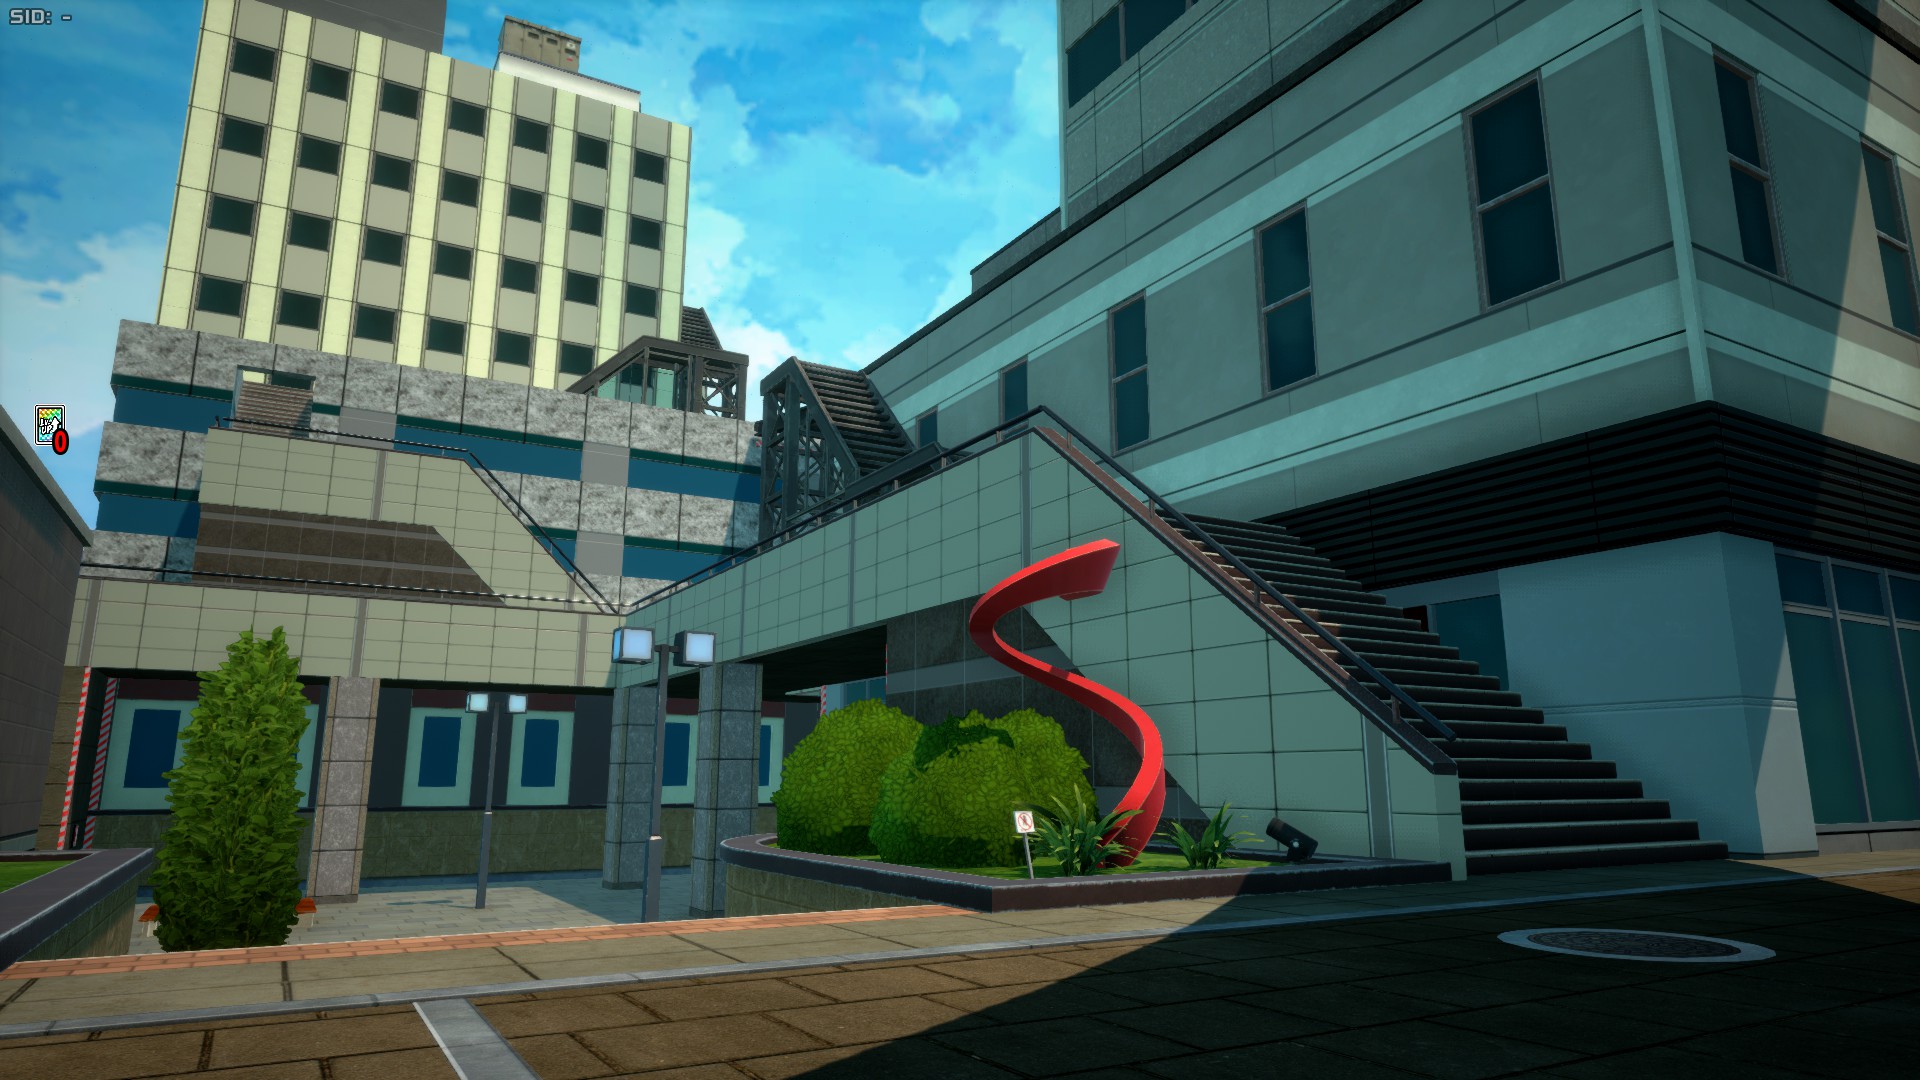
Urban Area is the zone that occupies the right and bottom center areas of the map. It features numerous buildings, many of which have interiors. The more relevant parts of this area are the Communications building, the Hotel Lobby building, and the Office.
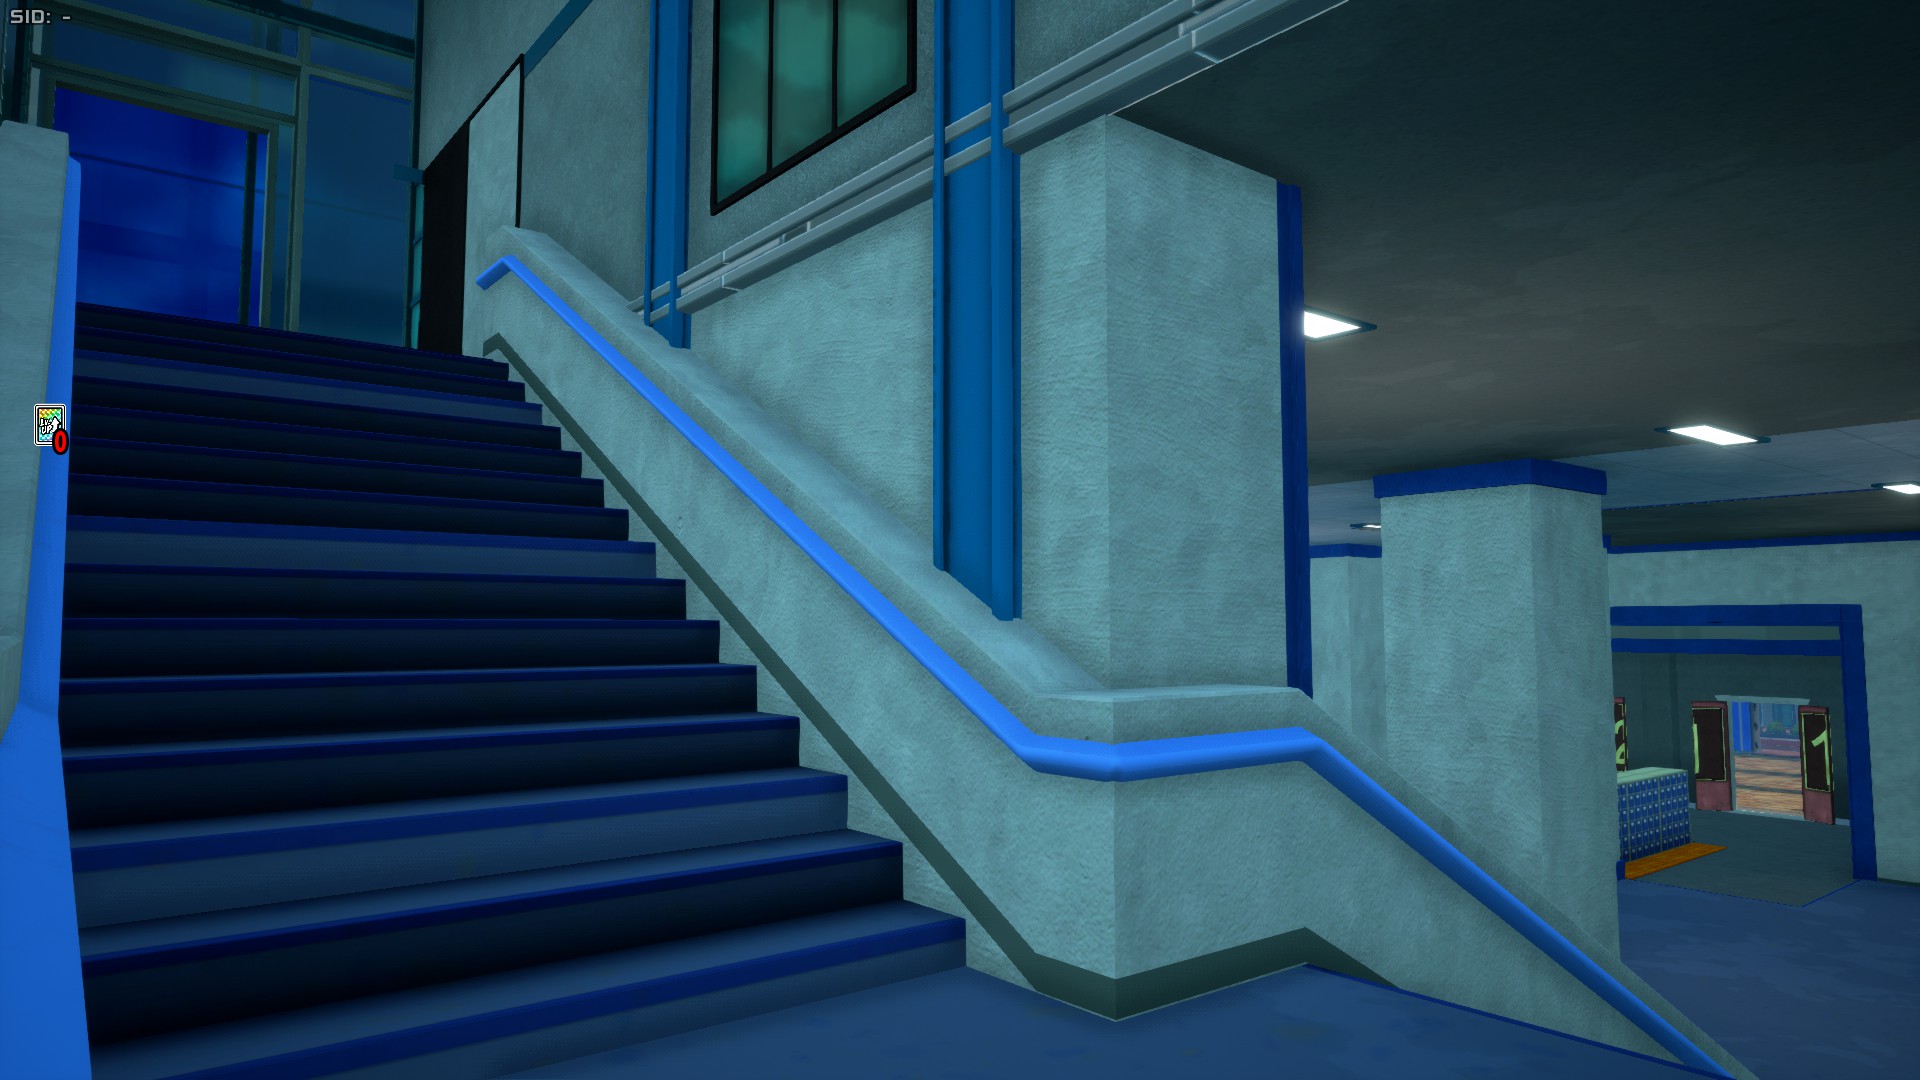
The Communications building is made up fo a base floor plus two floors that can be accessed with stairs inside the building, or by taking some outside of it. Technical All For One players like this building.
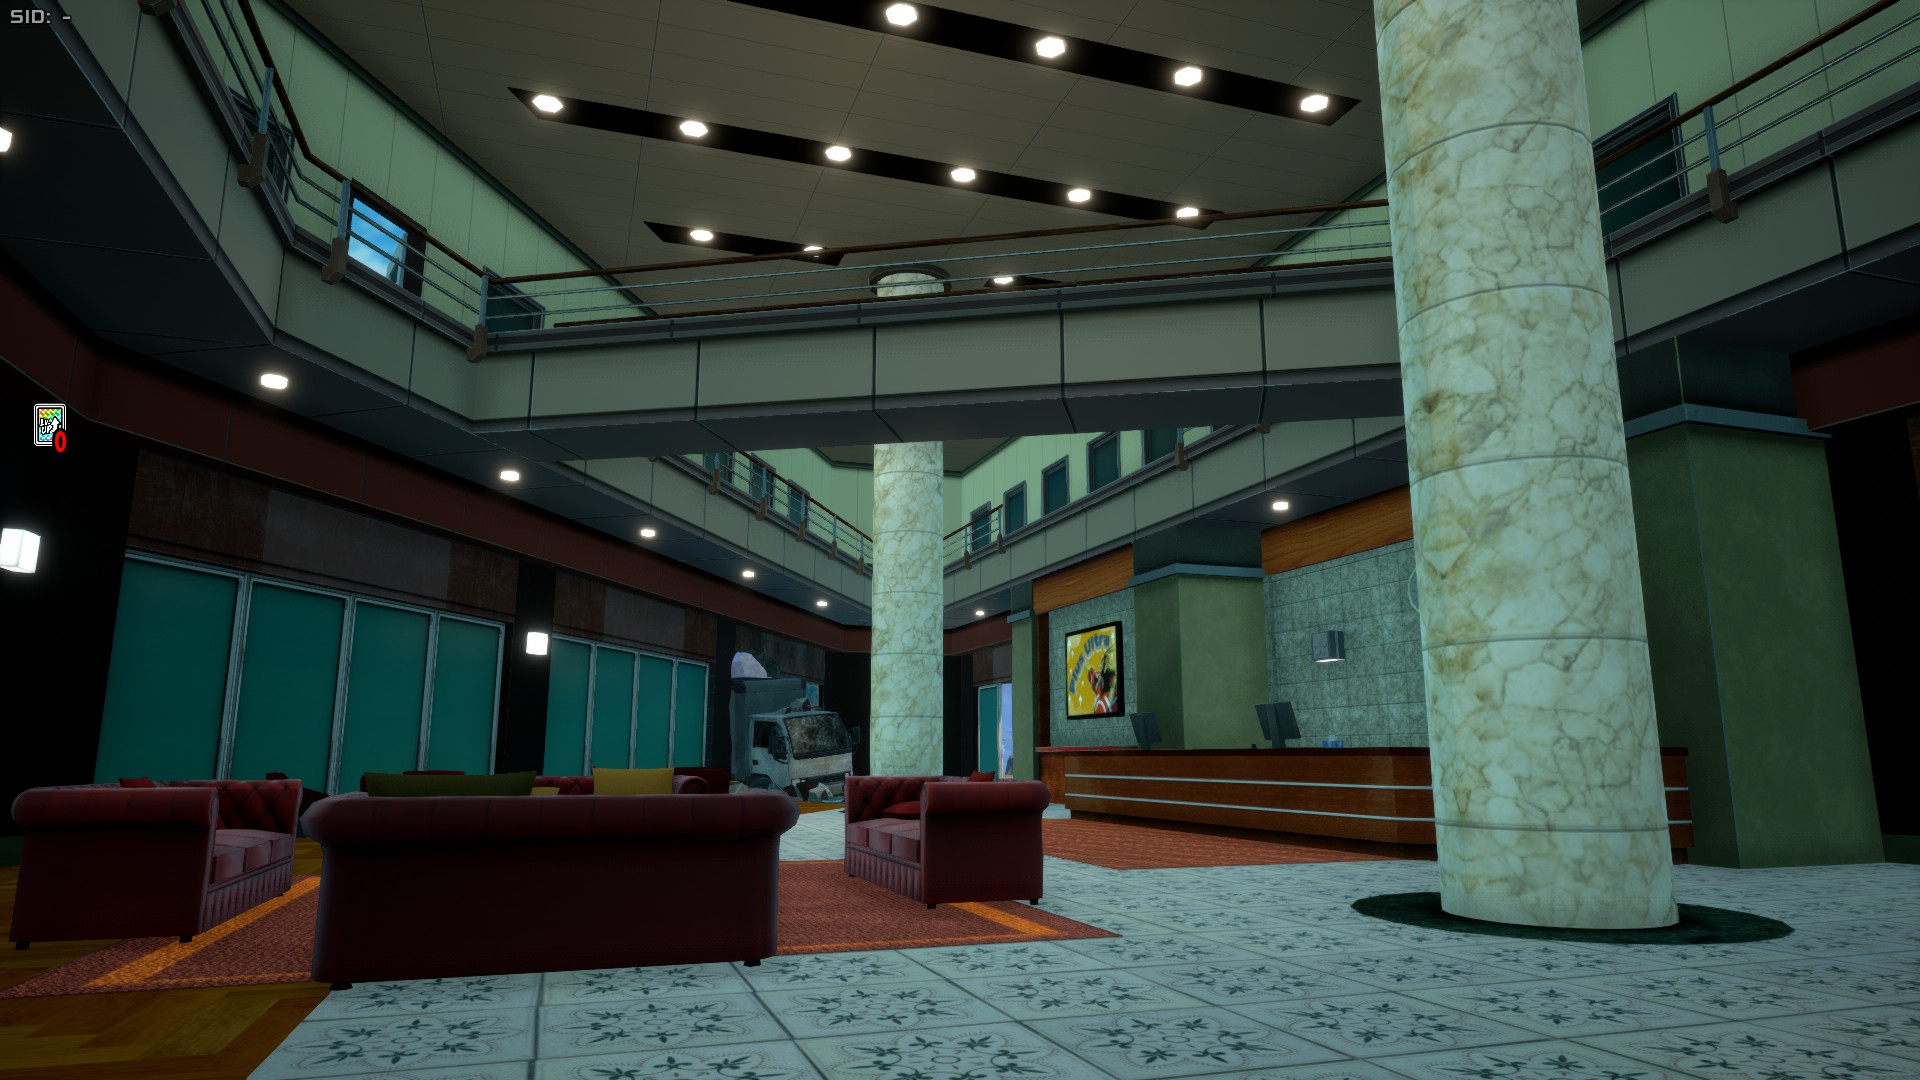
The Hotel Lobby is comprised of a base floor plus an upper floor than can only naturally (without using climbing or skills) be accessed via outside stairs. It has some sweet spots to hide. It also contains outside stairs leading to the top of the building.
The Office is a 2-floor building with a reception area on the lower floor and an office on the upper floor. The top of the building has a banner that leads to the top of the U.A. High School. Technicall All For One and Strike Tomura Shigaraki players like this building.
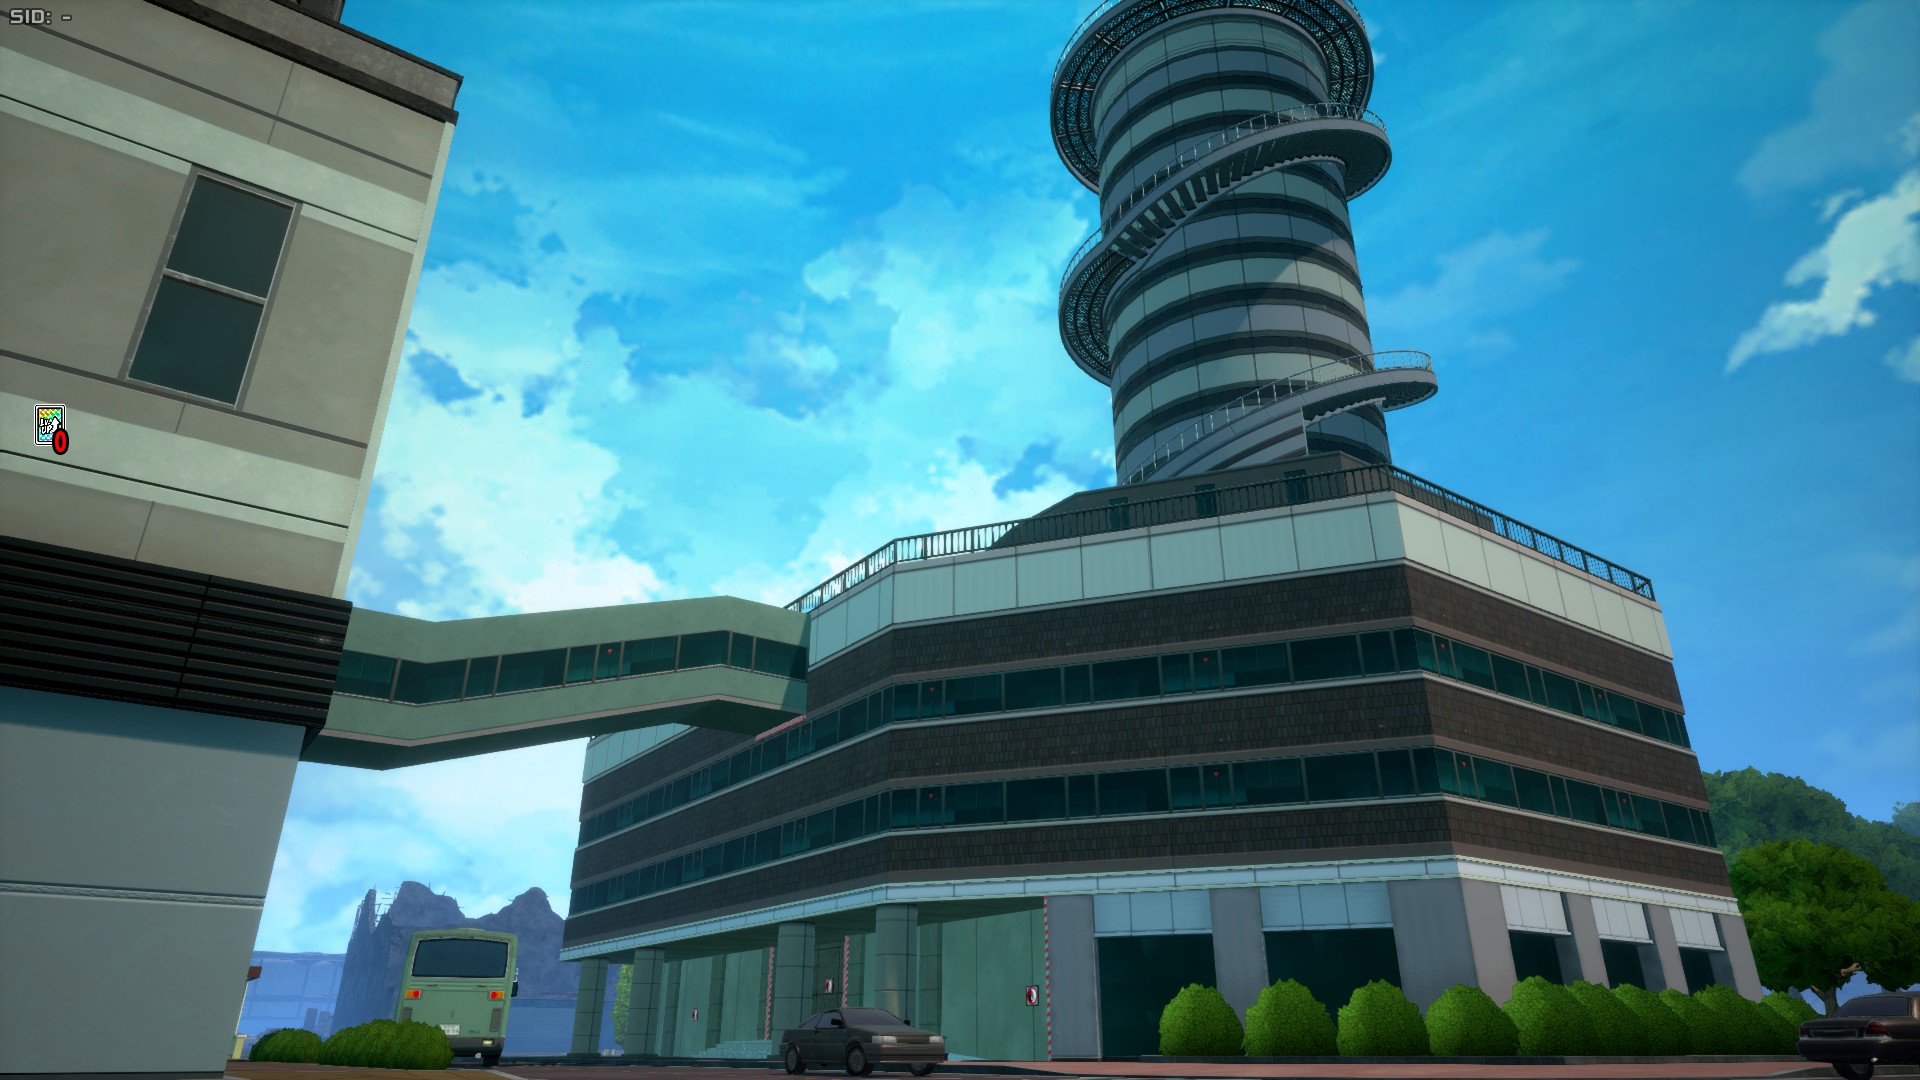
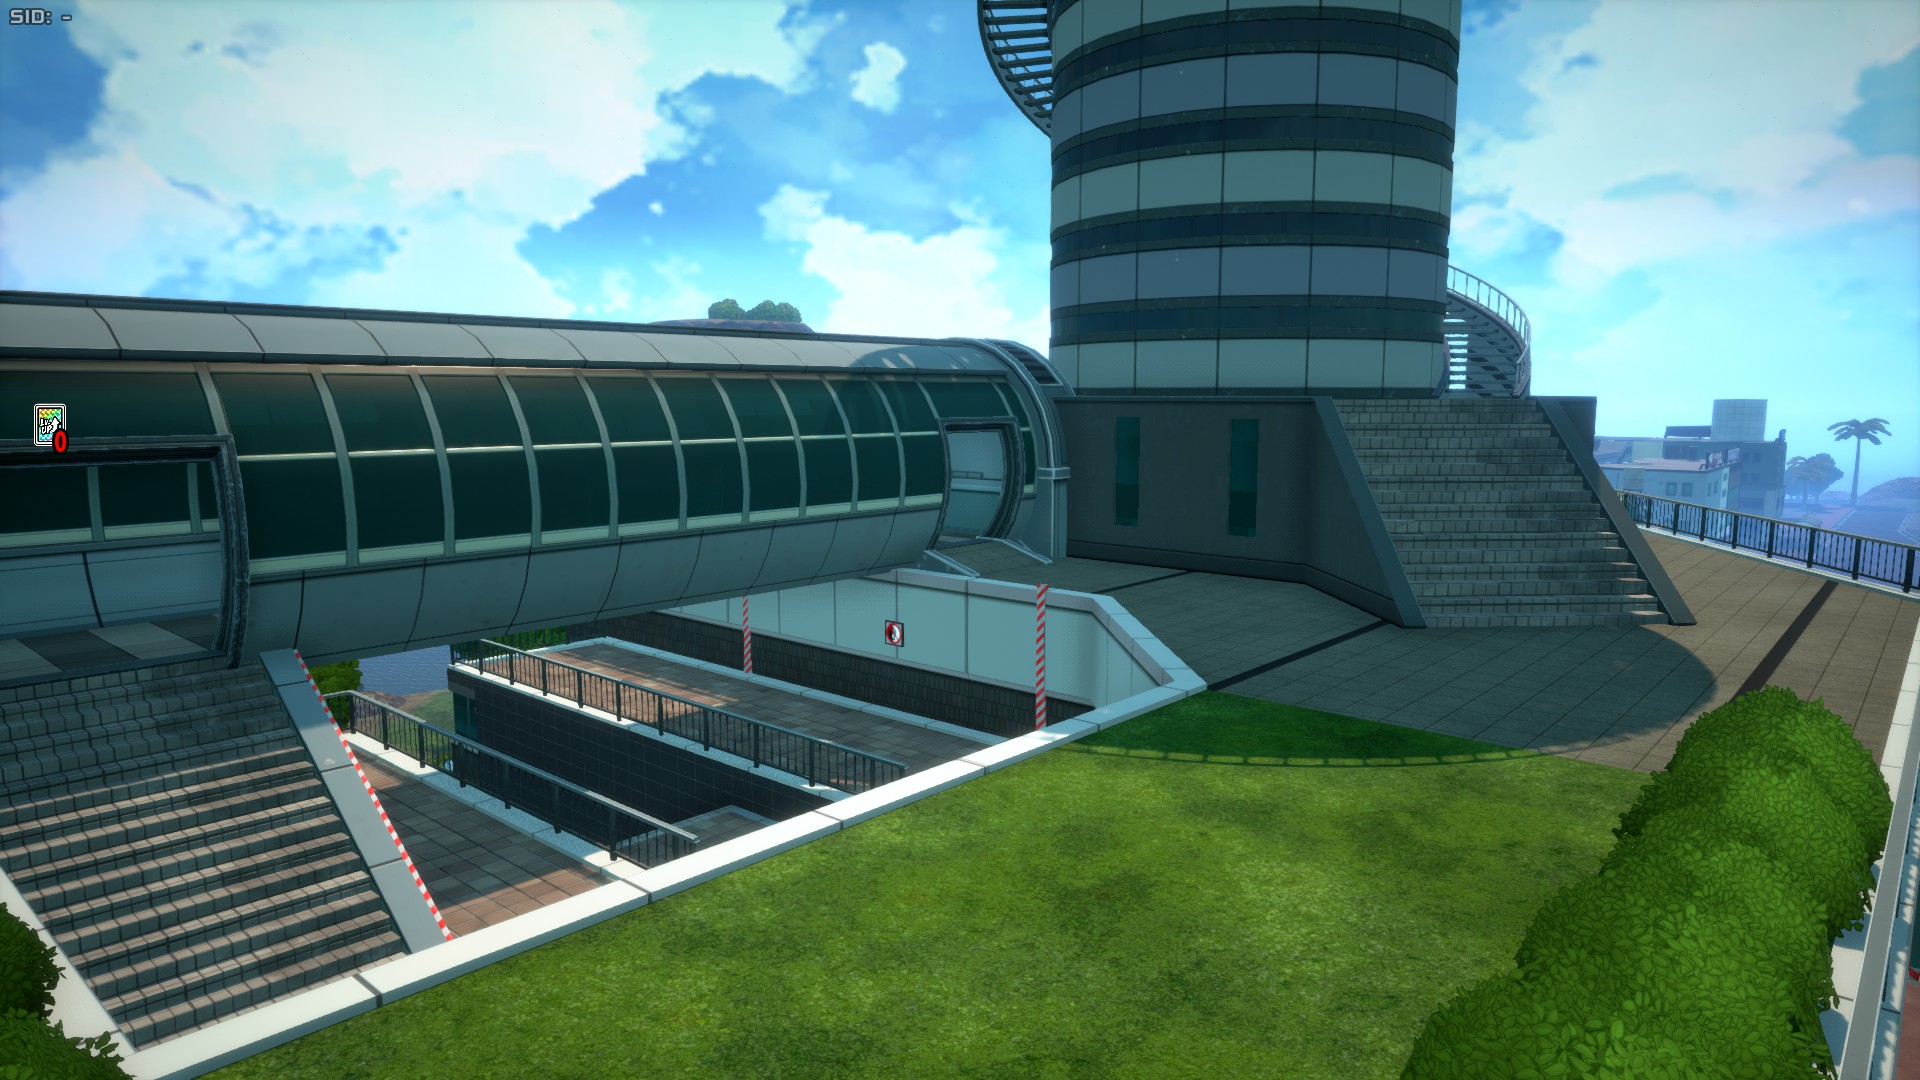
Another notorious area is the Tower Area, which is comprised of a small elevated grassy area with a horizontal tunnel next to a tall metal tower, it is said Strike Endeavor players like this spot.
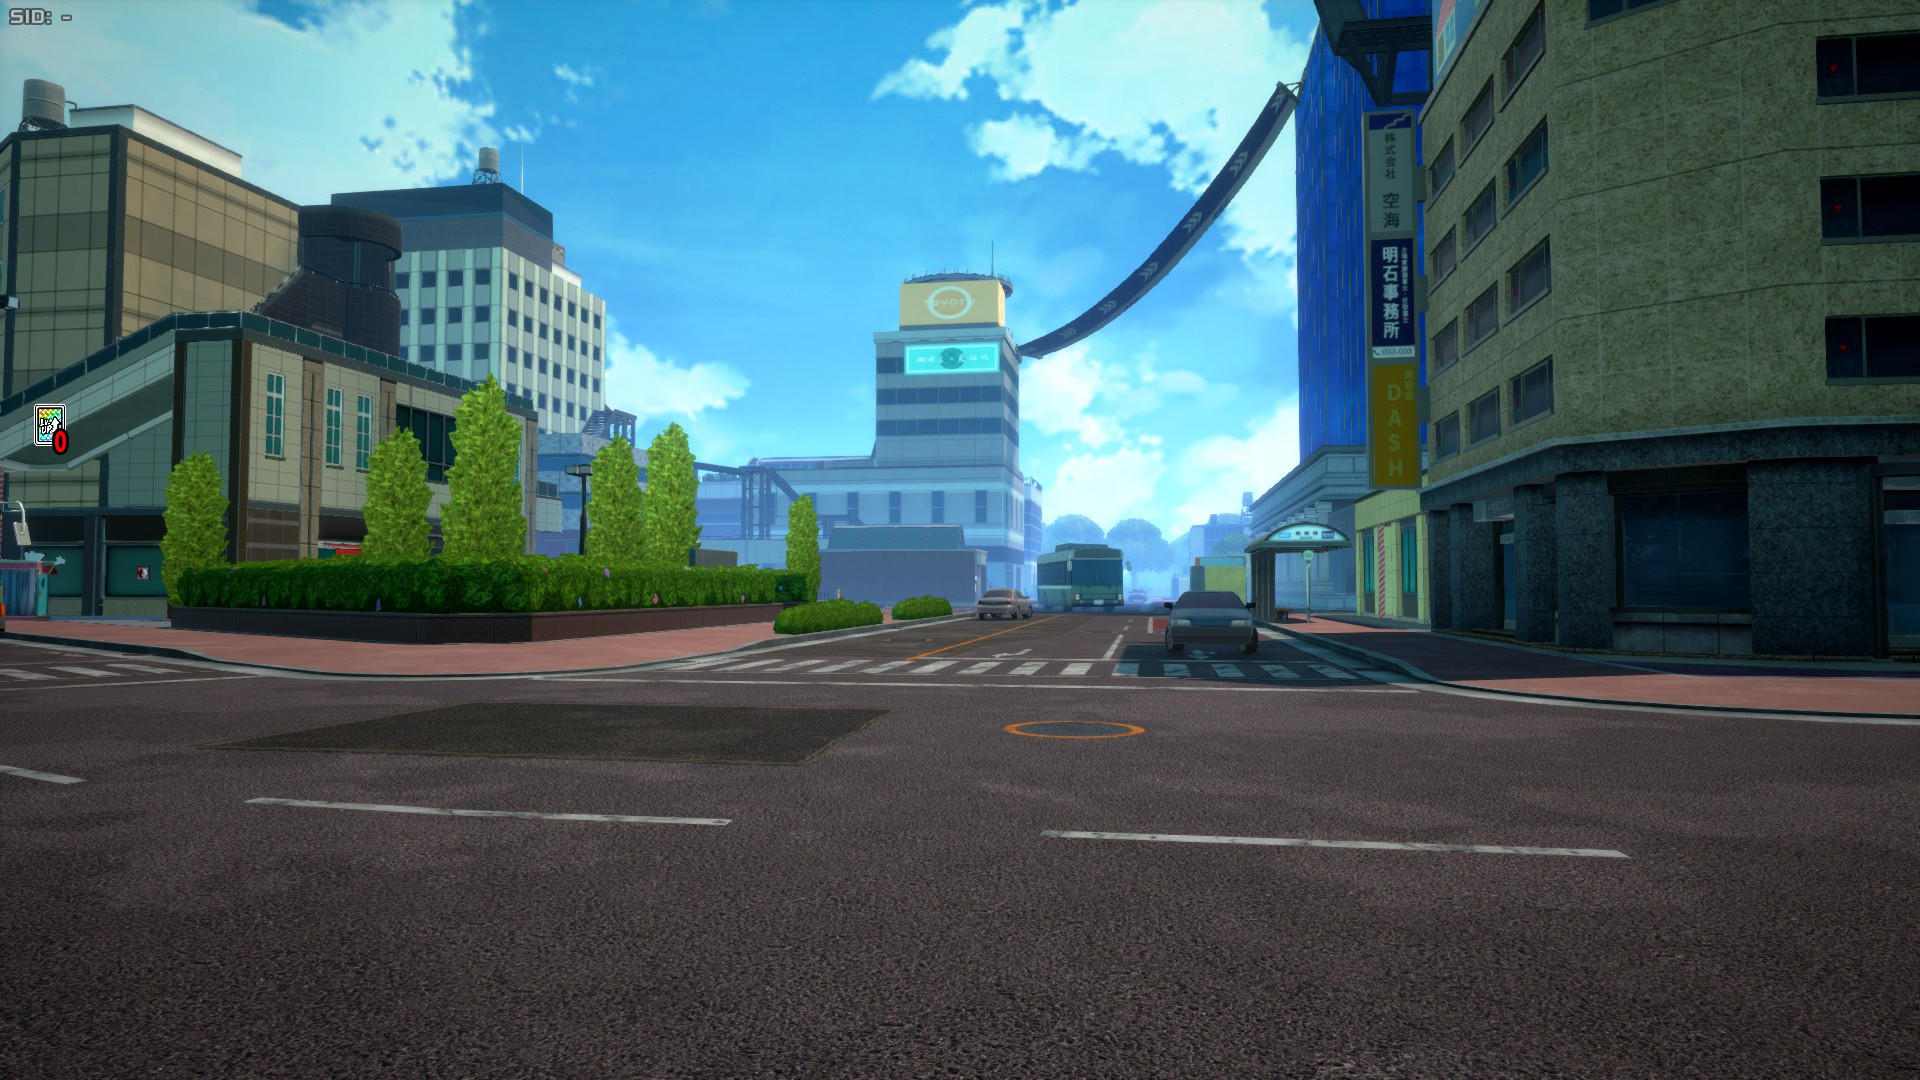
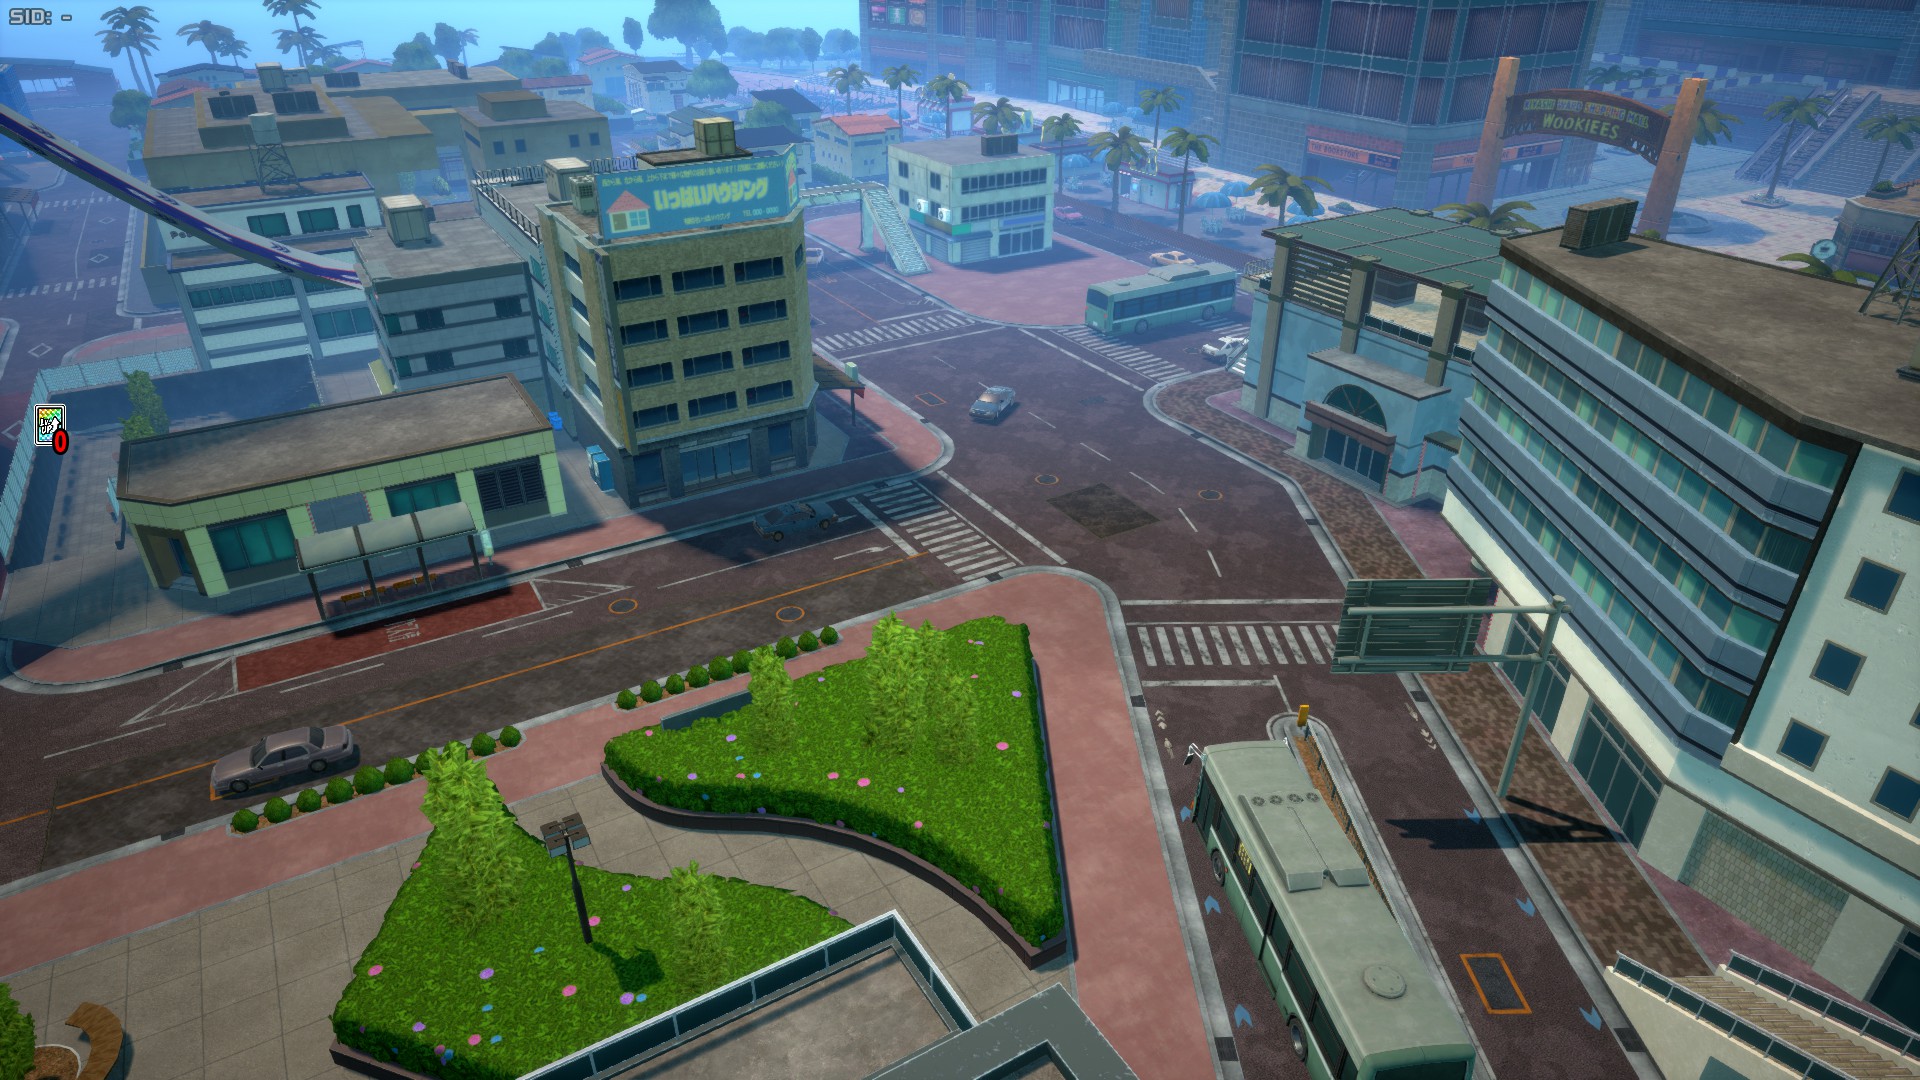
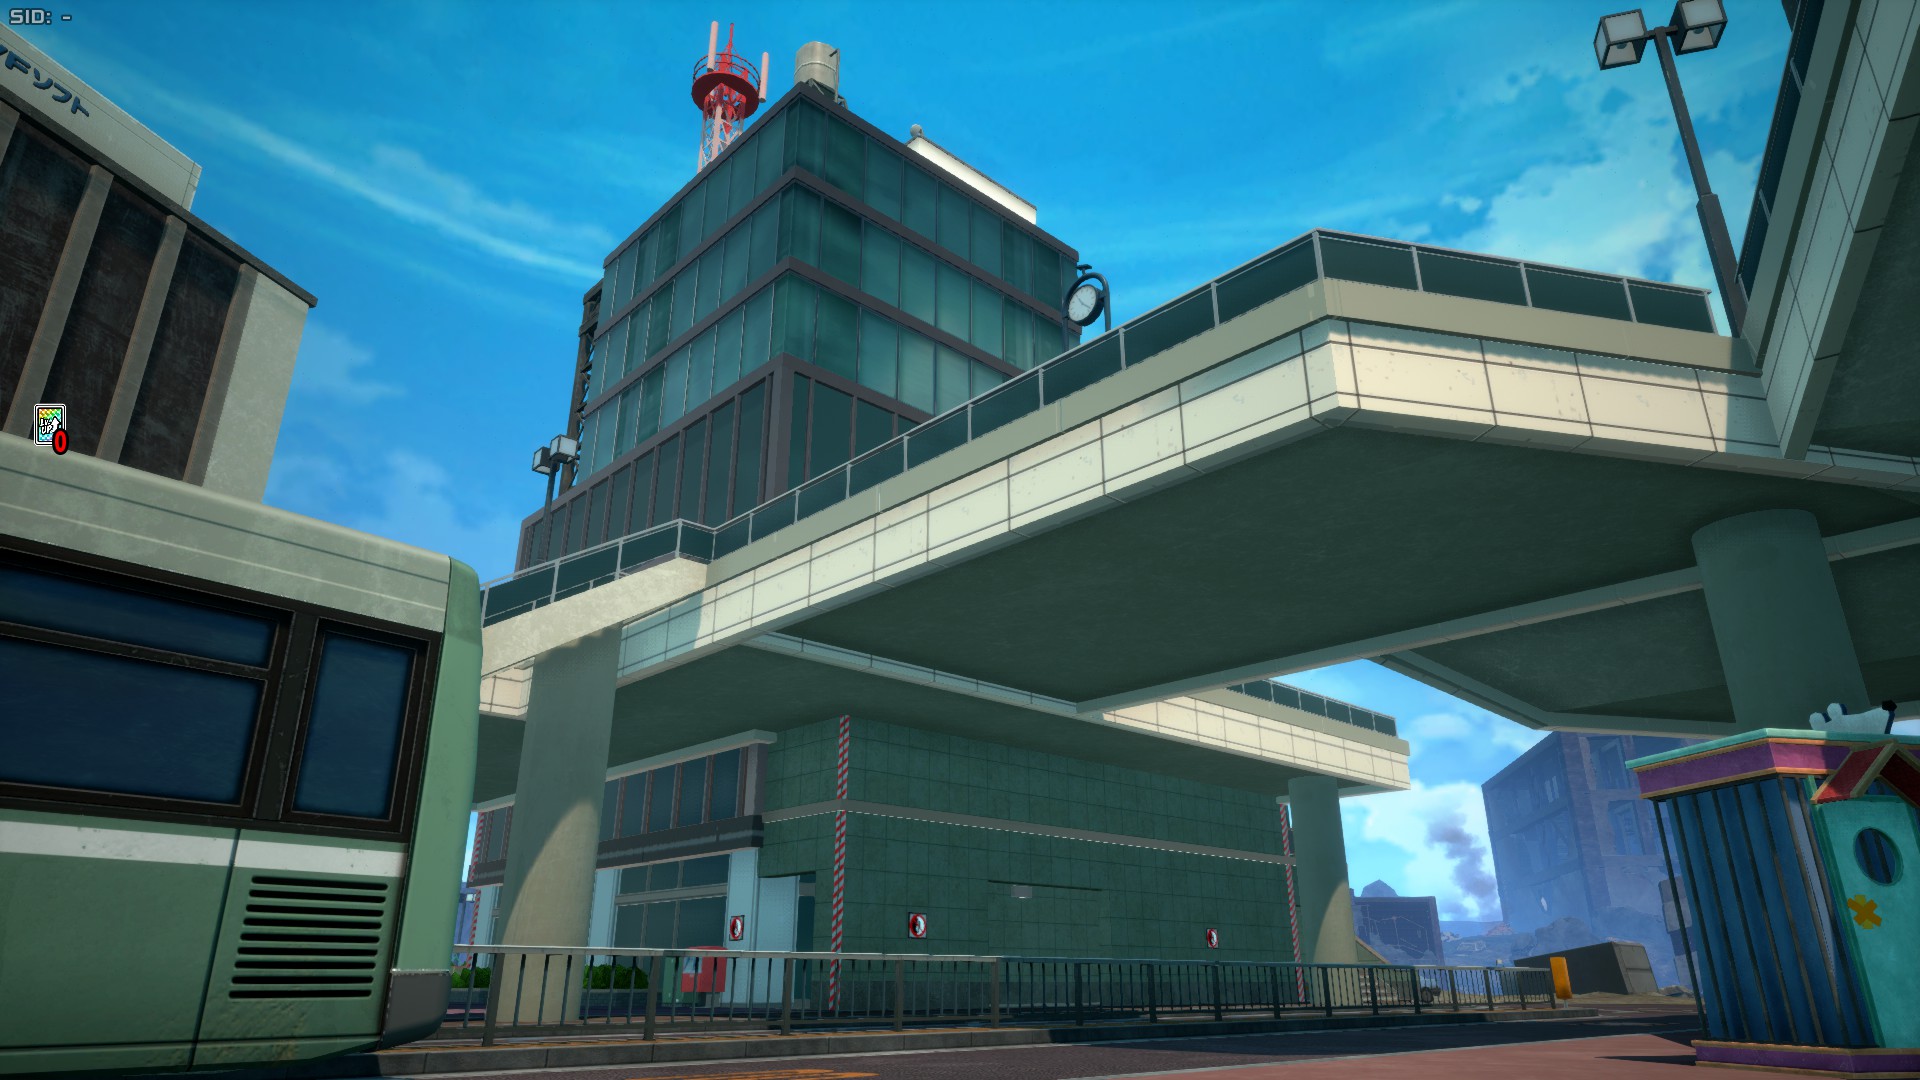
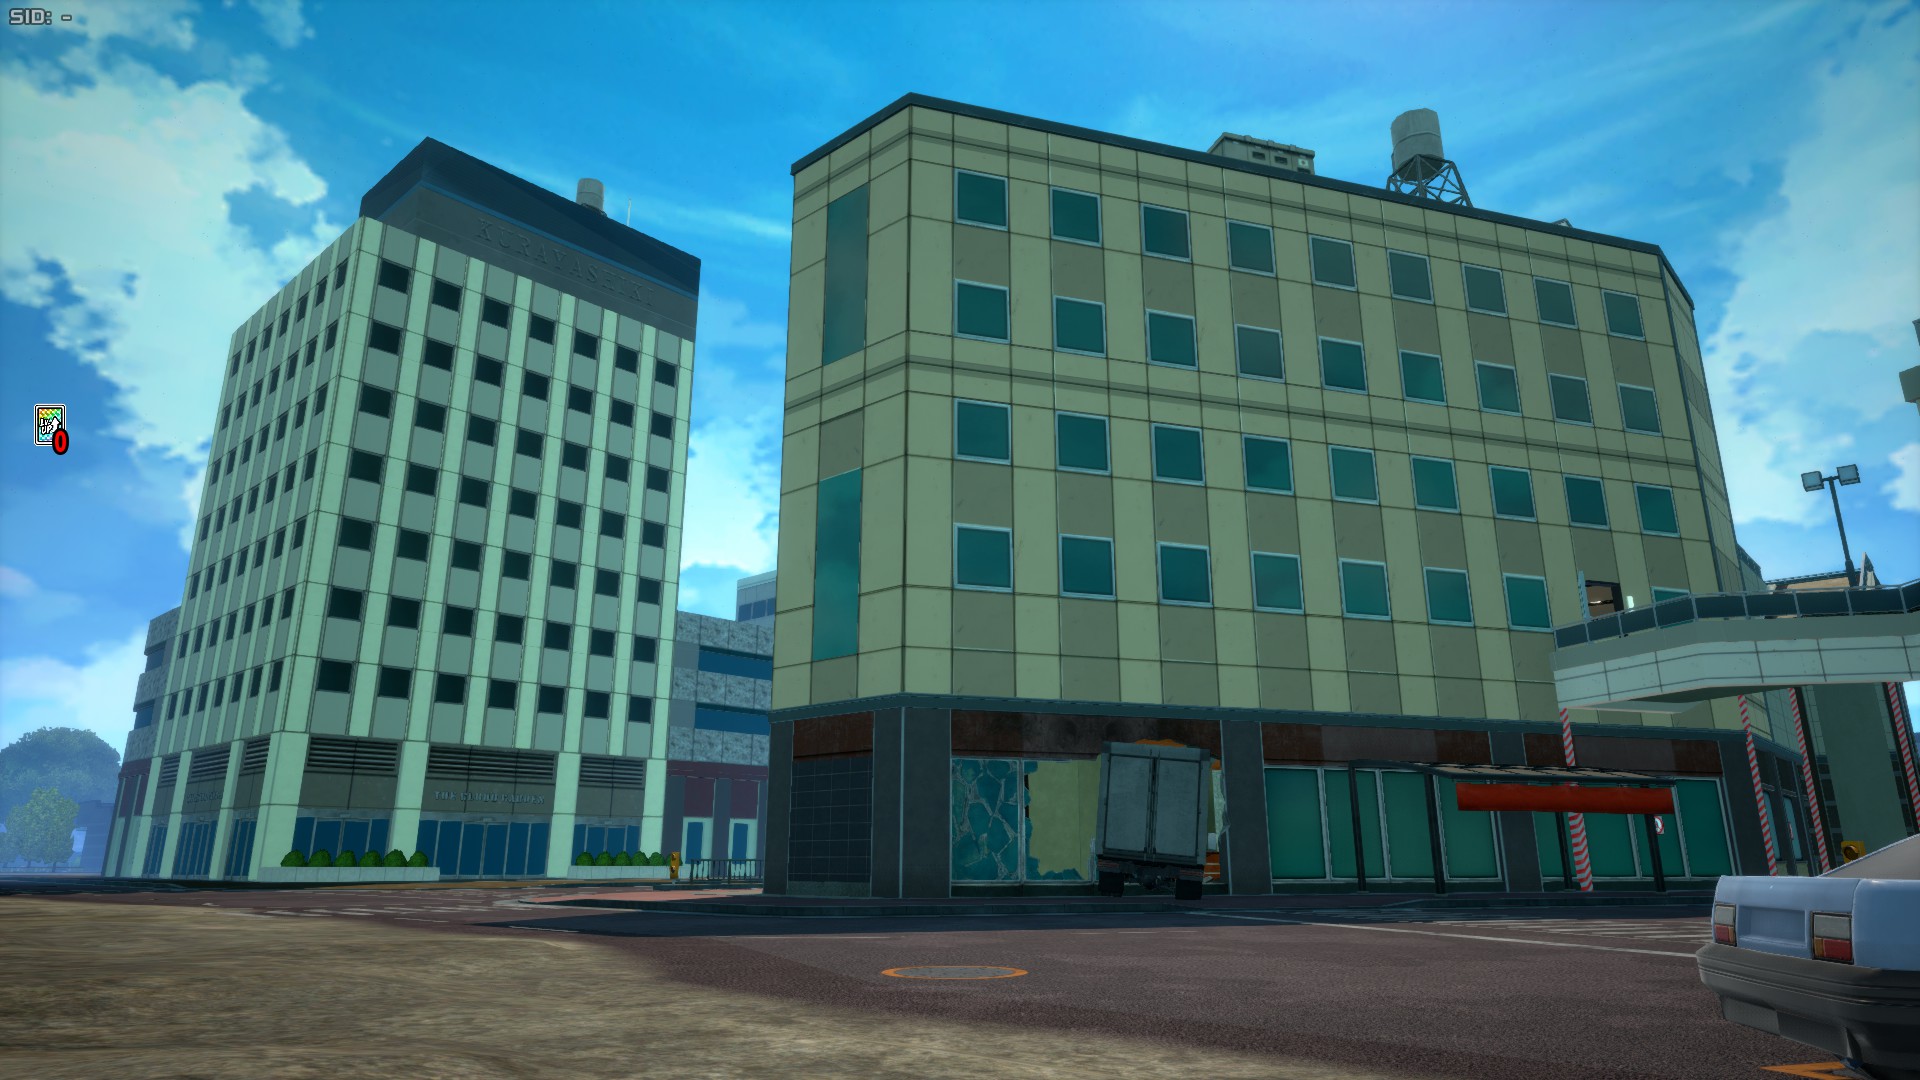
Downtown
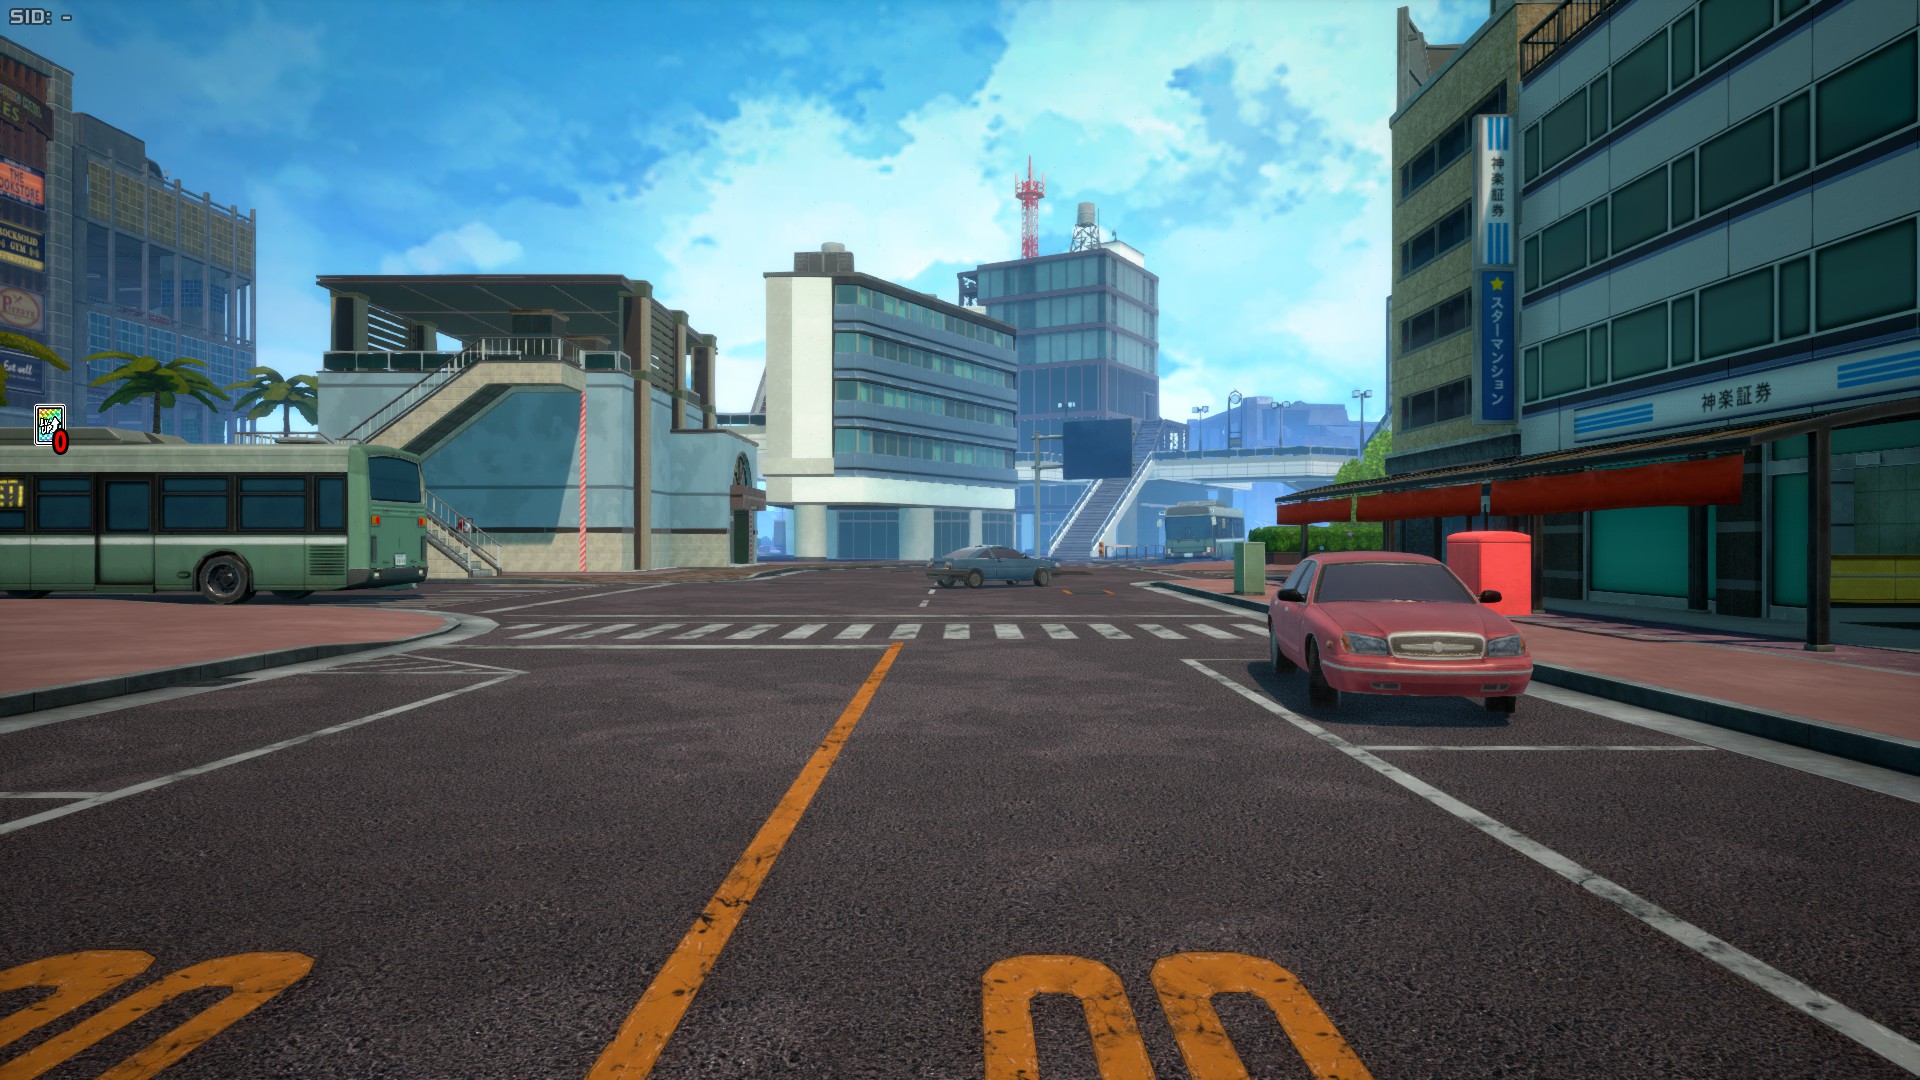
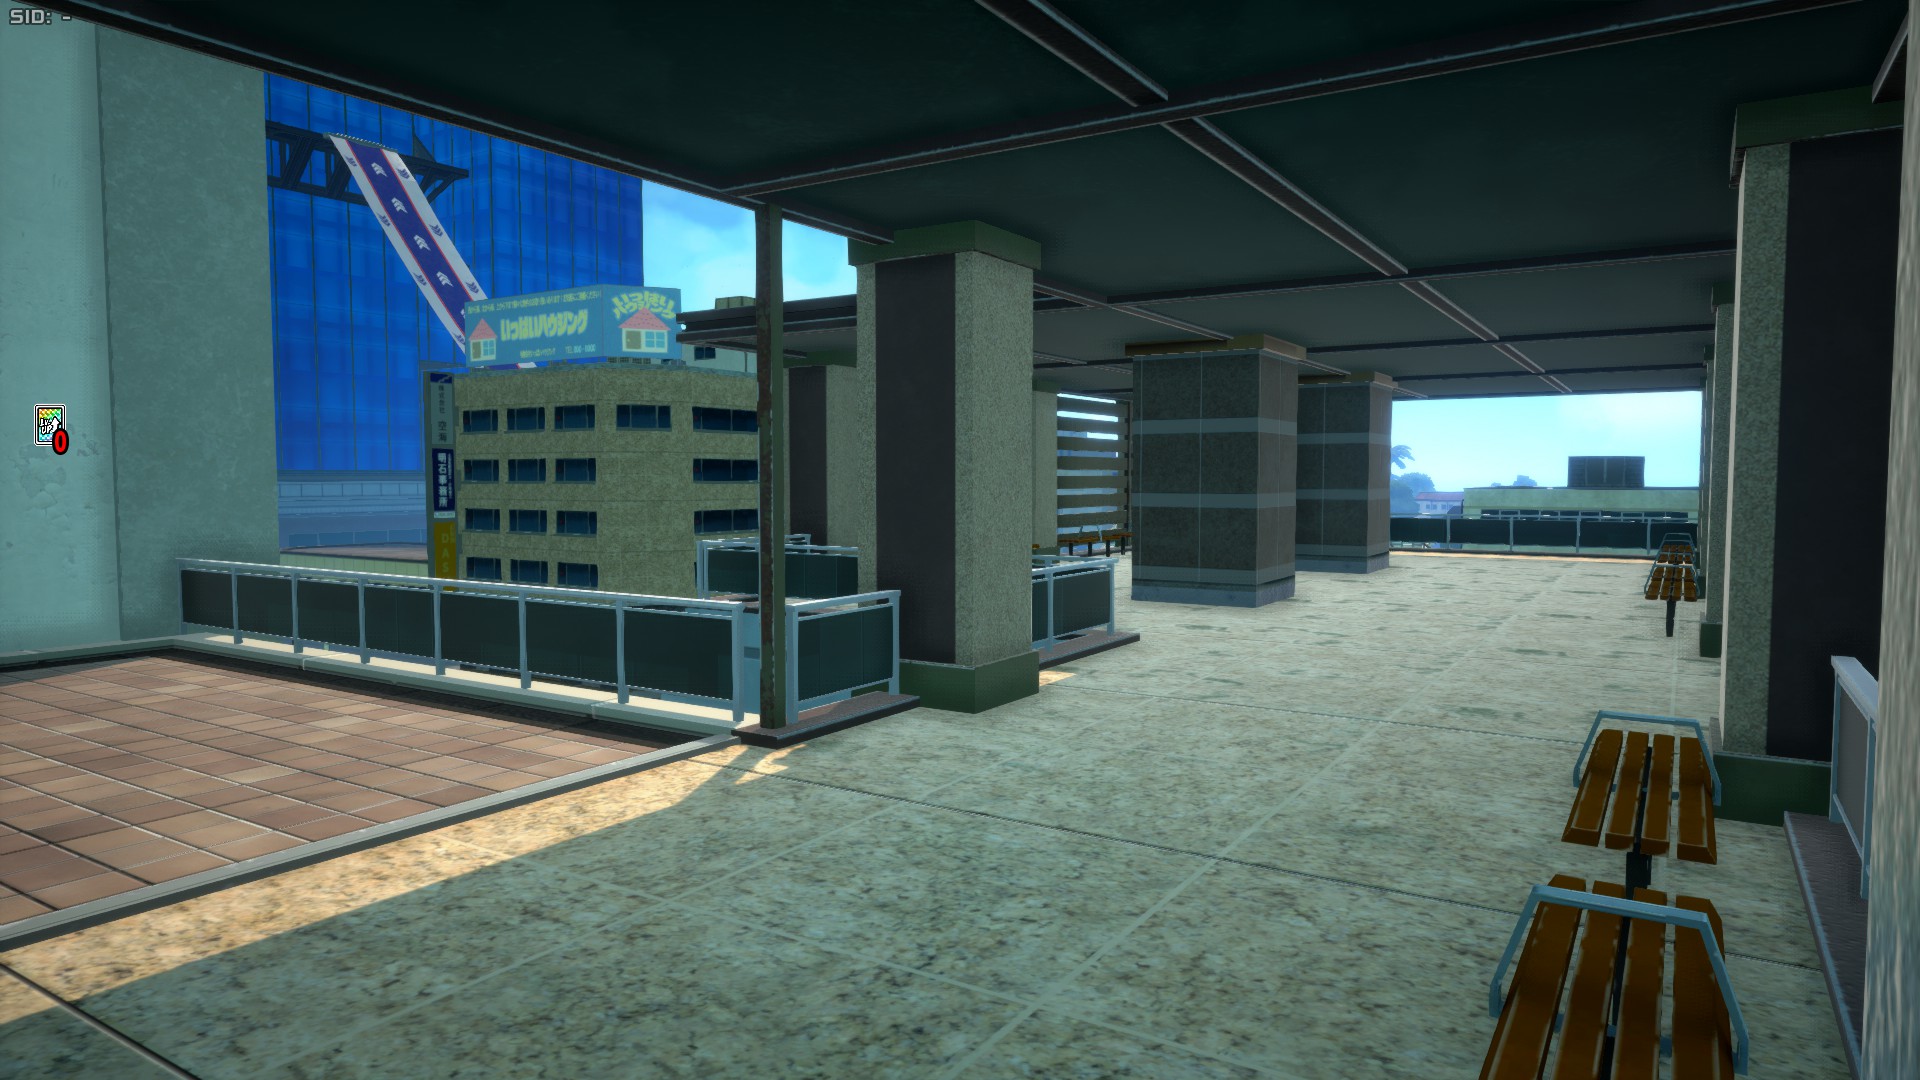
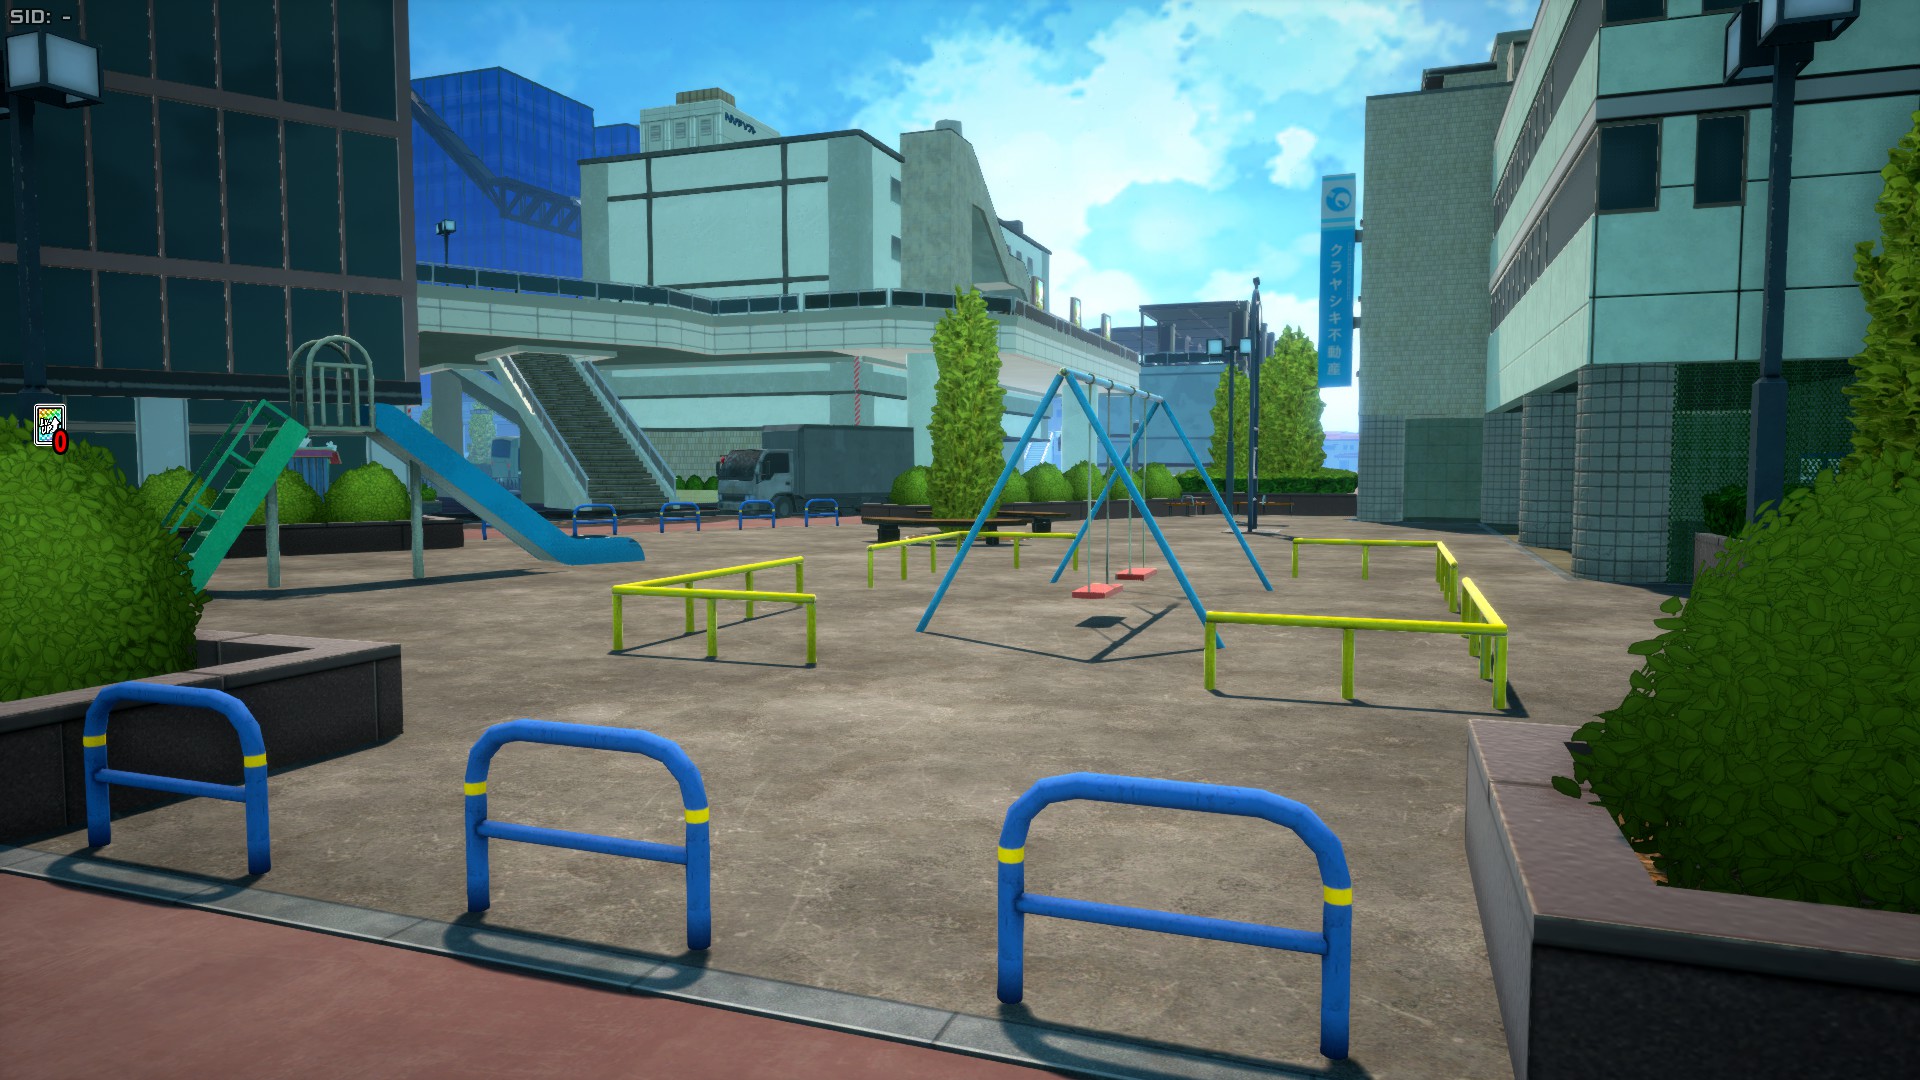
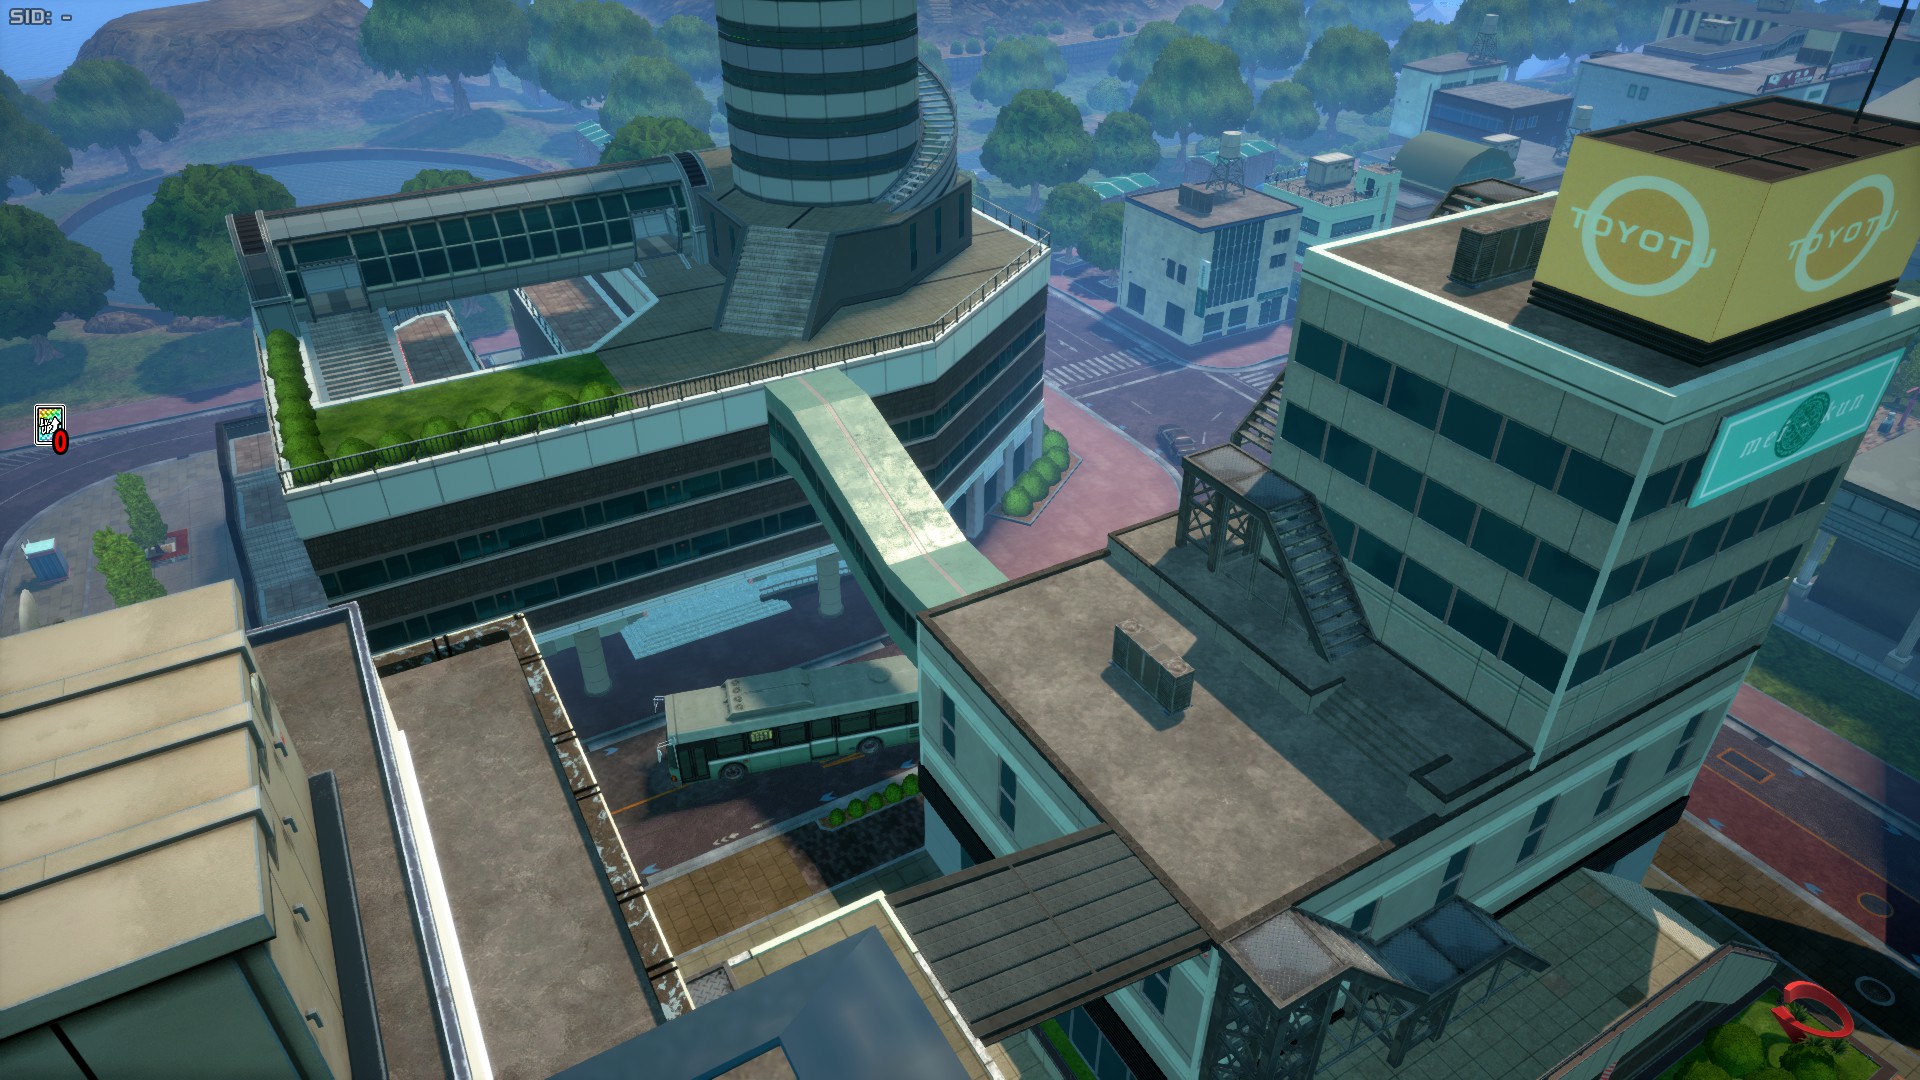
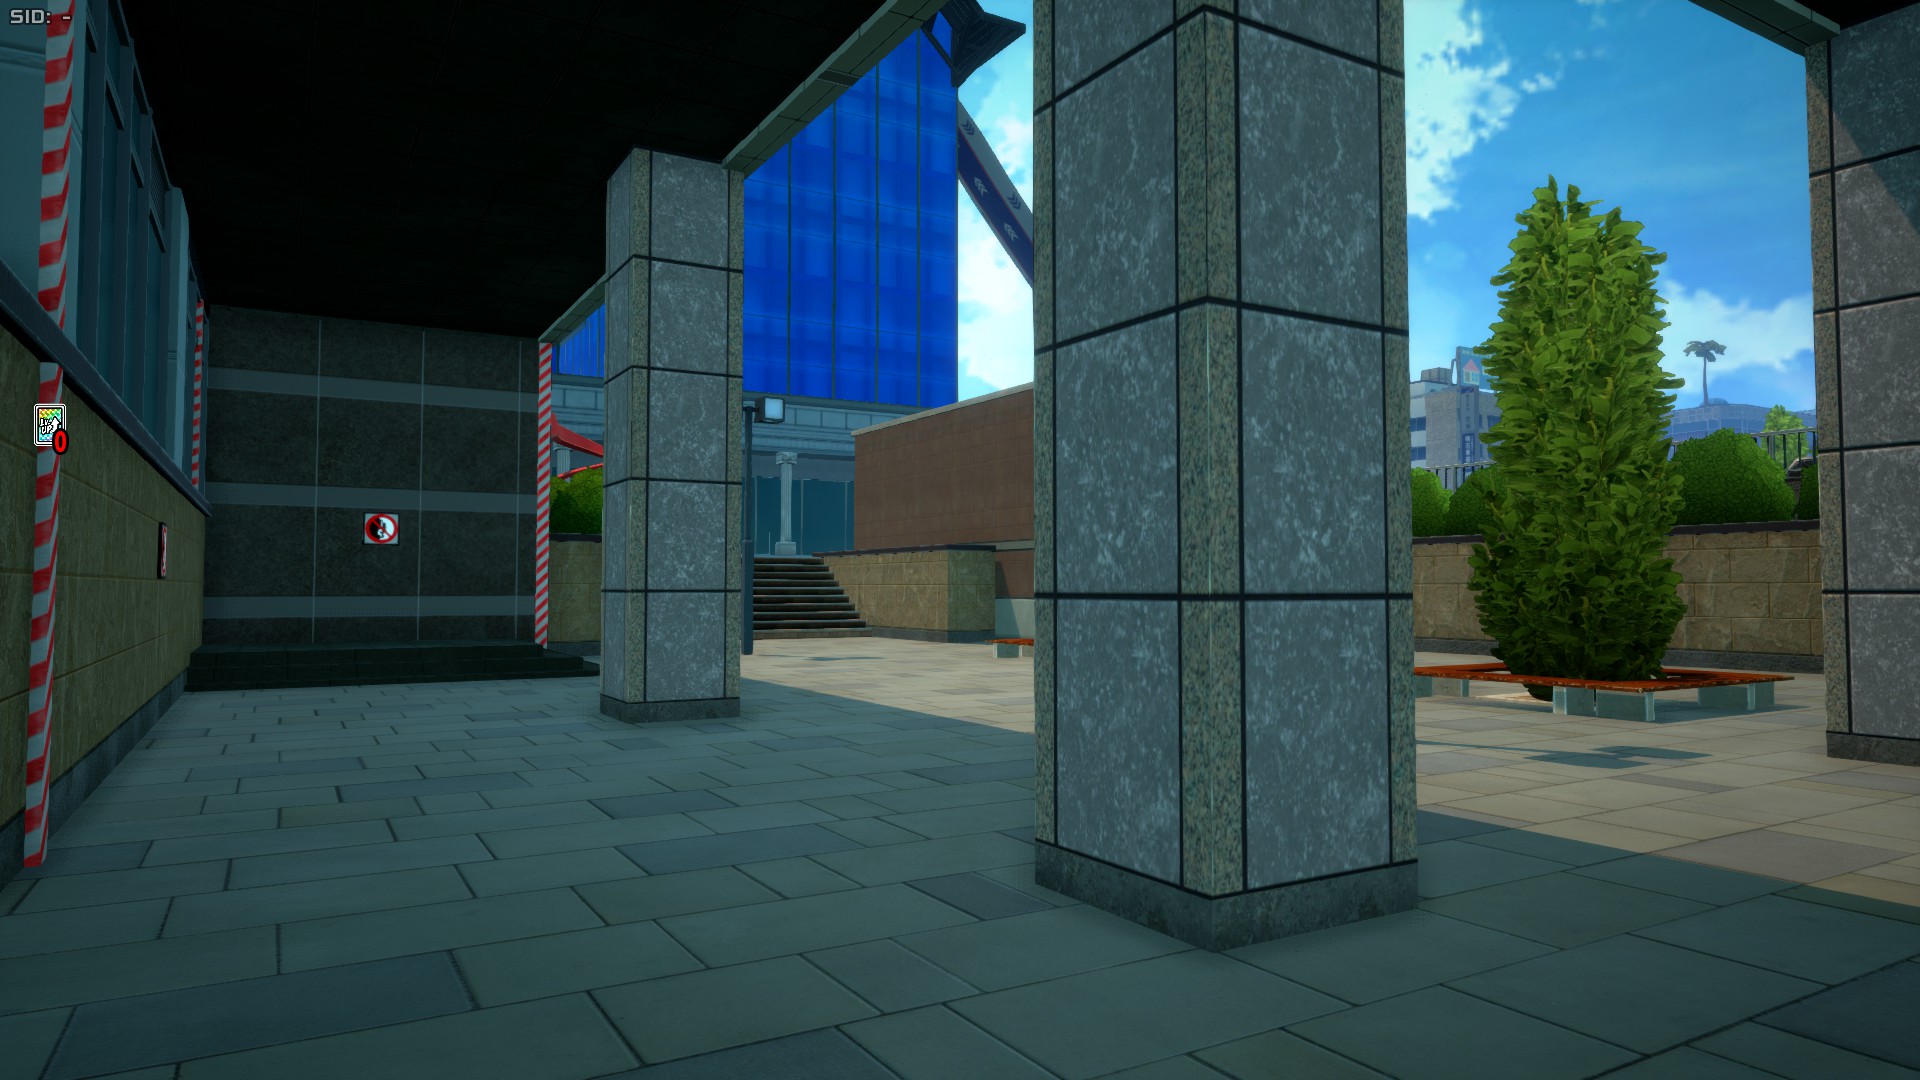
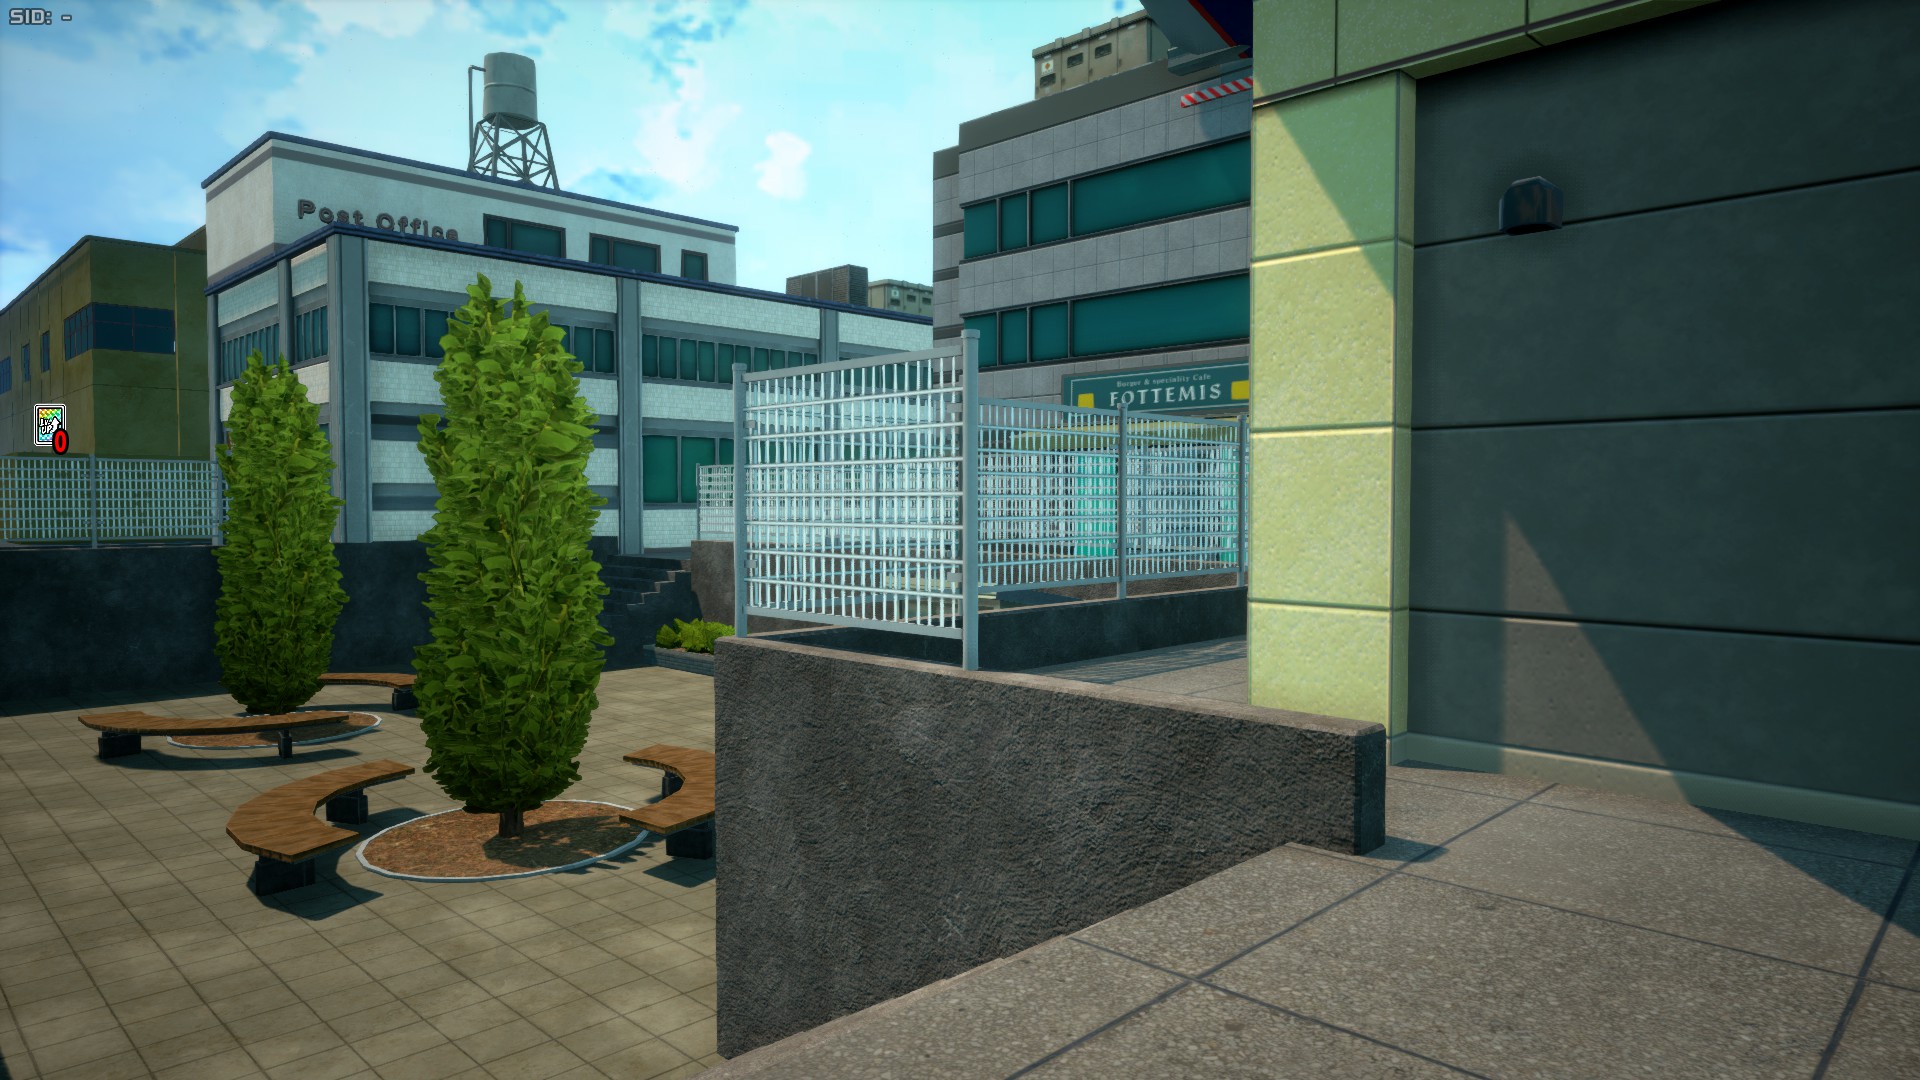
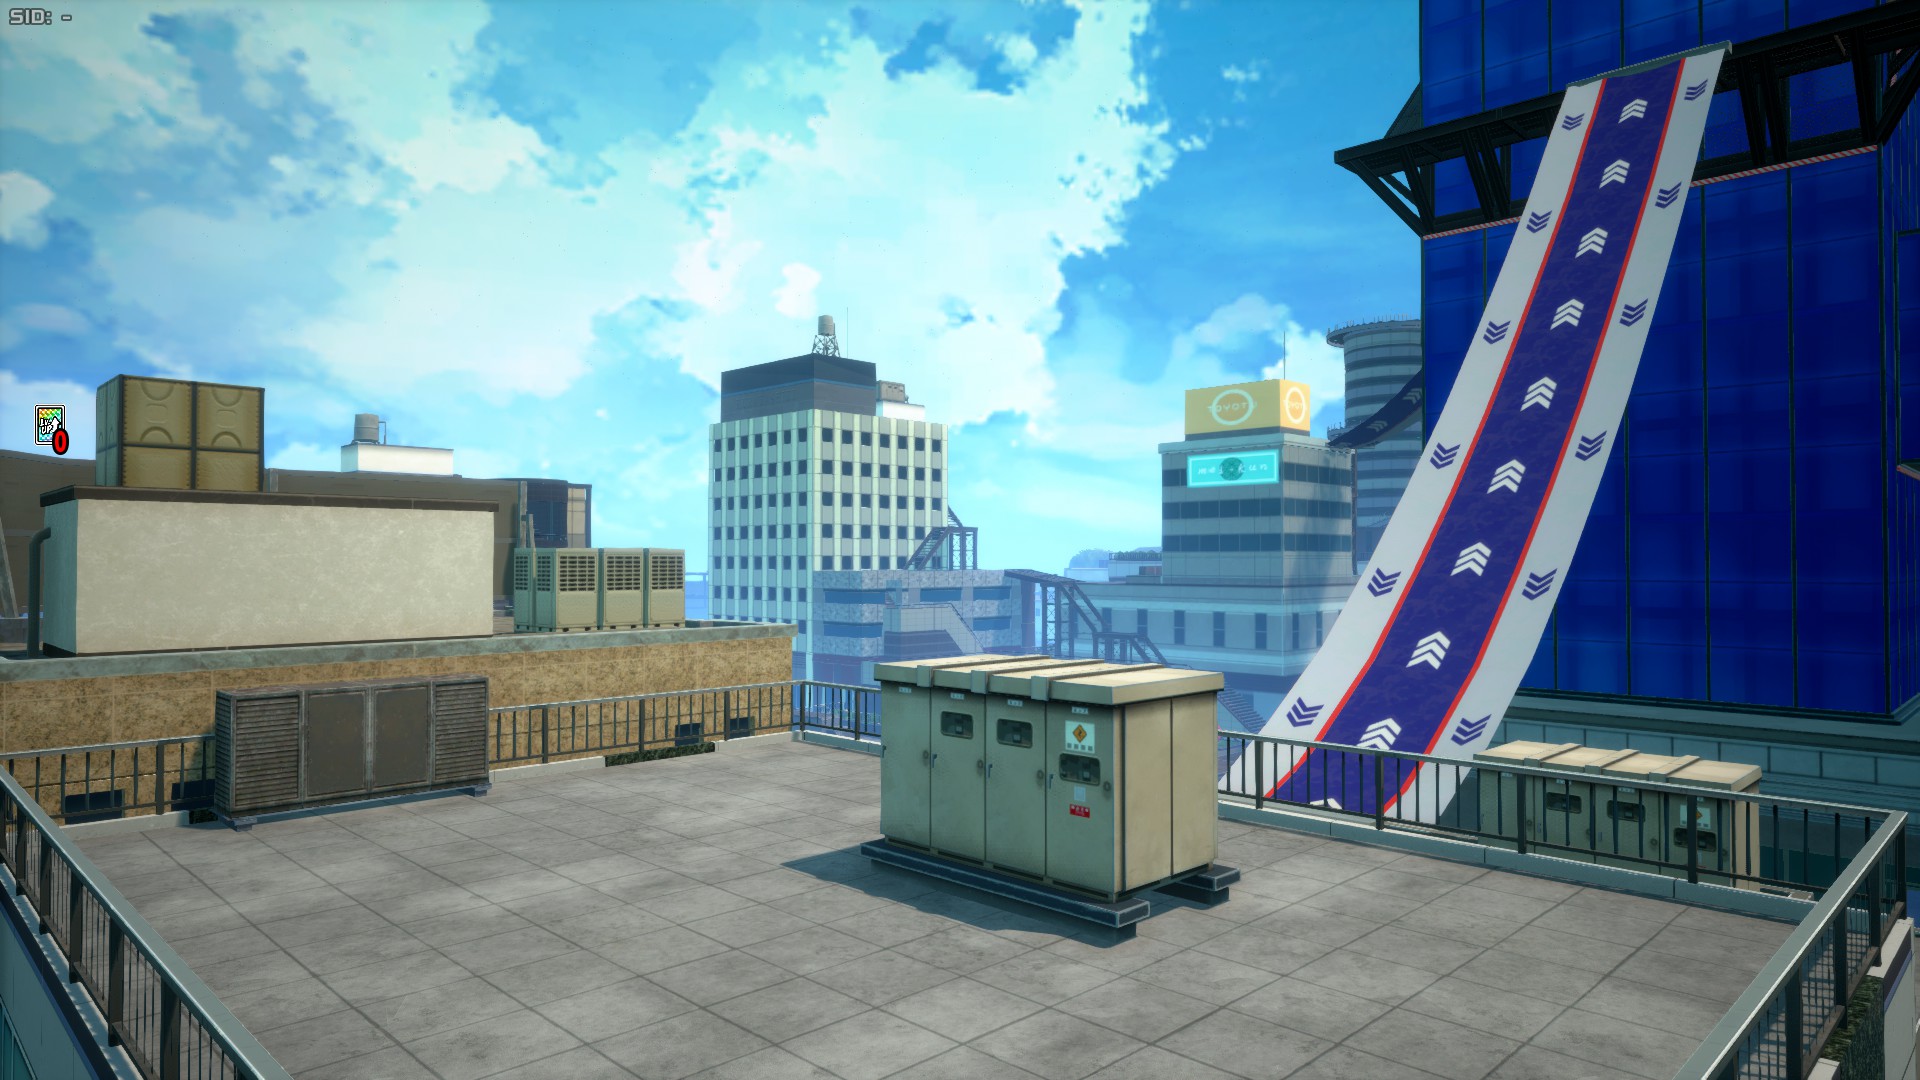
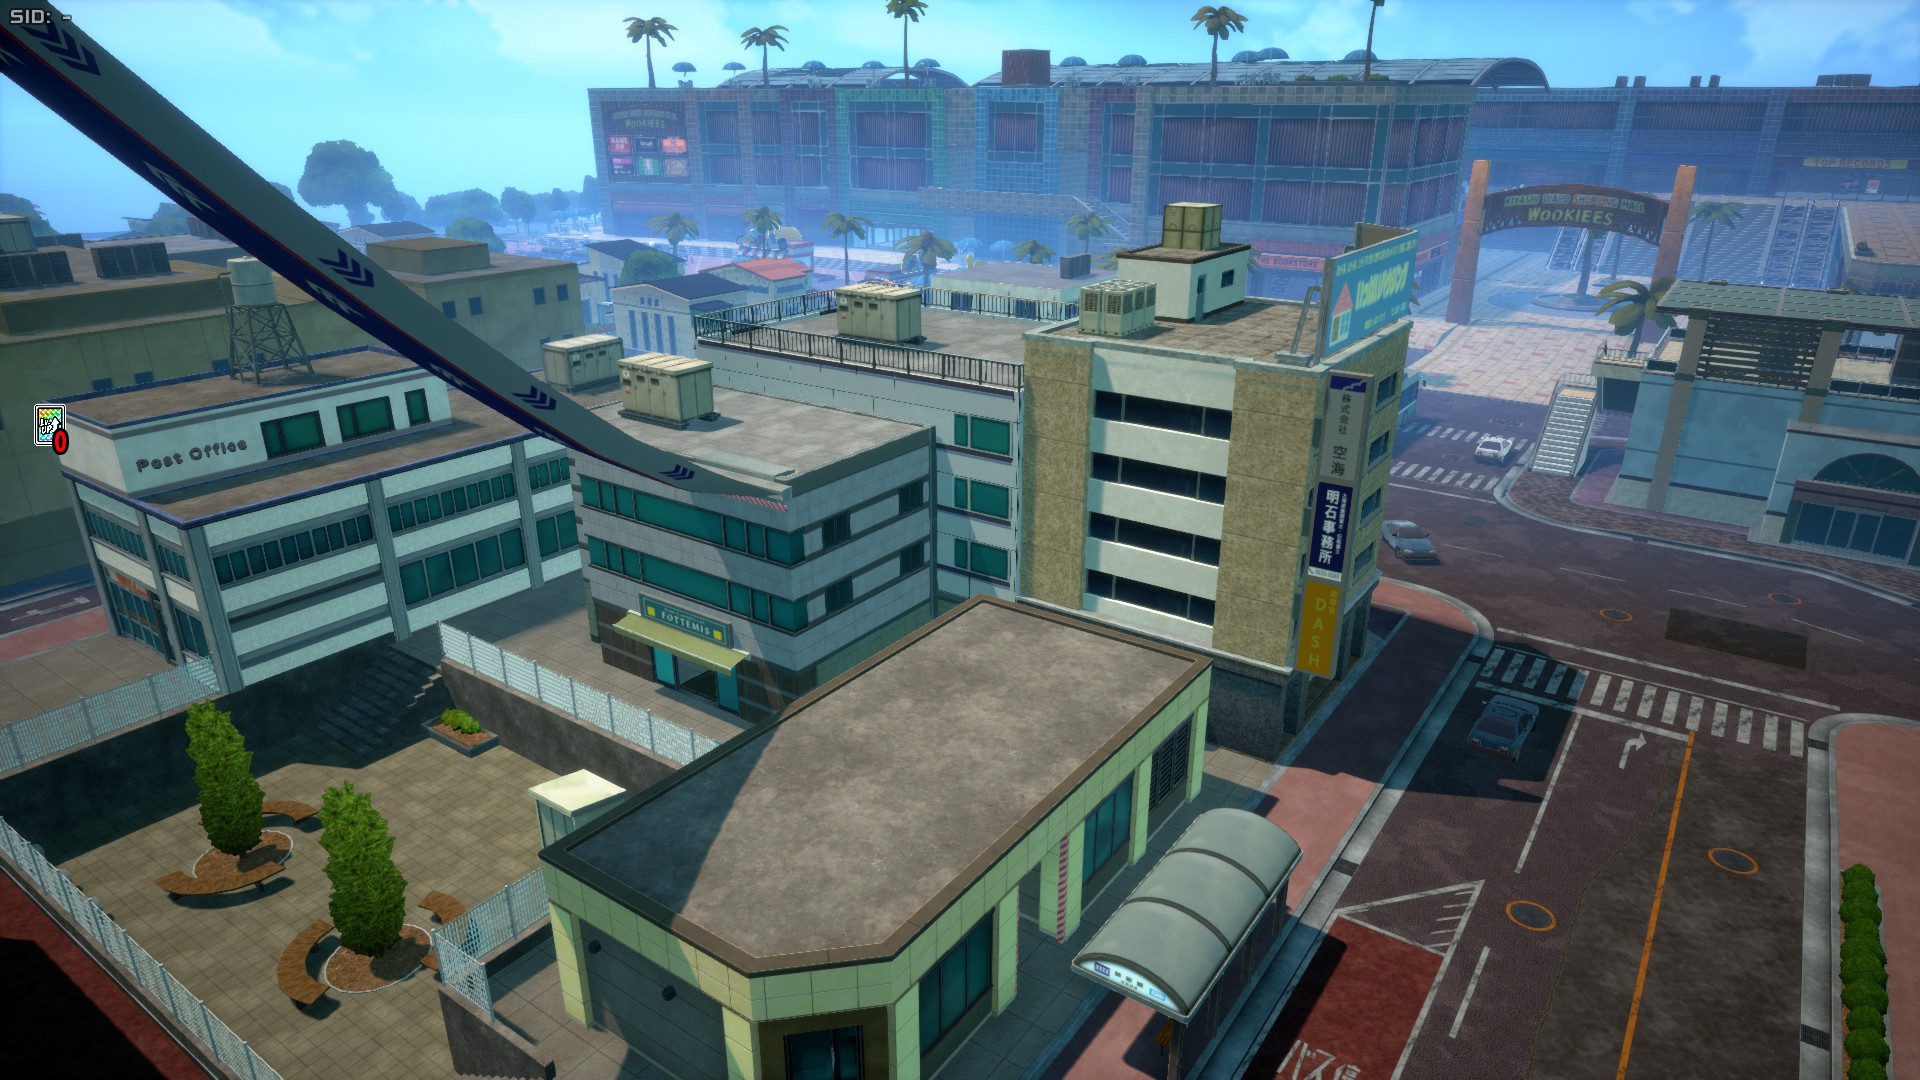
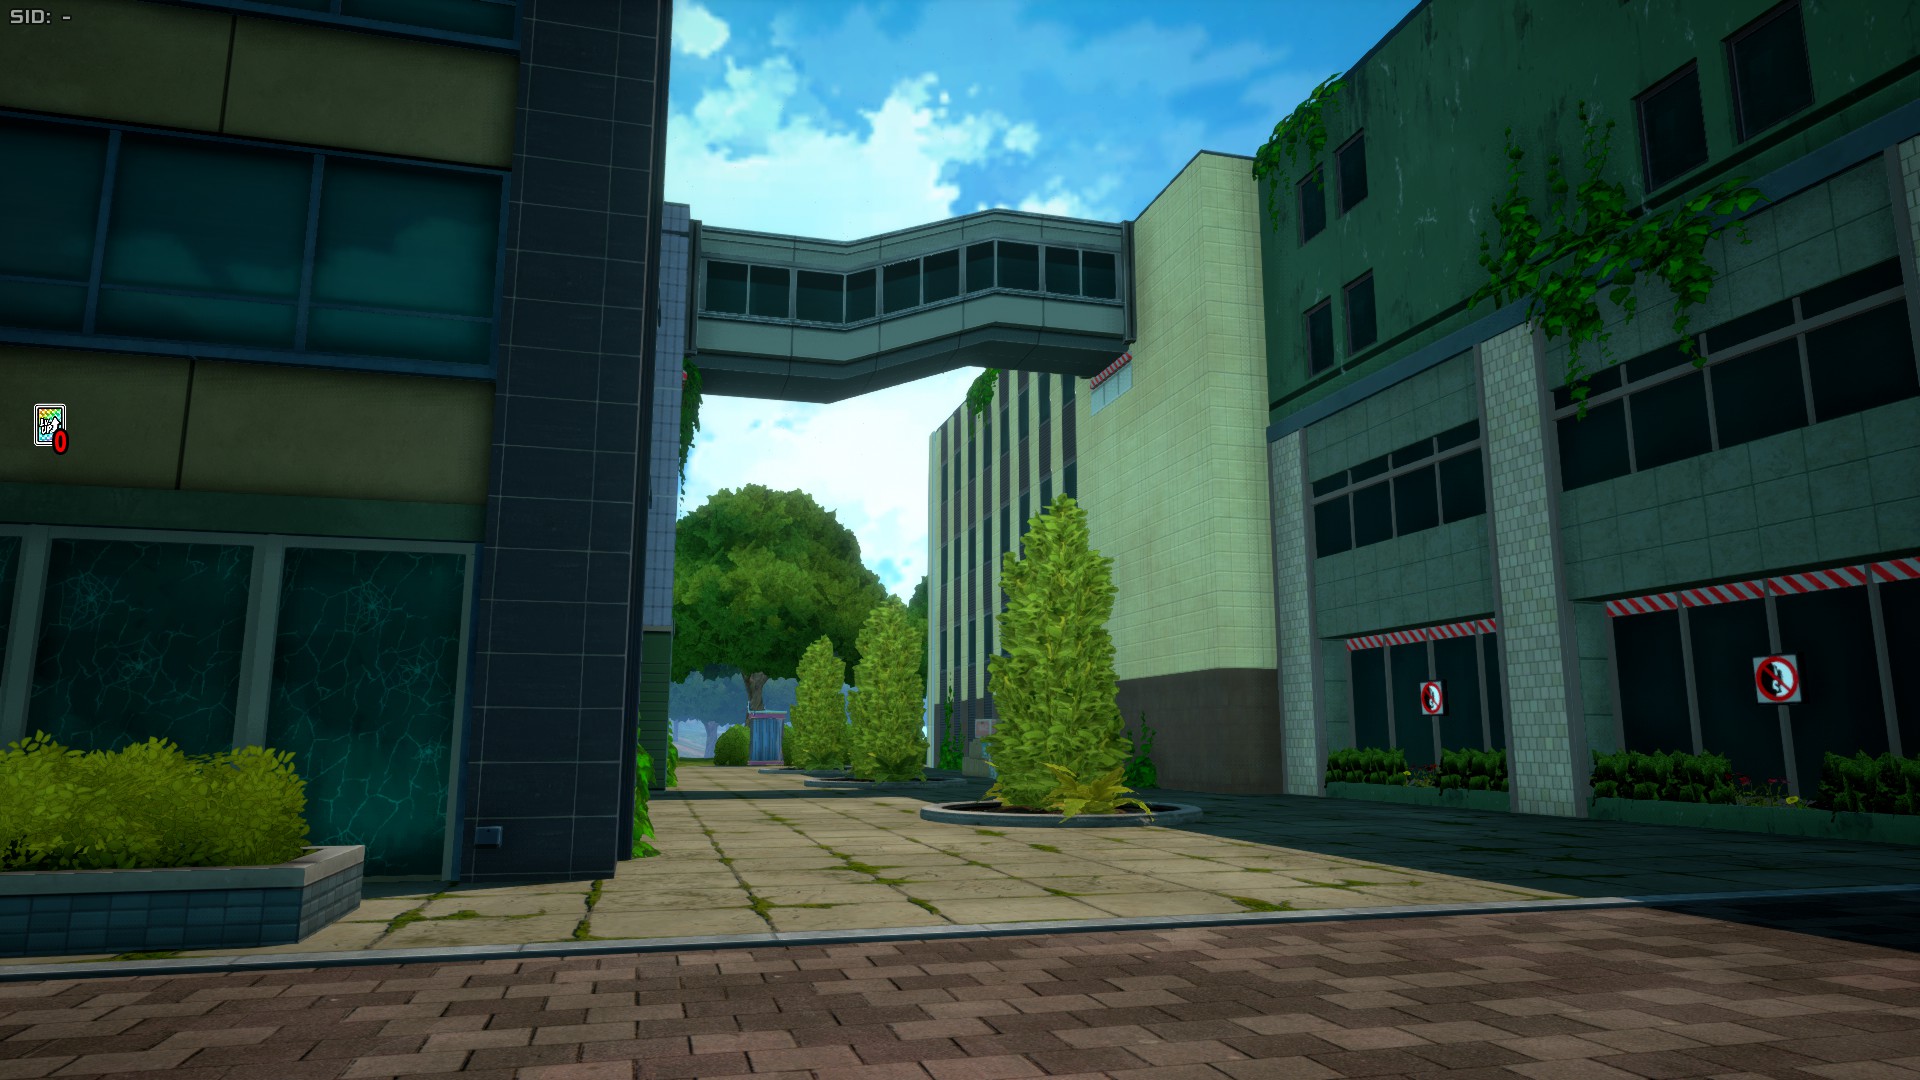
Downtown is a more compact area that occupies half of the northern side of UA Island. It's characterized by having more interiors than Urban Area and less open road, with the only big open areas being the little grassy area and the small parking lot. It's overall a good area for characters that thrive indoors. The top of one of the building blocks has a banner that leads to U.A. High School's top.
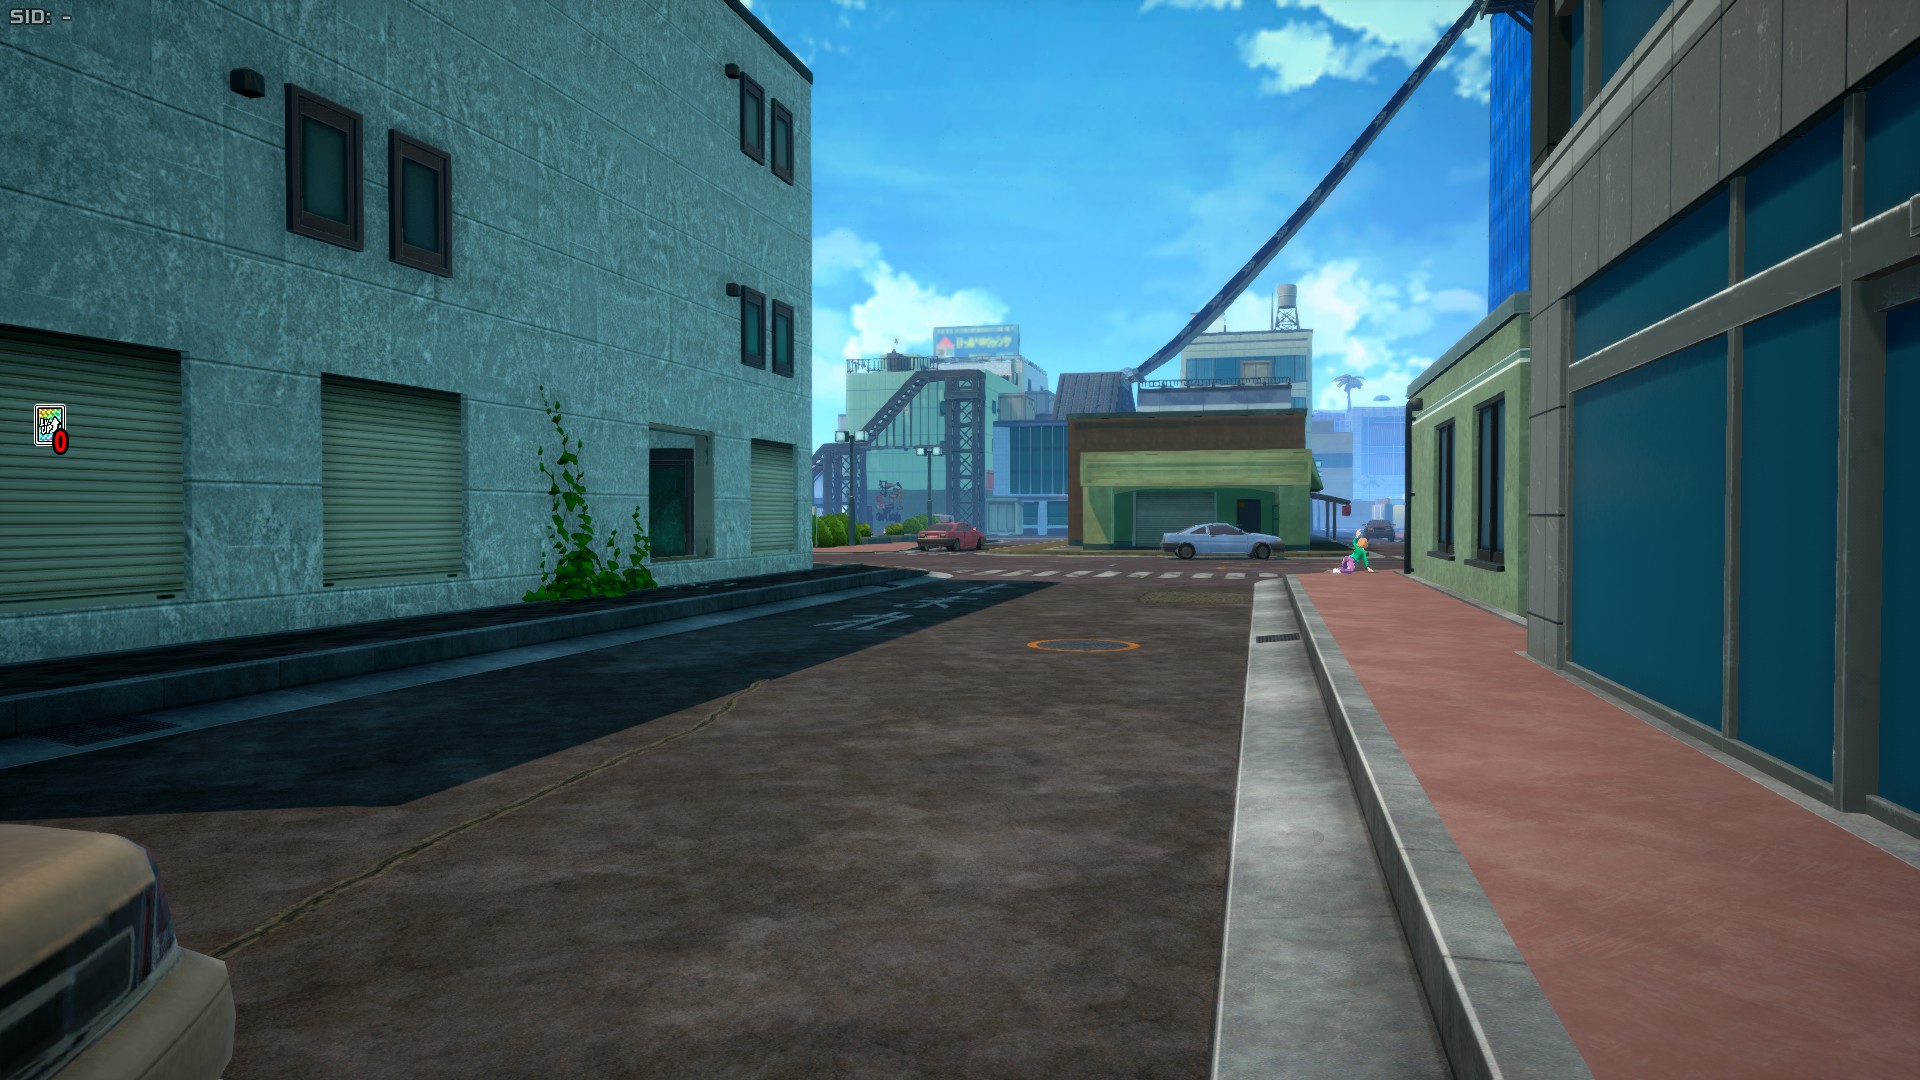
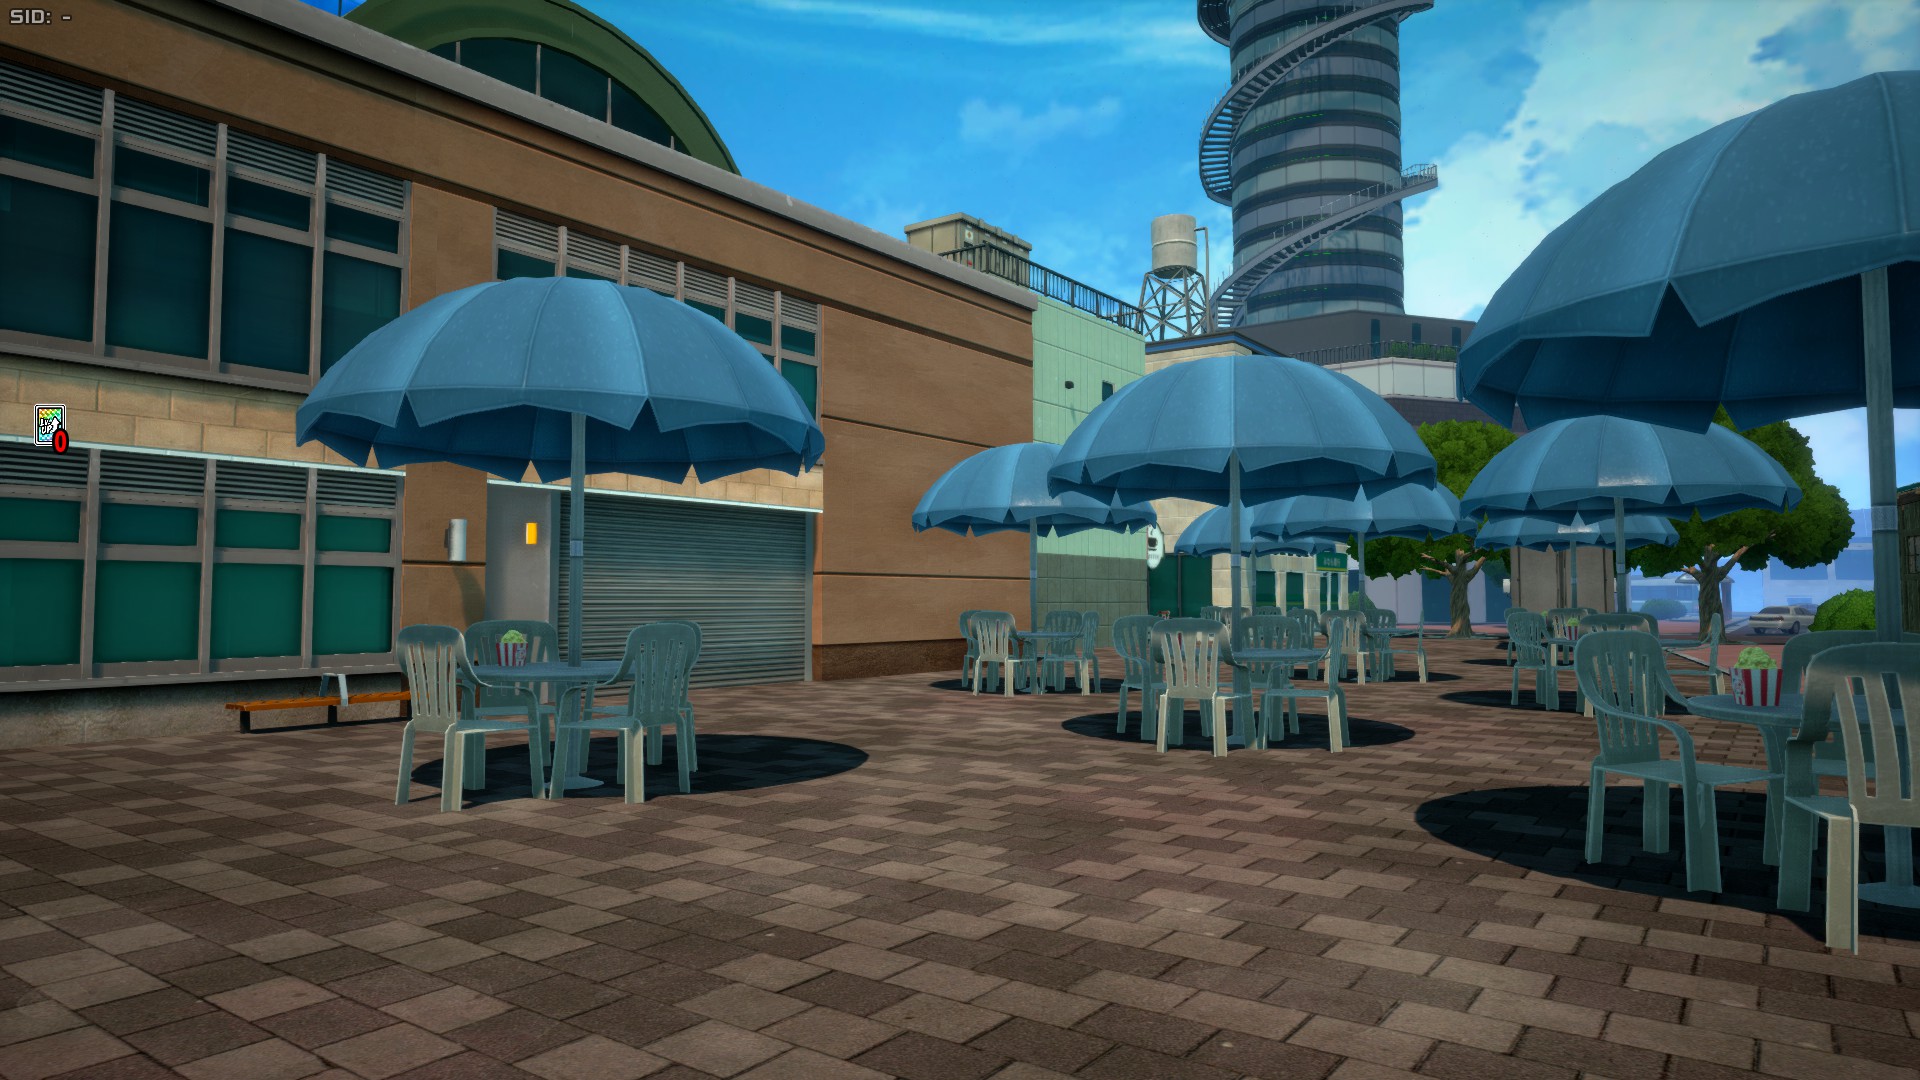
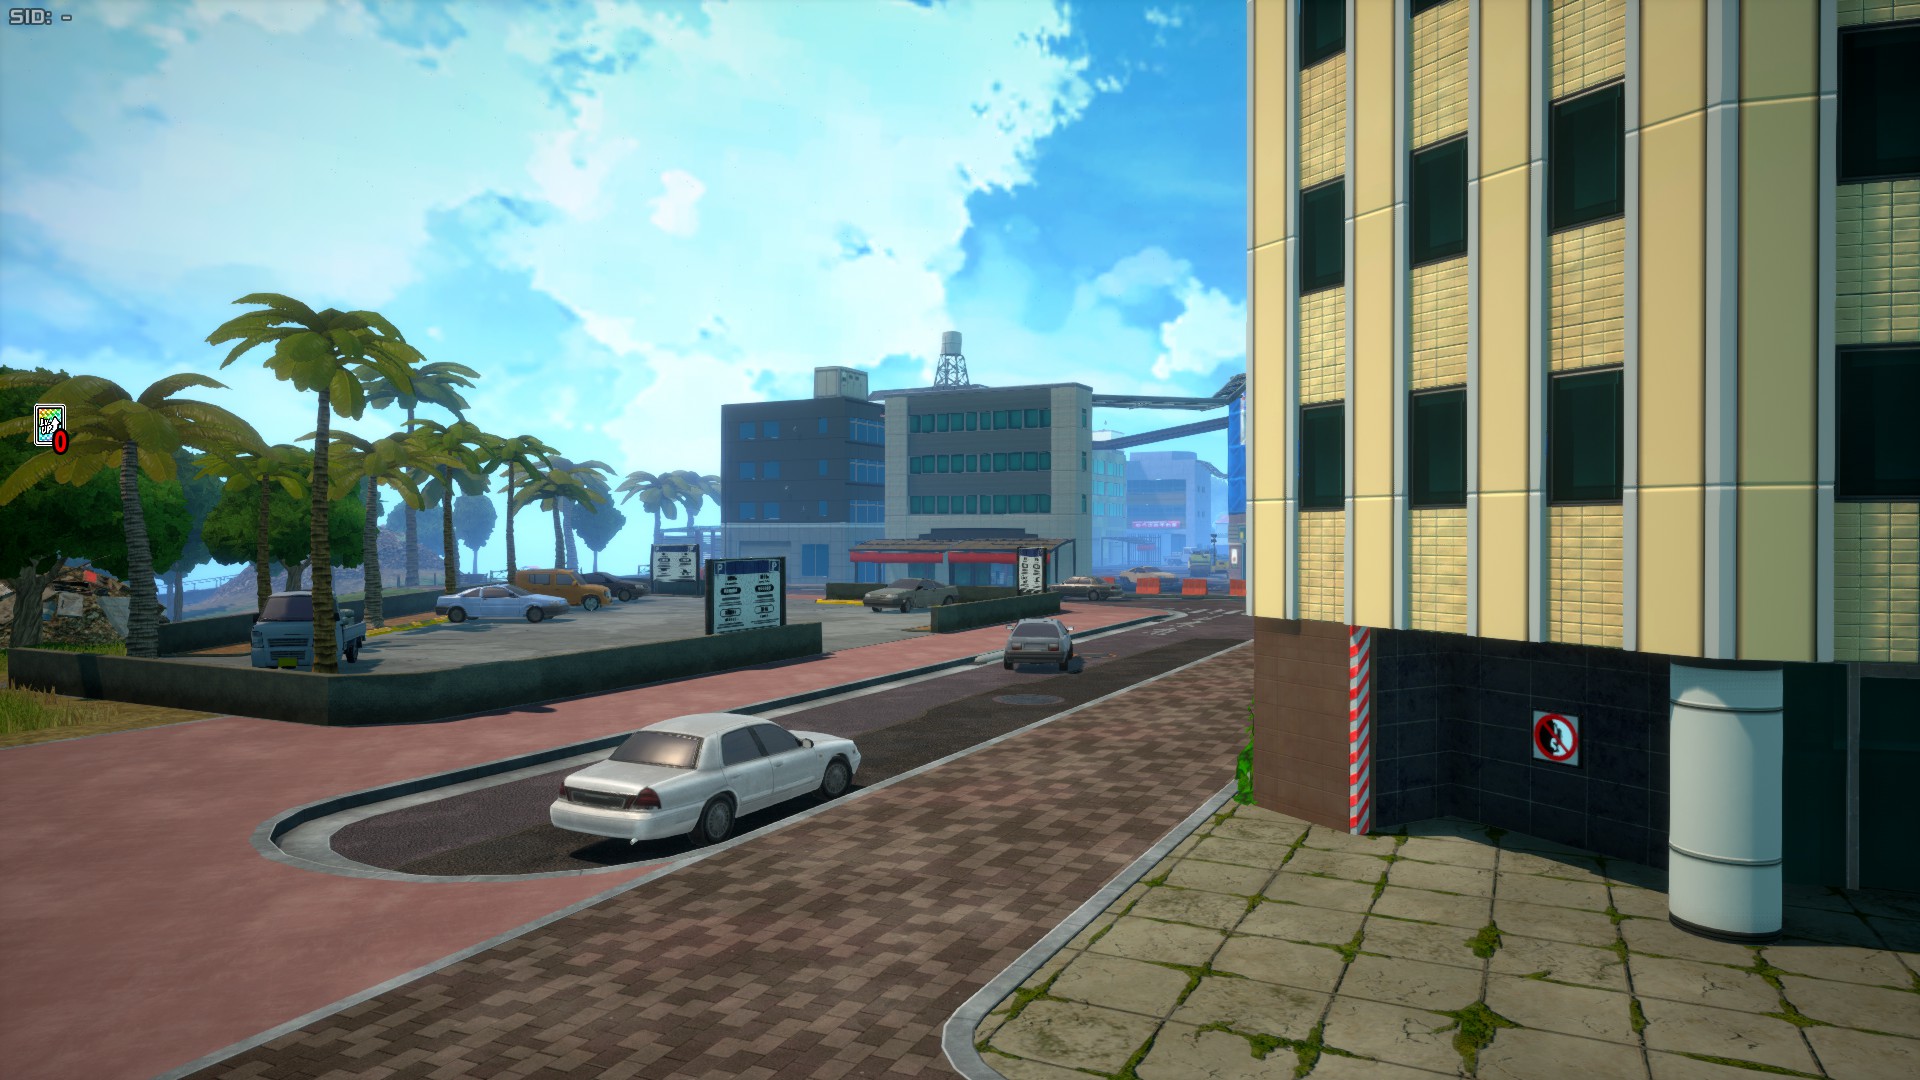
Shopping Mall
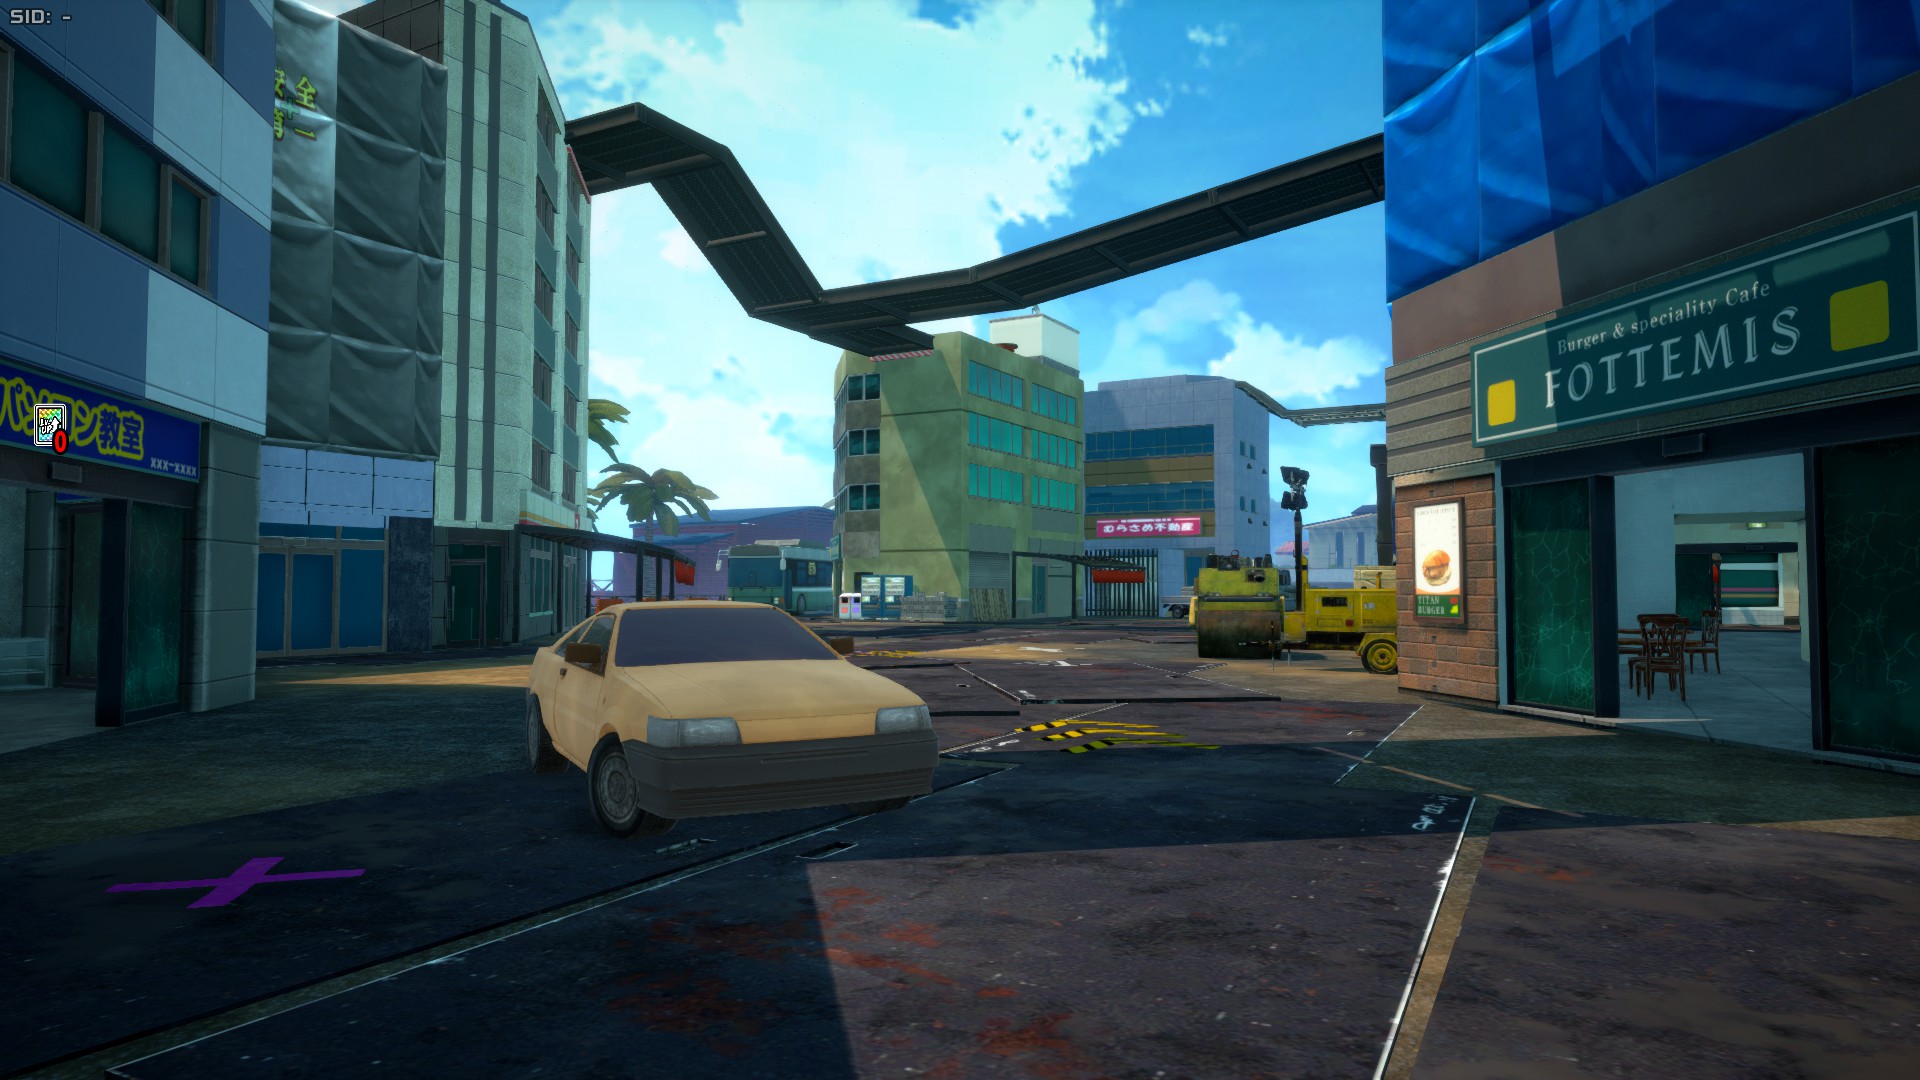
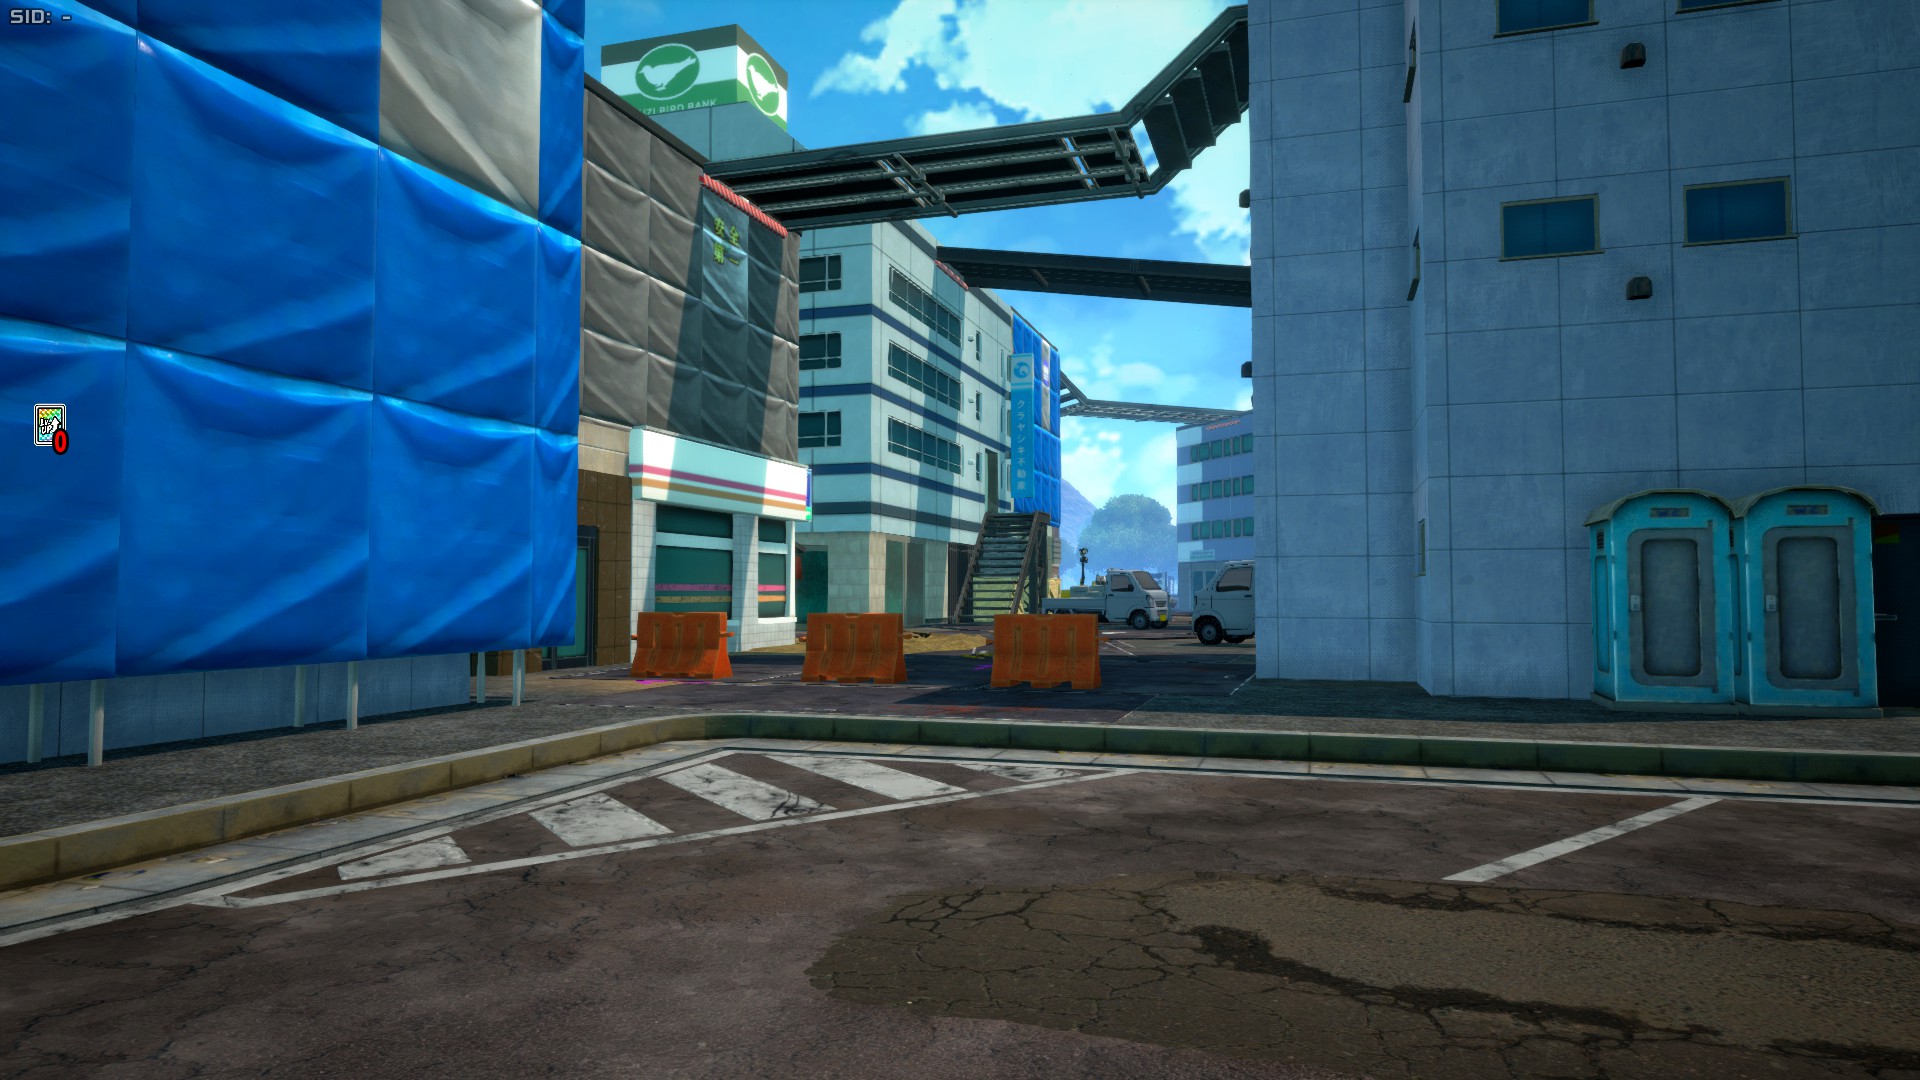
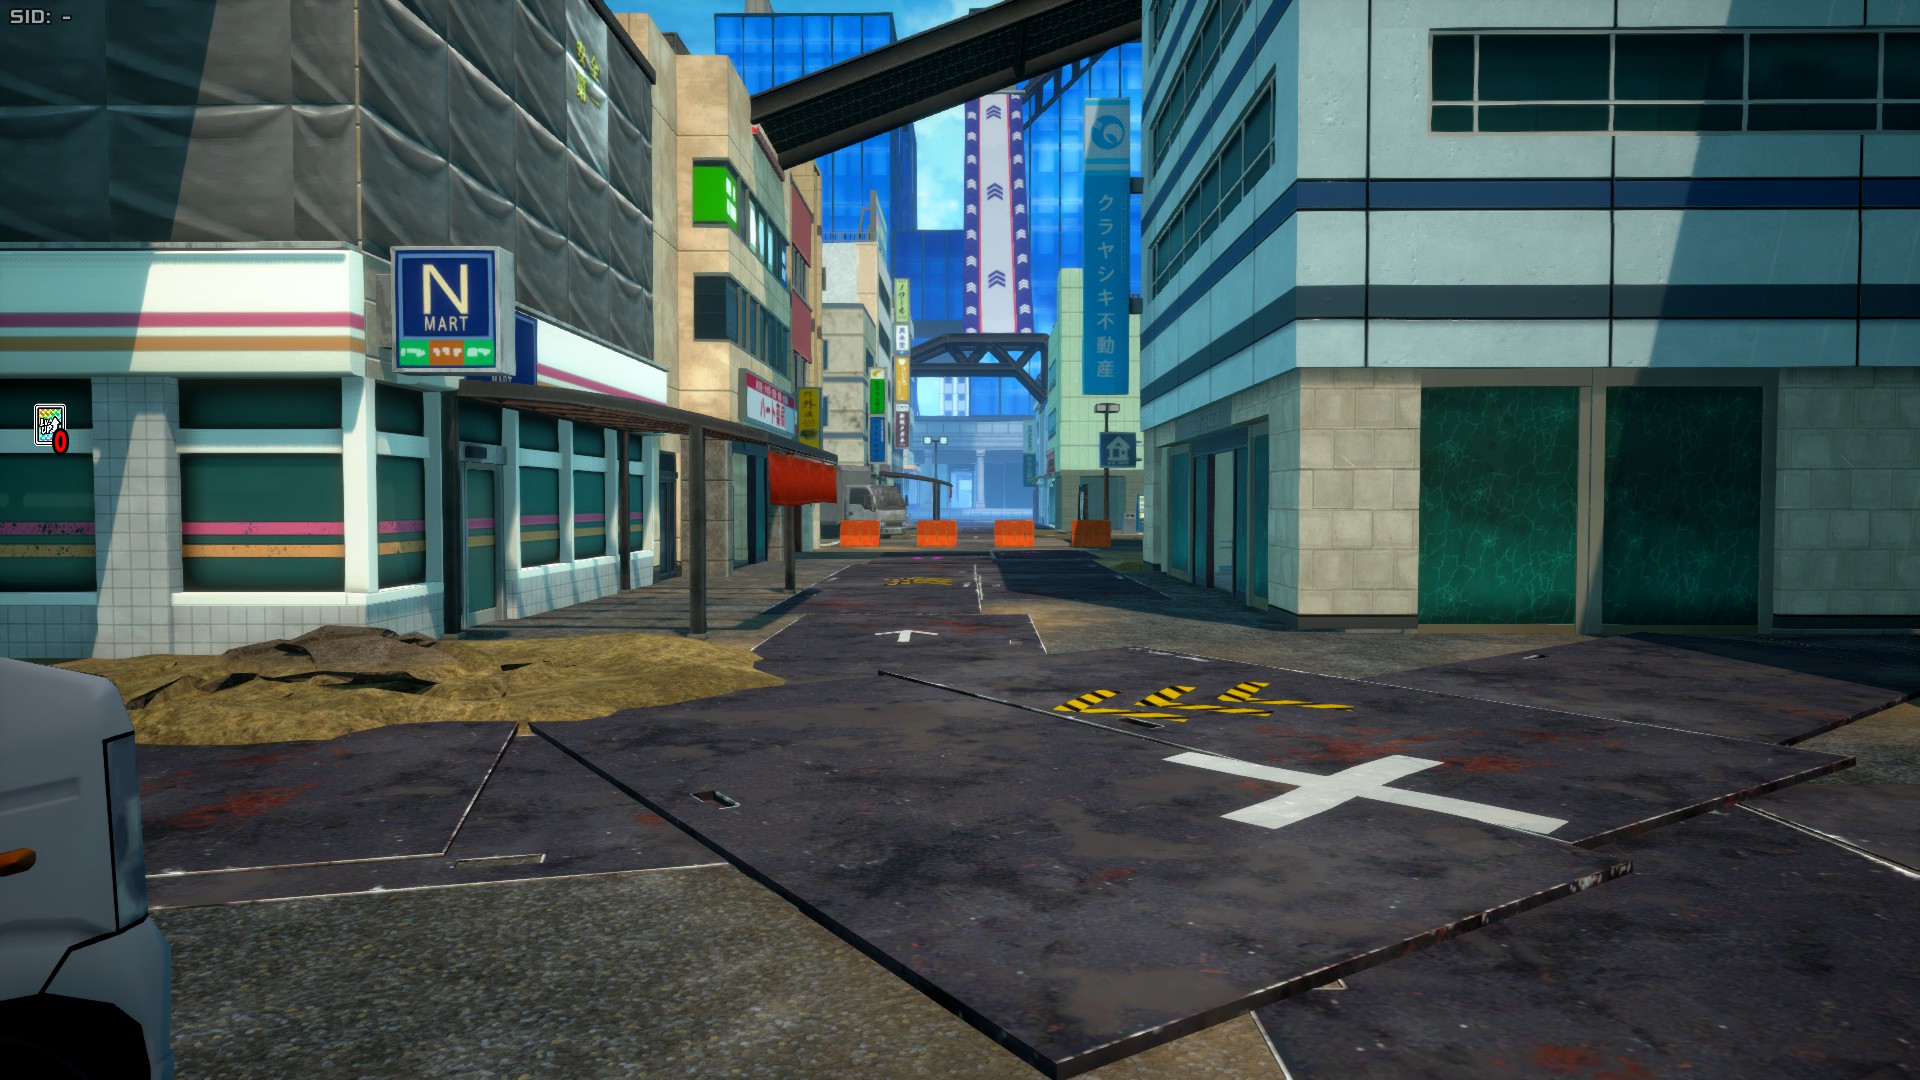
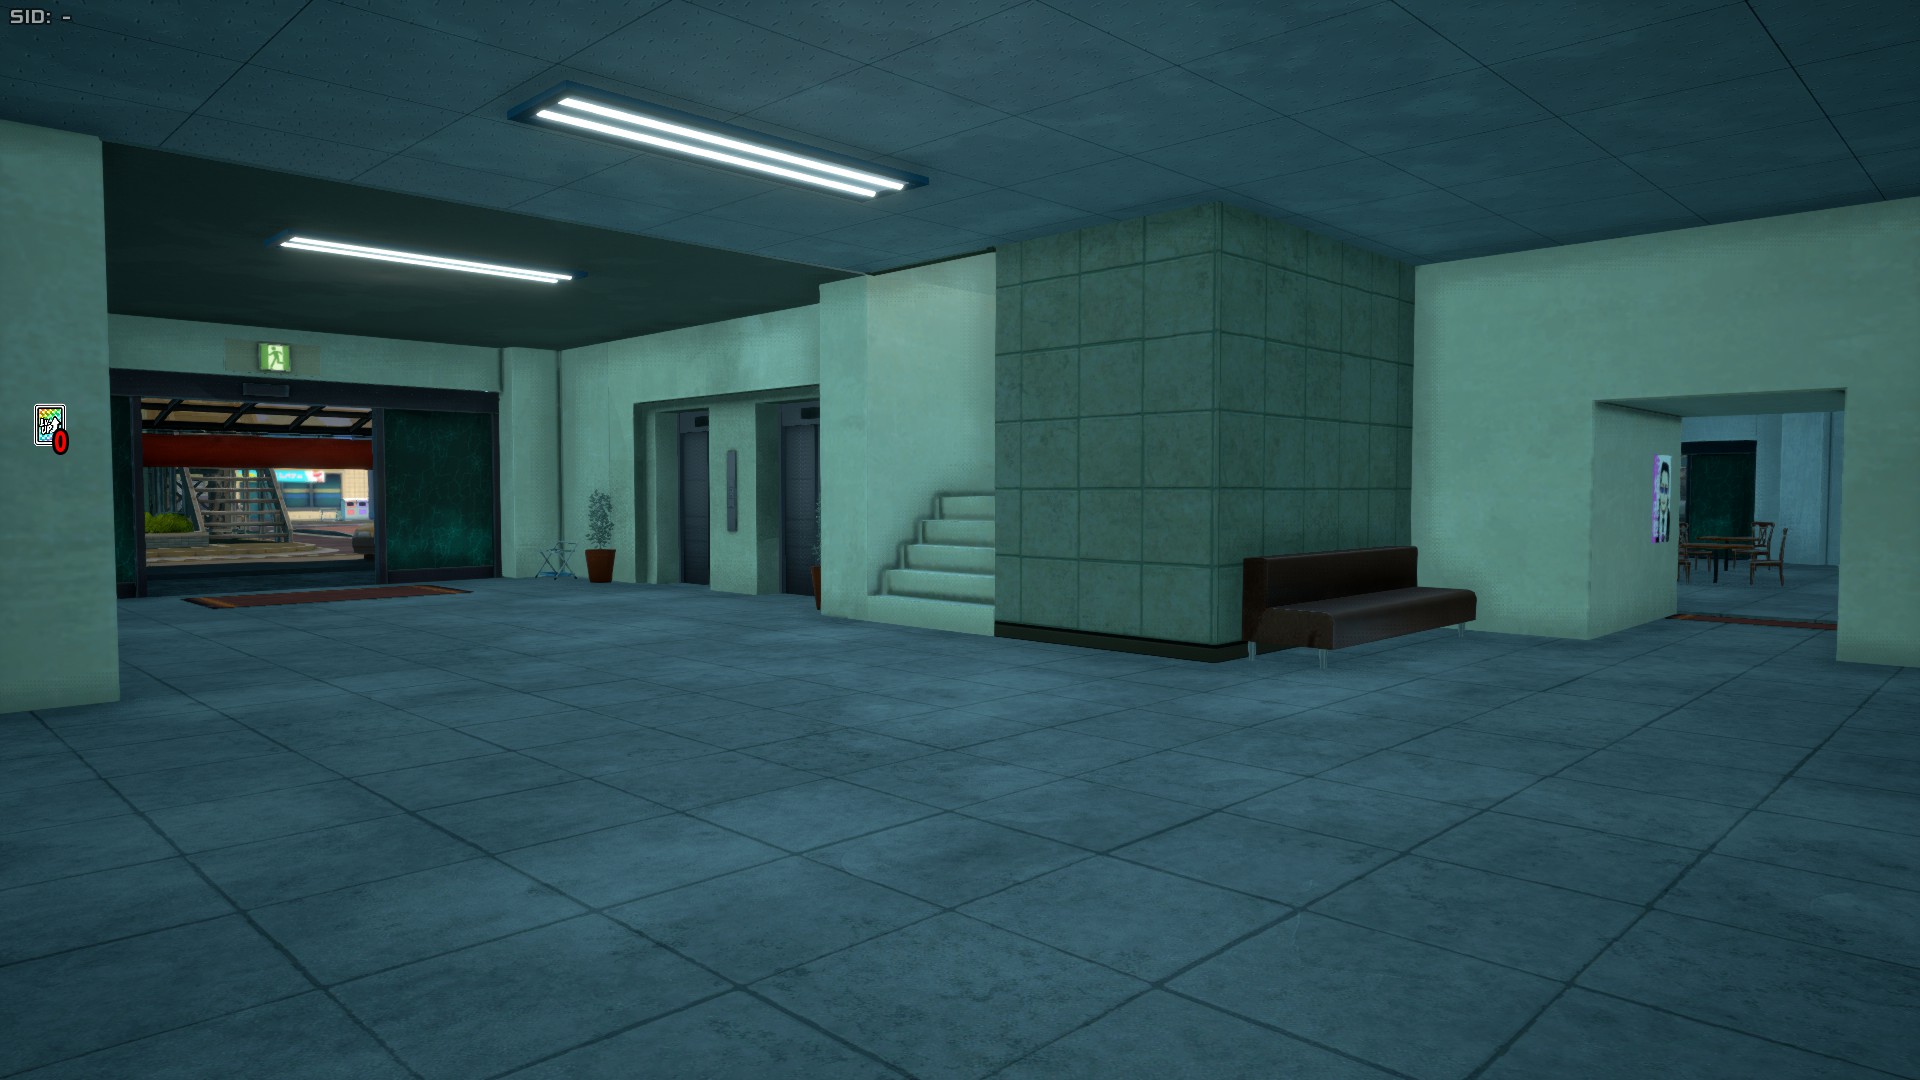
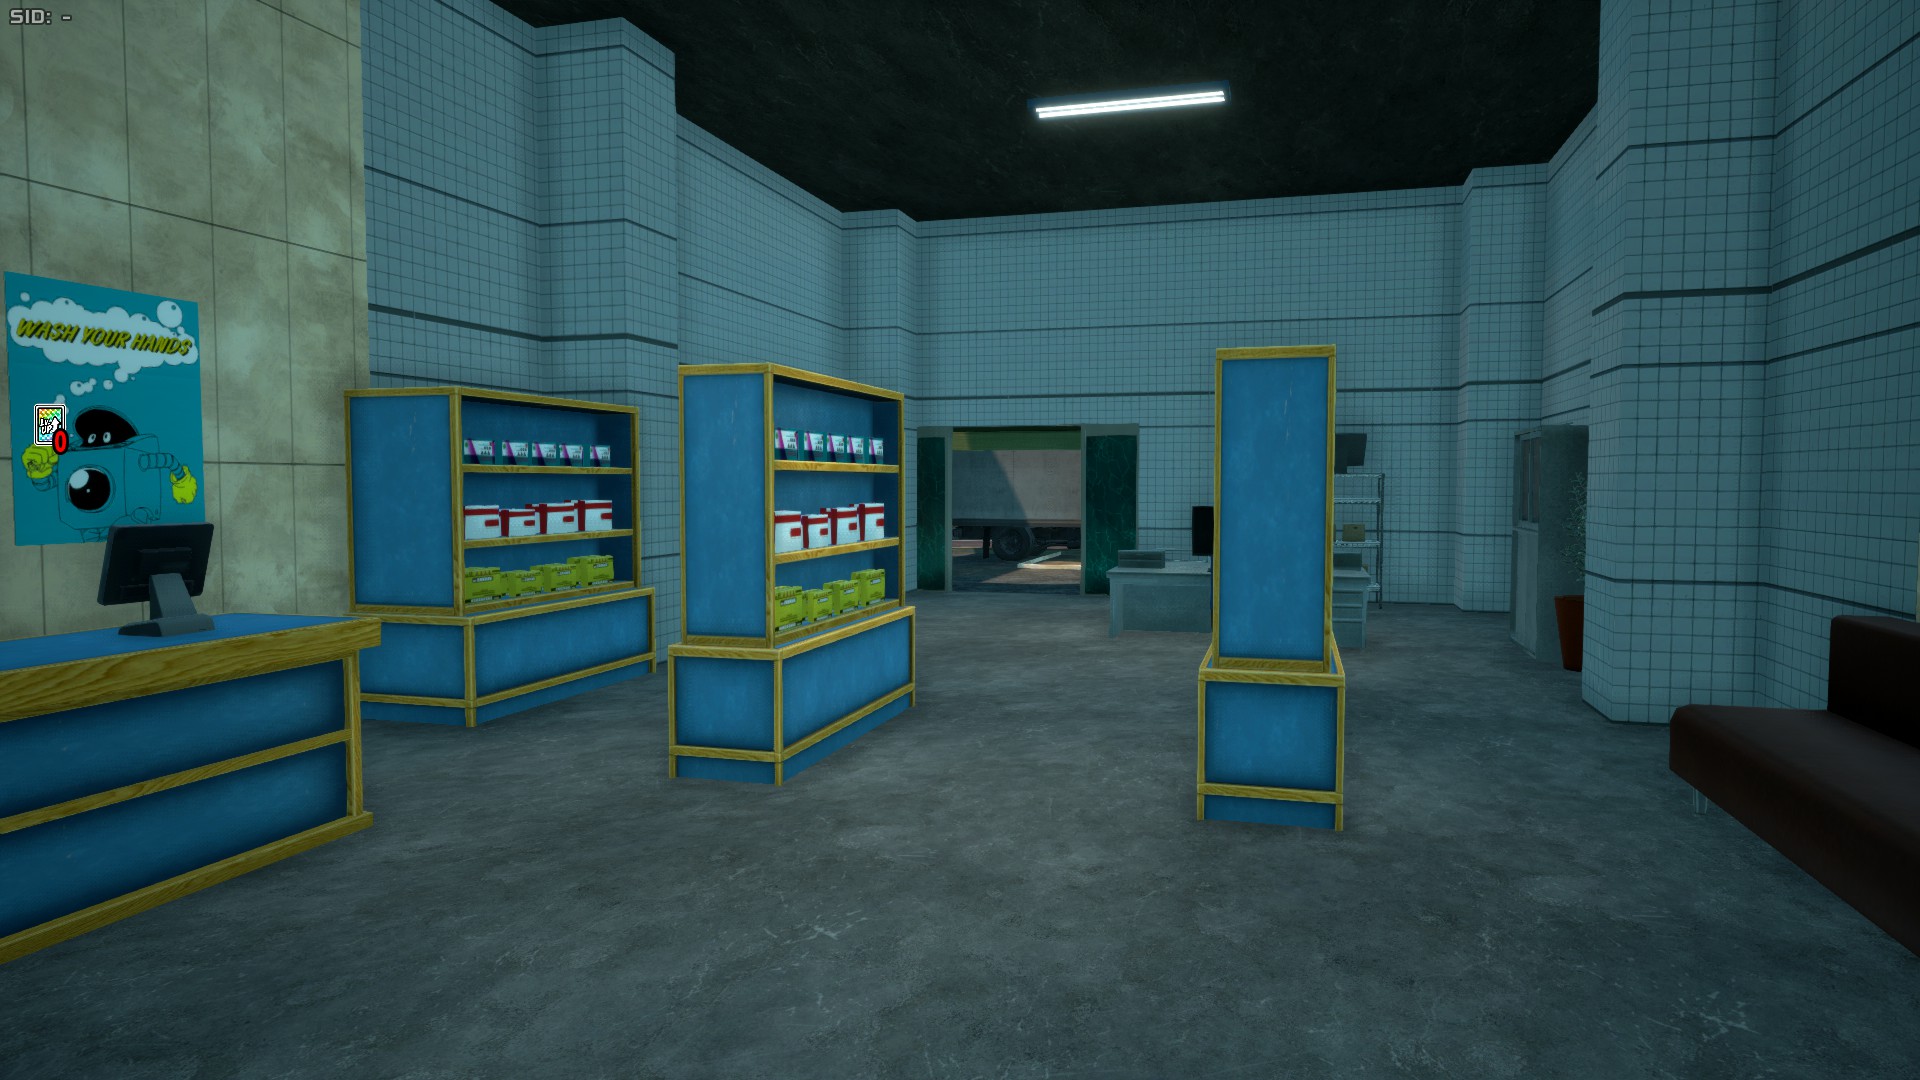
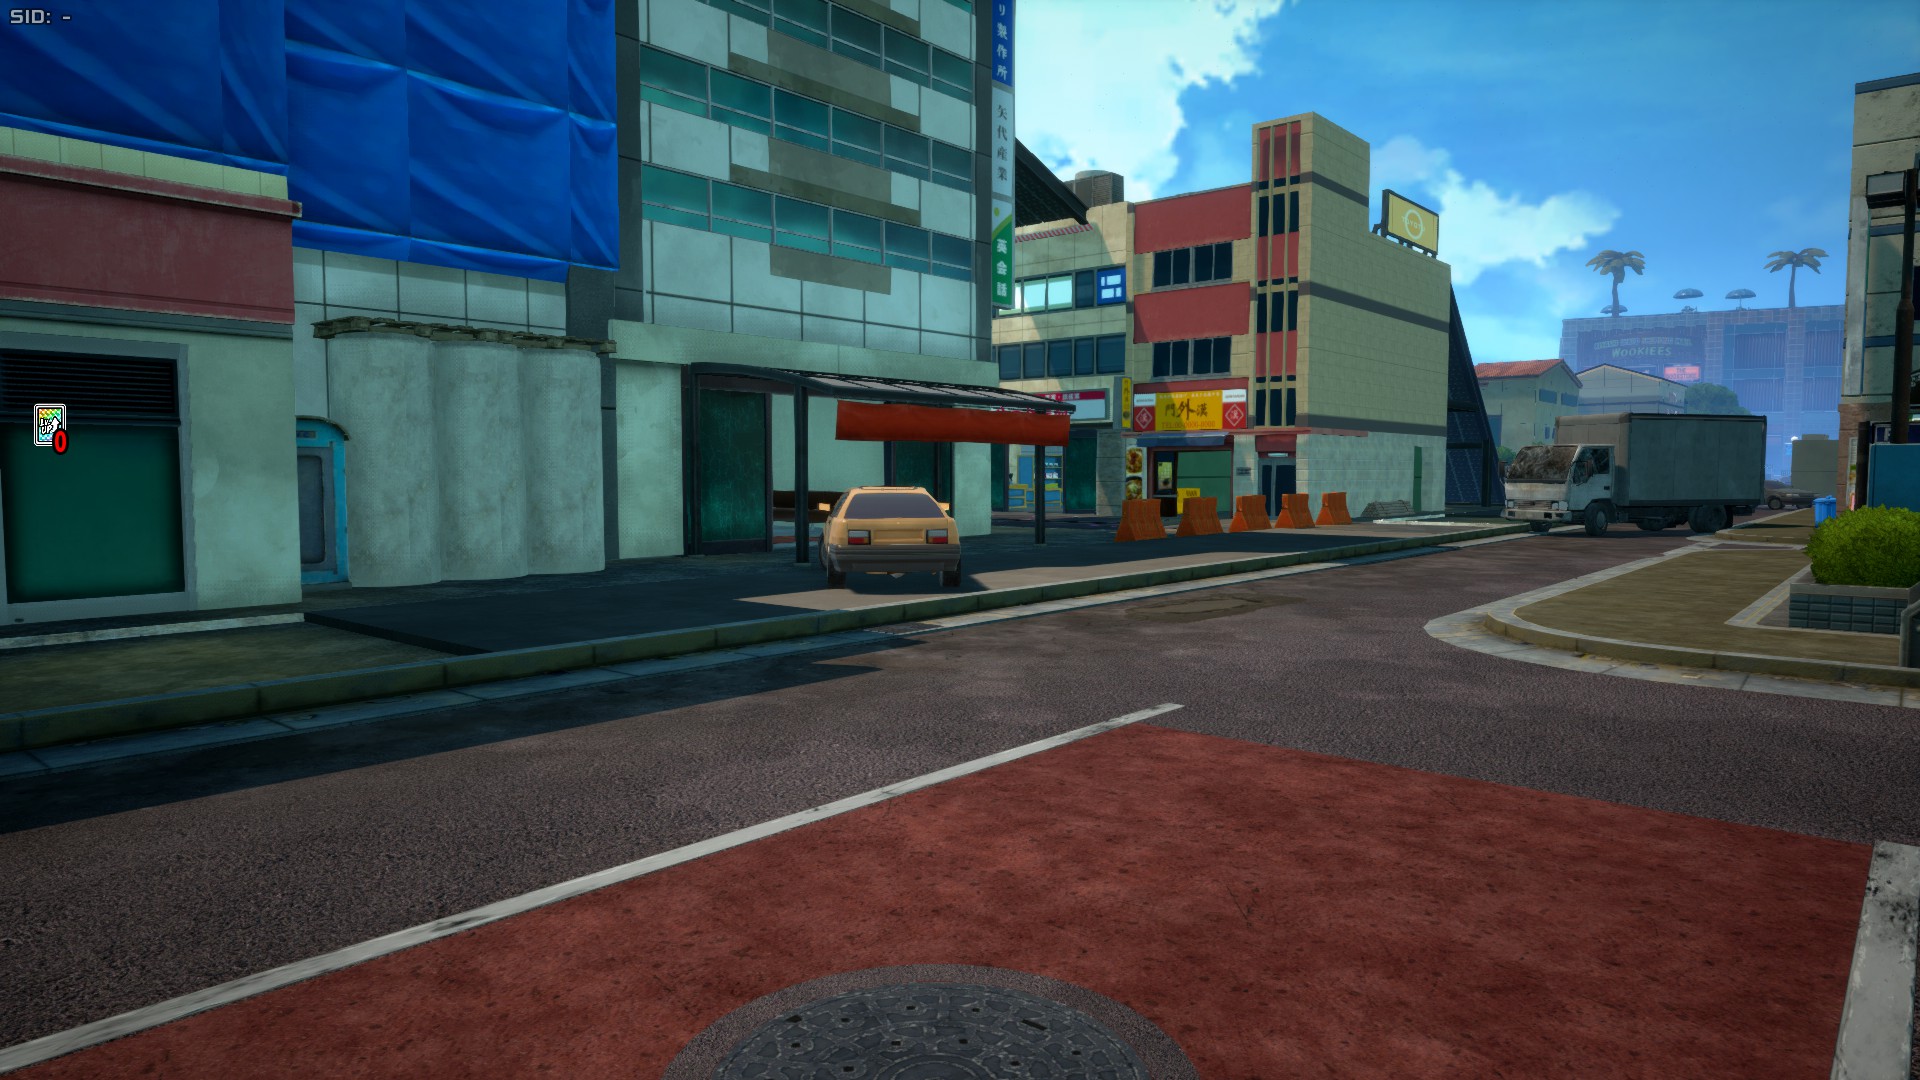
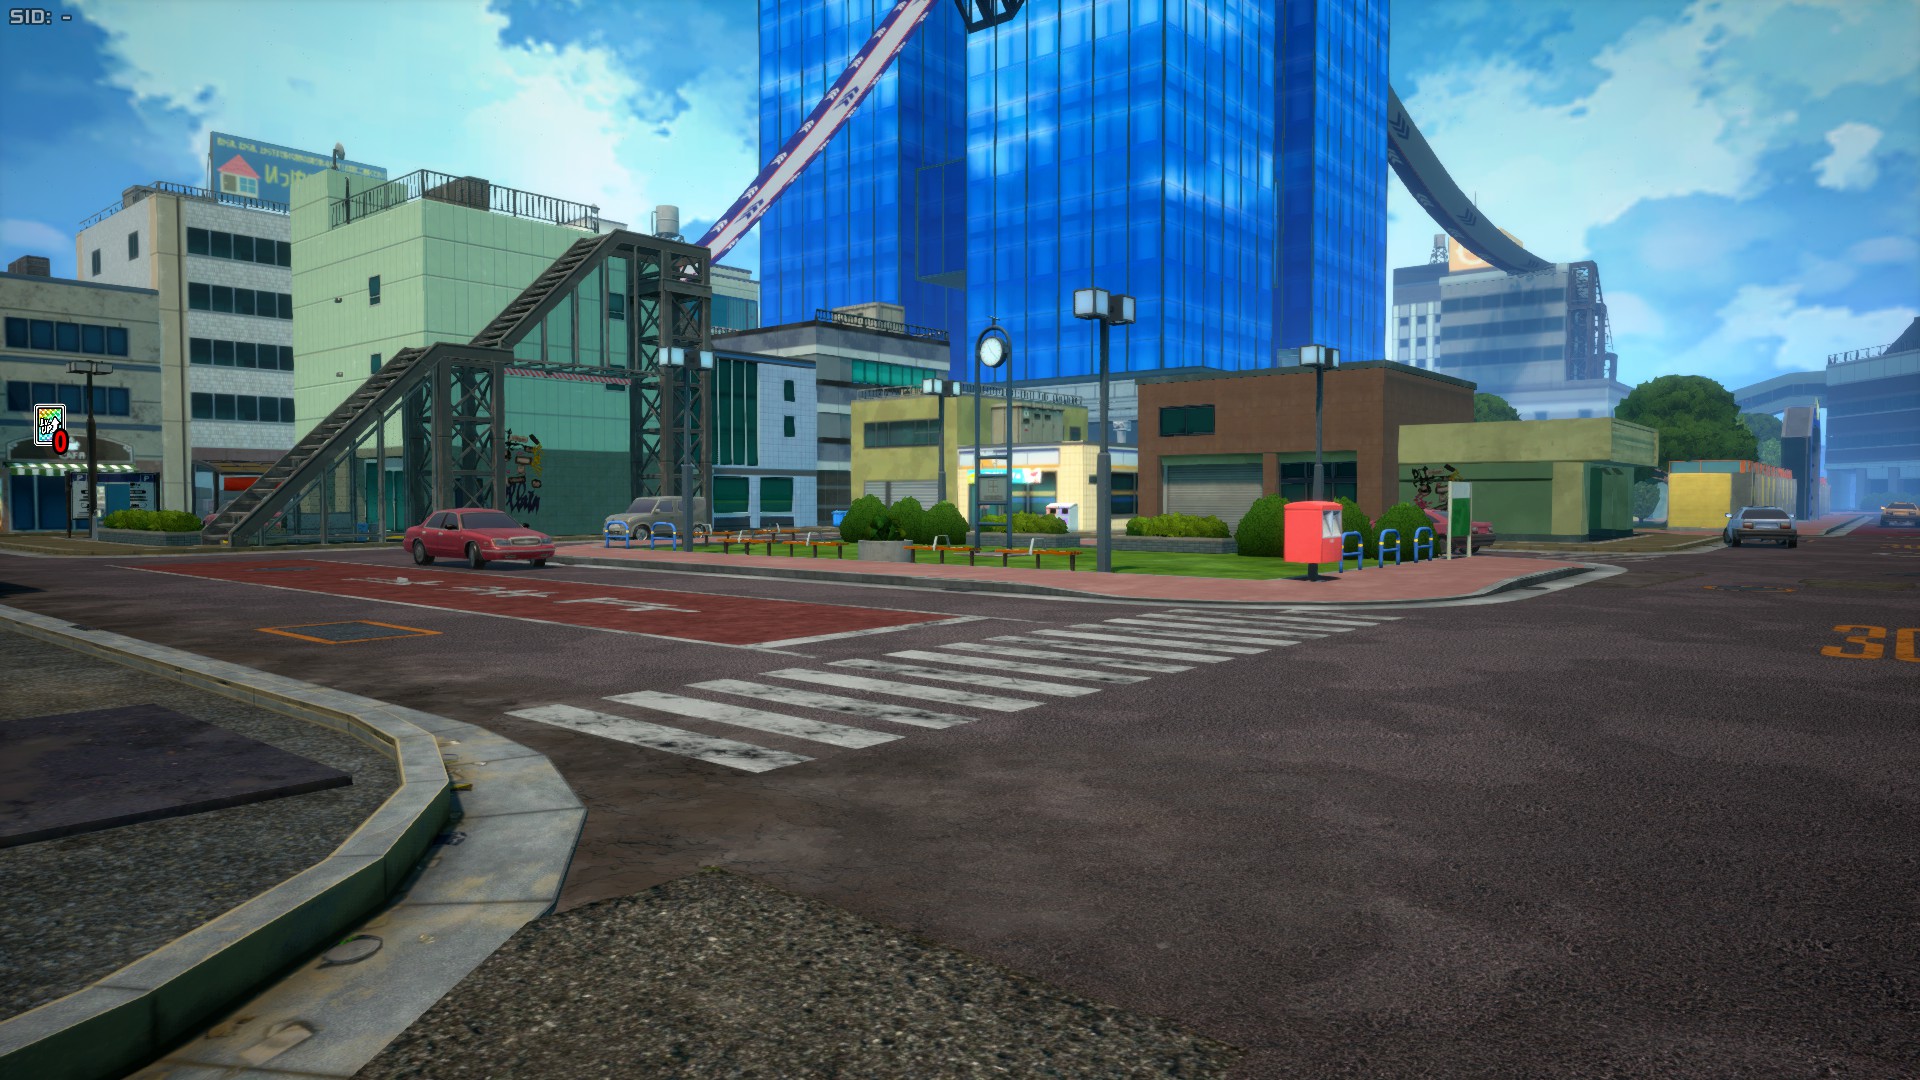
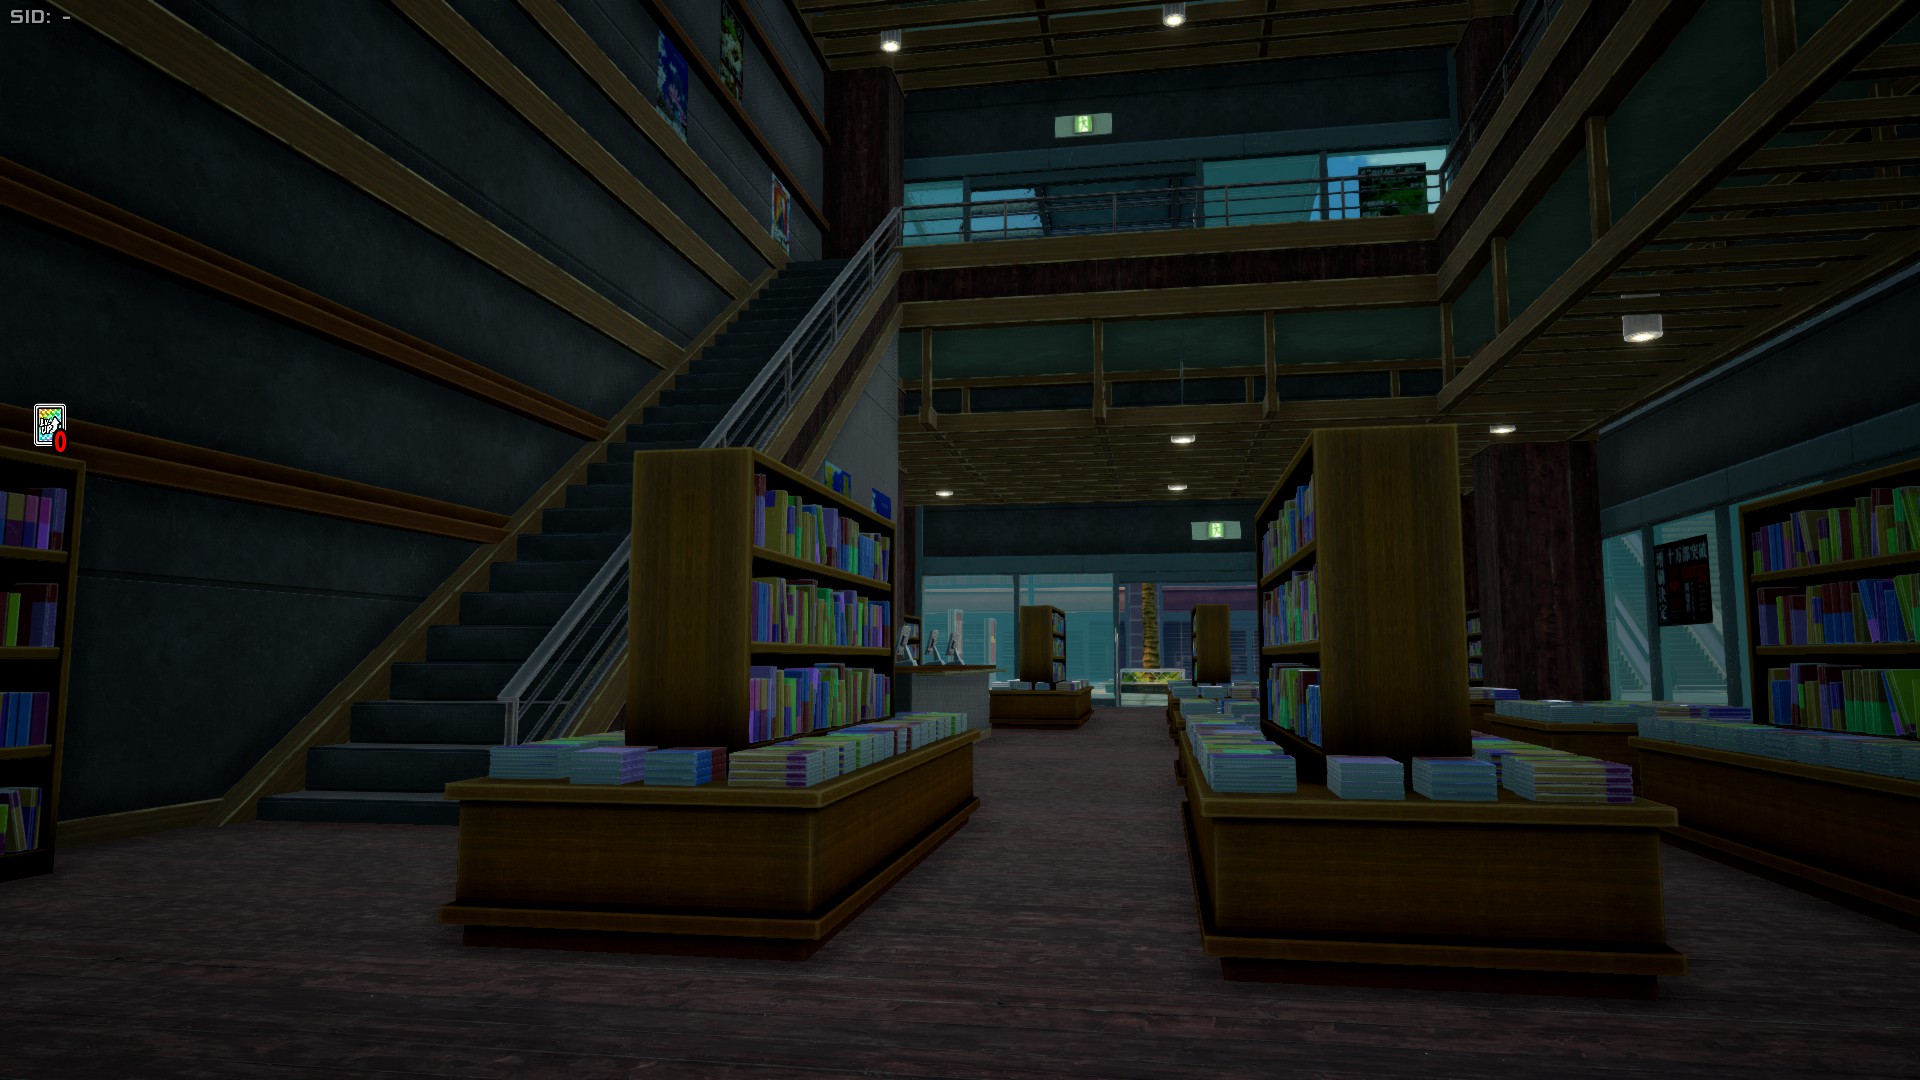
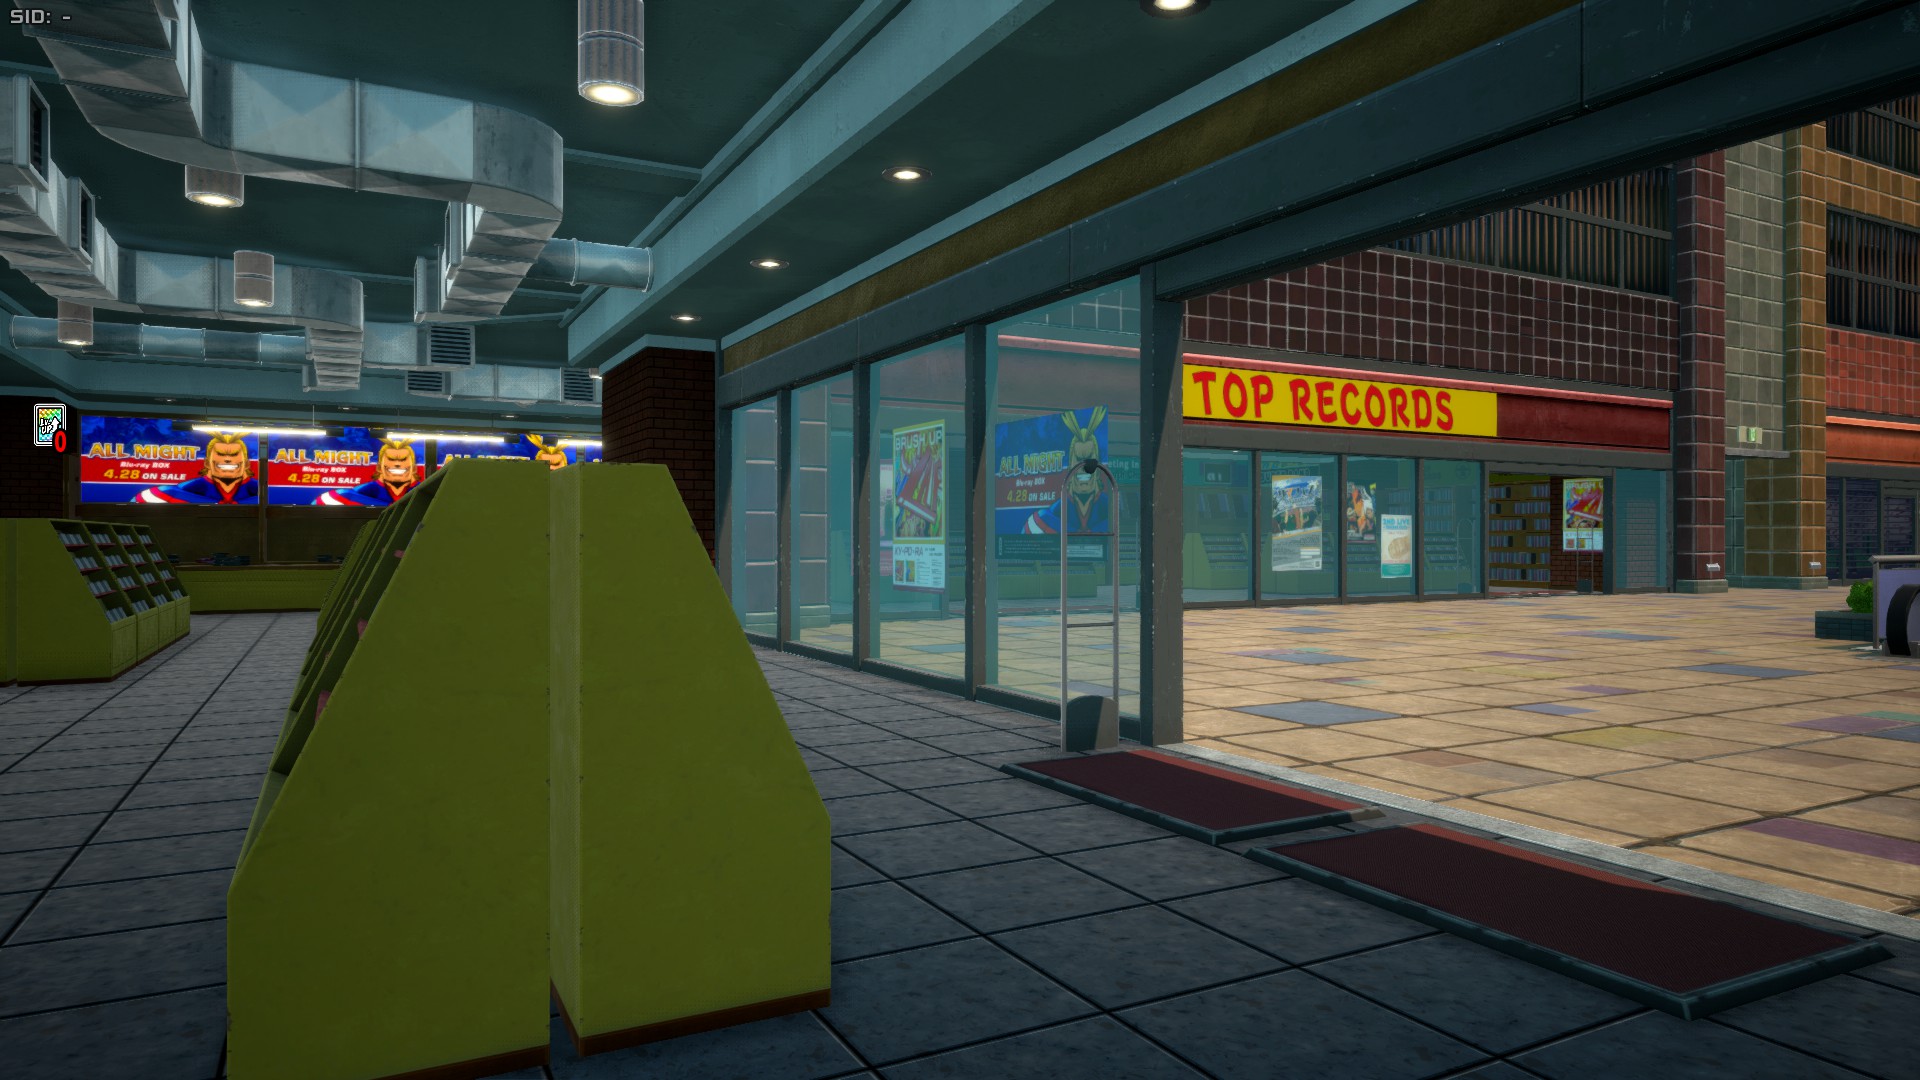
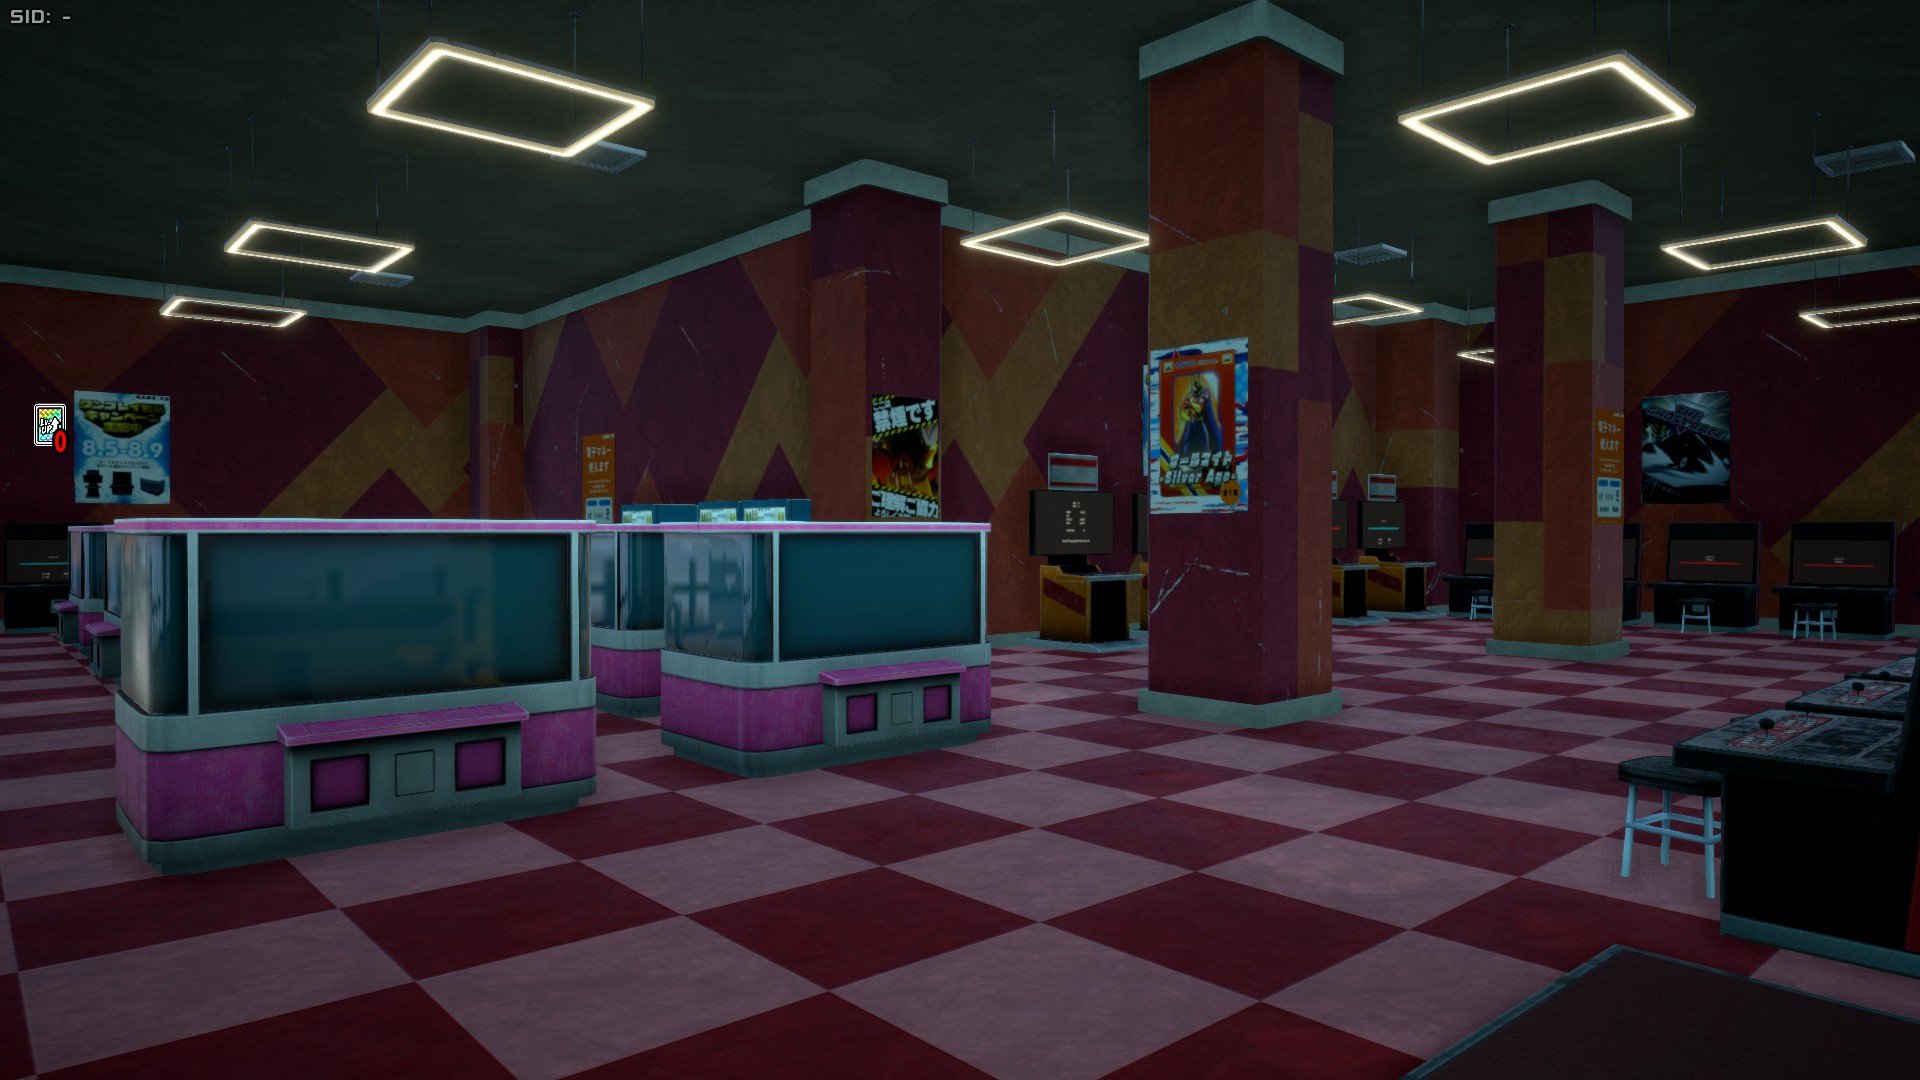
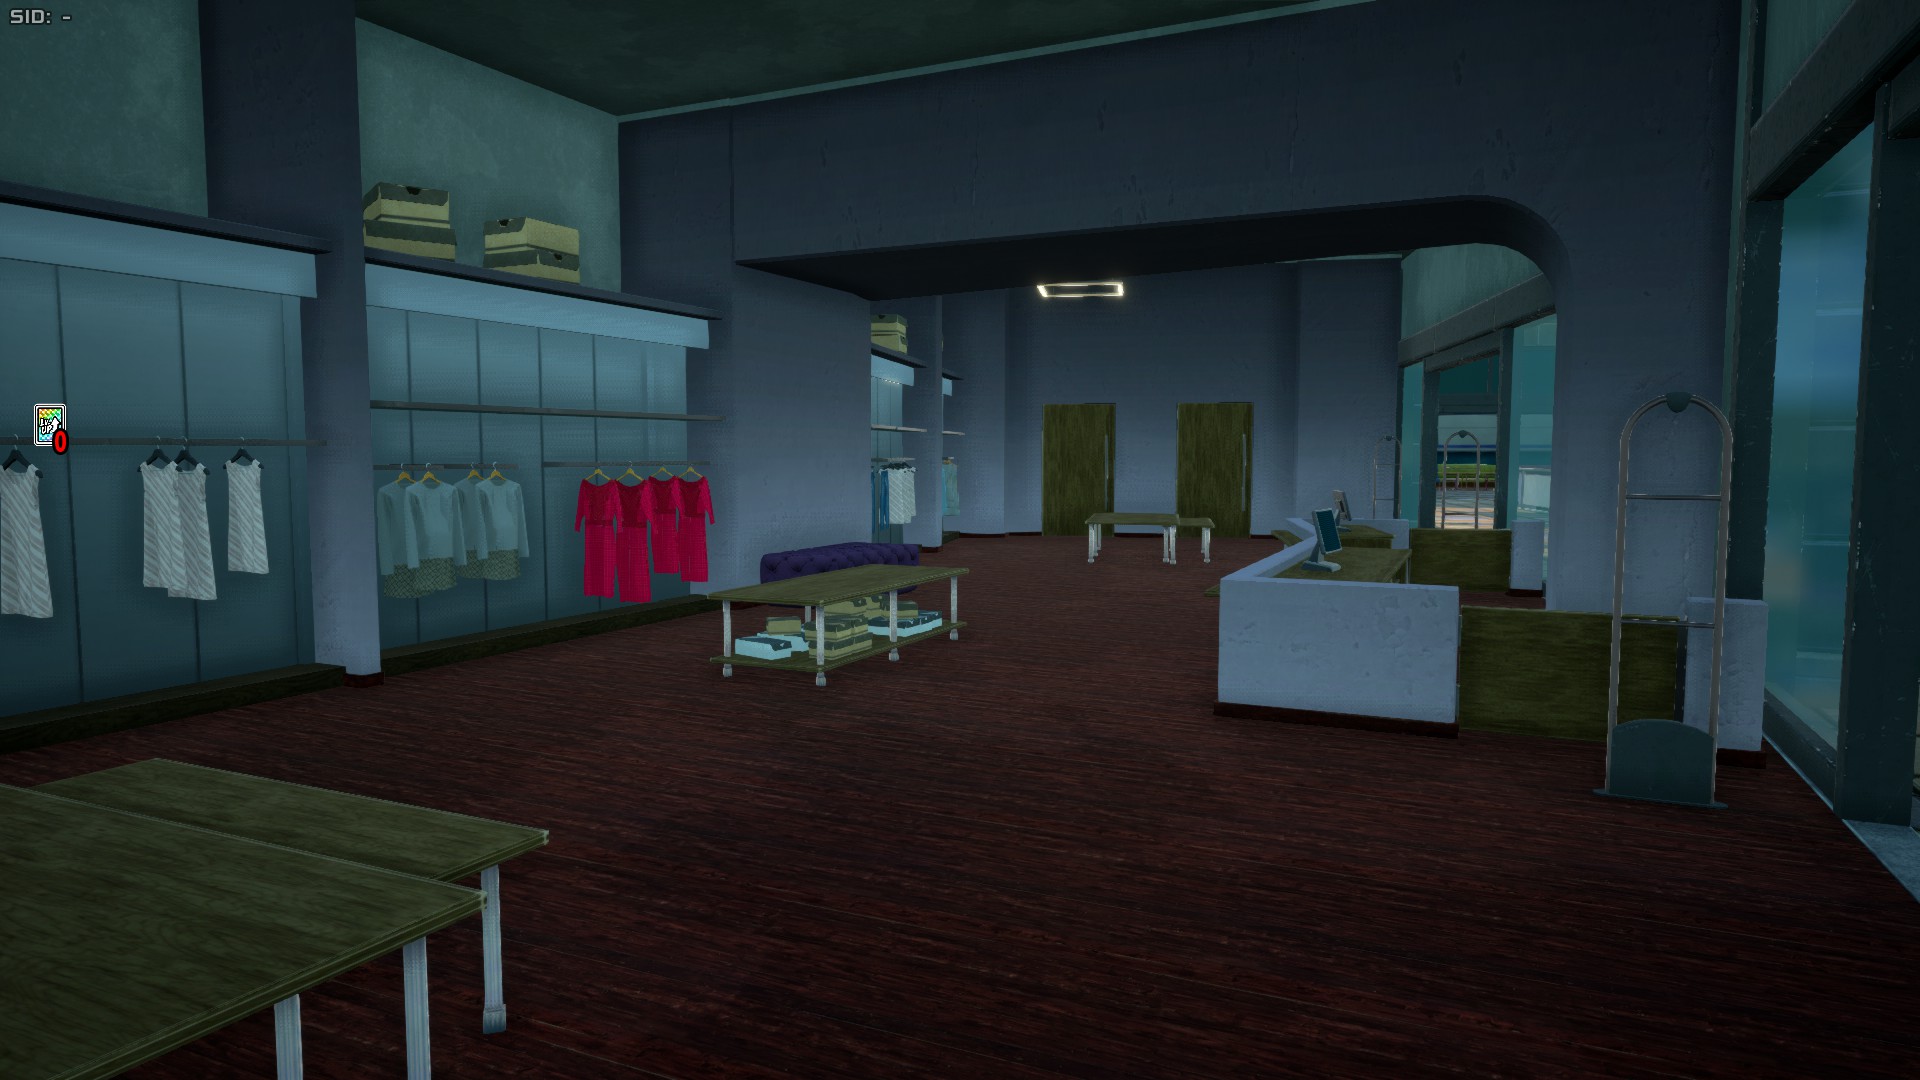
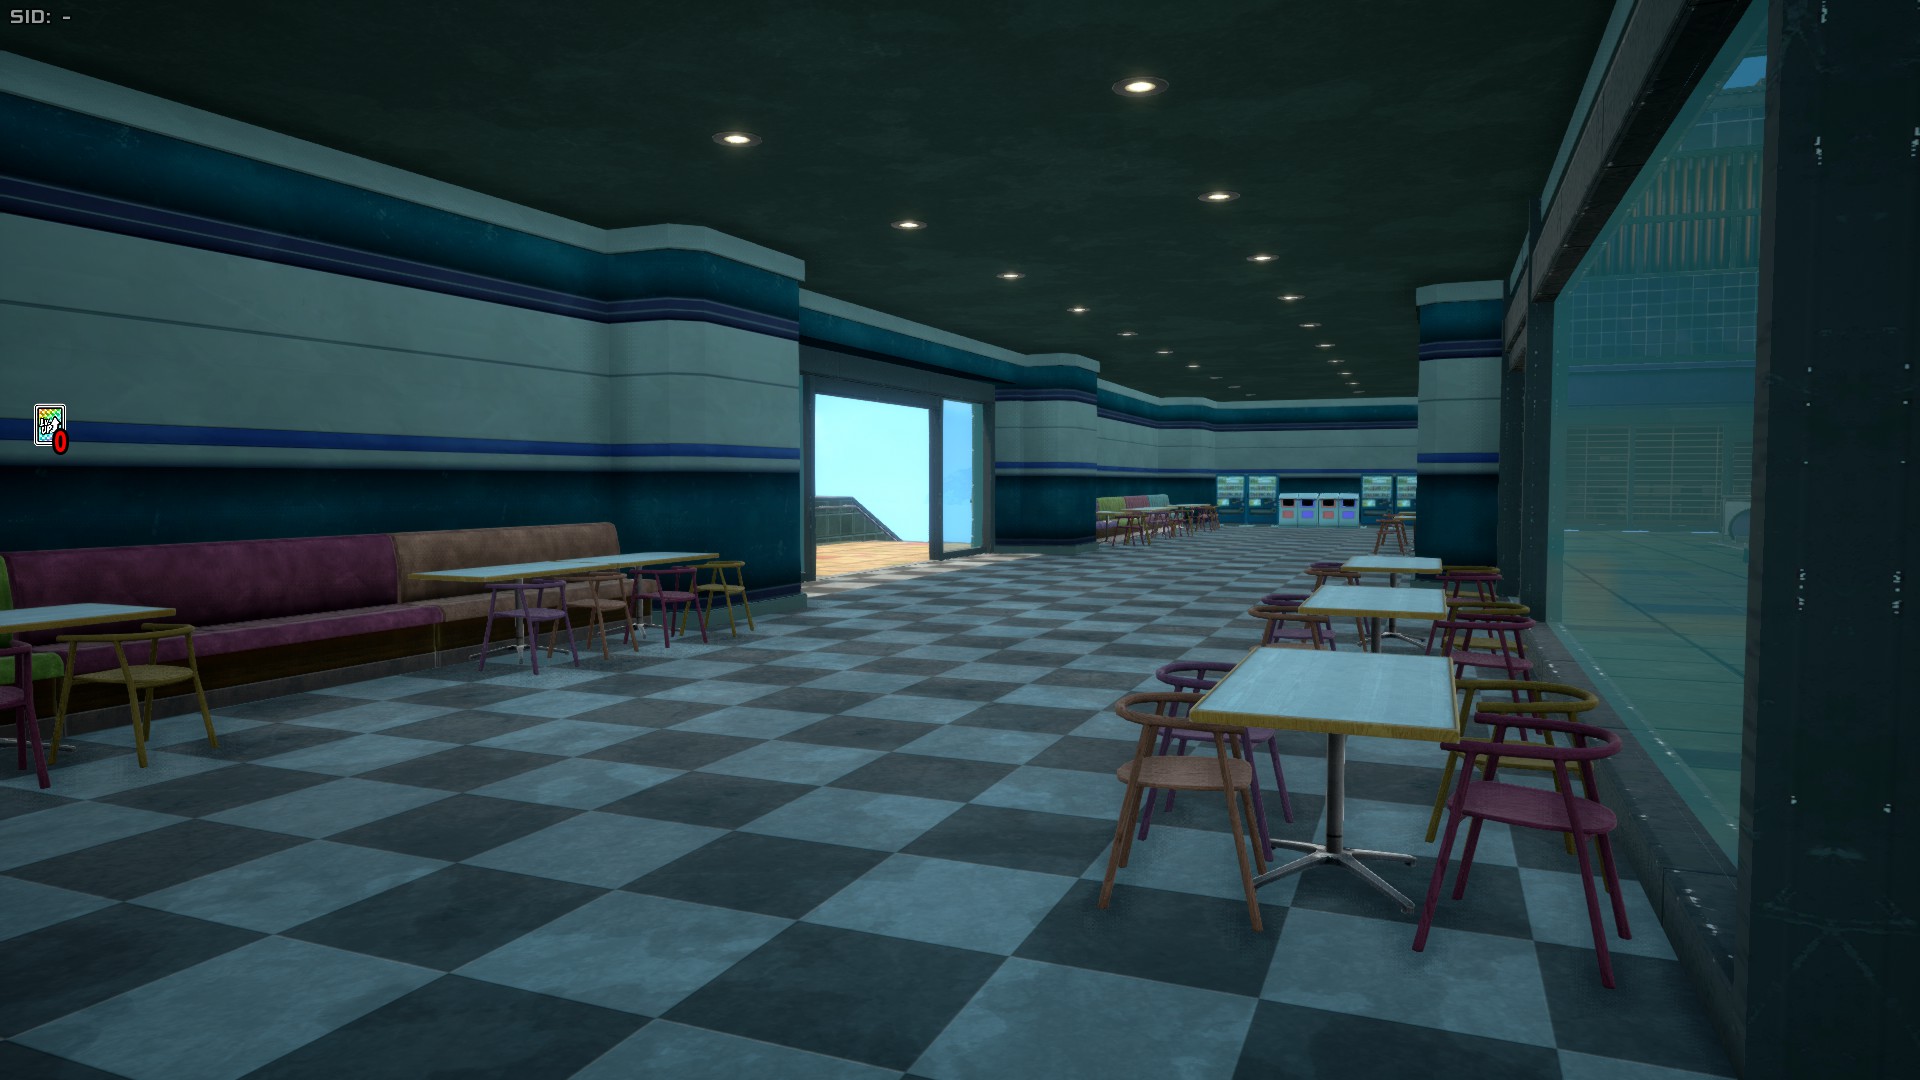
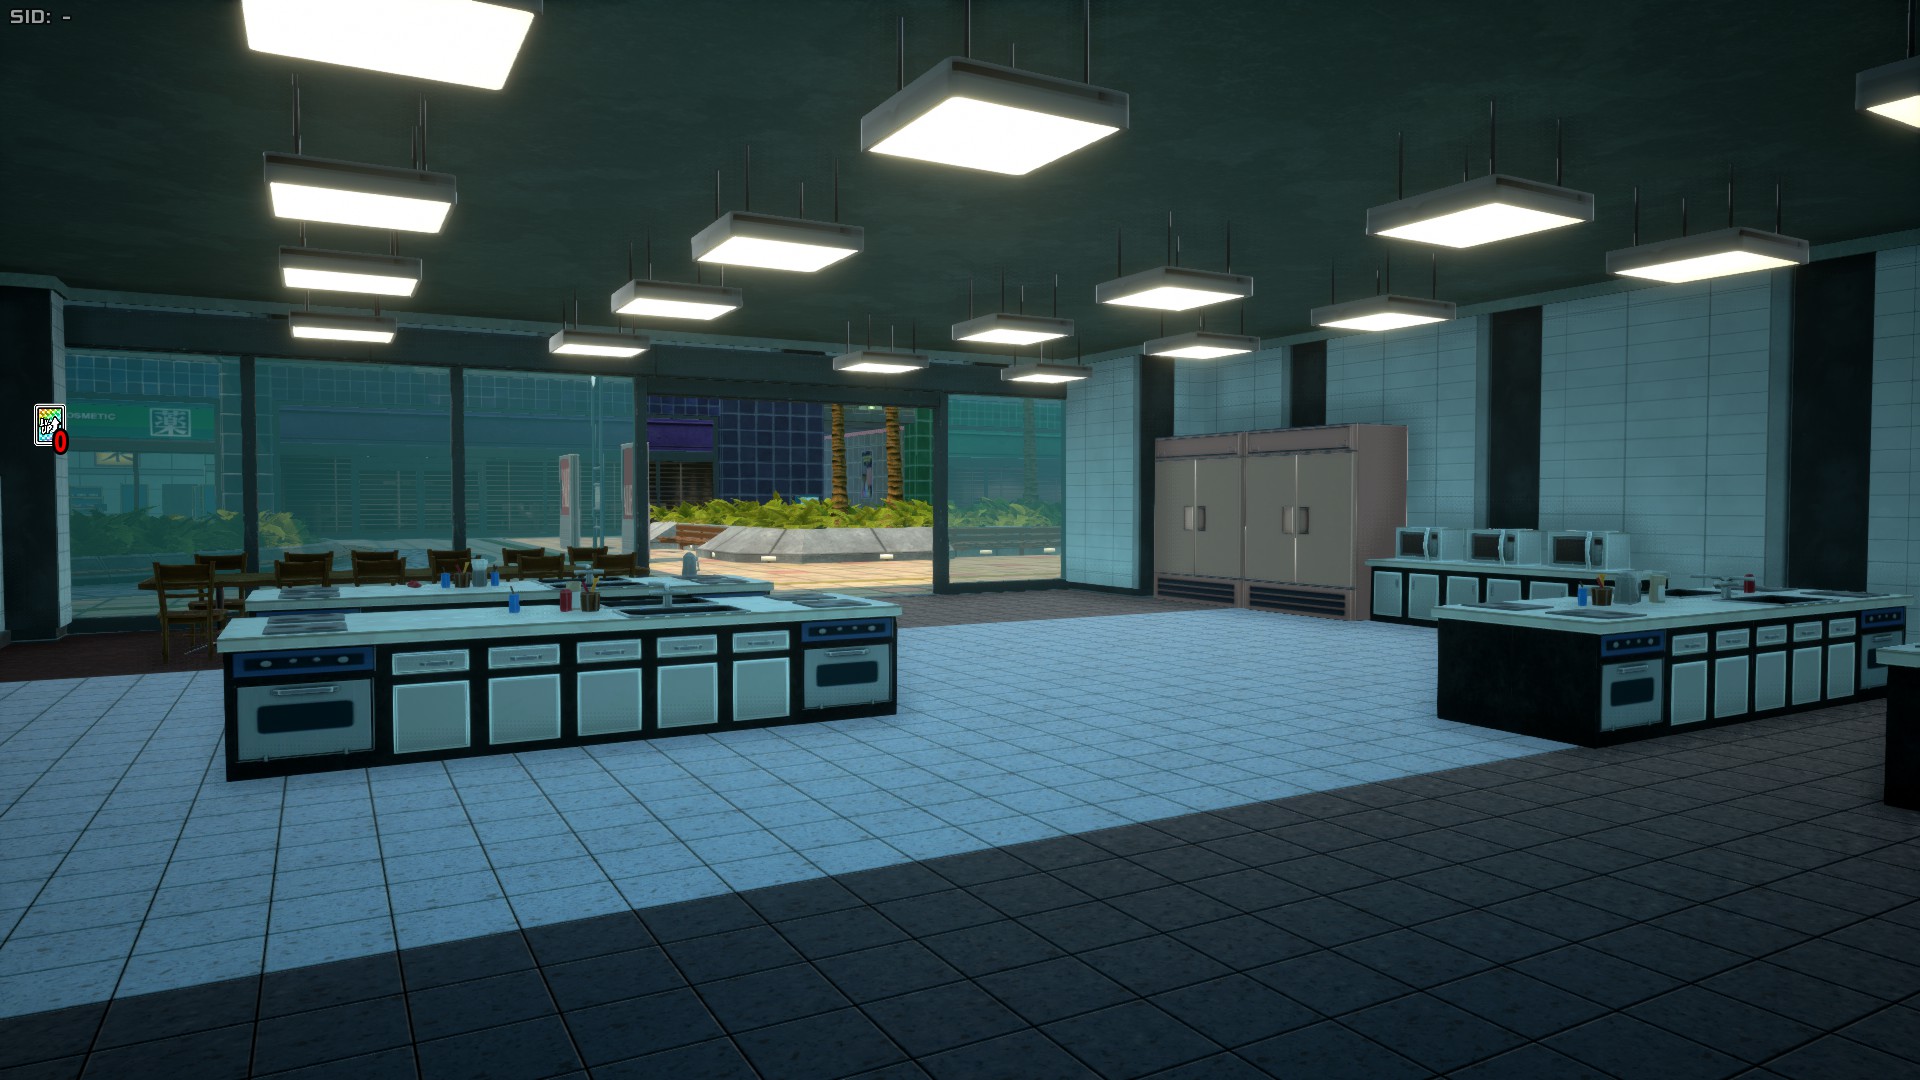
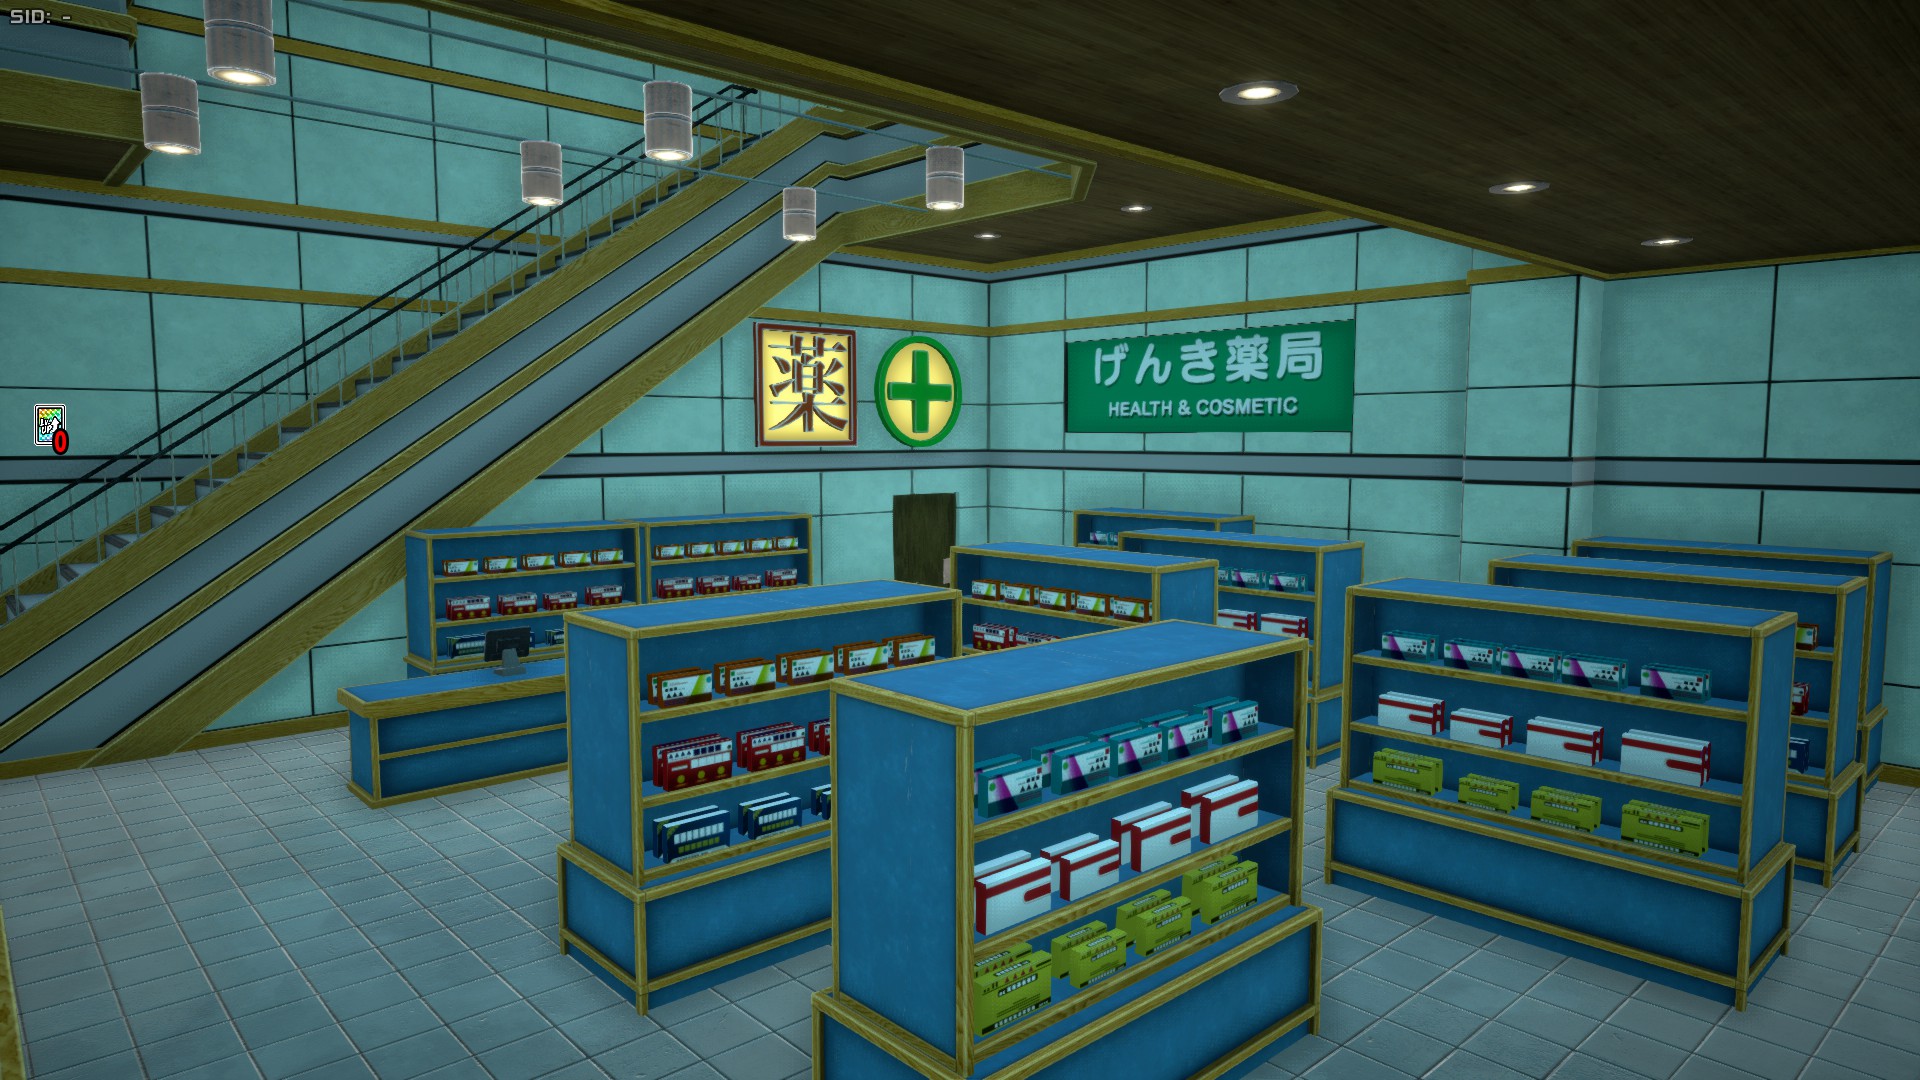
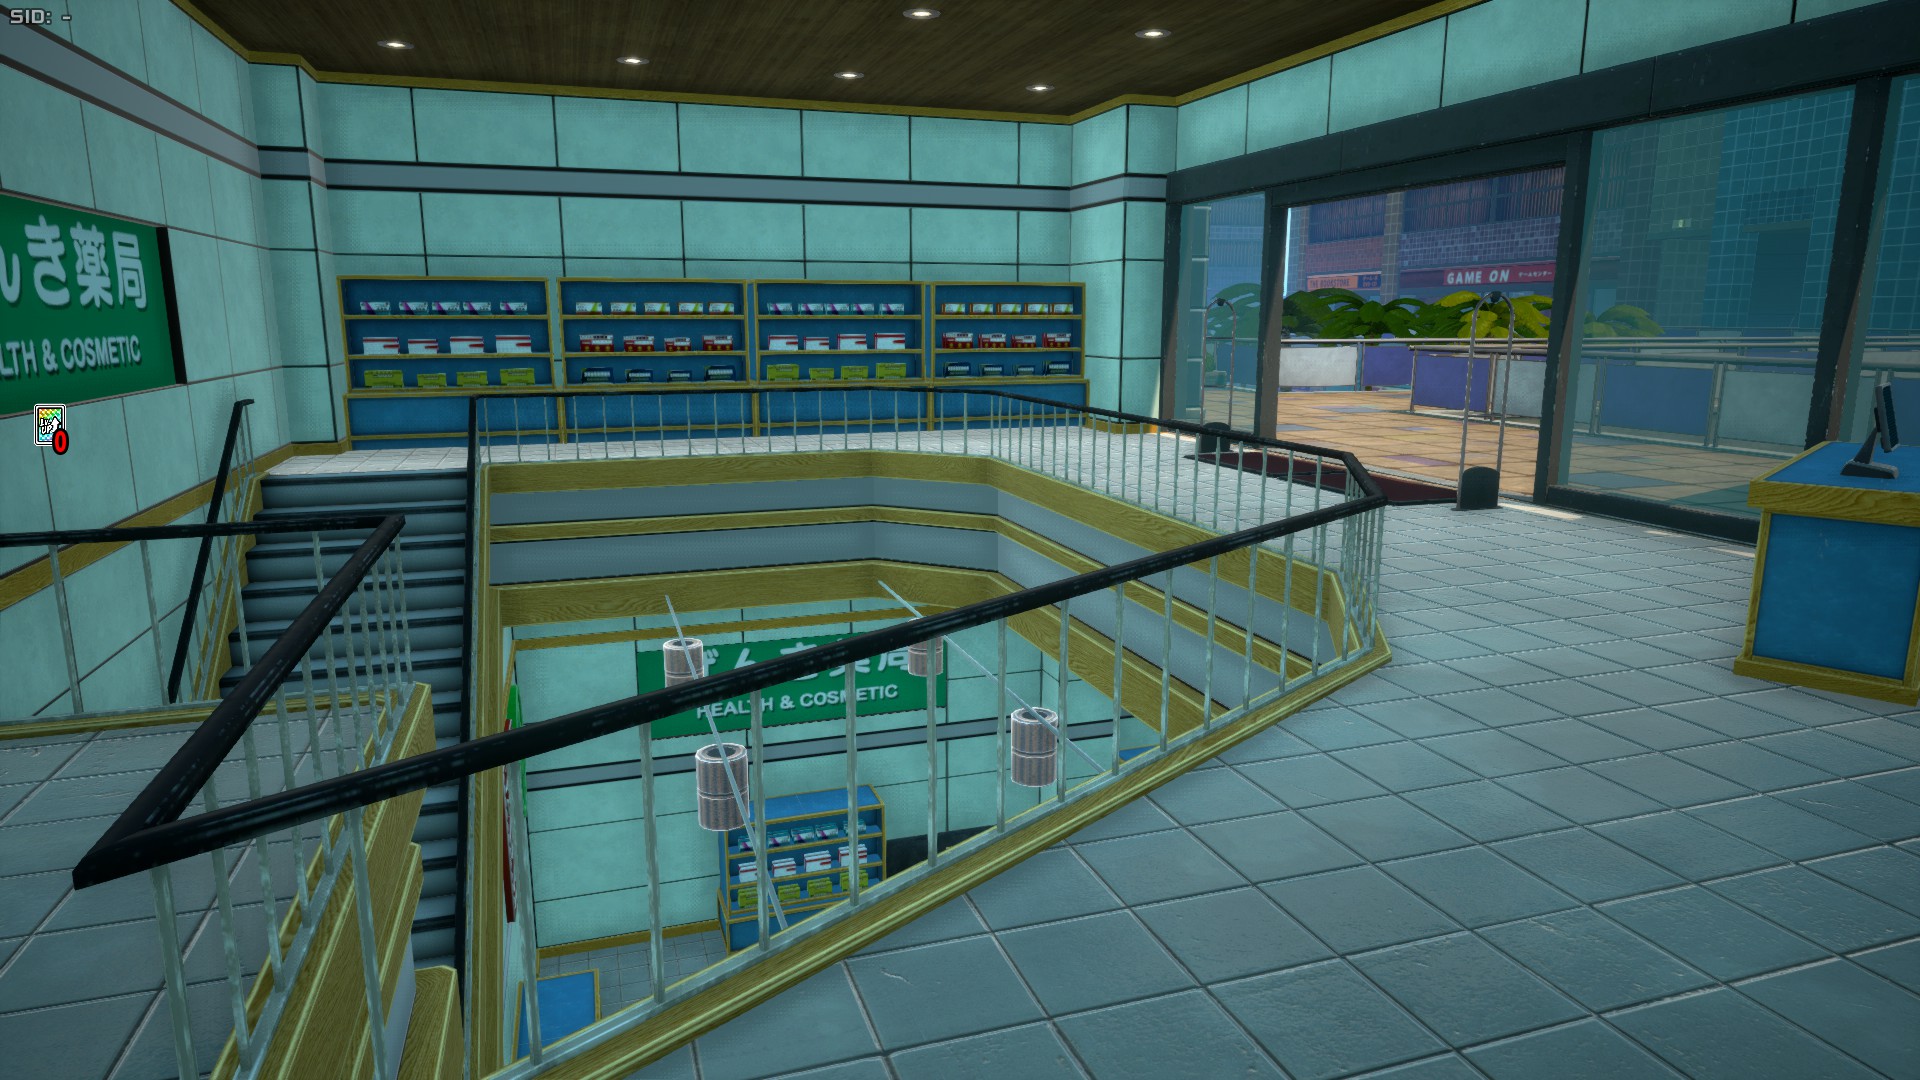
The Shopping Mall is an ample area that covers most of the eastern side of UA Island. It has several stores one can access for loot or even Kota if they're lucky, and features three height levels to add to the topology. It's generally considered a really good looting area. This place is closely connected to the Parking Lot area. This mall is also supposed to represent the Shopping Mall where Tomura Shigaraki secretly met Izuku Midoriya in Season 2 of the anime.
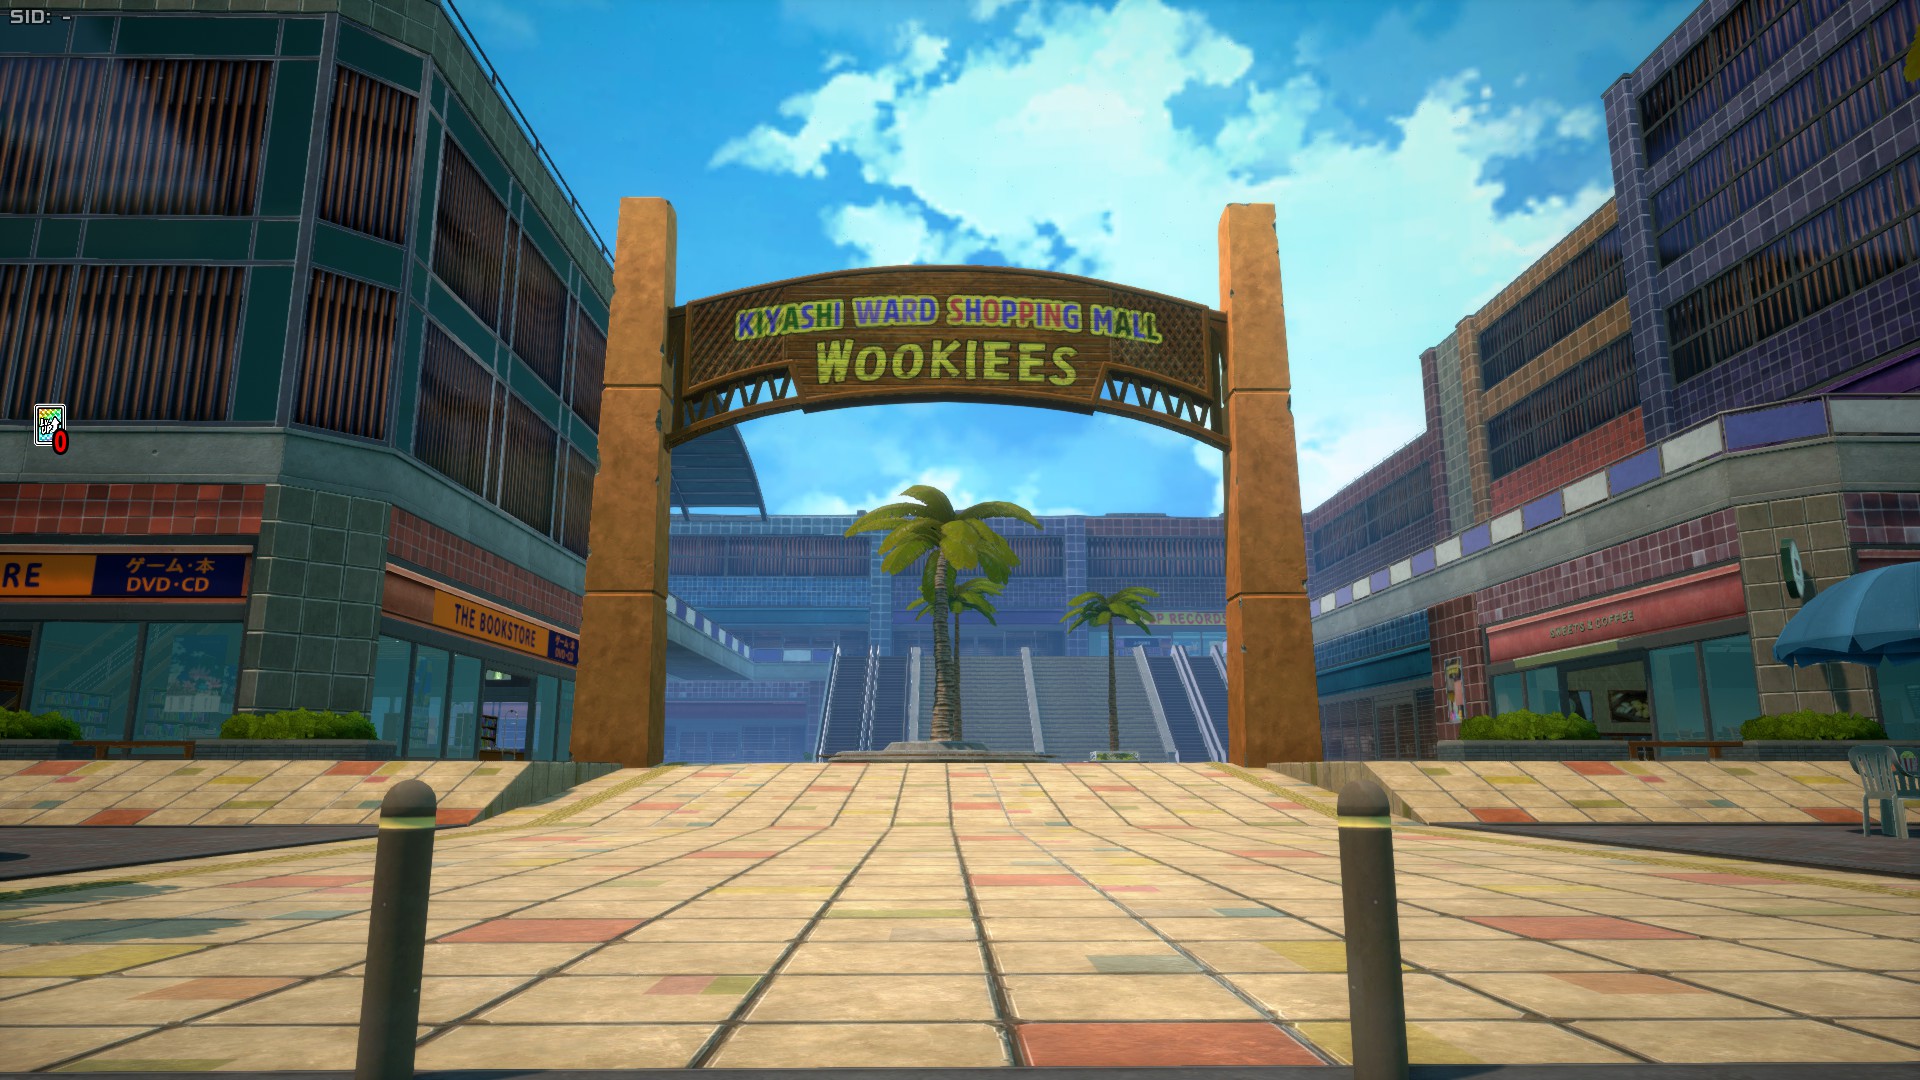
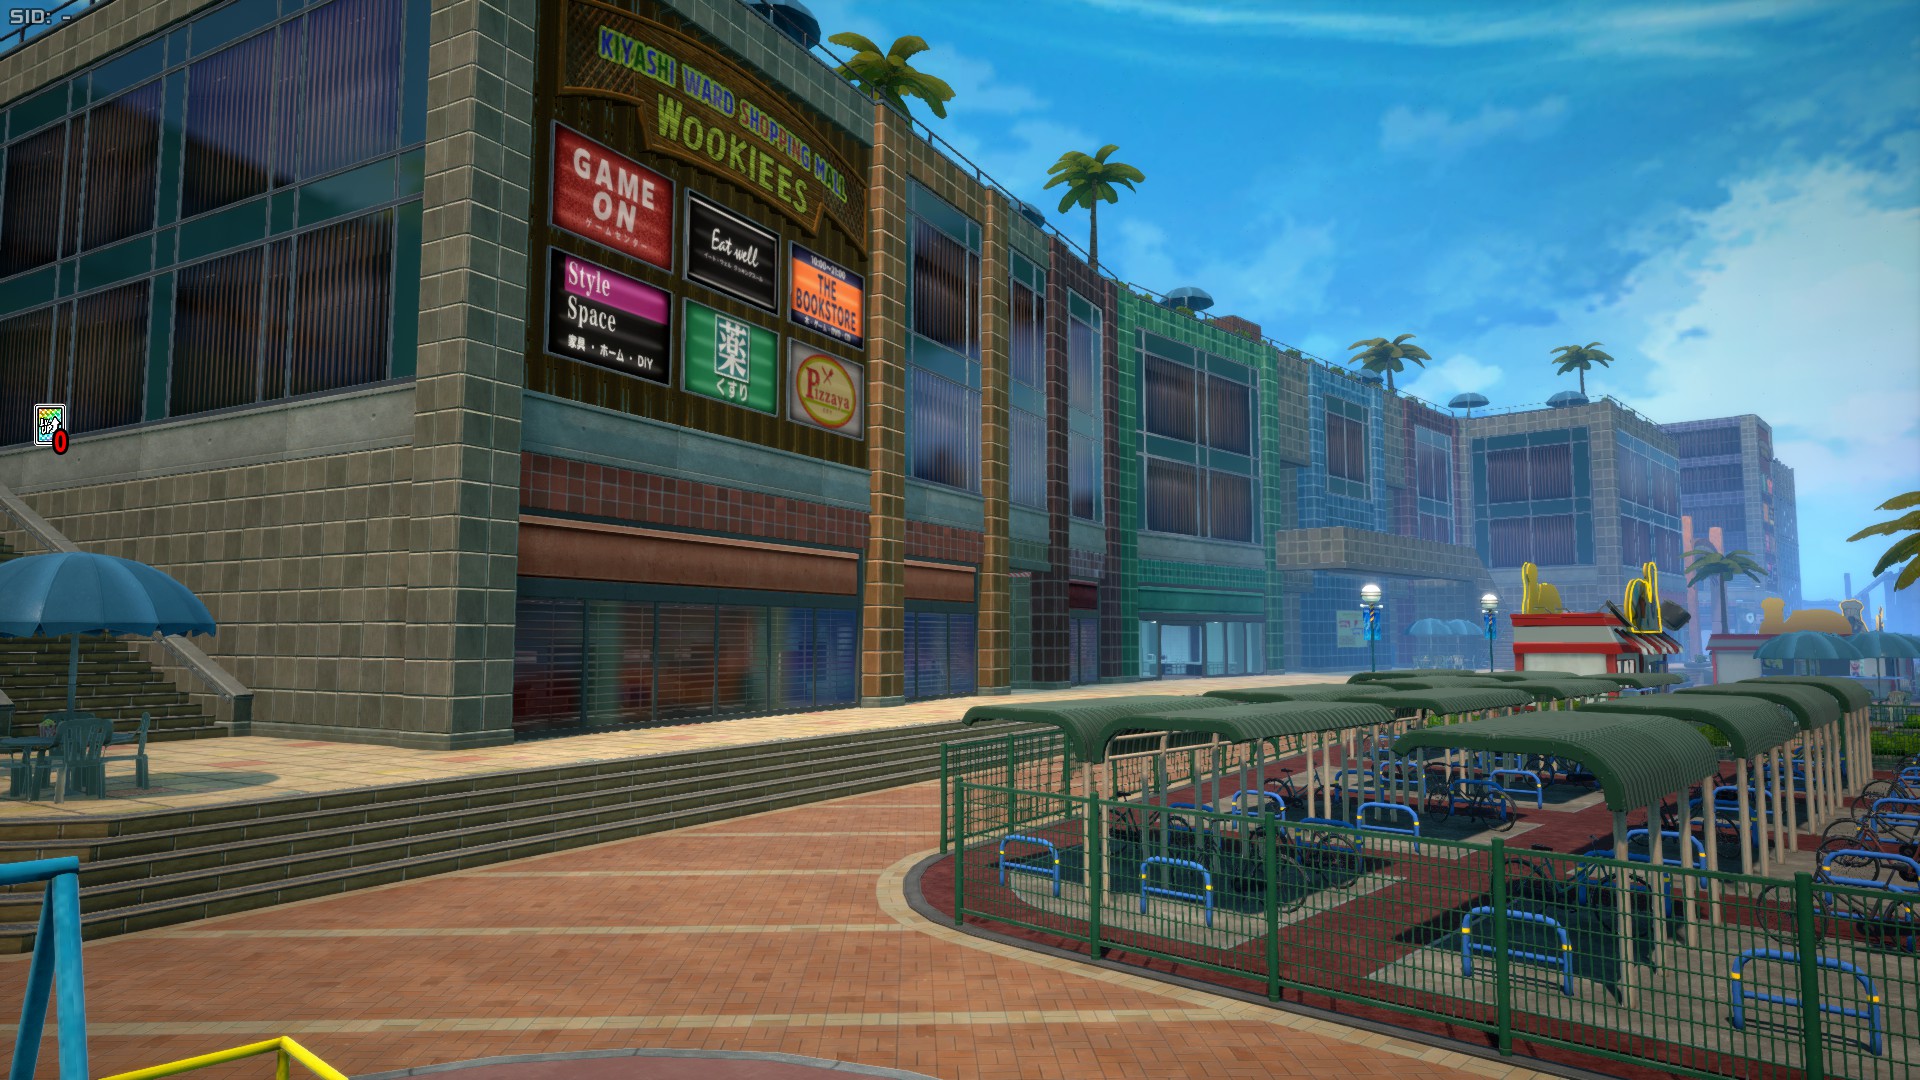
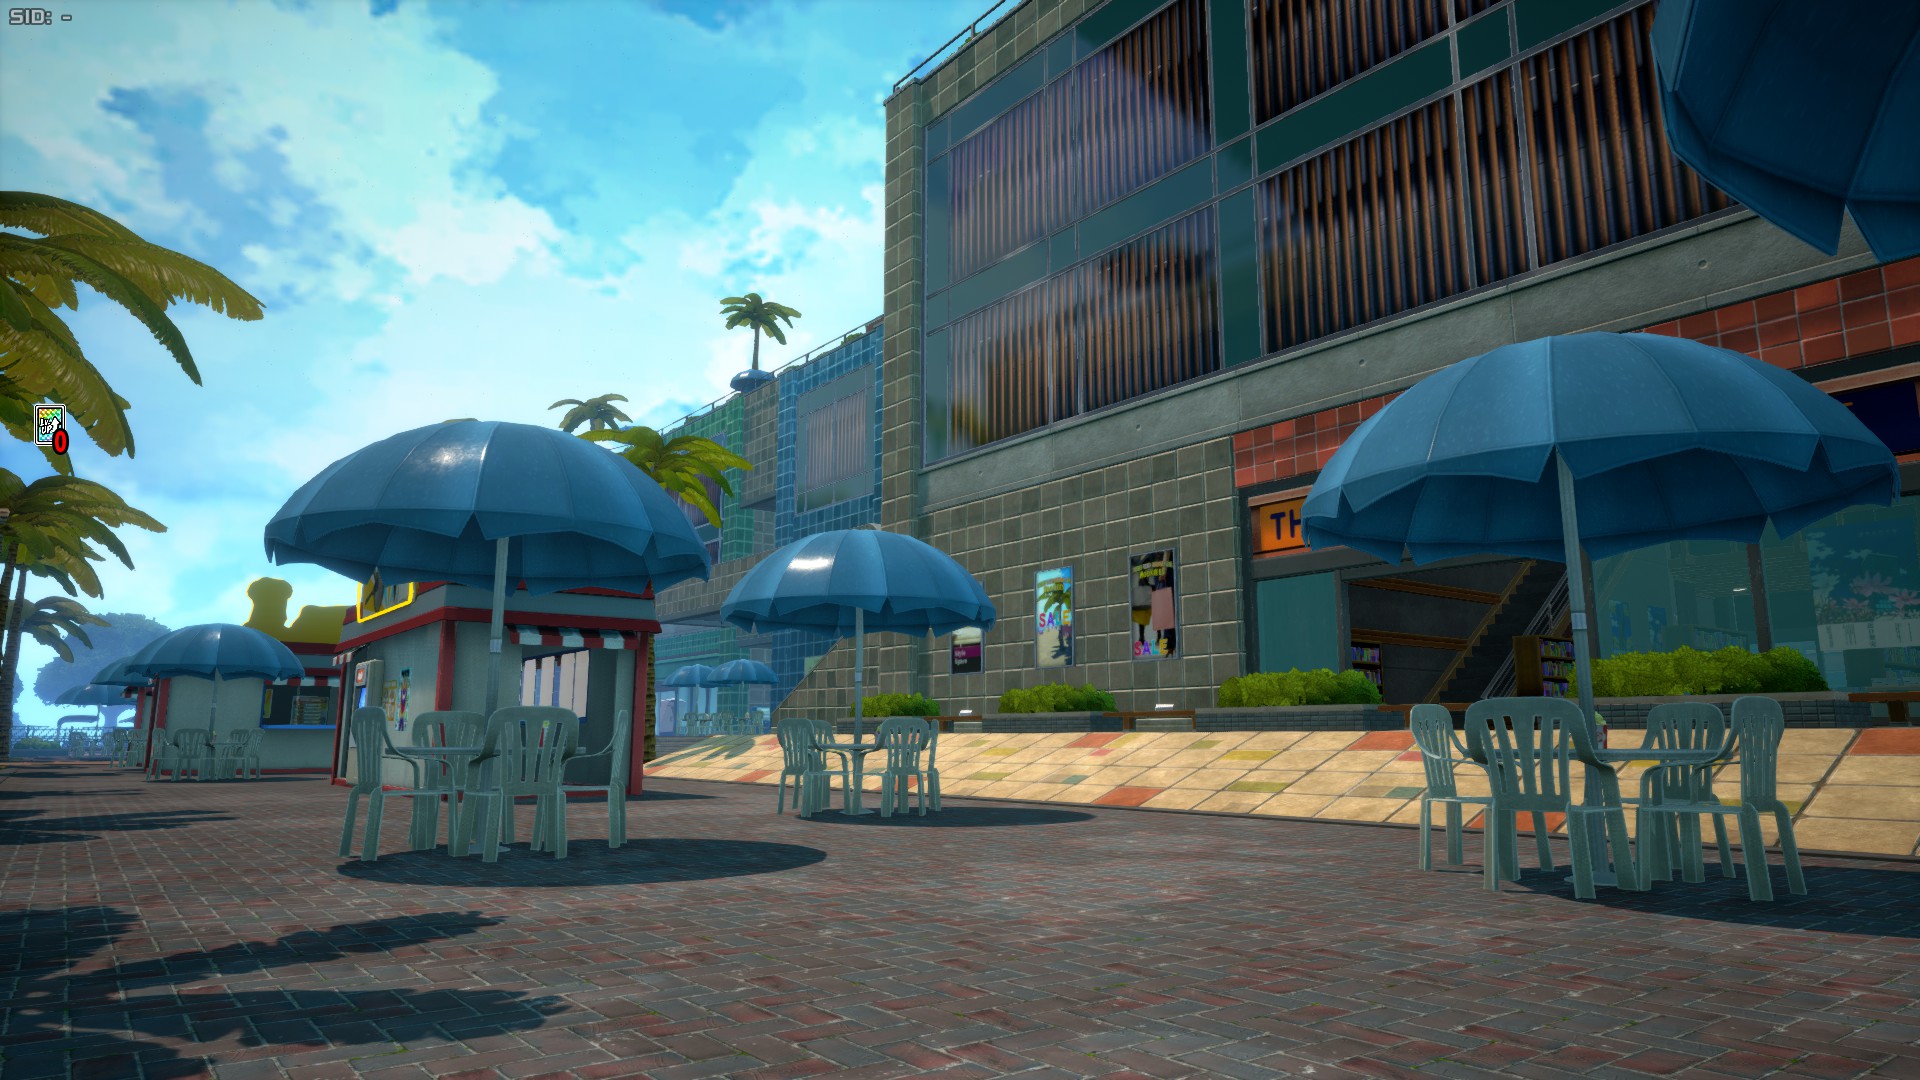
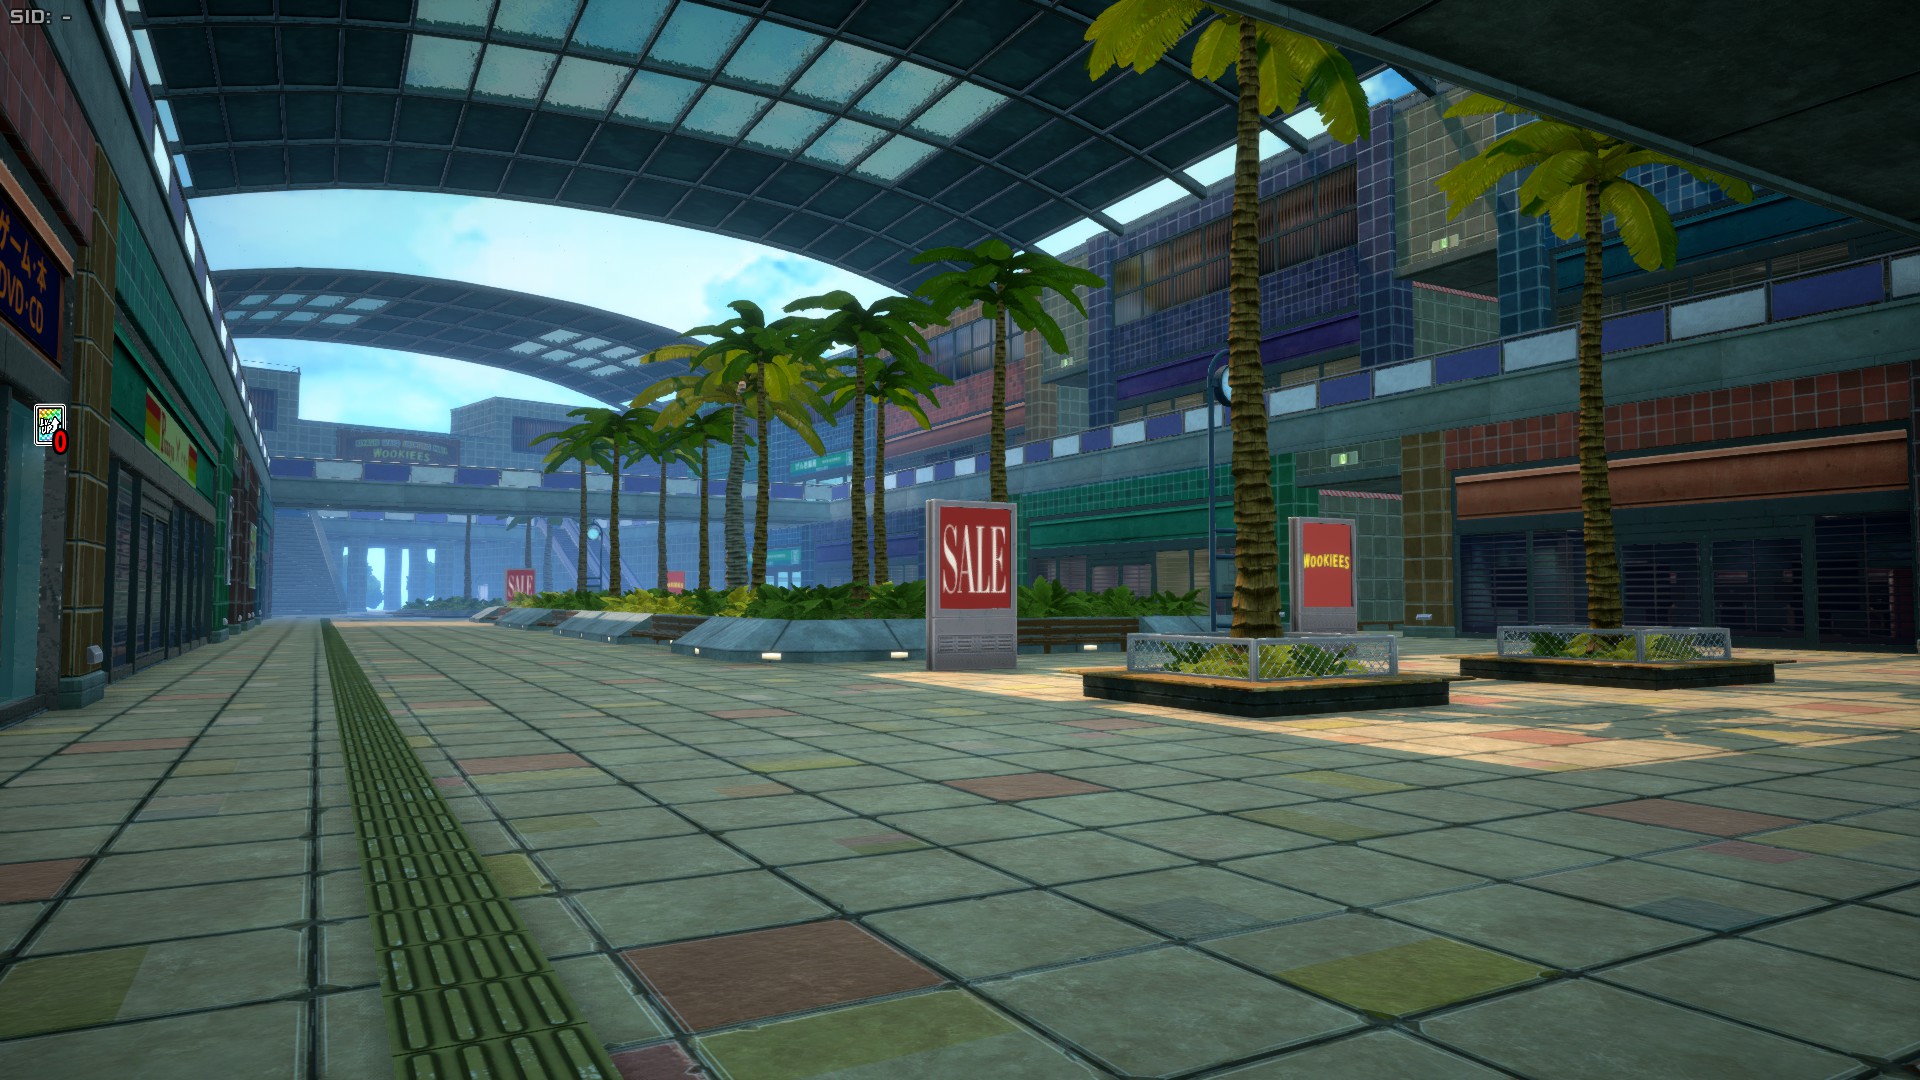
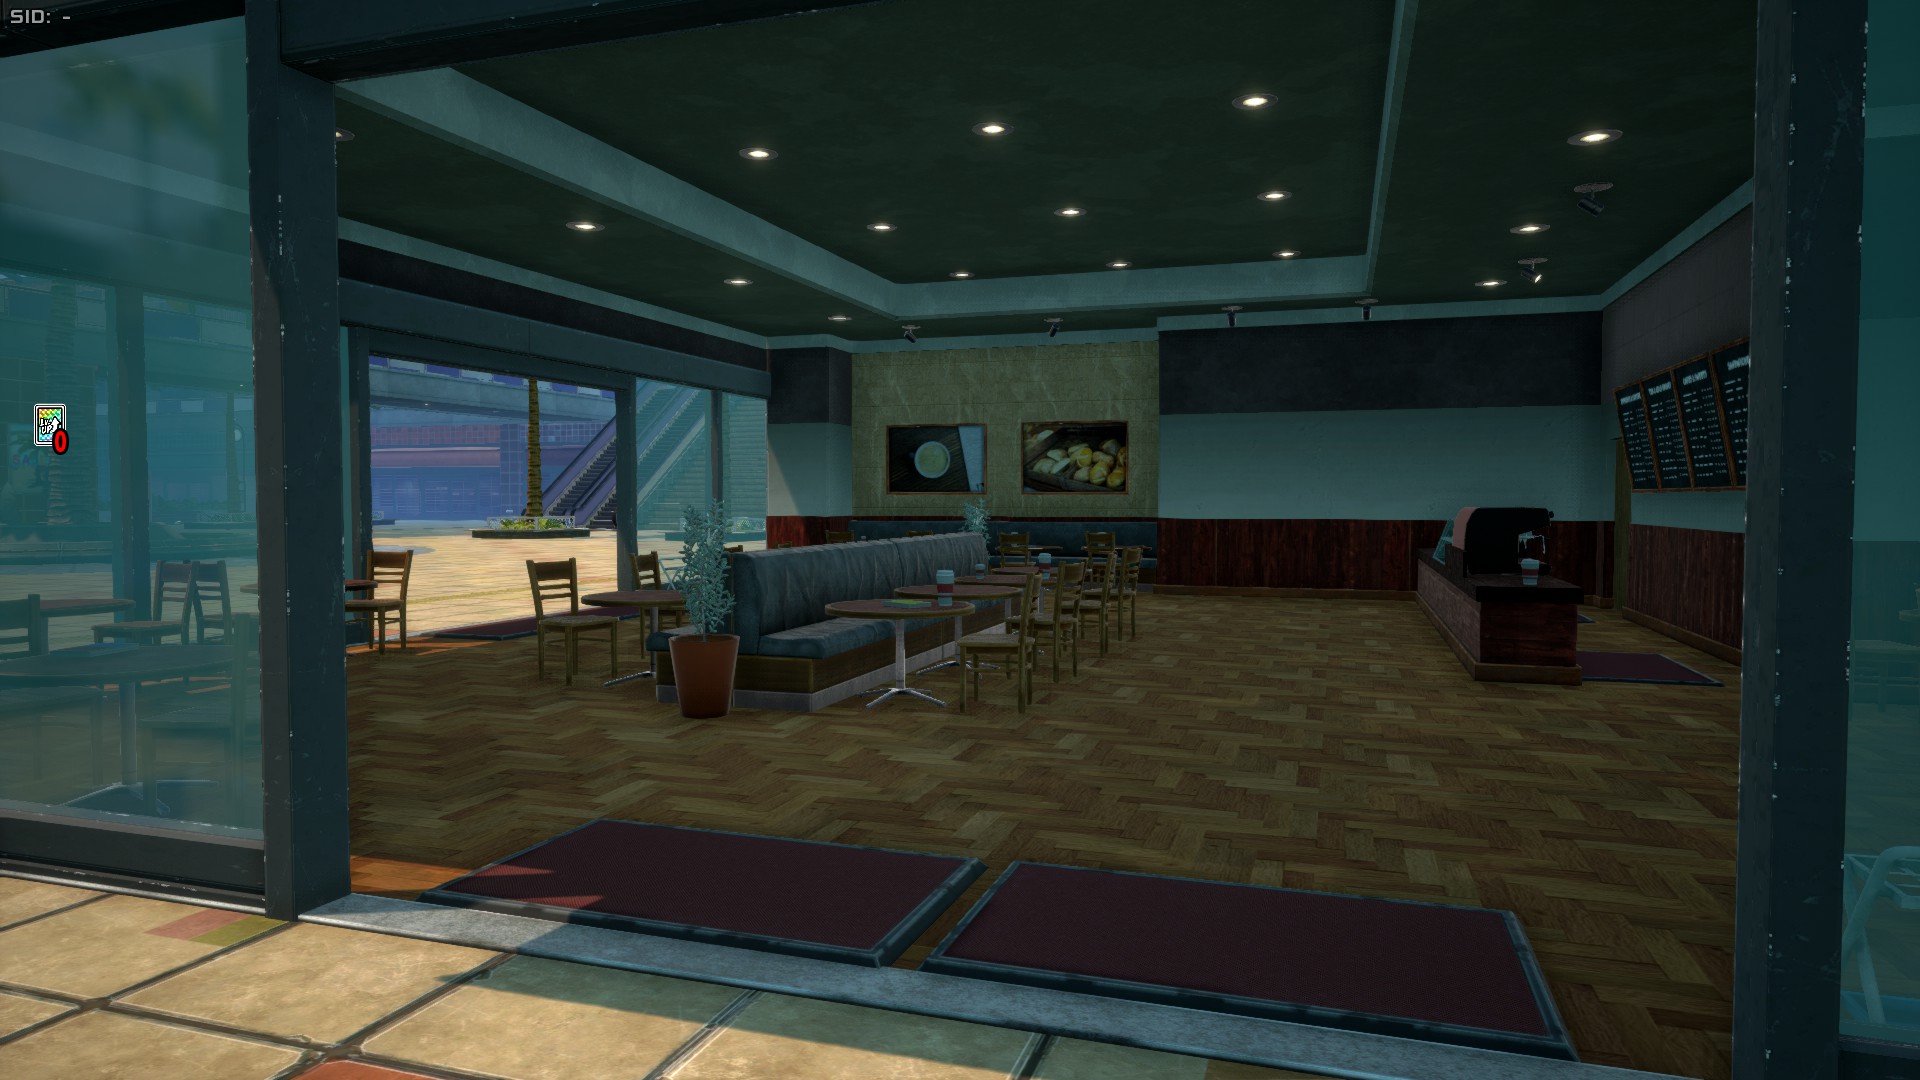
Parking Lot
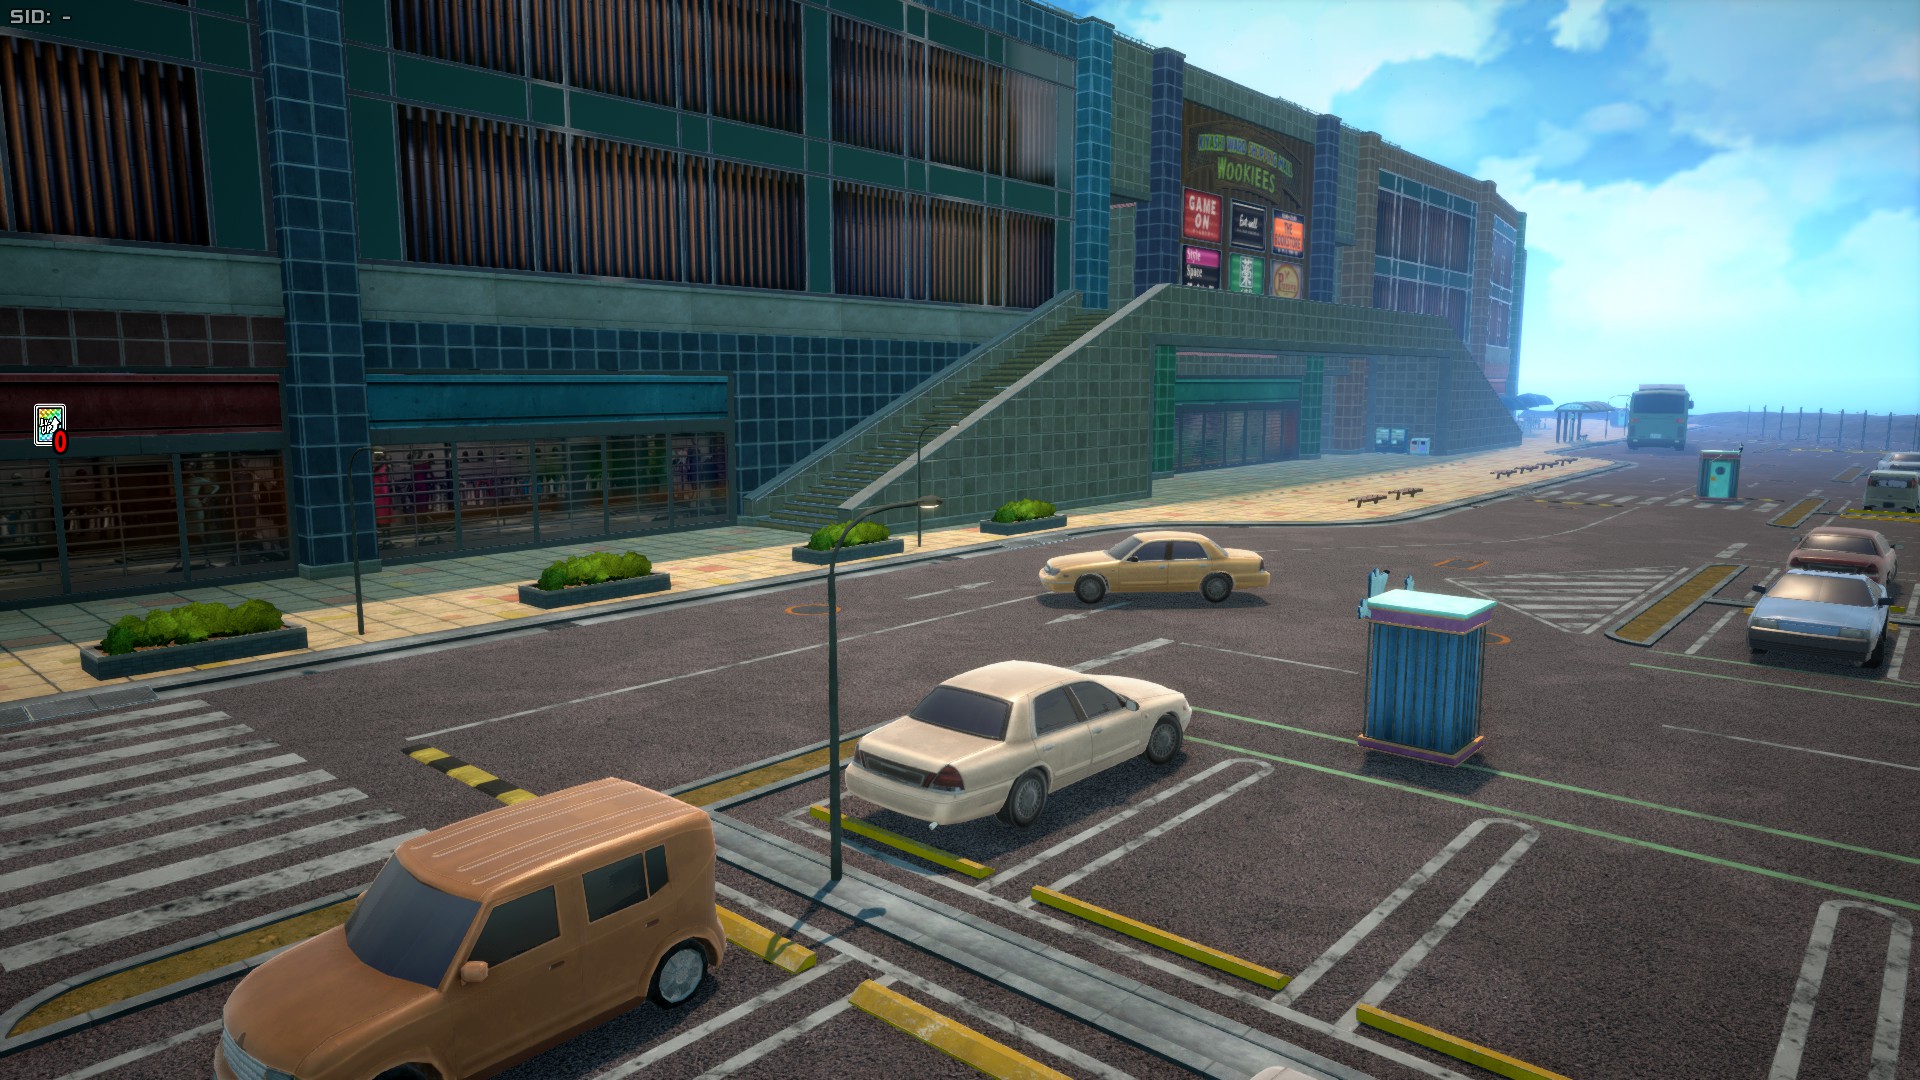
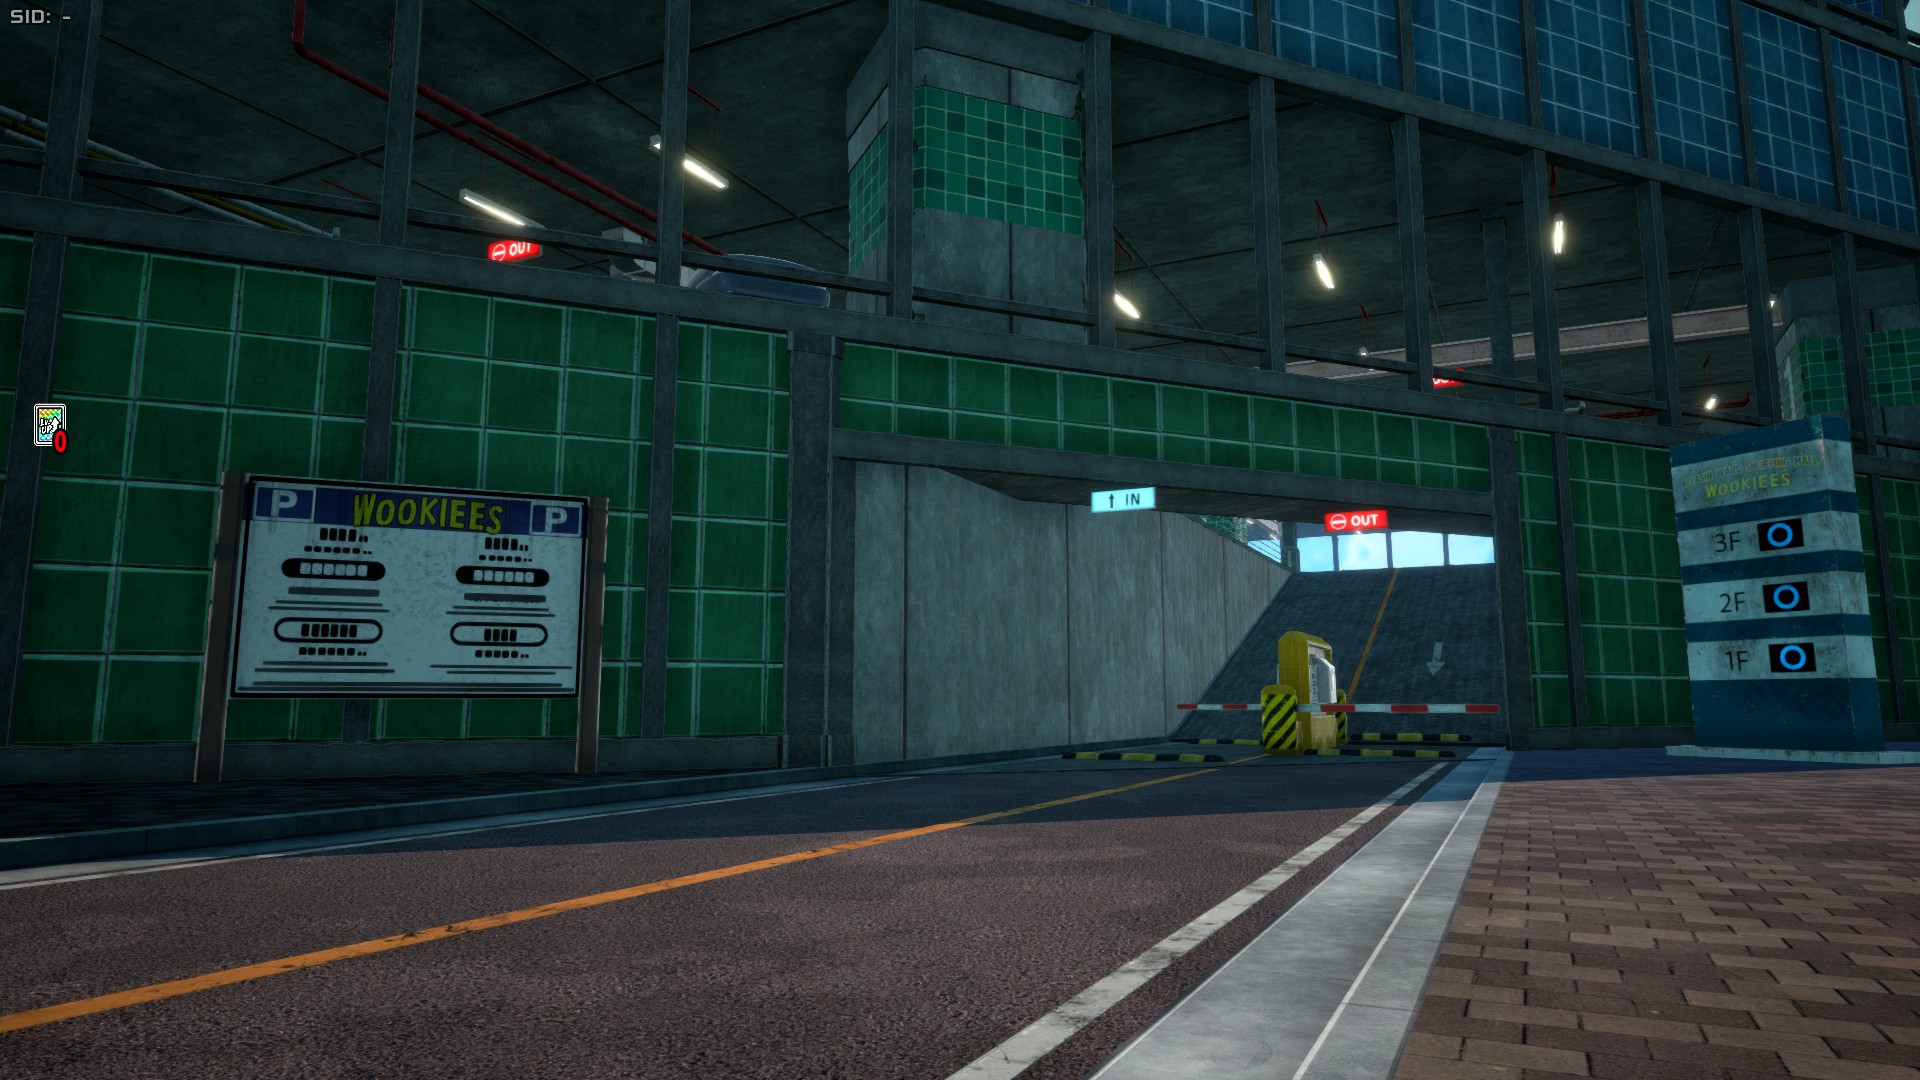
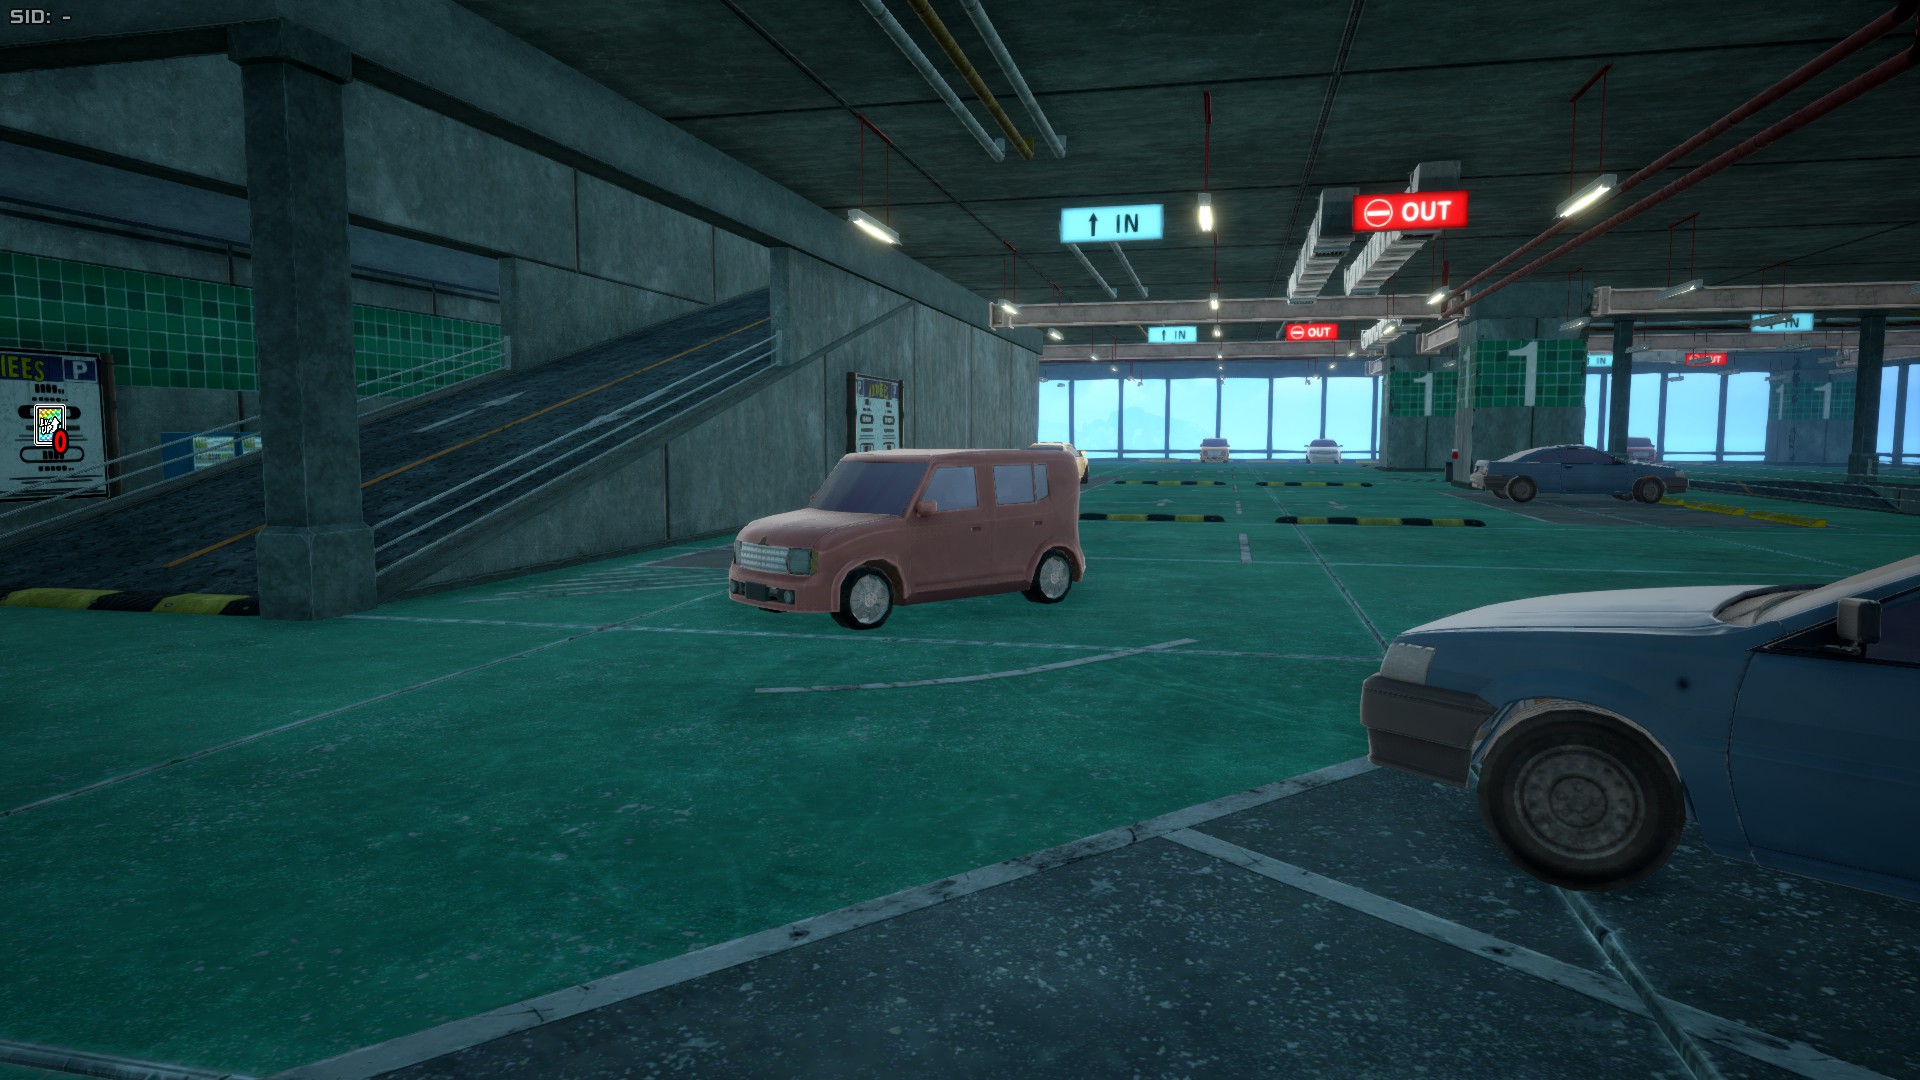
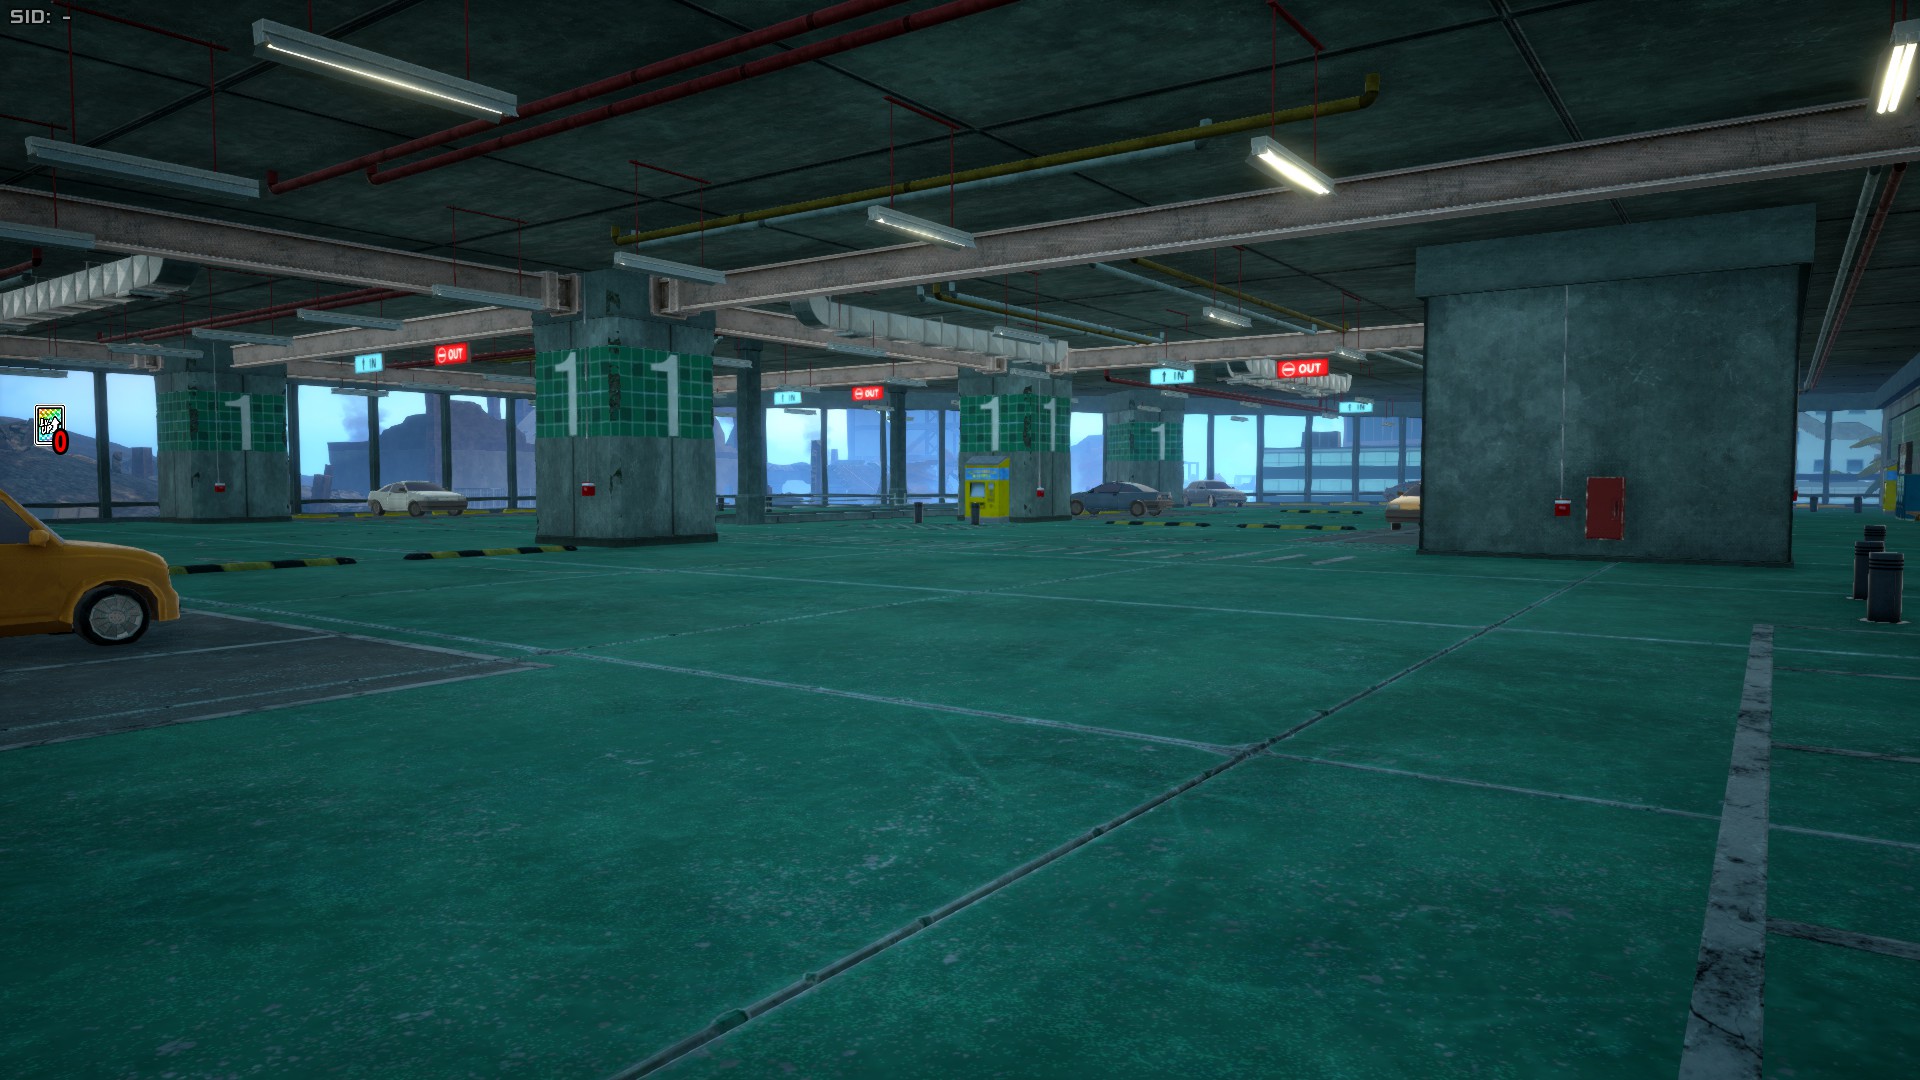
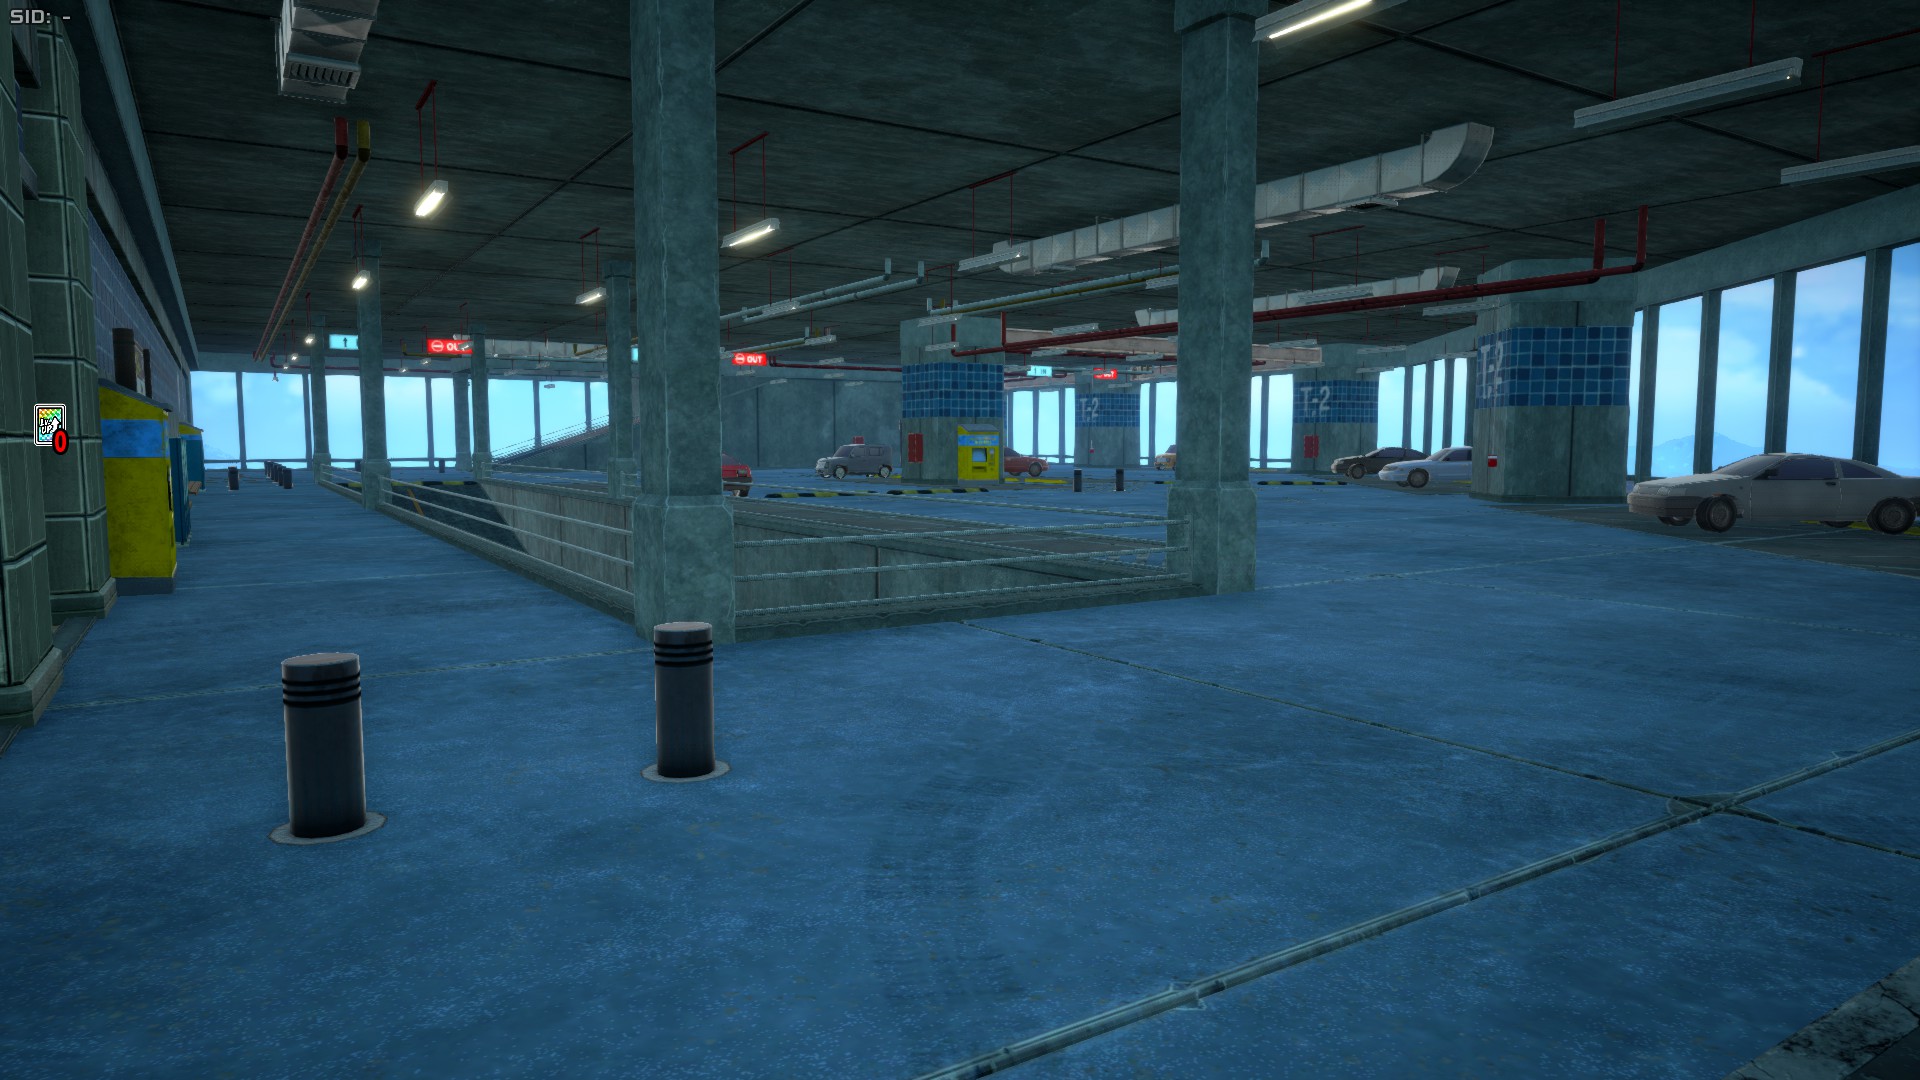
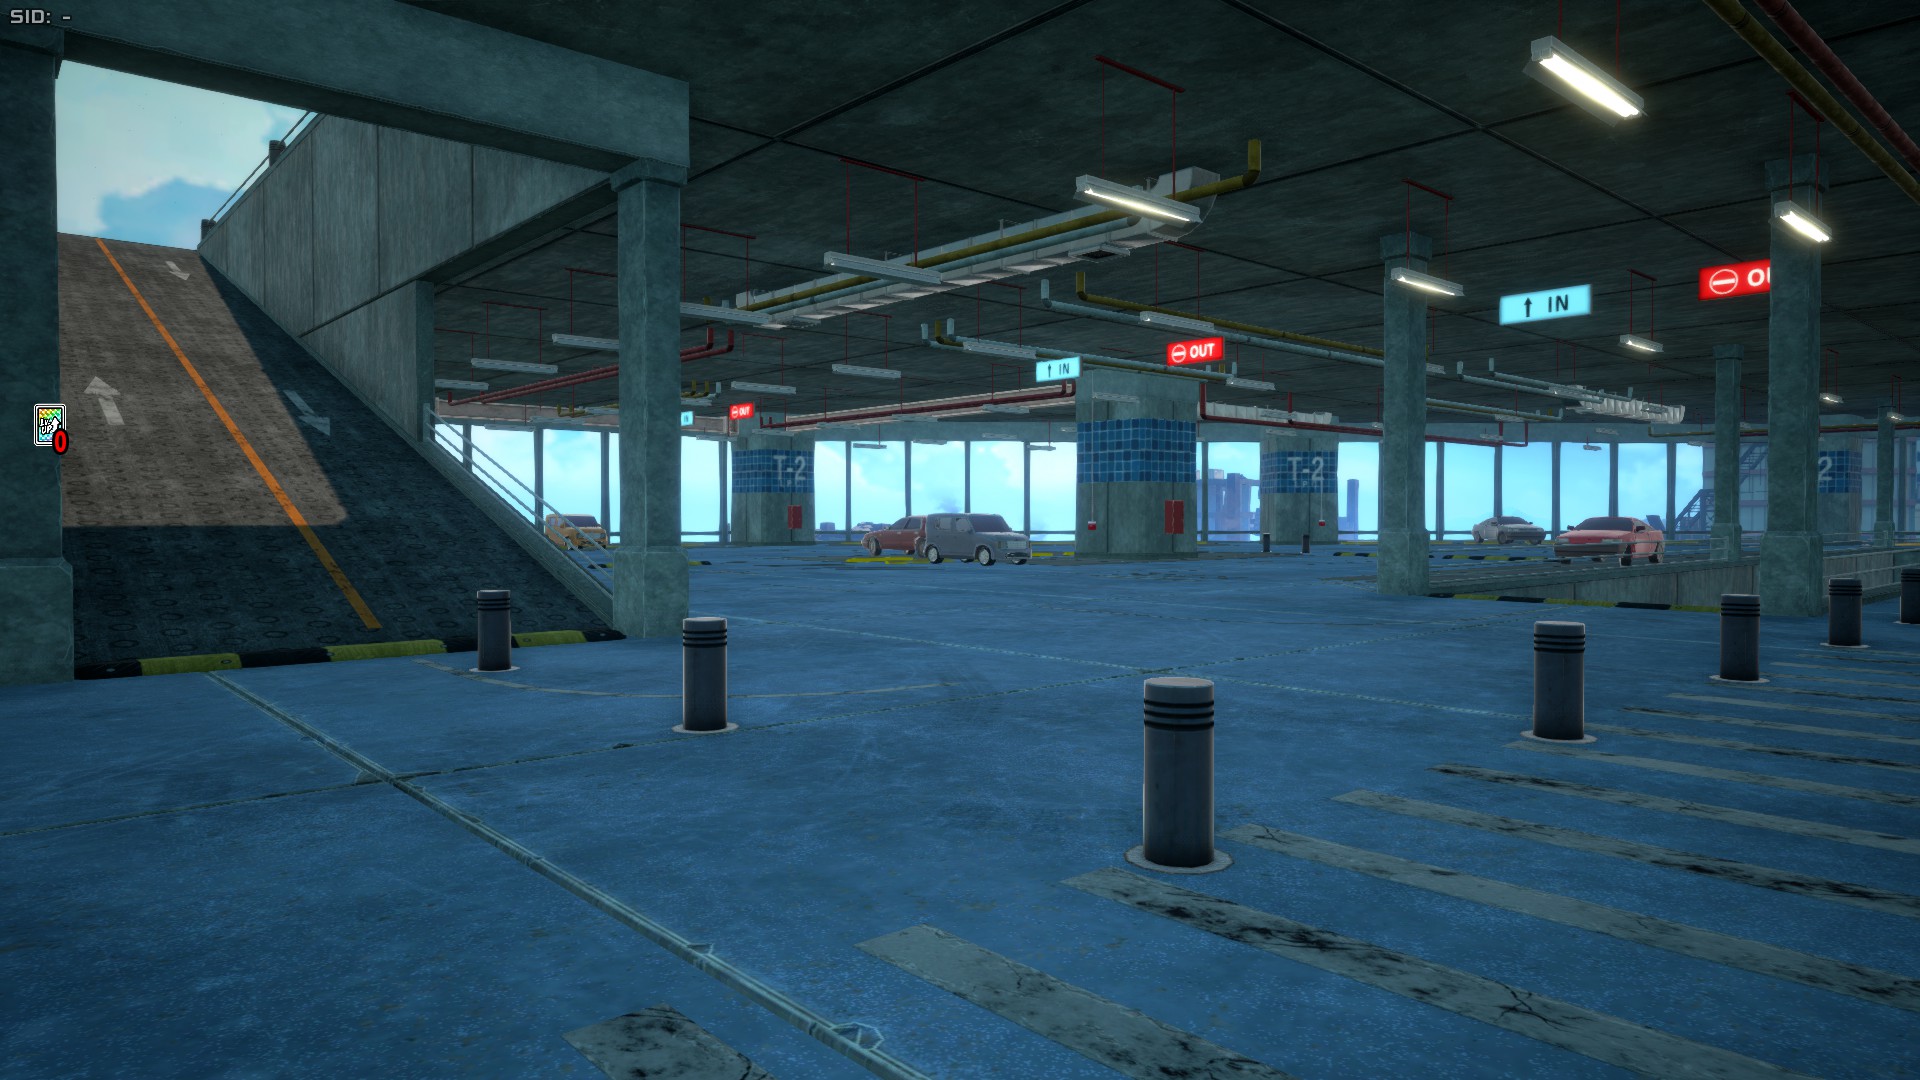
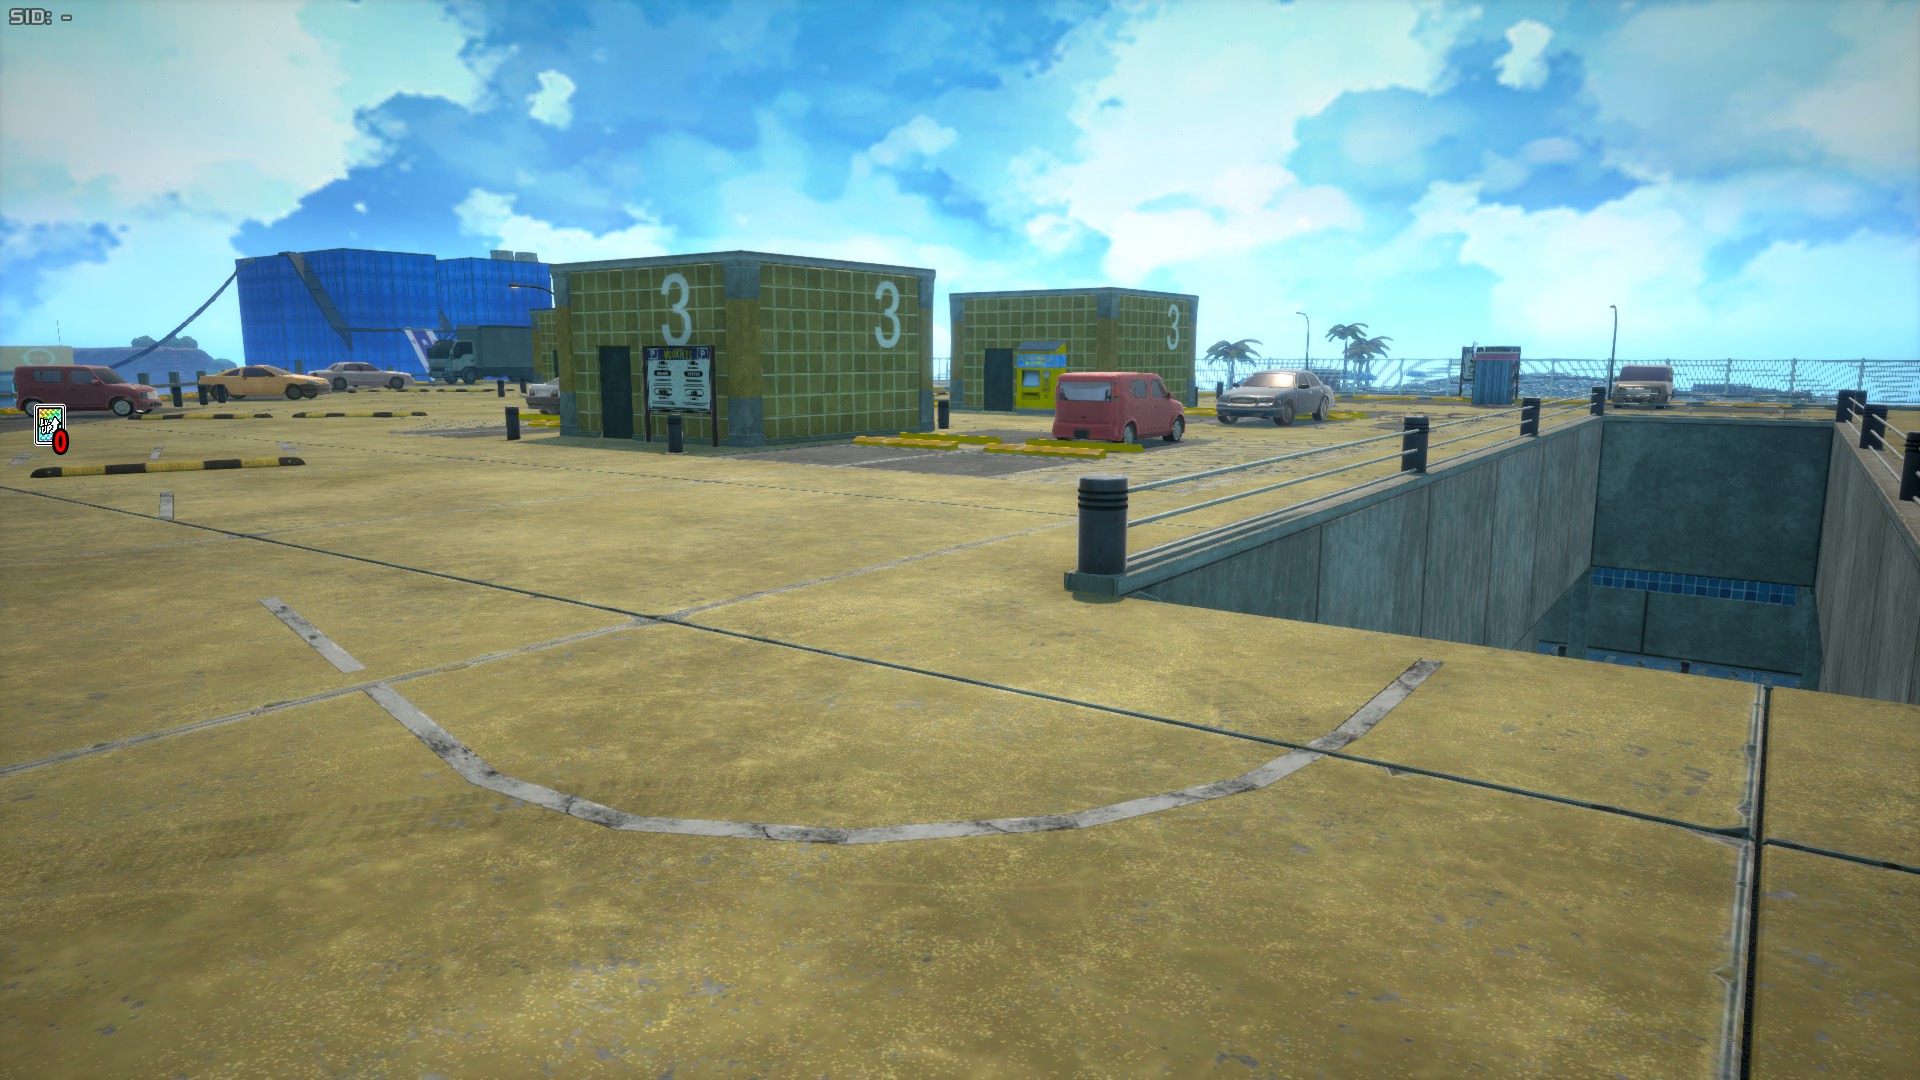
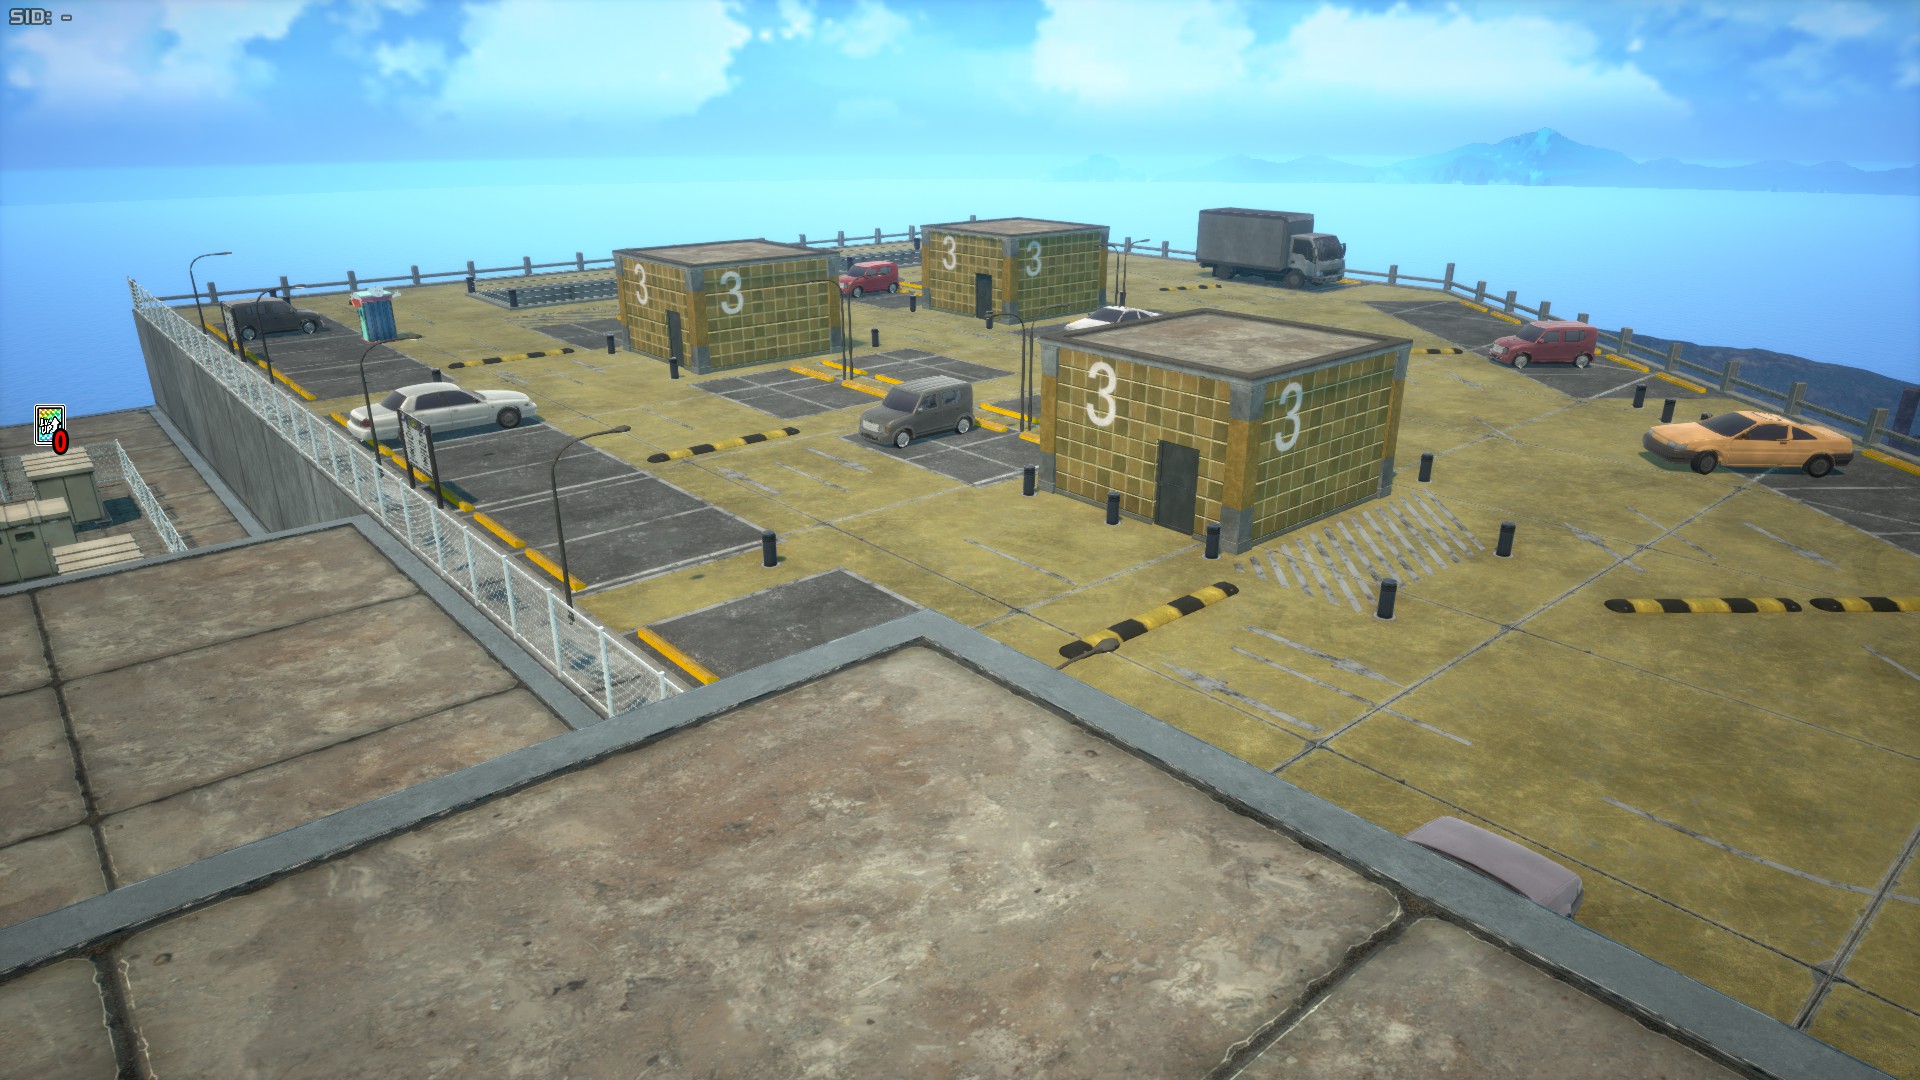
The Parking Lot is a small area in the south-eastern side of the map. It is comprised of 3 levels: The green first level, the blue second level, and the yellow top level. It's can be a good area for looting, especially since it easily leads to the Shopping Mall area, but many people often land here so sometimes the loot pool can spread excessively. If you're lucky and spawn on top of the ramp that connects Floor 2 and Top Floor, you might be able to get Kota, as two of his spawn points are very close together to the ramp's side.
Suburbs
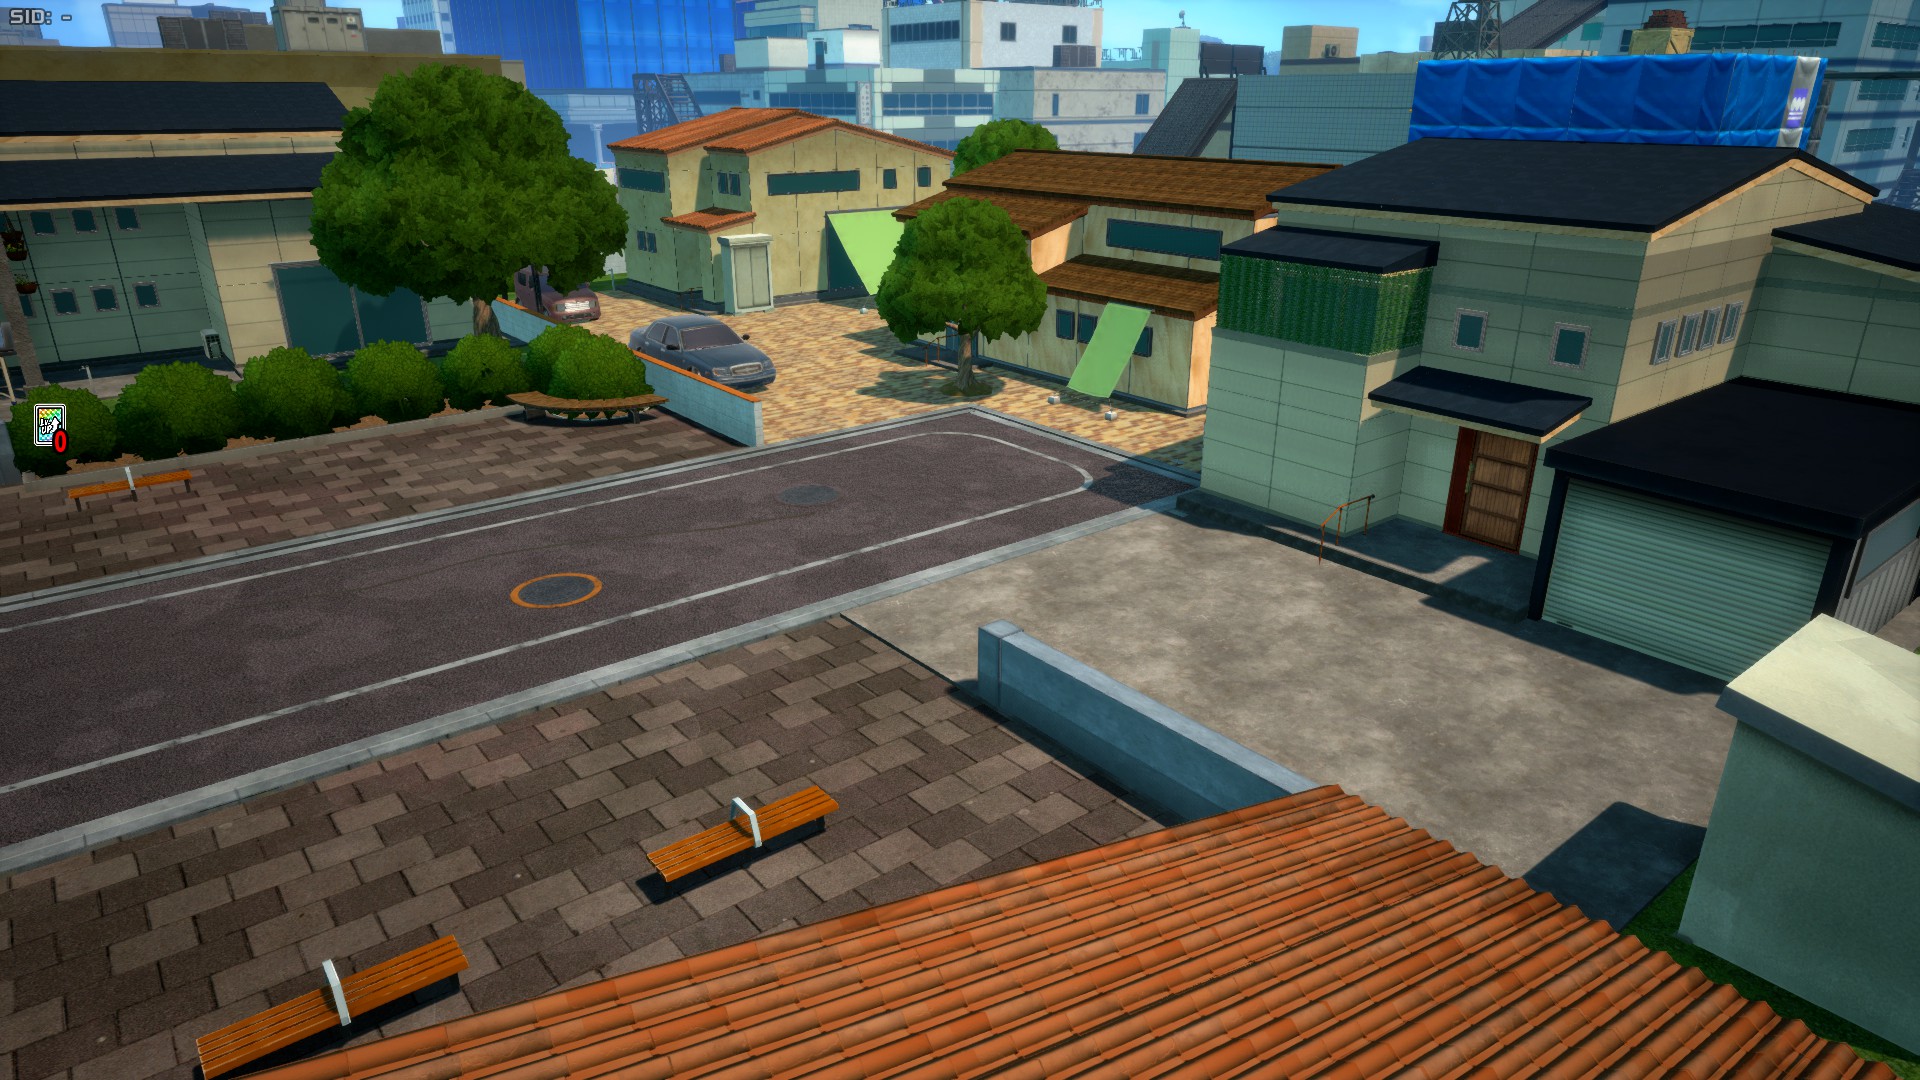
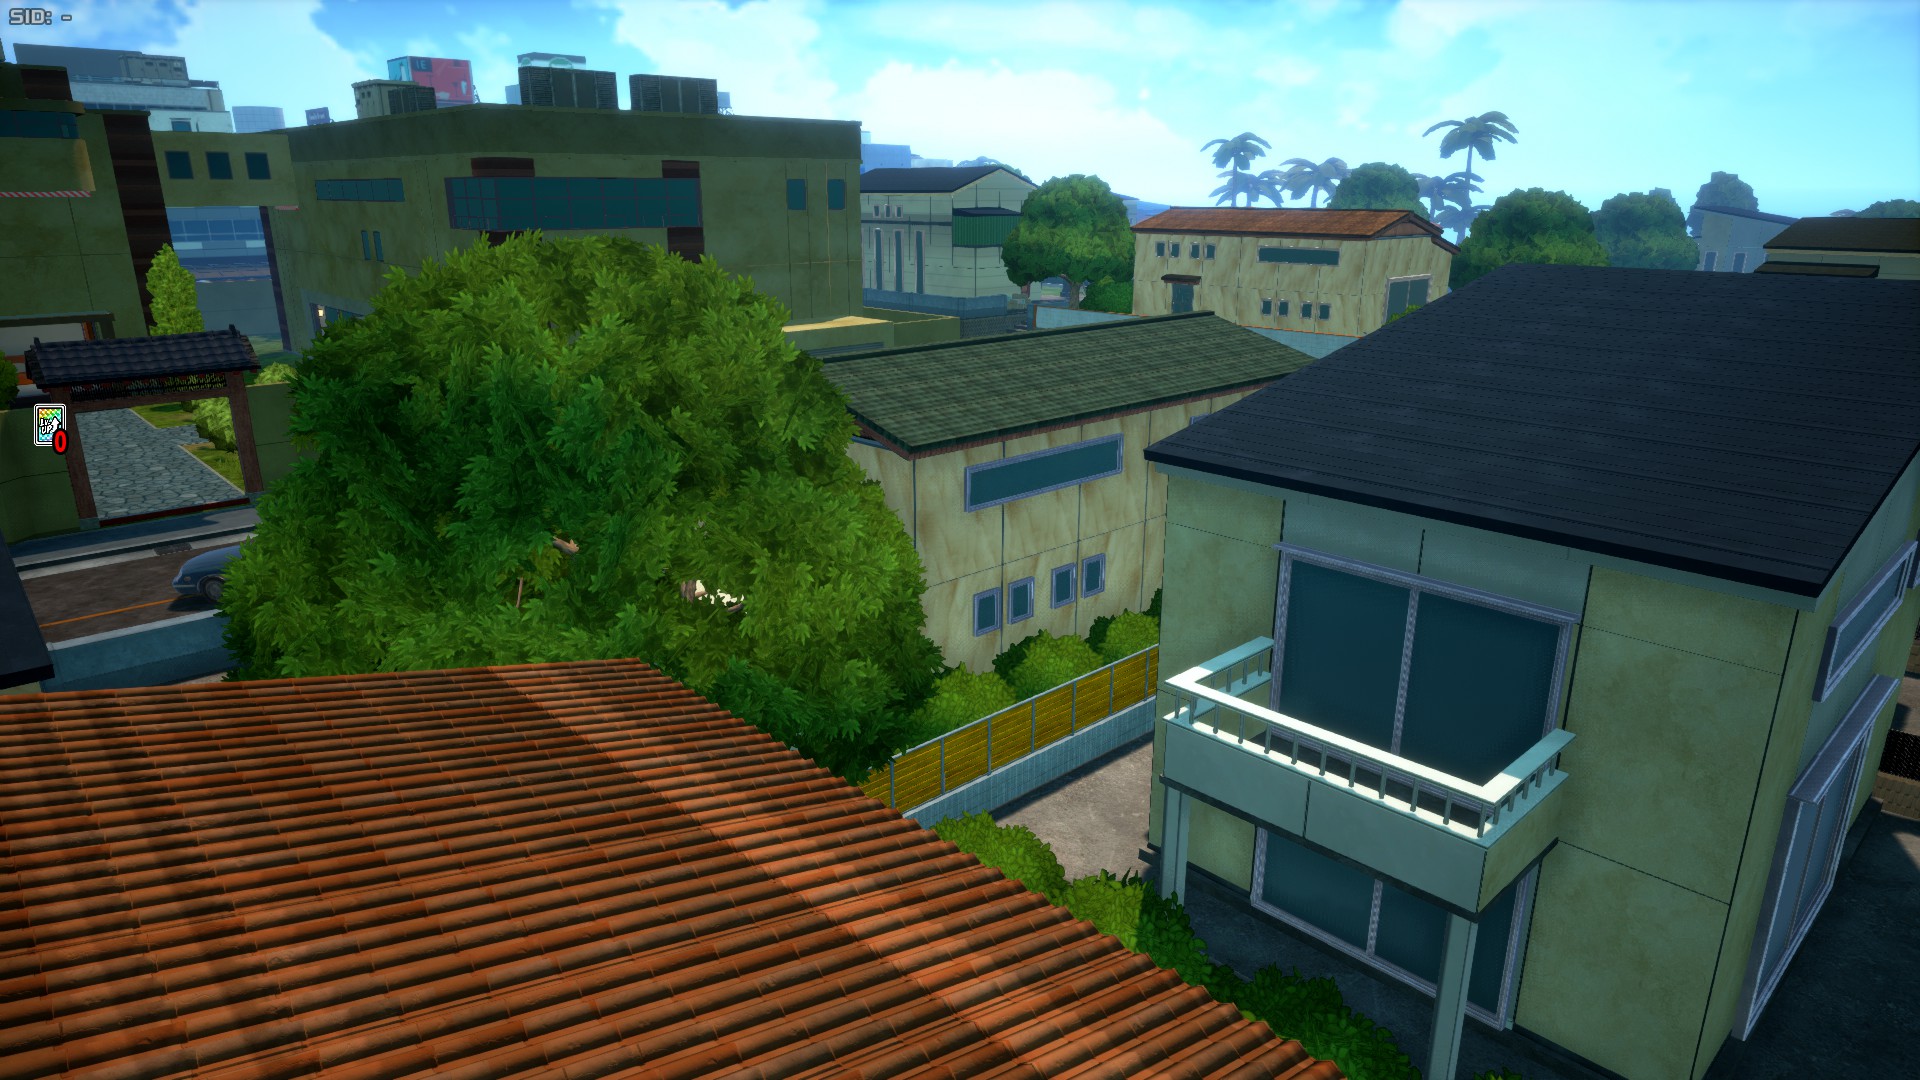
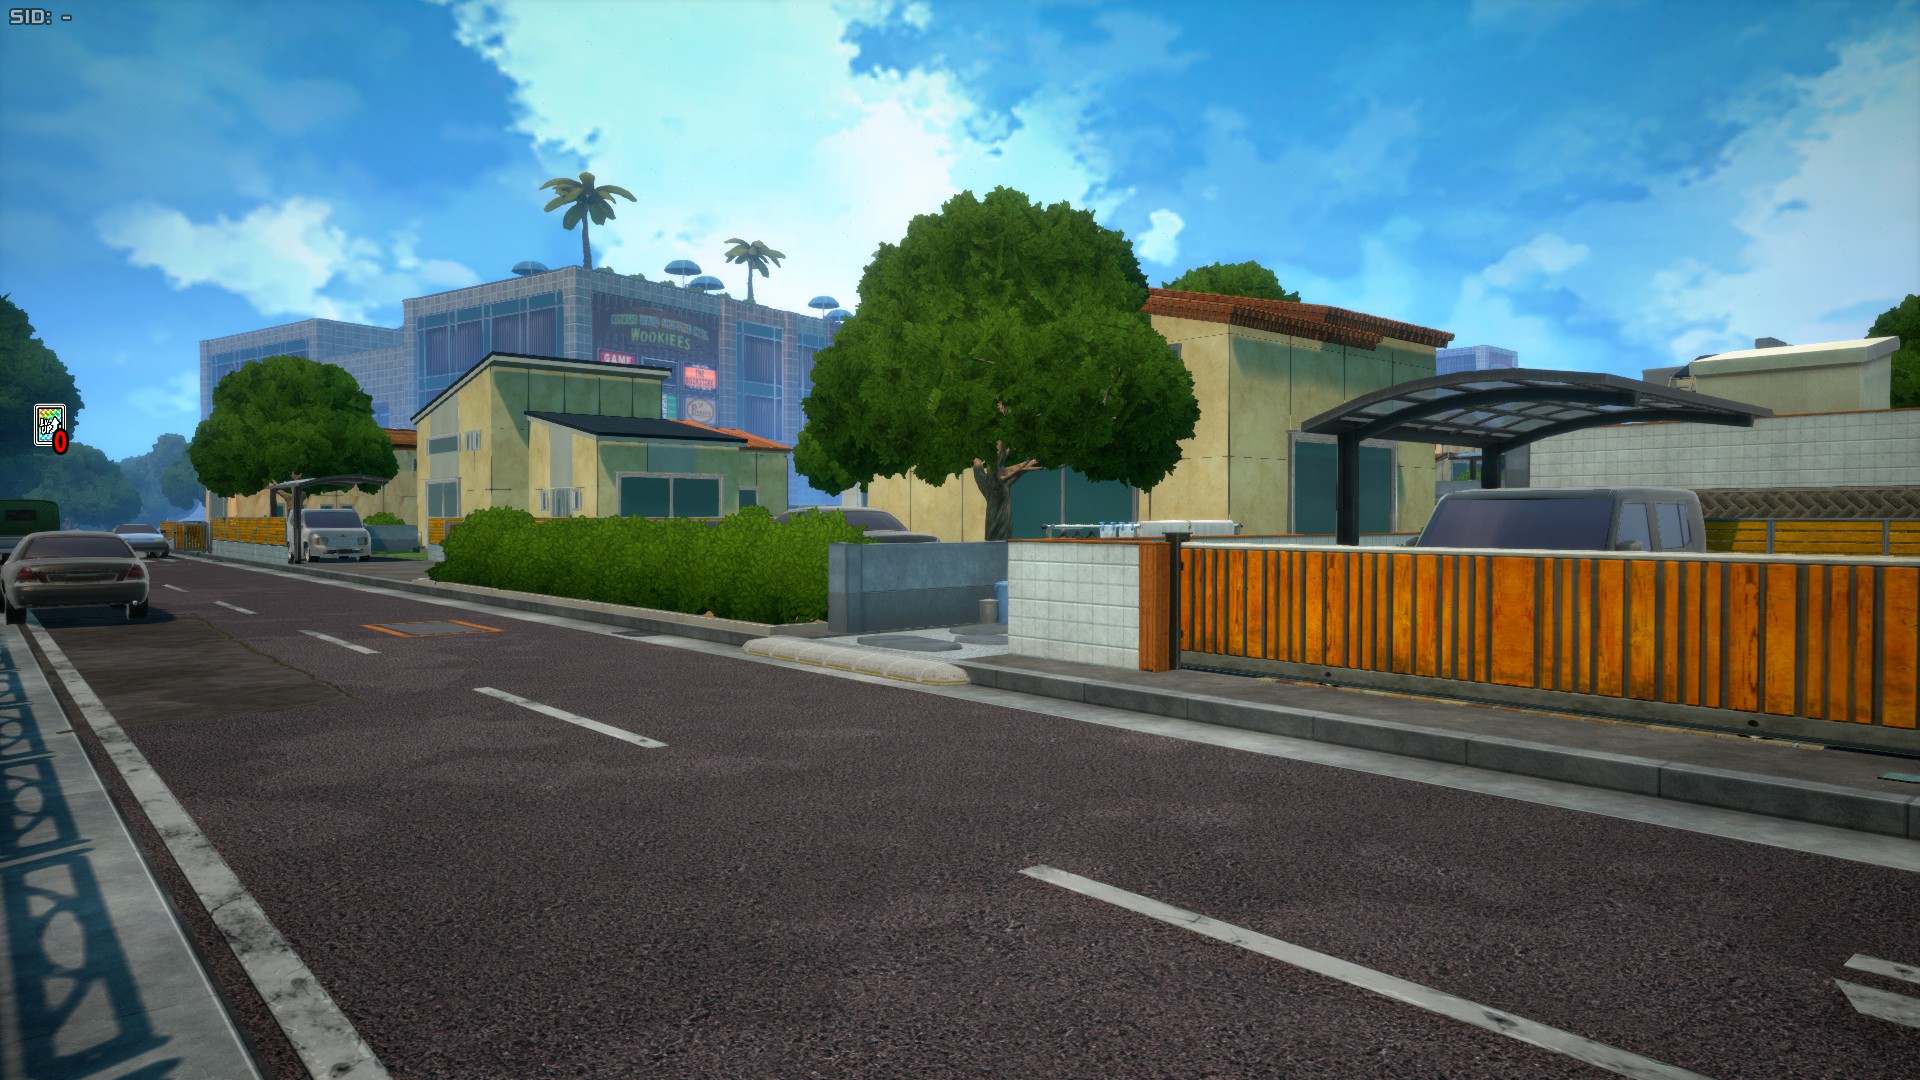
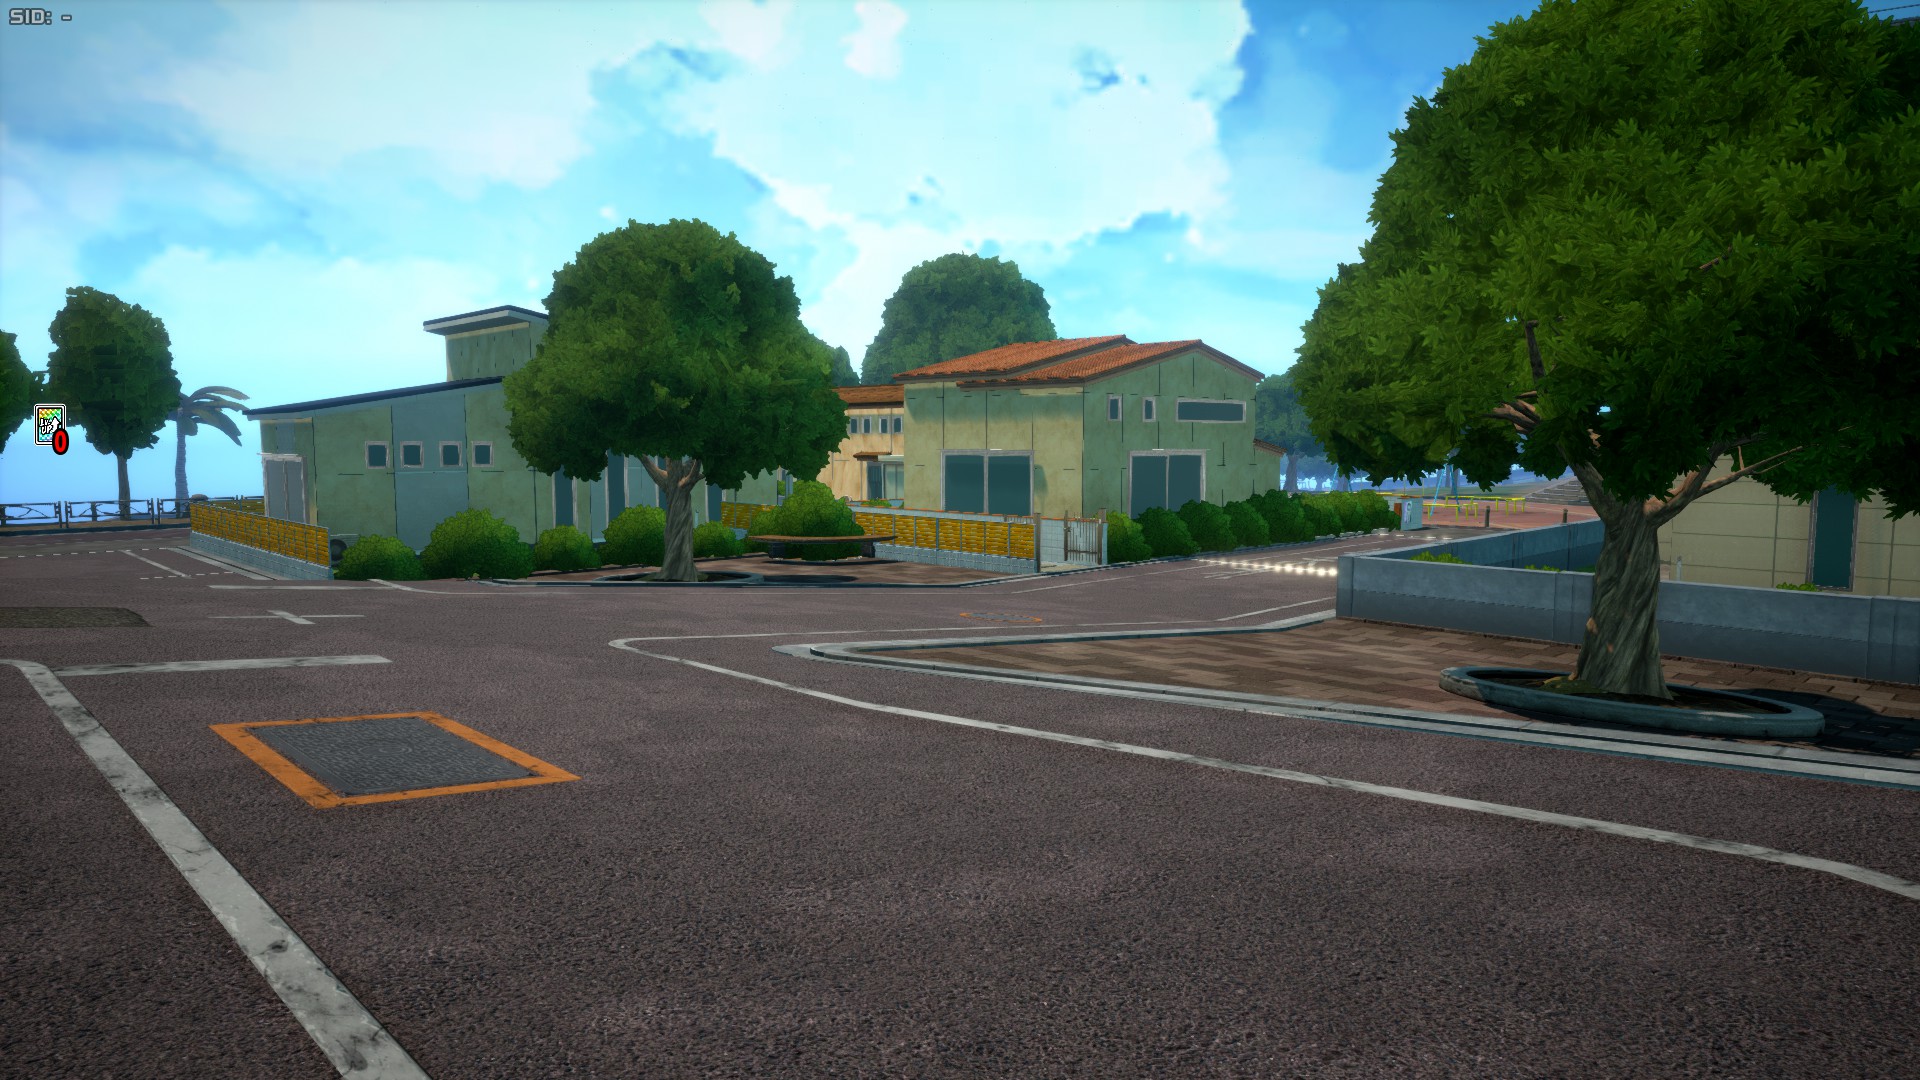
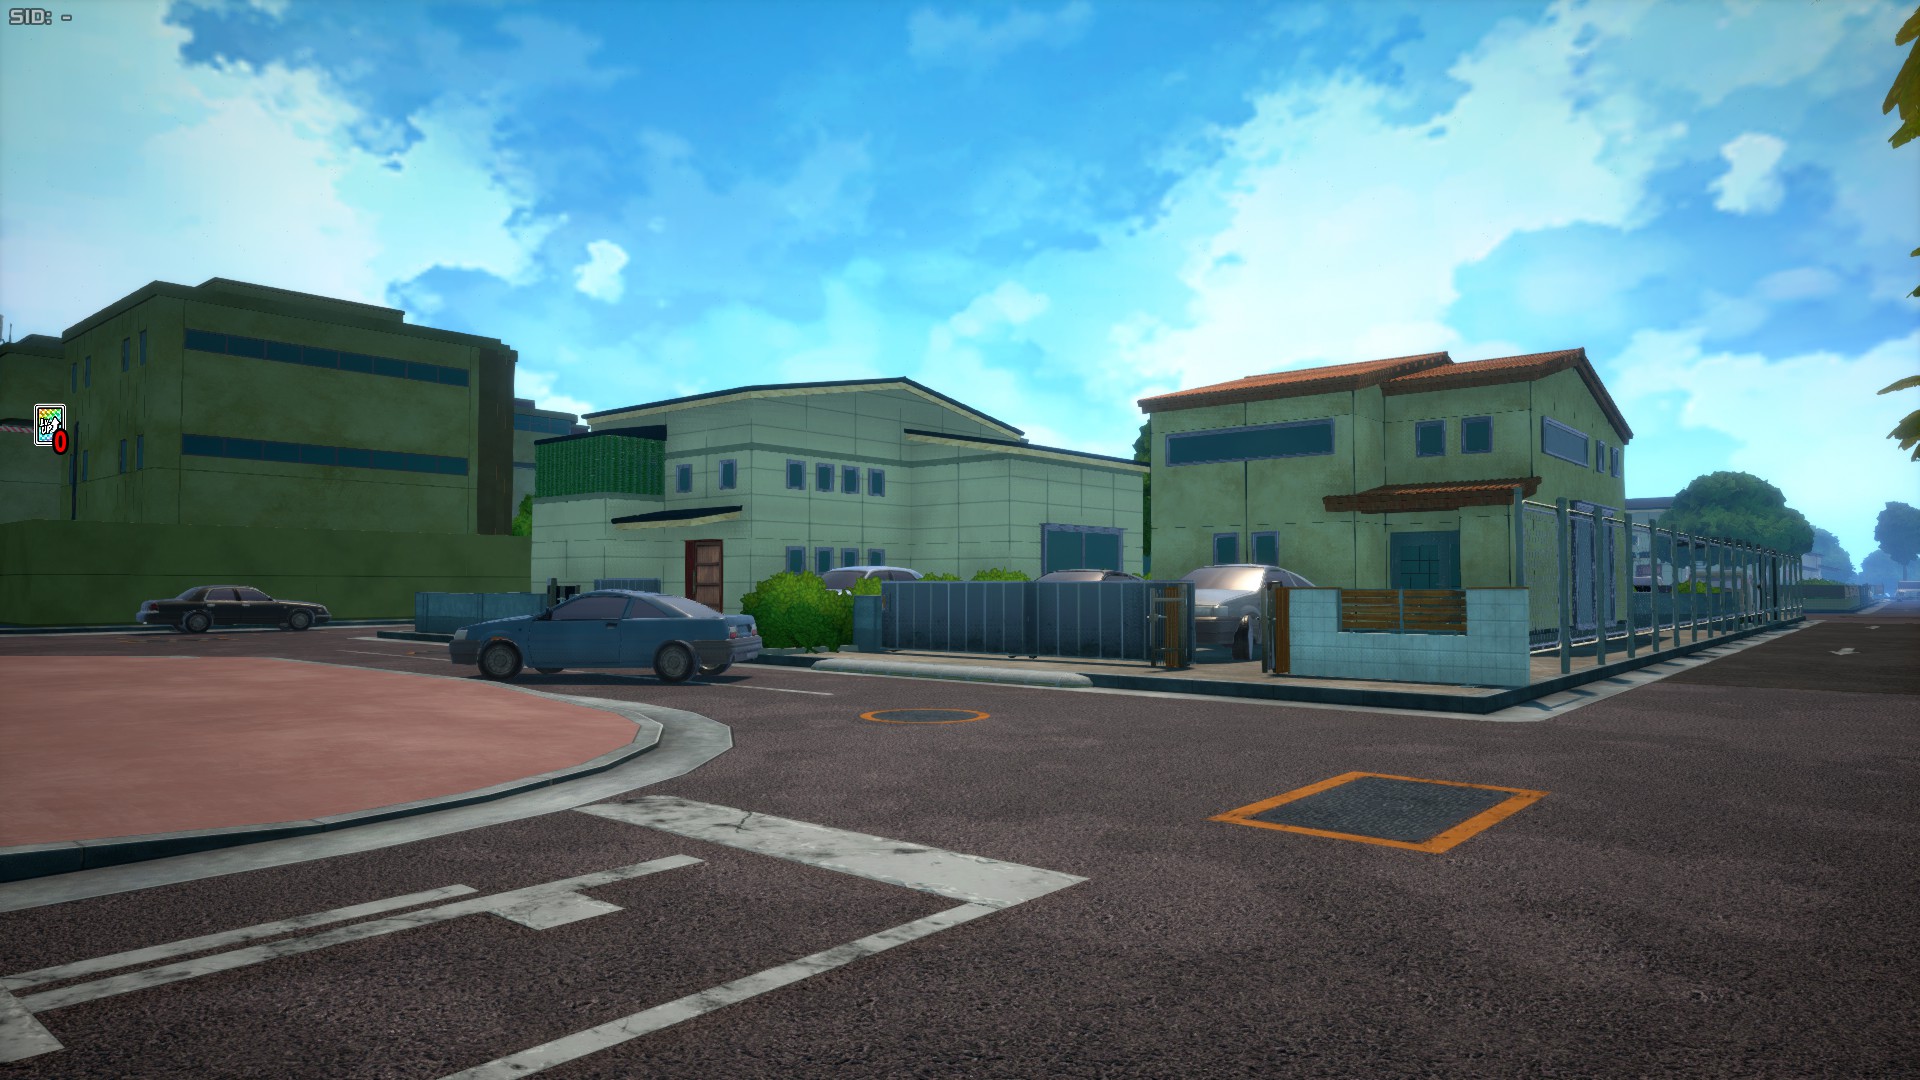
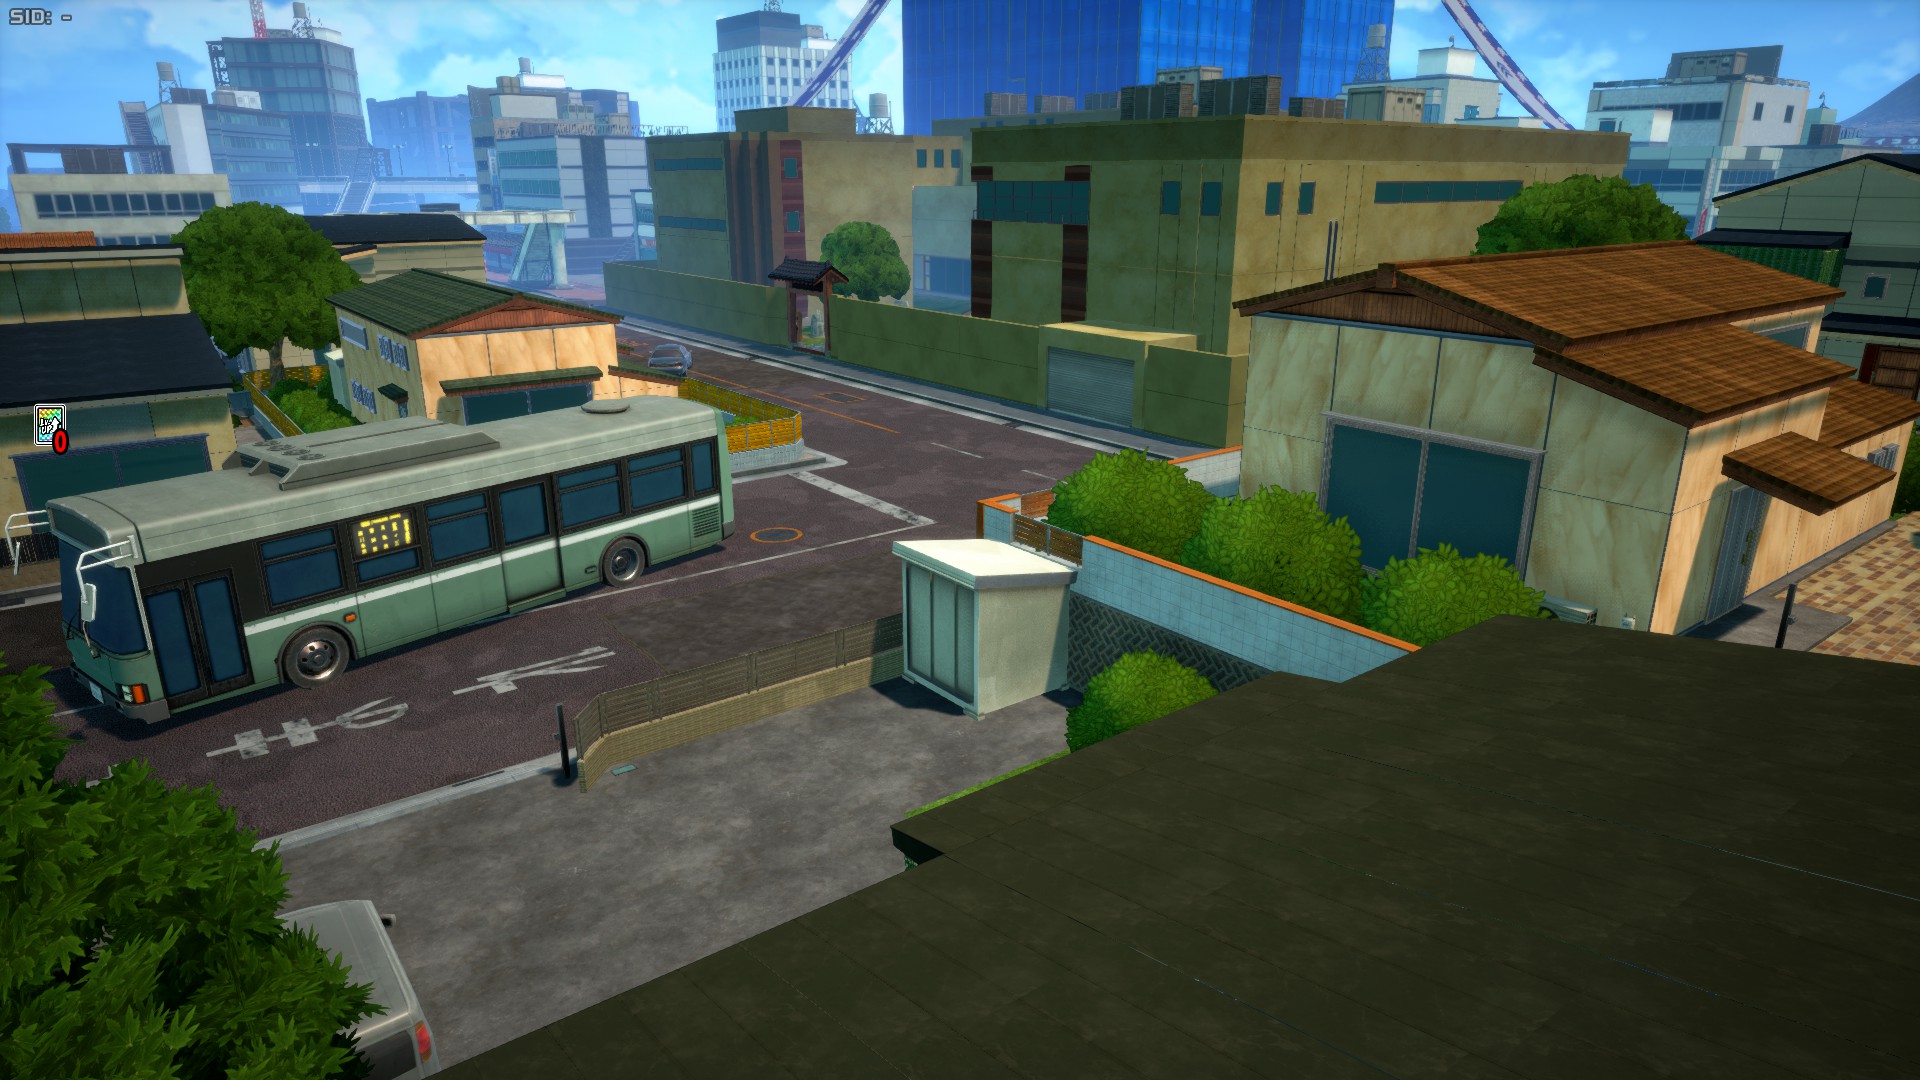
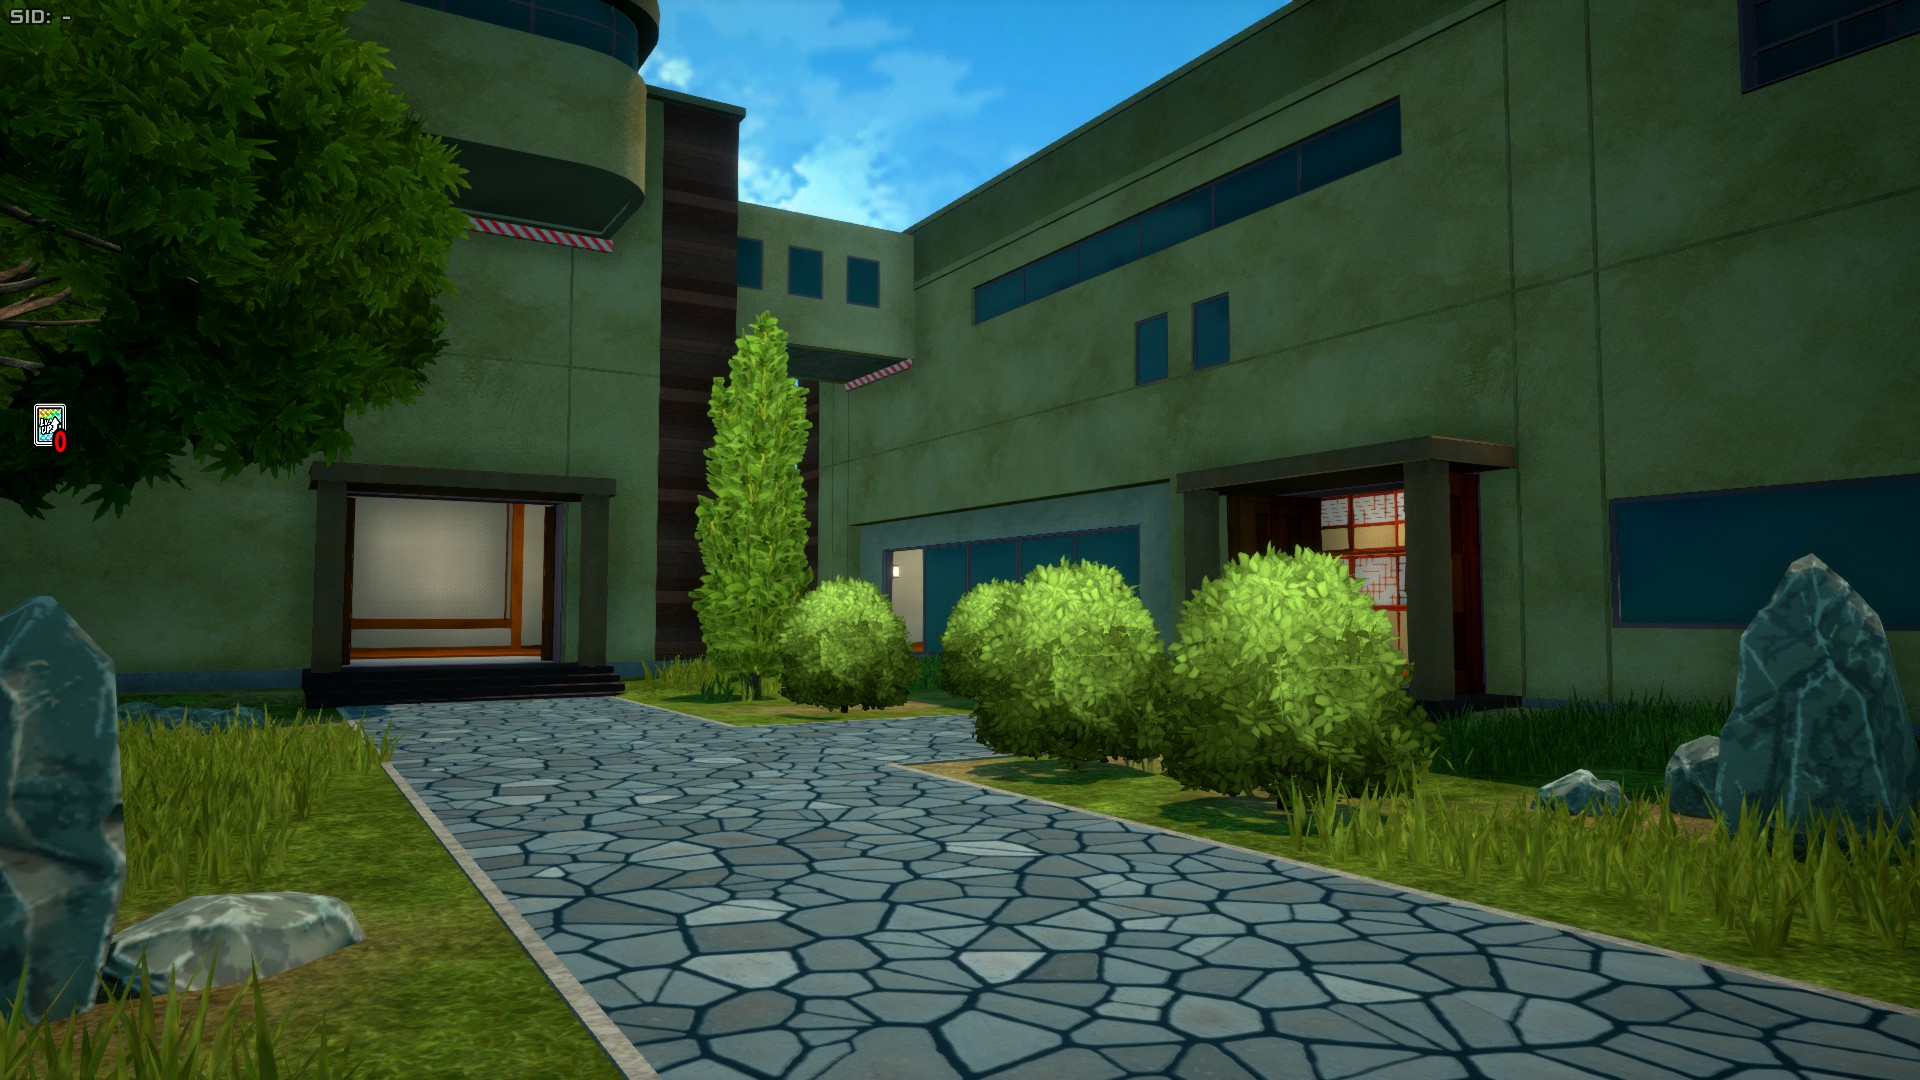
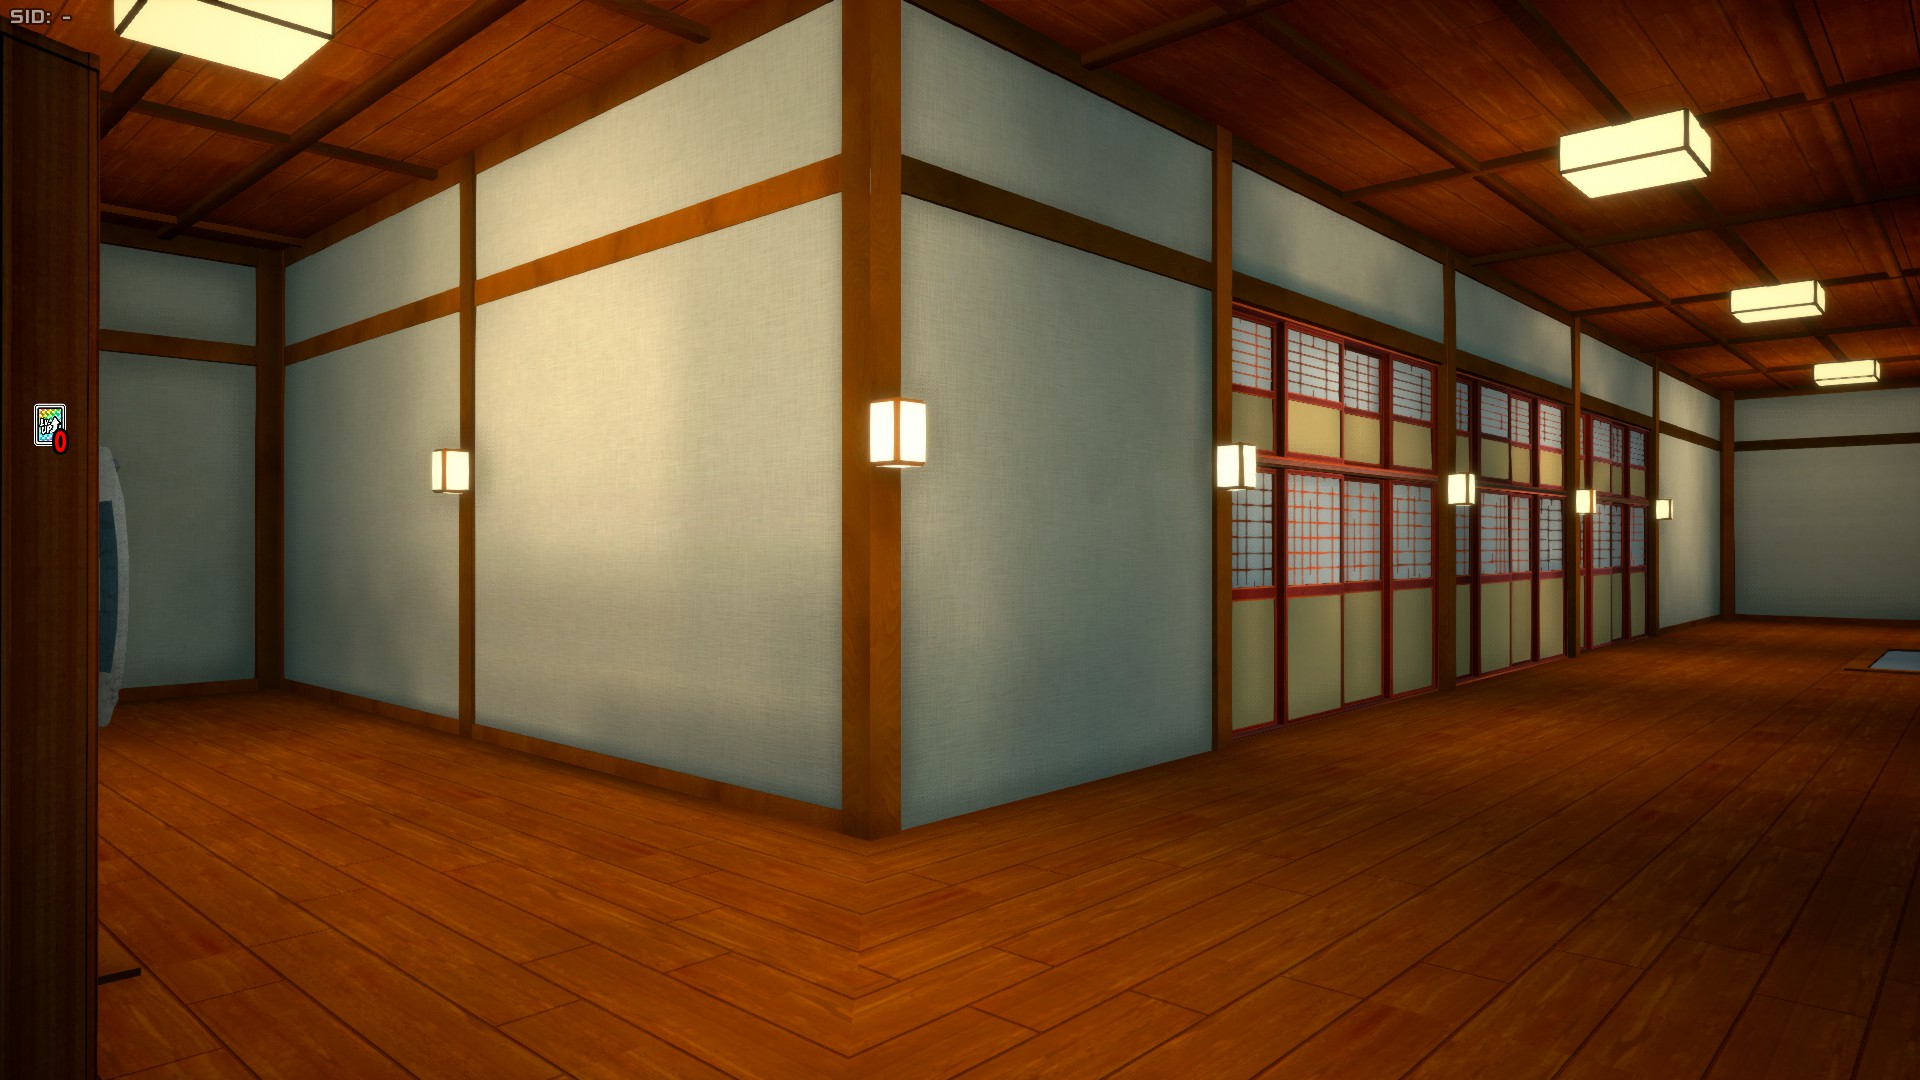
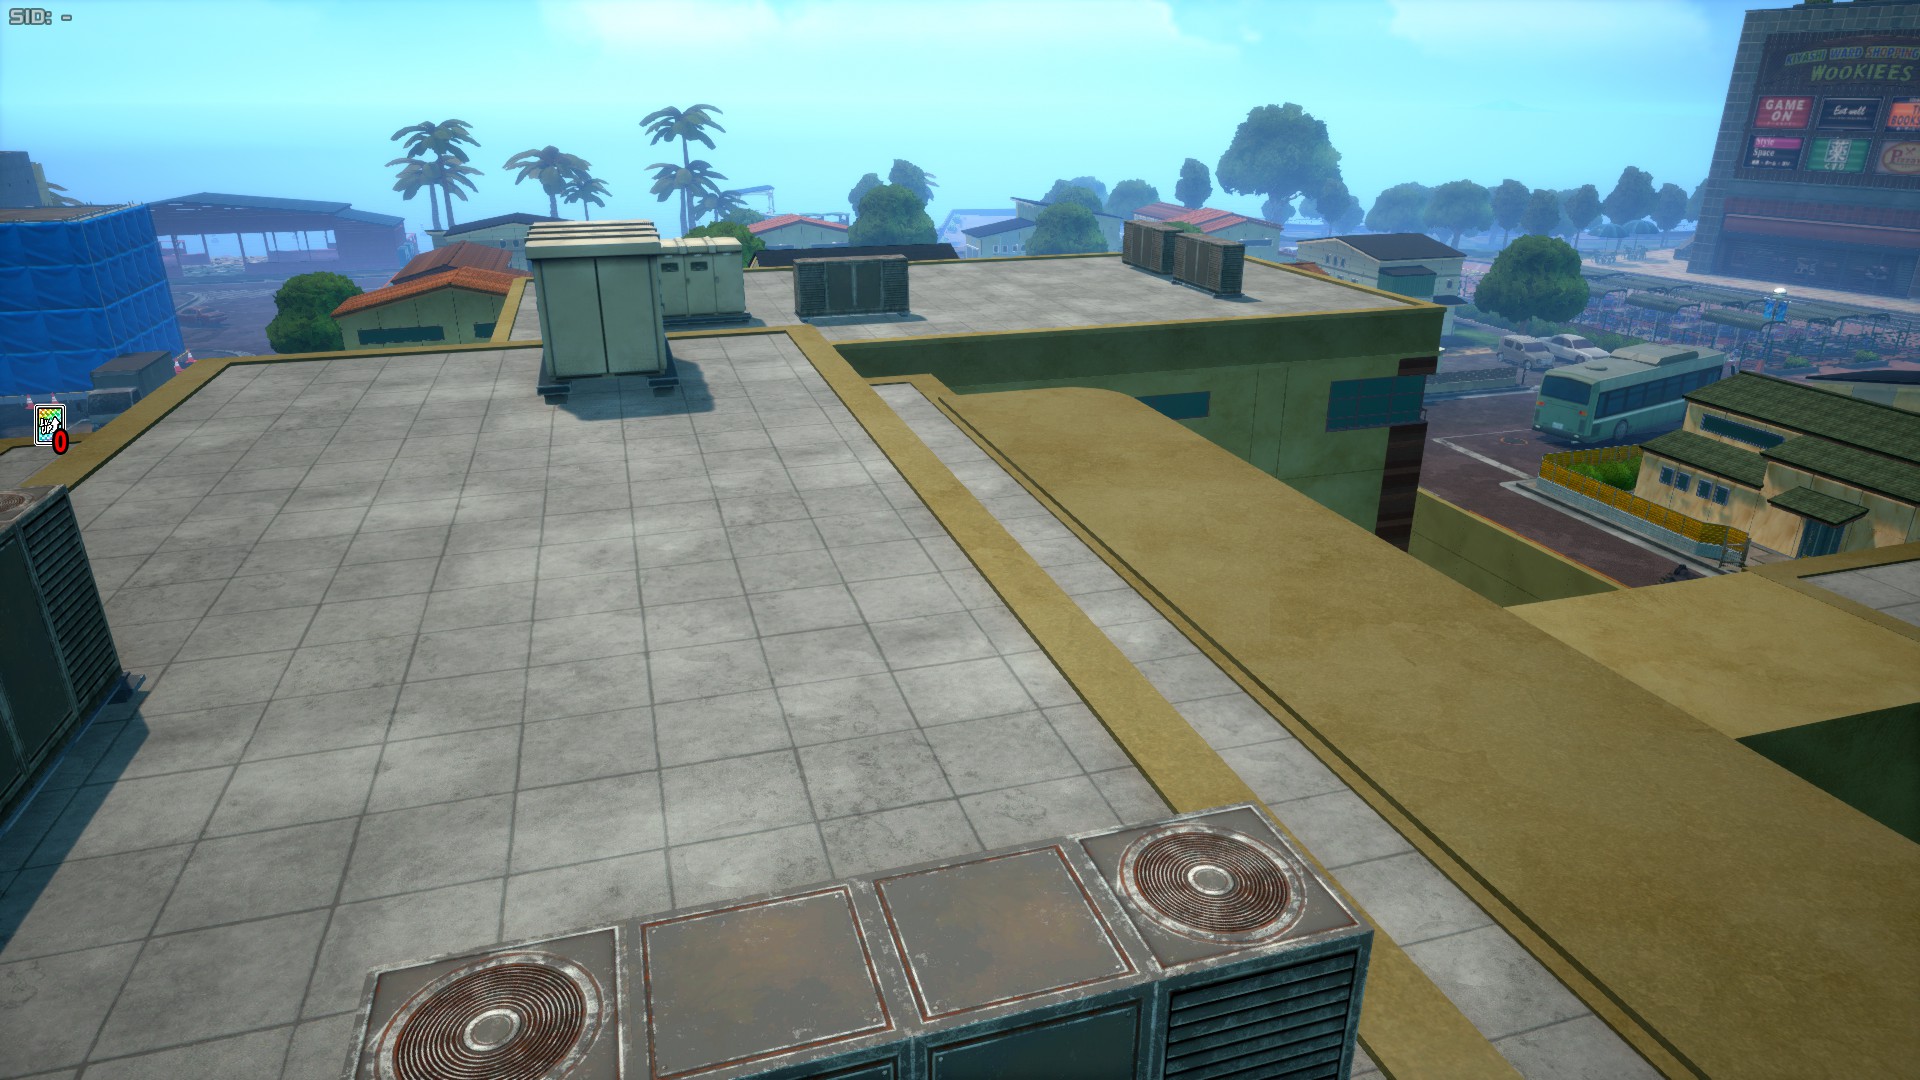
Suburbs is a relatively small area that covers the other half of the northern side and the inner north-eastern side. It features a bunch of small houses and bushes that can serve as hiding spots when not being specifically focused by an enemy. It also includes the Shie Hassaikai building where Overhaul lives. This area isn't bad for Kota, as it's a small area and there's quite a few Kota spots in it.
Destruction Area
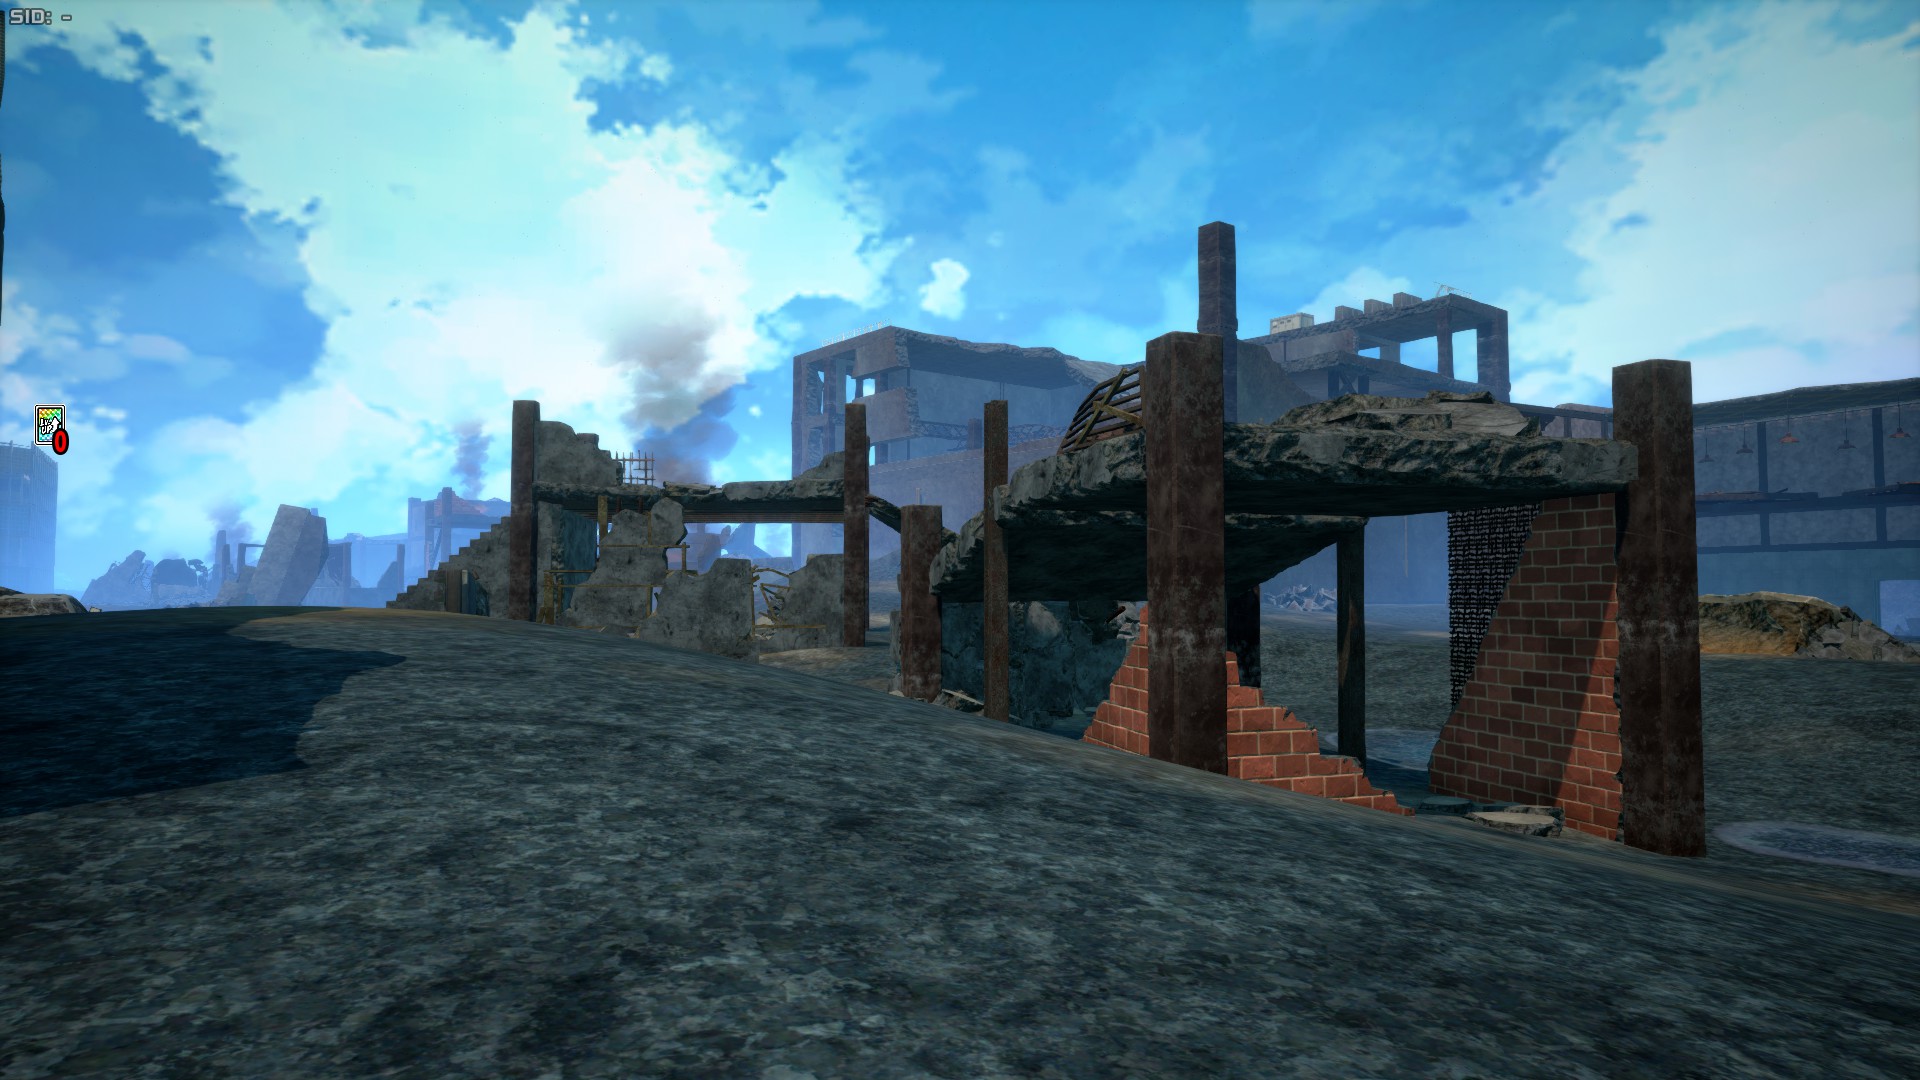
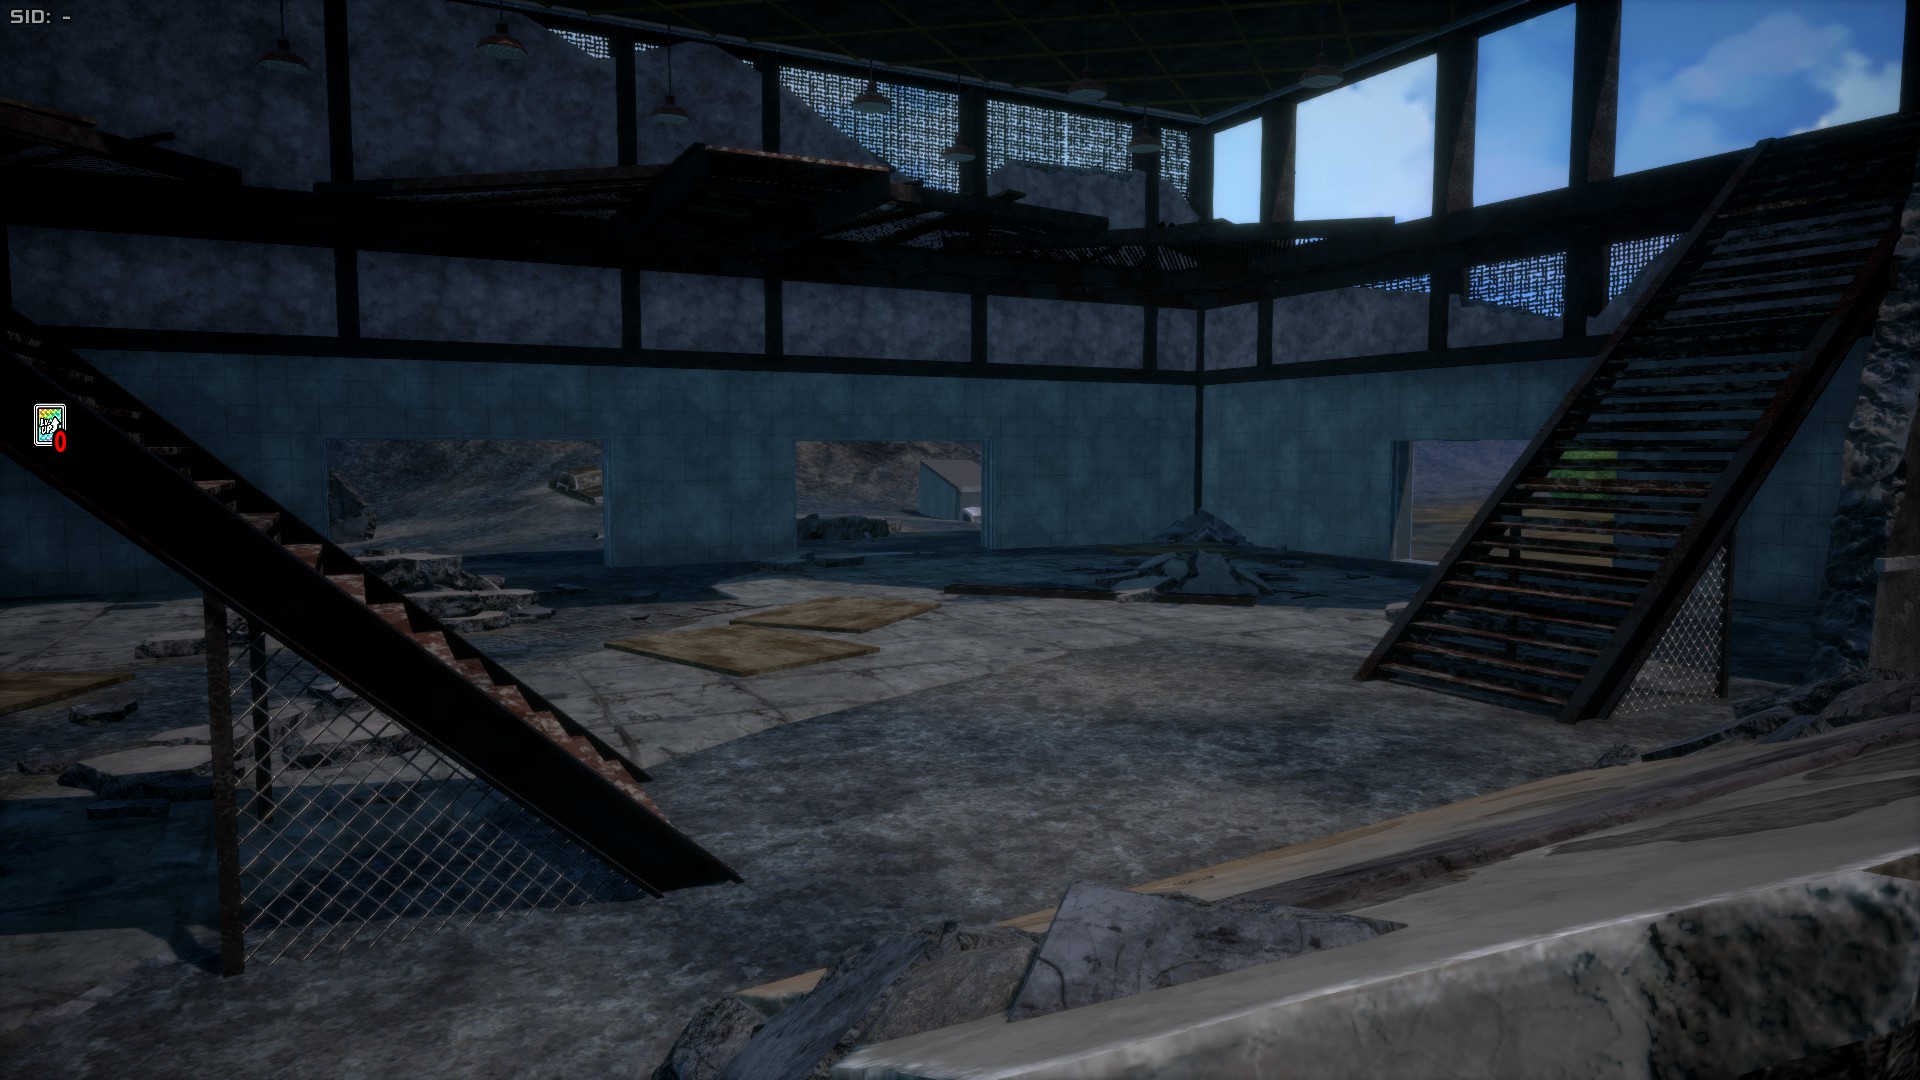
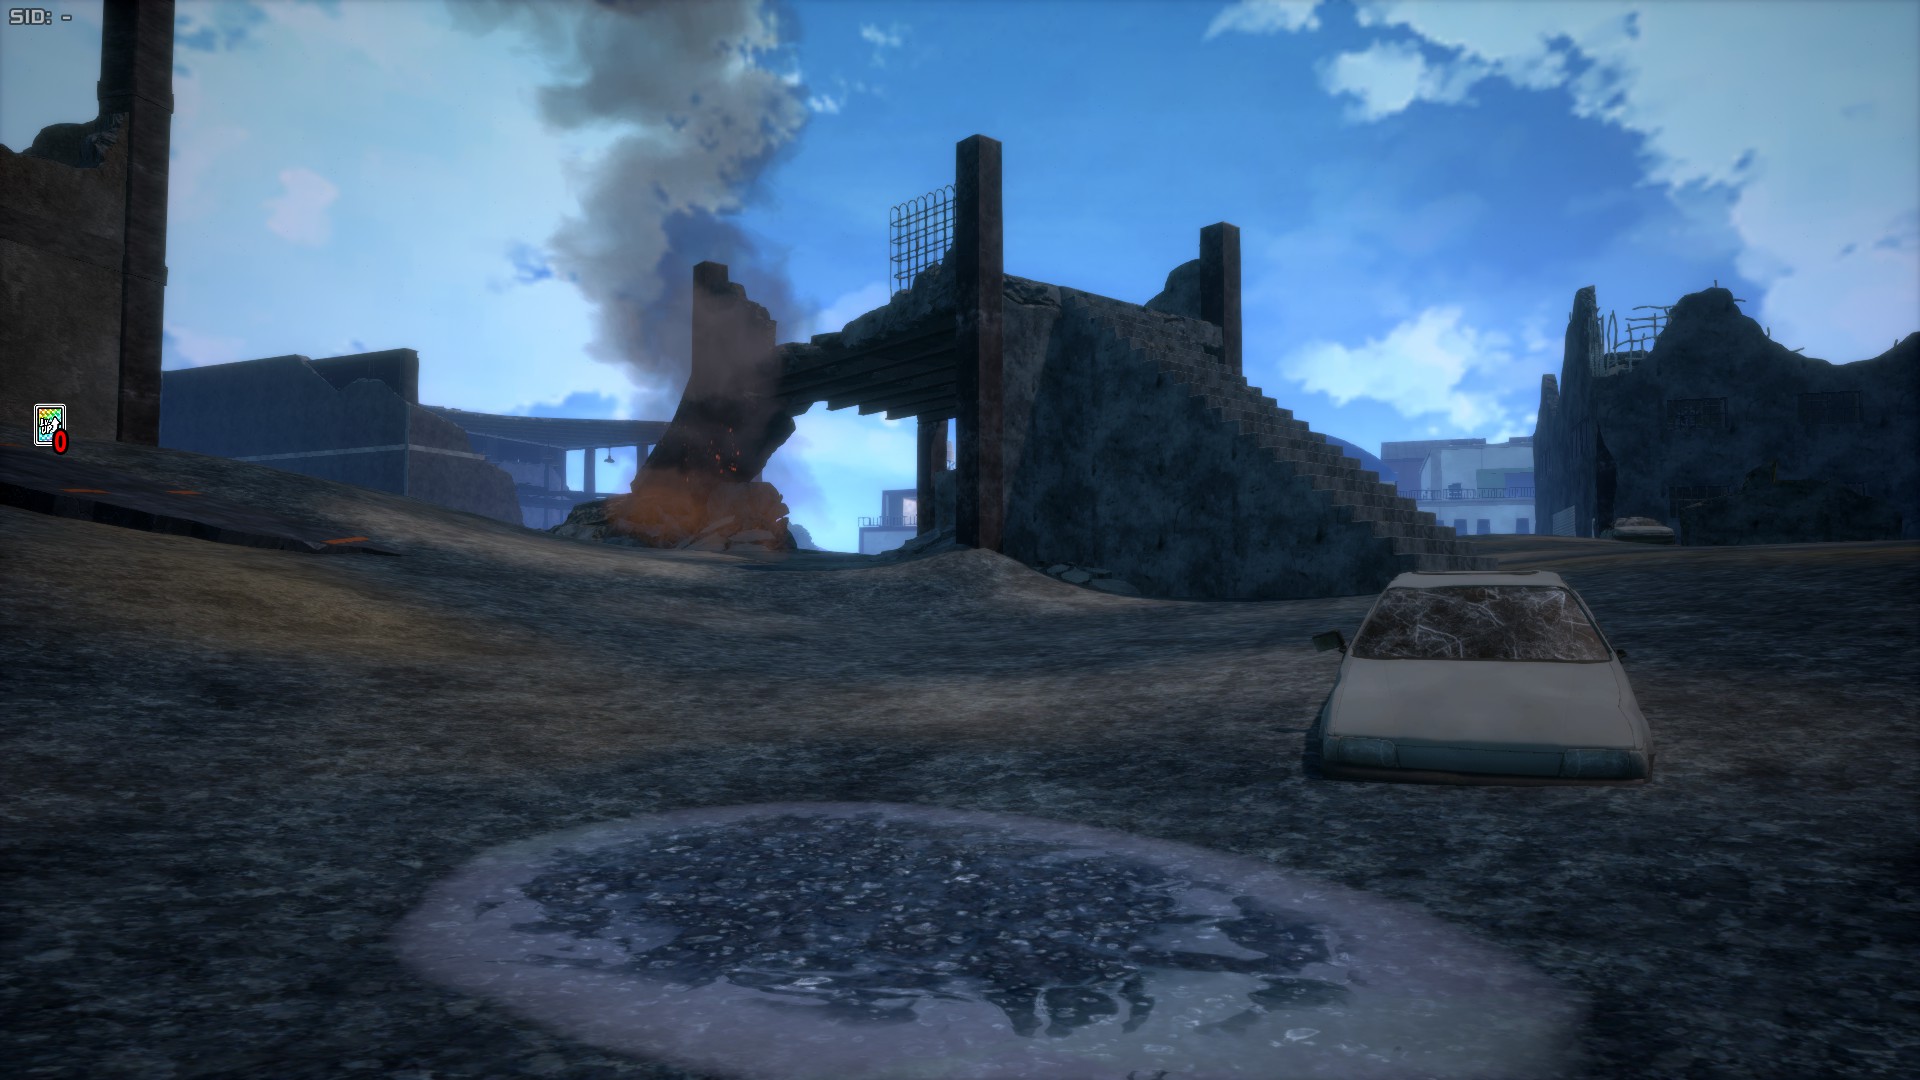
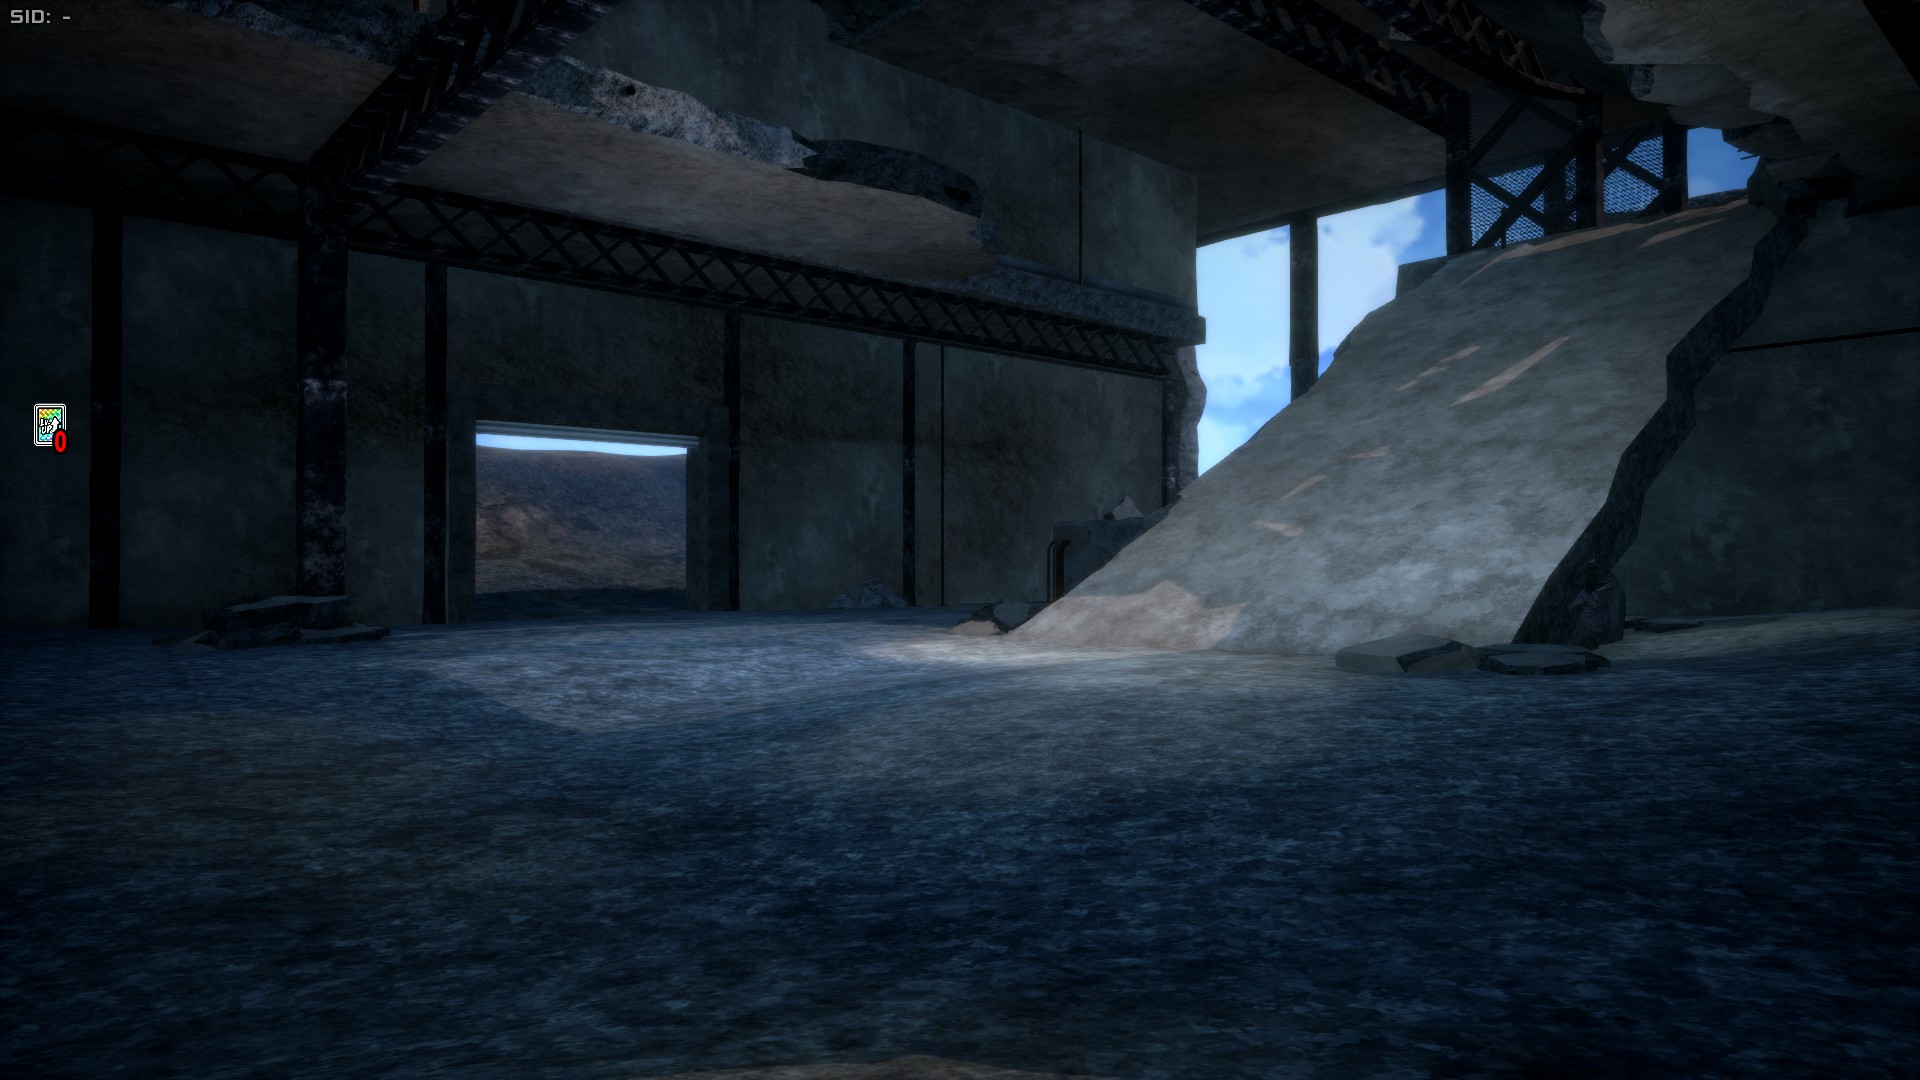
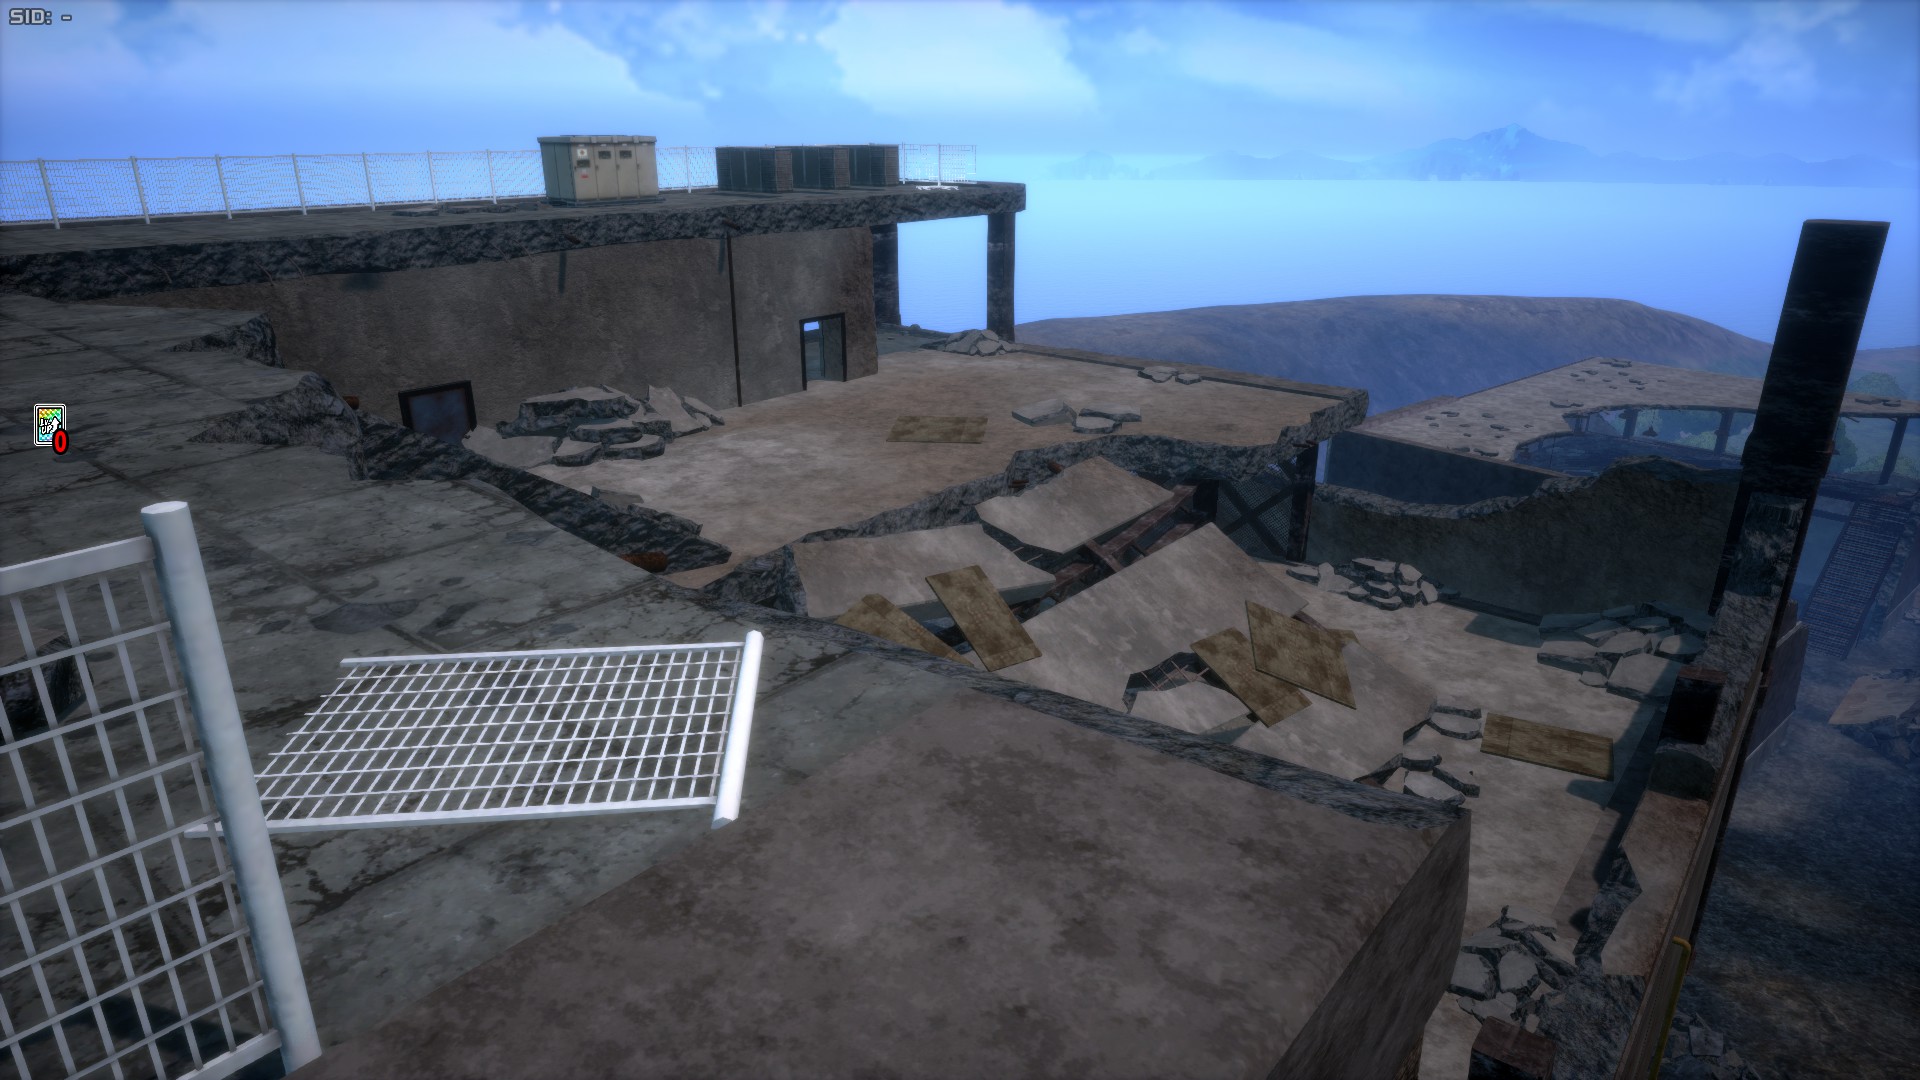
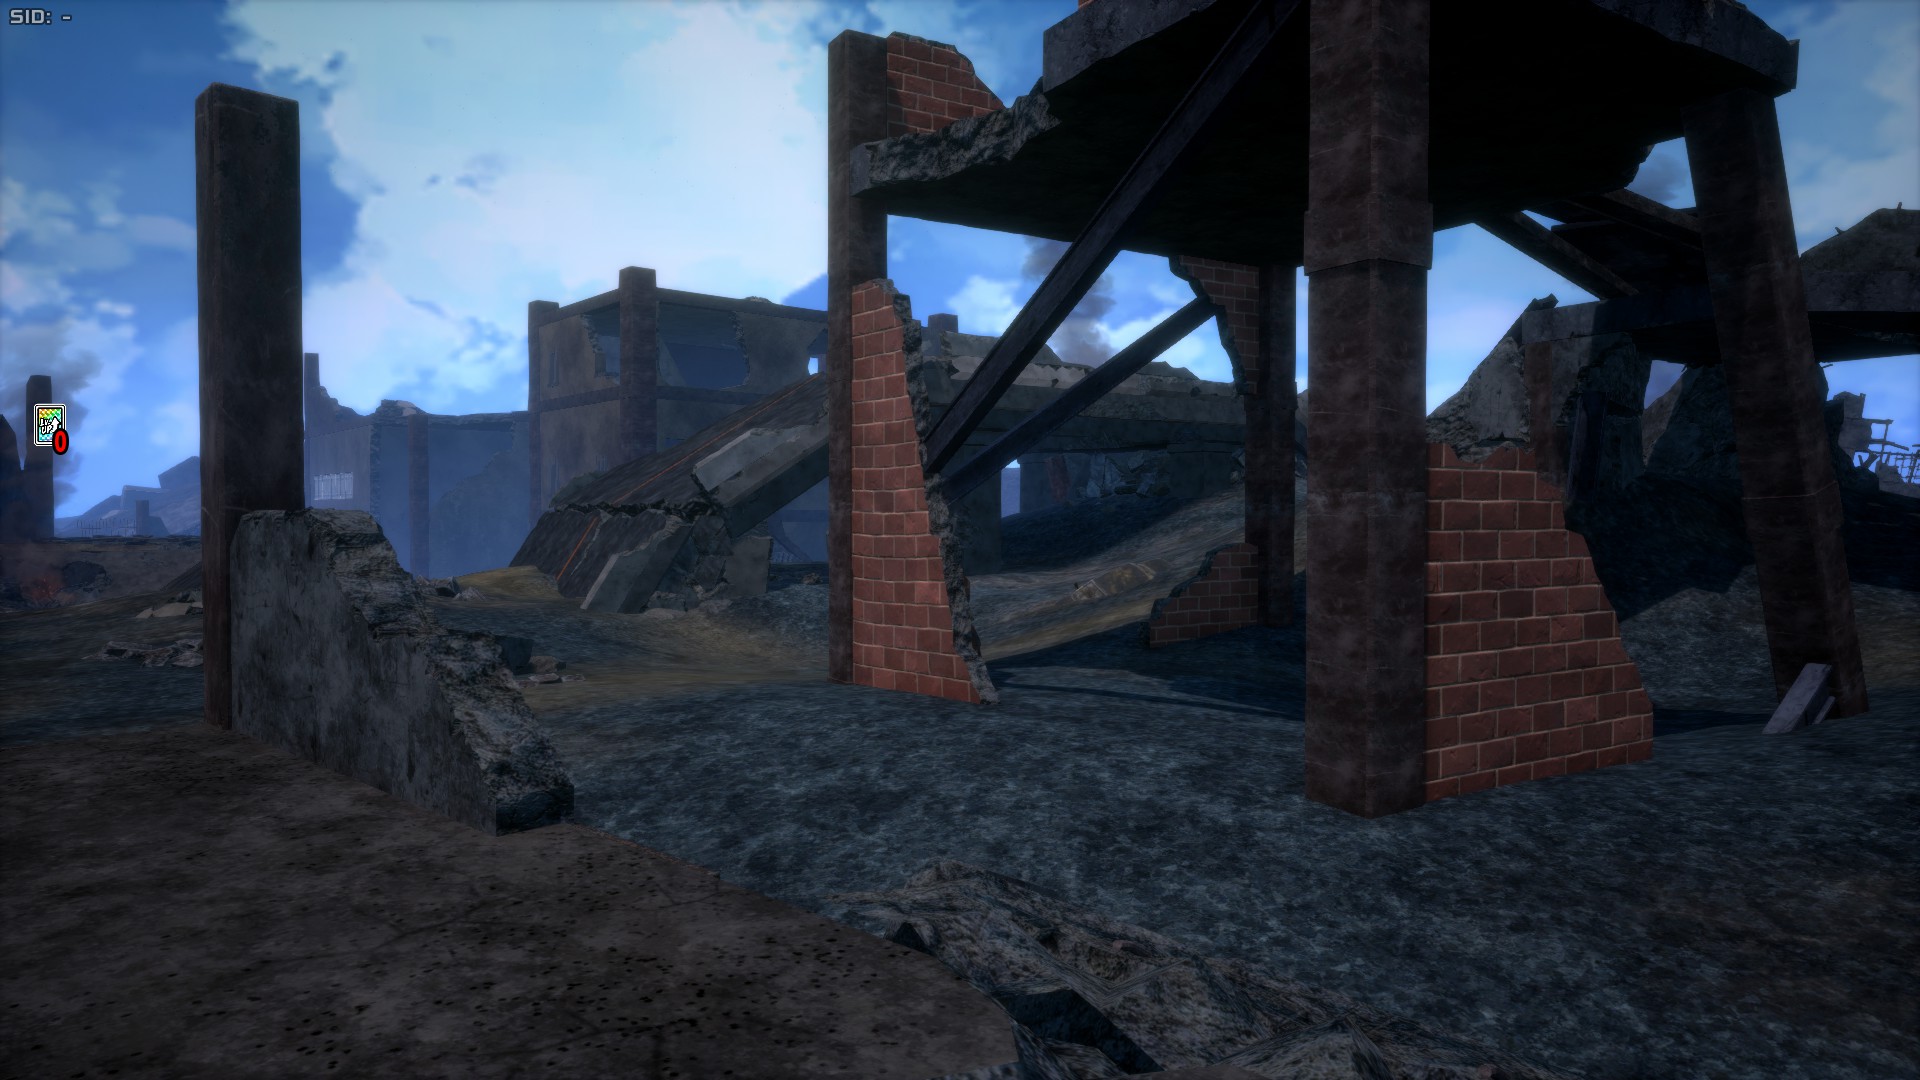
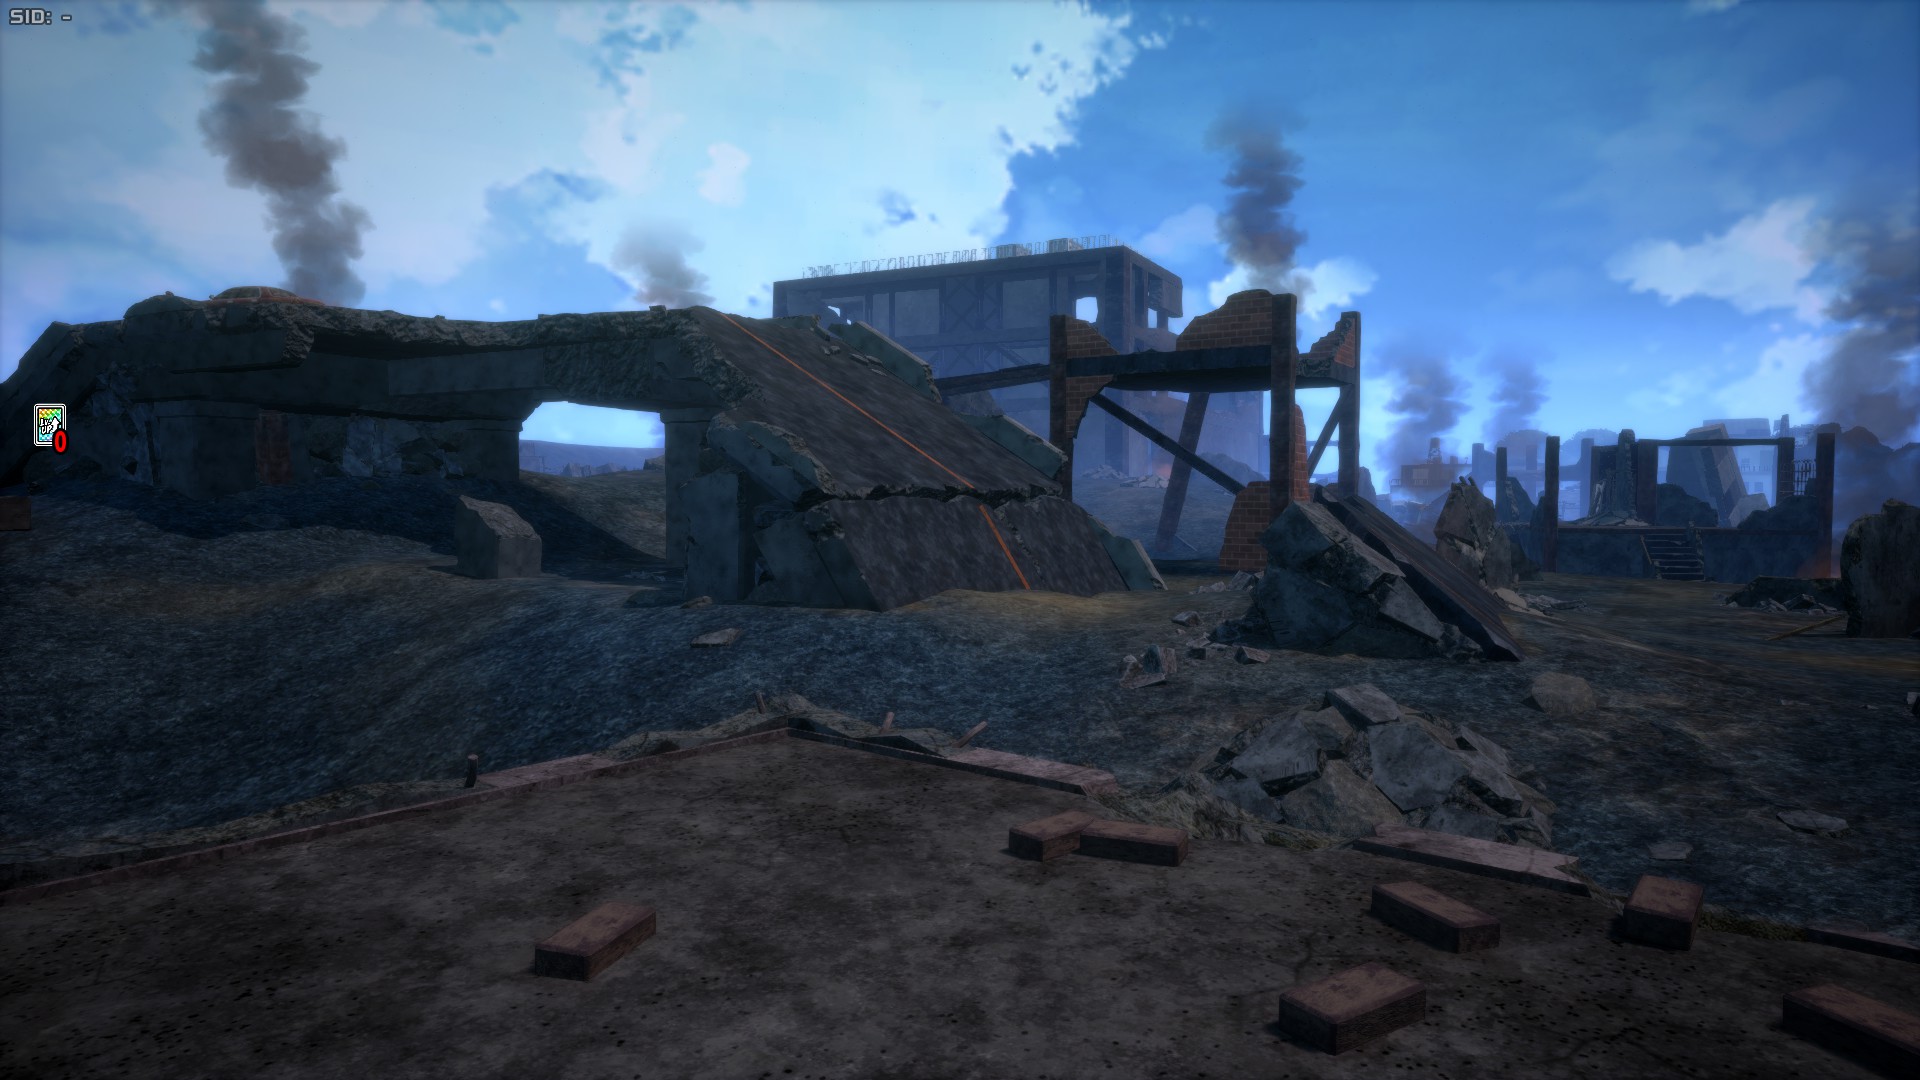
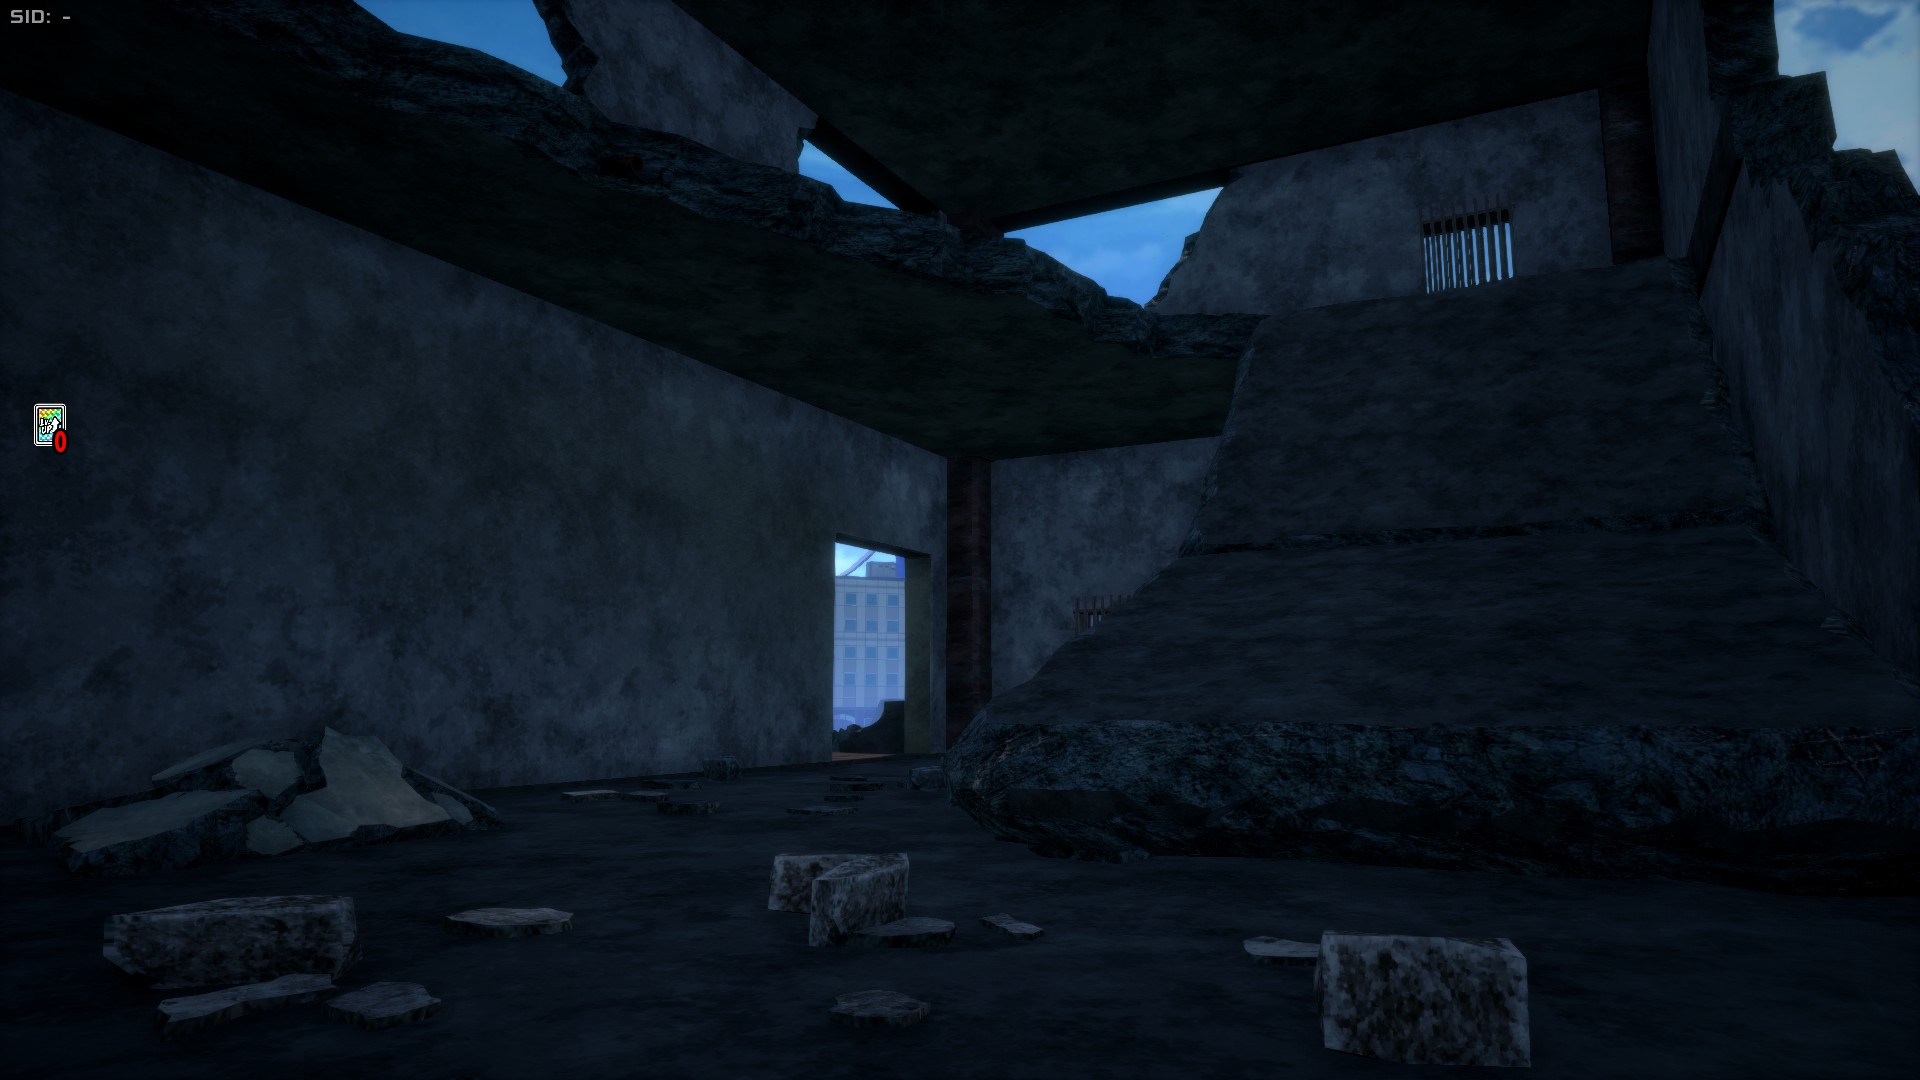
Destruction Area is a massive zone that occupies all of the southern side of the map along with some of the south-eastern side. It features a few ruined buildings and many chunks of carbonized debris. This area is overall pretty flat and ope nfor the most part, with only the main building at the absolute south to serve as a proper place to make the enemy lose track of your position. It has easily accessible loot and, most importantly, Nezu Boxes to get civilians from. Due to the lack of proper cover, it can be a rough area for final circles.
Nature Area
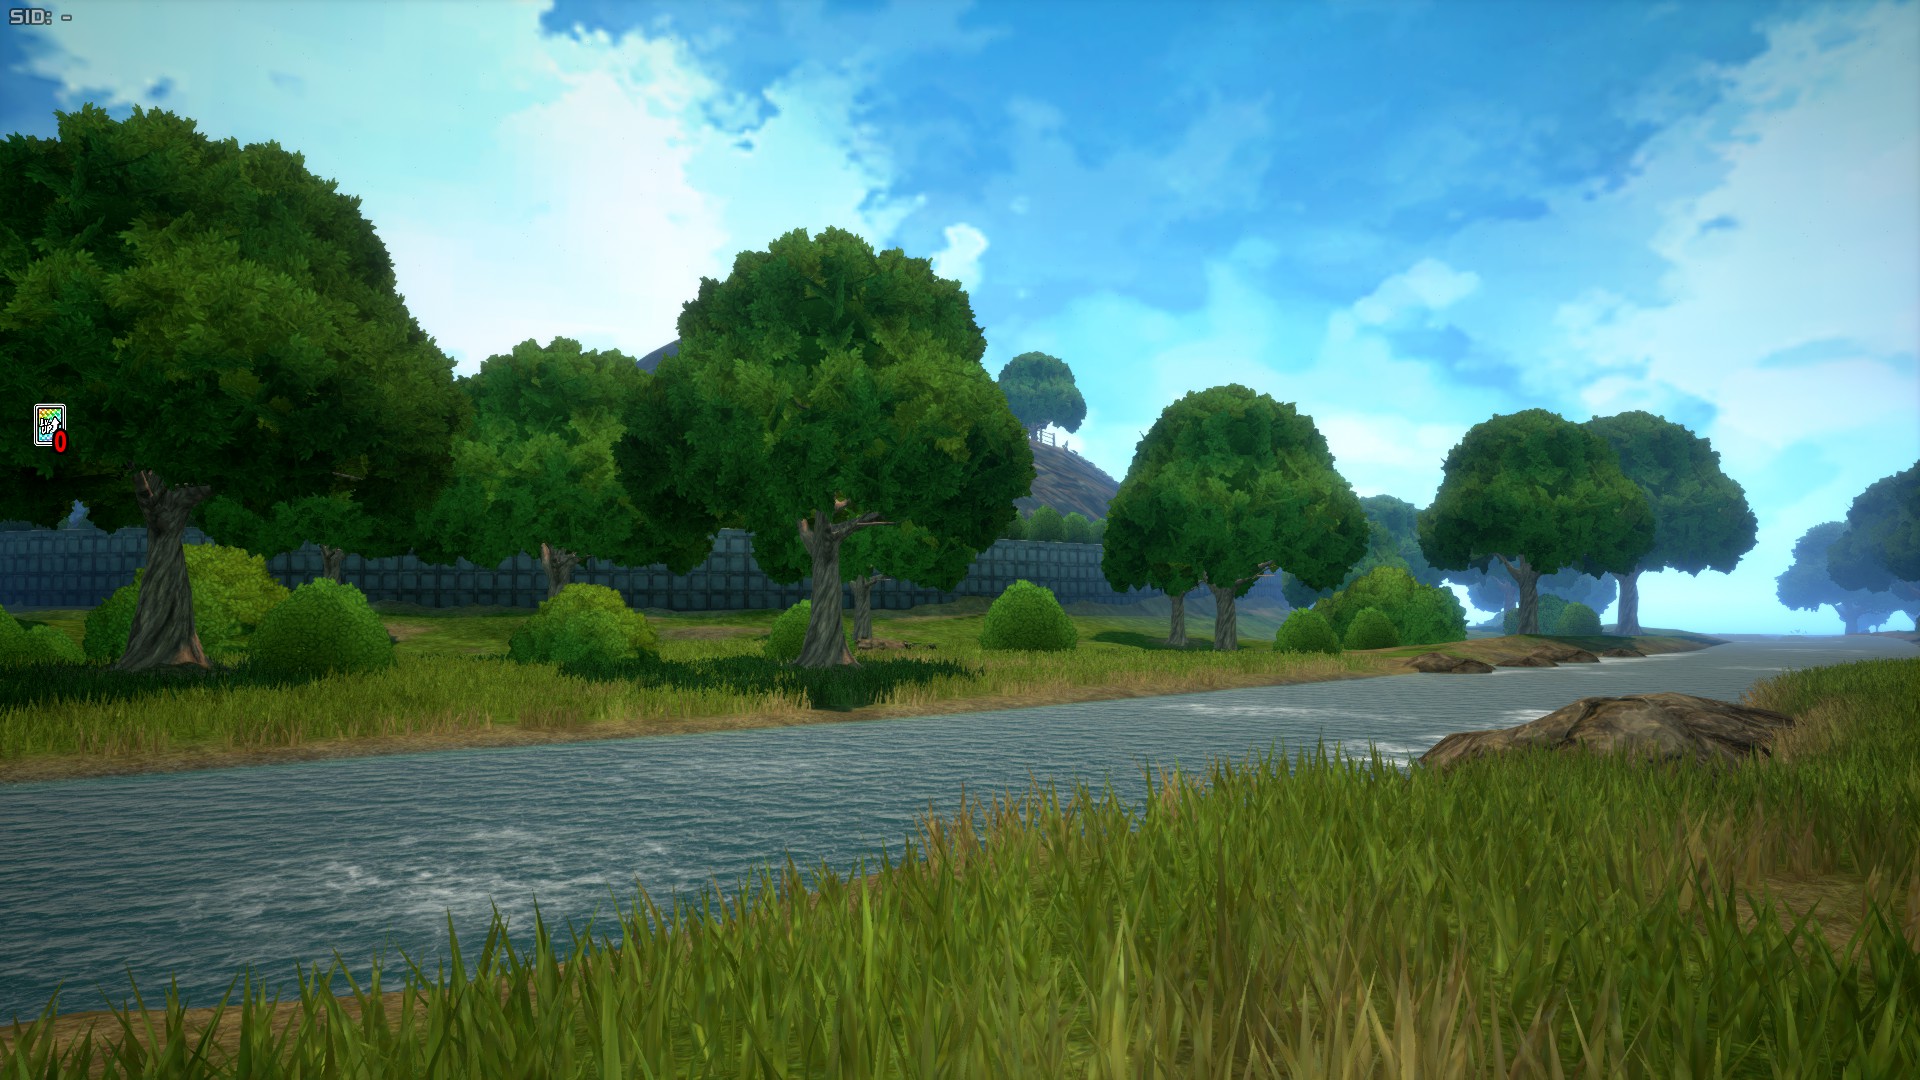
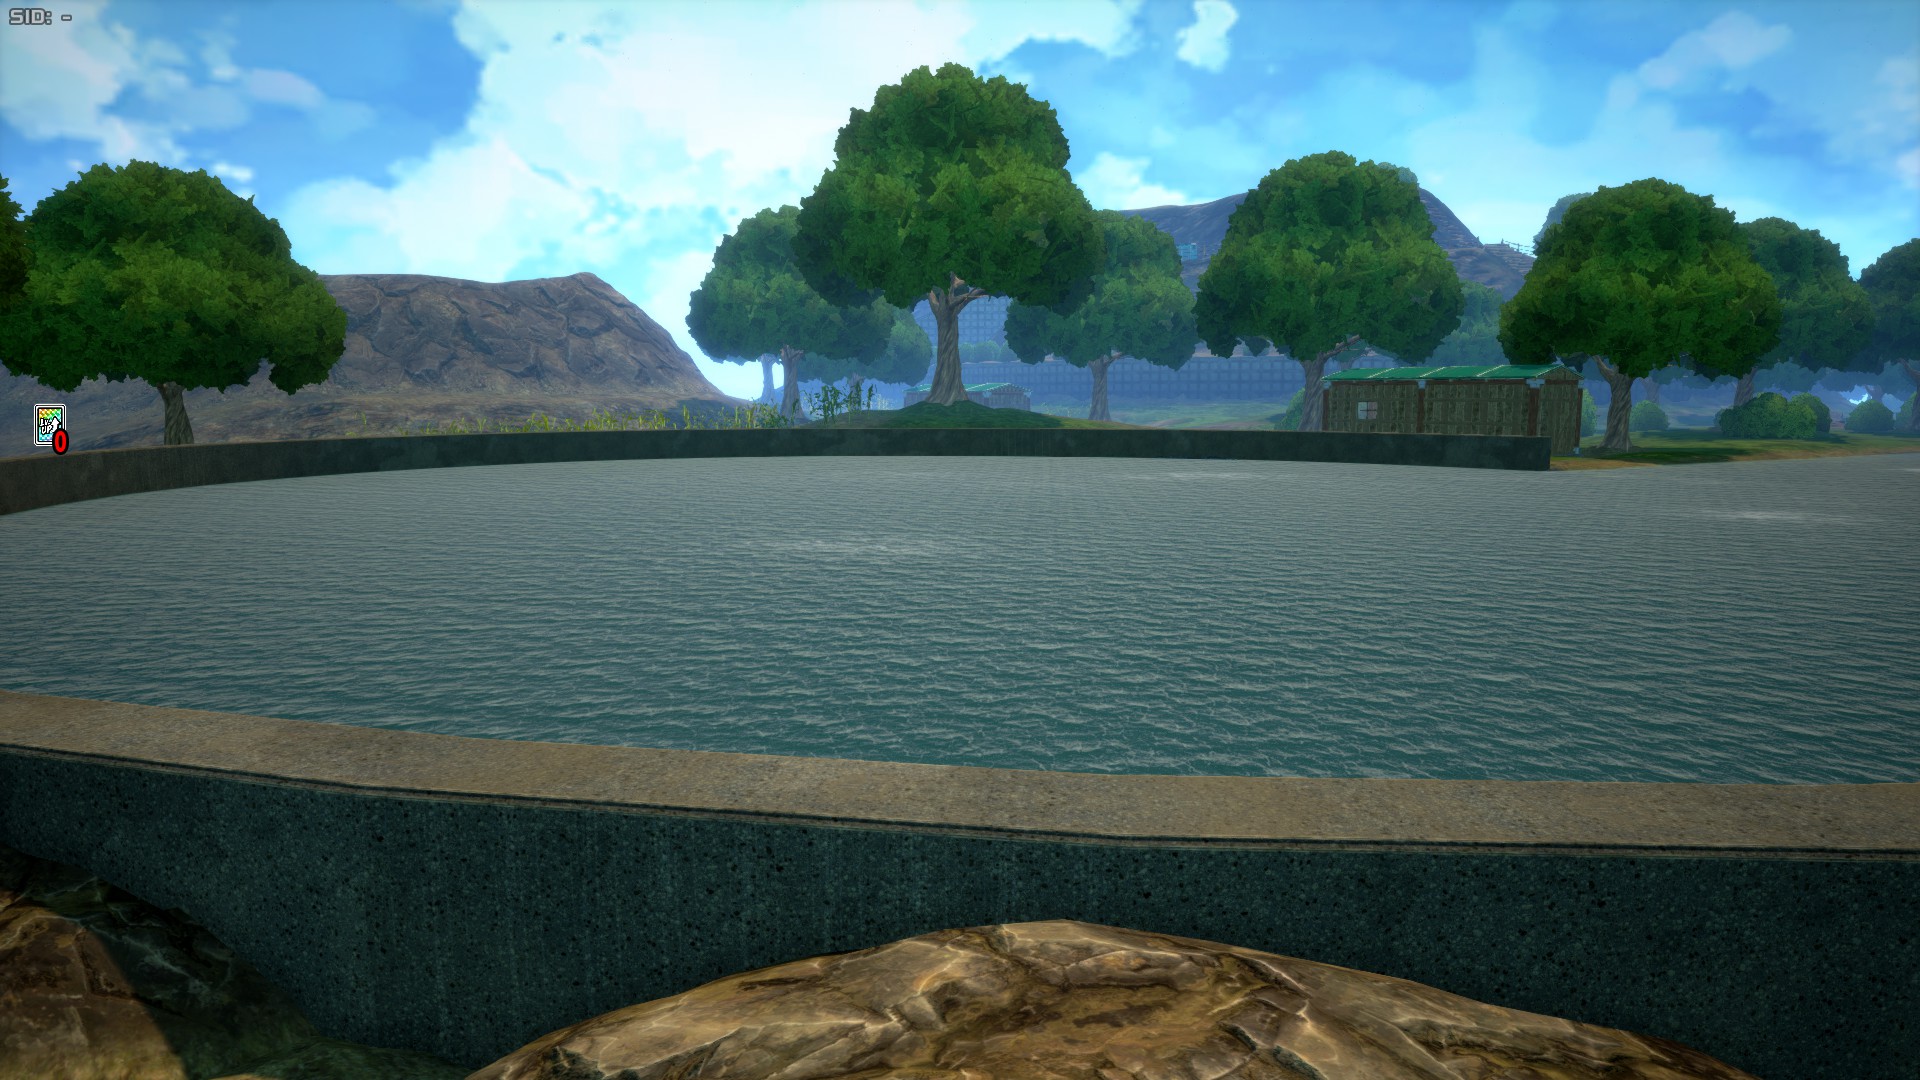
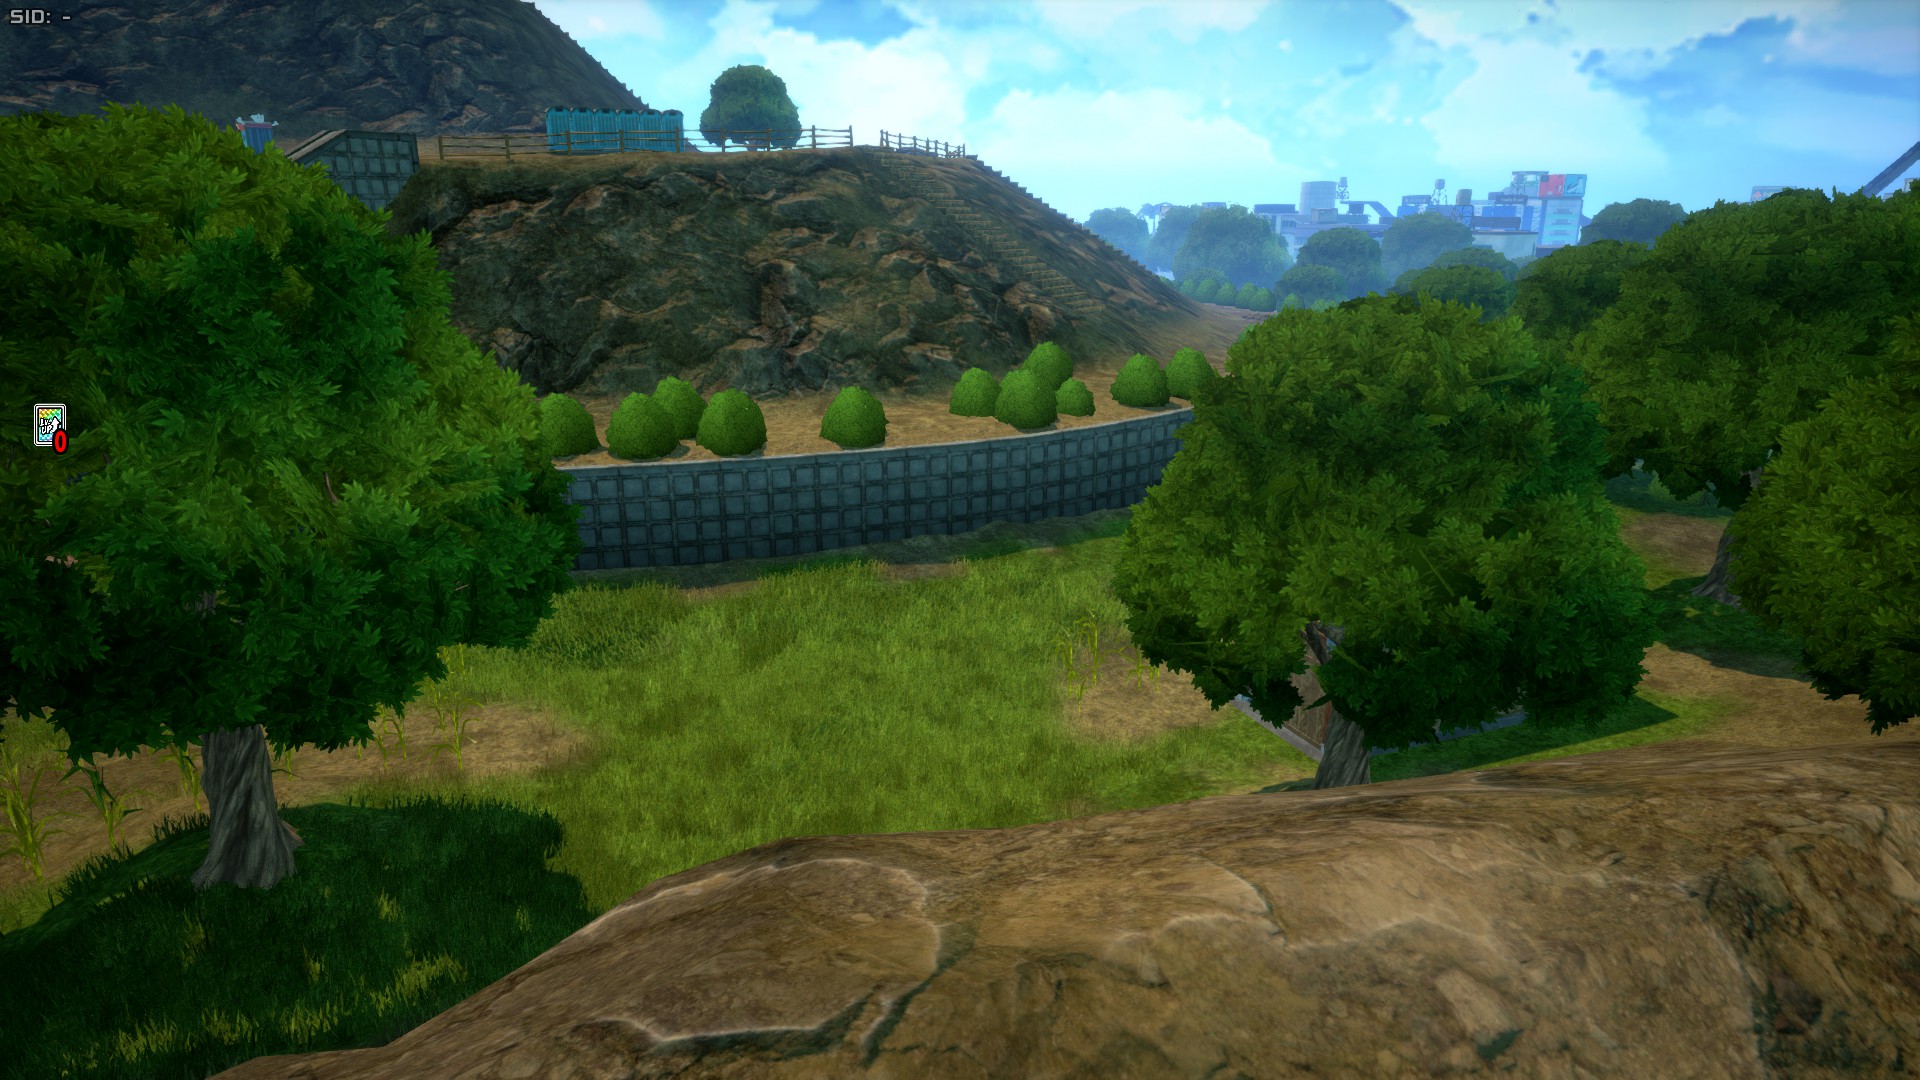
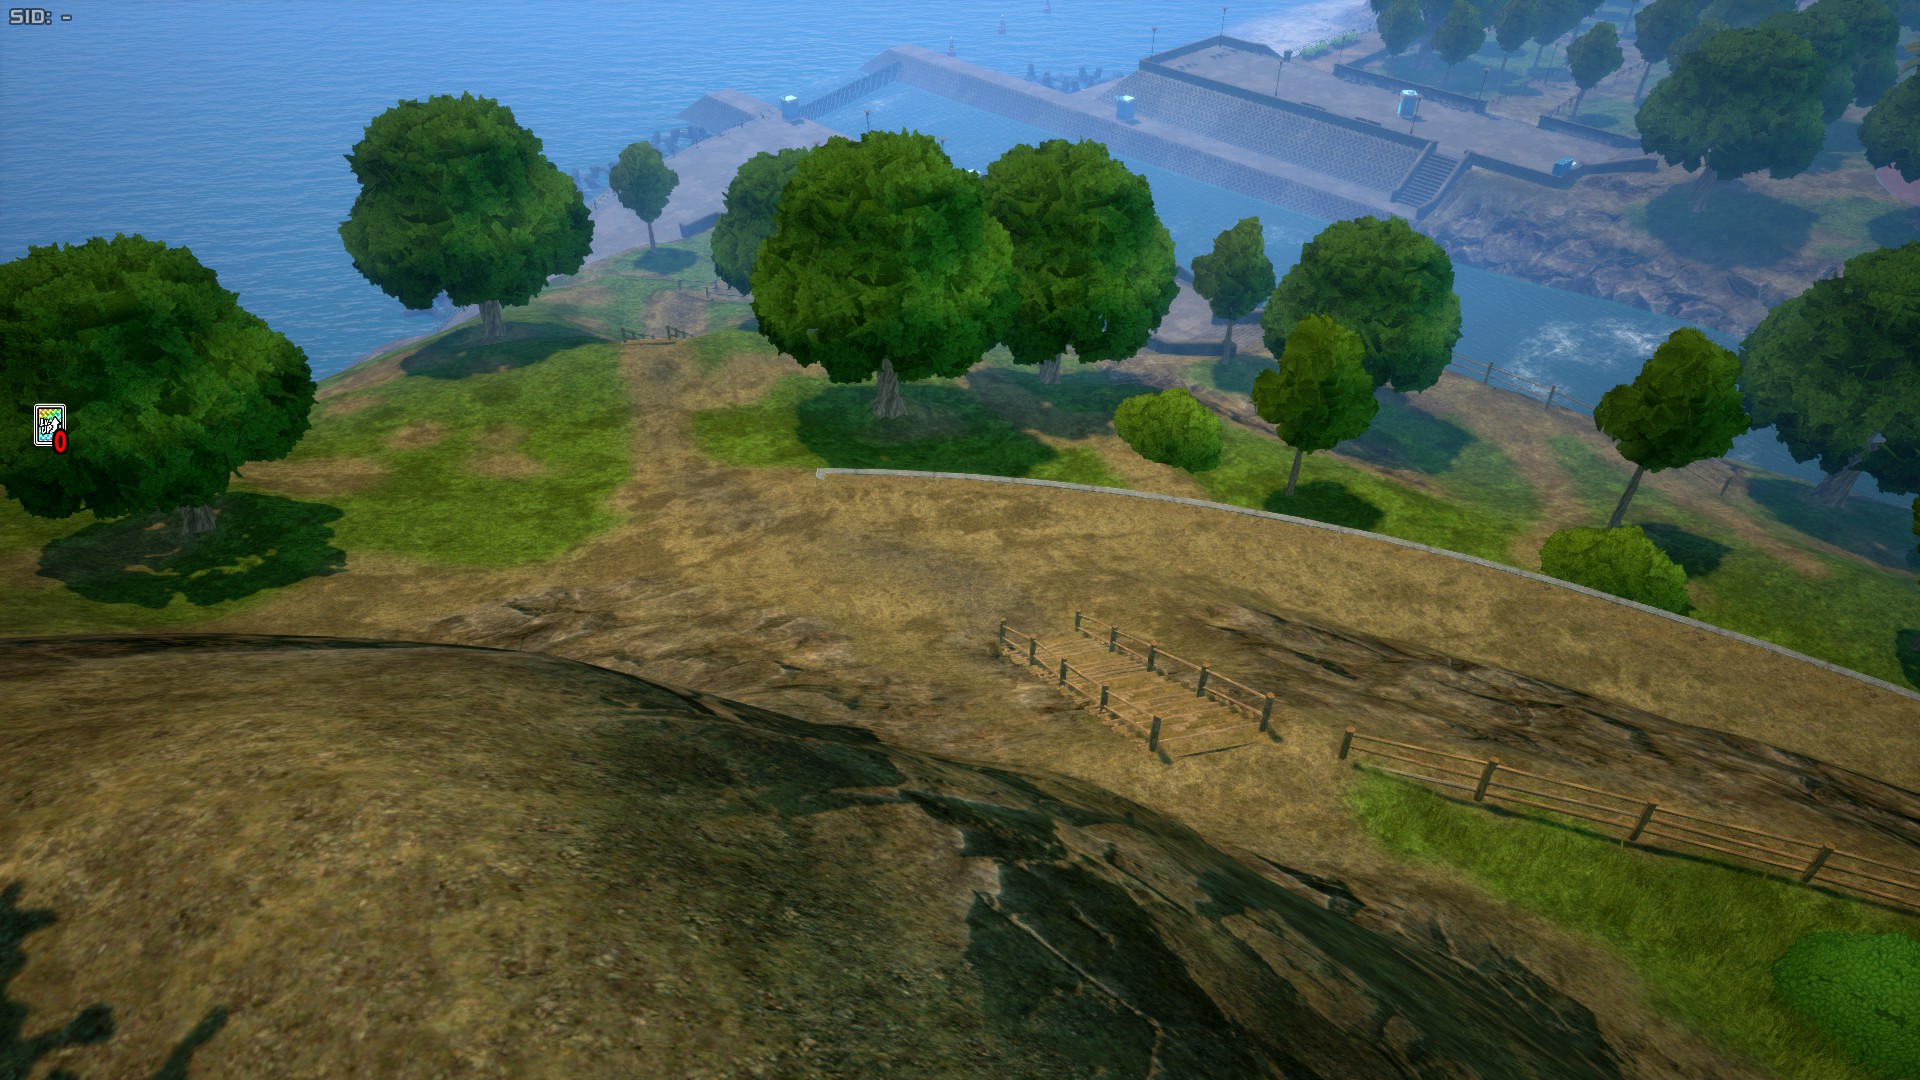
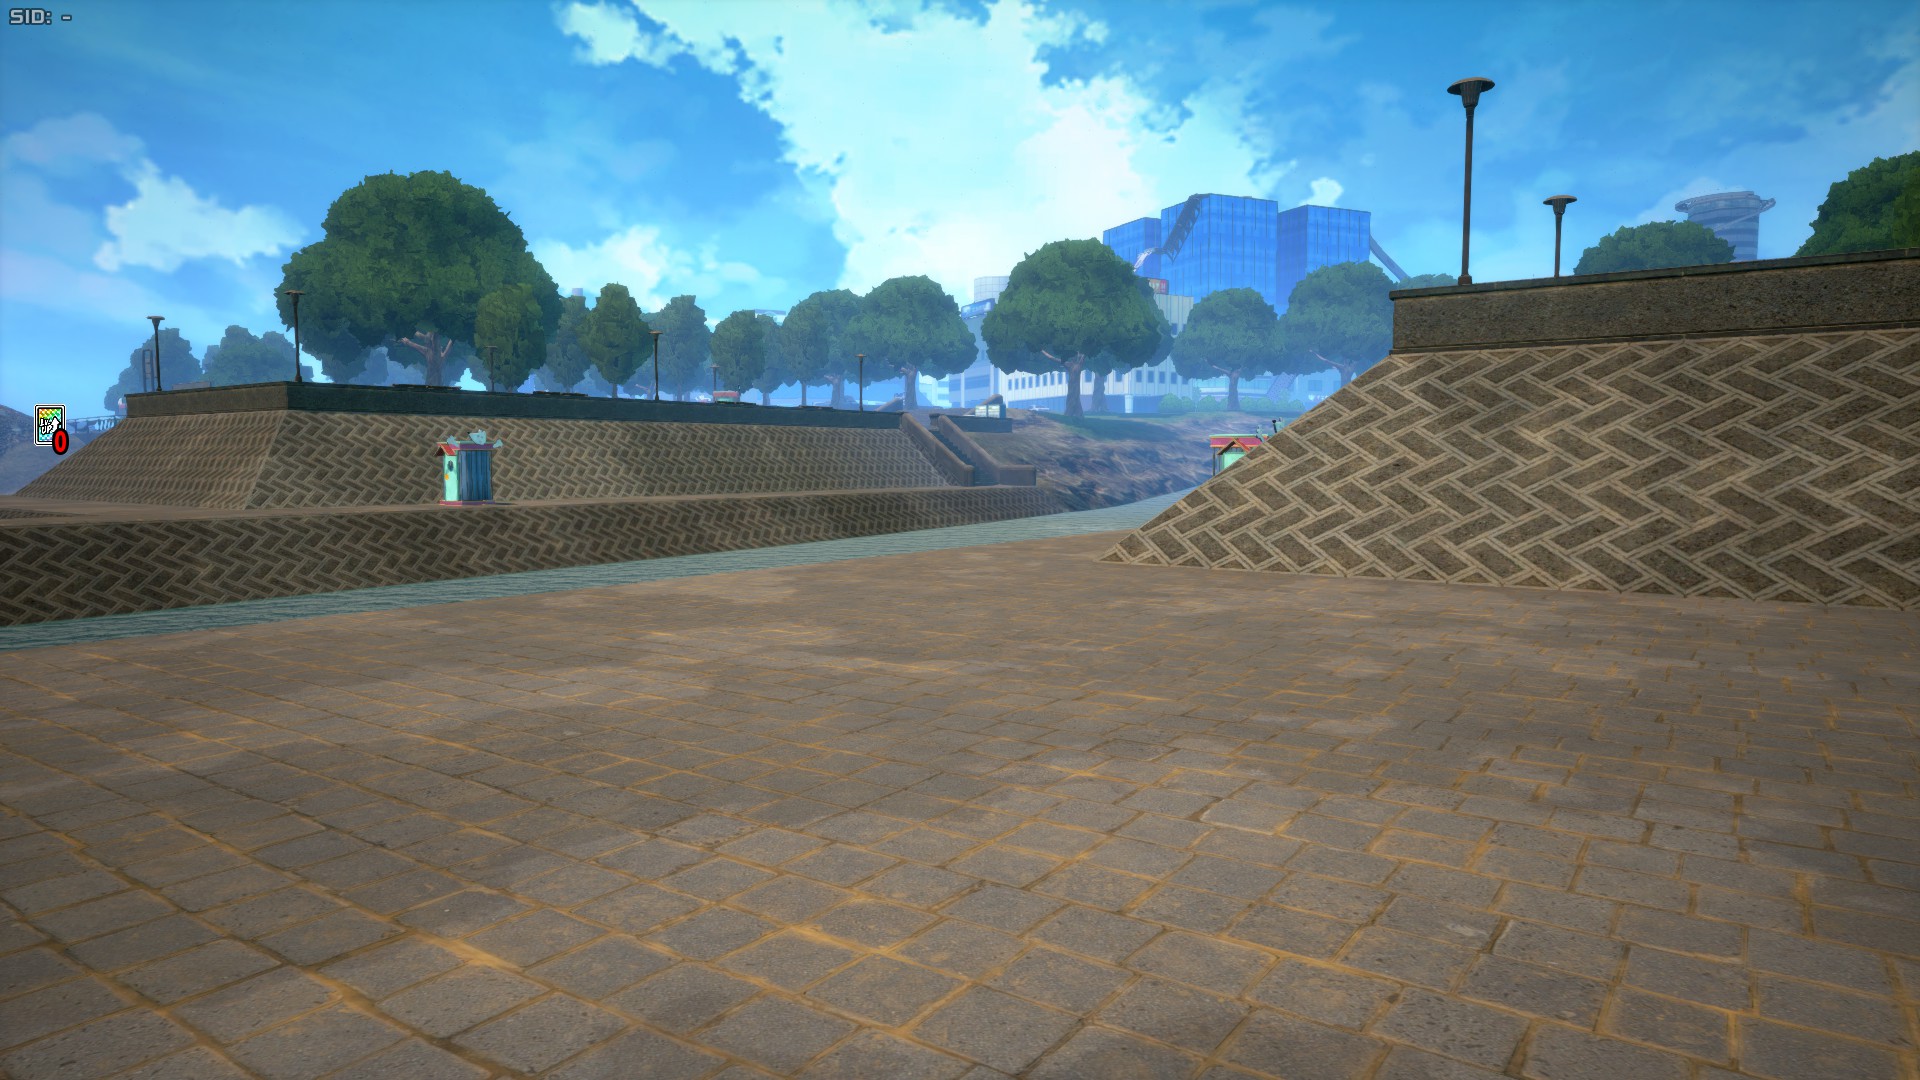
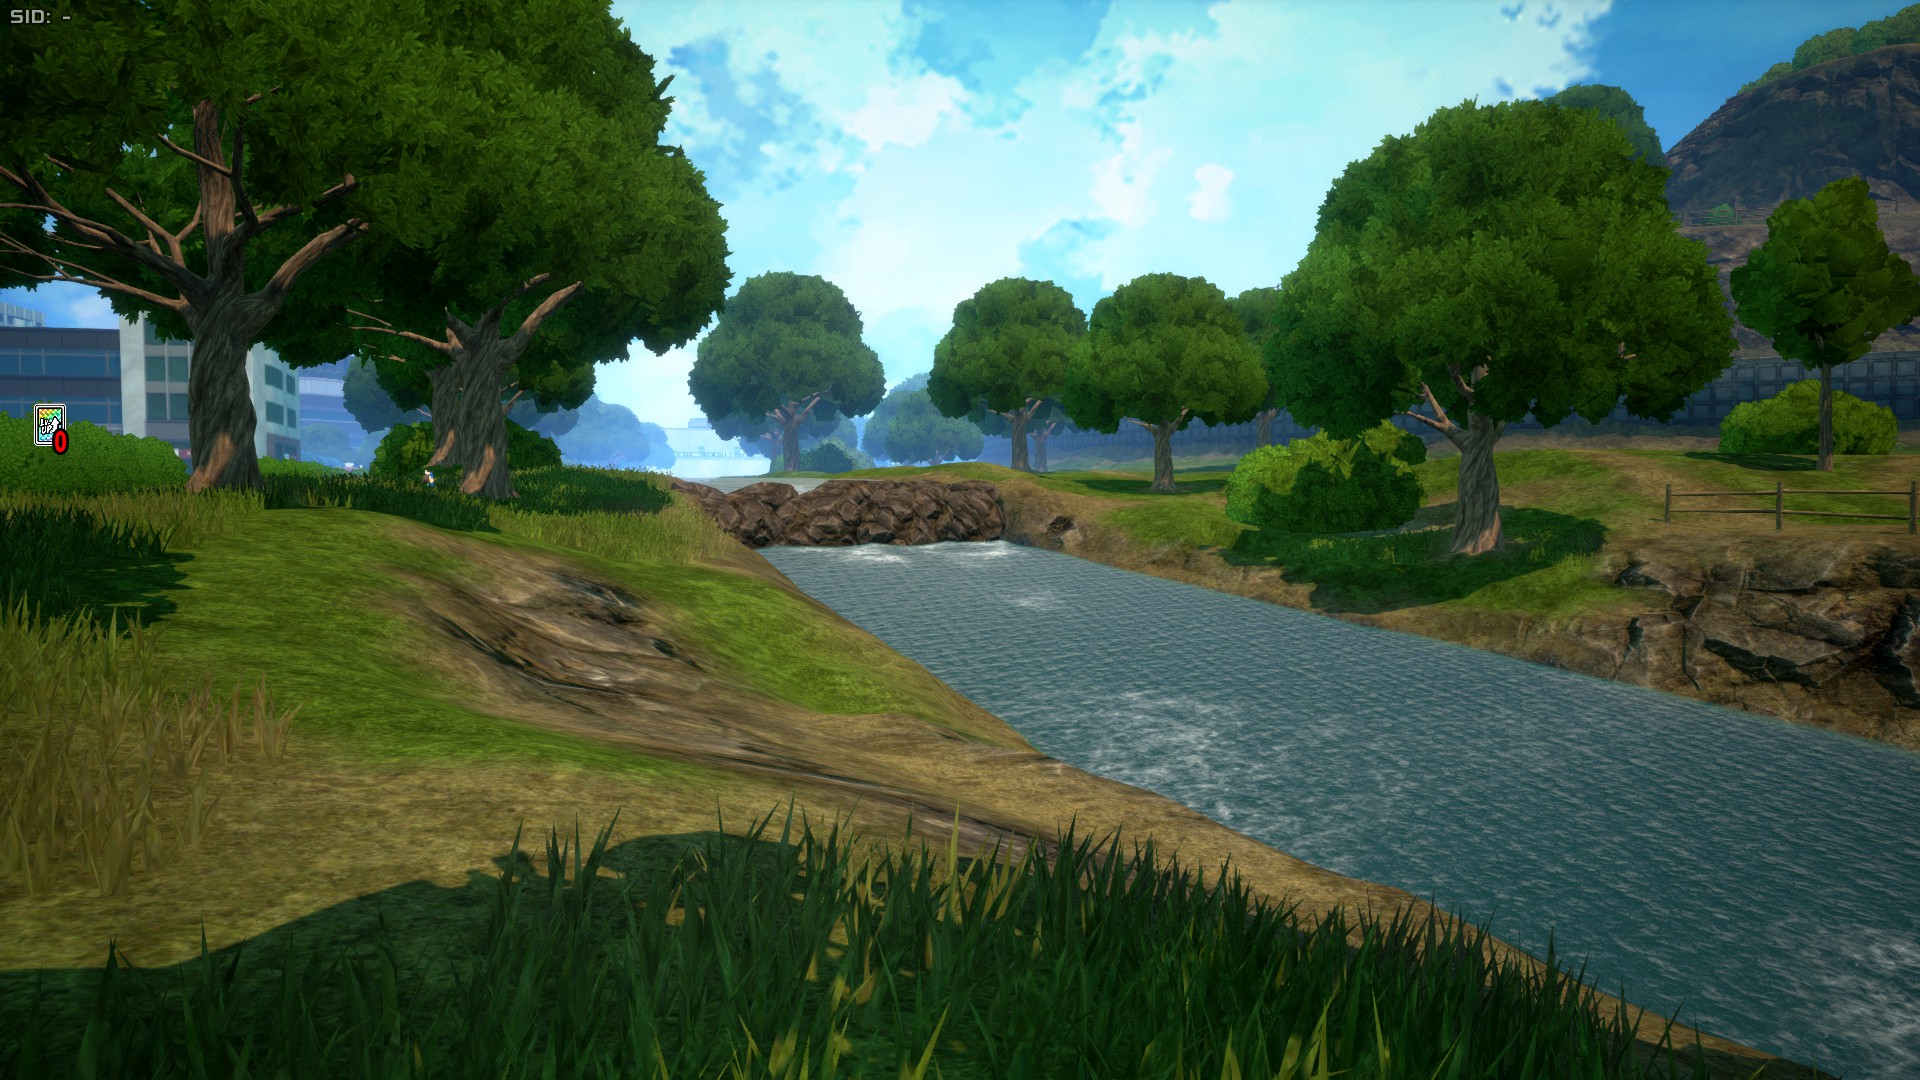
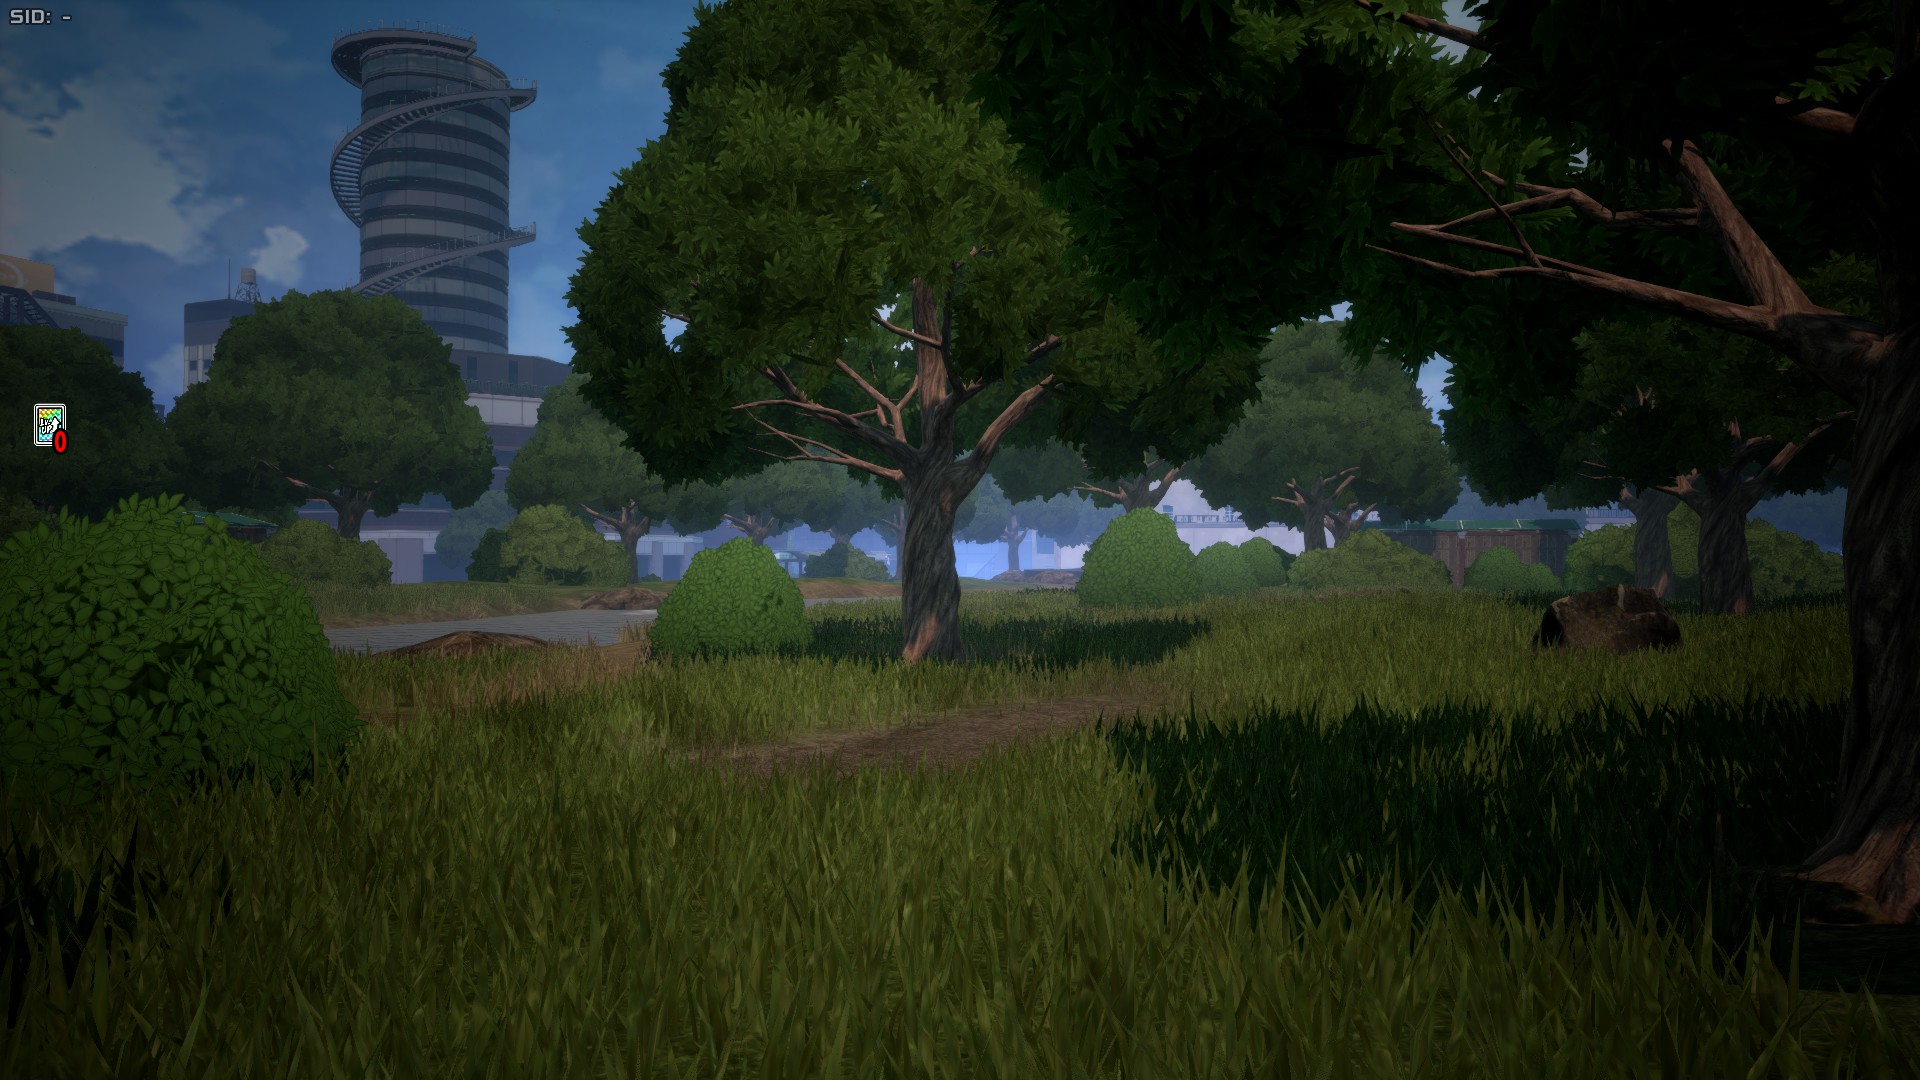
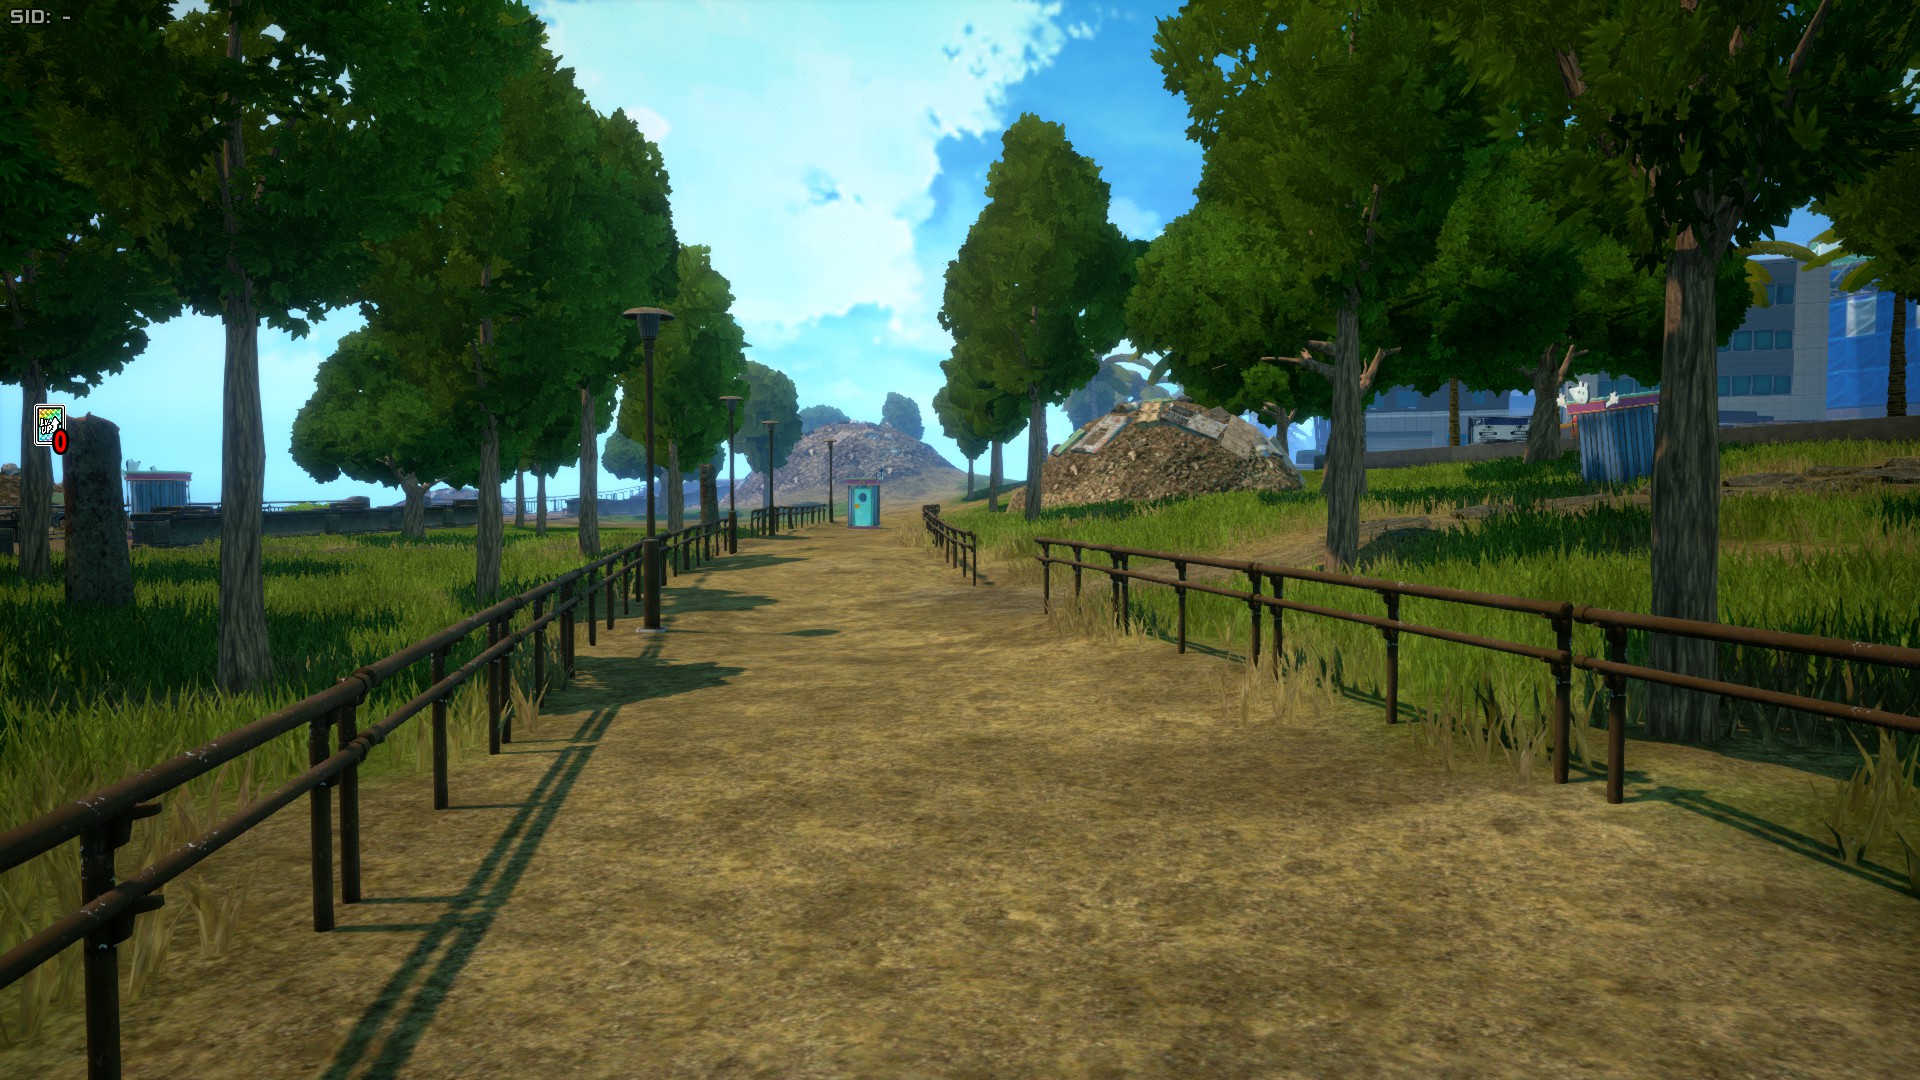
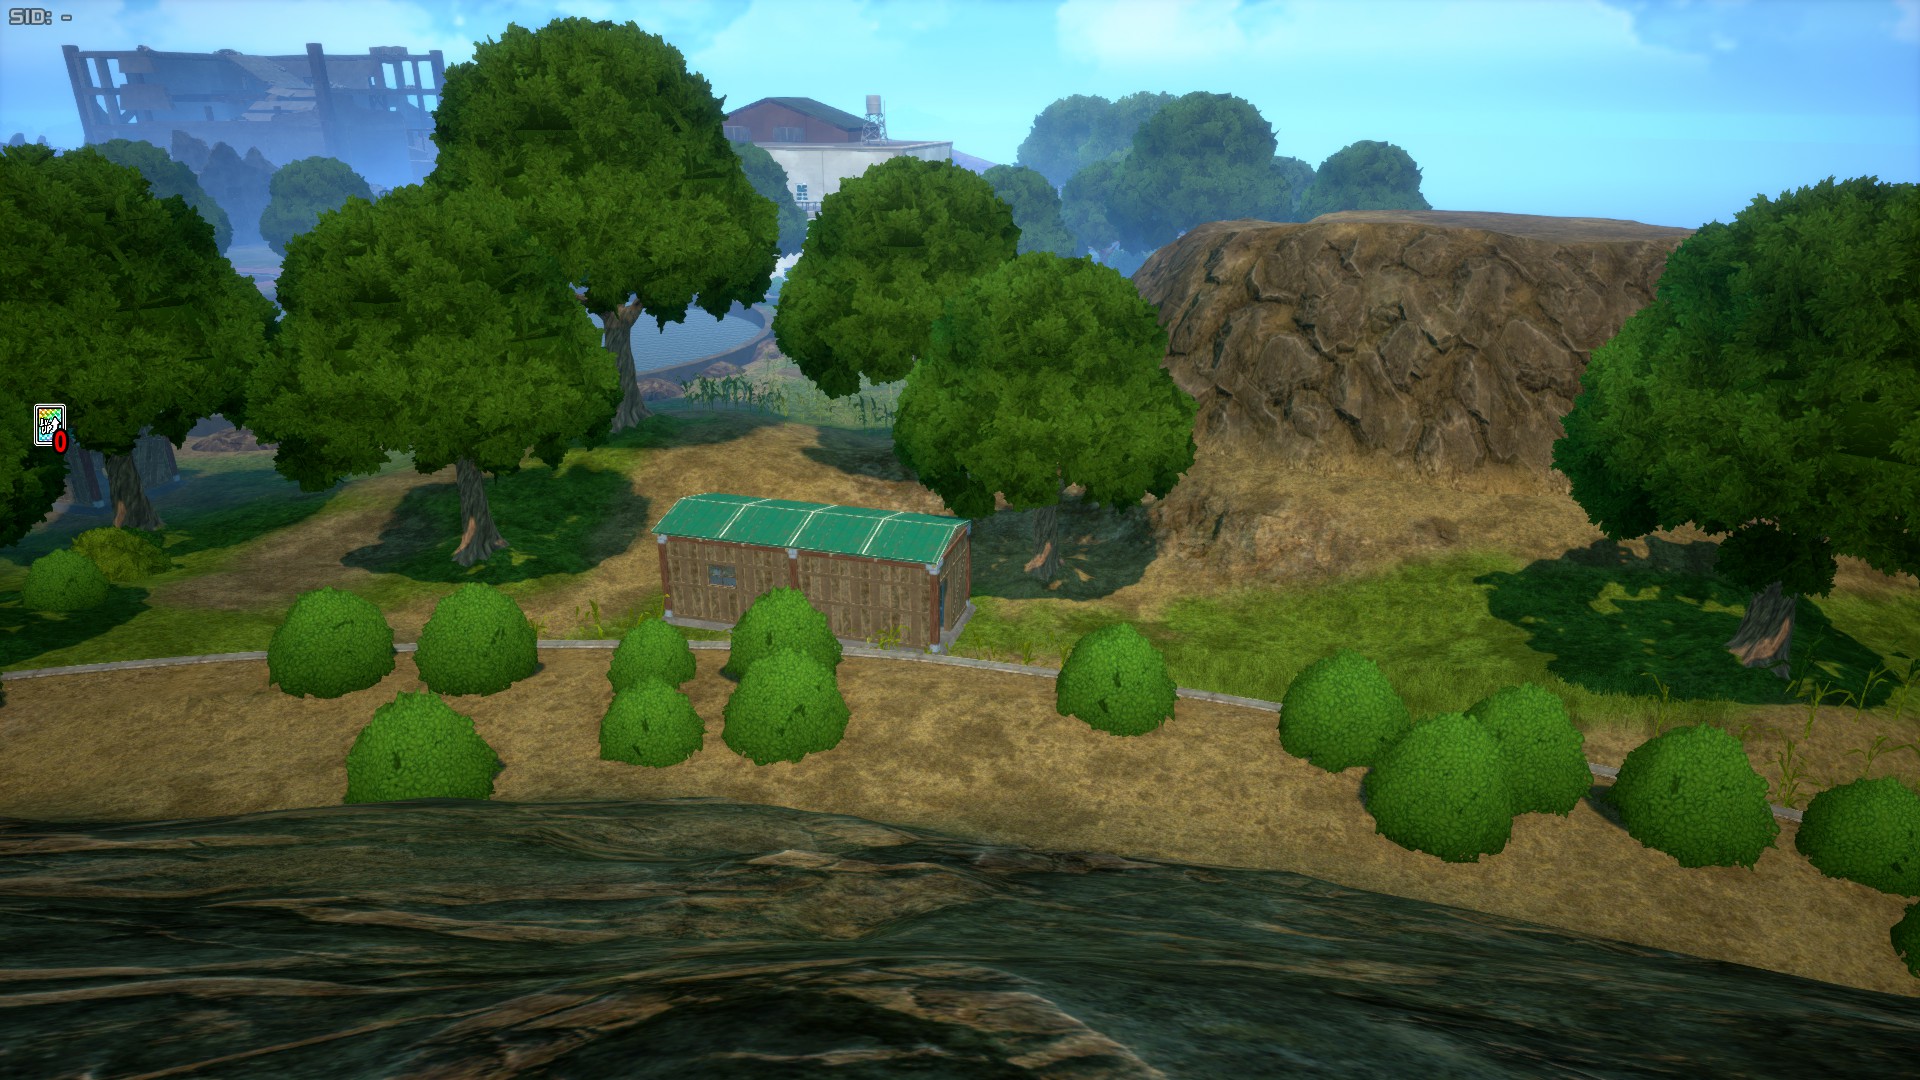
Nature Area is a massive zone that occupies all of the western side of the map and the outer north-western bit. This area features many trees and bushes, along with a river flowing in the middle. It also features a huge water pond, large hill and a smaller one. Overall, this area is among the less popular ones, as loot is often less abundant than in similar areas like Destruction. The lack of any real cover is also a common complaint, as there's nearly nothing to use to cover from attacks aside of thin trees, which is why more often than not you'll end up hiding in a bush and praying no attack comes your way. Some more experienced players might heal or revive allies after landing on top of trees, using the leaves to make it harder for them to be seen.
However, the part that connects to the sea is actually quite sought by some players, especially those playing a more Support role, as lots of Nezu Boxes can be found here, allowing for quick Revive Card and Team Recovery Kit collection, as well as the possibility of finding Kota early.
Training Camp
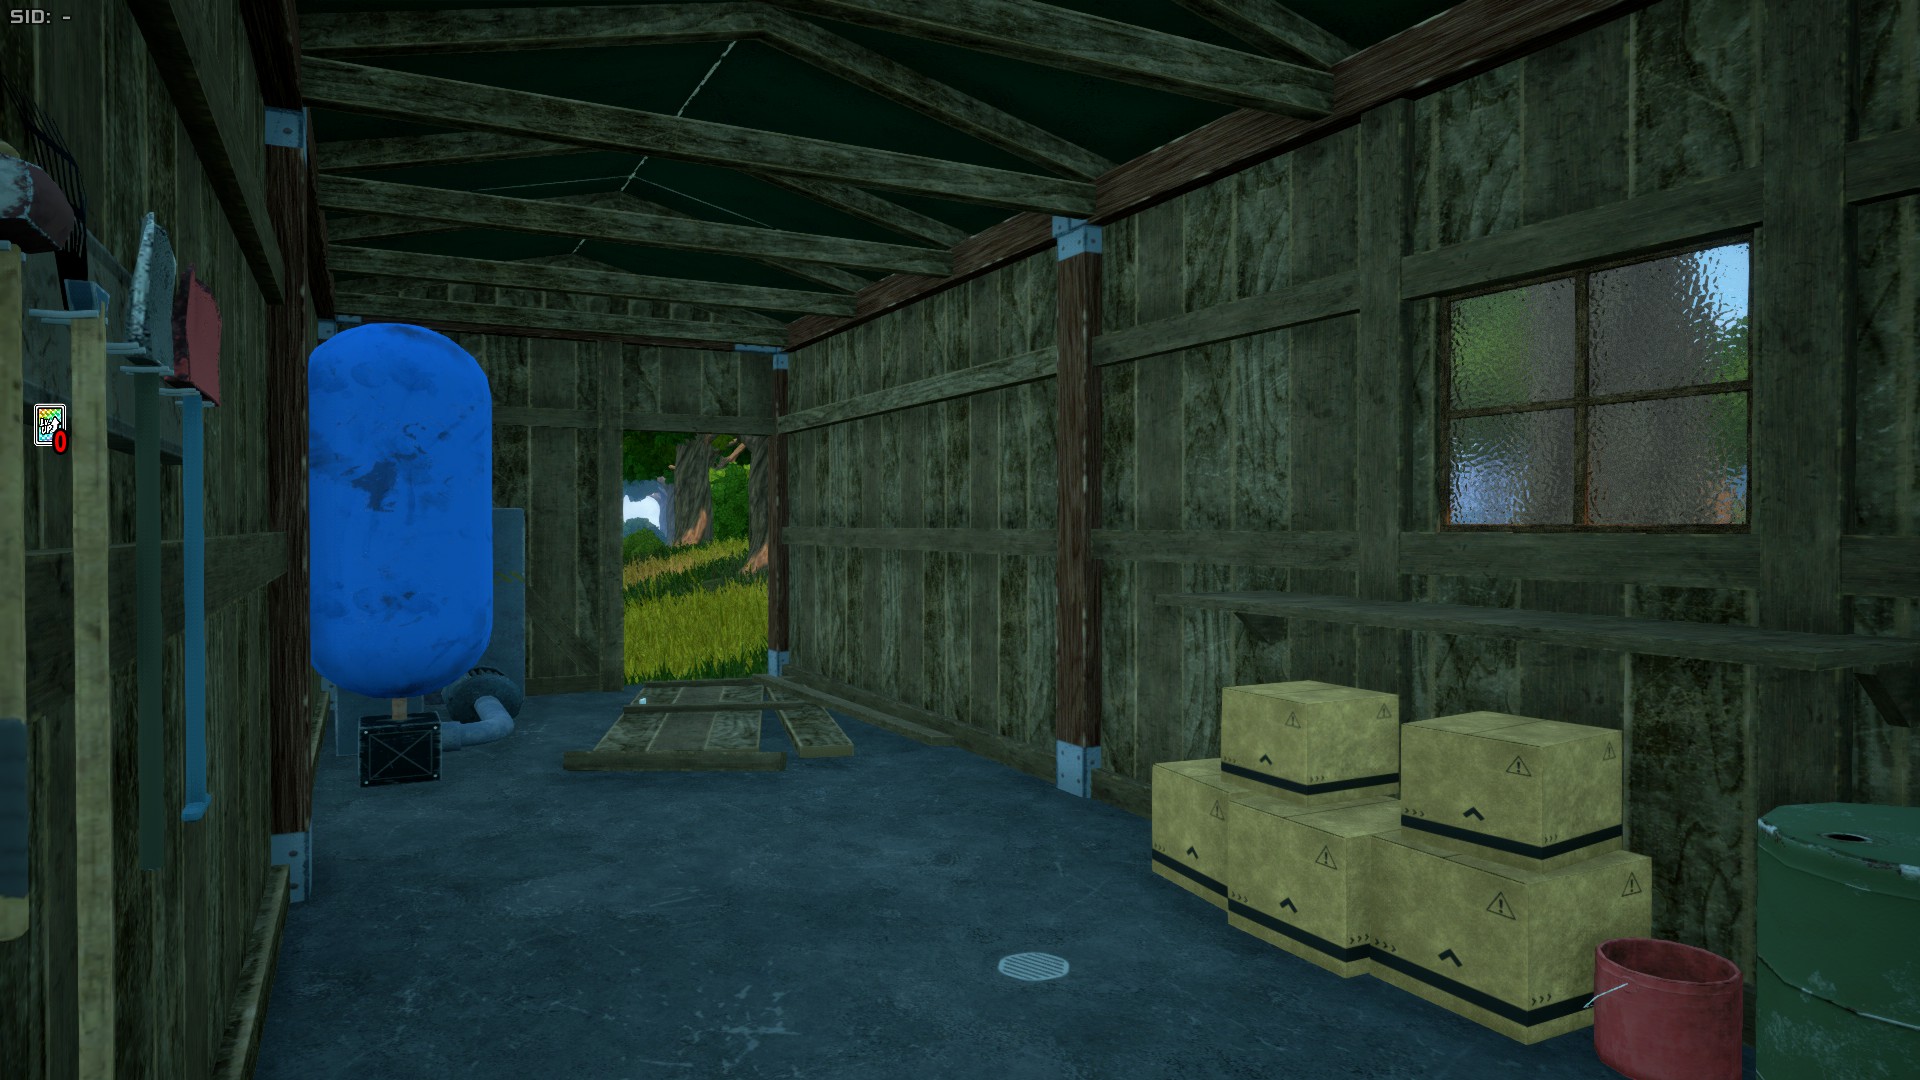
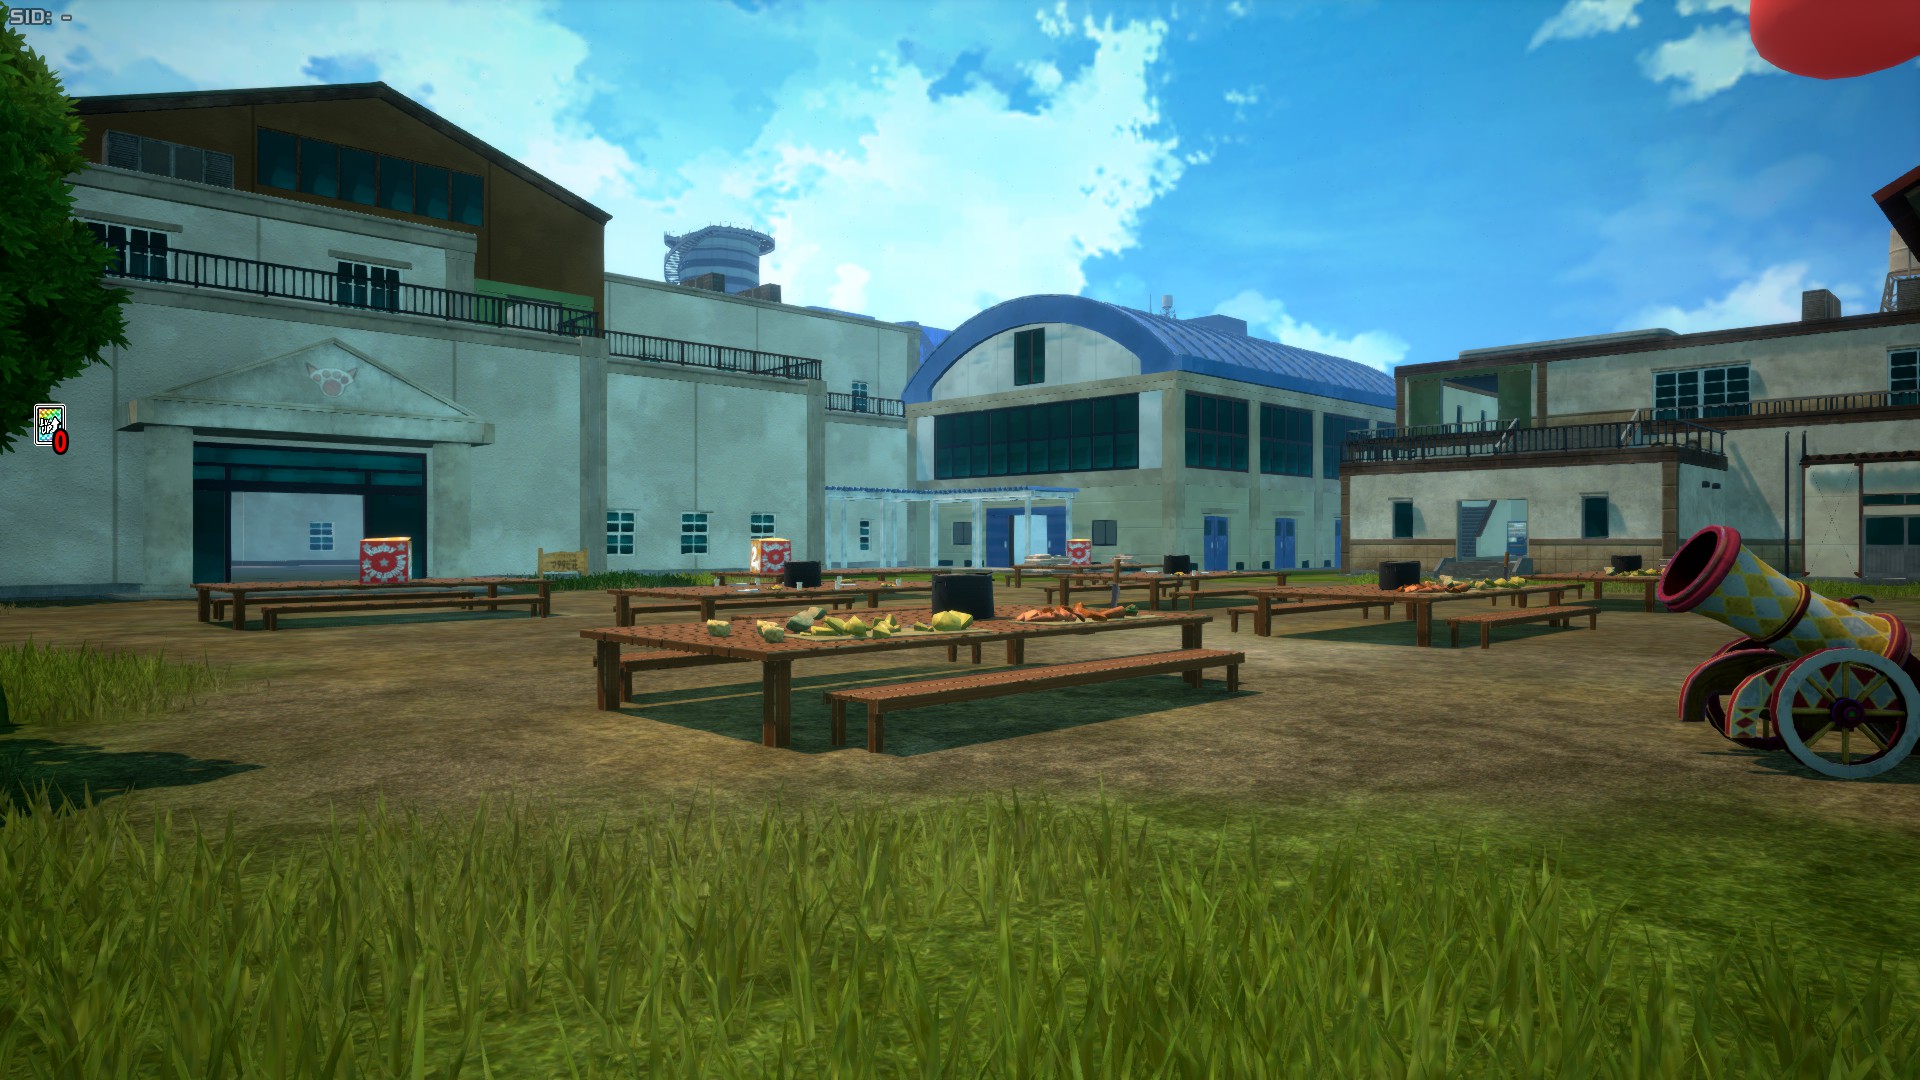
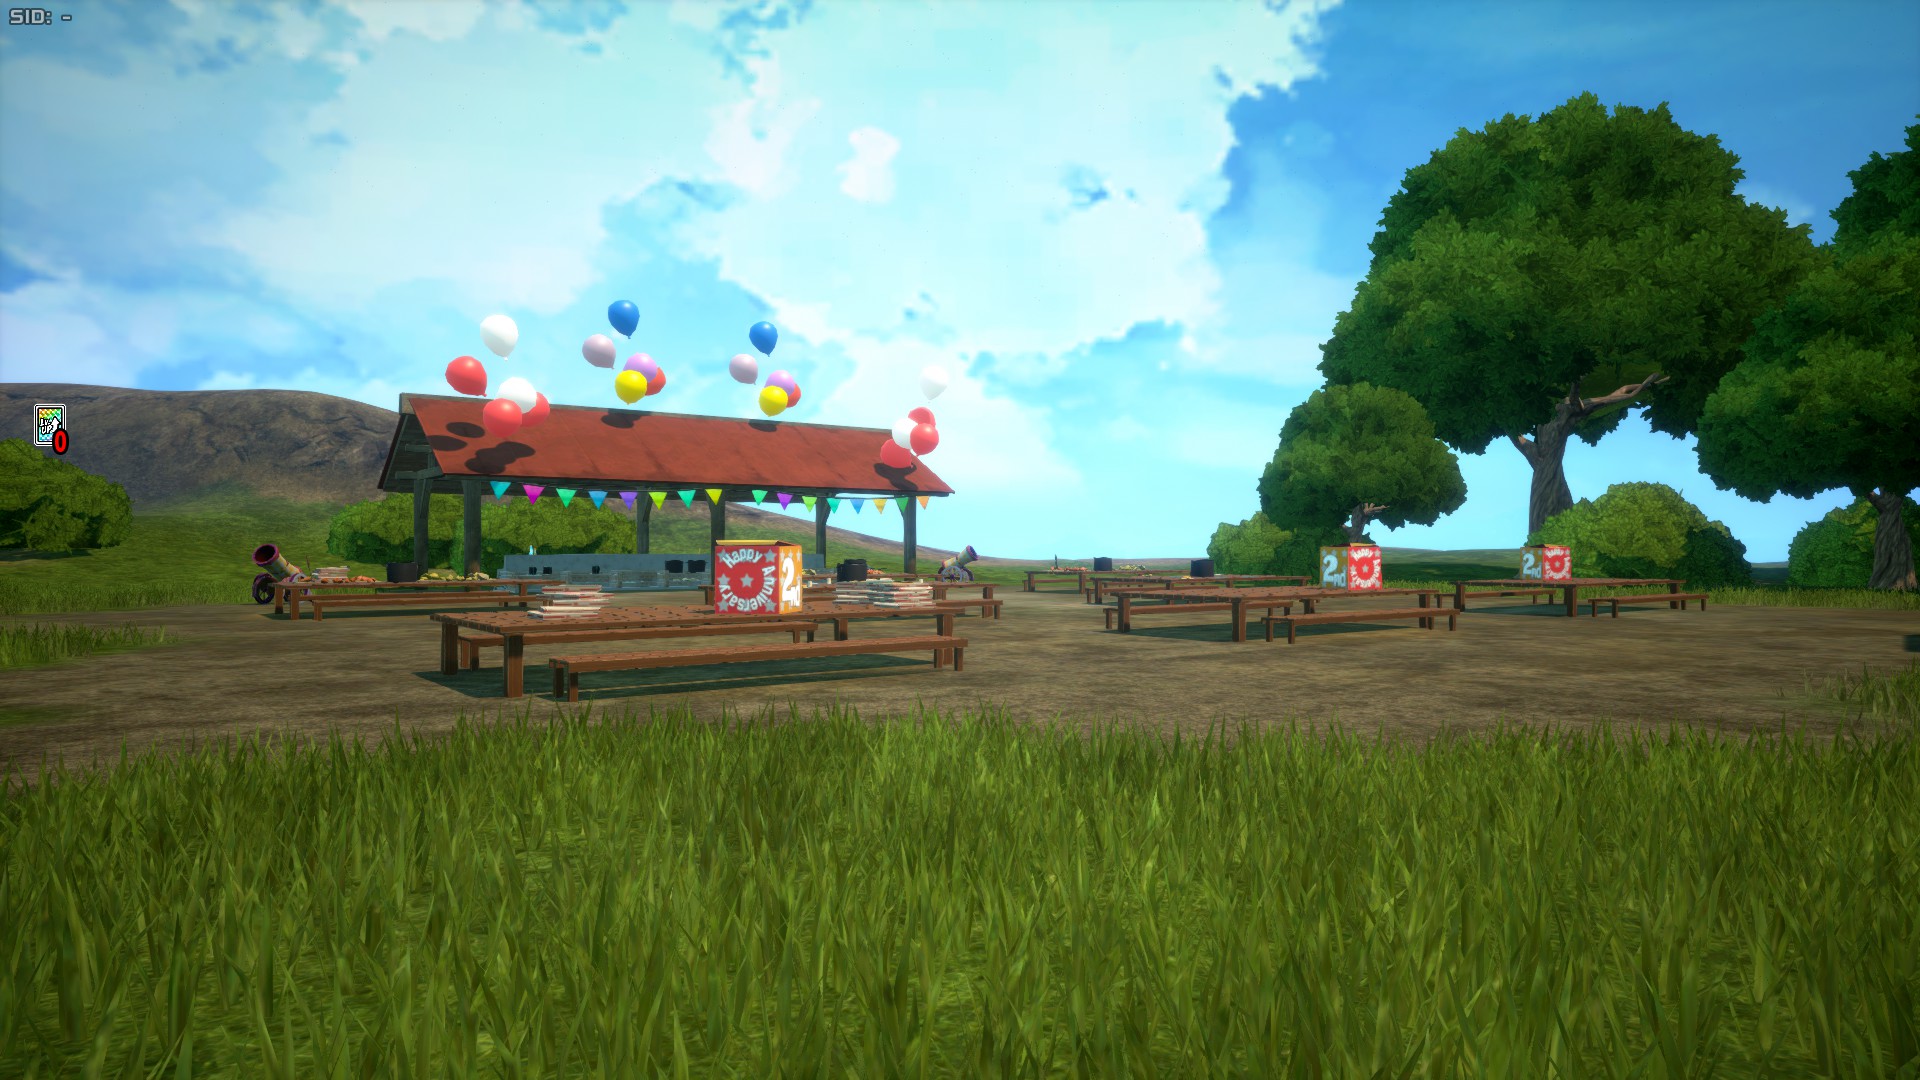
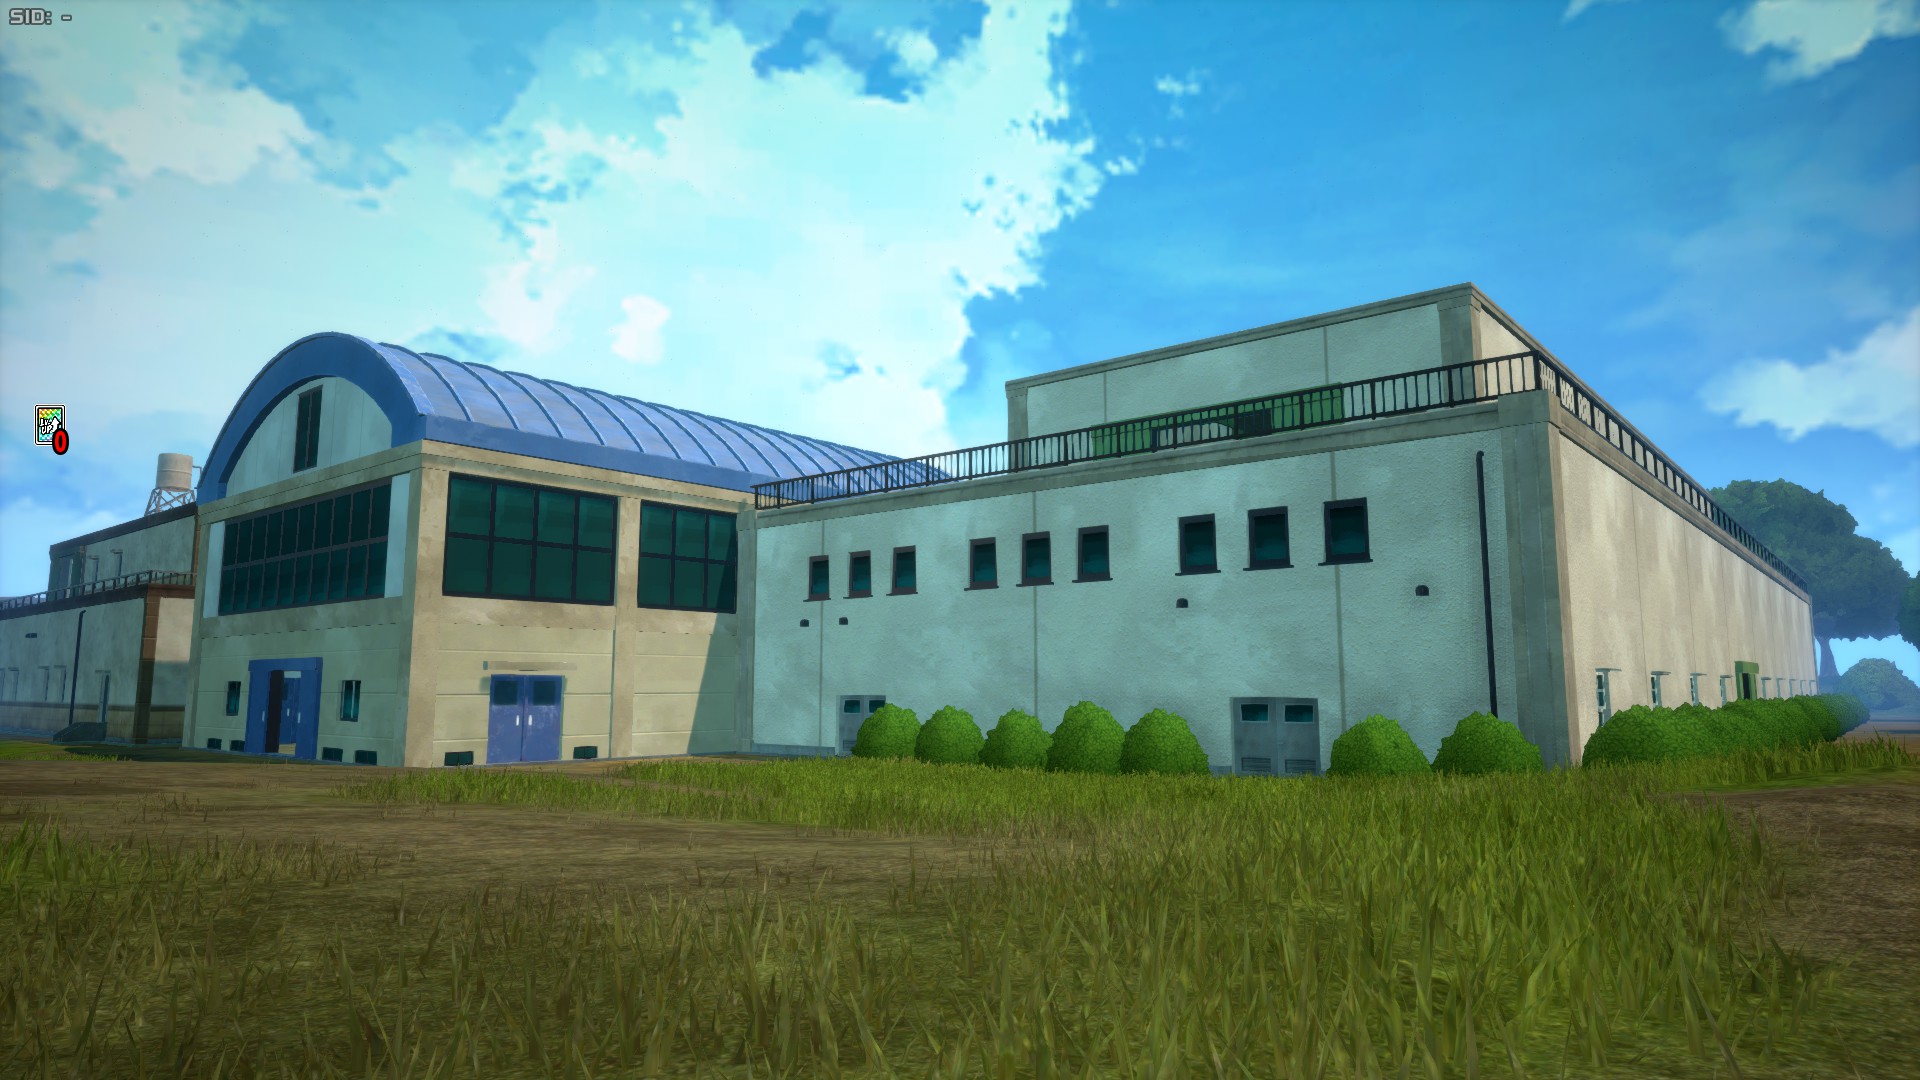
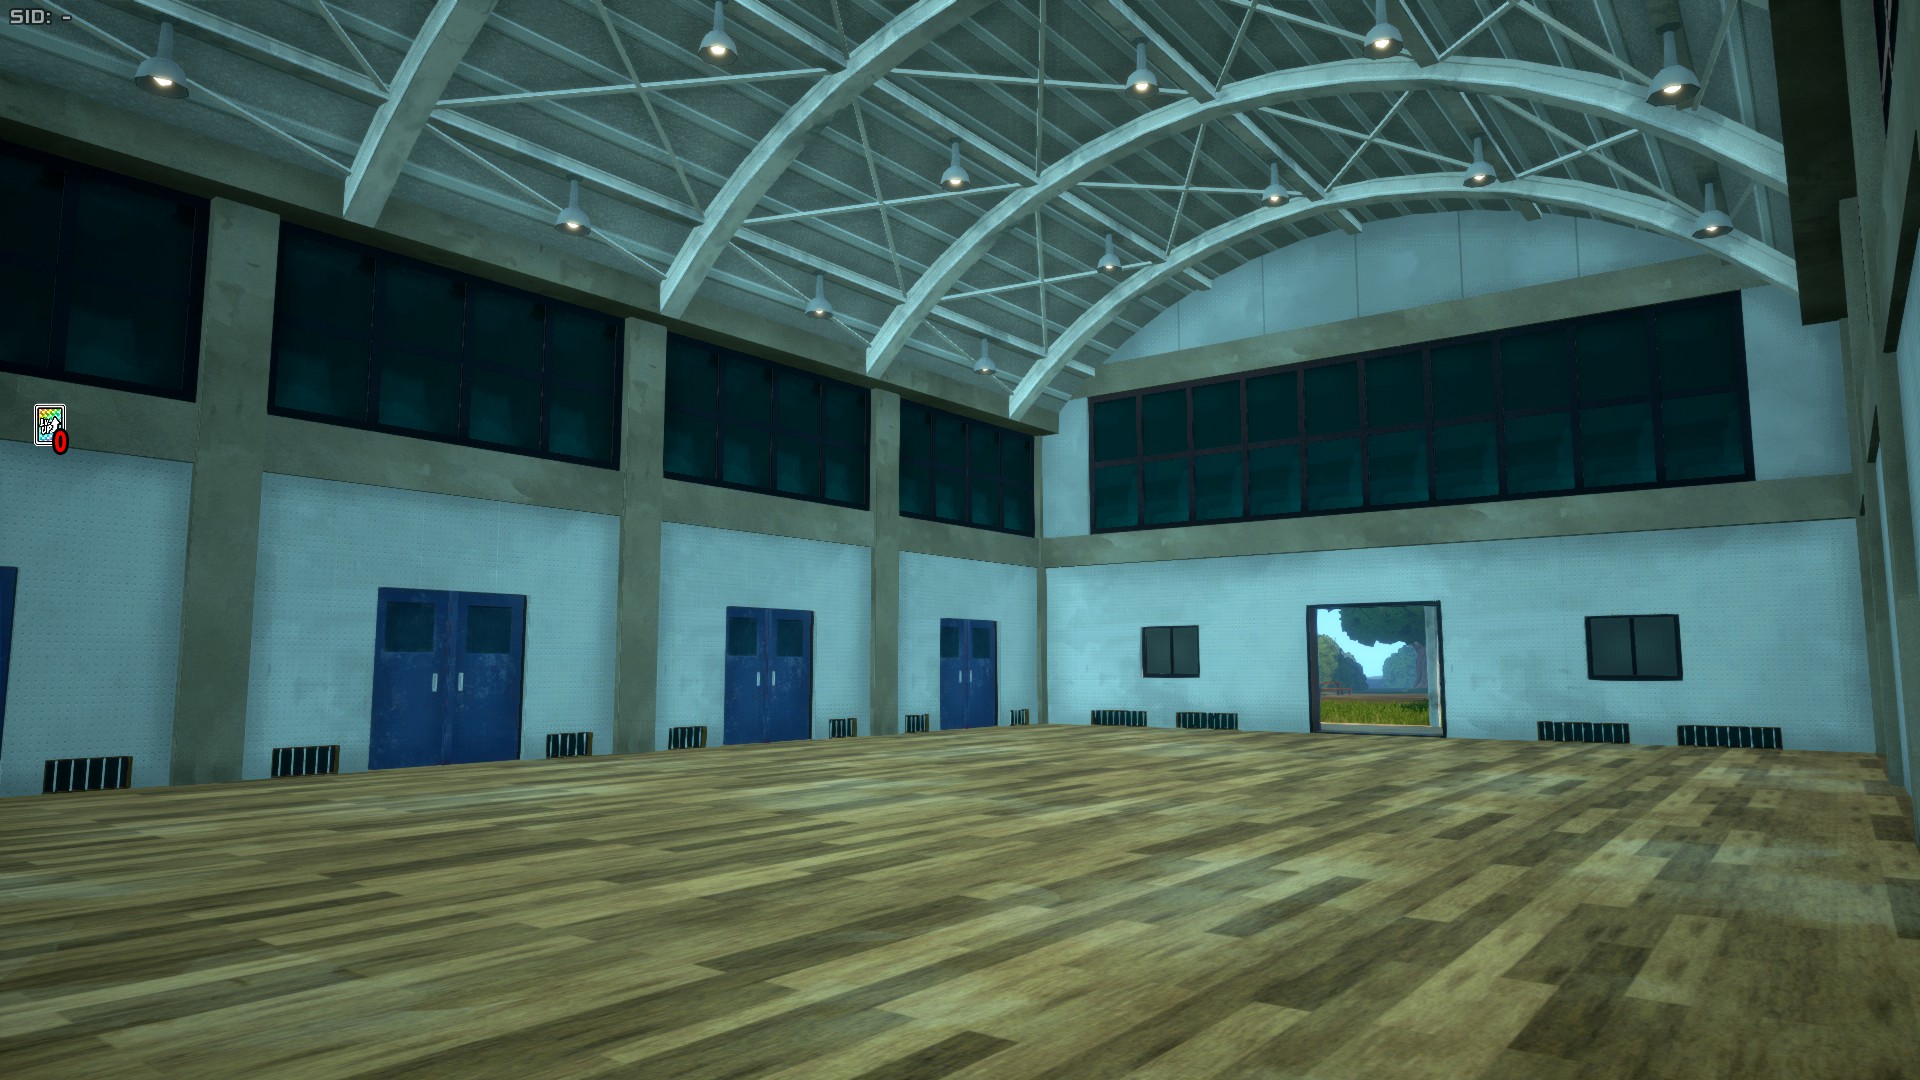
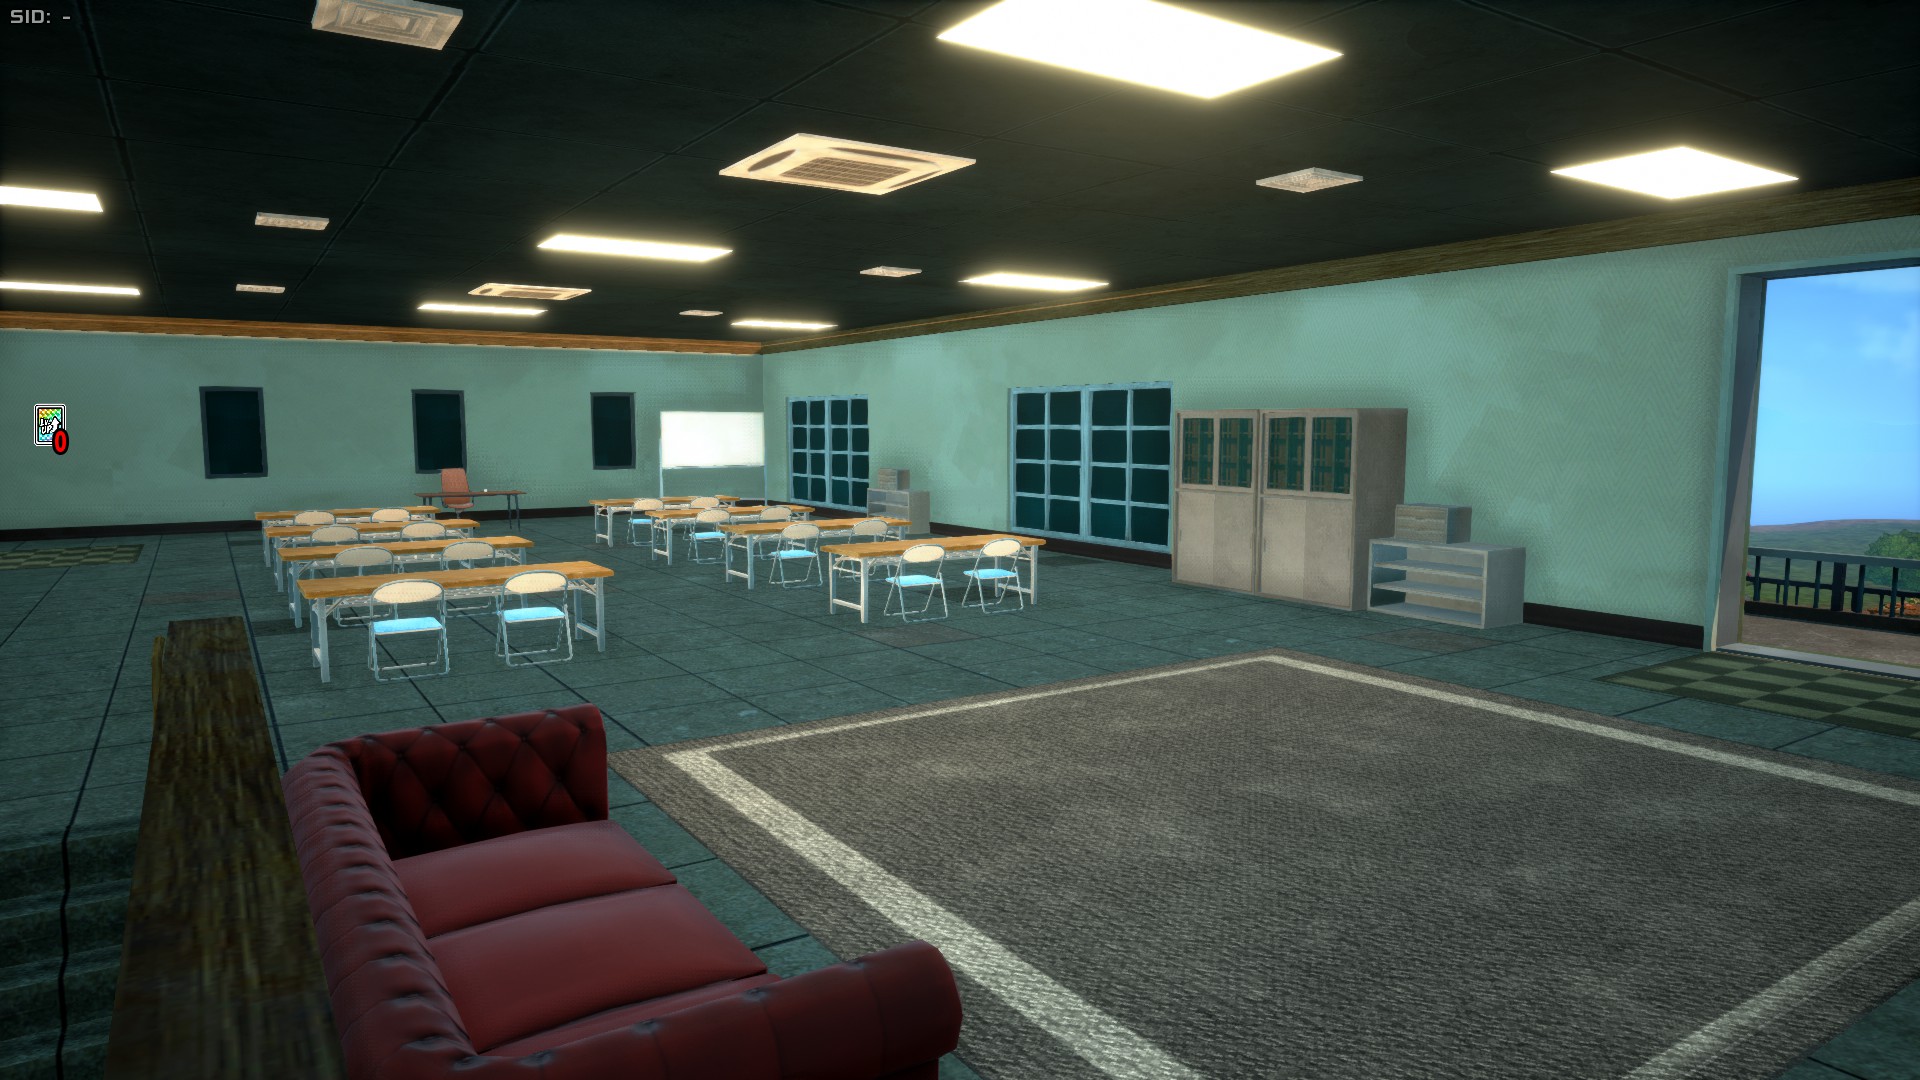
The Training Camp is a small area located on the south-western side of the map, and represents the small training camp established in the first half of Season 3 of the anime. This area features 3 buildings plus the outside camp, these being the Gym, the Study Building, and the Residential Building, which is the bigger one in this area.
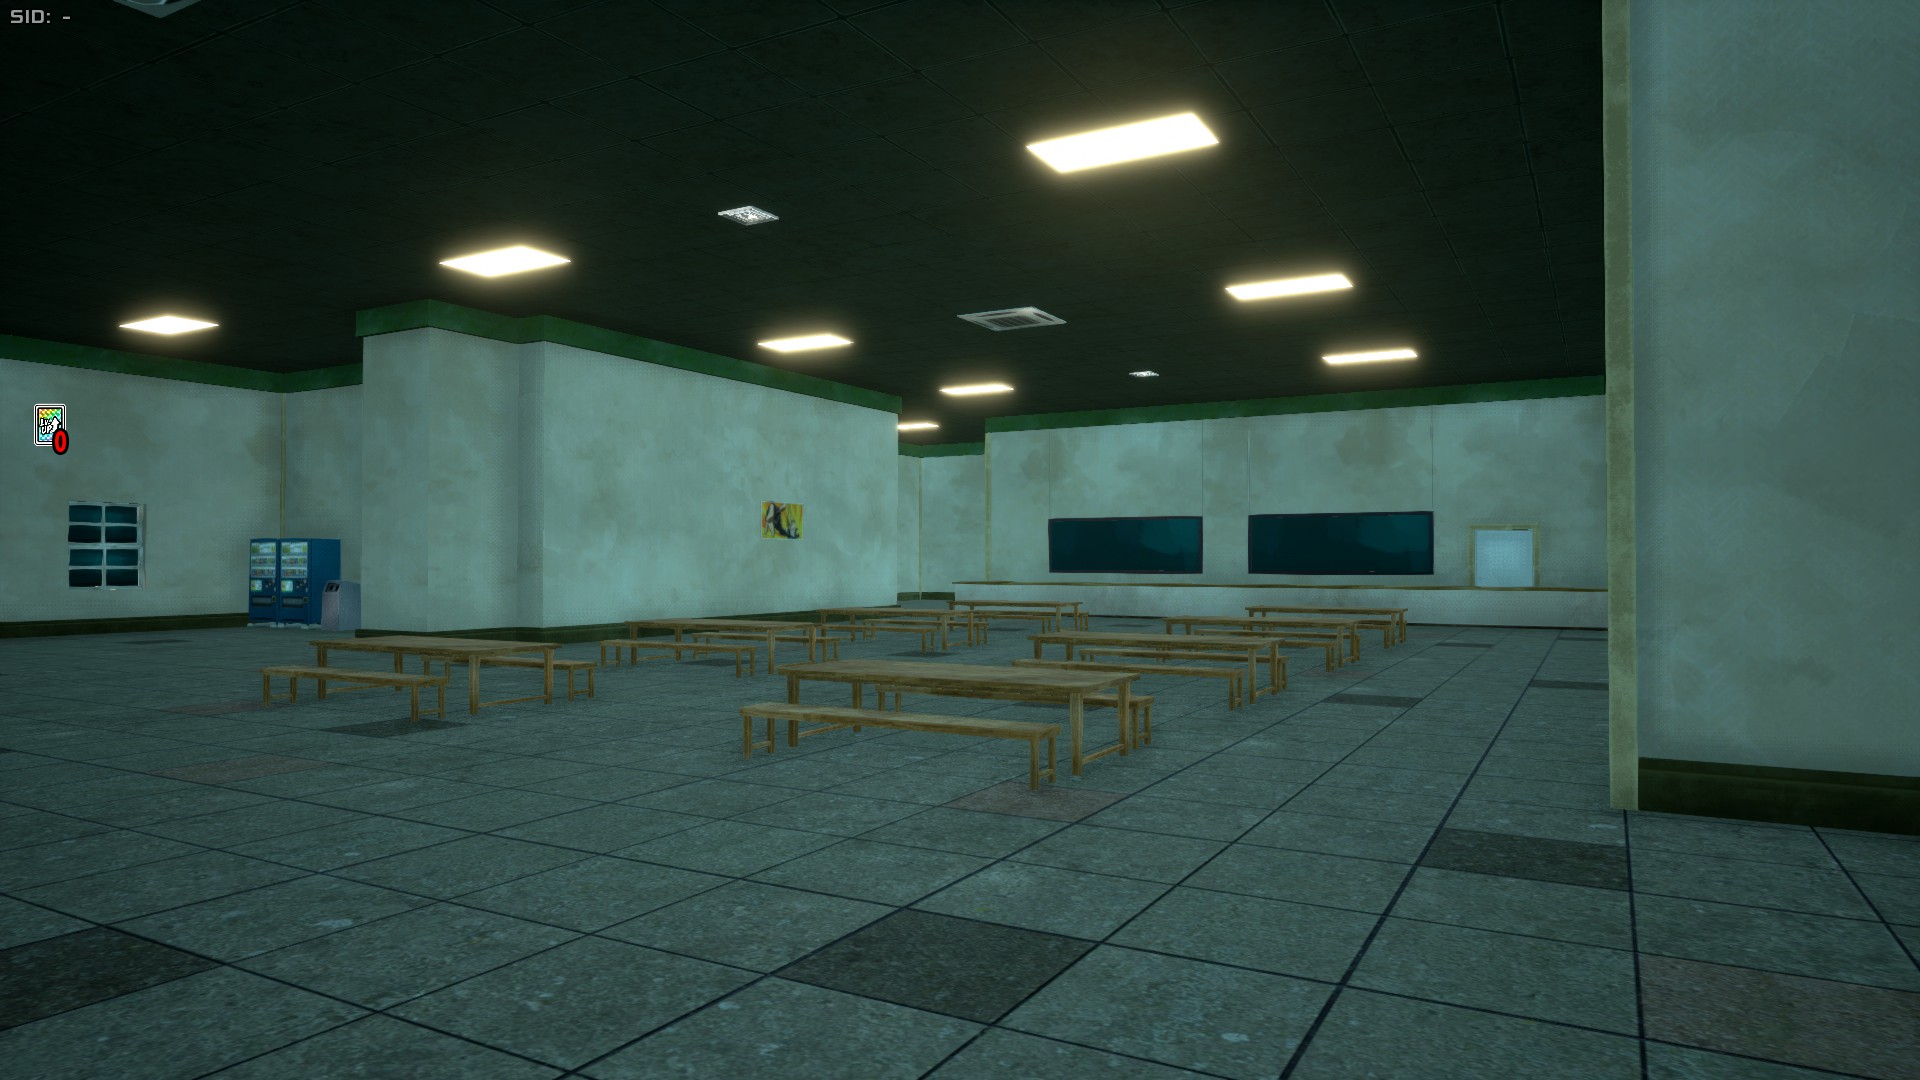
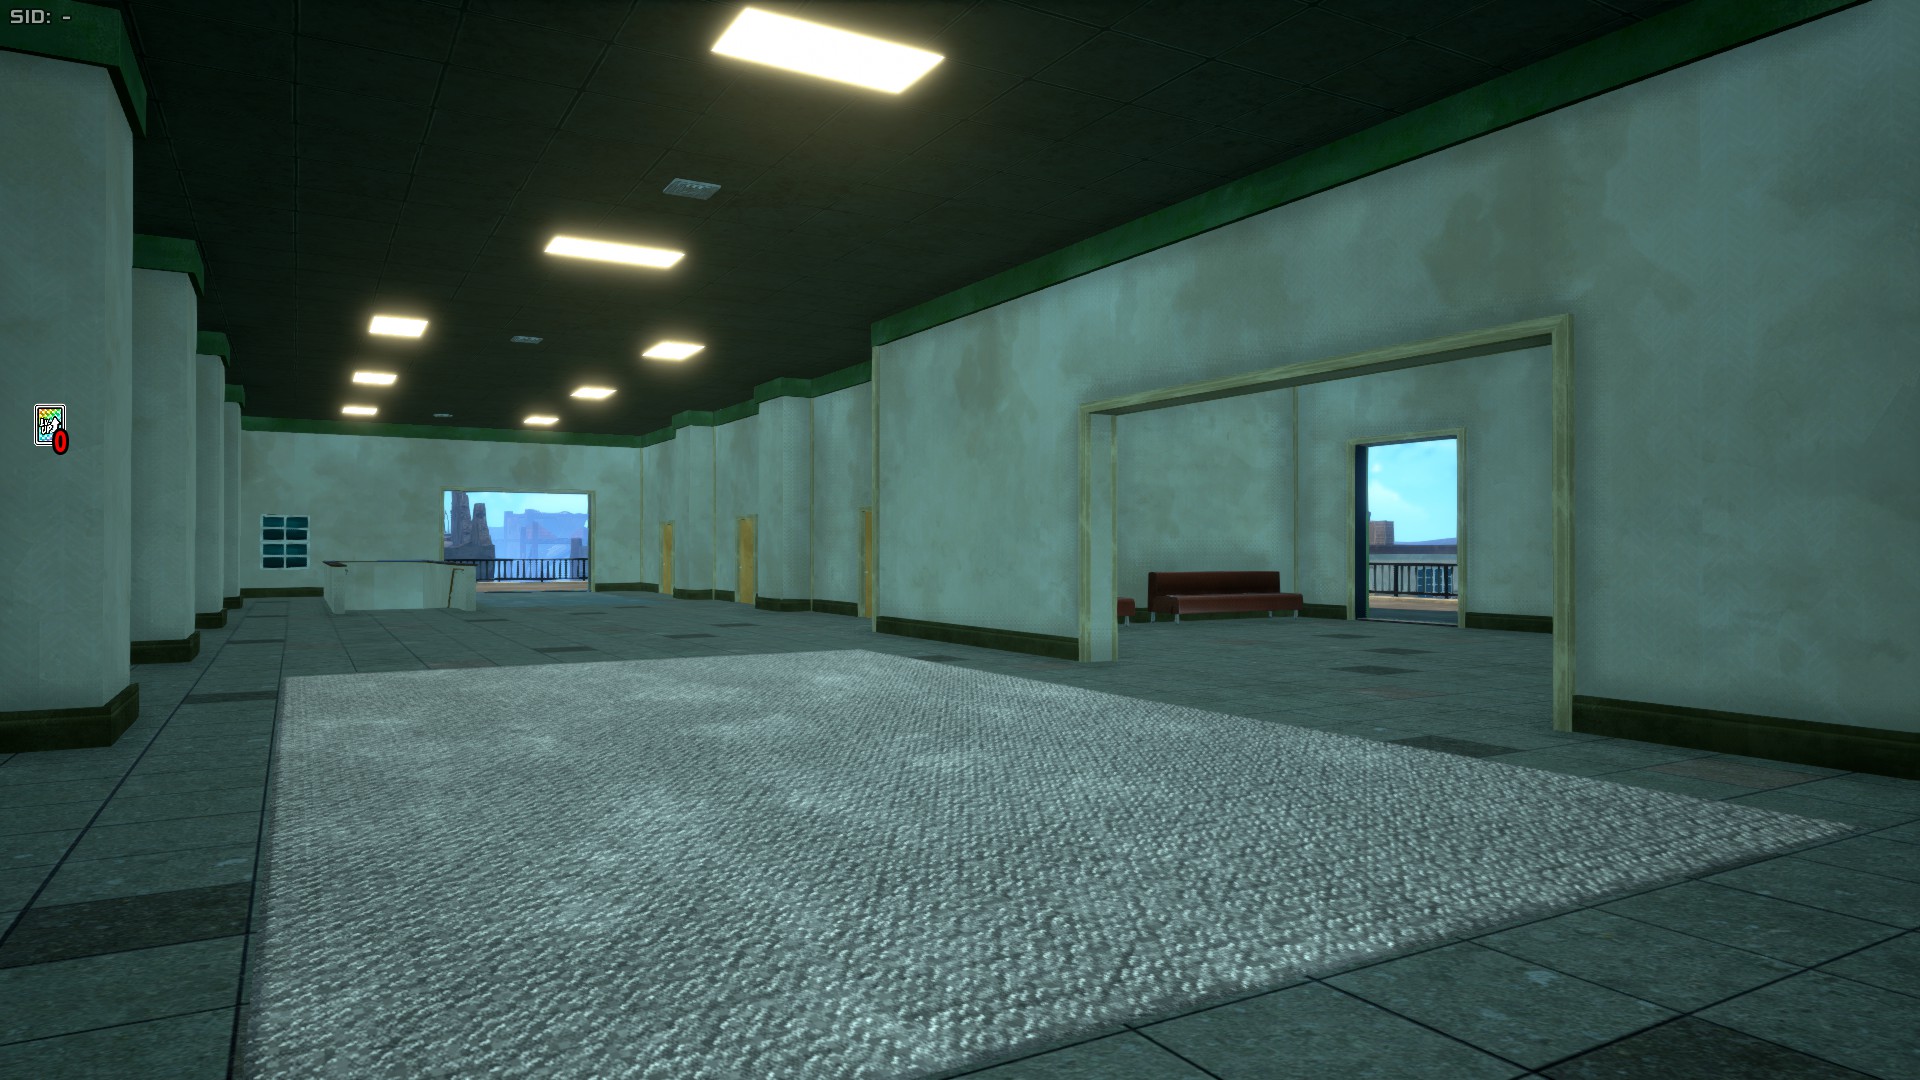
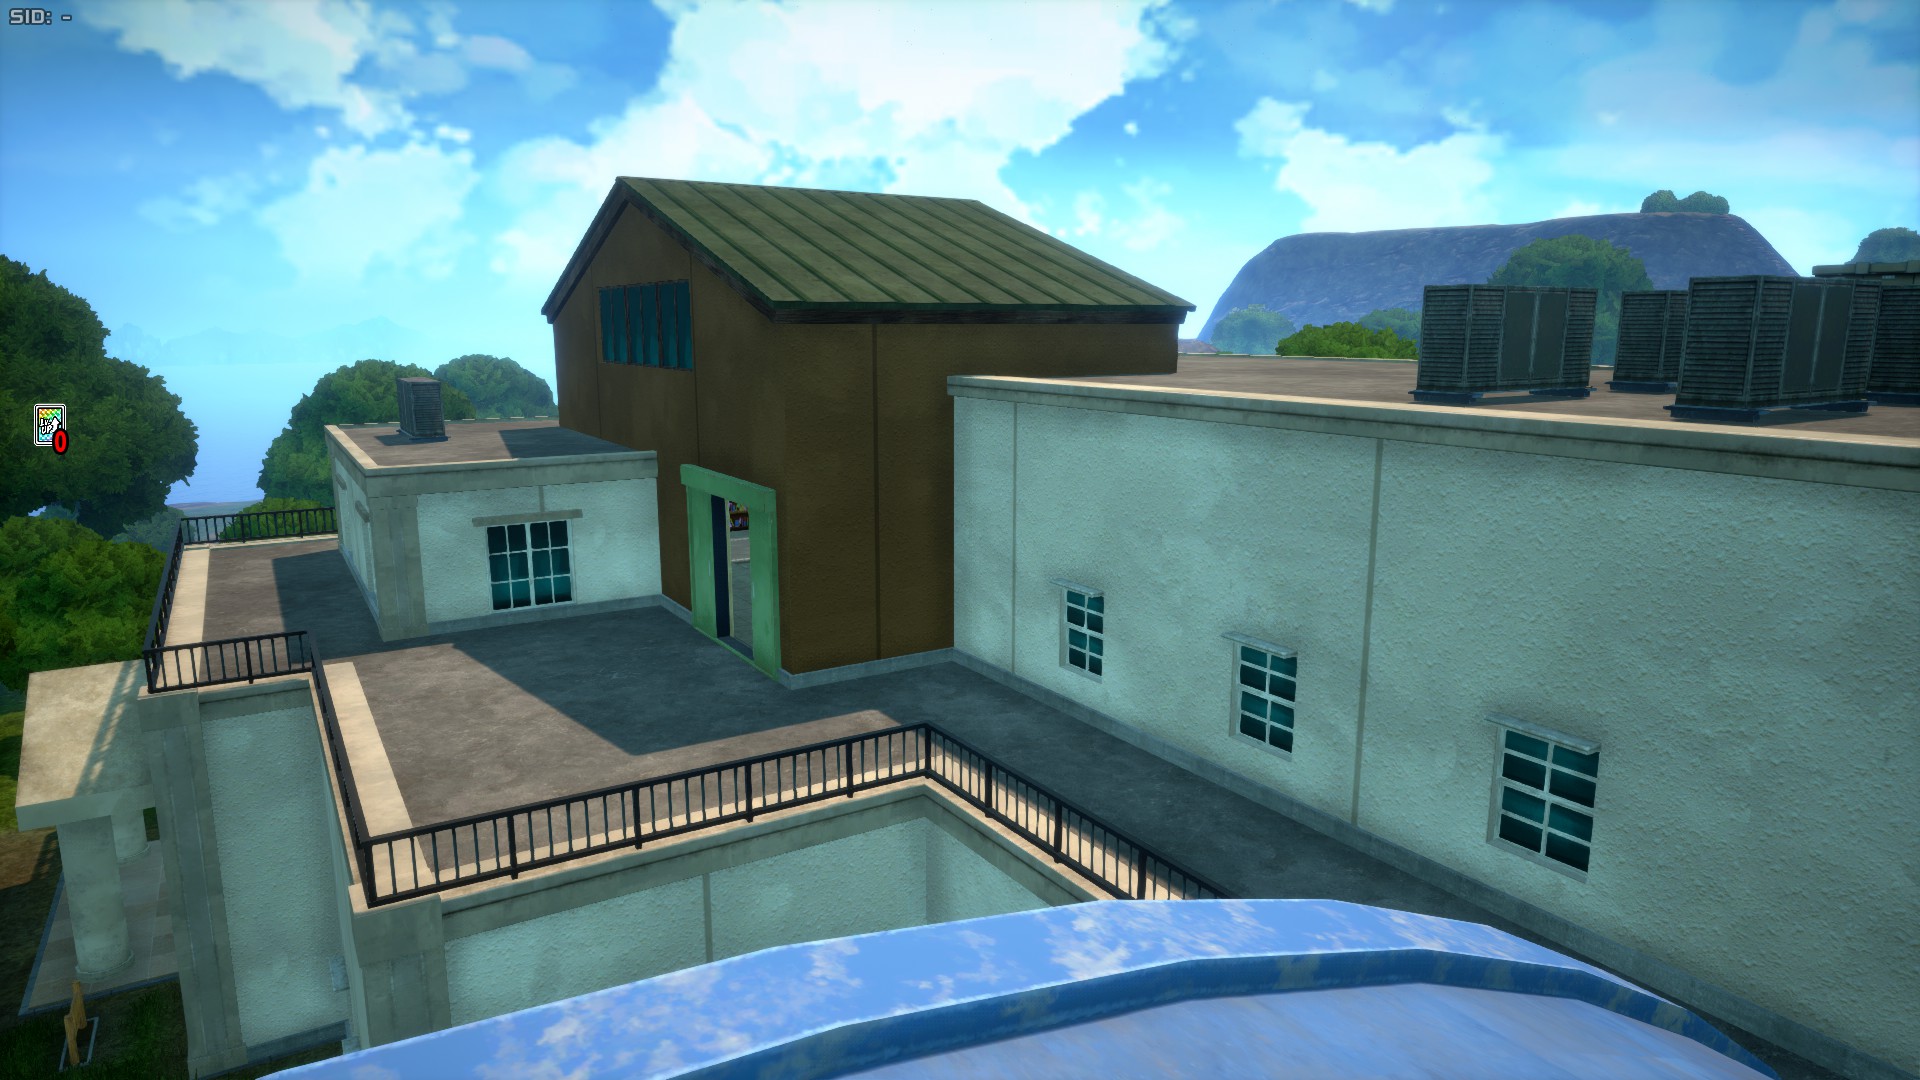
Beach Area
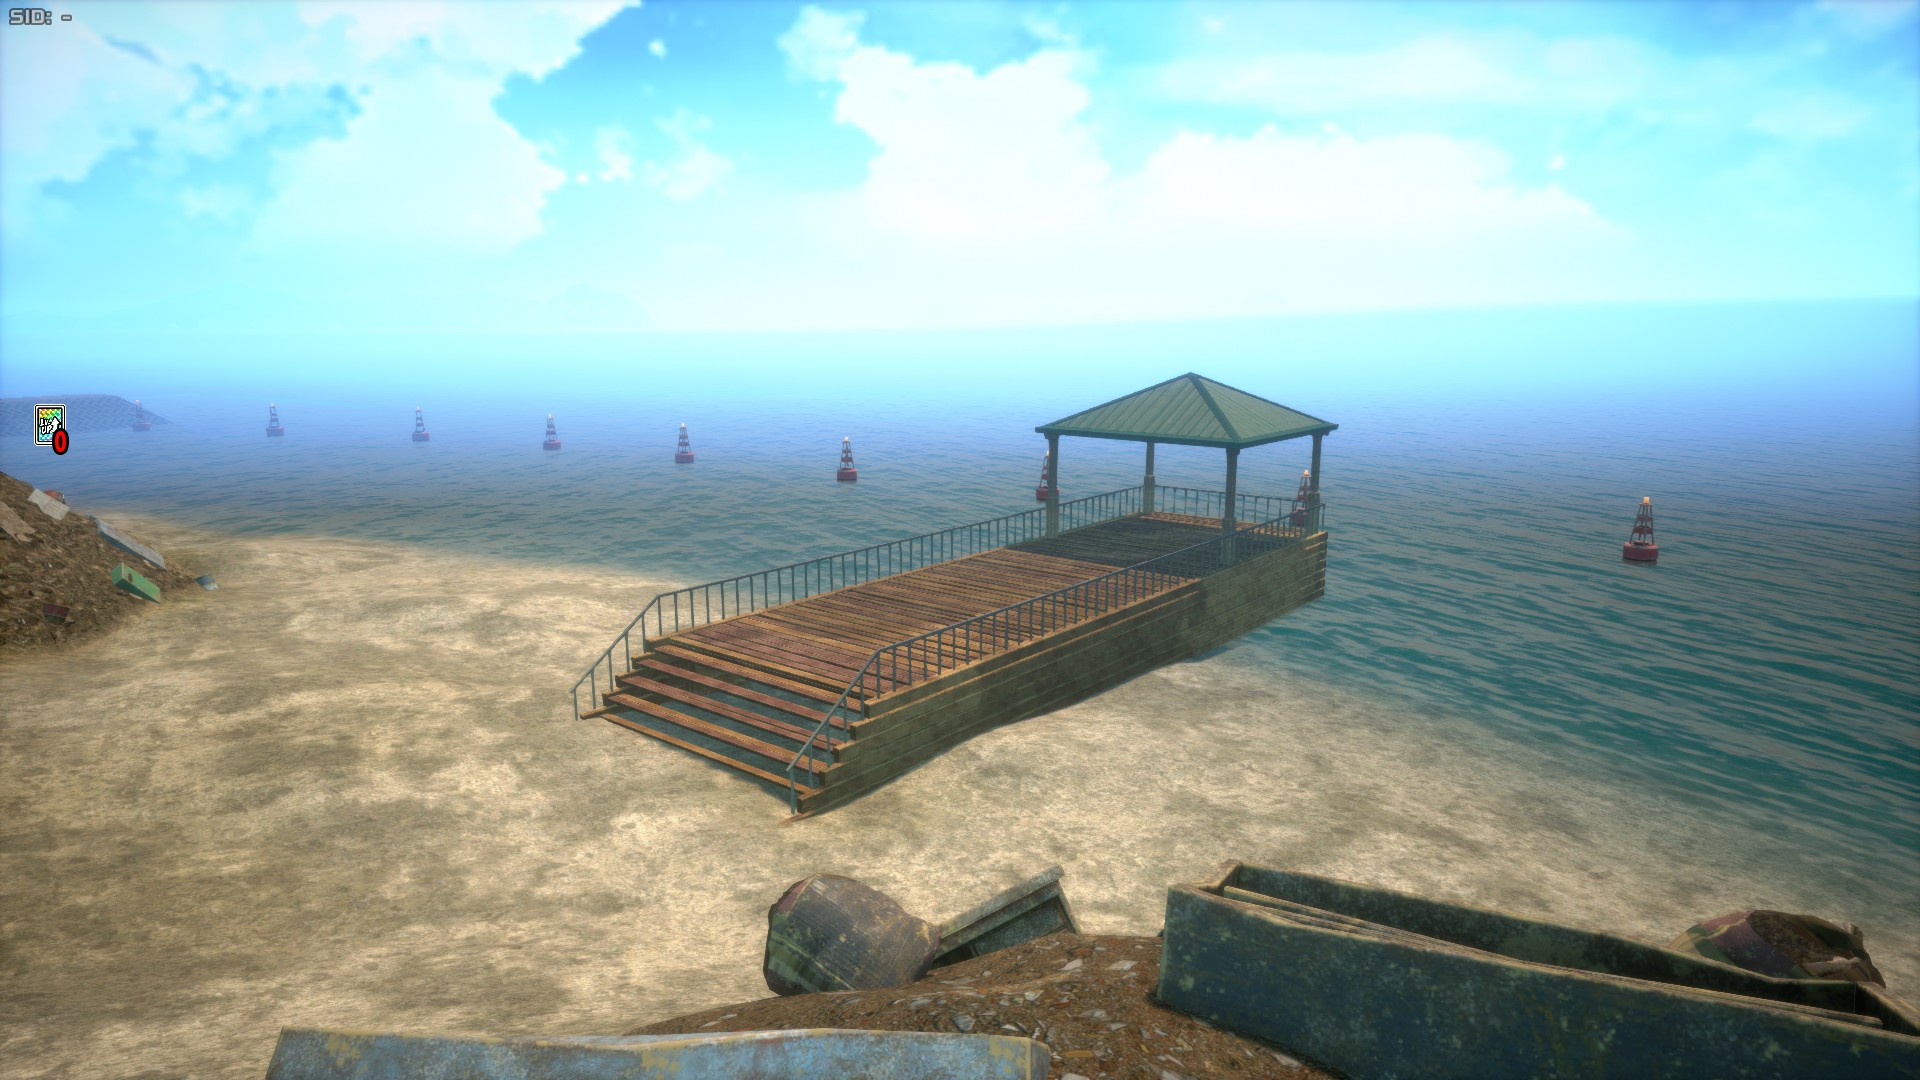
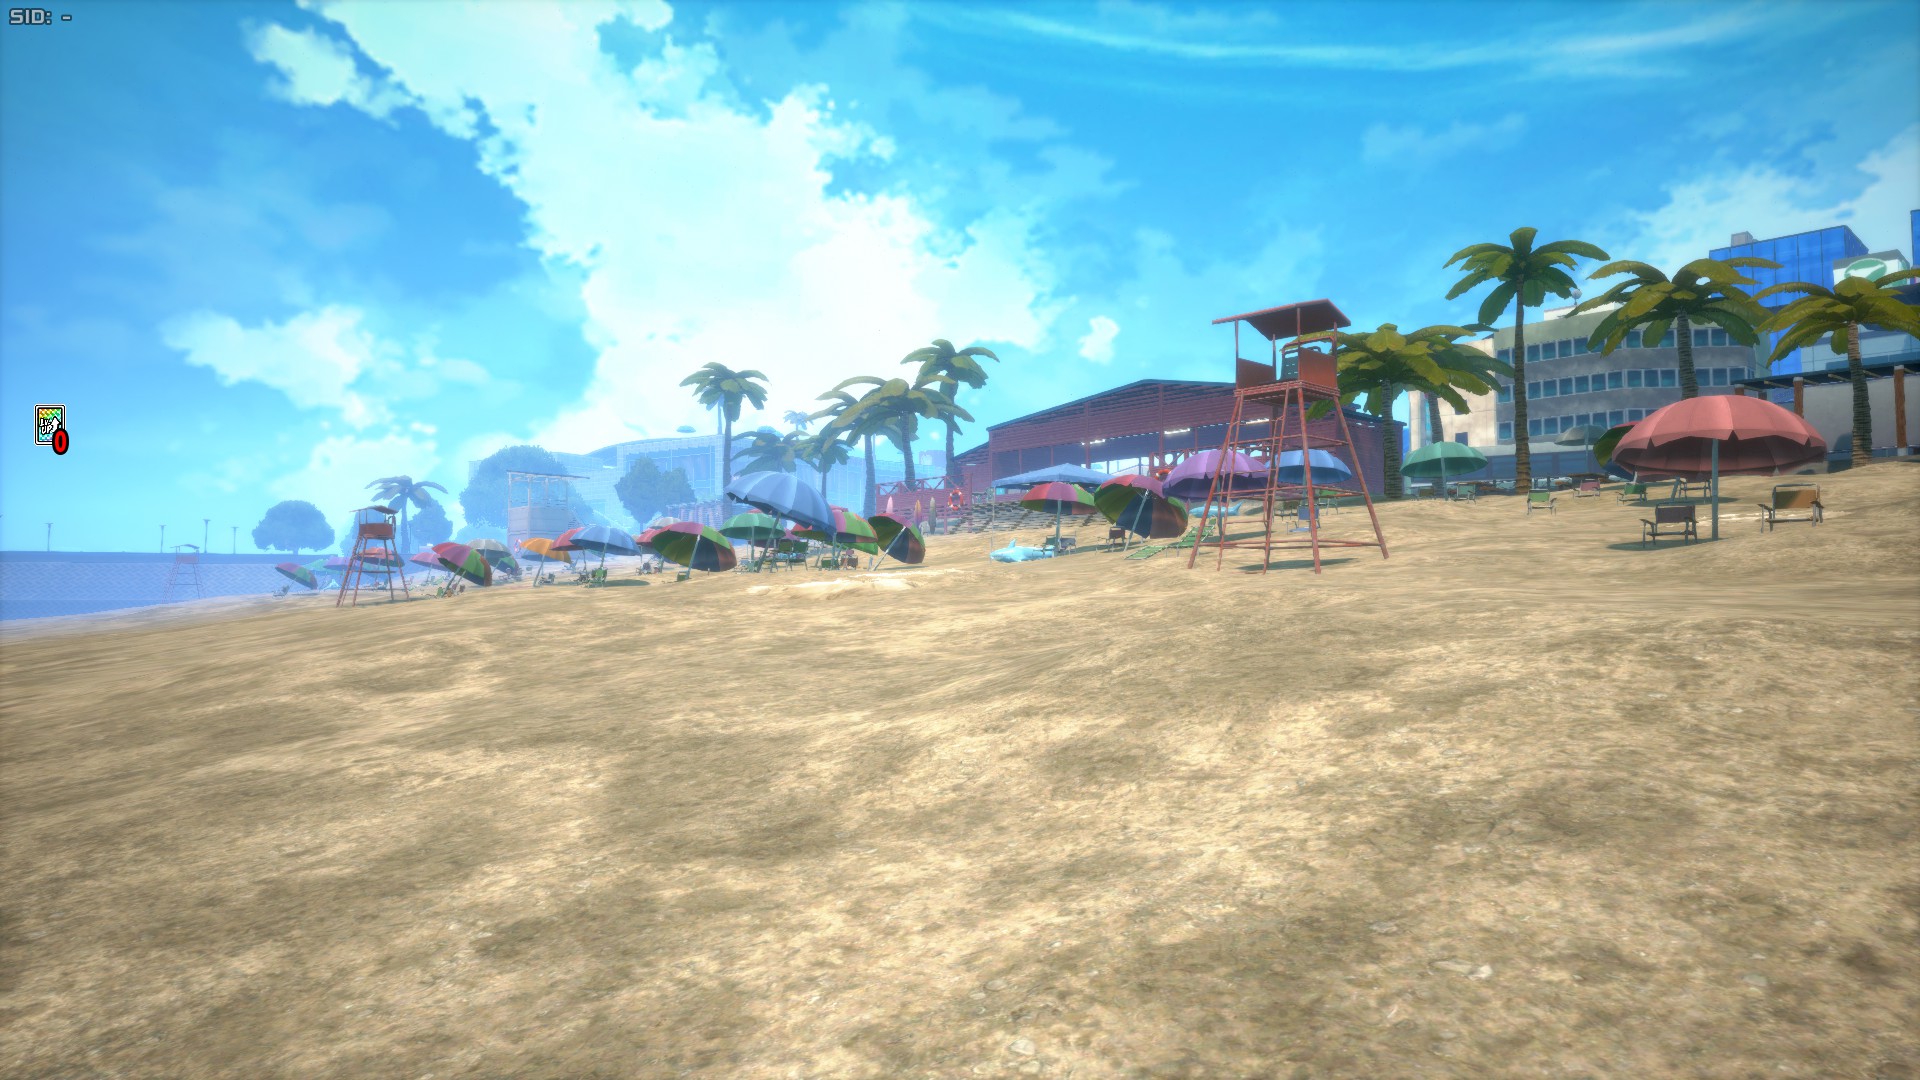
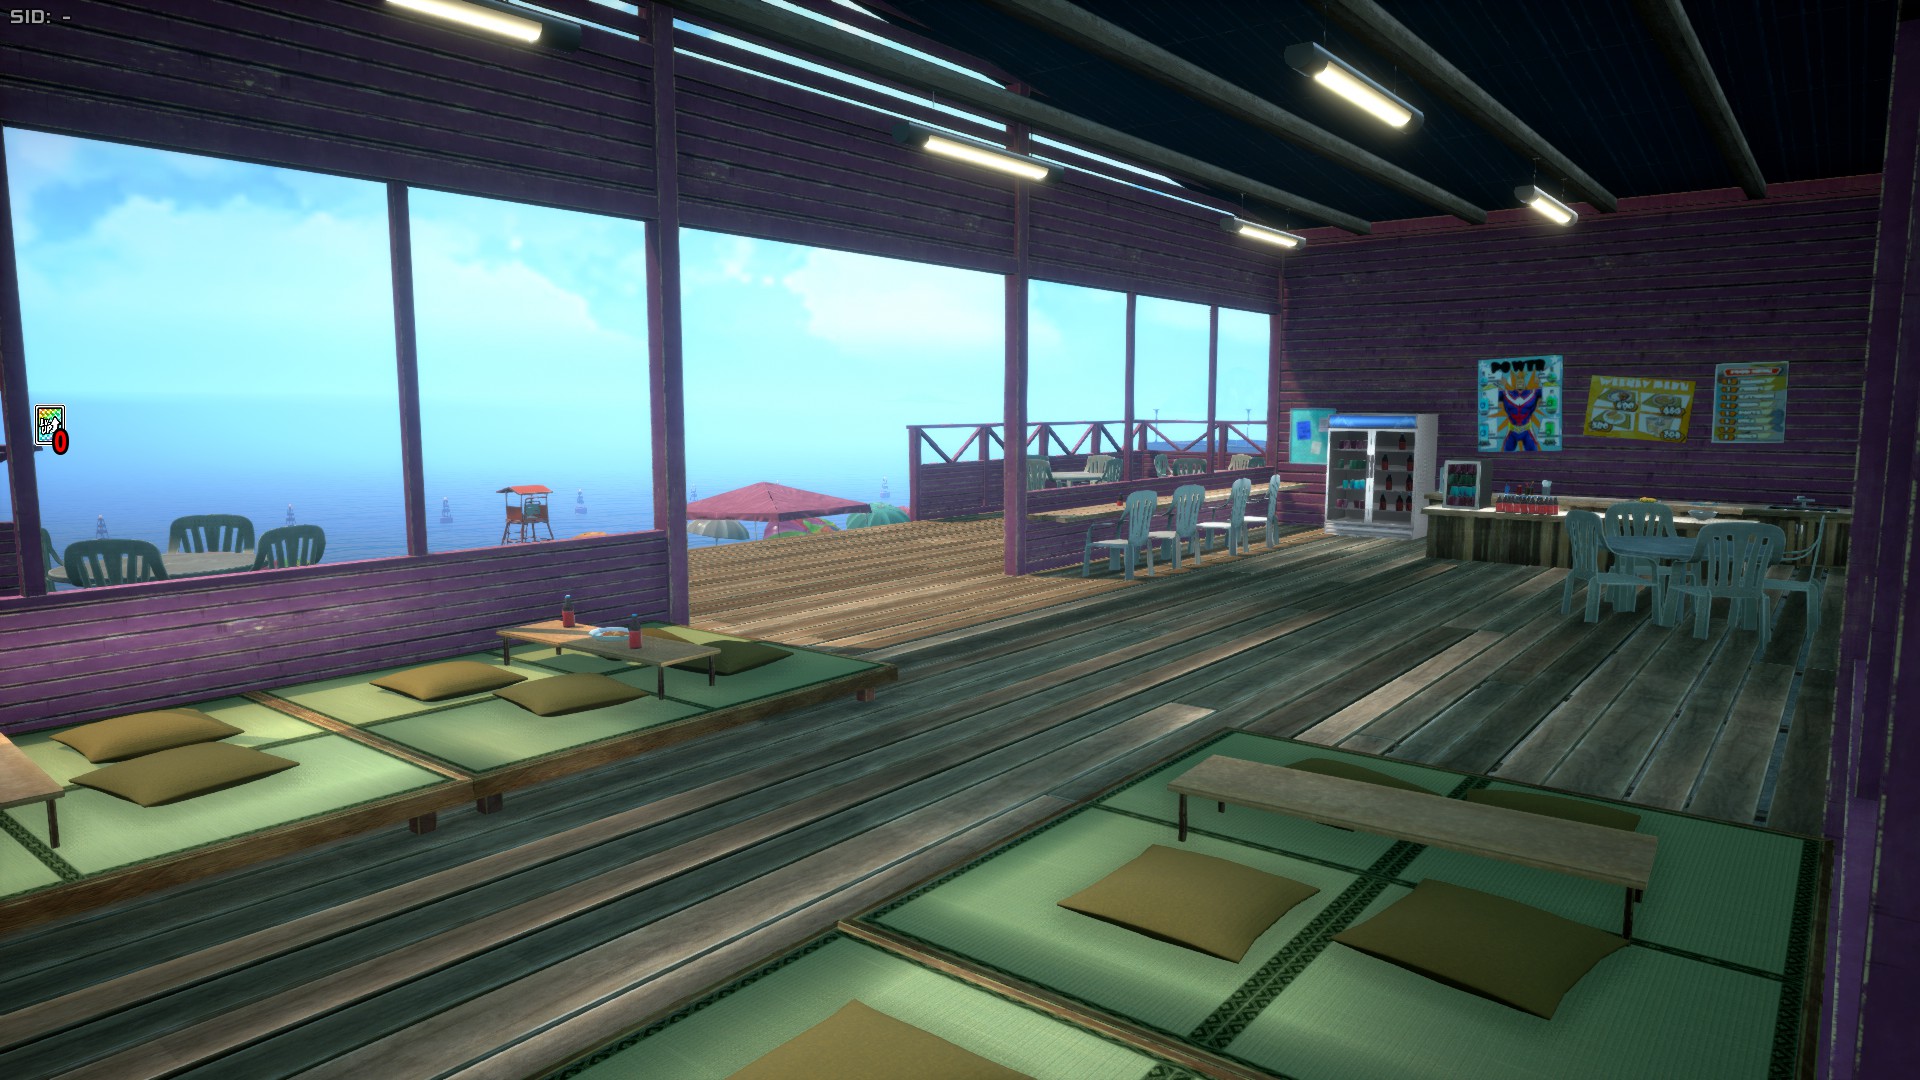
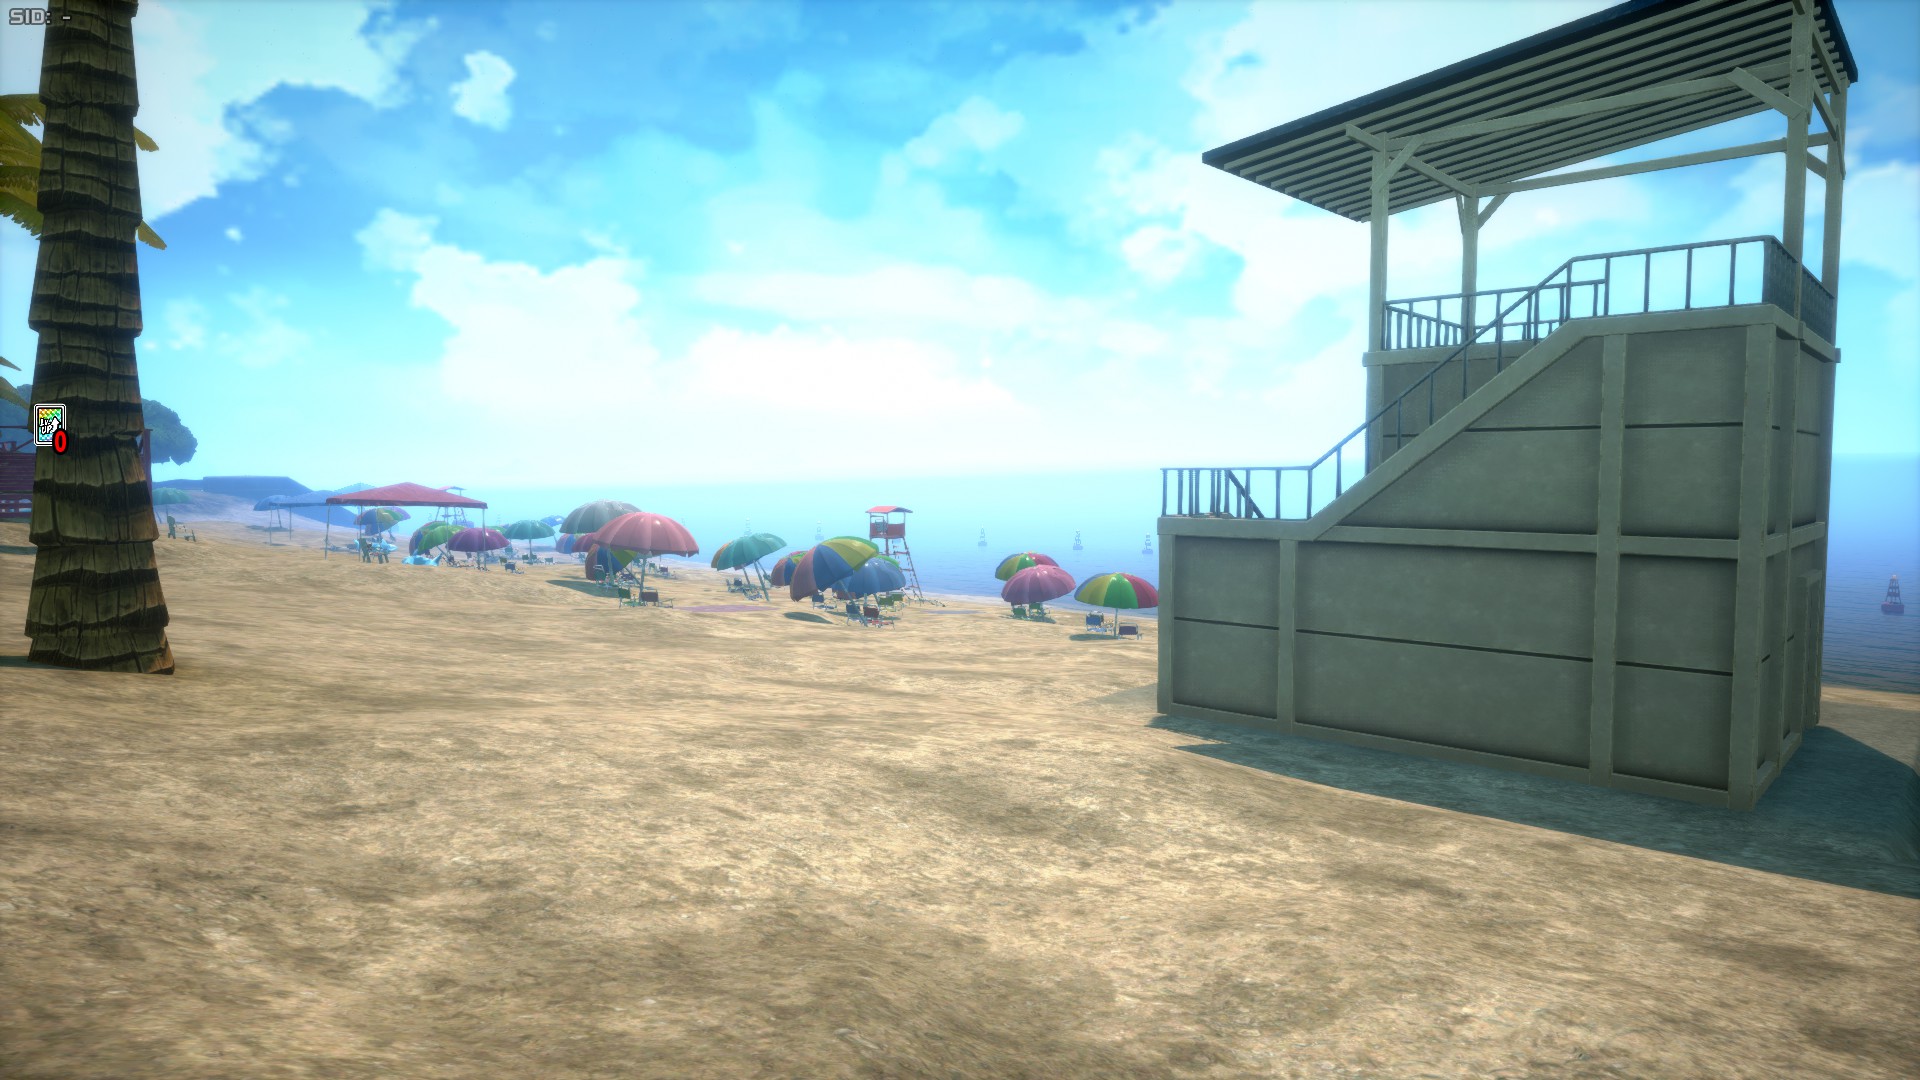
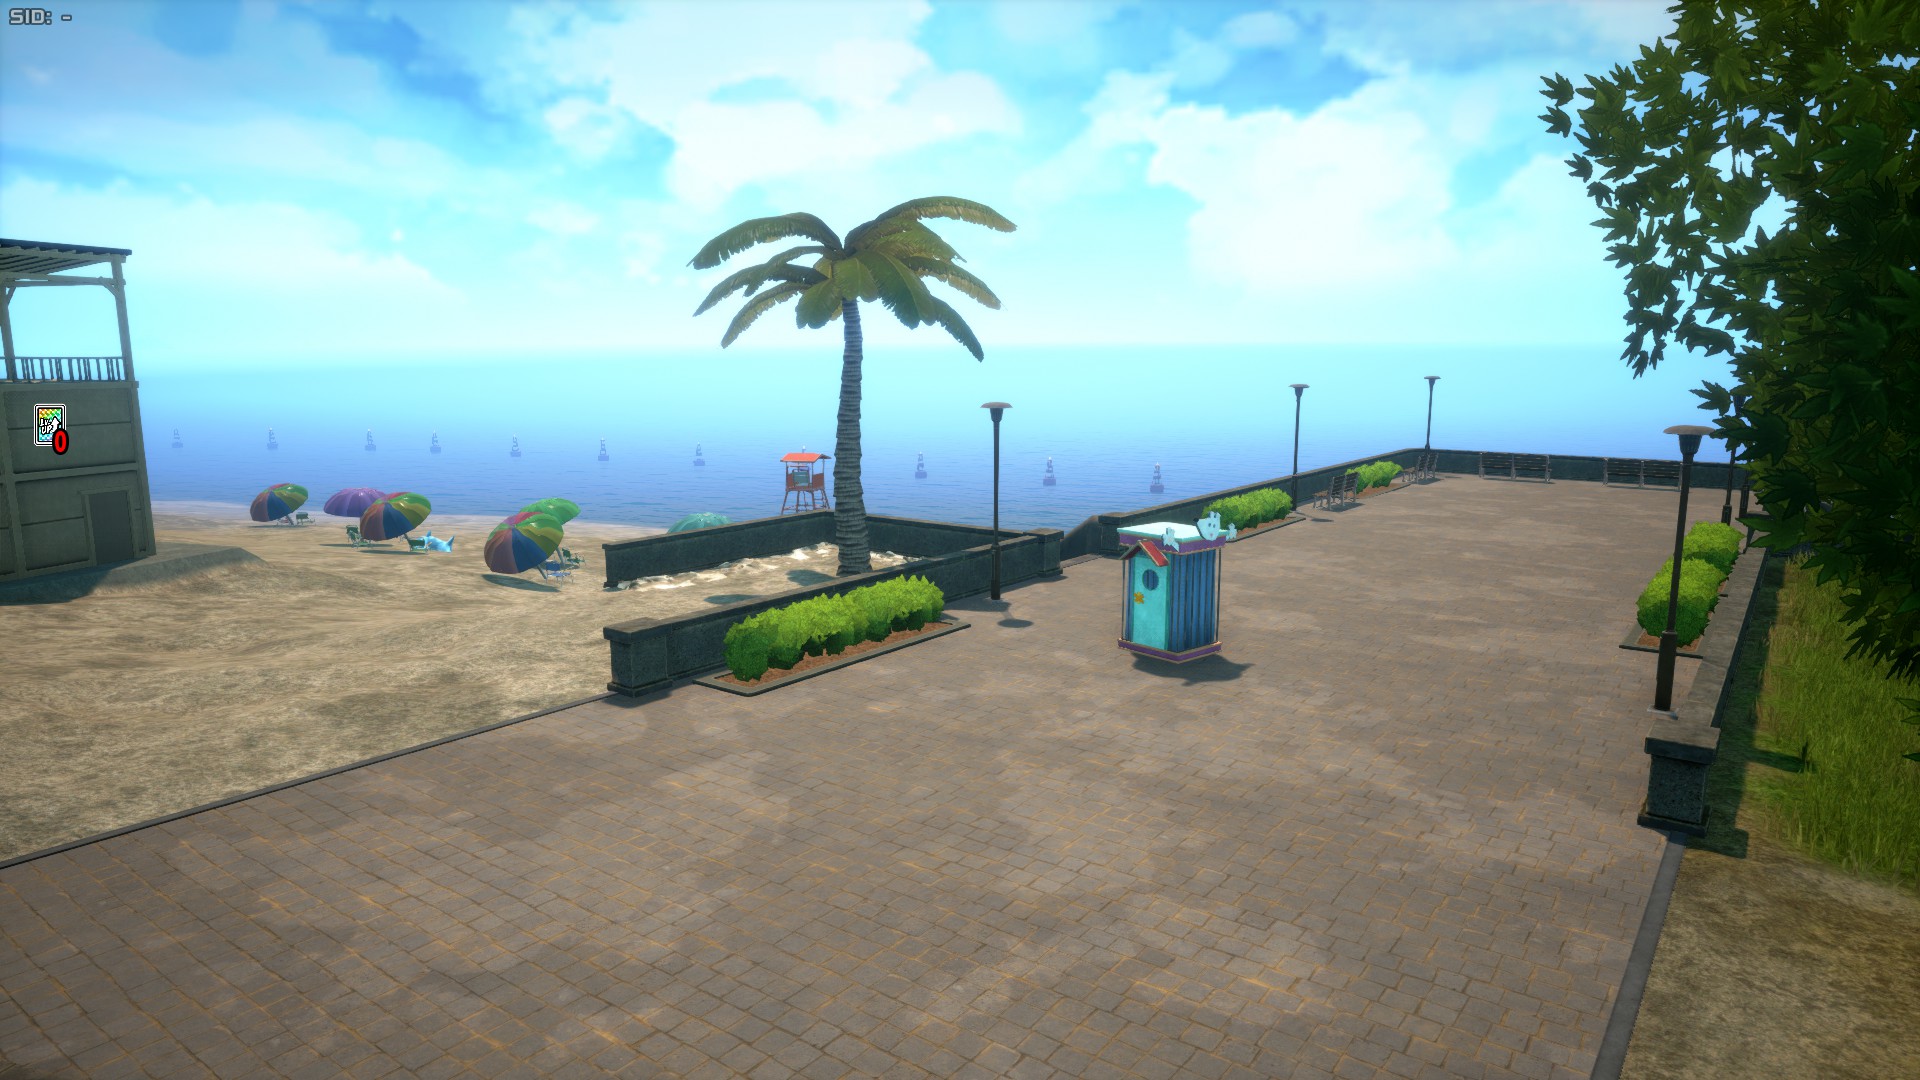
Beach area is a small area that covers the northernmost side of the map. This is likely the least remarkable area in the map, as the final circle rarely approaches this area (though contrary to popular belief it can) and is very small, it also lacks proper cover. On the western side of the beach you will be able to see little trash hills and a small wooden architecture going into the sea, which represents the area where Izuku Midoriya trained his body in Season 1 of the anime to be able to hold One For All.
UA Island (Ver.02)
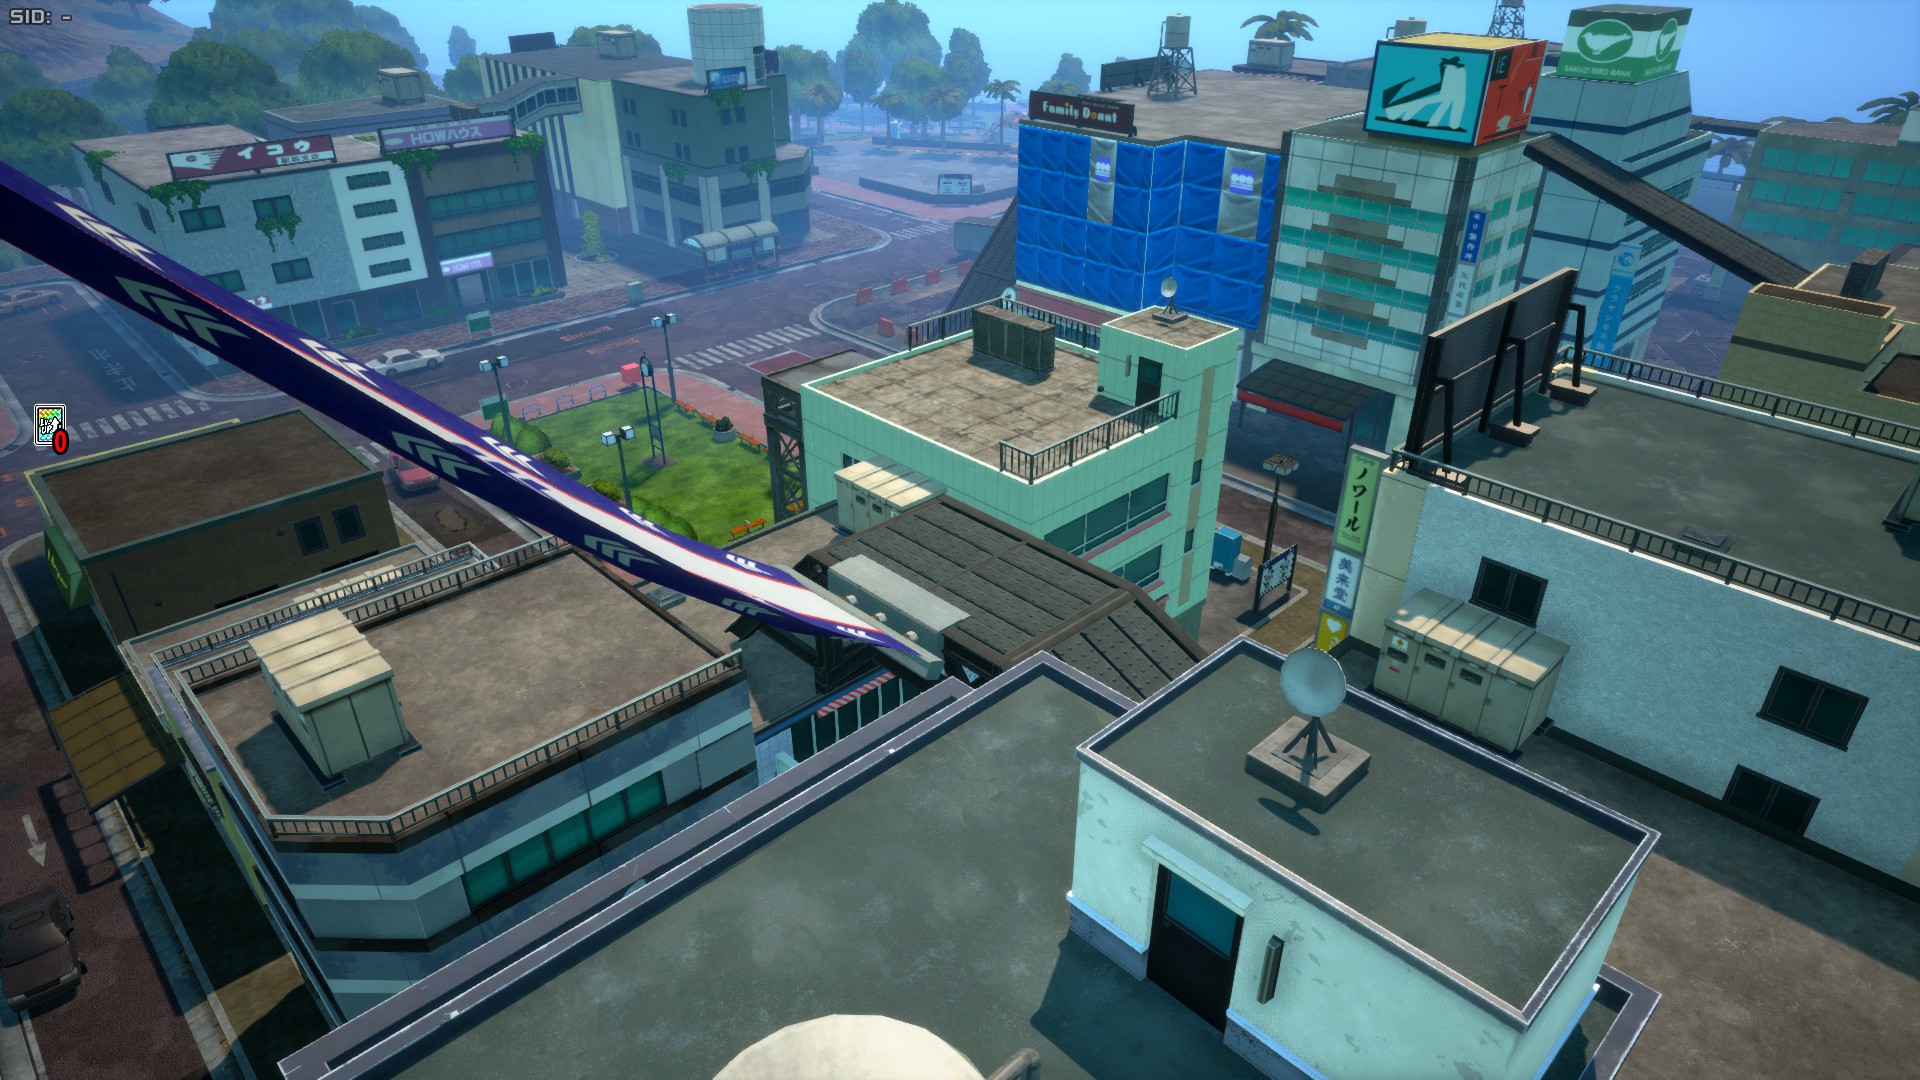
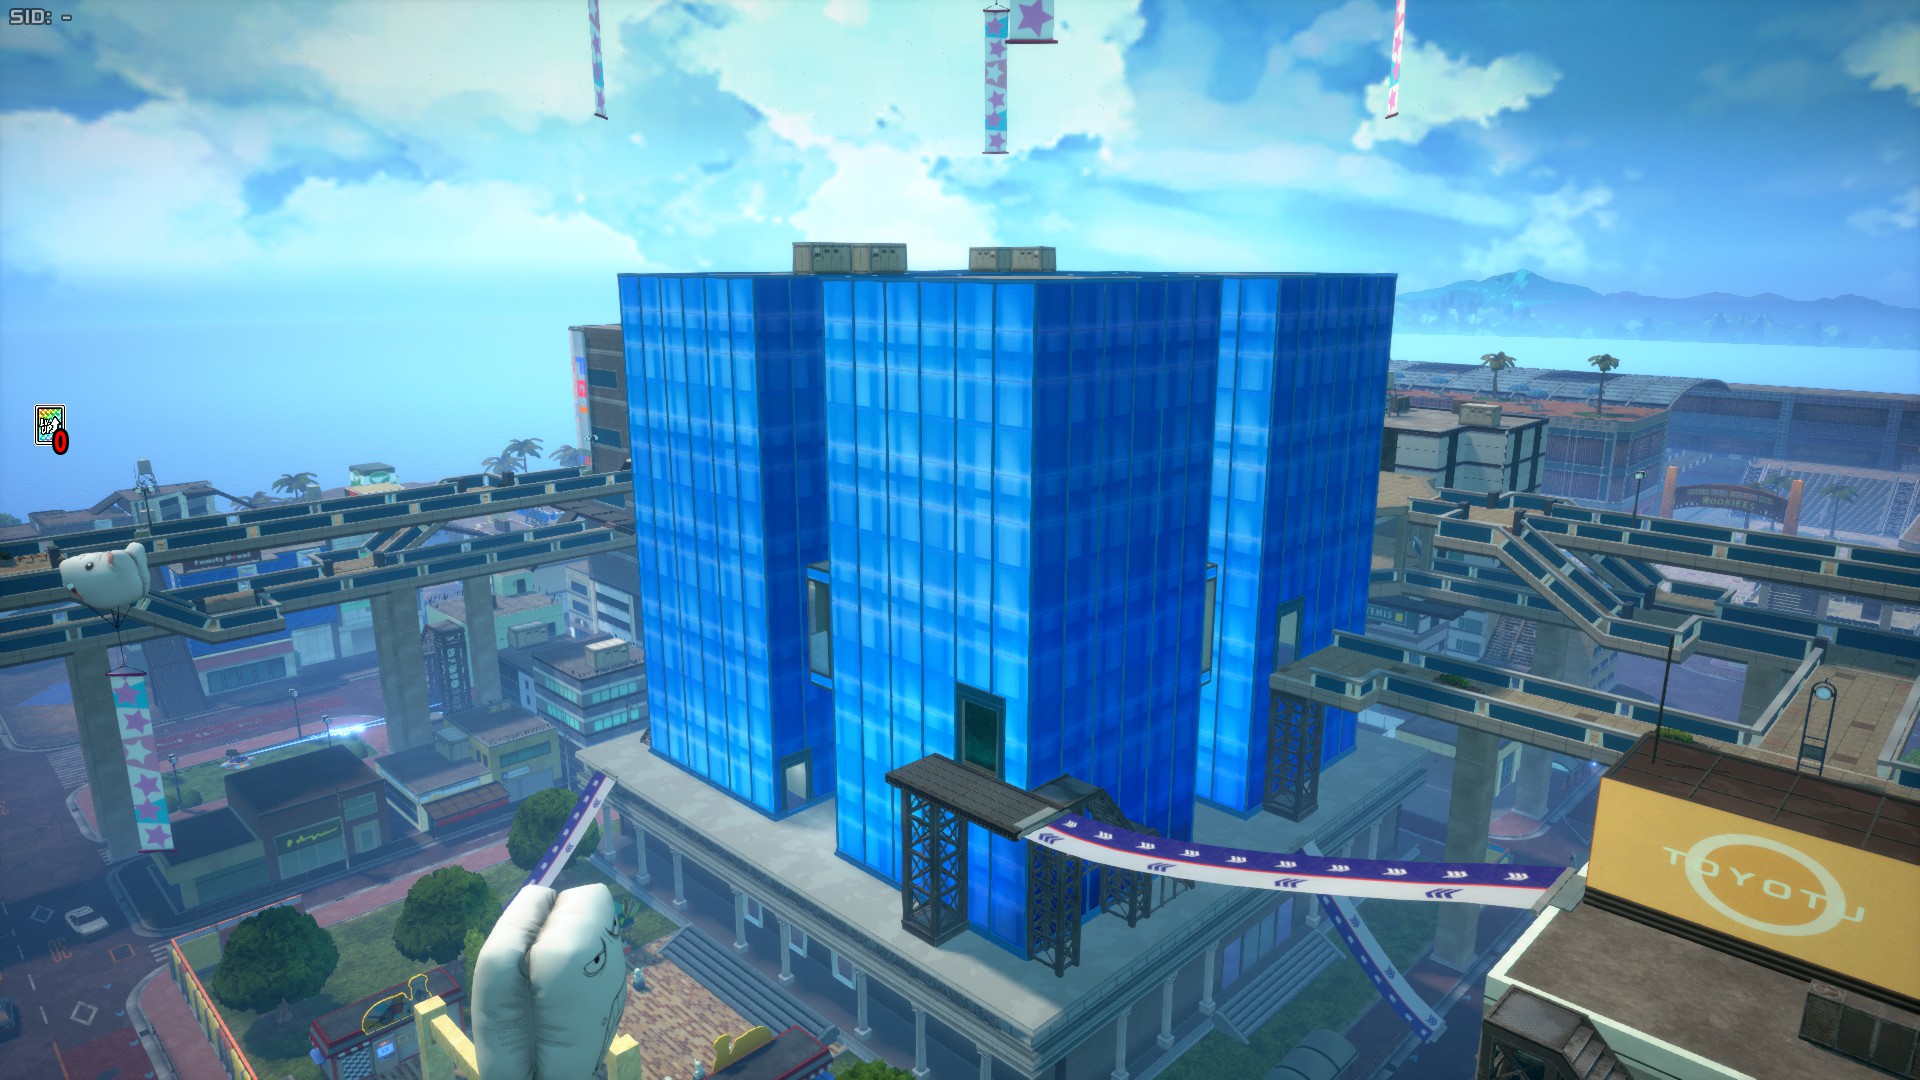
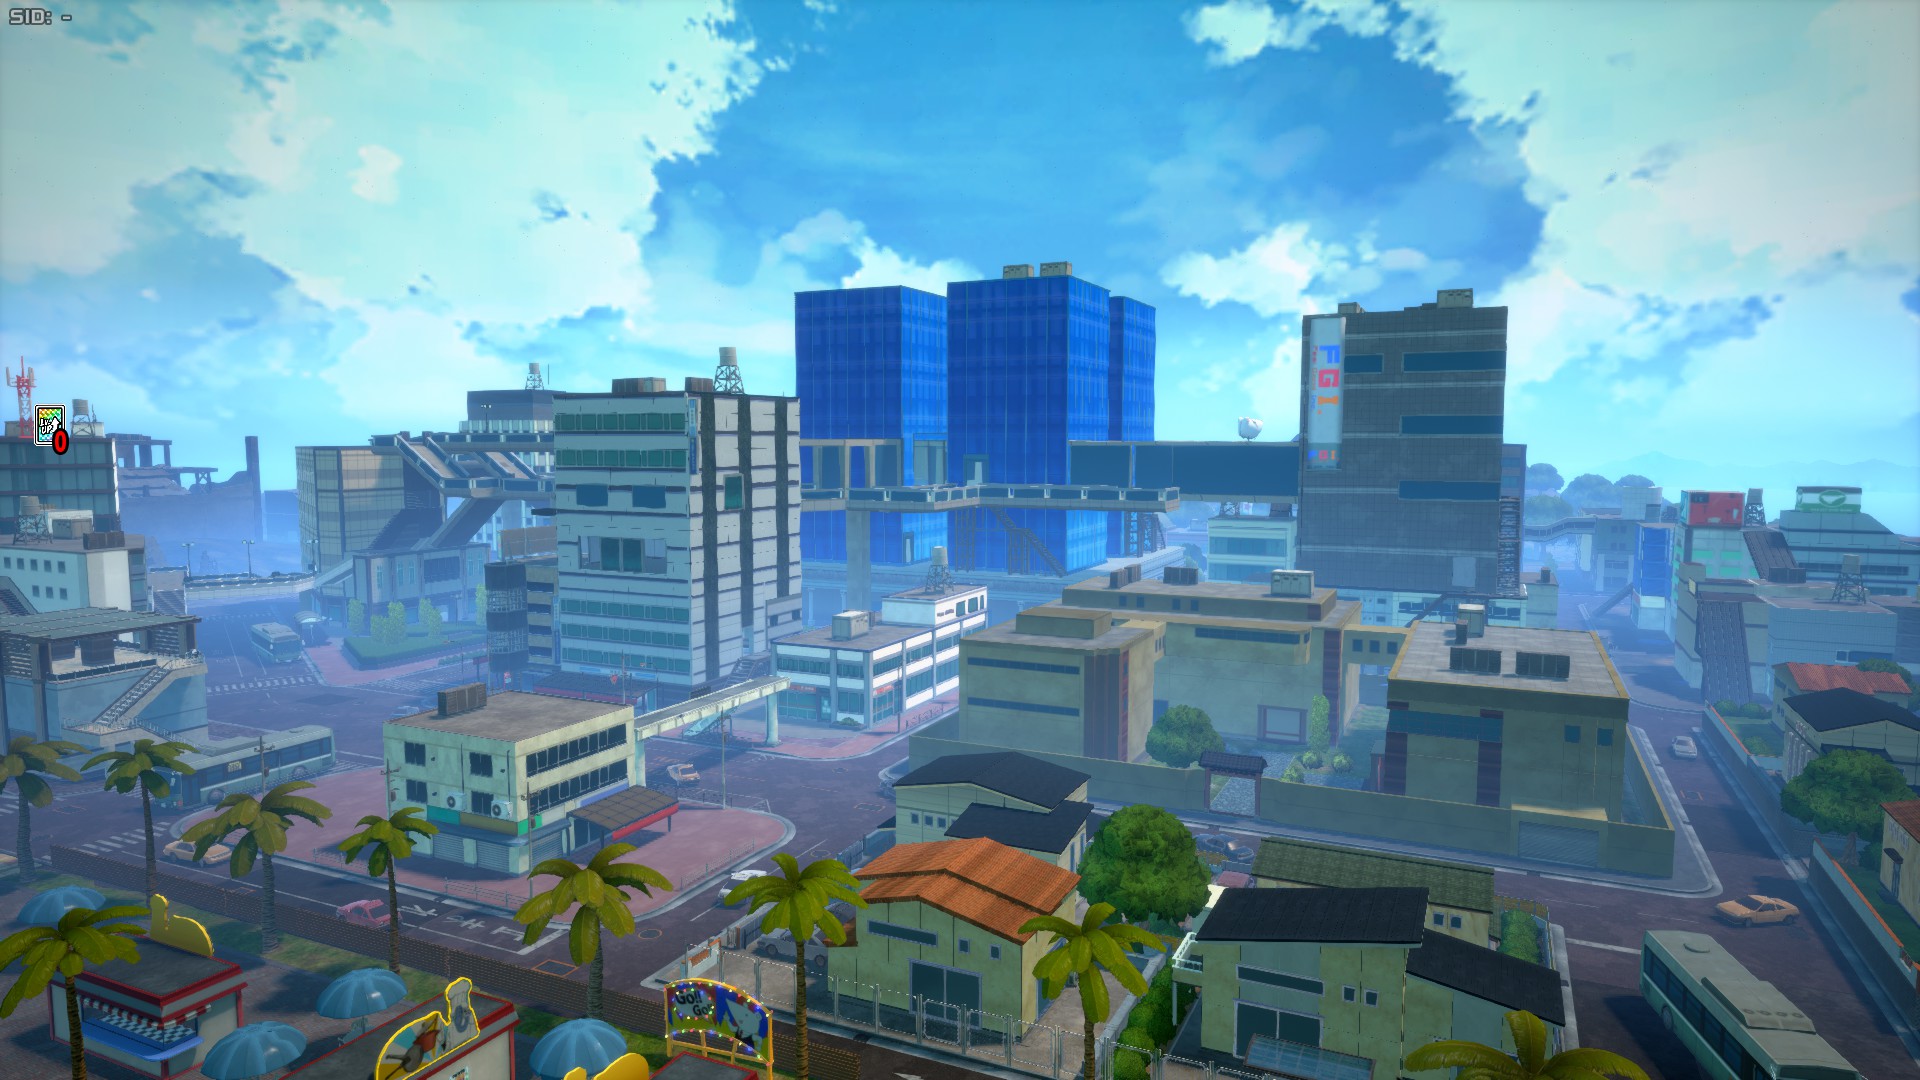
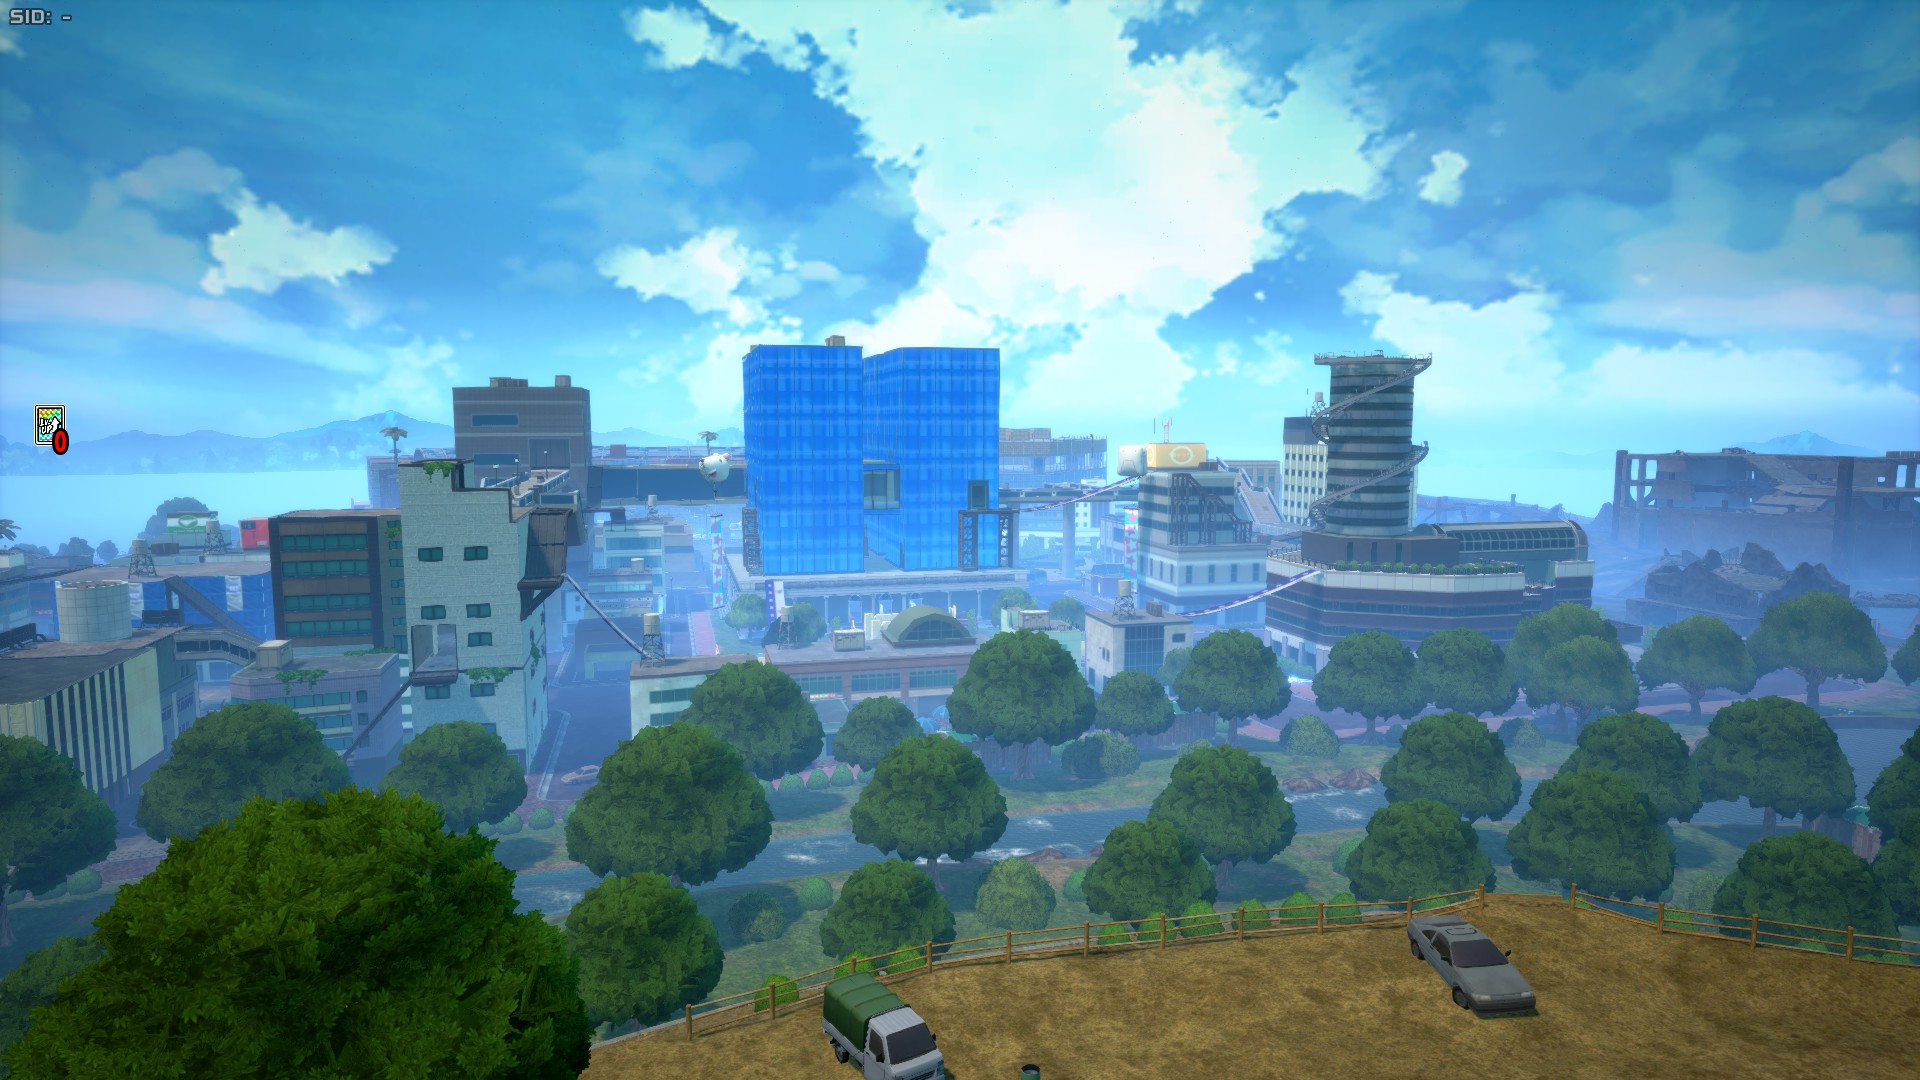
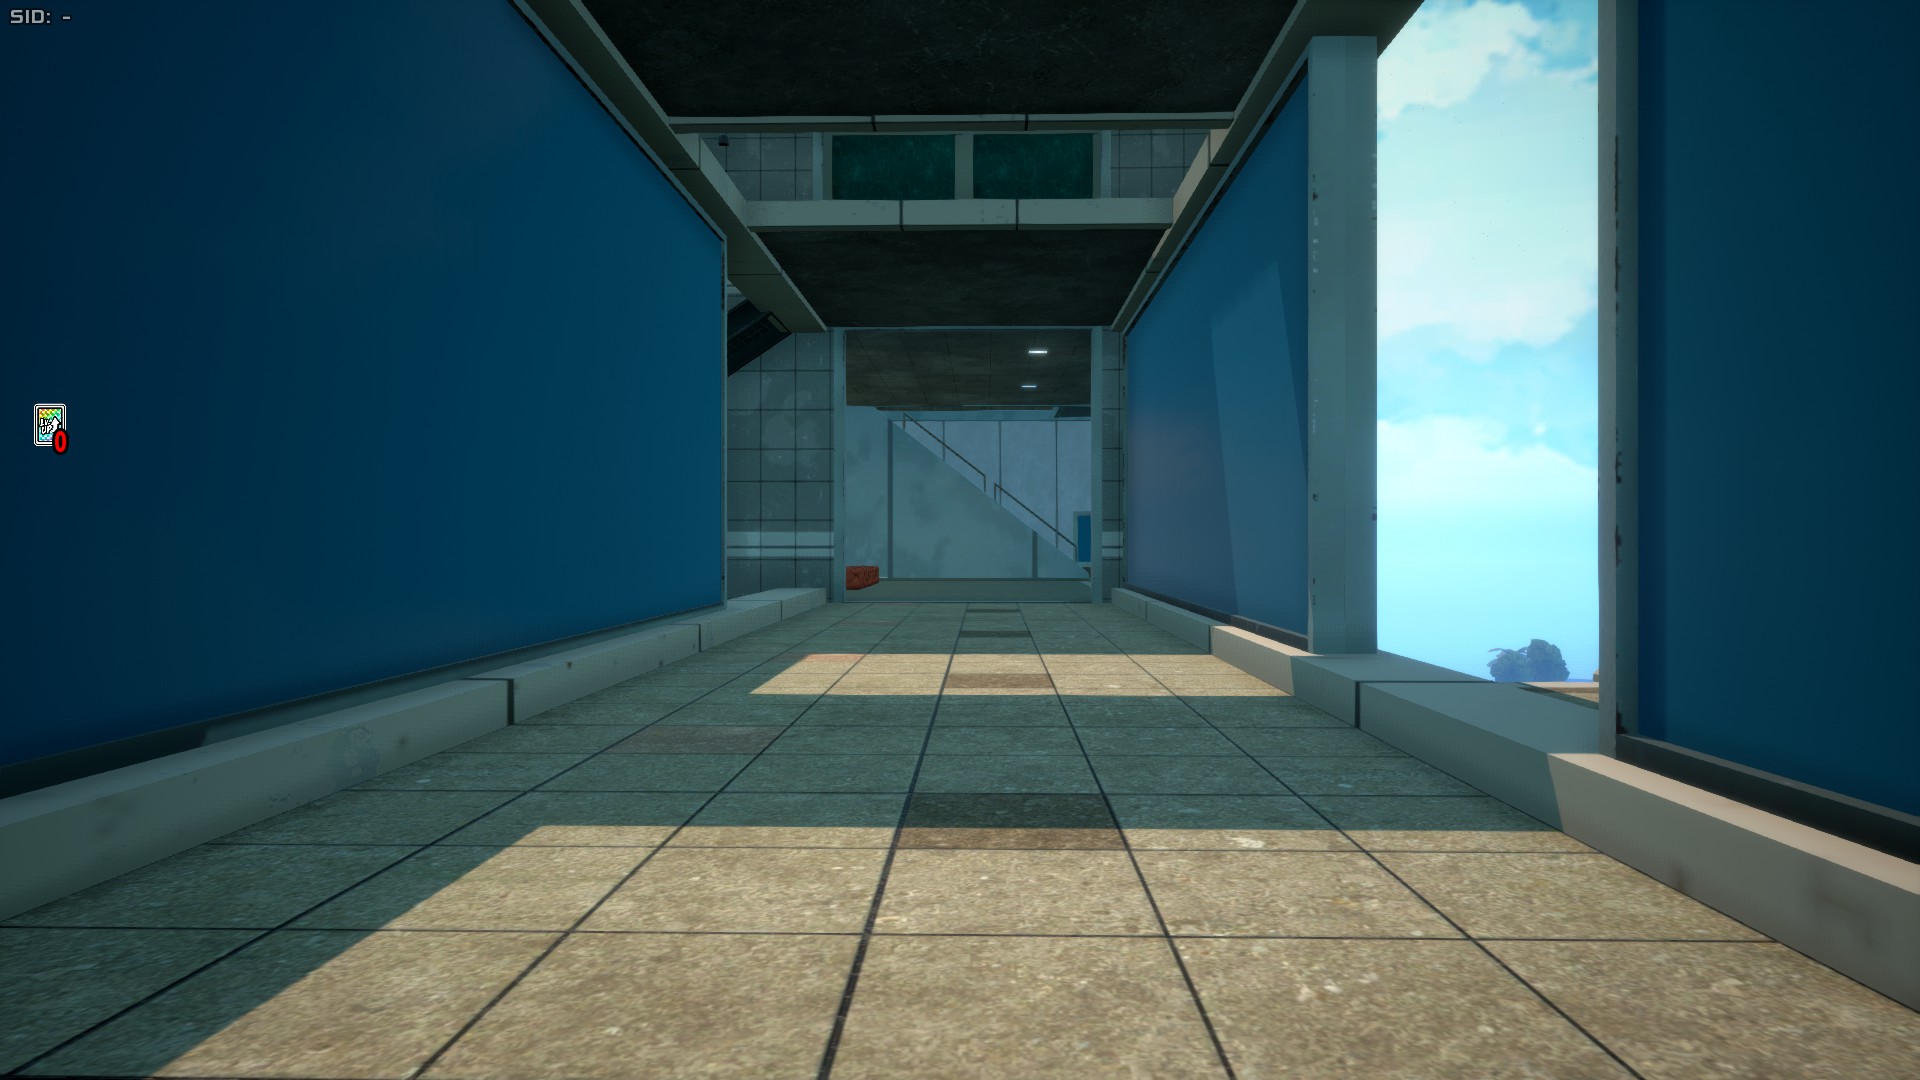
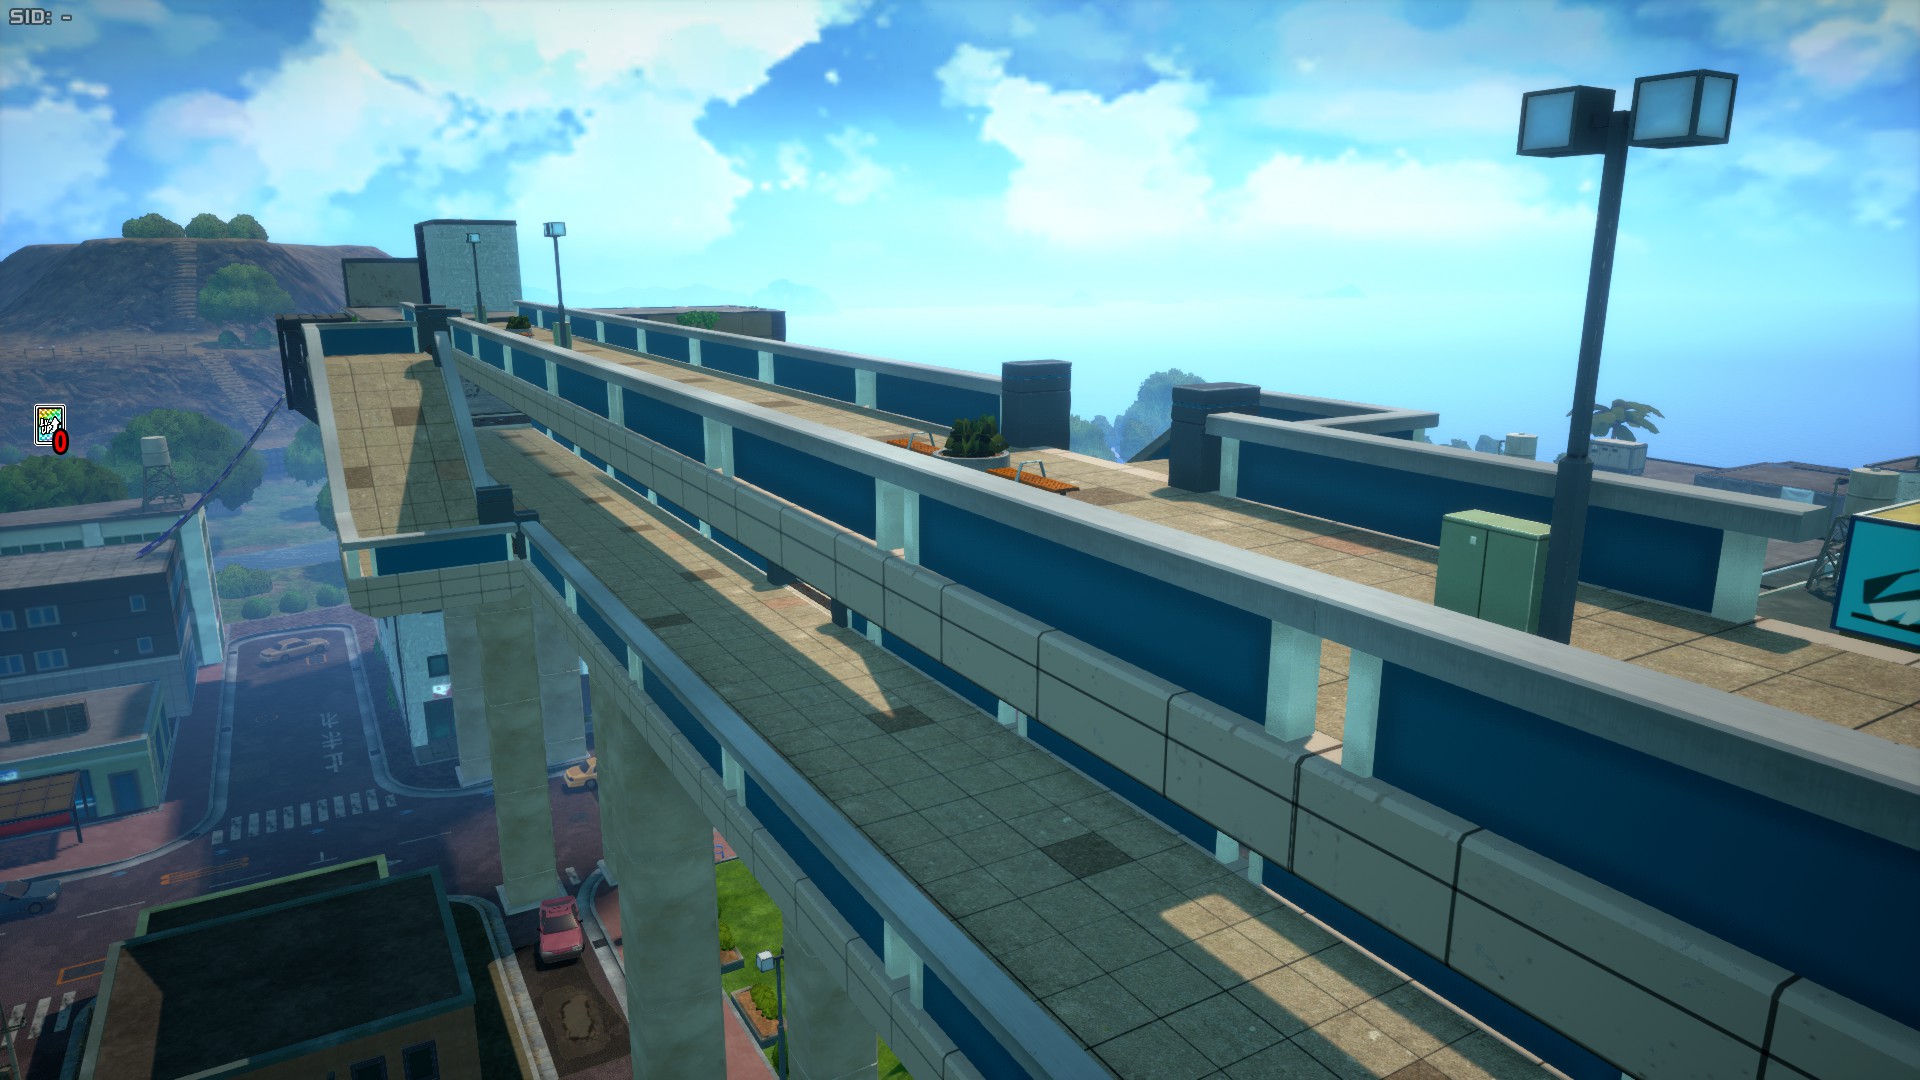
UA Island Ver.02 is the latest version of the UA Island stage, which was added in Season 7 and was themed after air battles via upgrades to the height of some buildings and the addition of multiple sky bridges for Hawks's release. Unlike USJ's updates, this one did not revamp any areas, but instead, it built upon what was already there. This map update also introduced a new gimmick: Jump Pads.
U.A. High School (Ver.02)
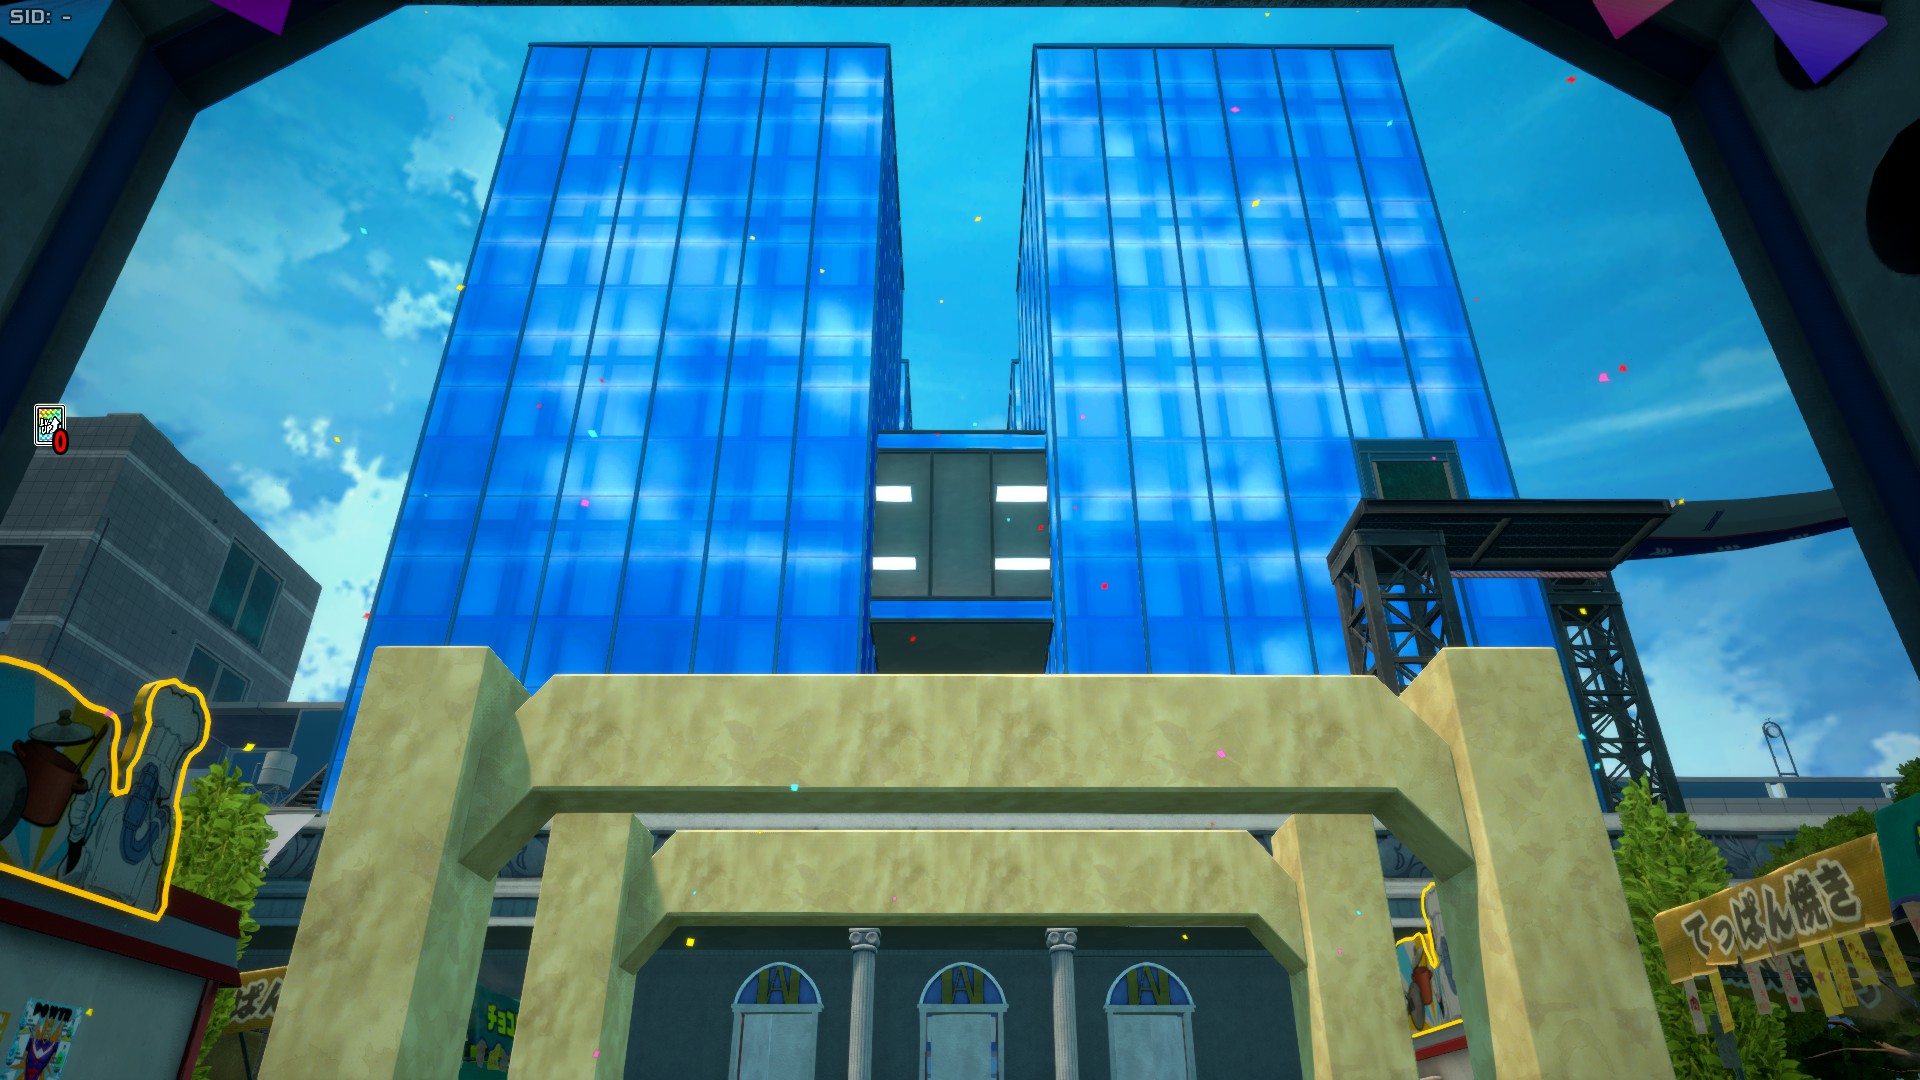
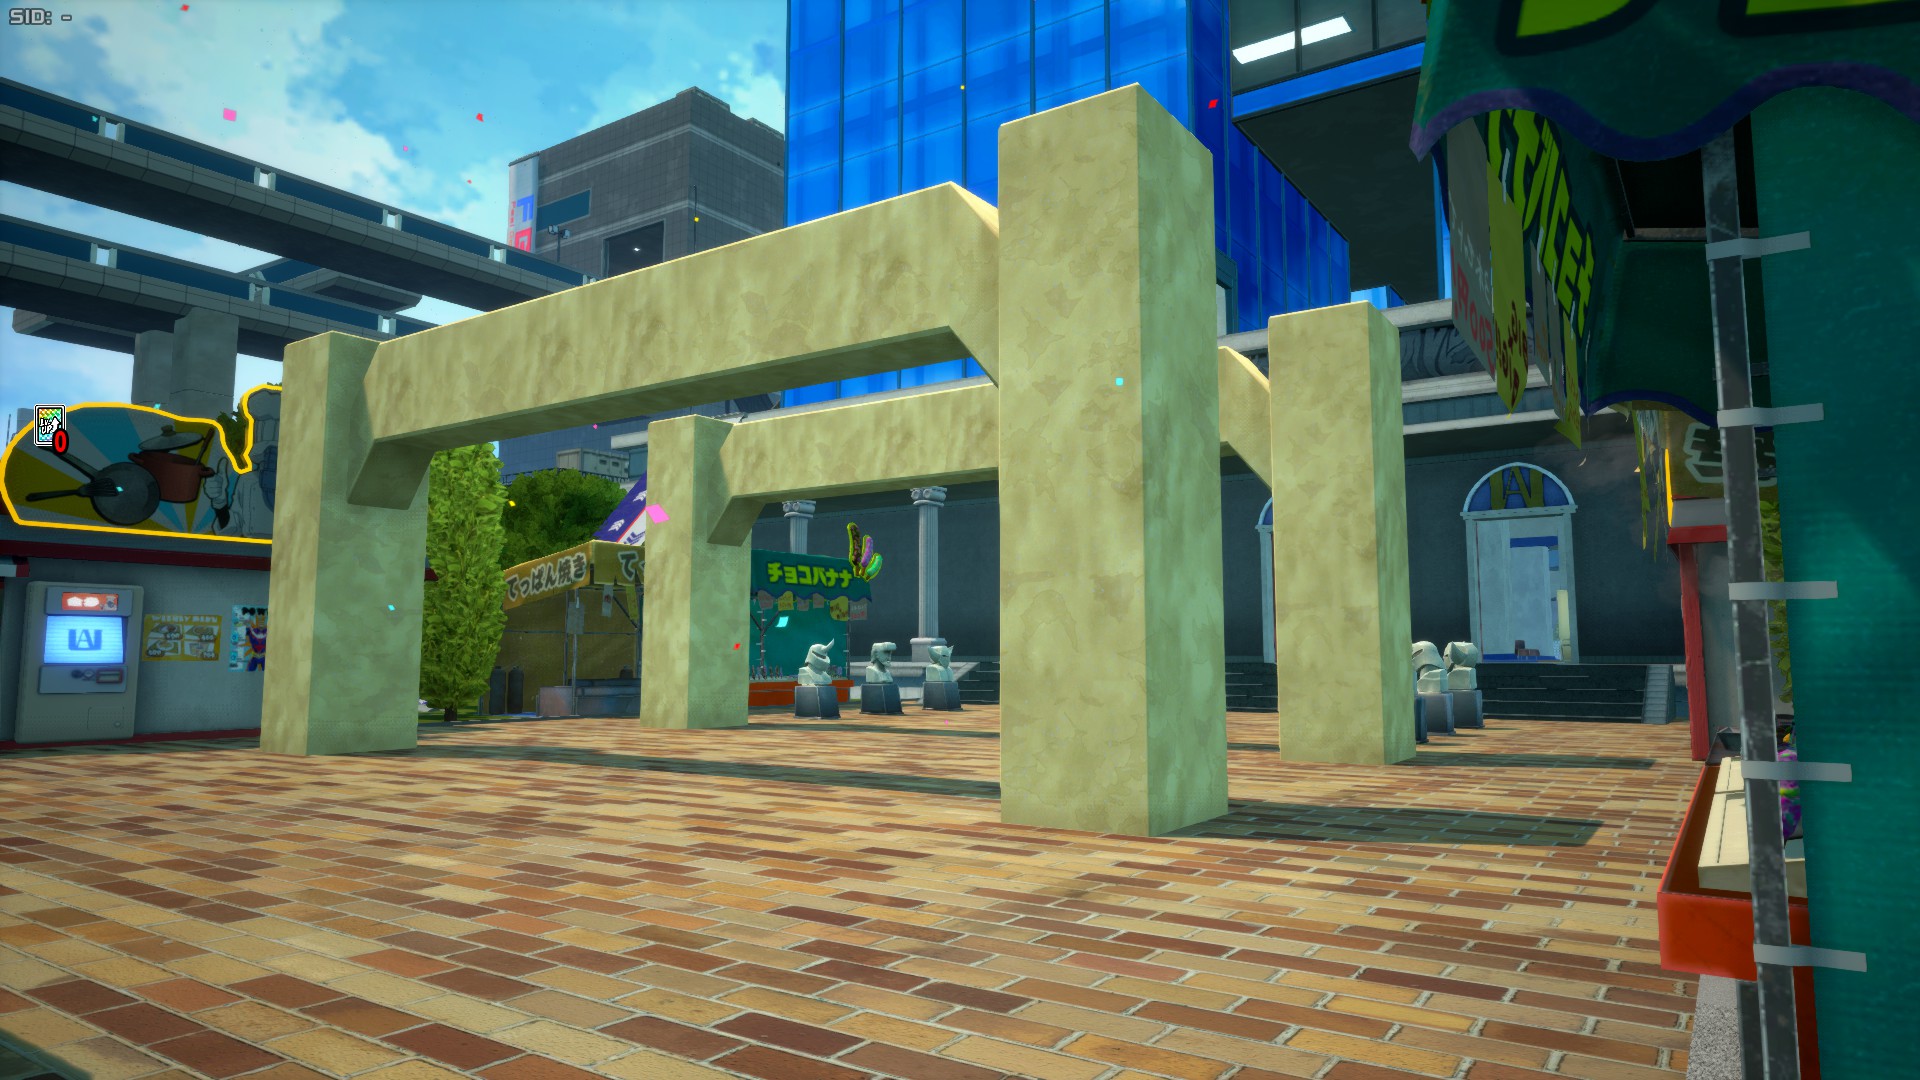
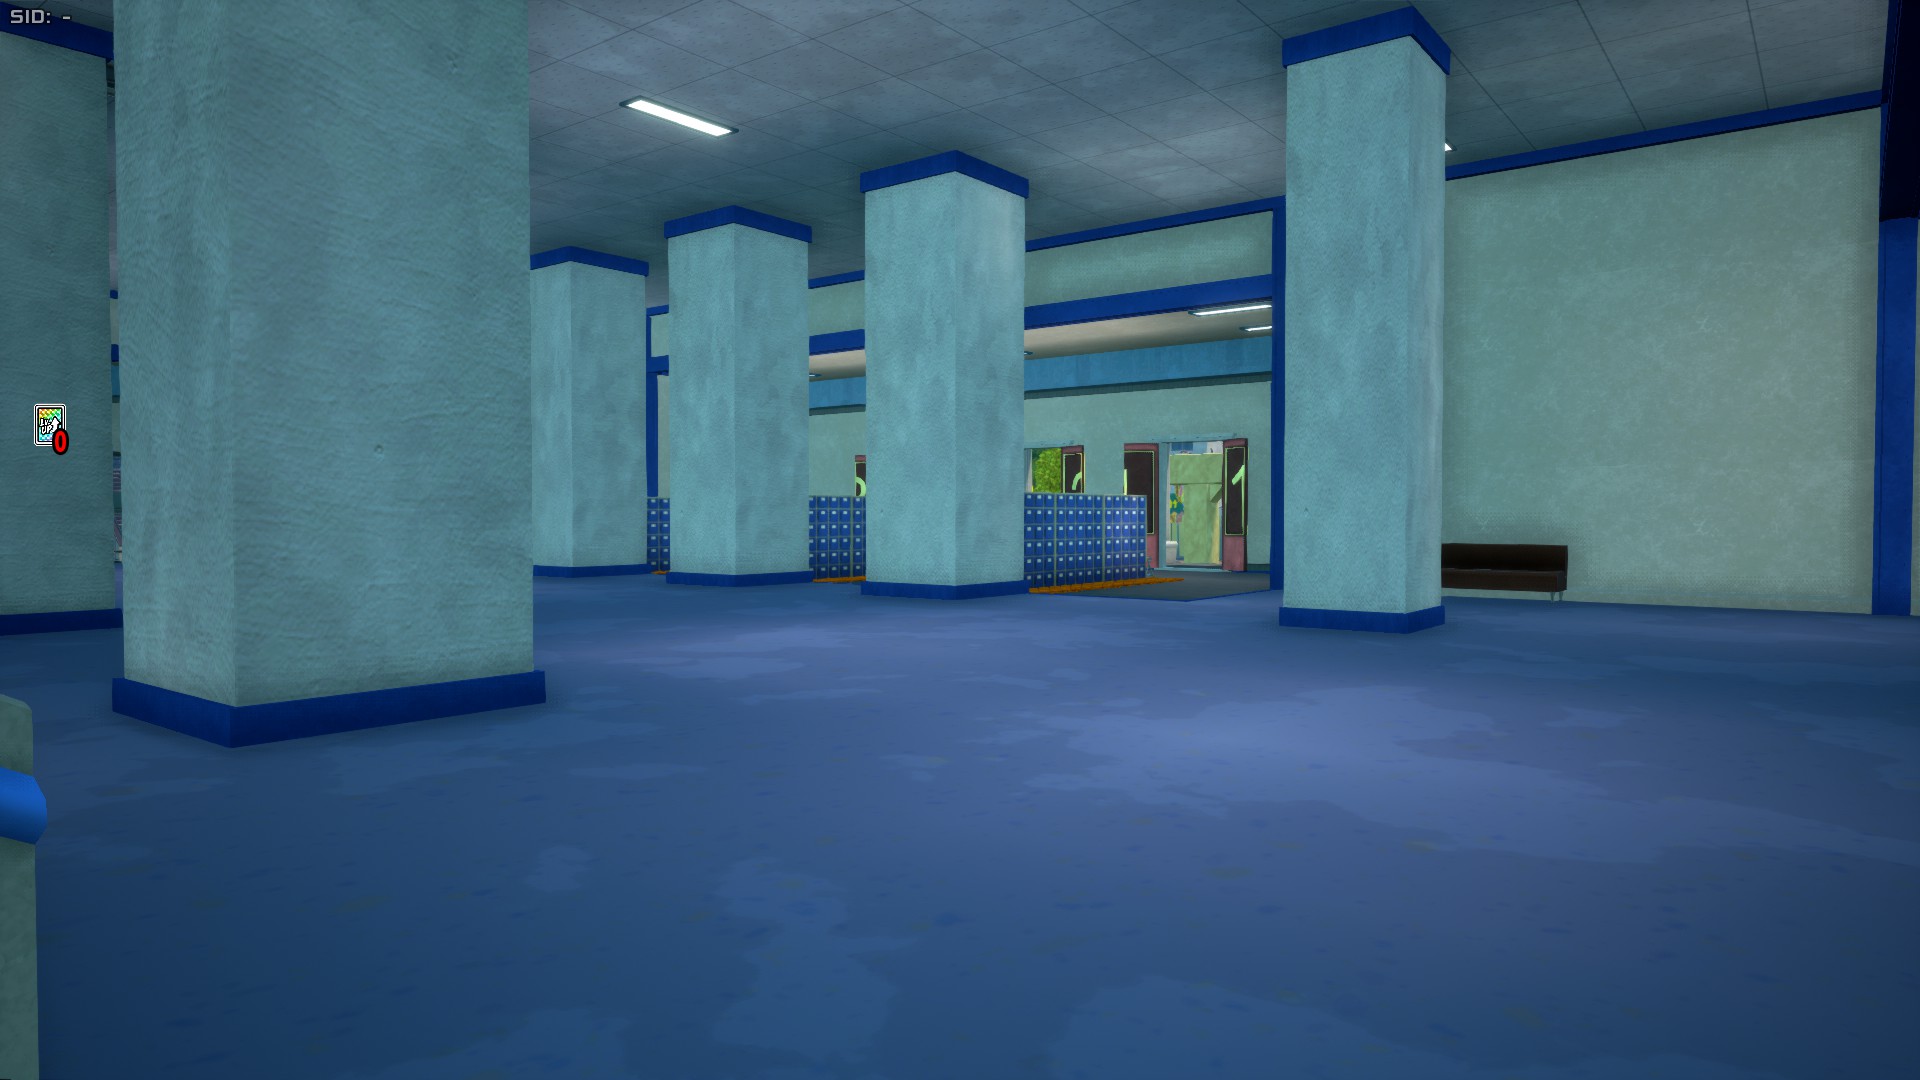
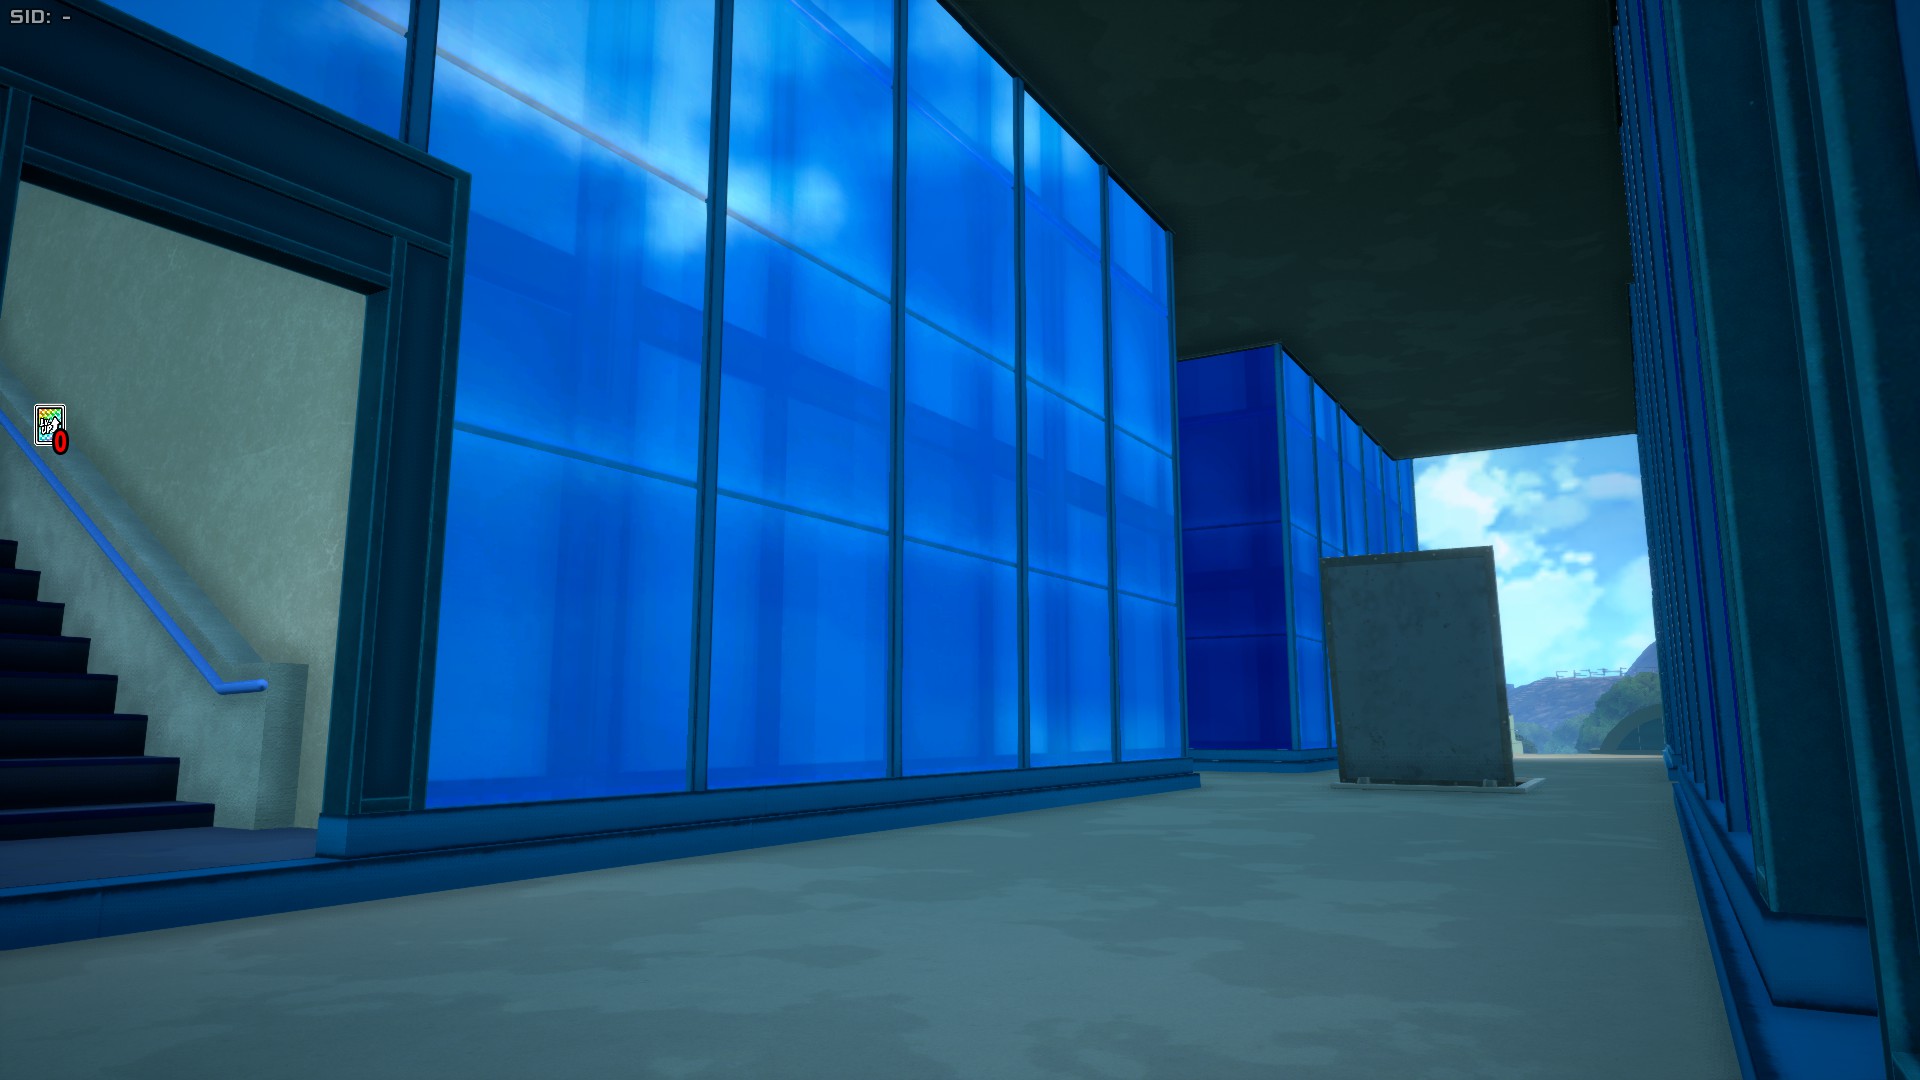
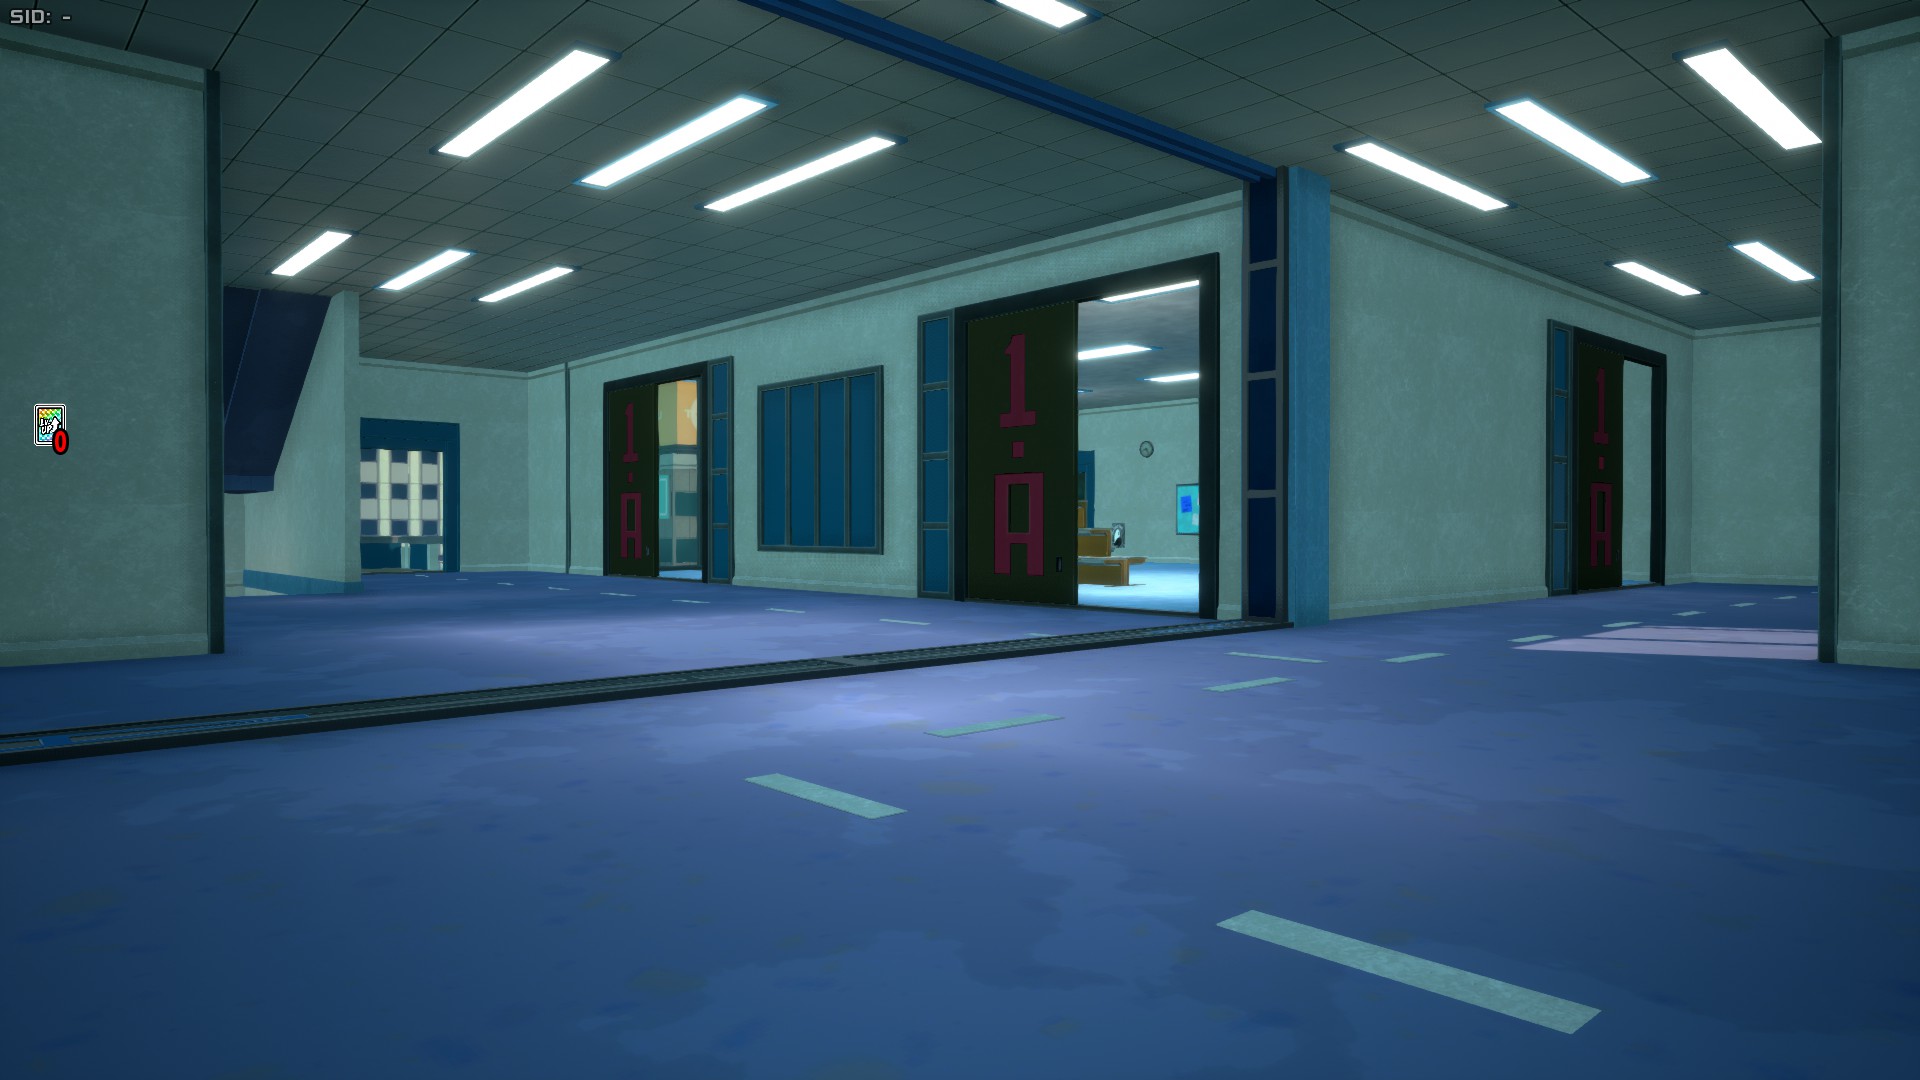
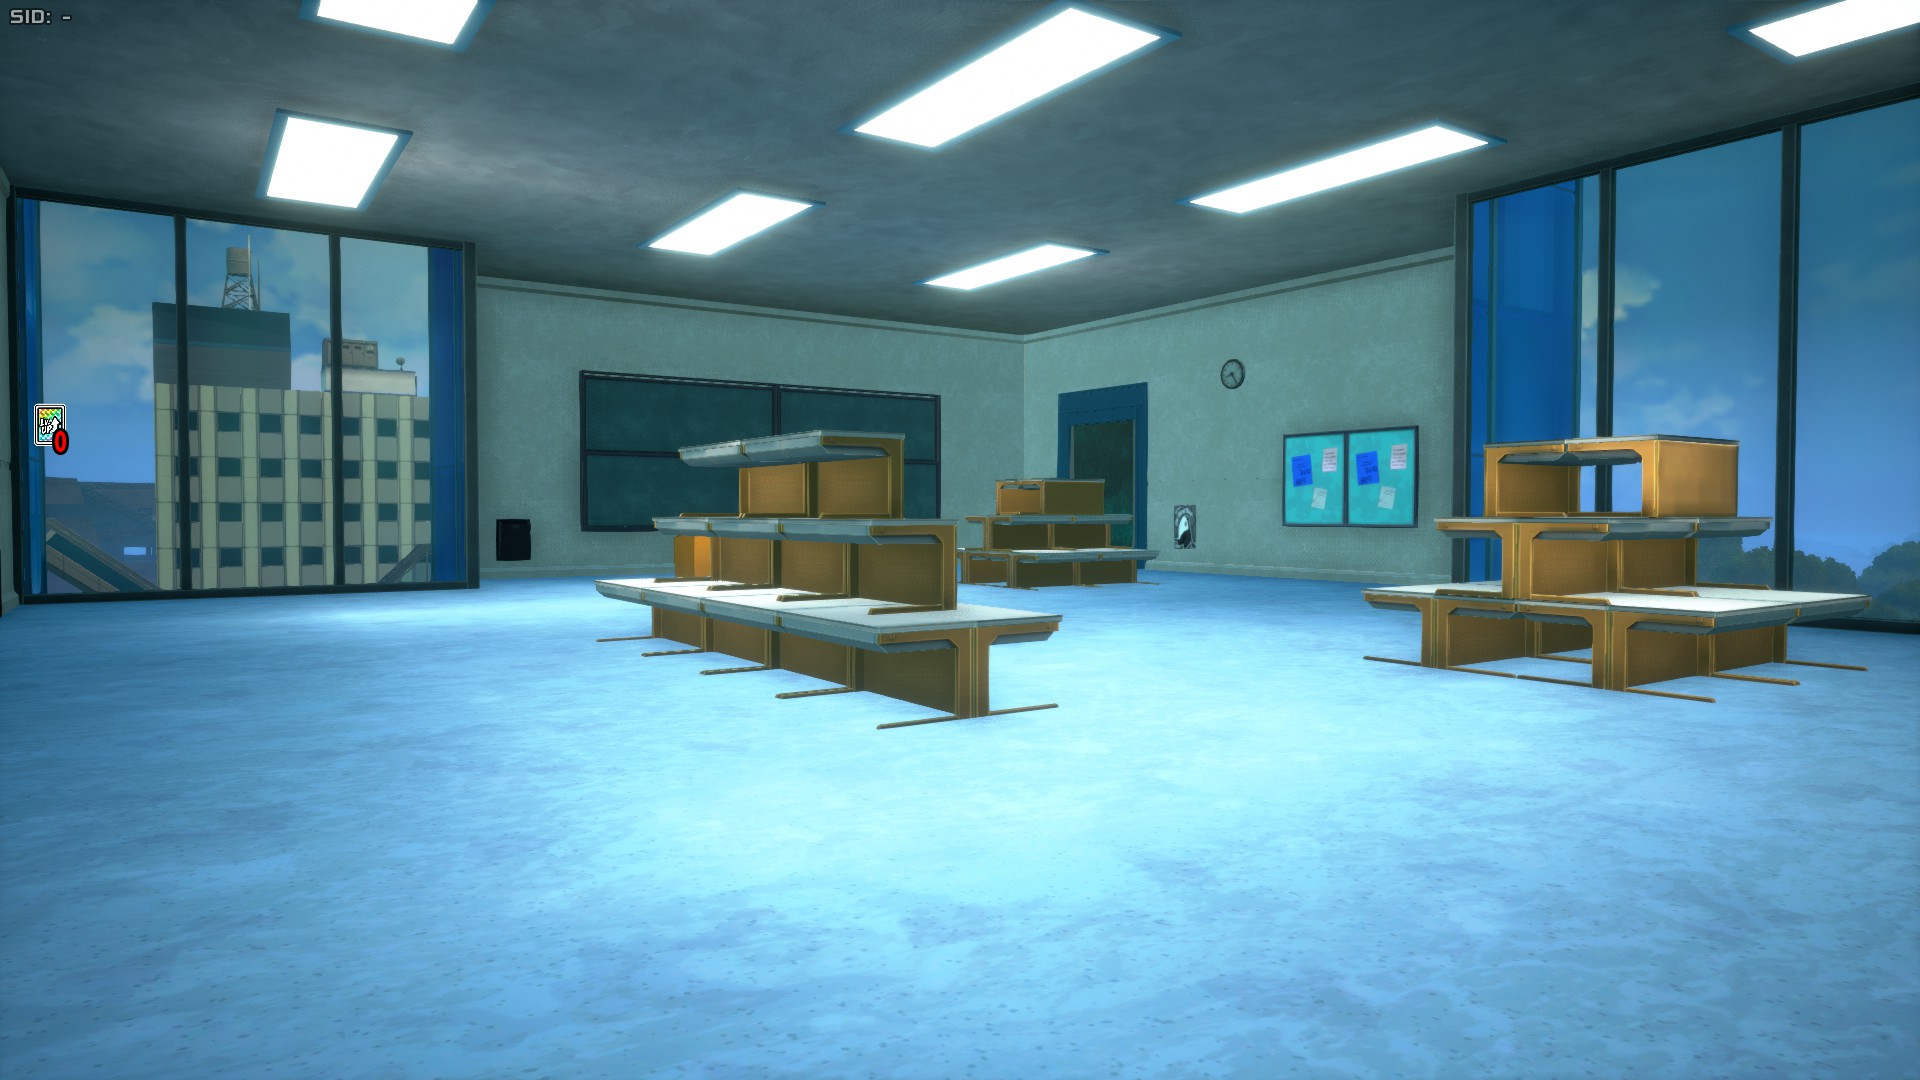
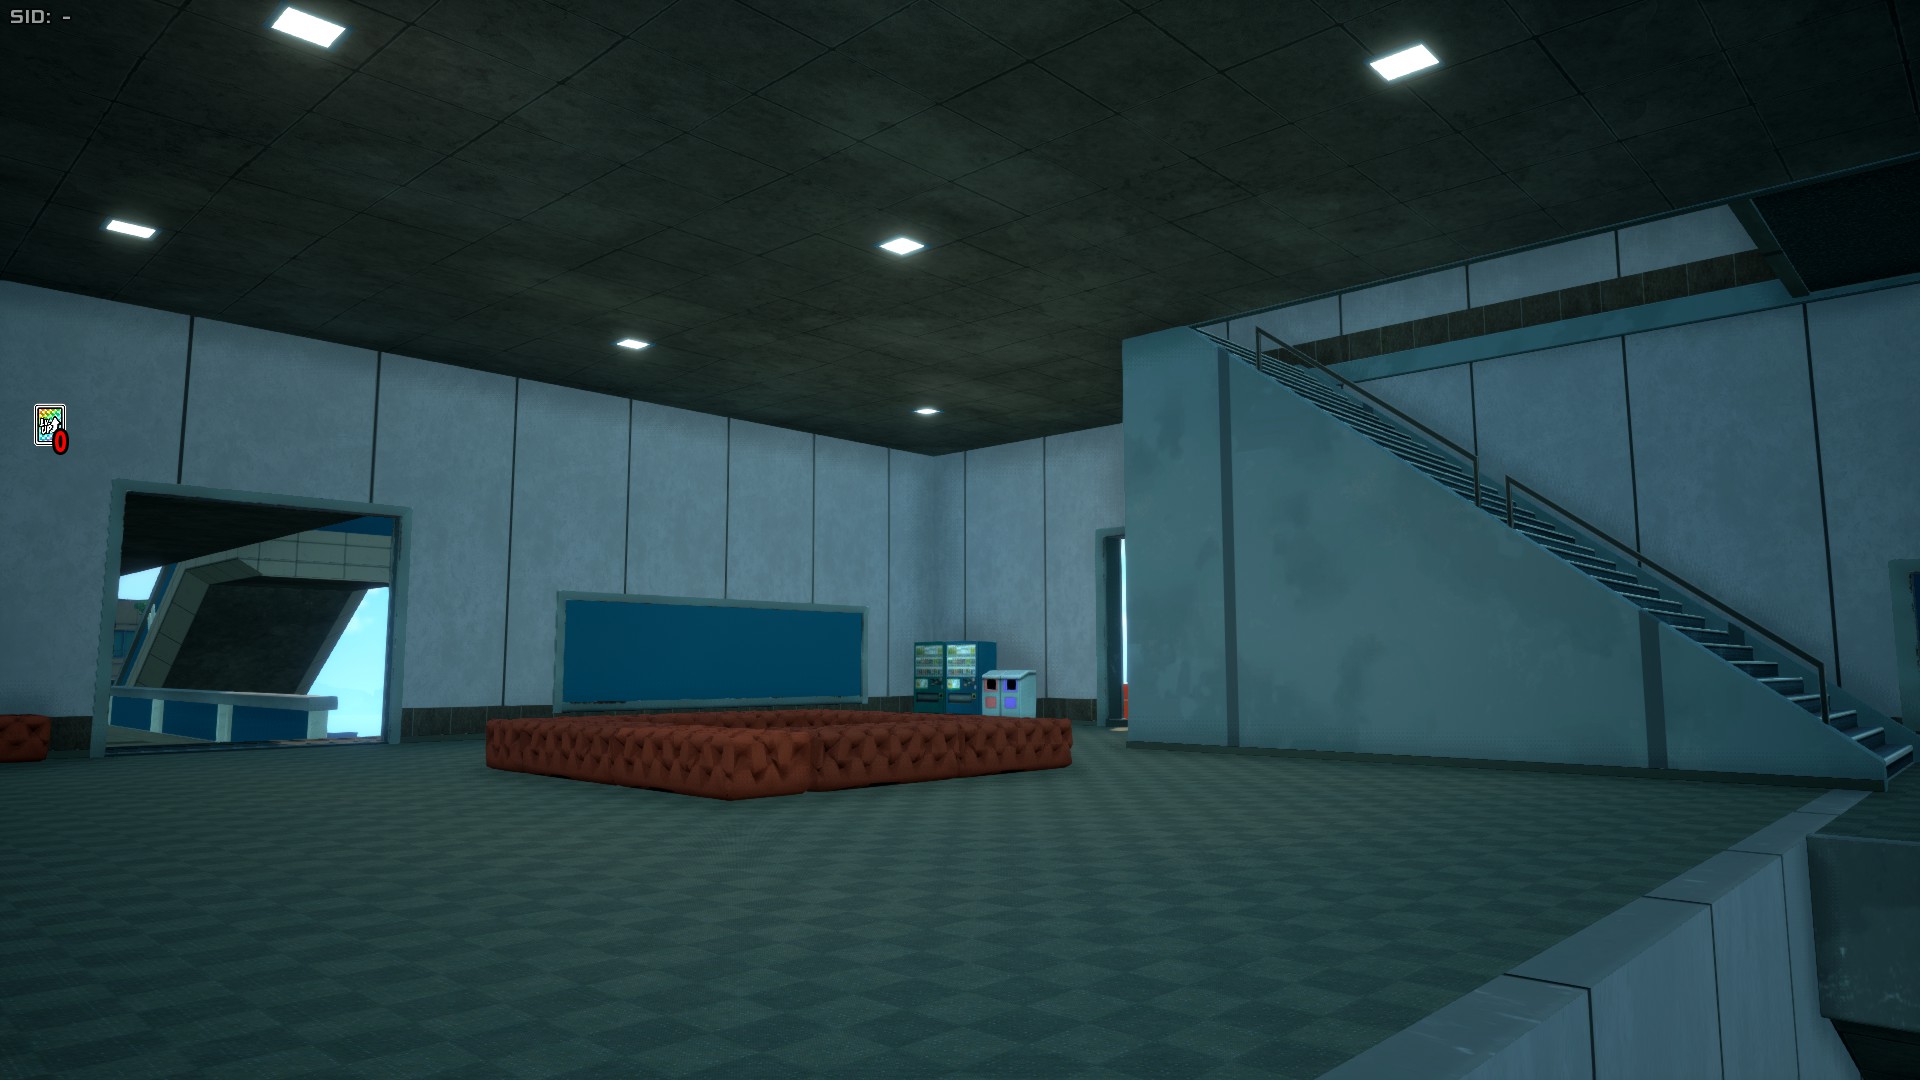
U.A. High School Ver.02 received some changes compared to its original version. First, little food spots were added to the sides of the main path towards UA's entrance. Two of the four staircases were removed, as they led nowhere, and some exits were either expanded or made their glass transparent. The banners that and metallic stairs that led to the top are now gone, leaving only one banner that leads to the top on a building near Urban Area's metal tower. The biggest change however was the inclusion of a 2nd Floor with the 1-A classroom. This 2nd floor is also connected to other buildings via sky bridges. Additionally, the inclusion of the classroom made it so that the horizontal base in UA's H-shape no longer has an open space to fly through.
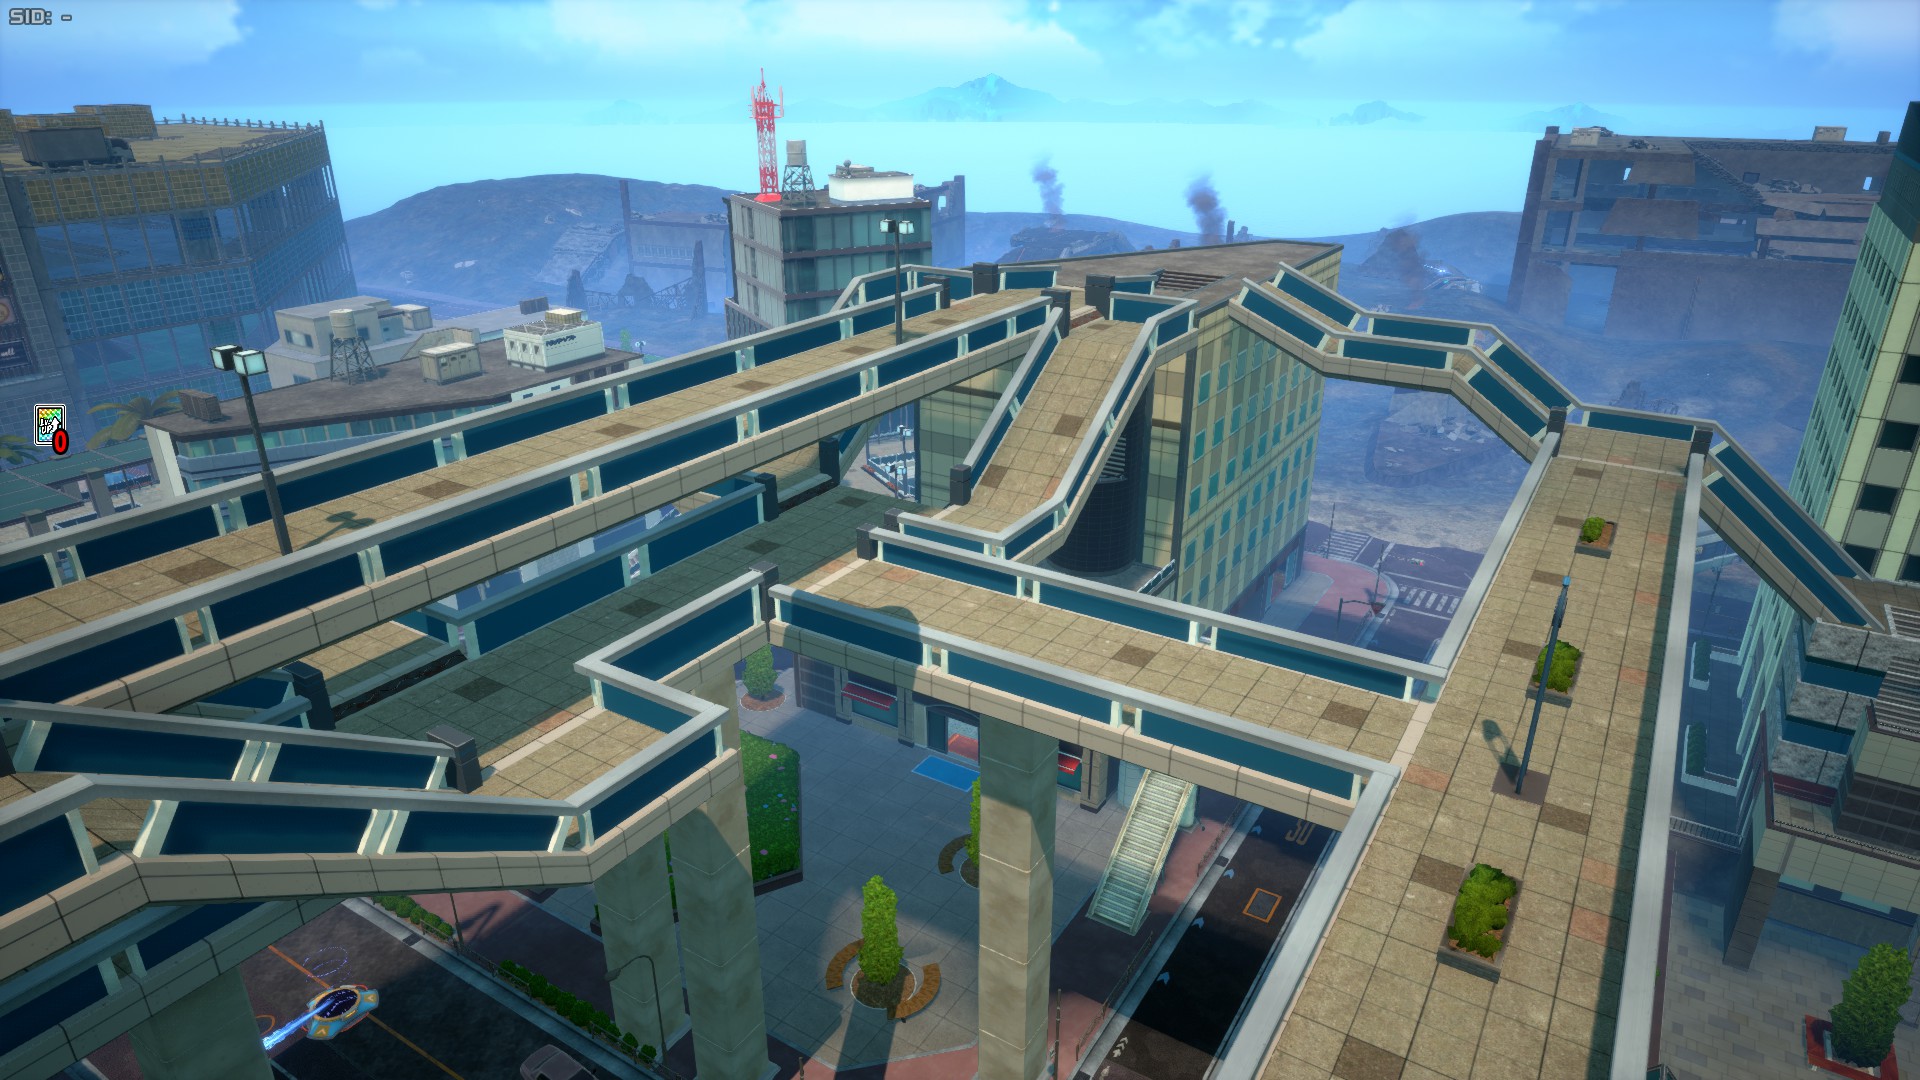
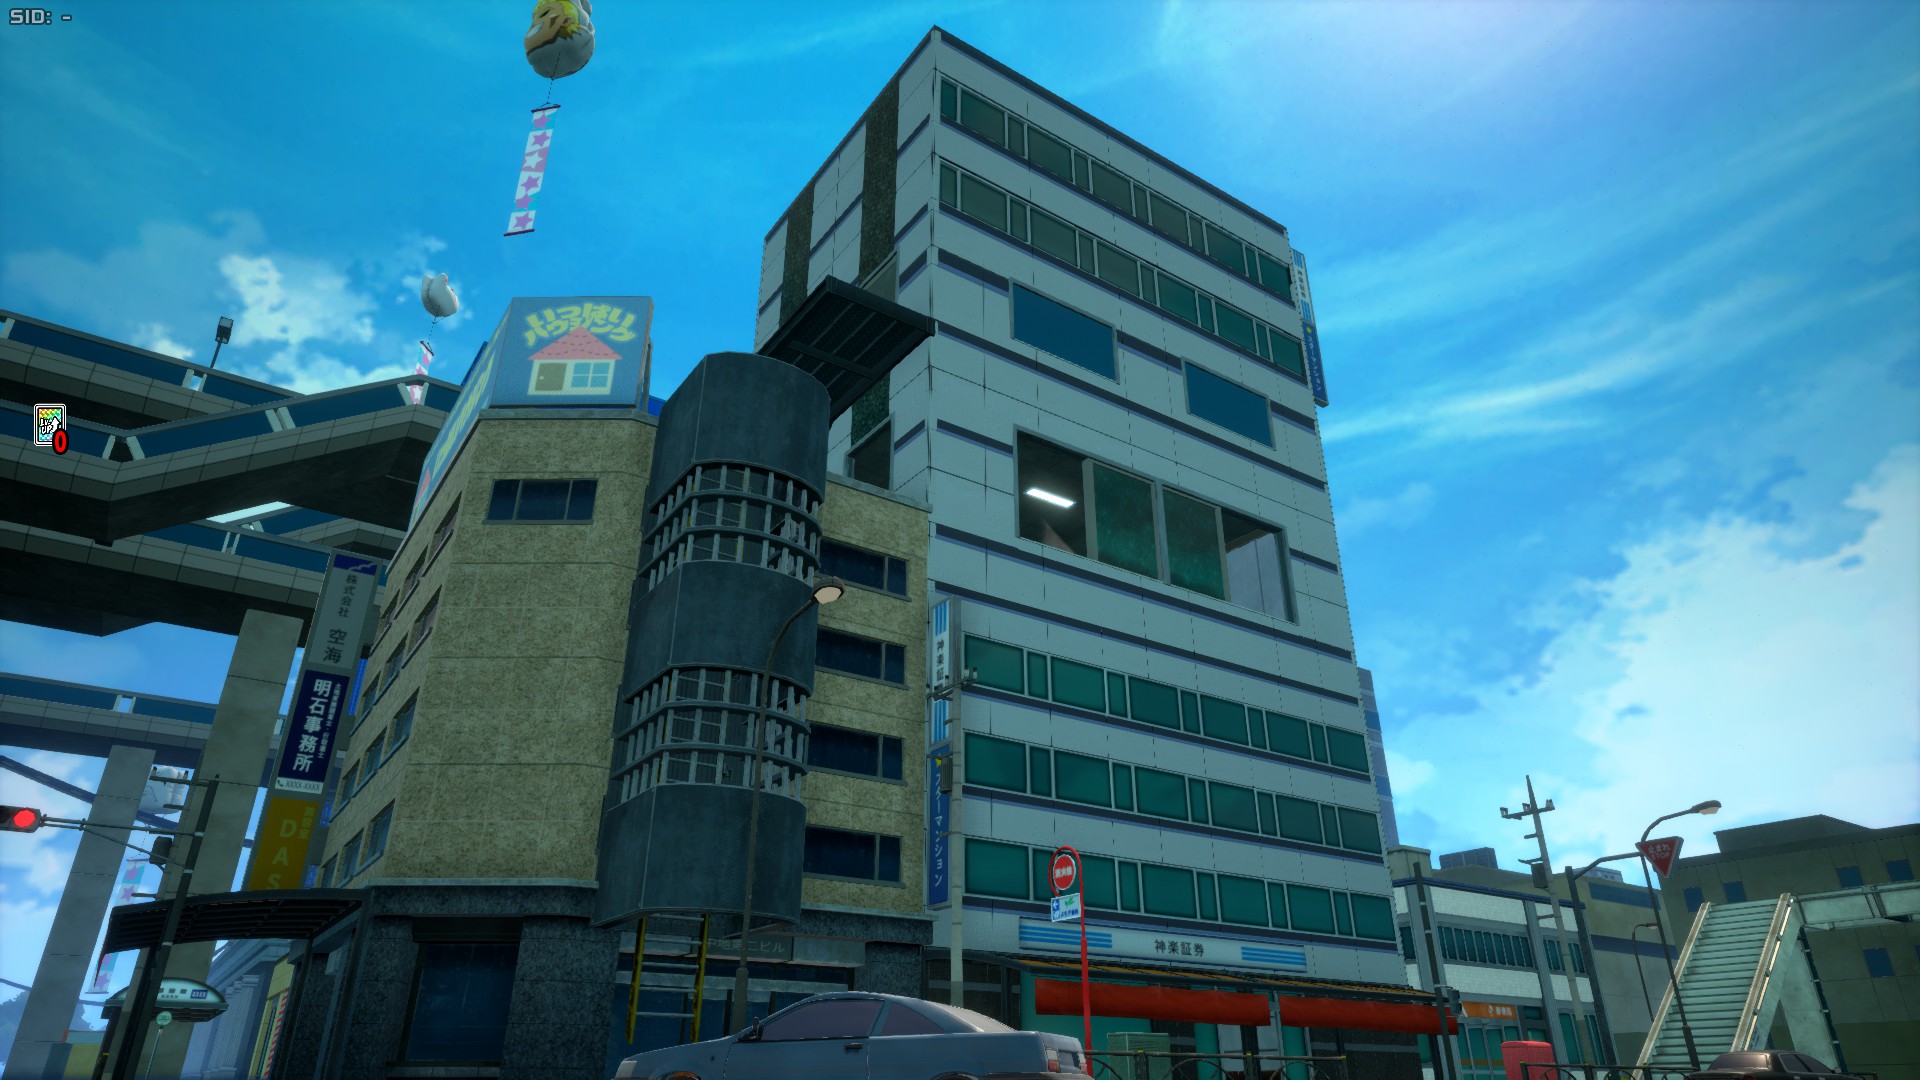
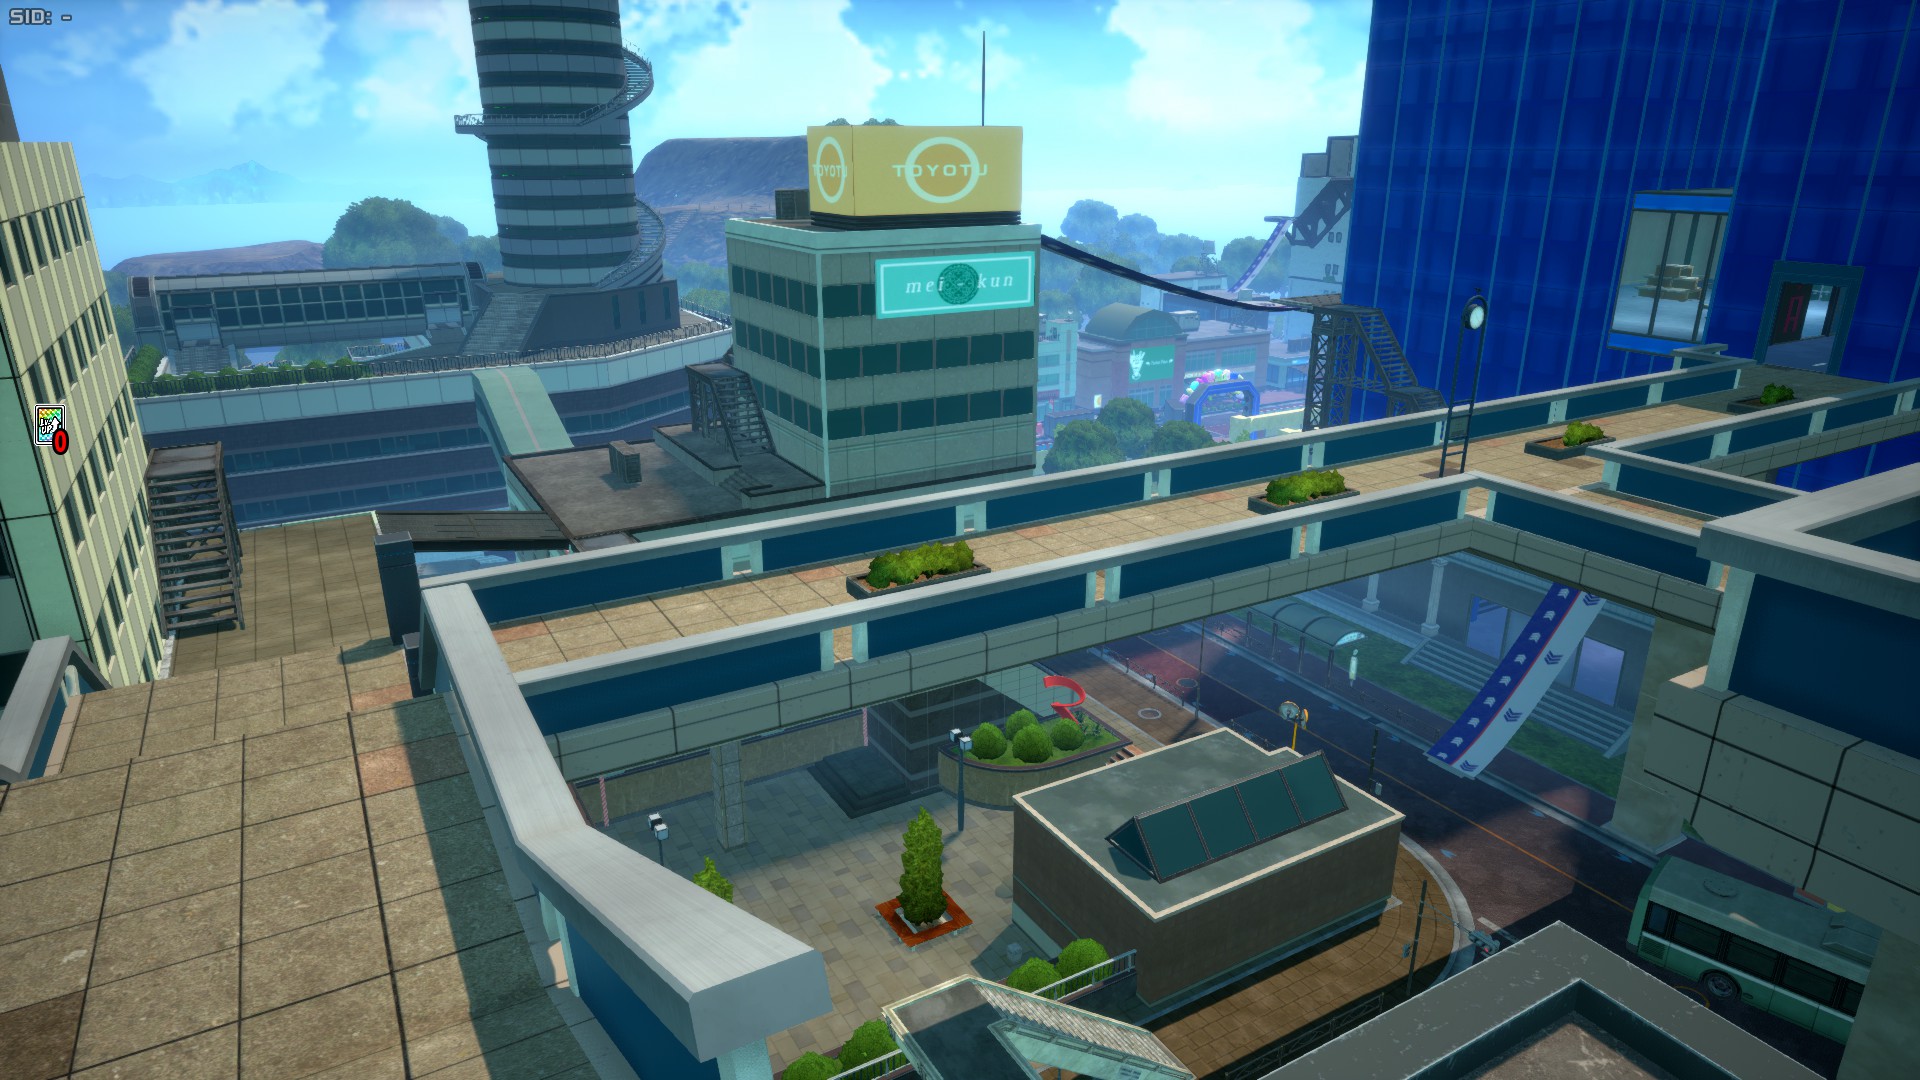
Urban Area (Ver.02)
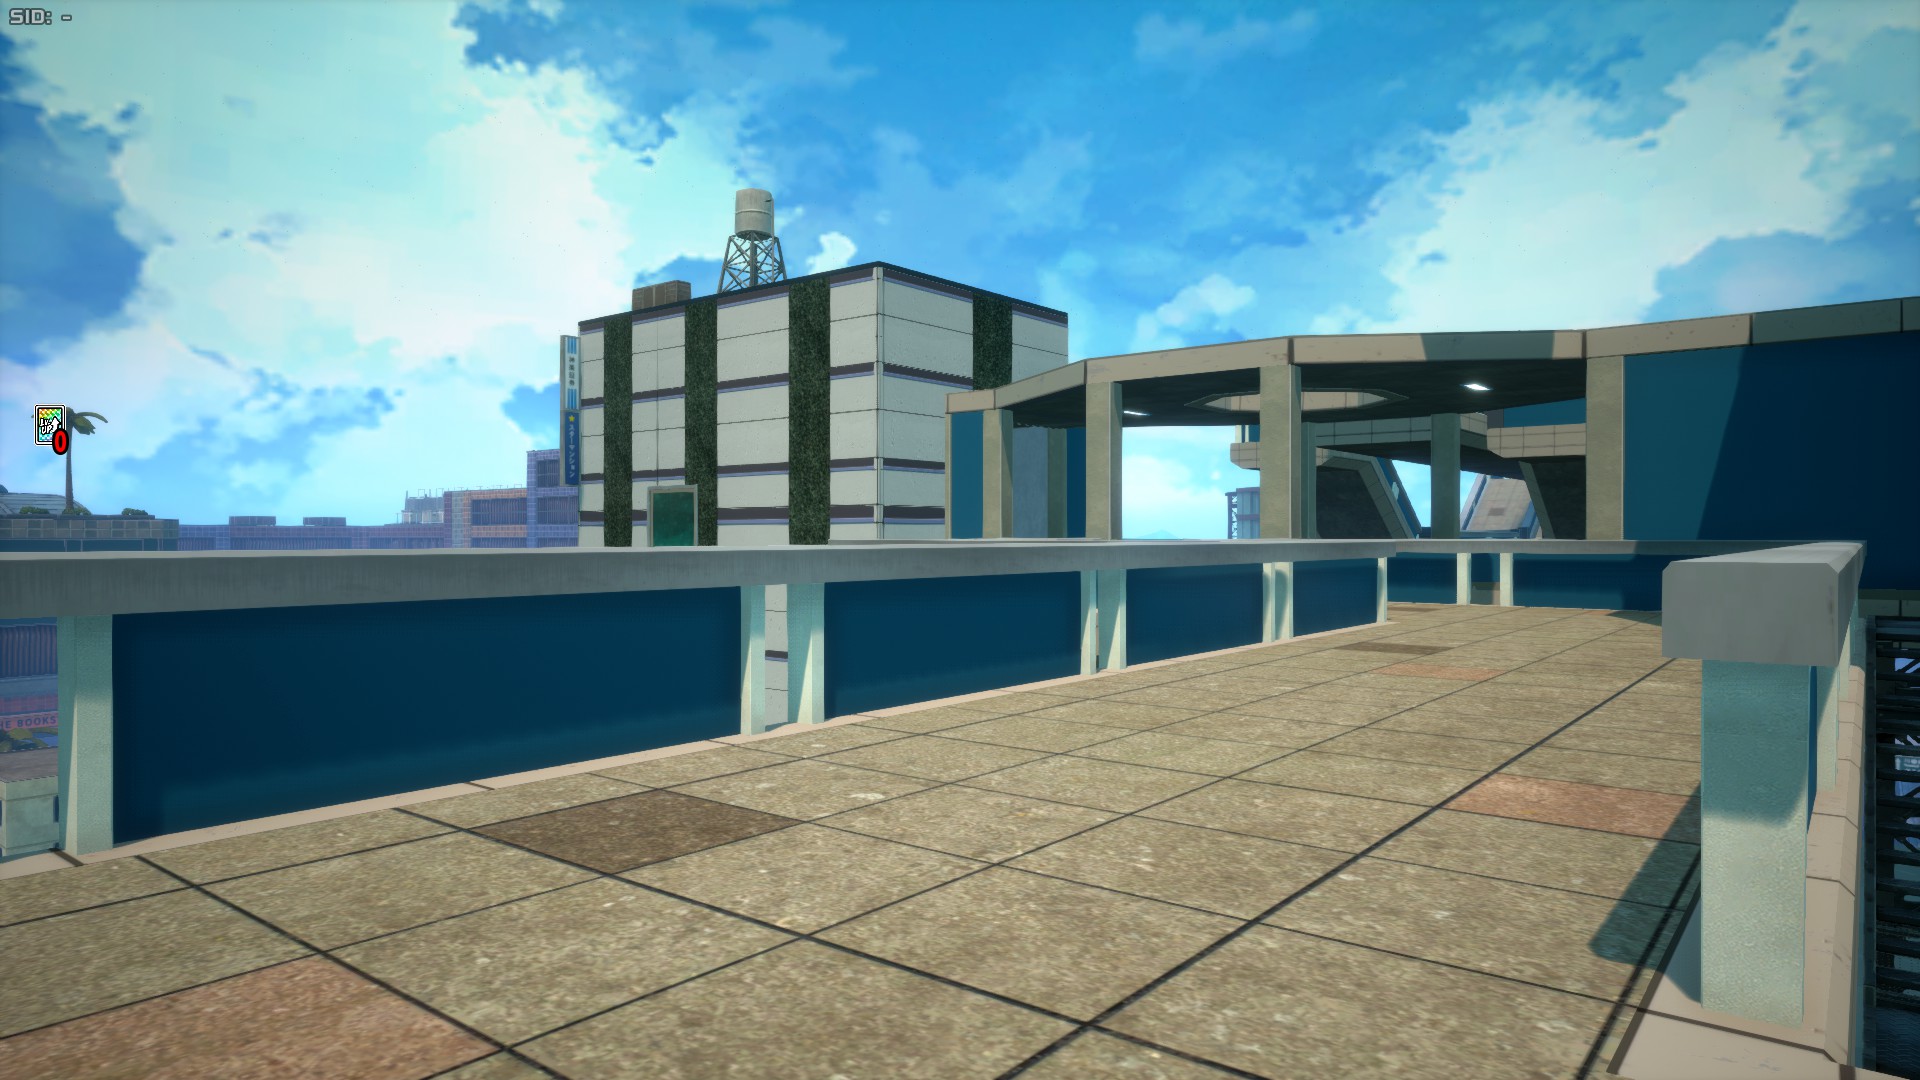
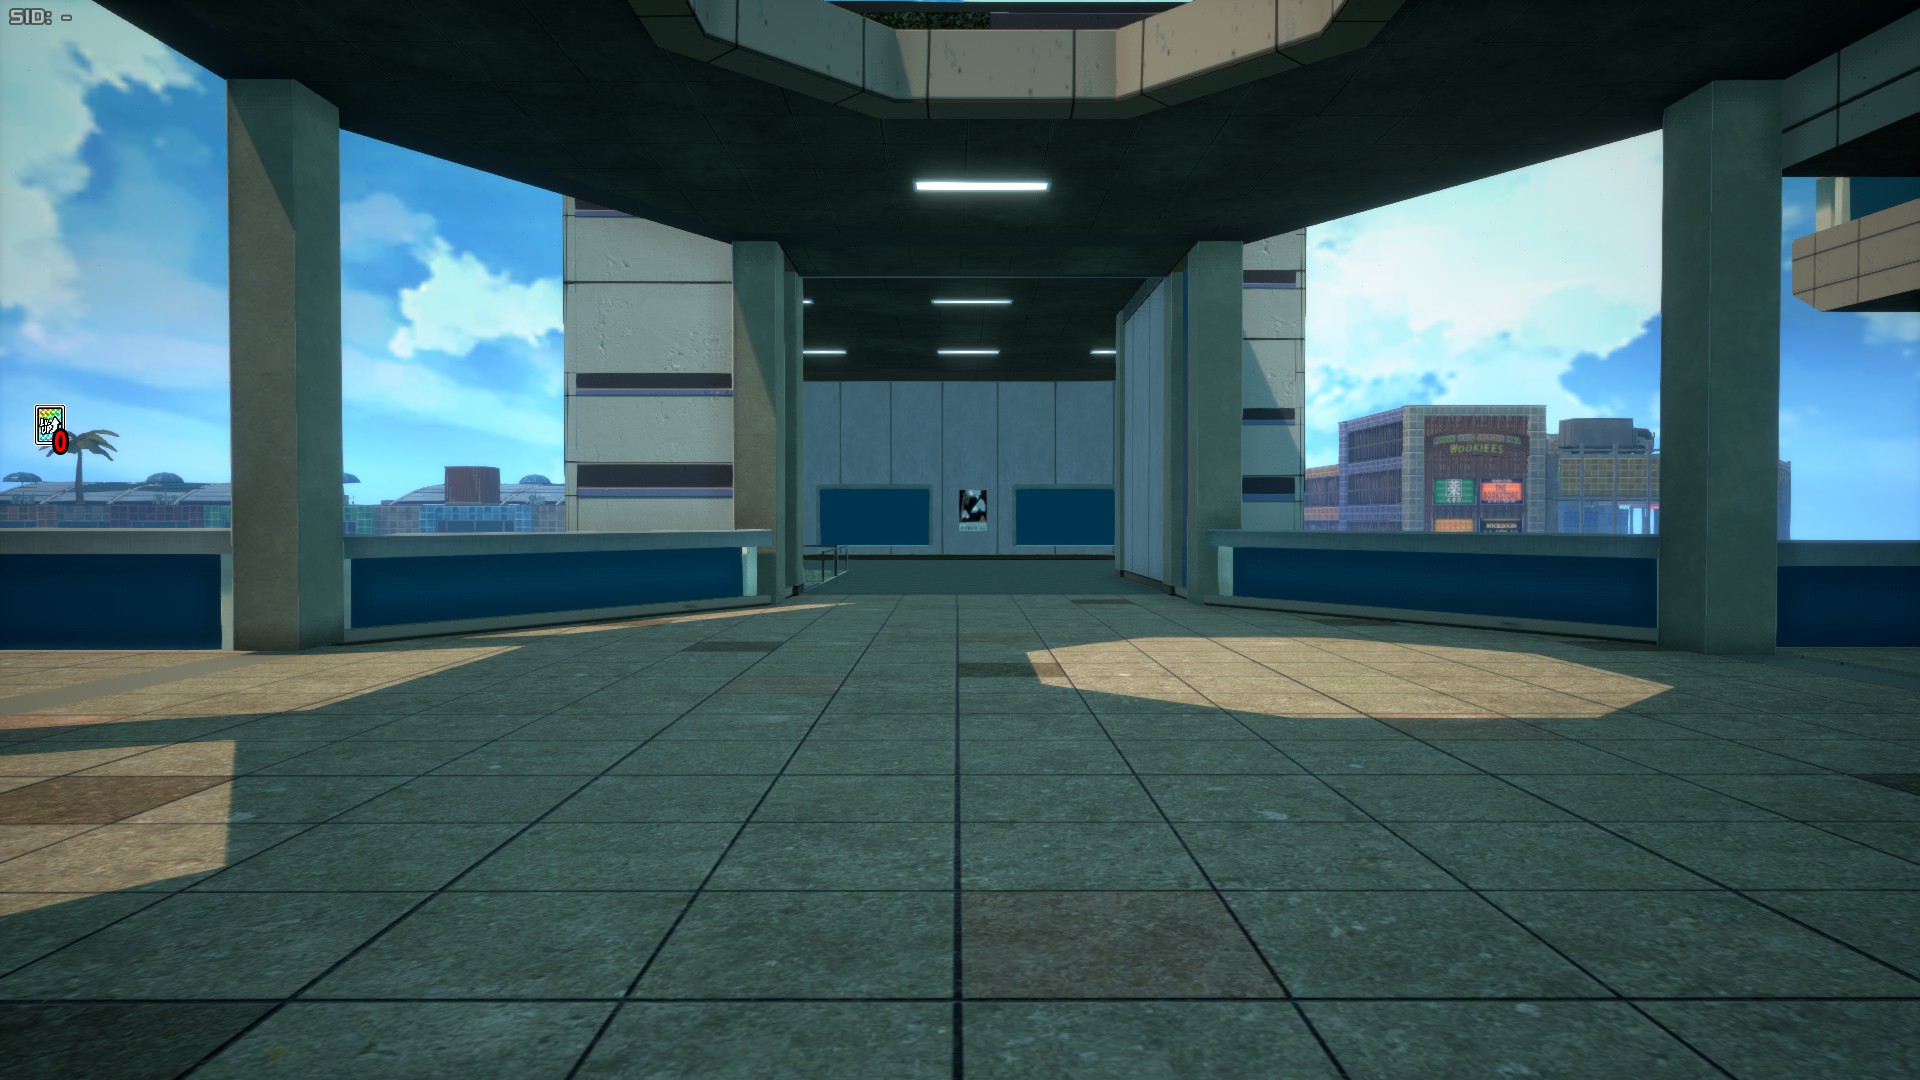
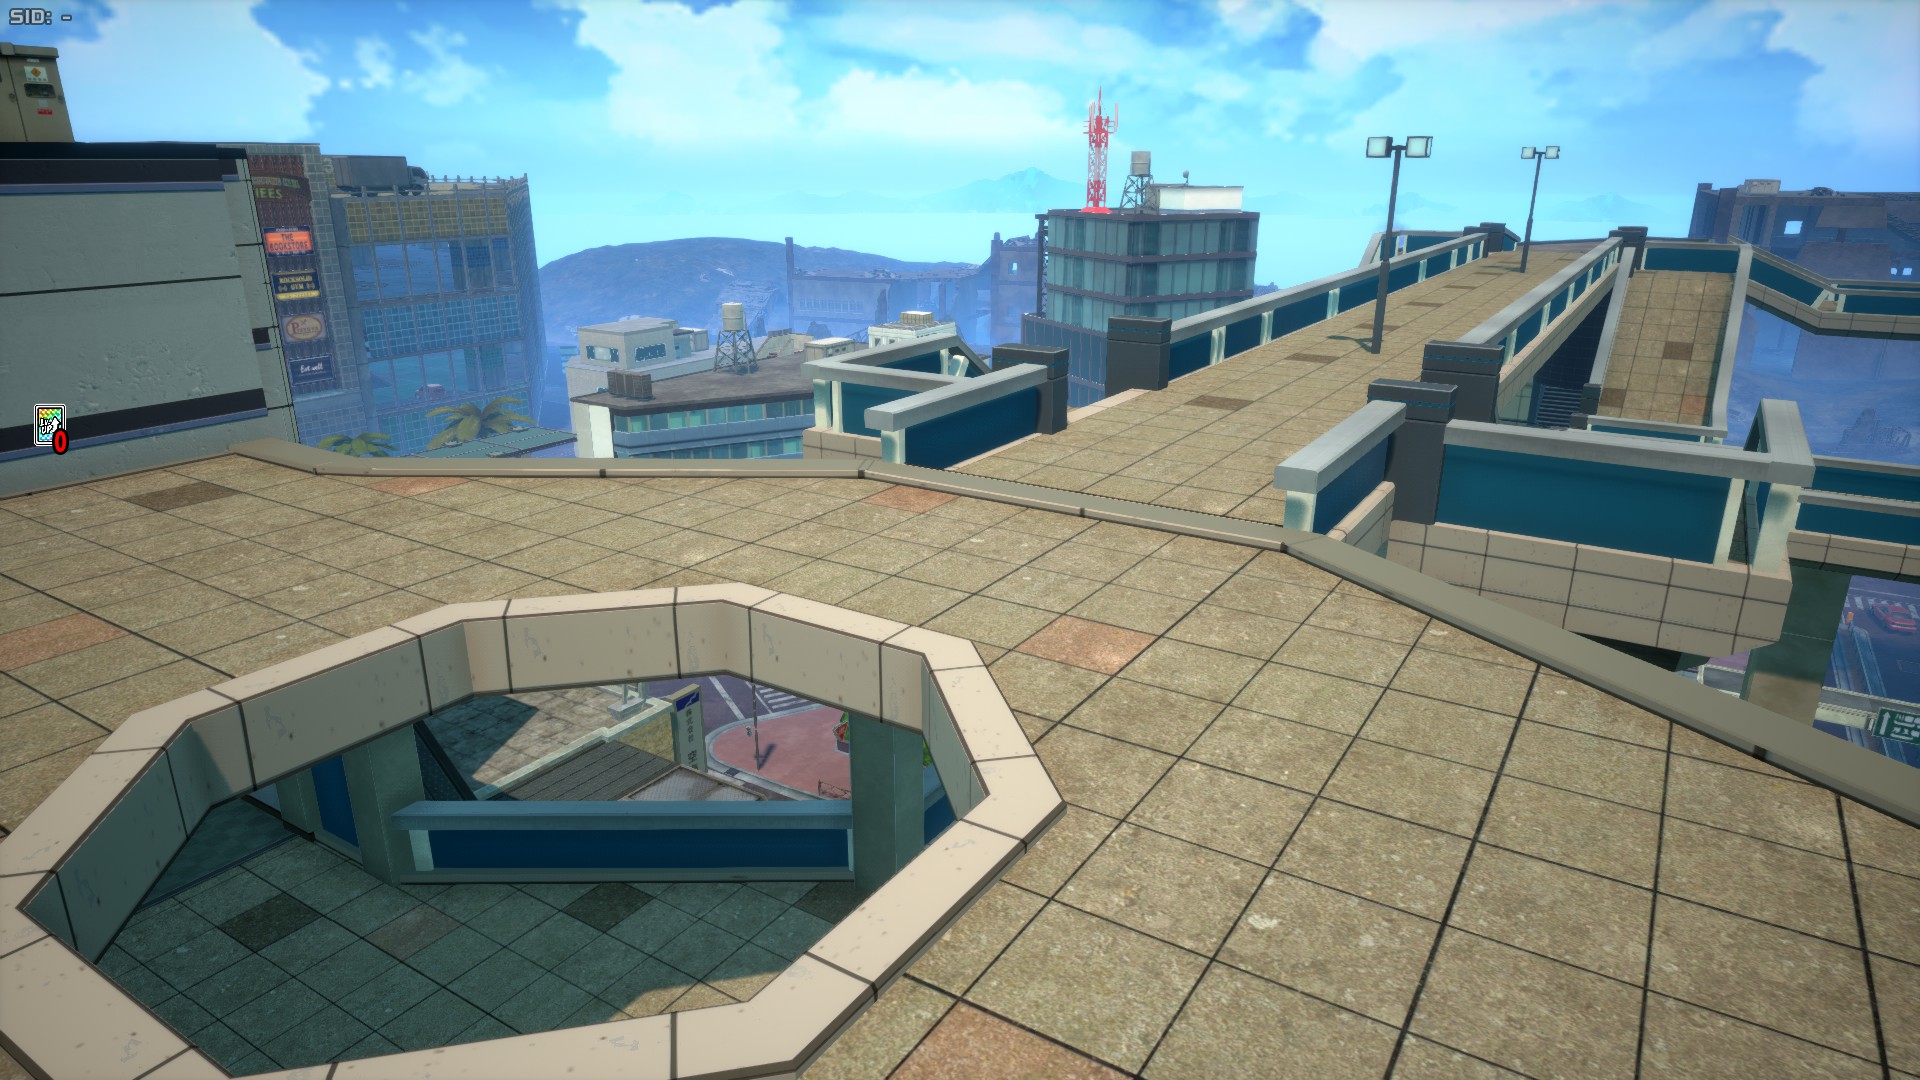
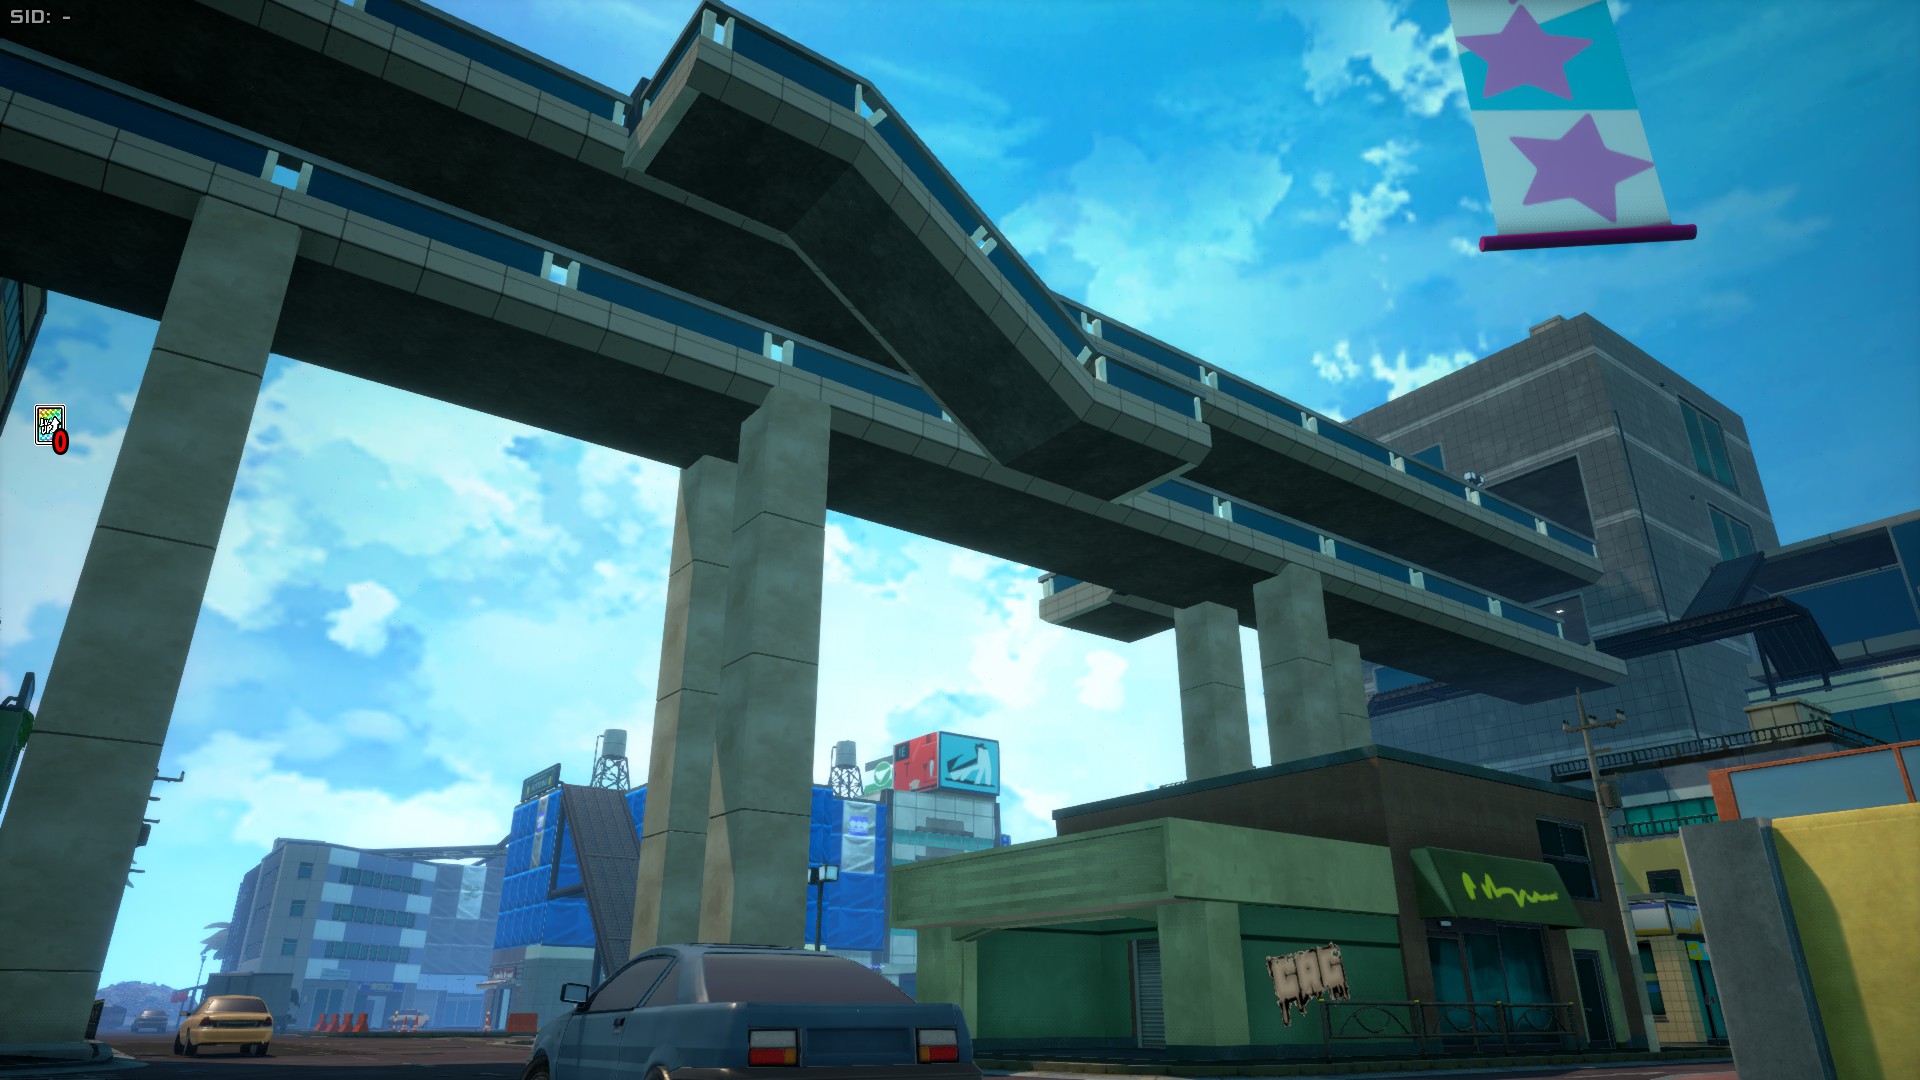
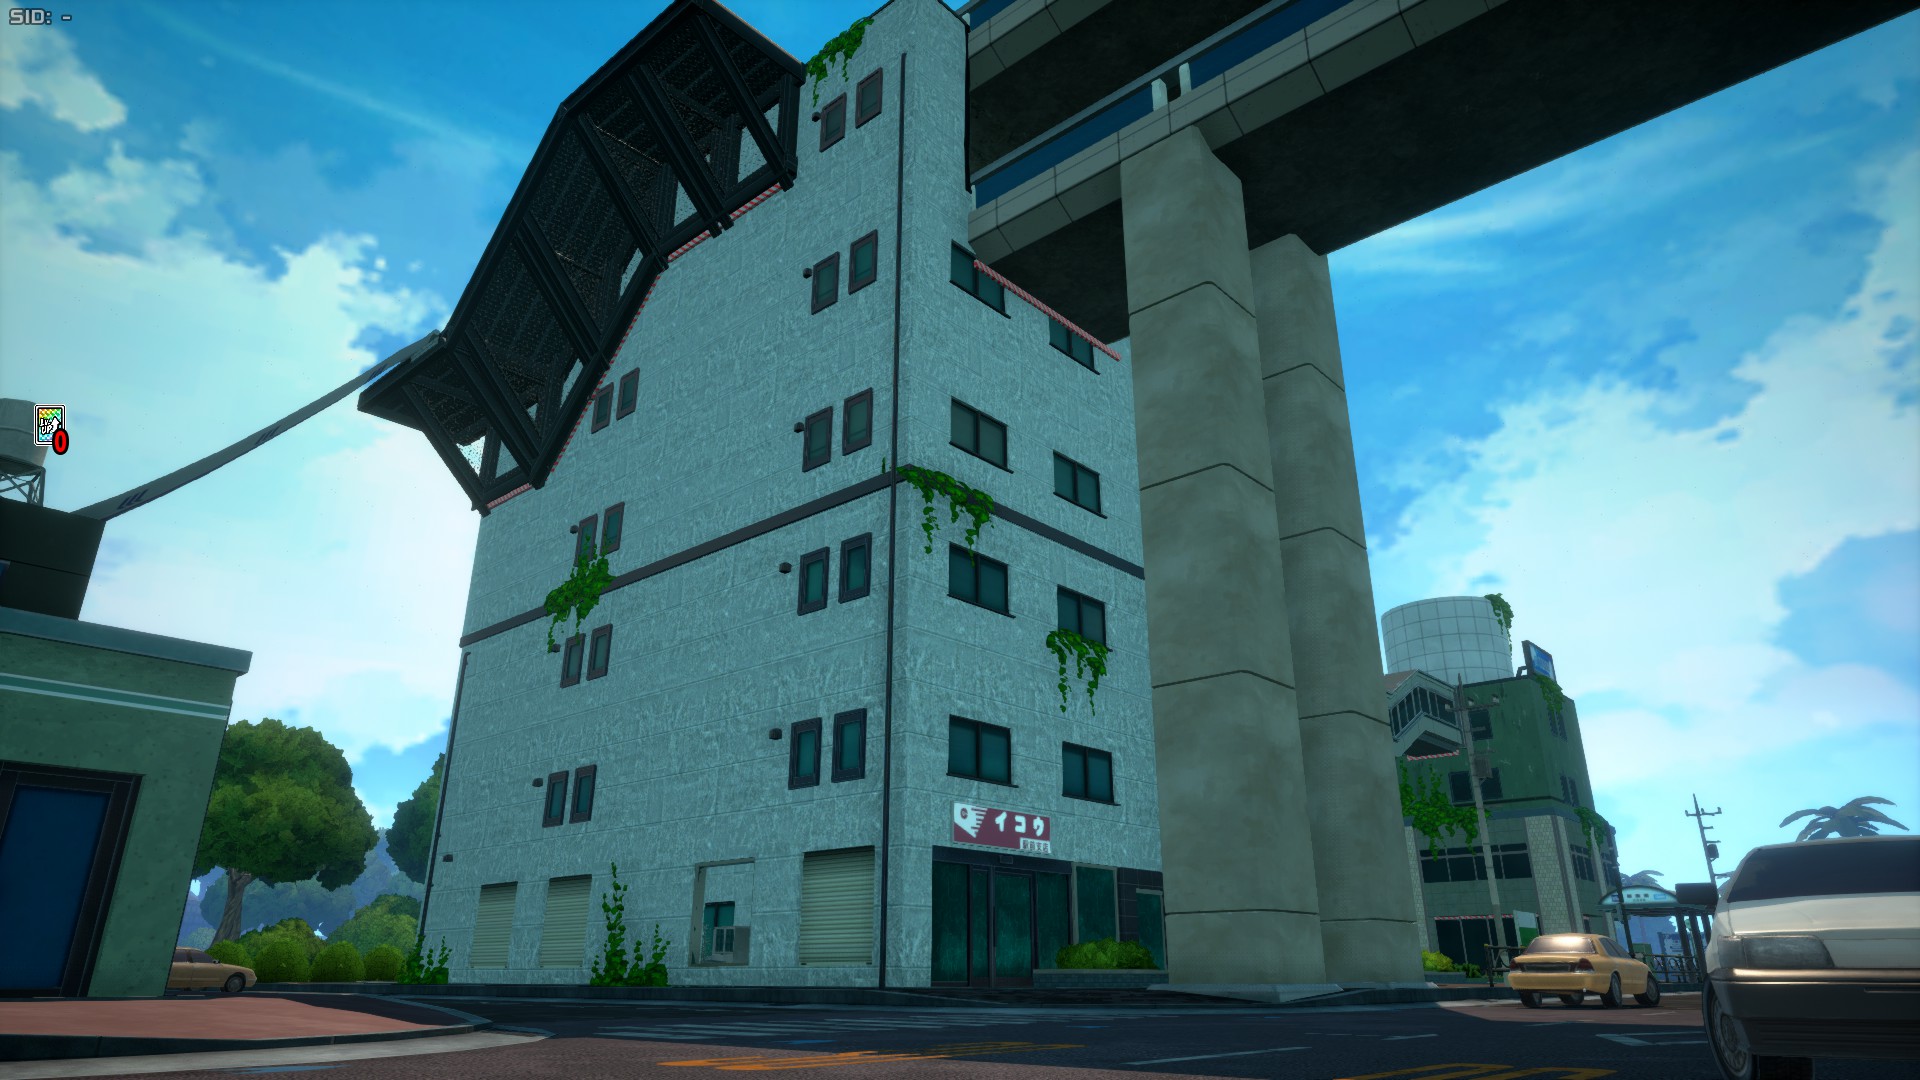
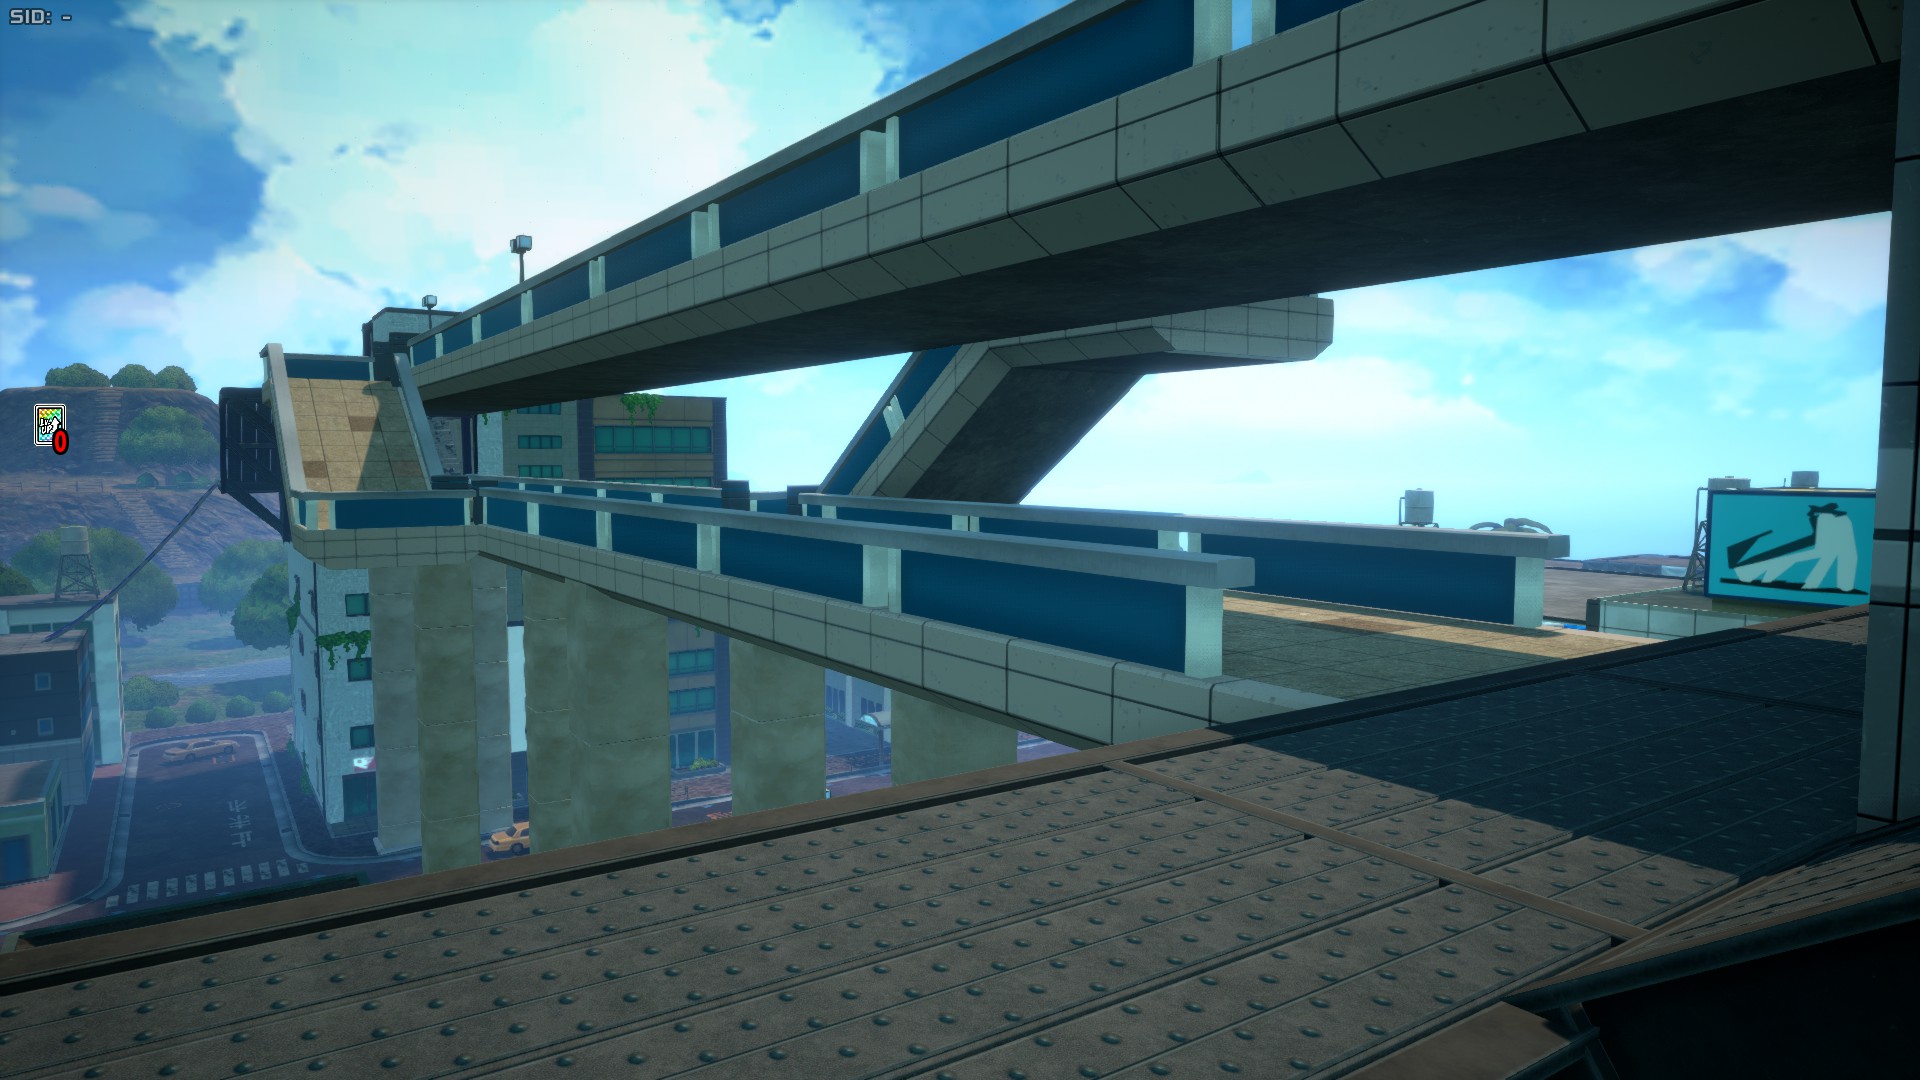
Urban Area Ver.02 received a few upgrades, most notably, the addition of a 3rd and 4th floor in the Office building, jump pads in some areas, and most notably, a good amount of sky bridges that lead to U.A. High School and Downtown.
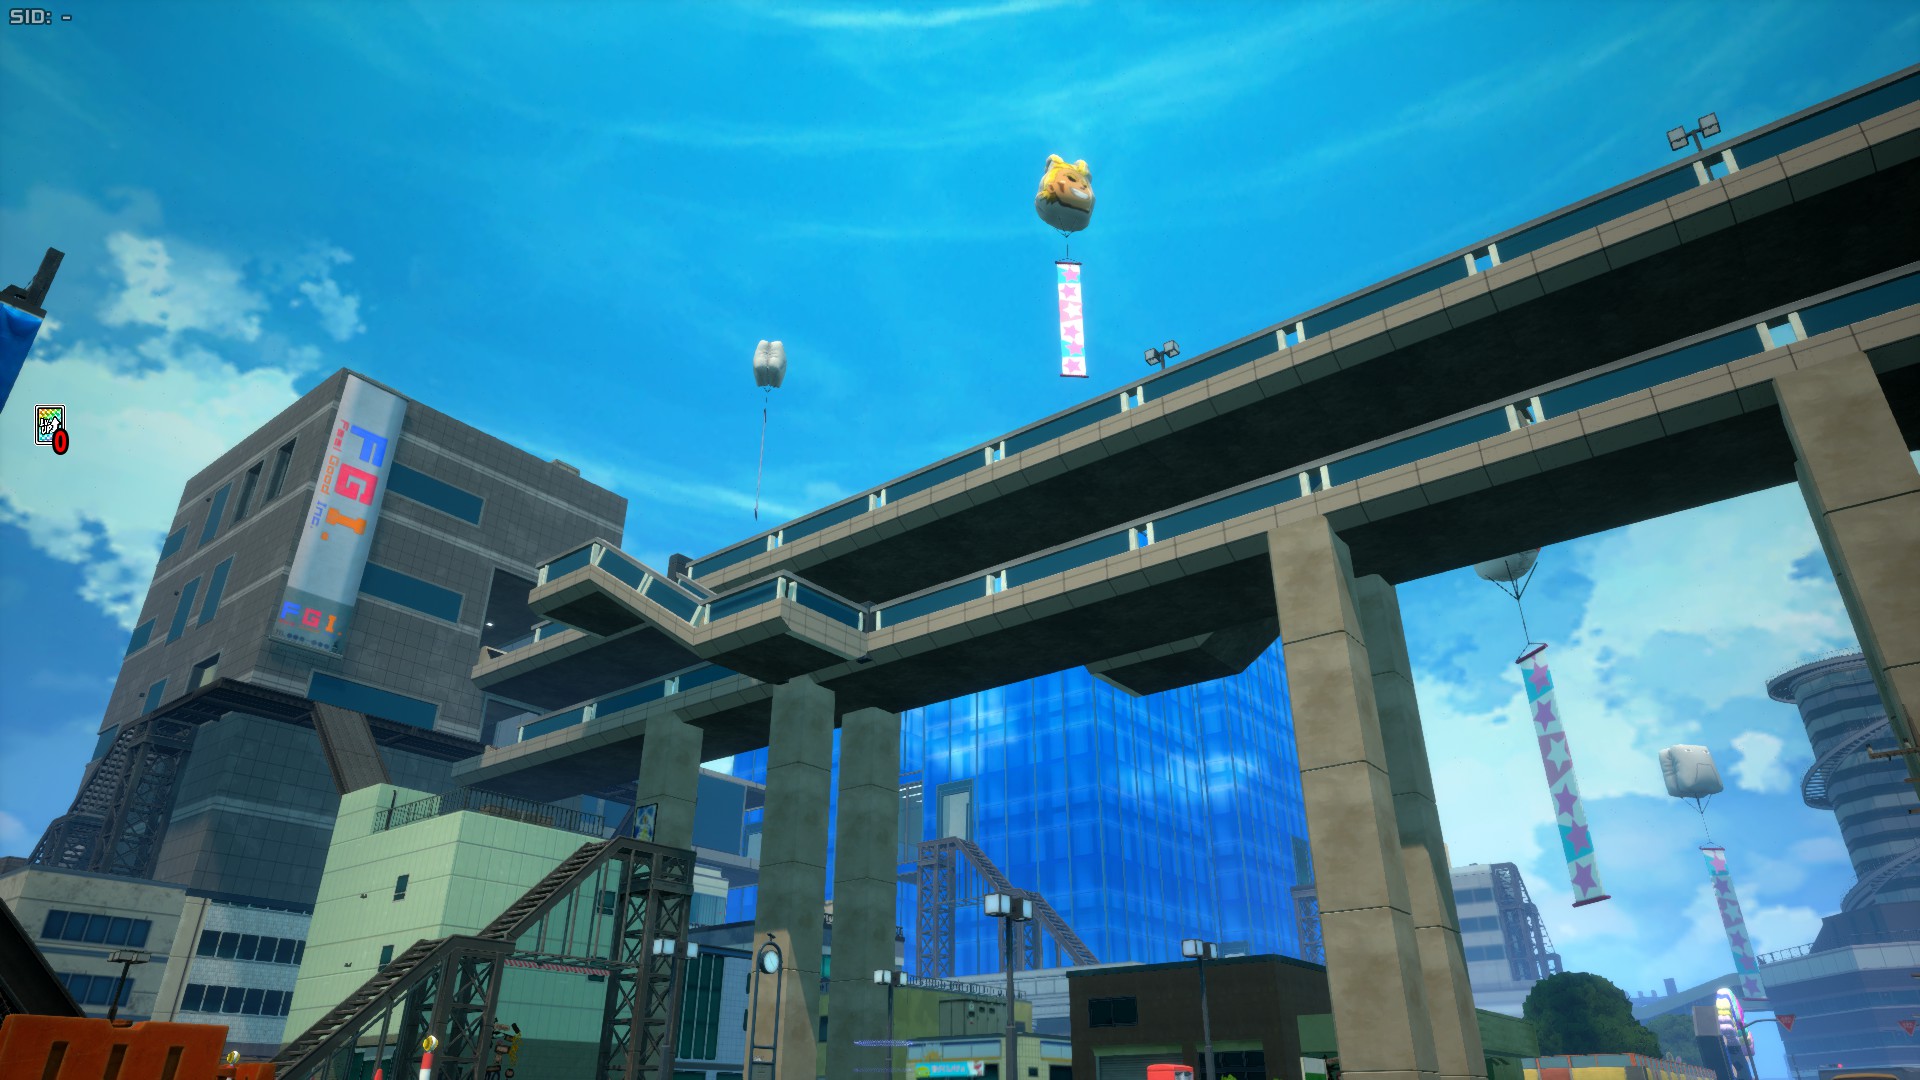
Downtown (Ver.02)
Downtown Ver.02 did receive quite a few changes, adding some sky bridges, changing some buildings to receive a 3rd and 4th floor, and another getting a small layout adjustment. A few jump pads were also placed around to allow lower mobility characters to fare better.
Chaos City
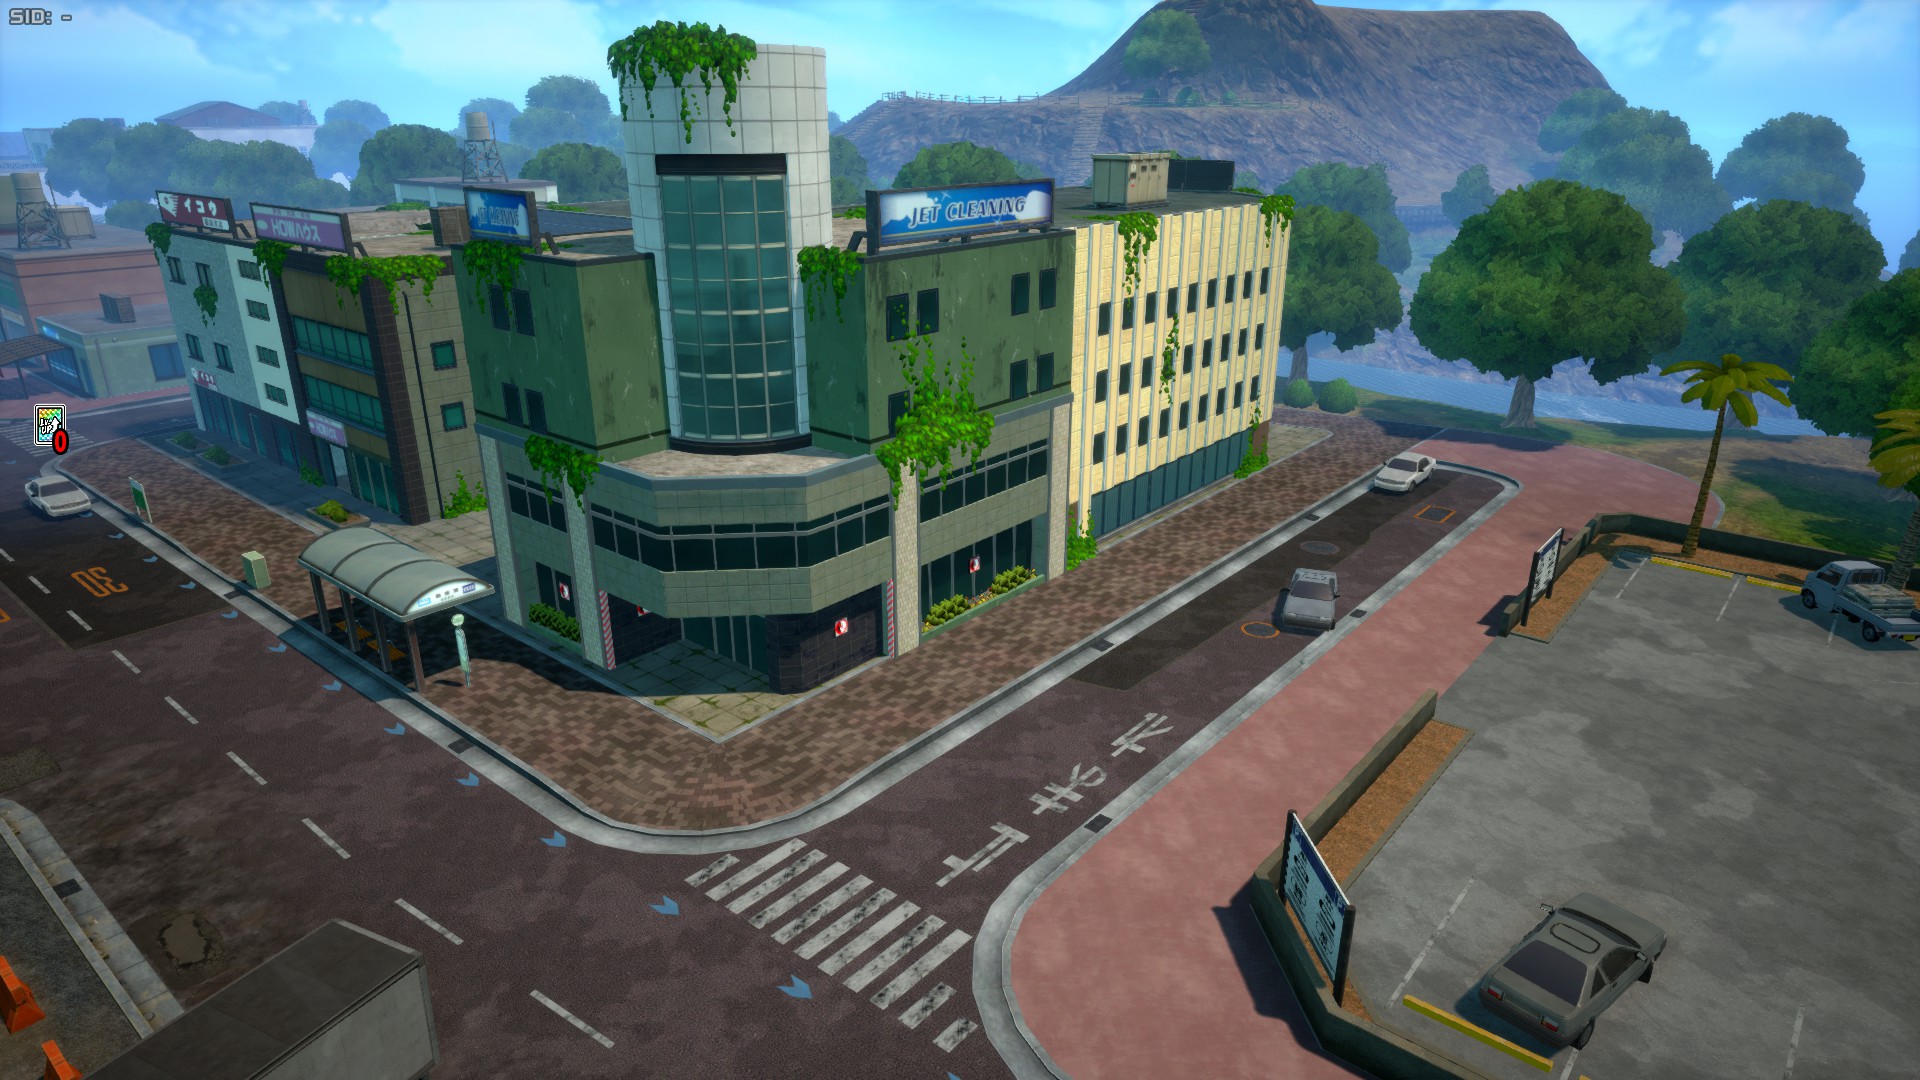
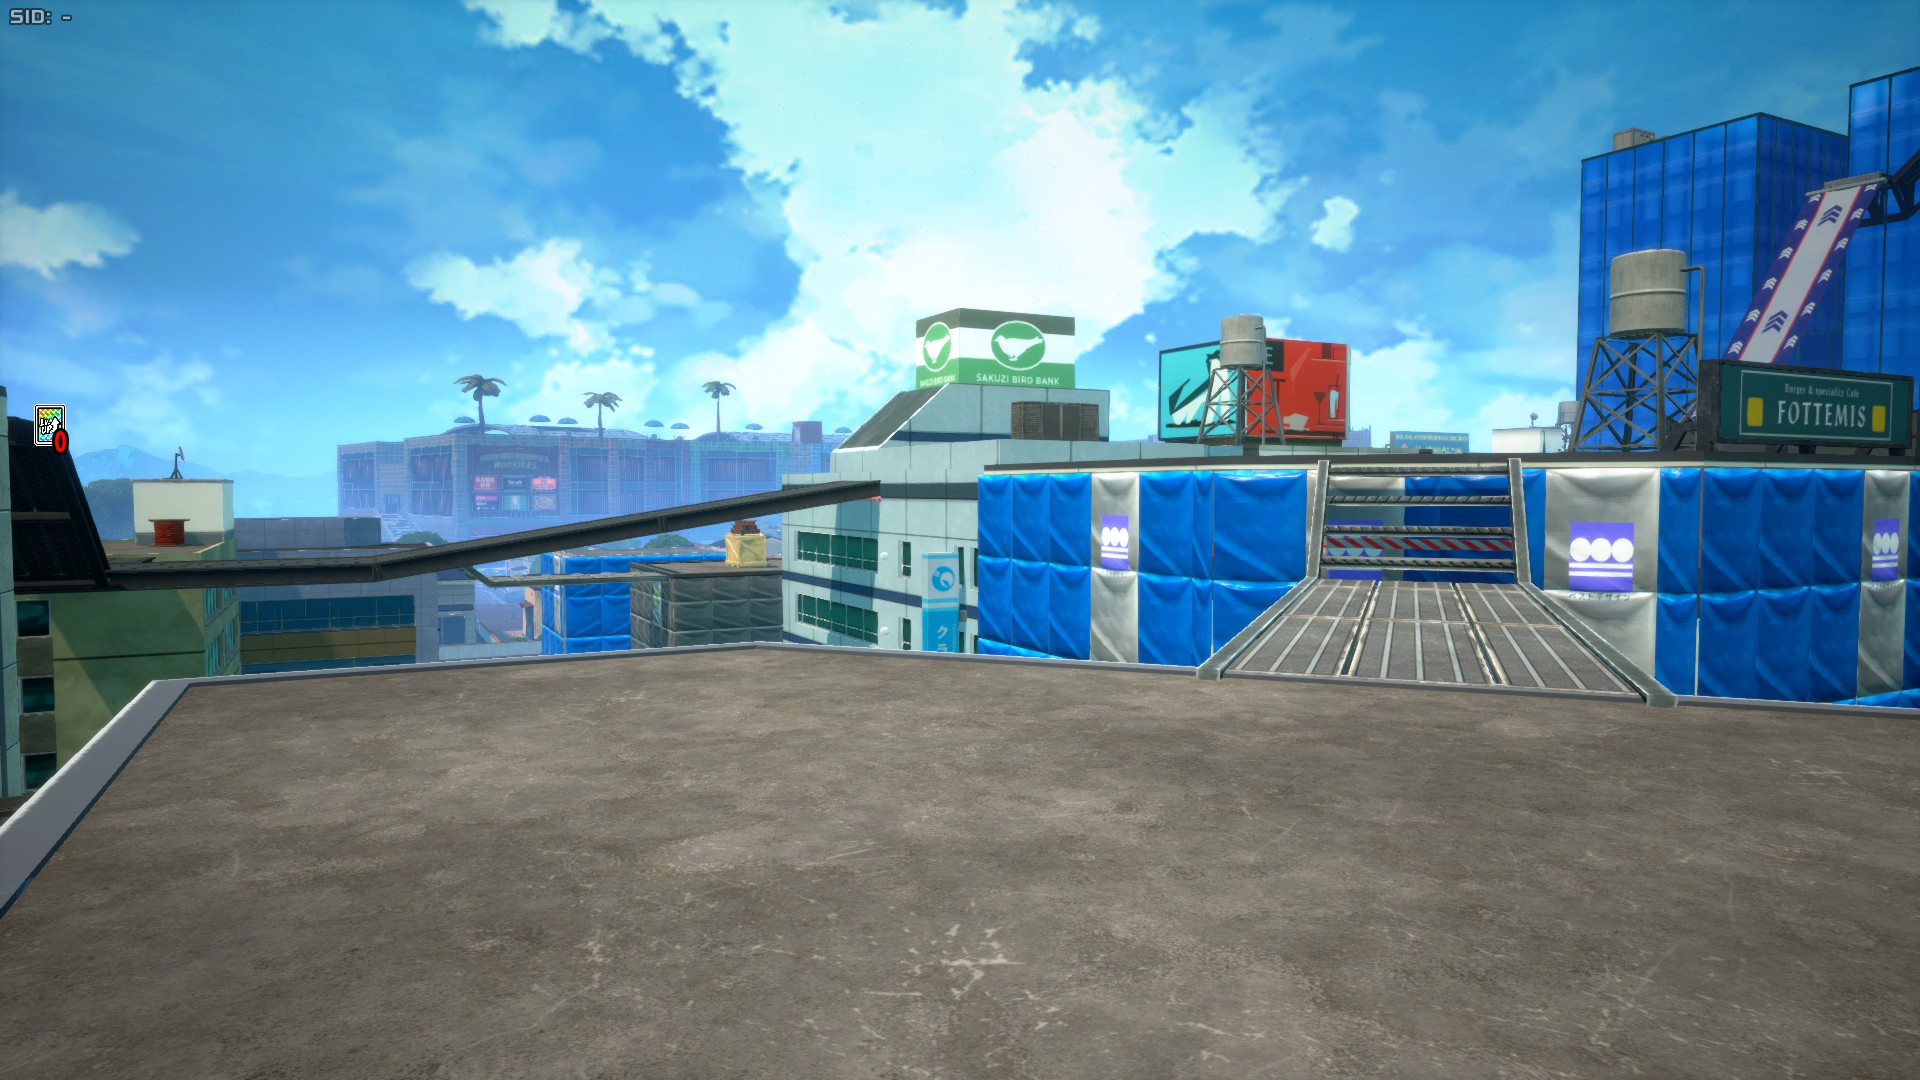
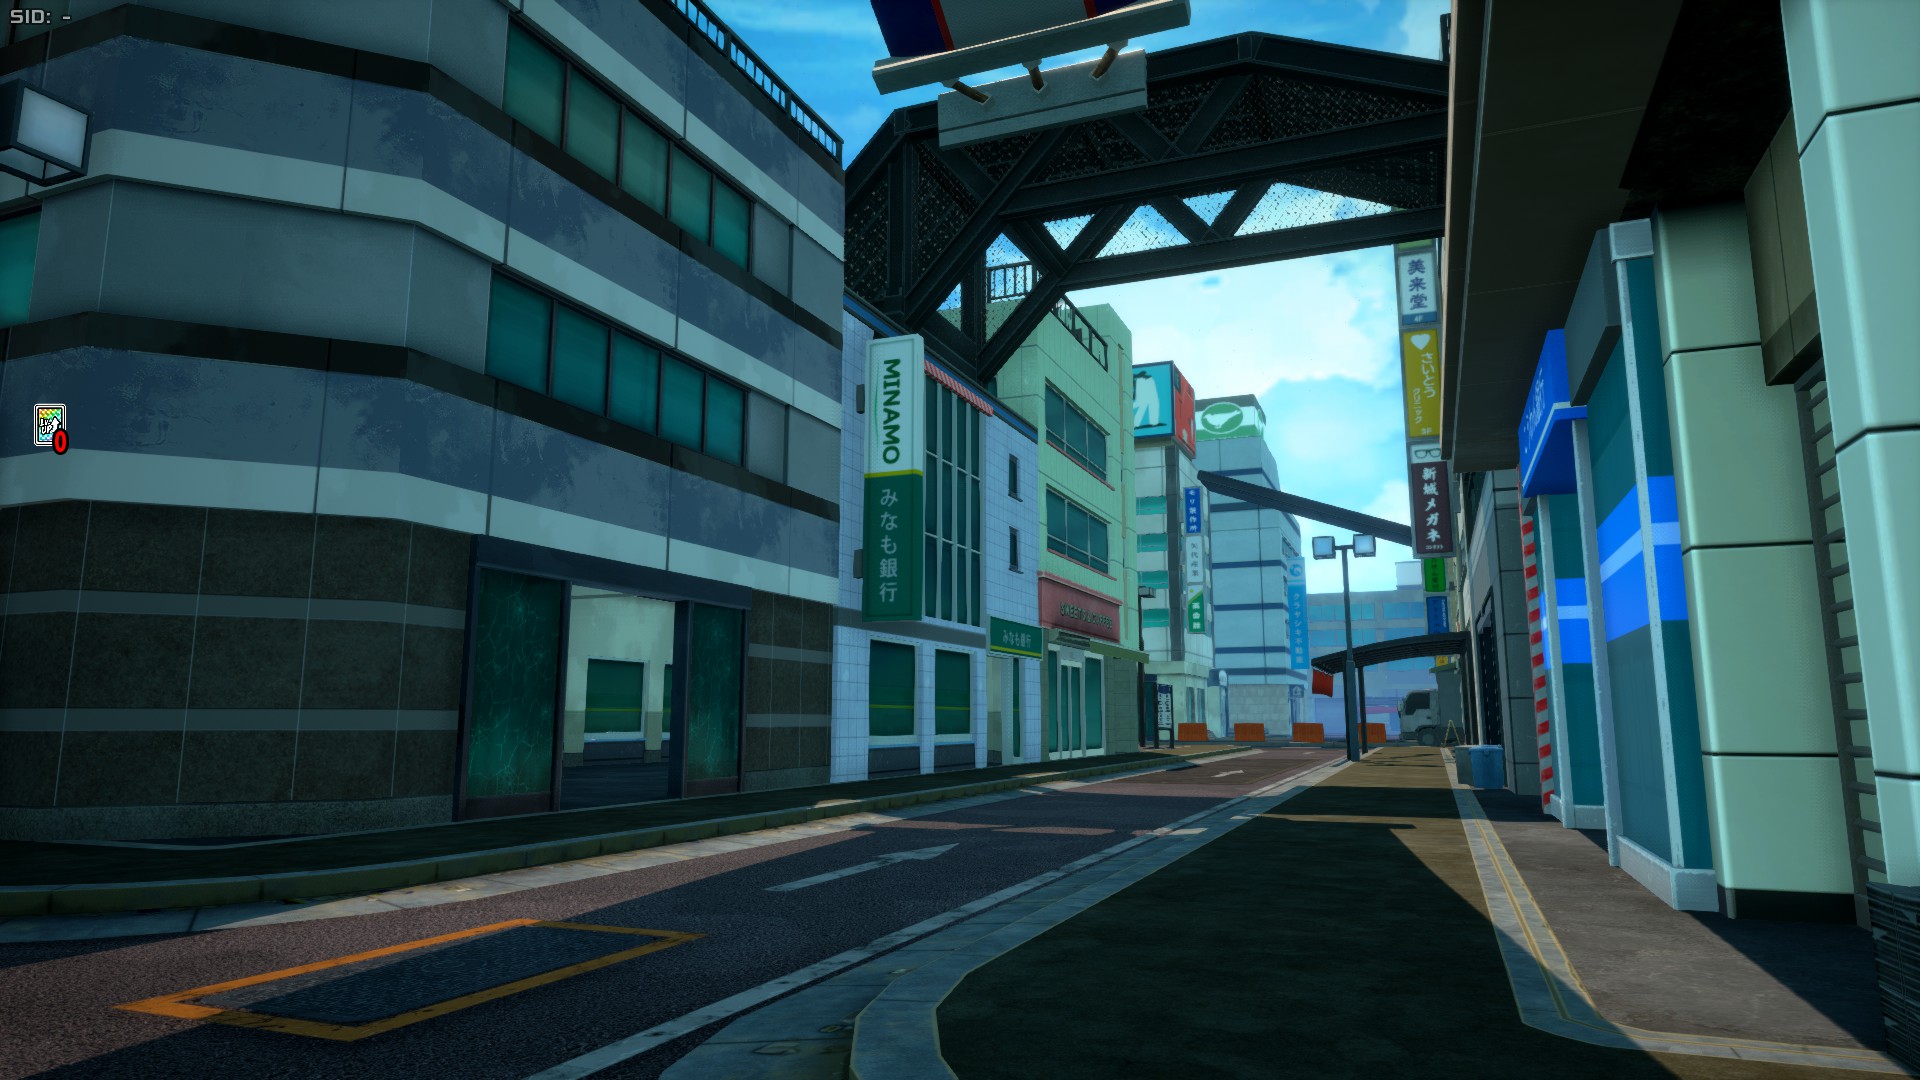
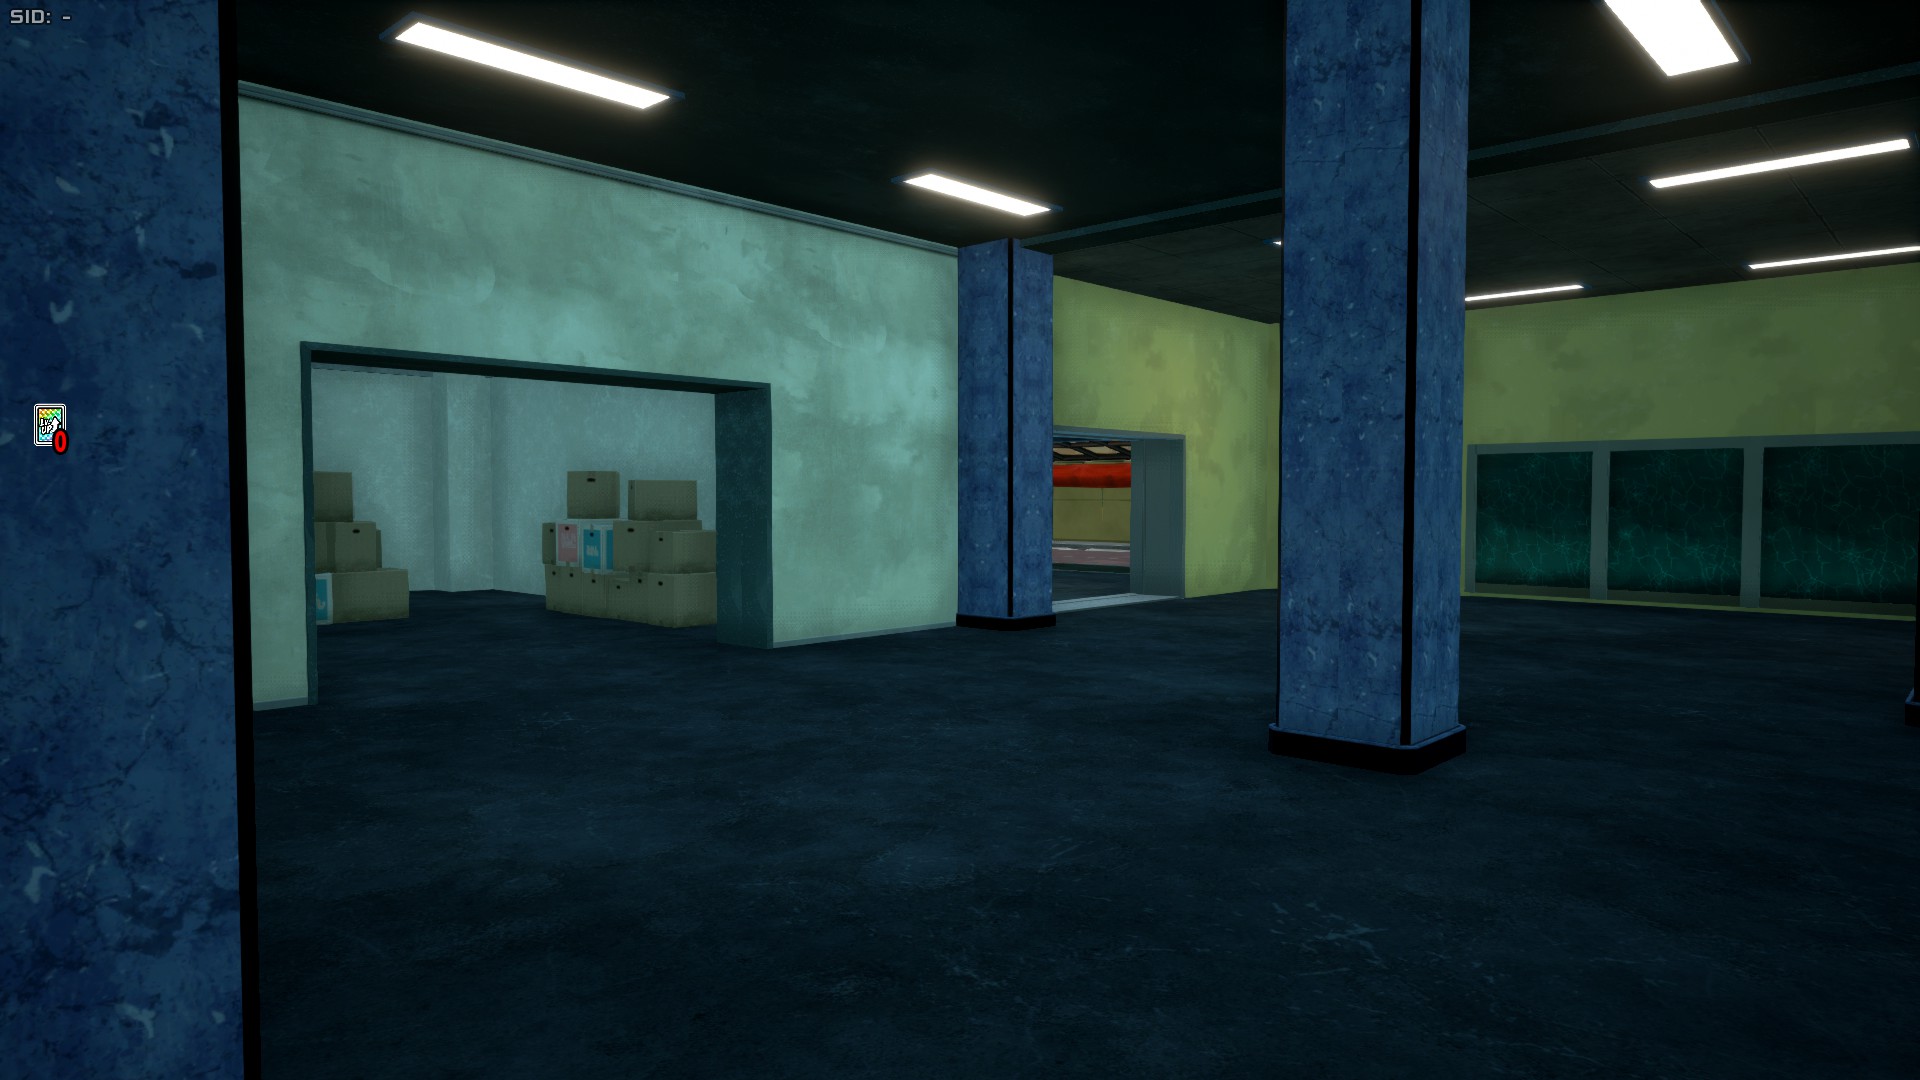
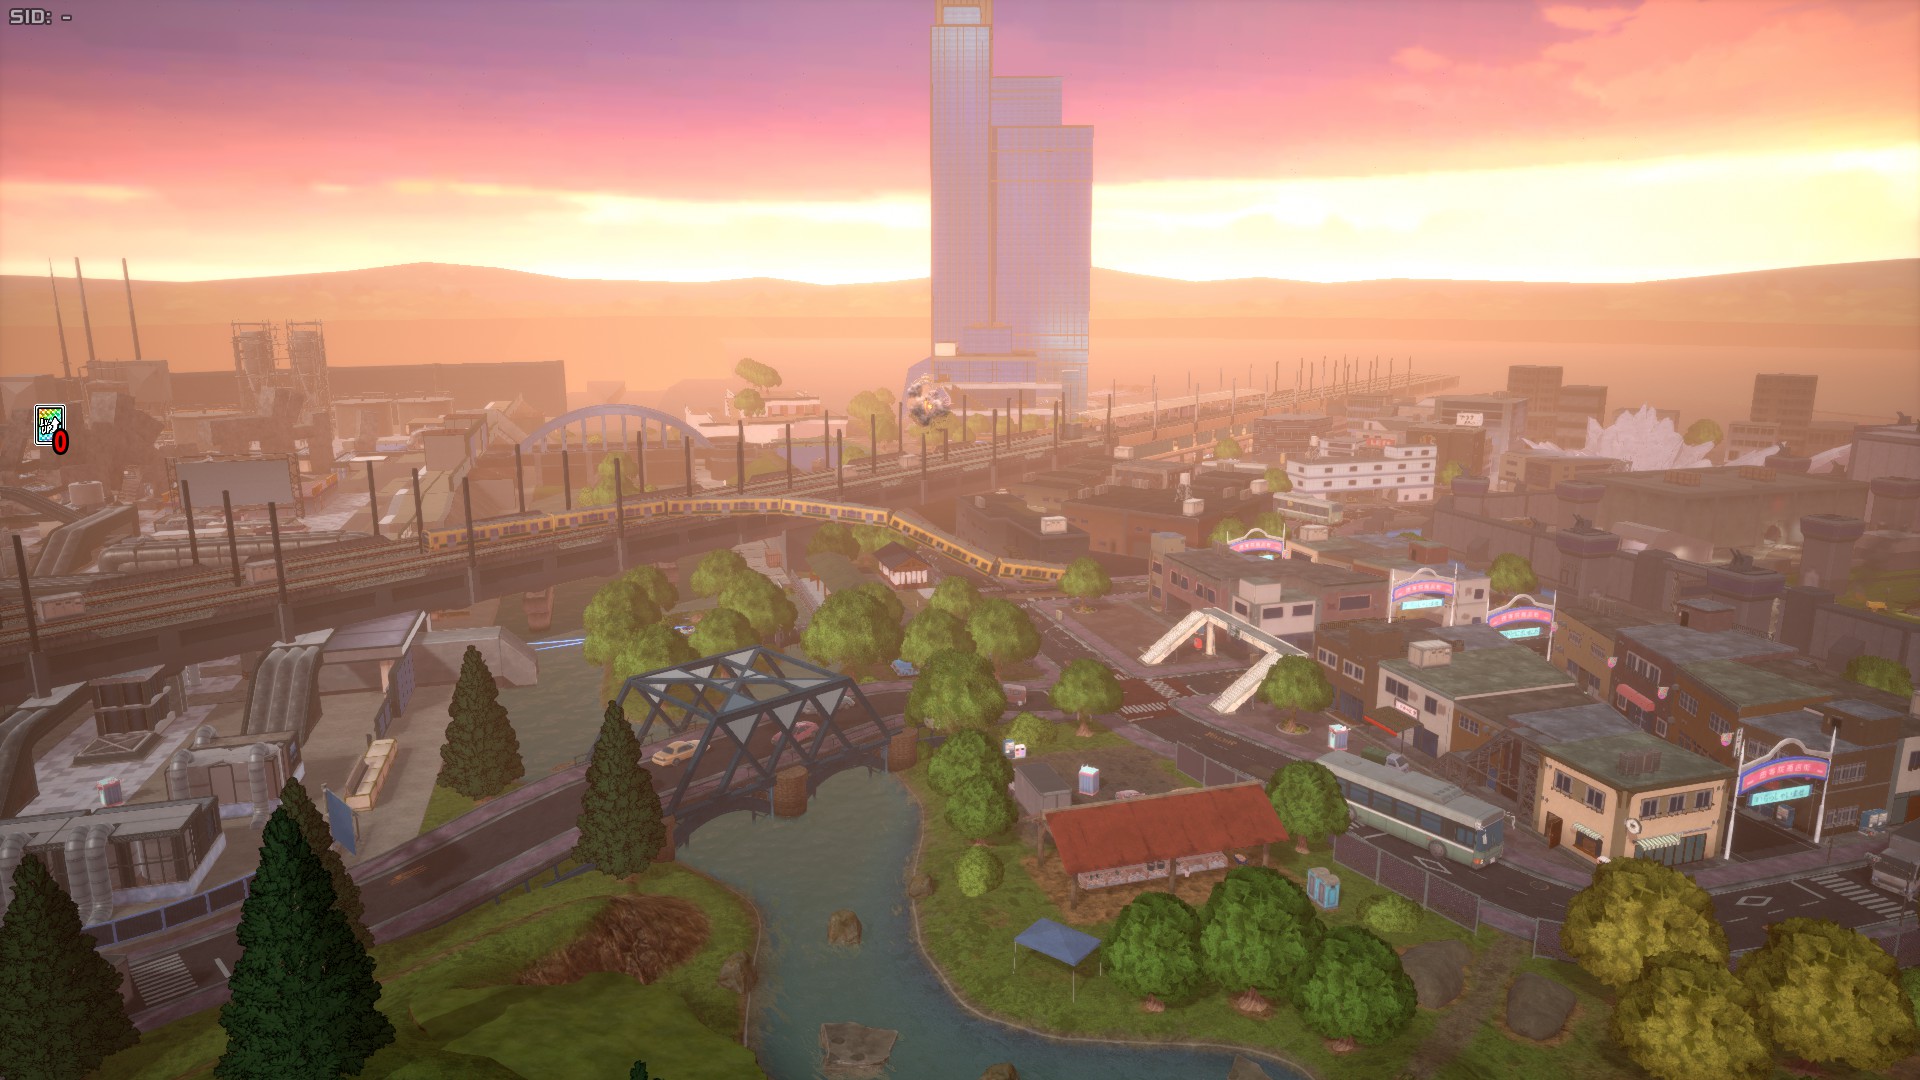
Chaos City (also known as Stage 3 or St03), is Ultra Rumble's 3rd stage, which released in Season 9 and will get an update in the nearish future. This stage is split into 8 areas: Shopping District Area, Villain Containment Facility, Mountain Lodge, Training Ground, Canyon Area, Hero Agency, Kamino Ward Area and Villain Hideout.
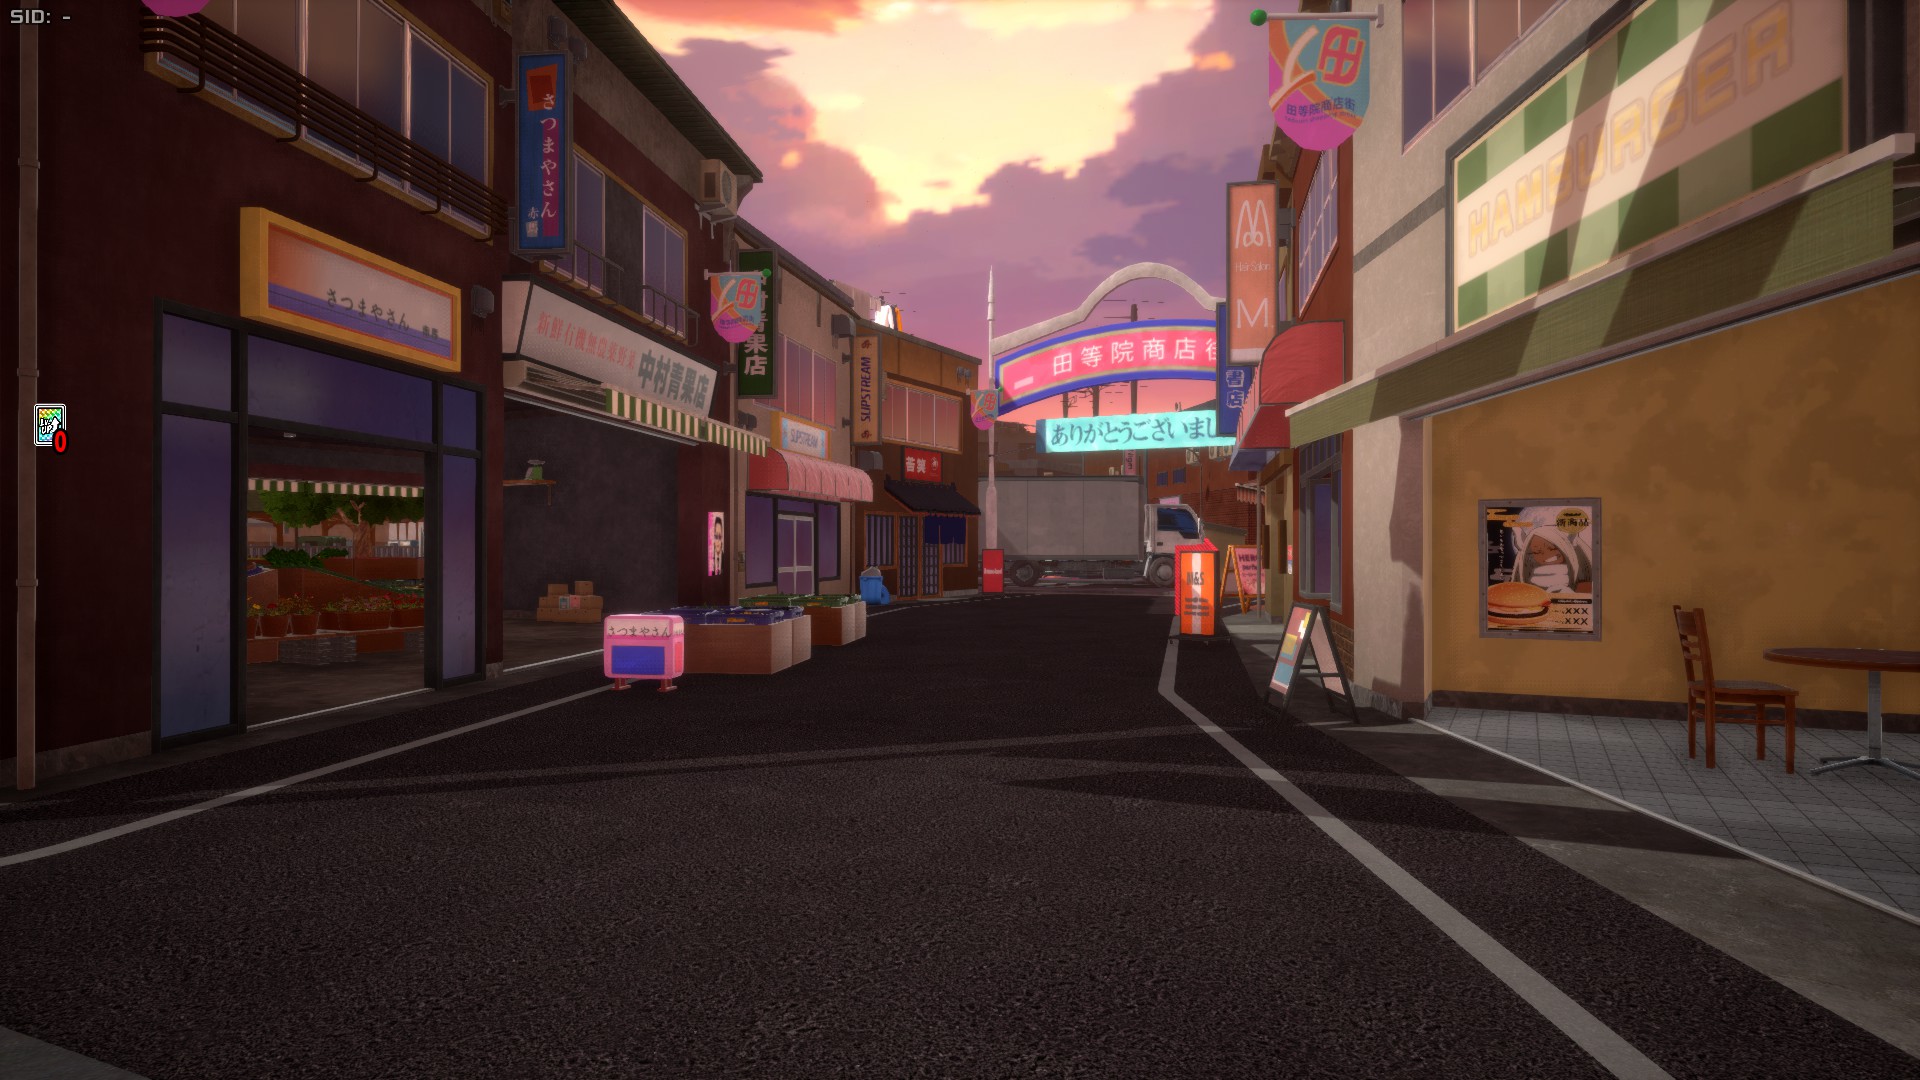
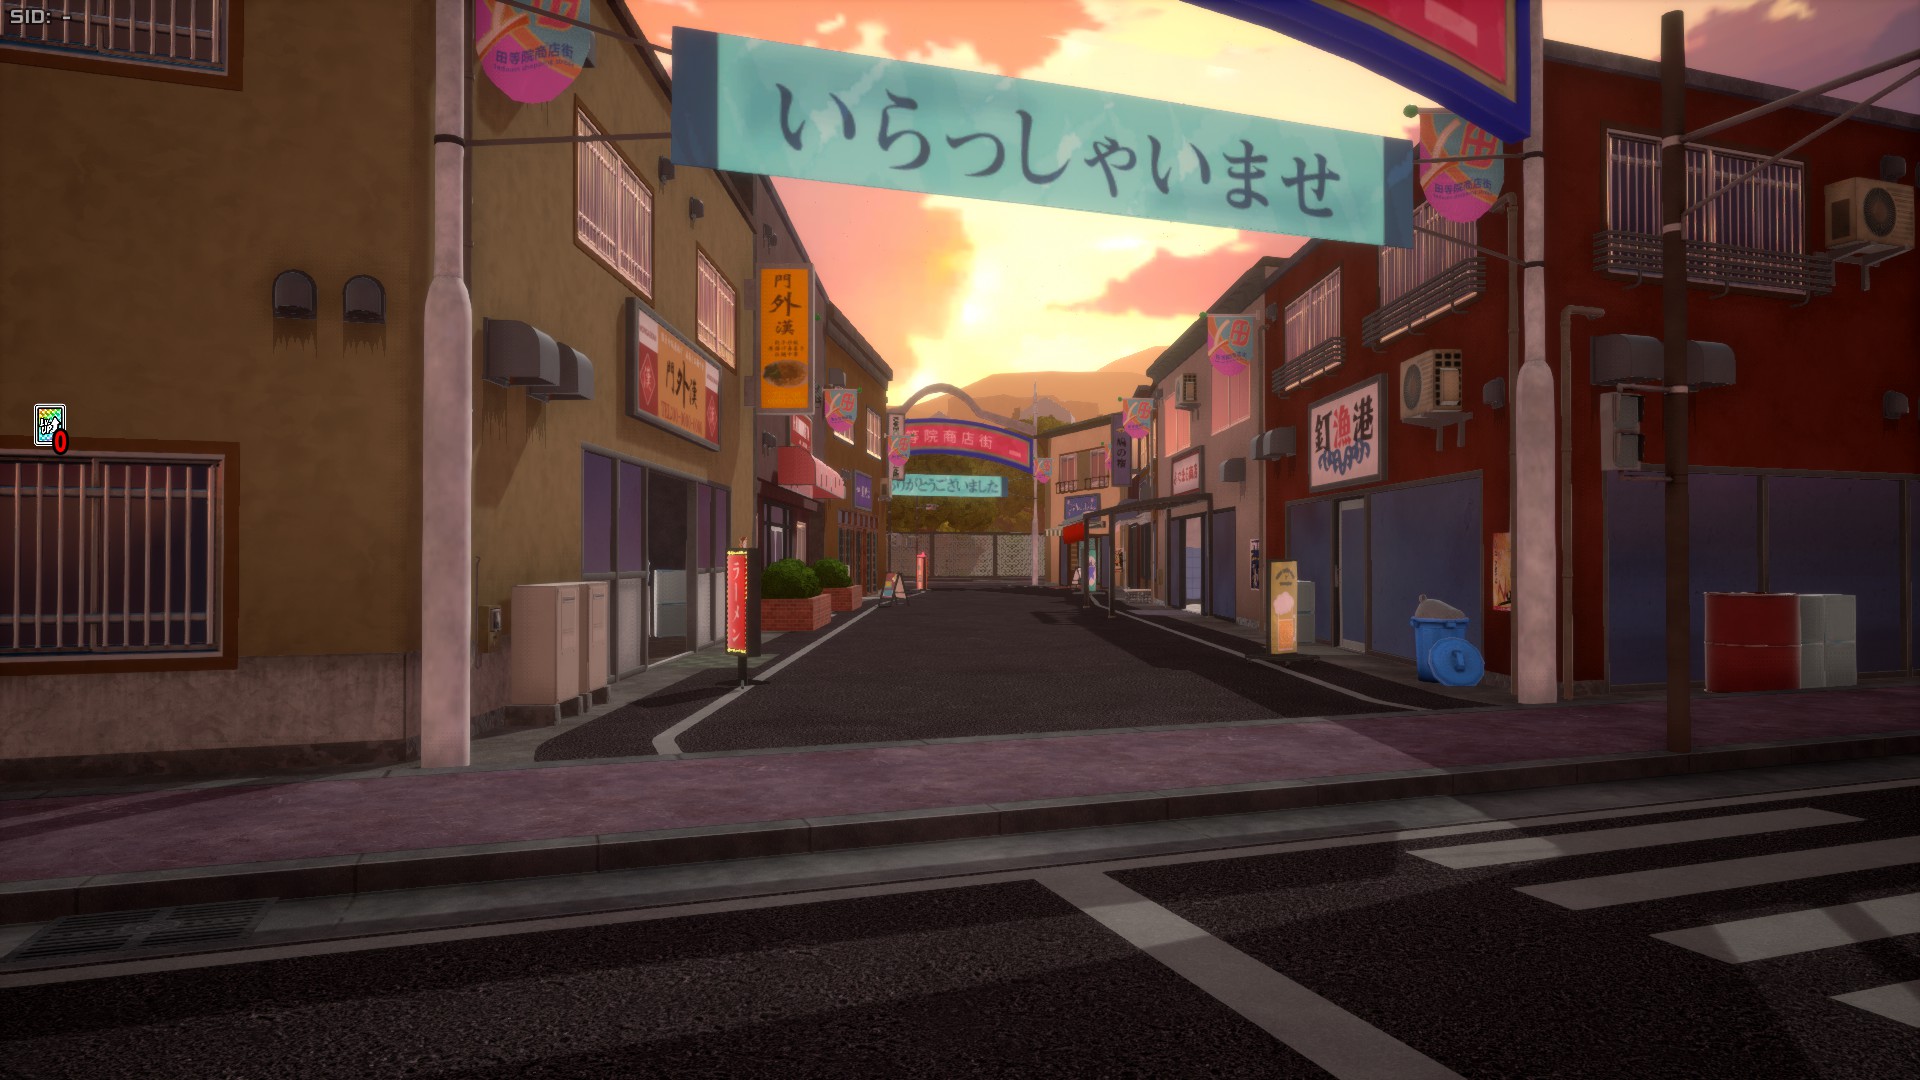
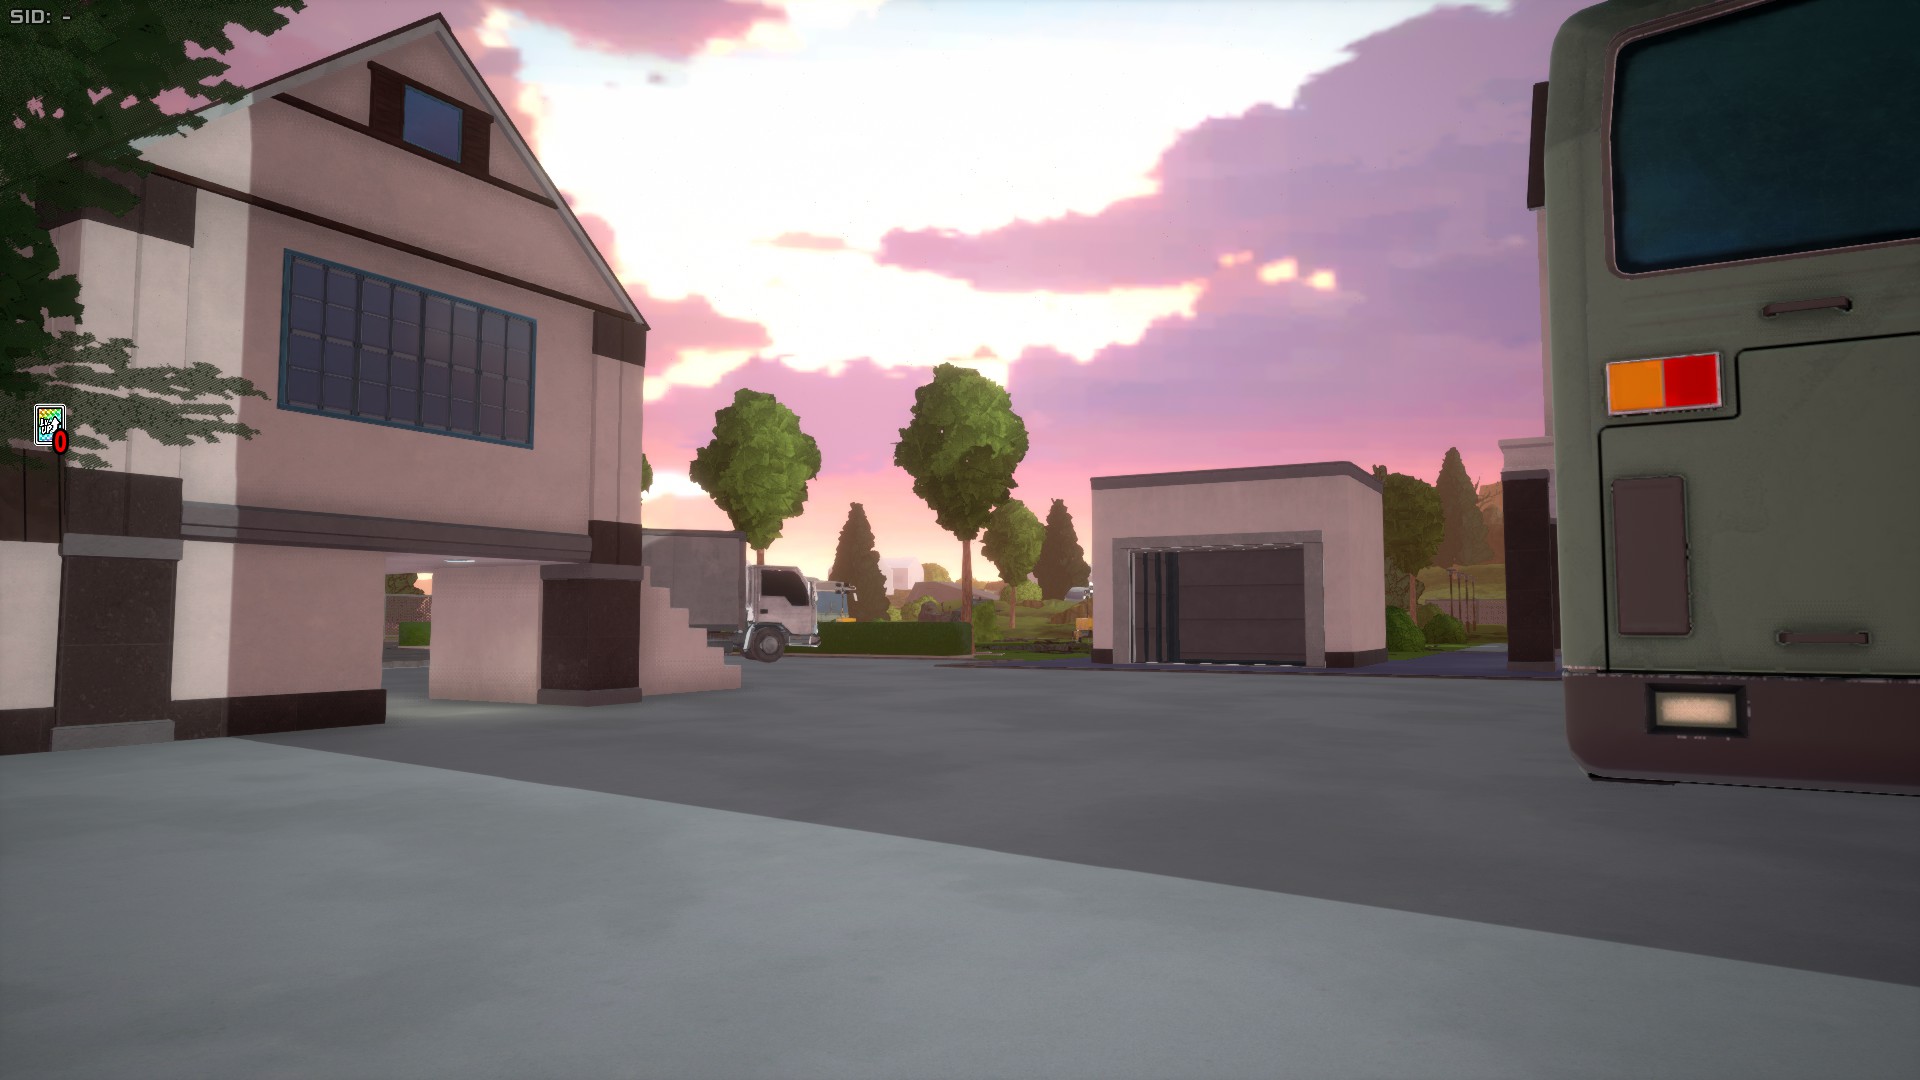
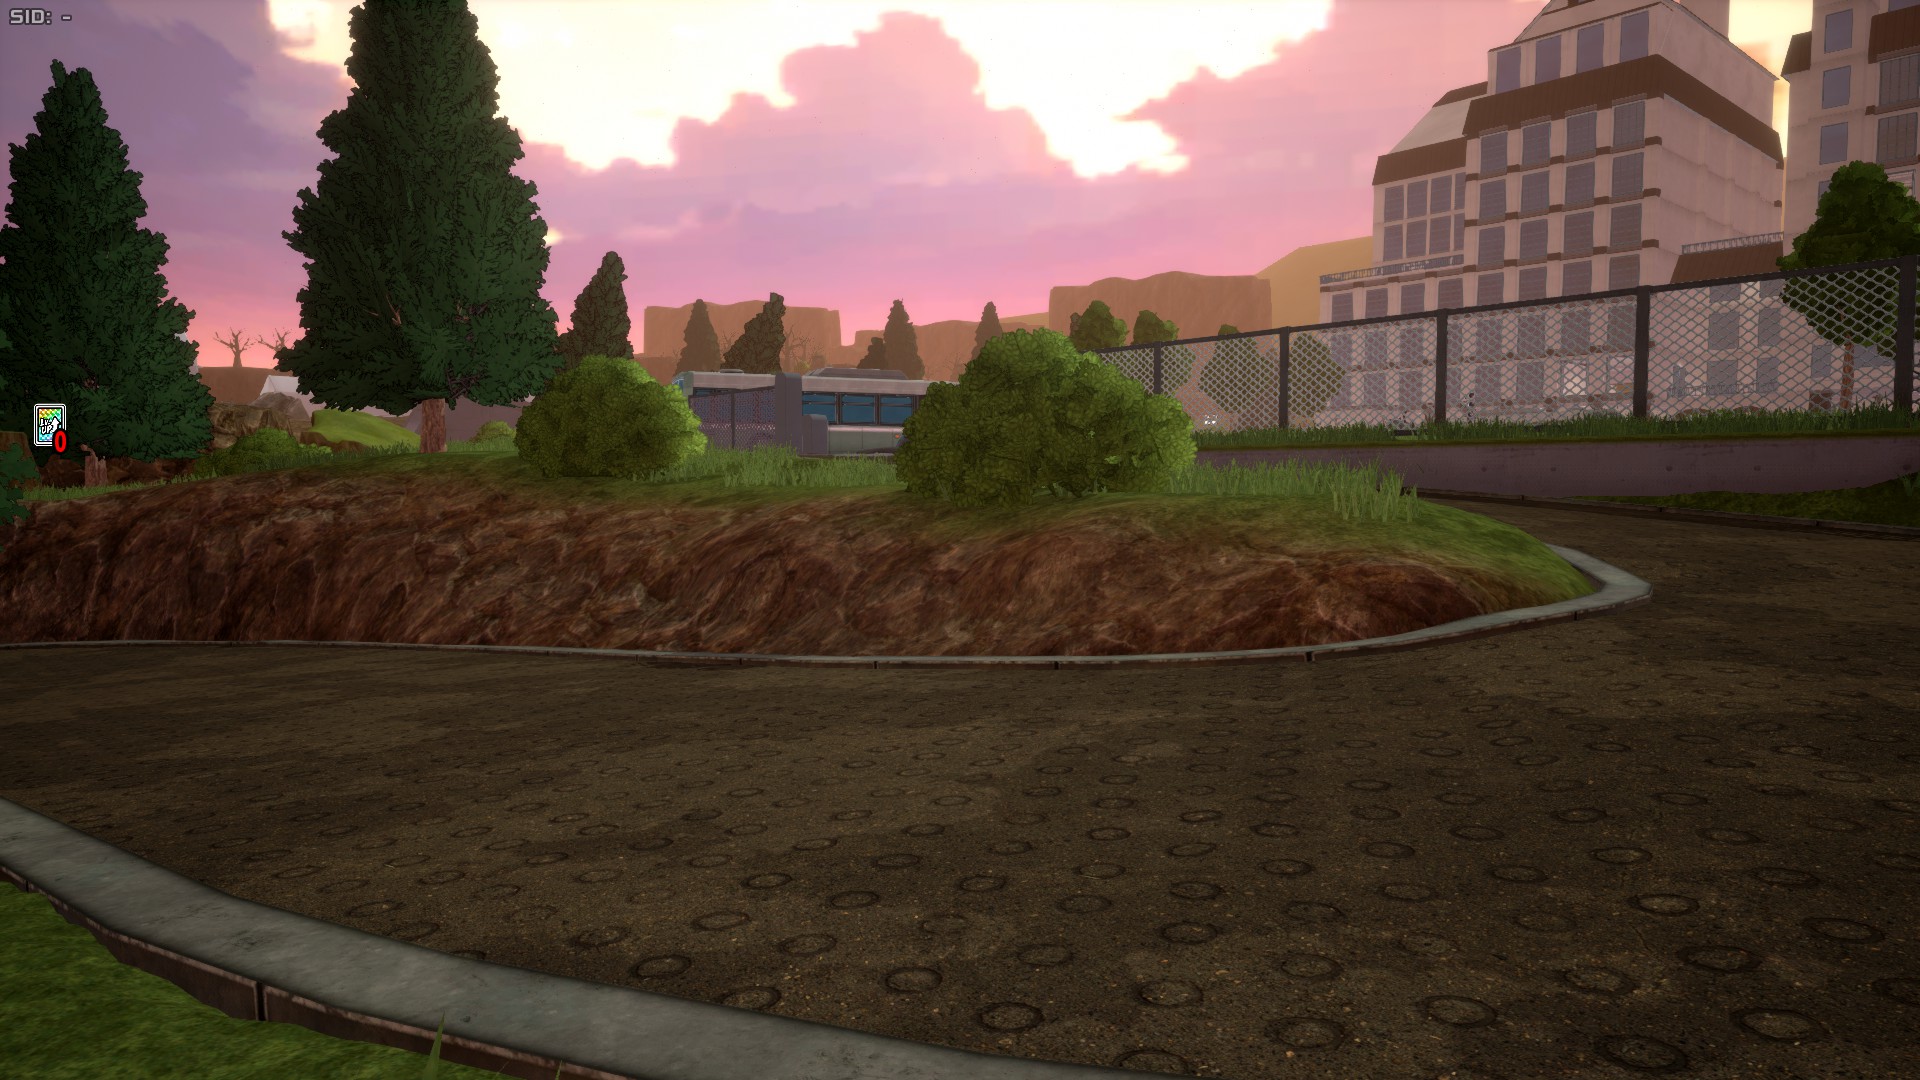
This stage presents a bit of a unique atmosphere thanks to its sunsetting sky and the night-like sky at the Containment Facility.
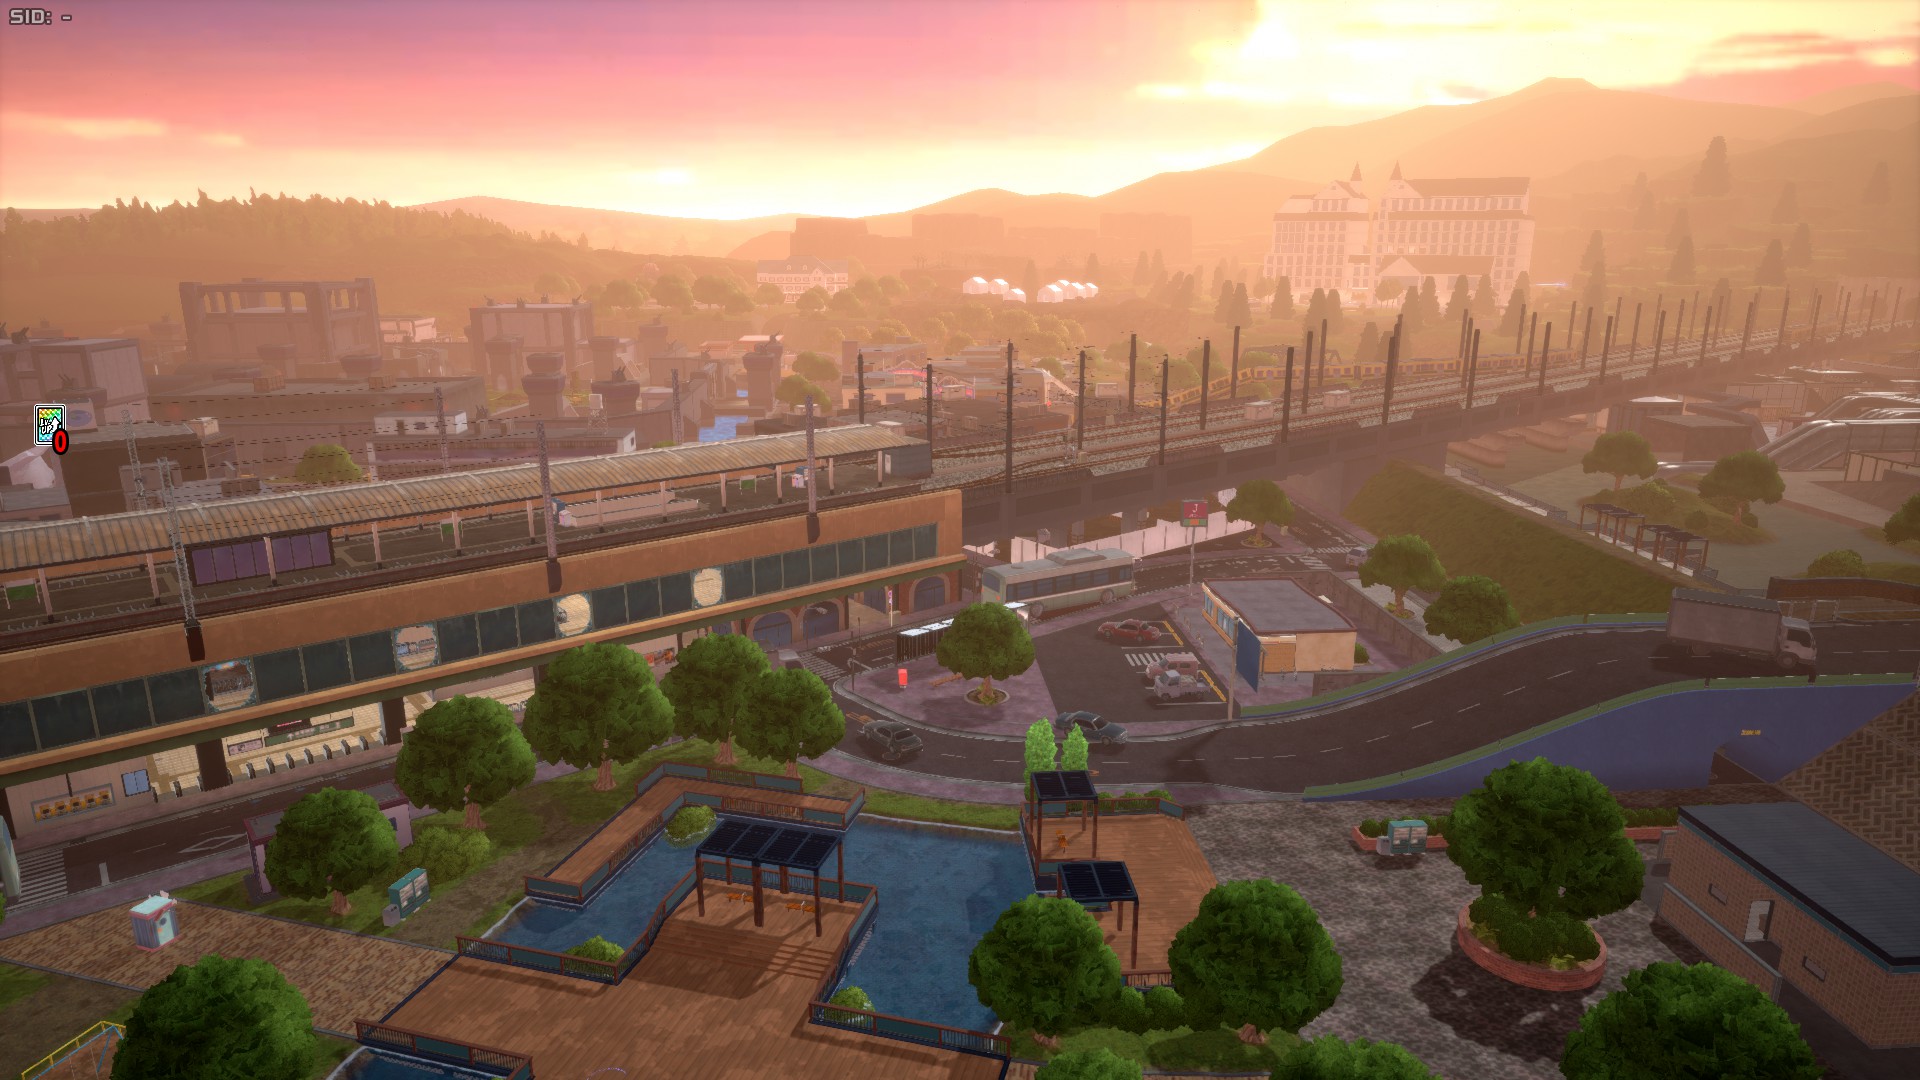
Shopping District Area
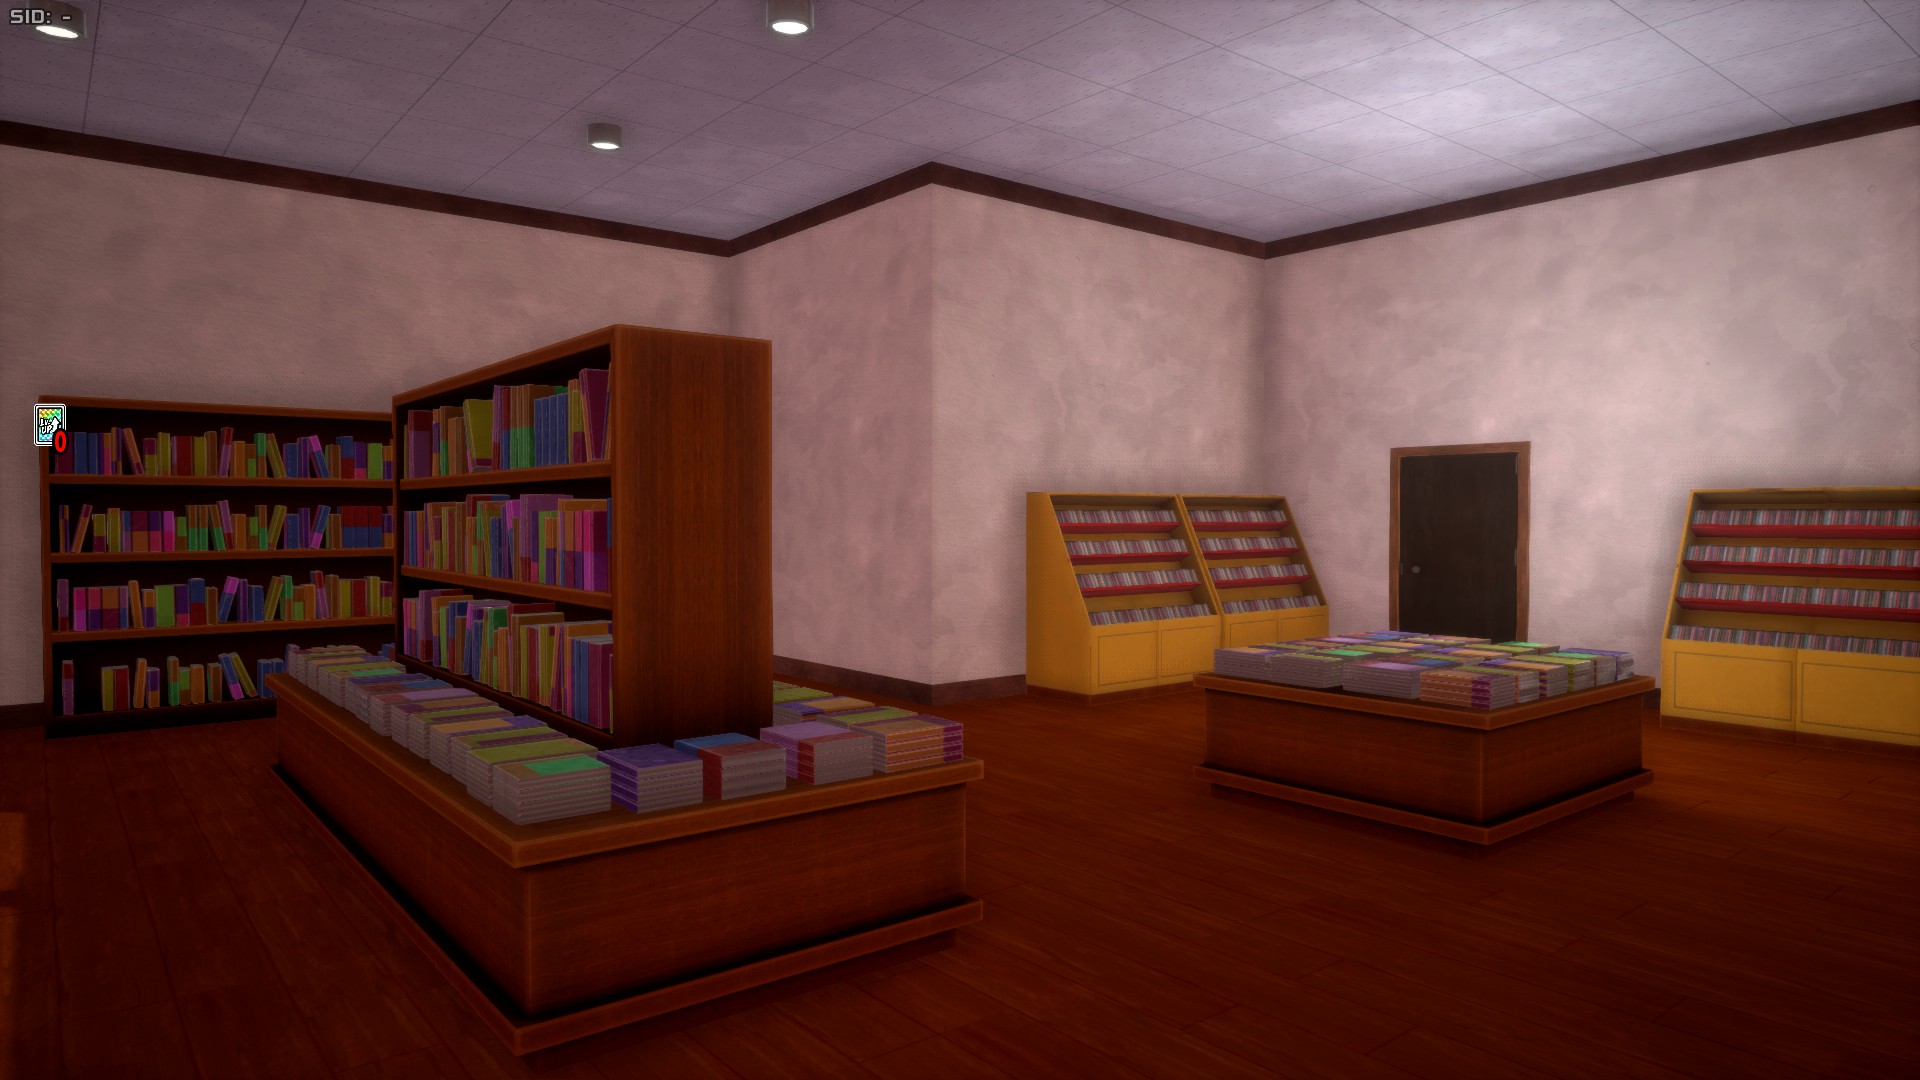
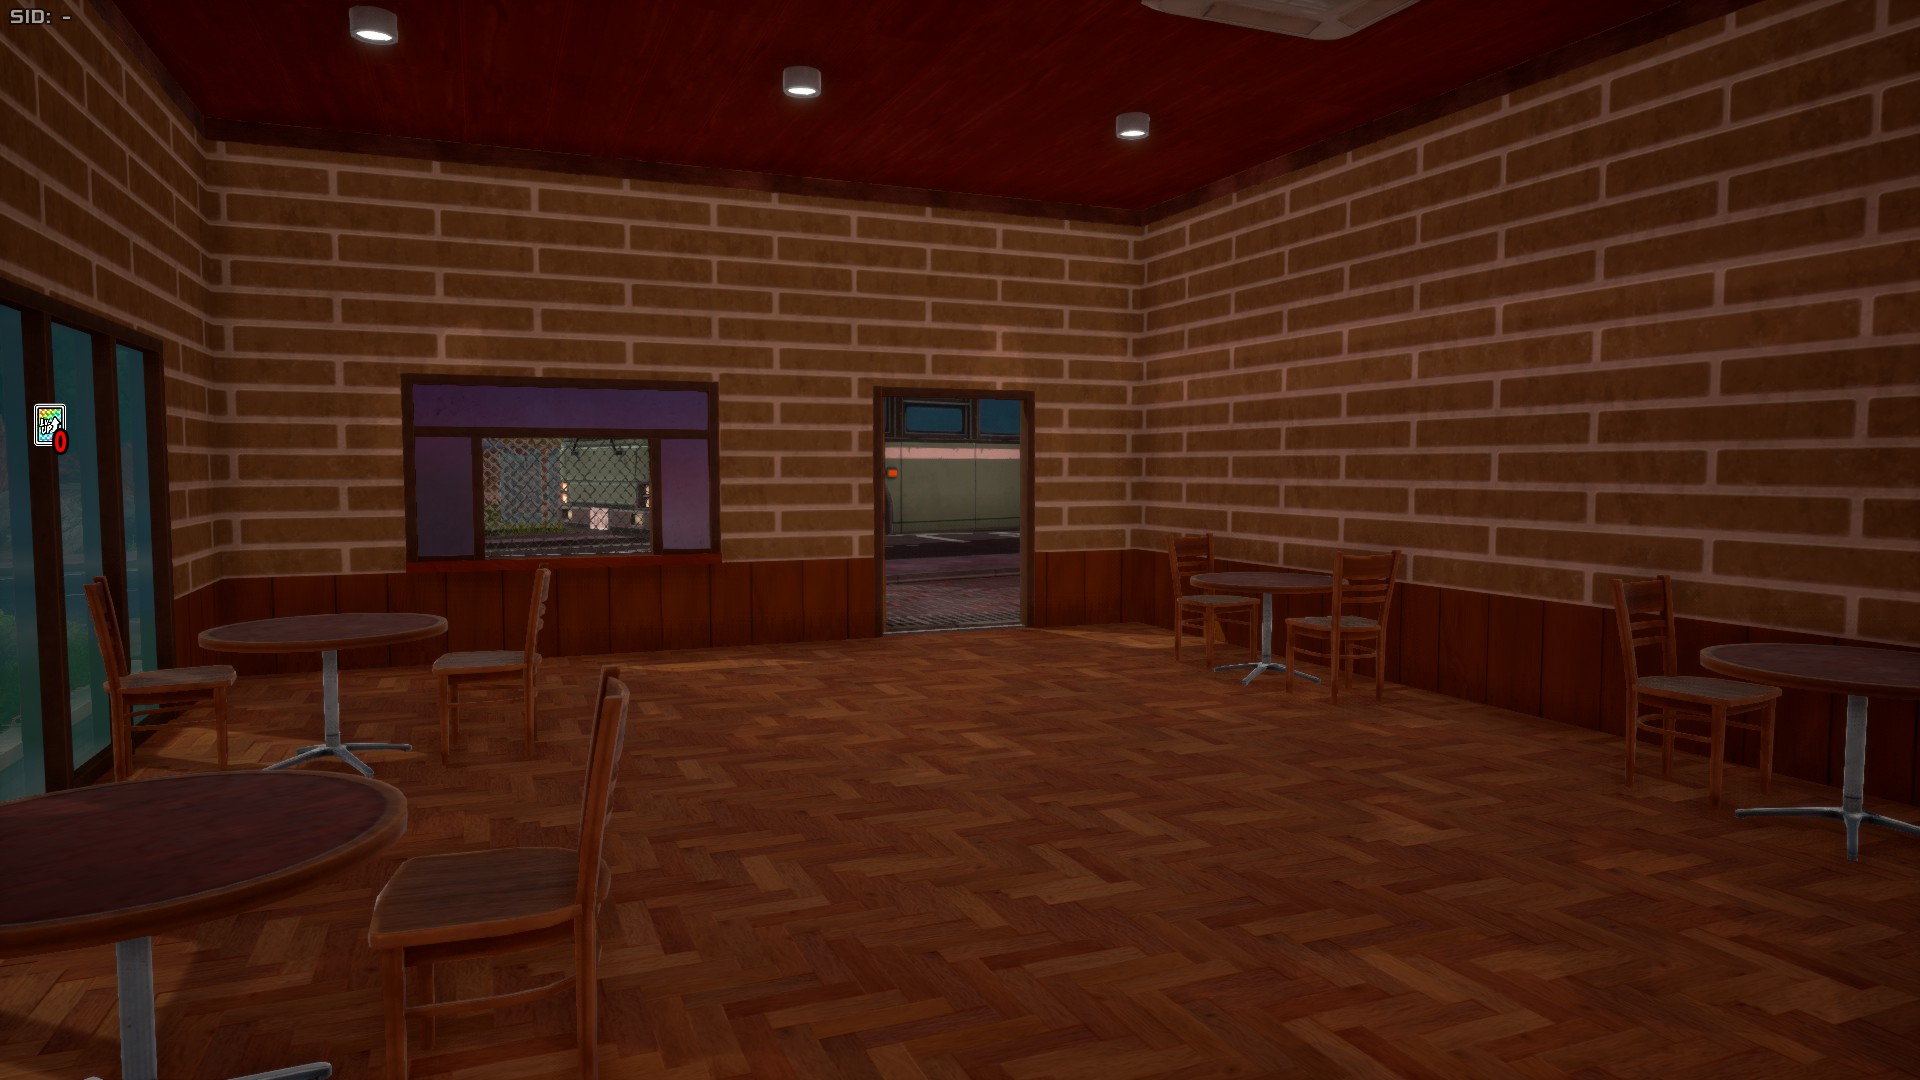
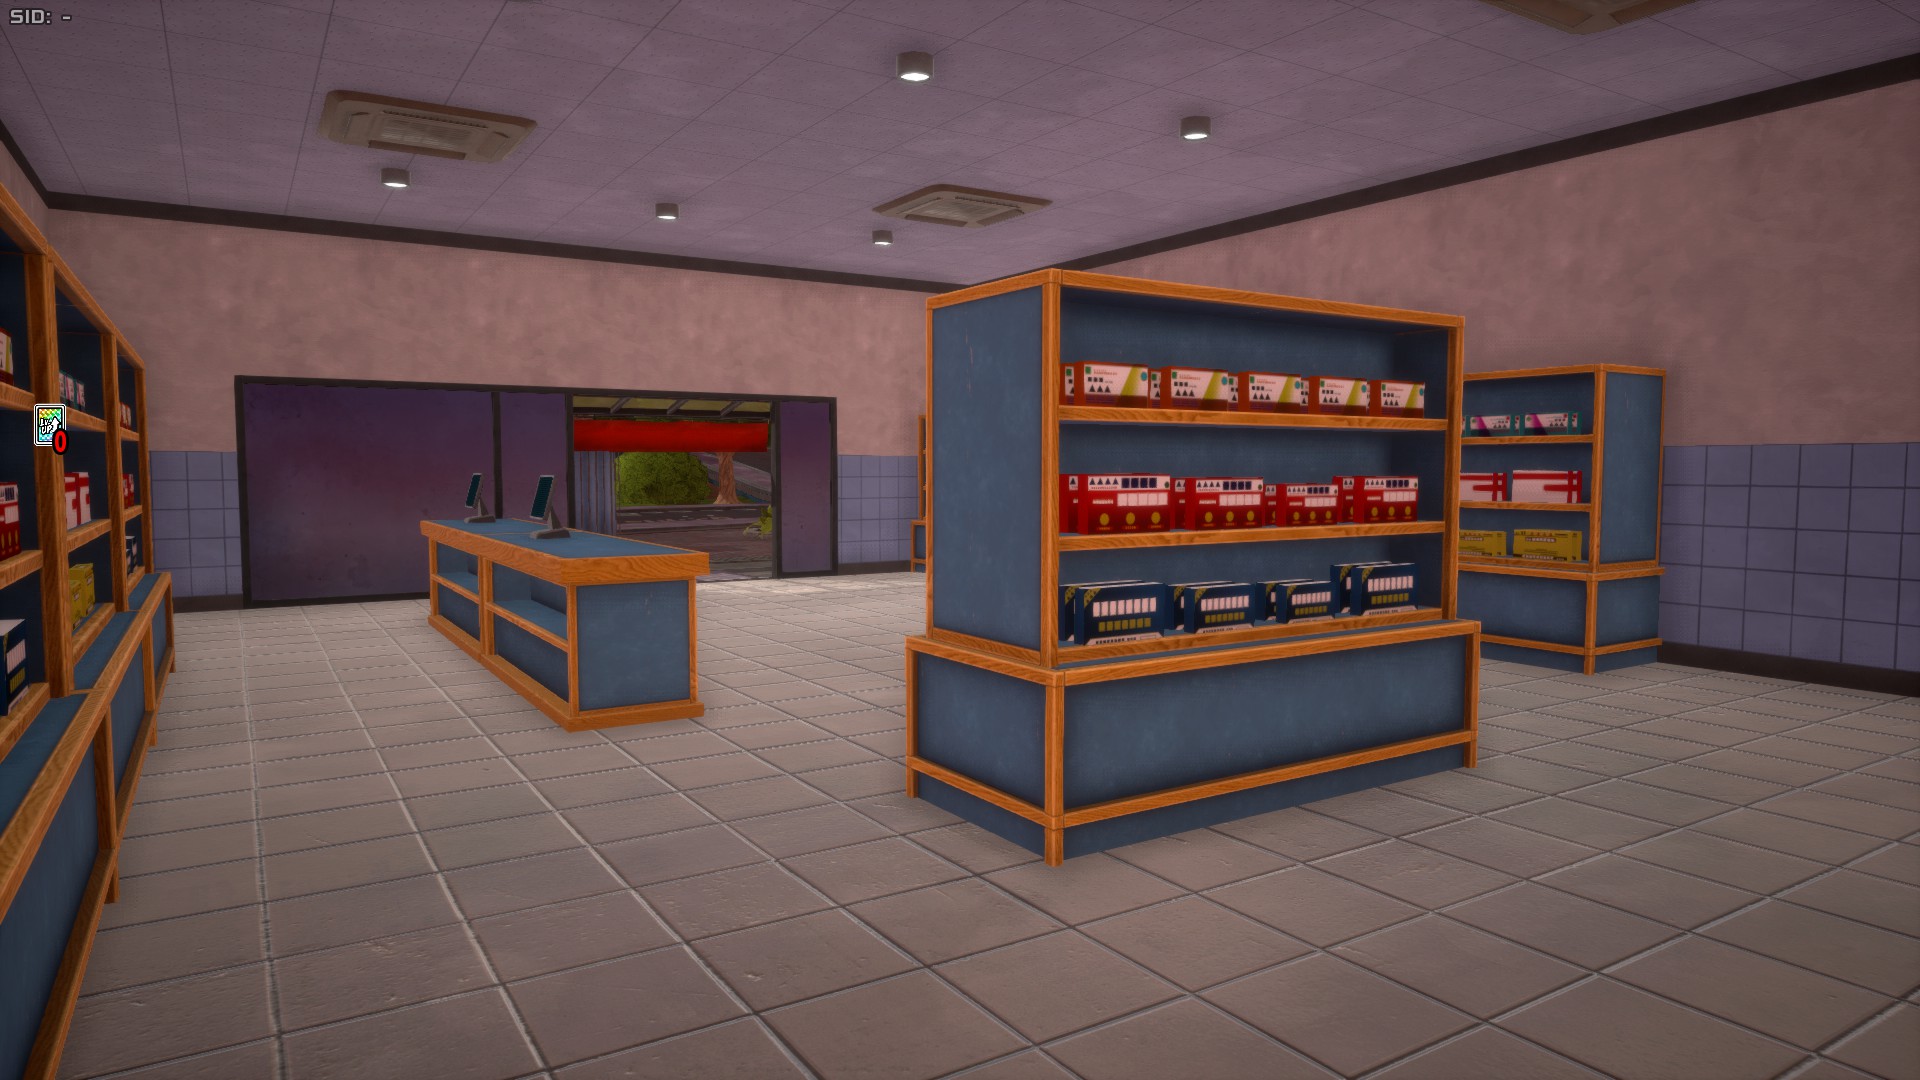
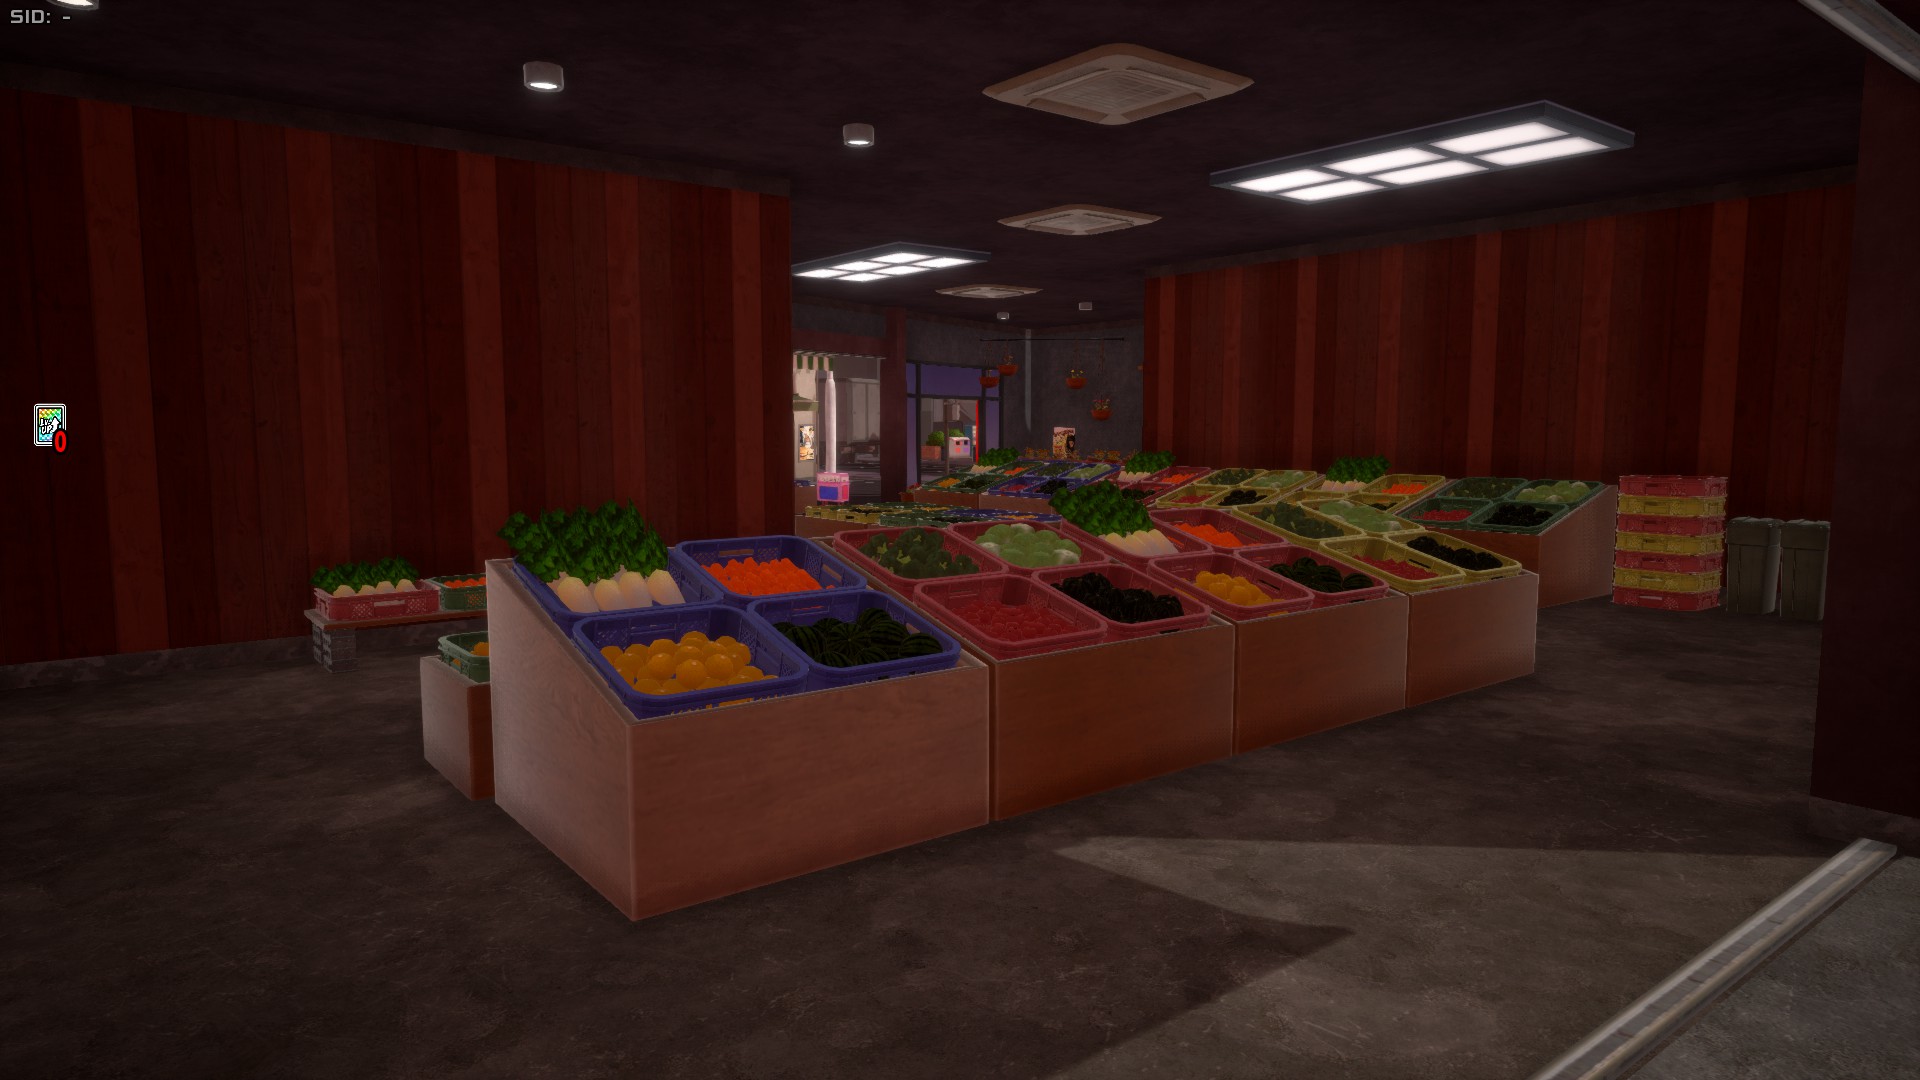
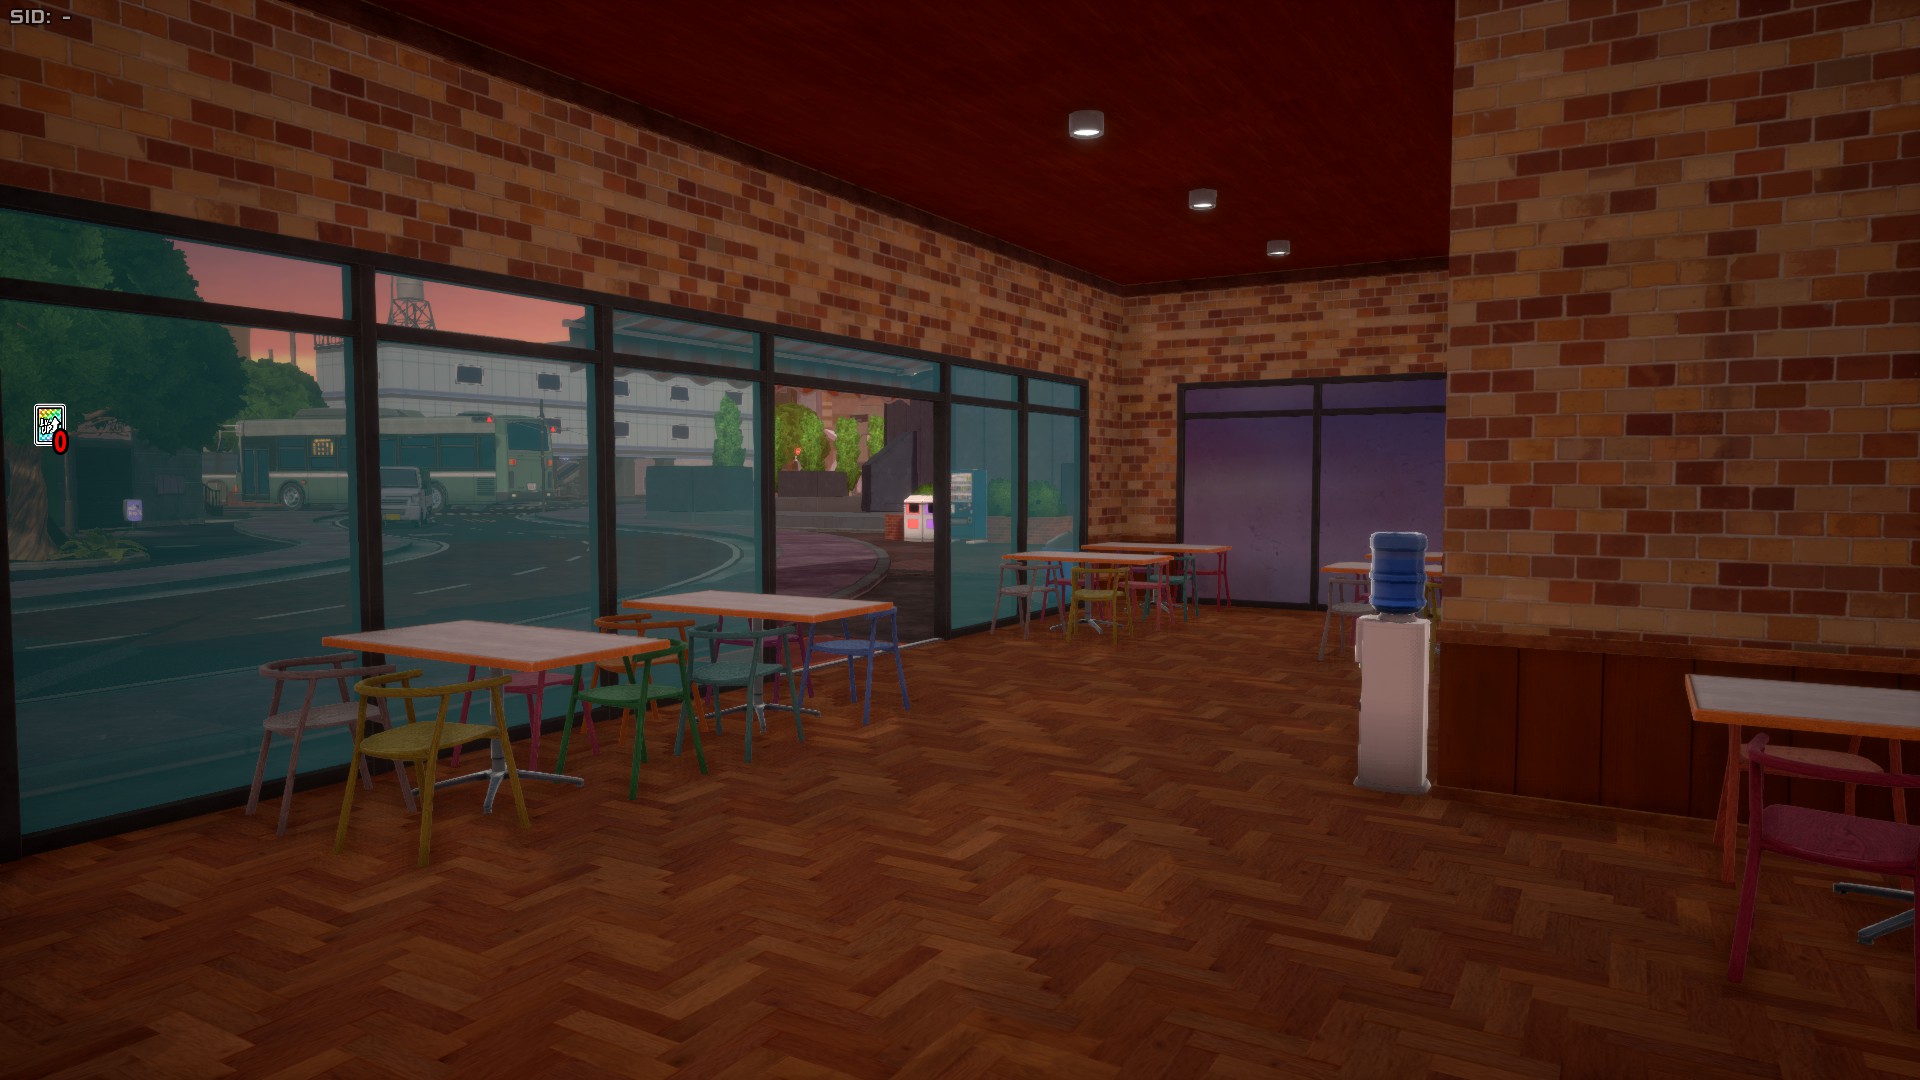
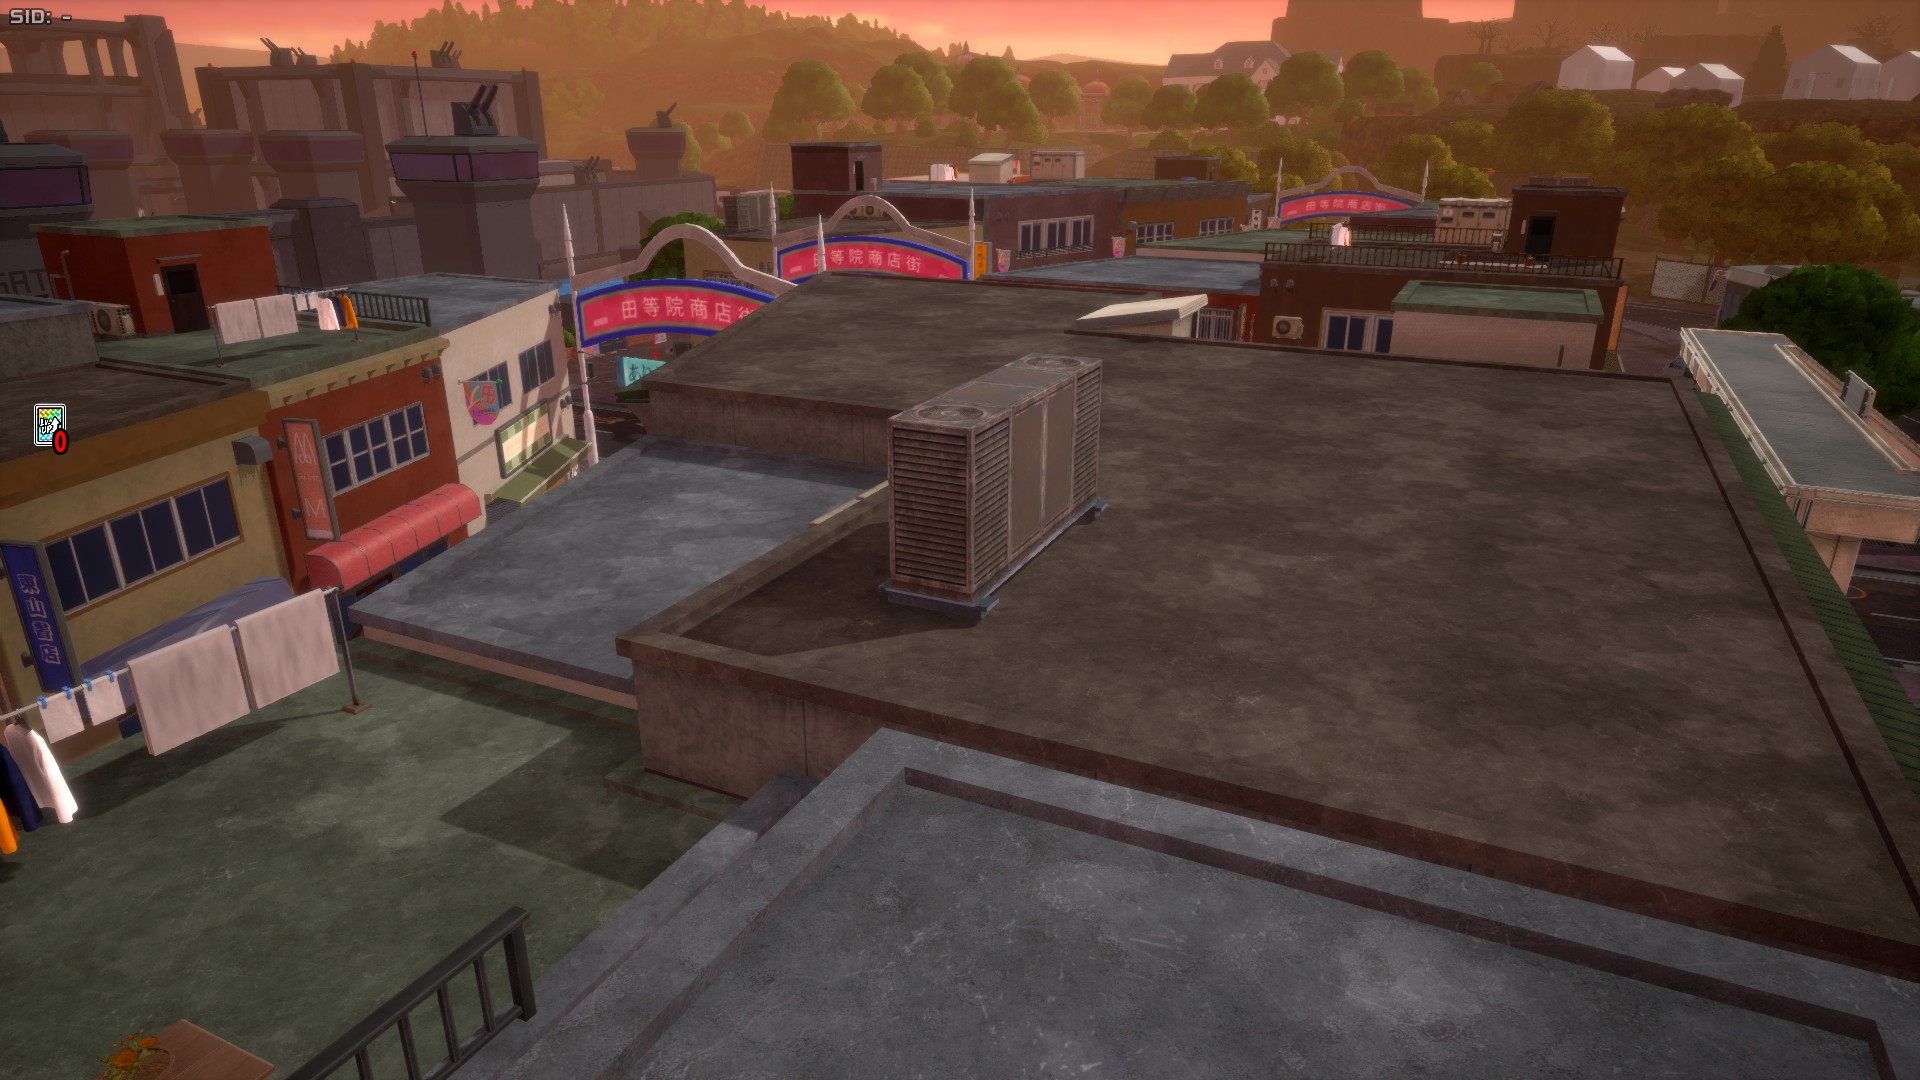
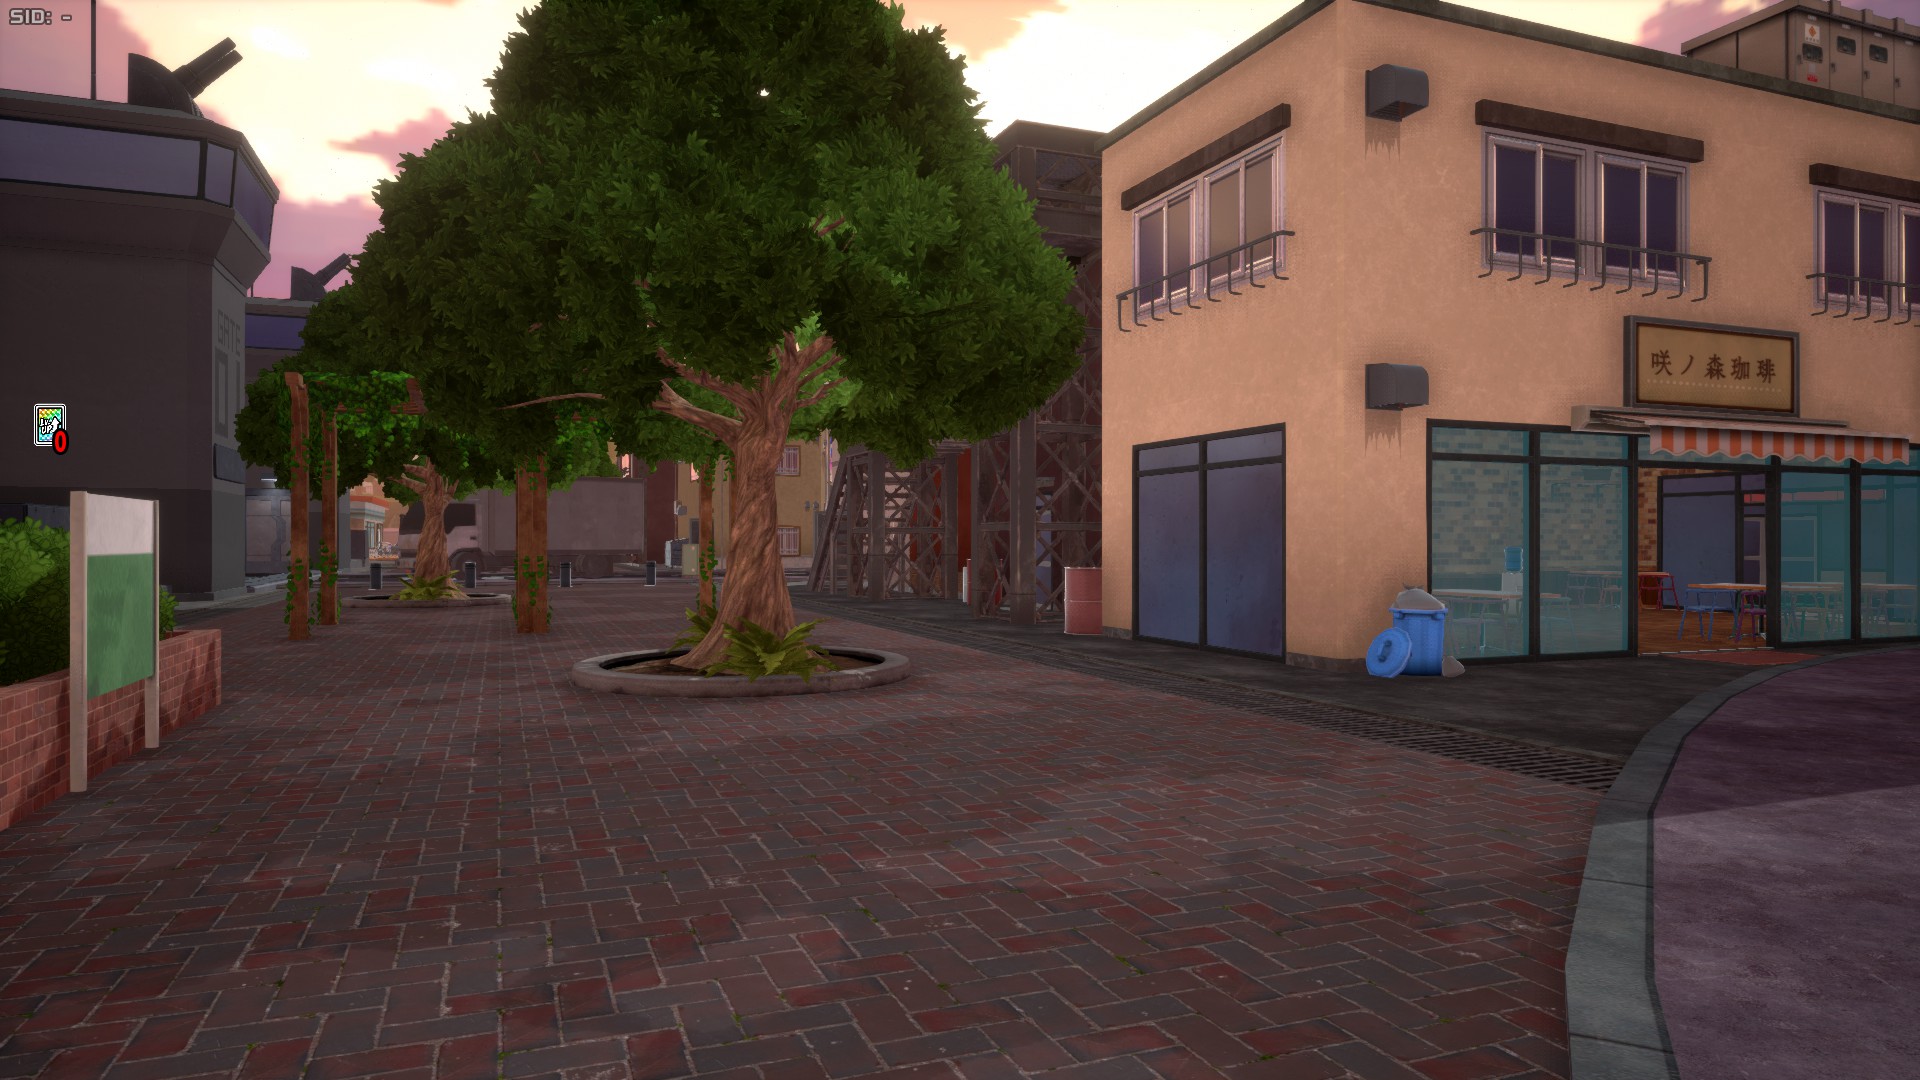
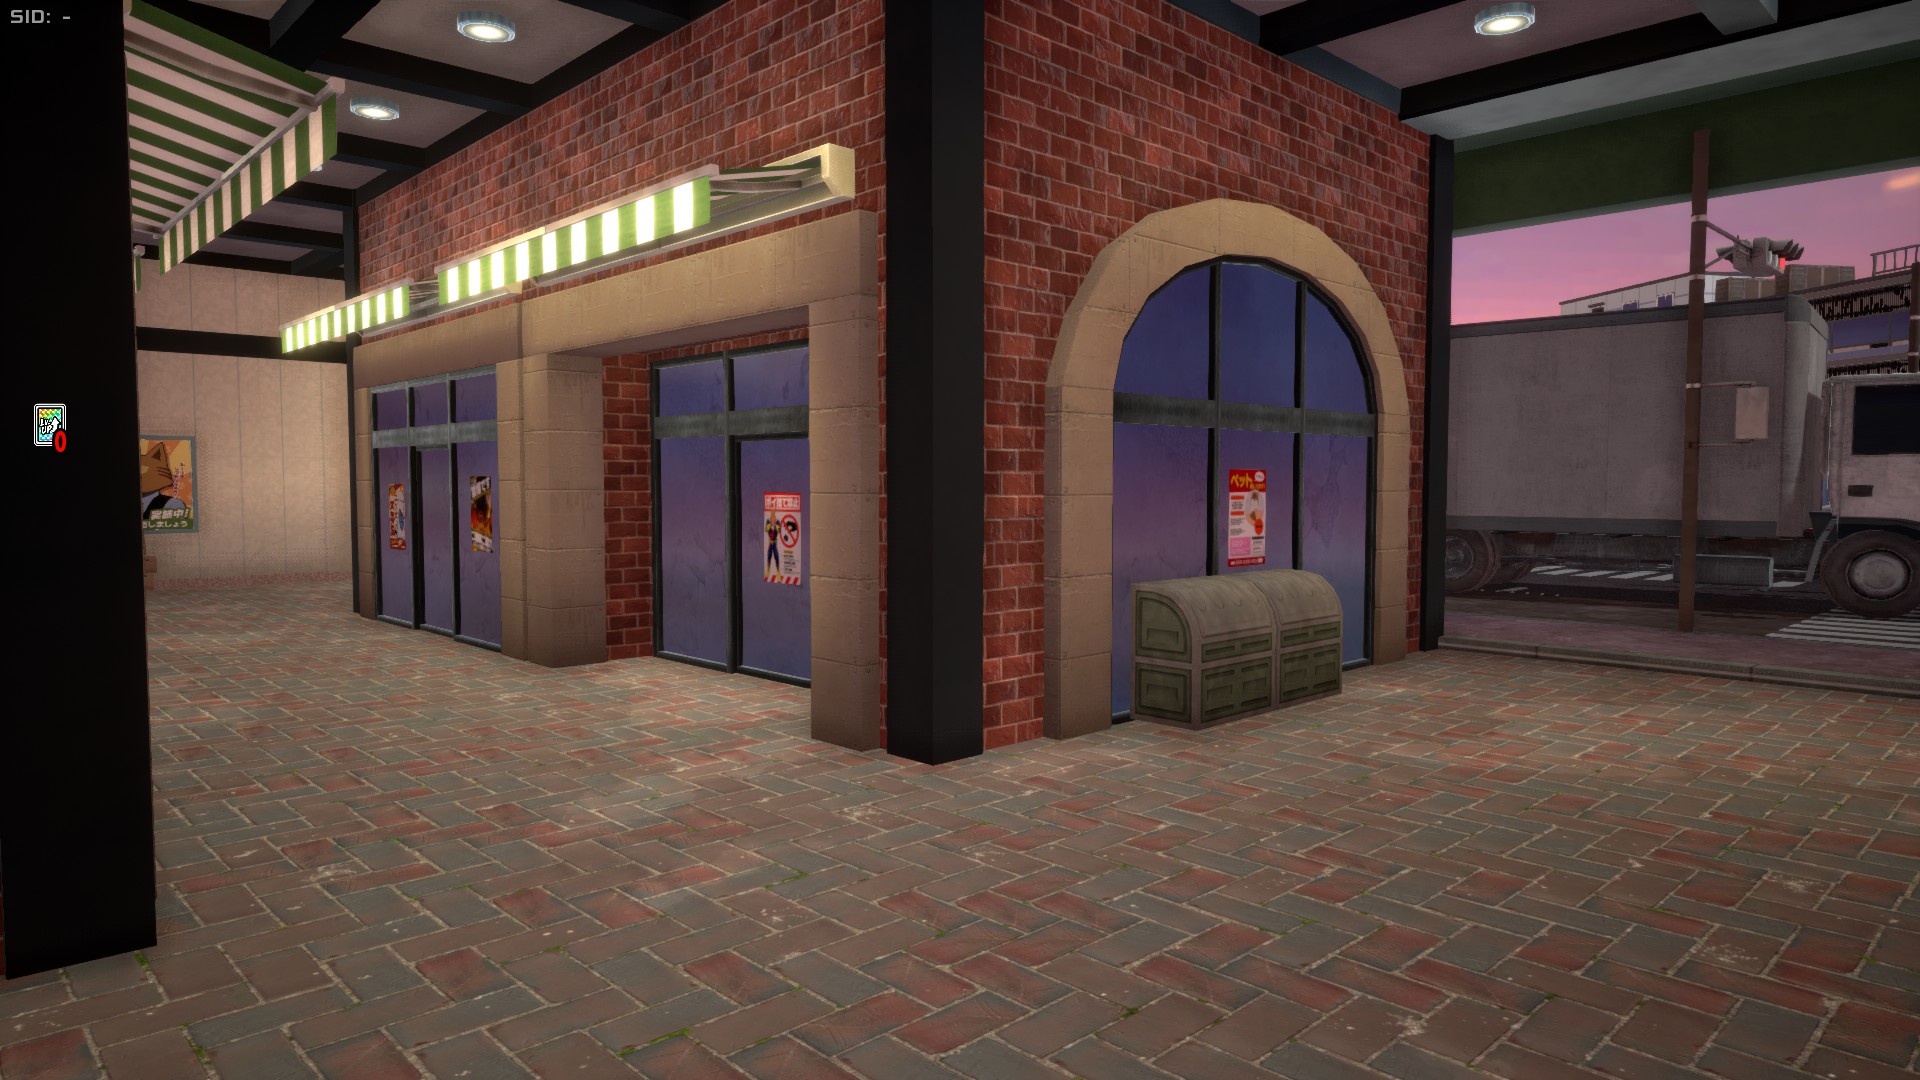
The Shopping District Area is the central part of Chaos City, featuring one-story stores that in most cases have an interior. This area isn't too big, but as the central part of the map, it's key to its dynamics.
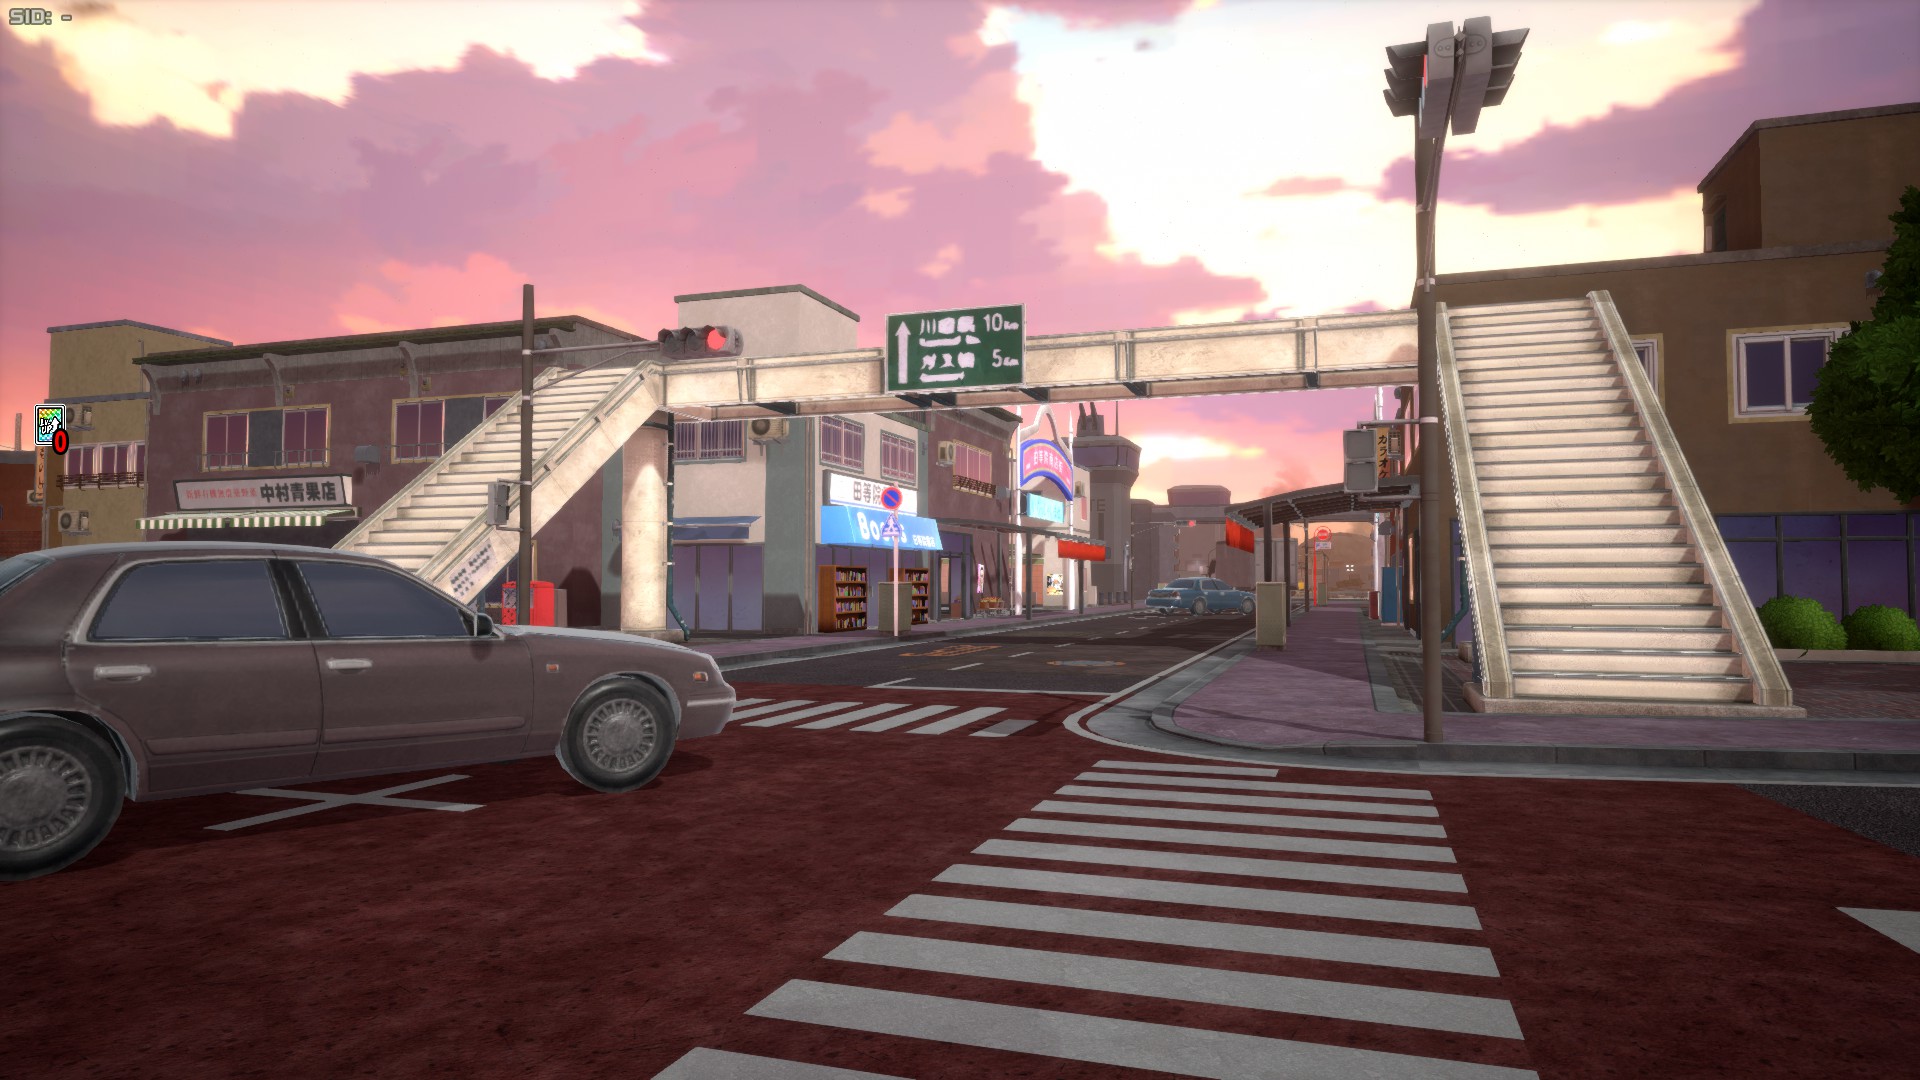
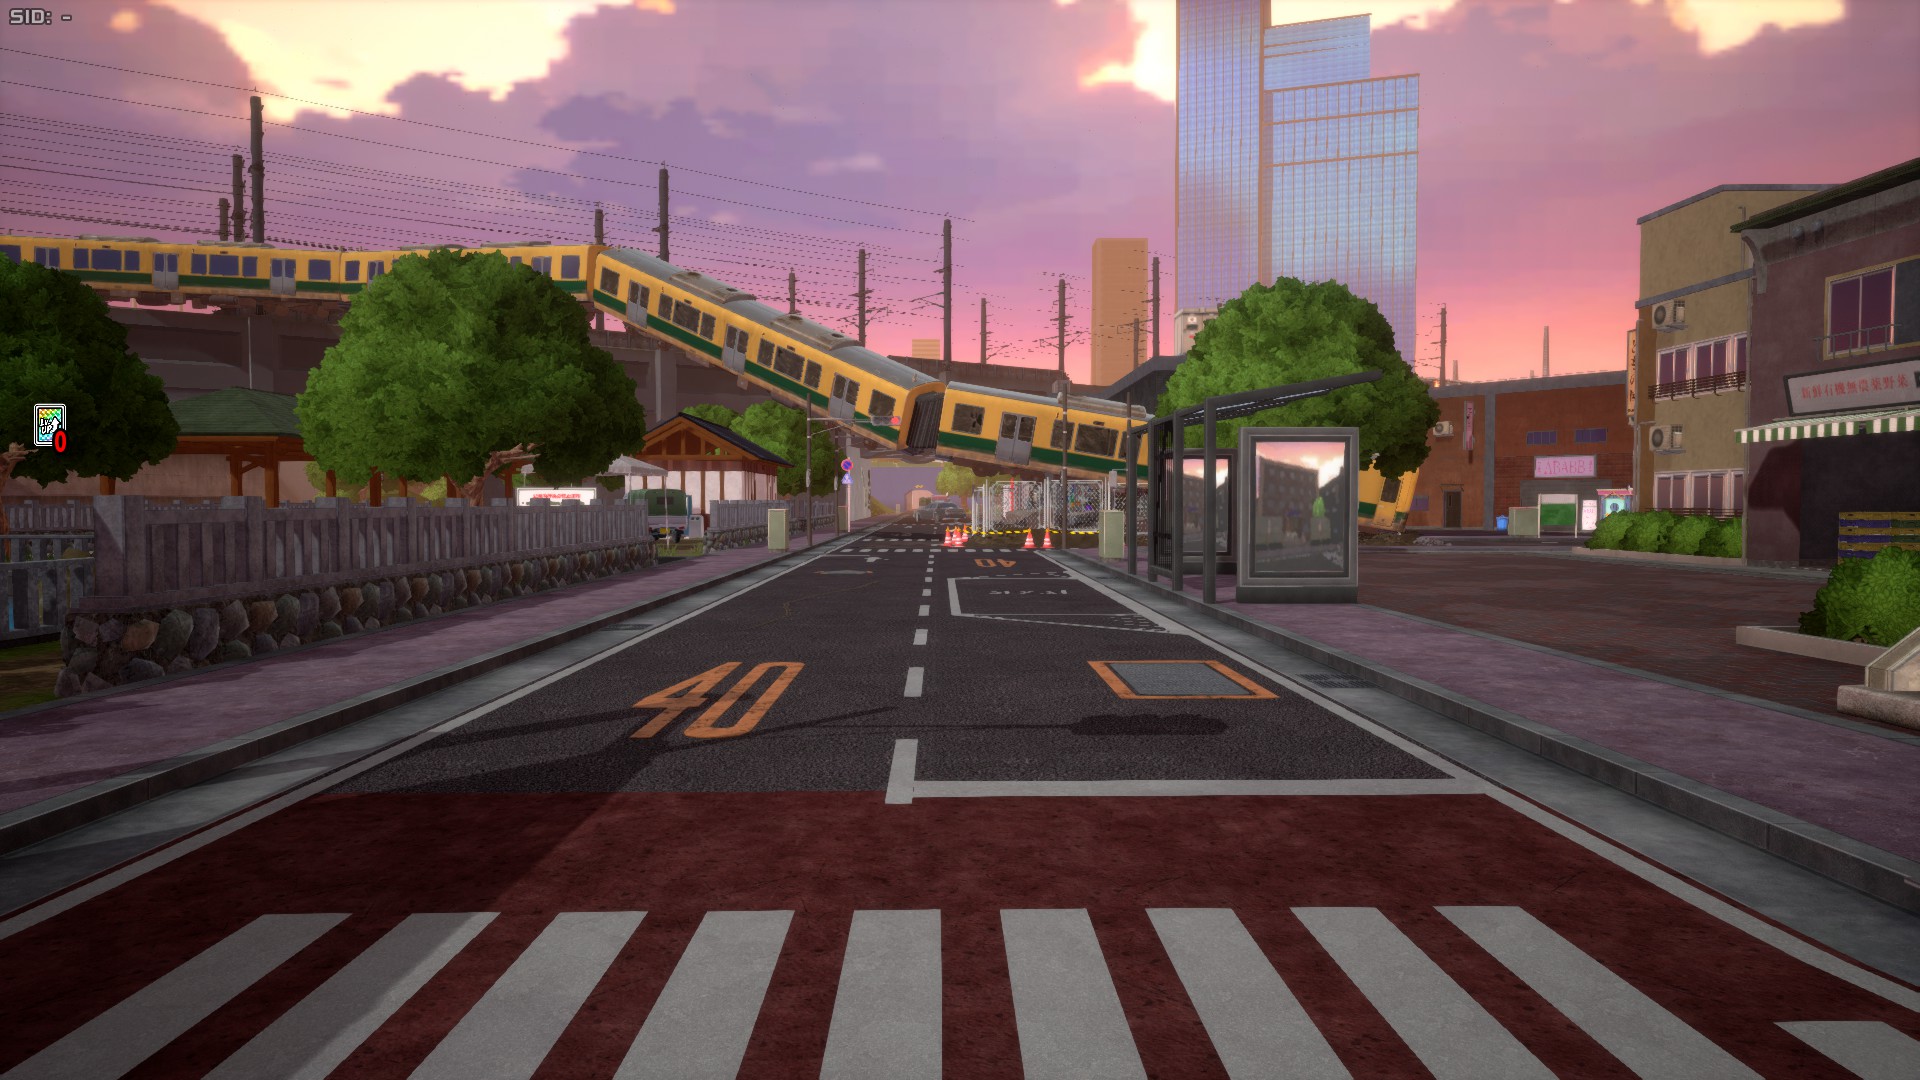
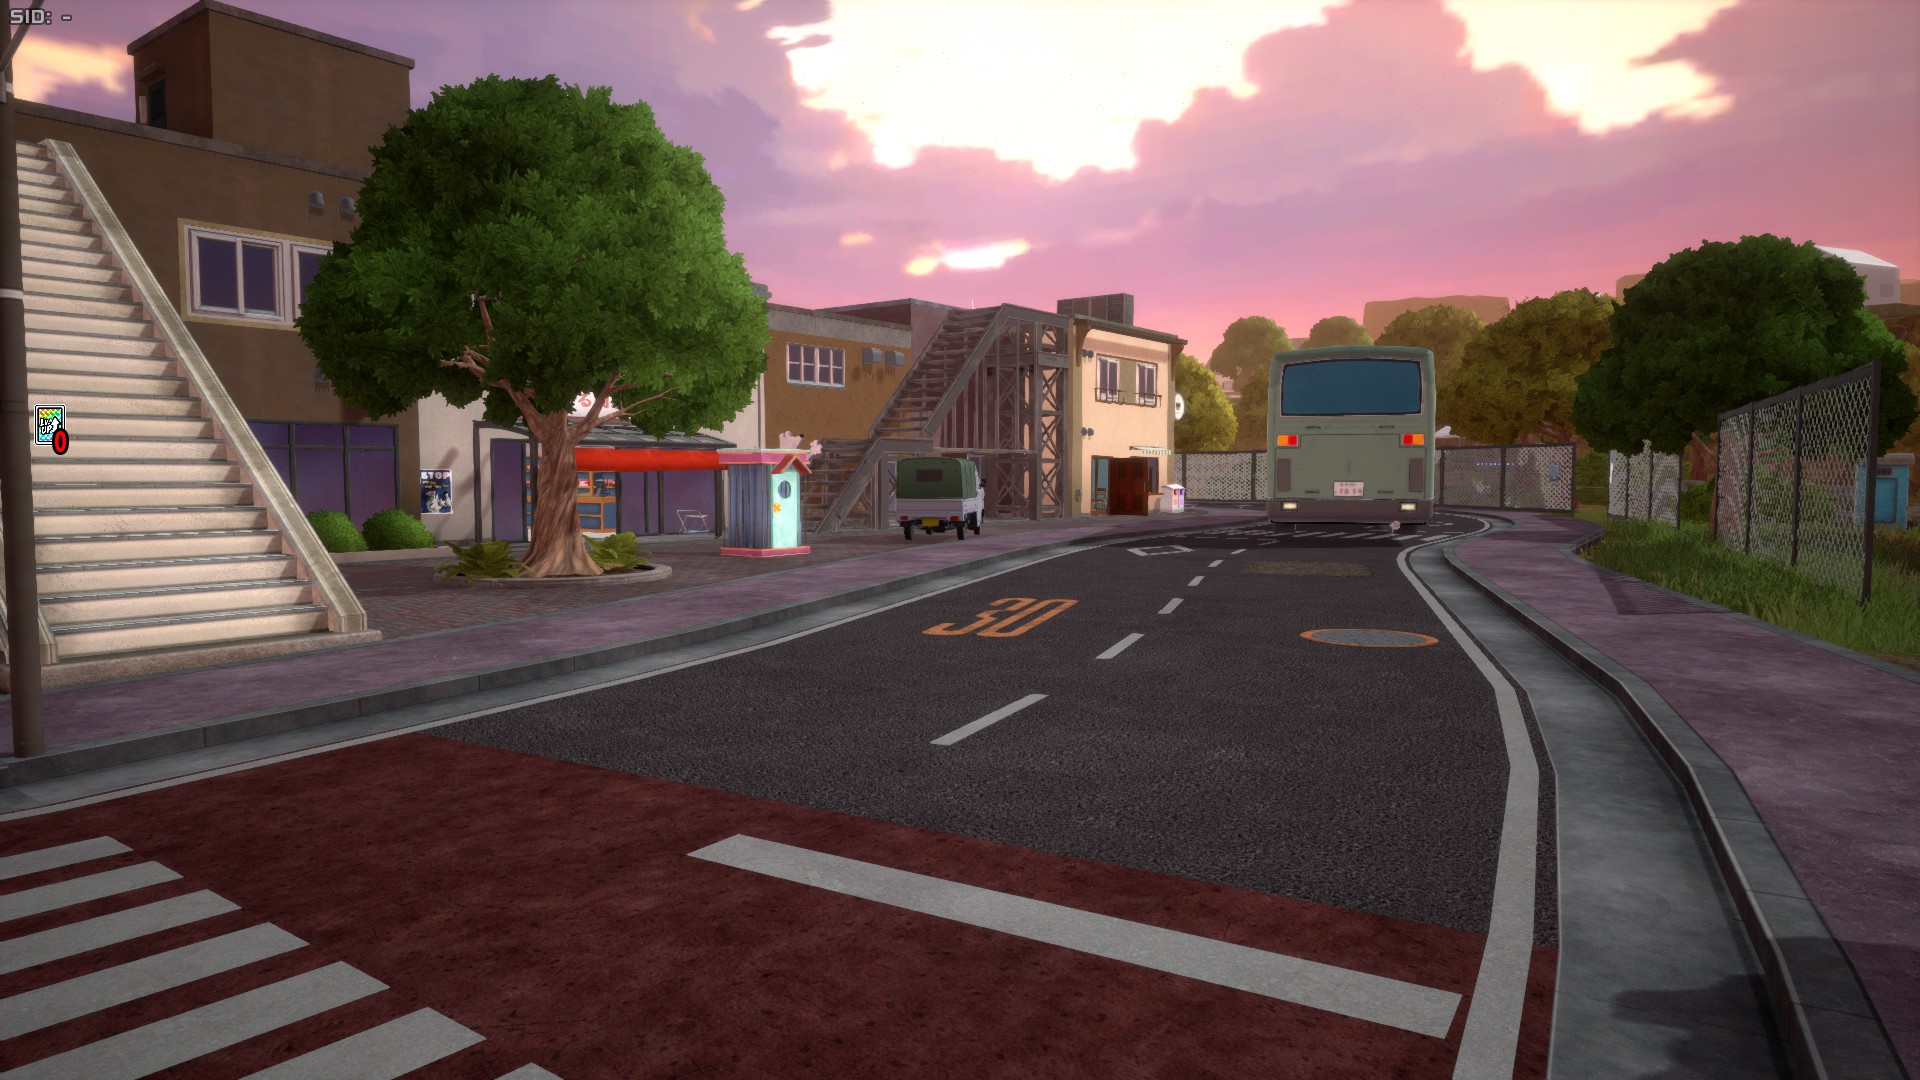
Villain Containment Facility
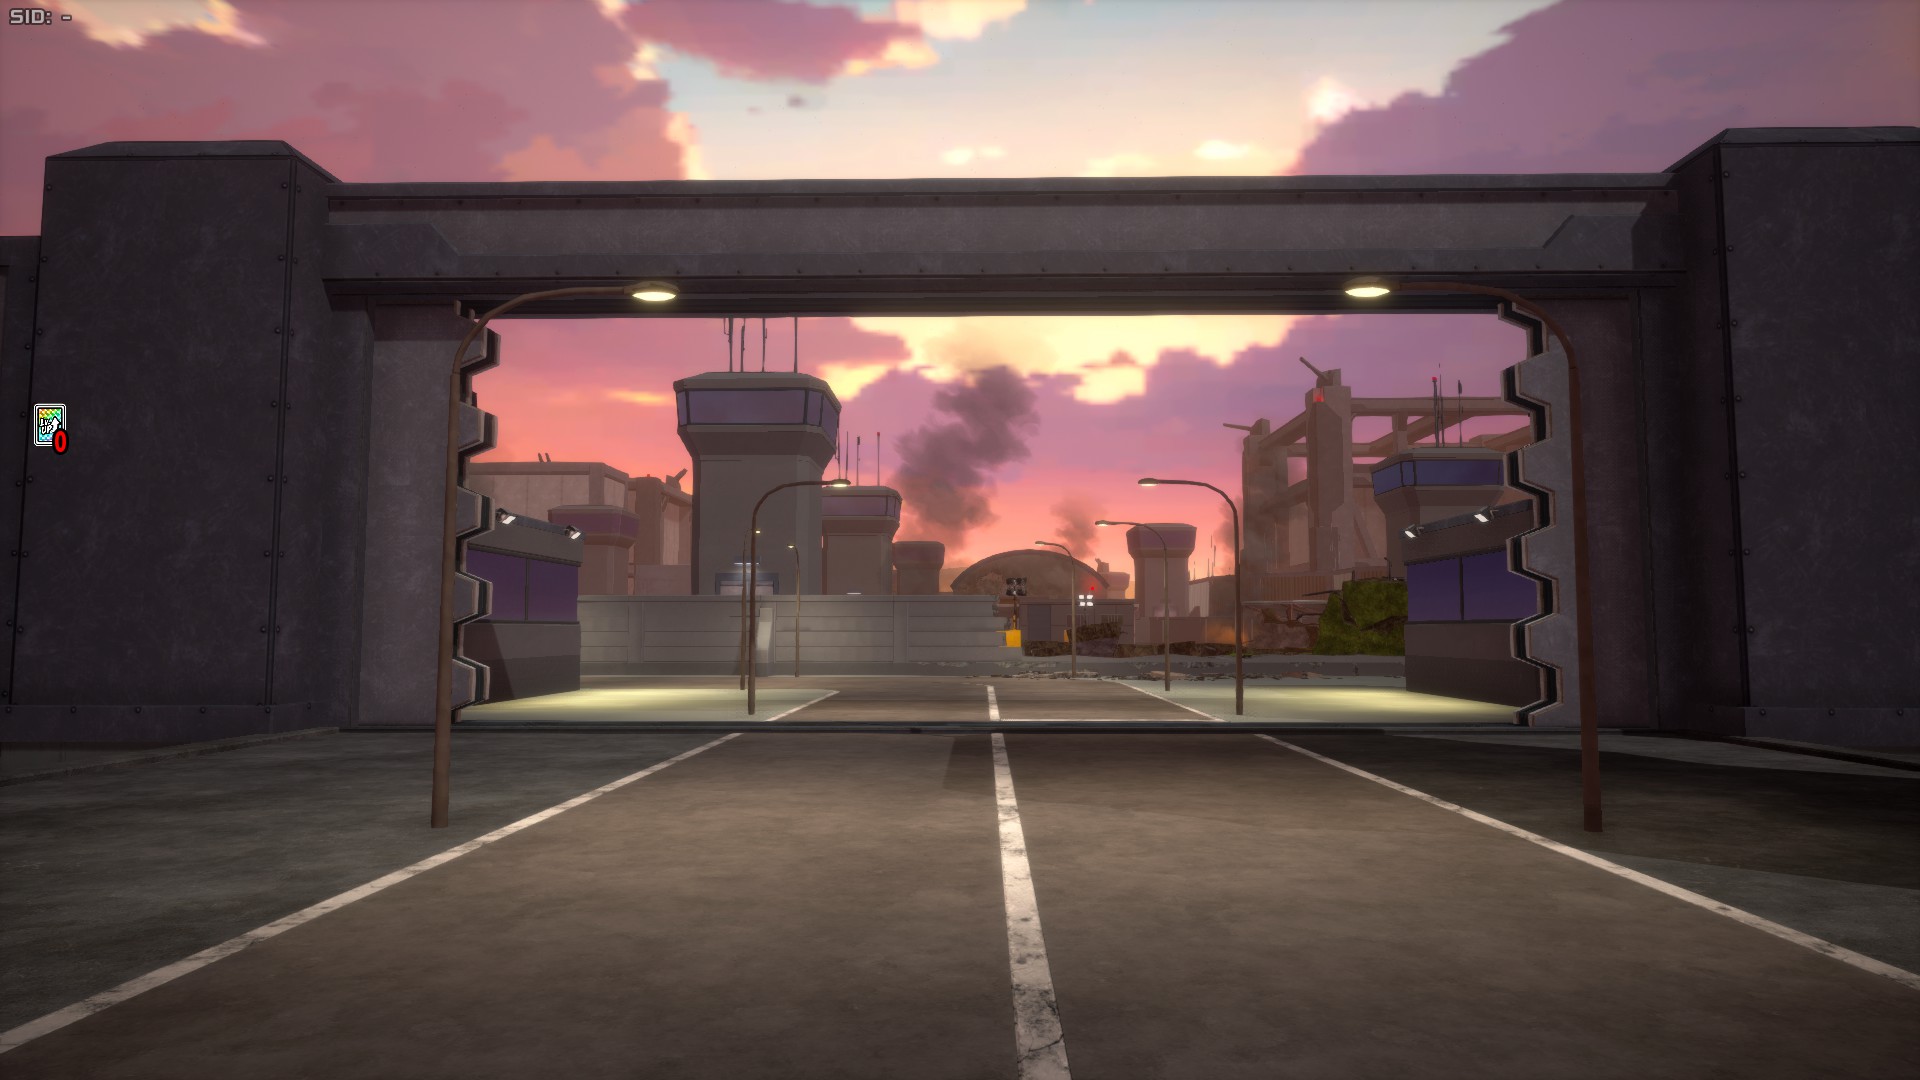
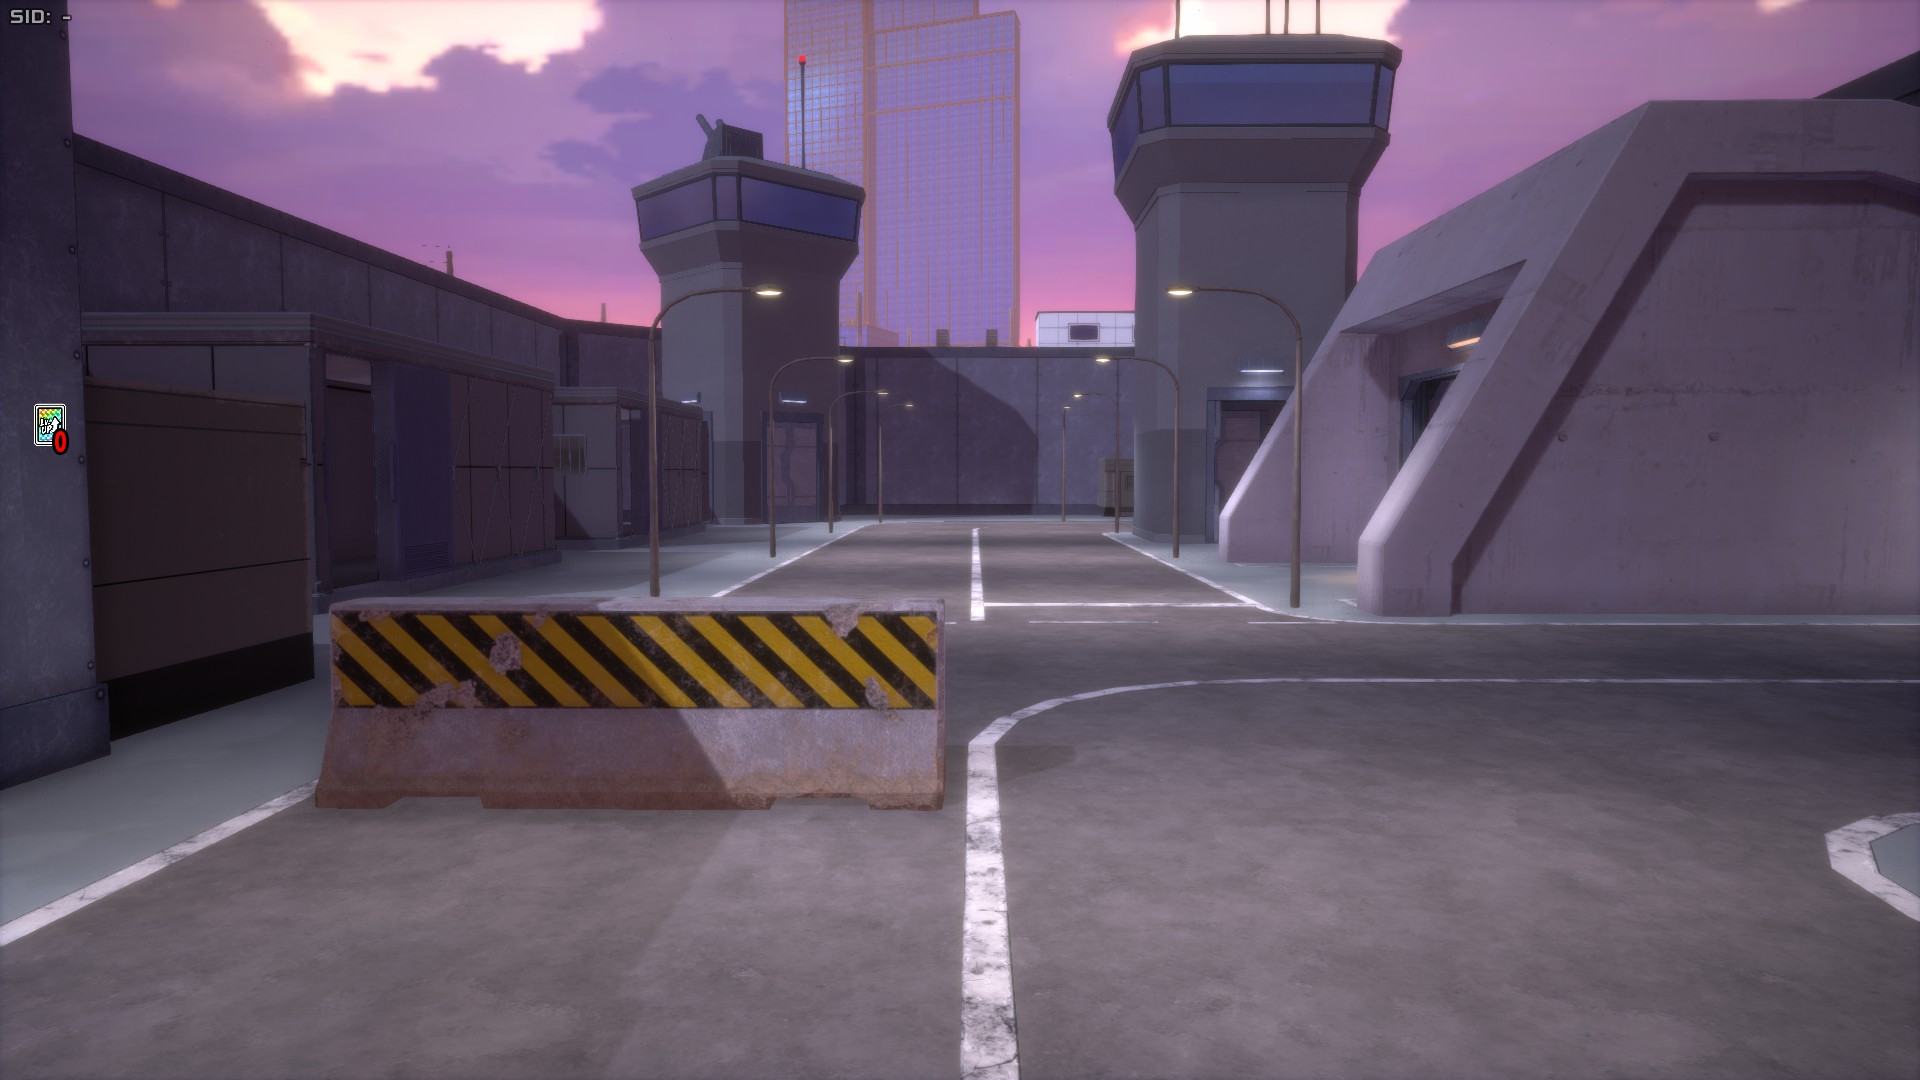
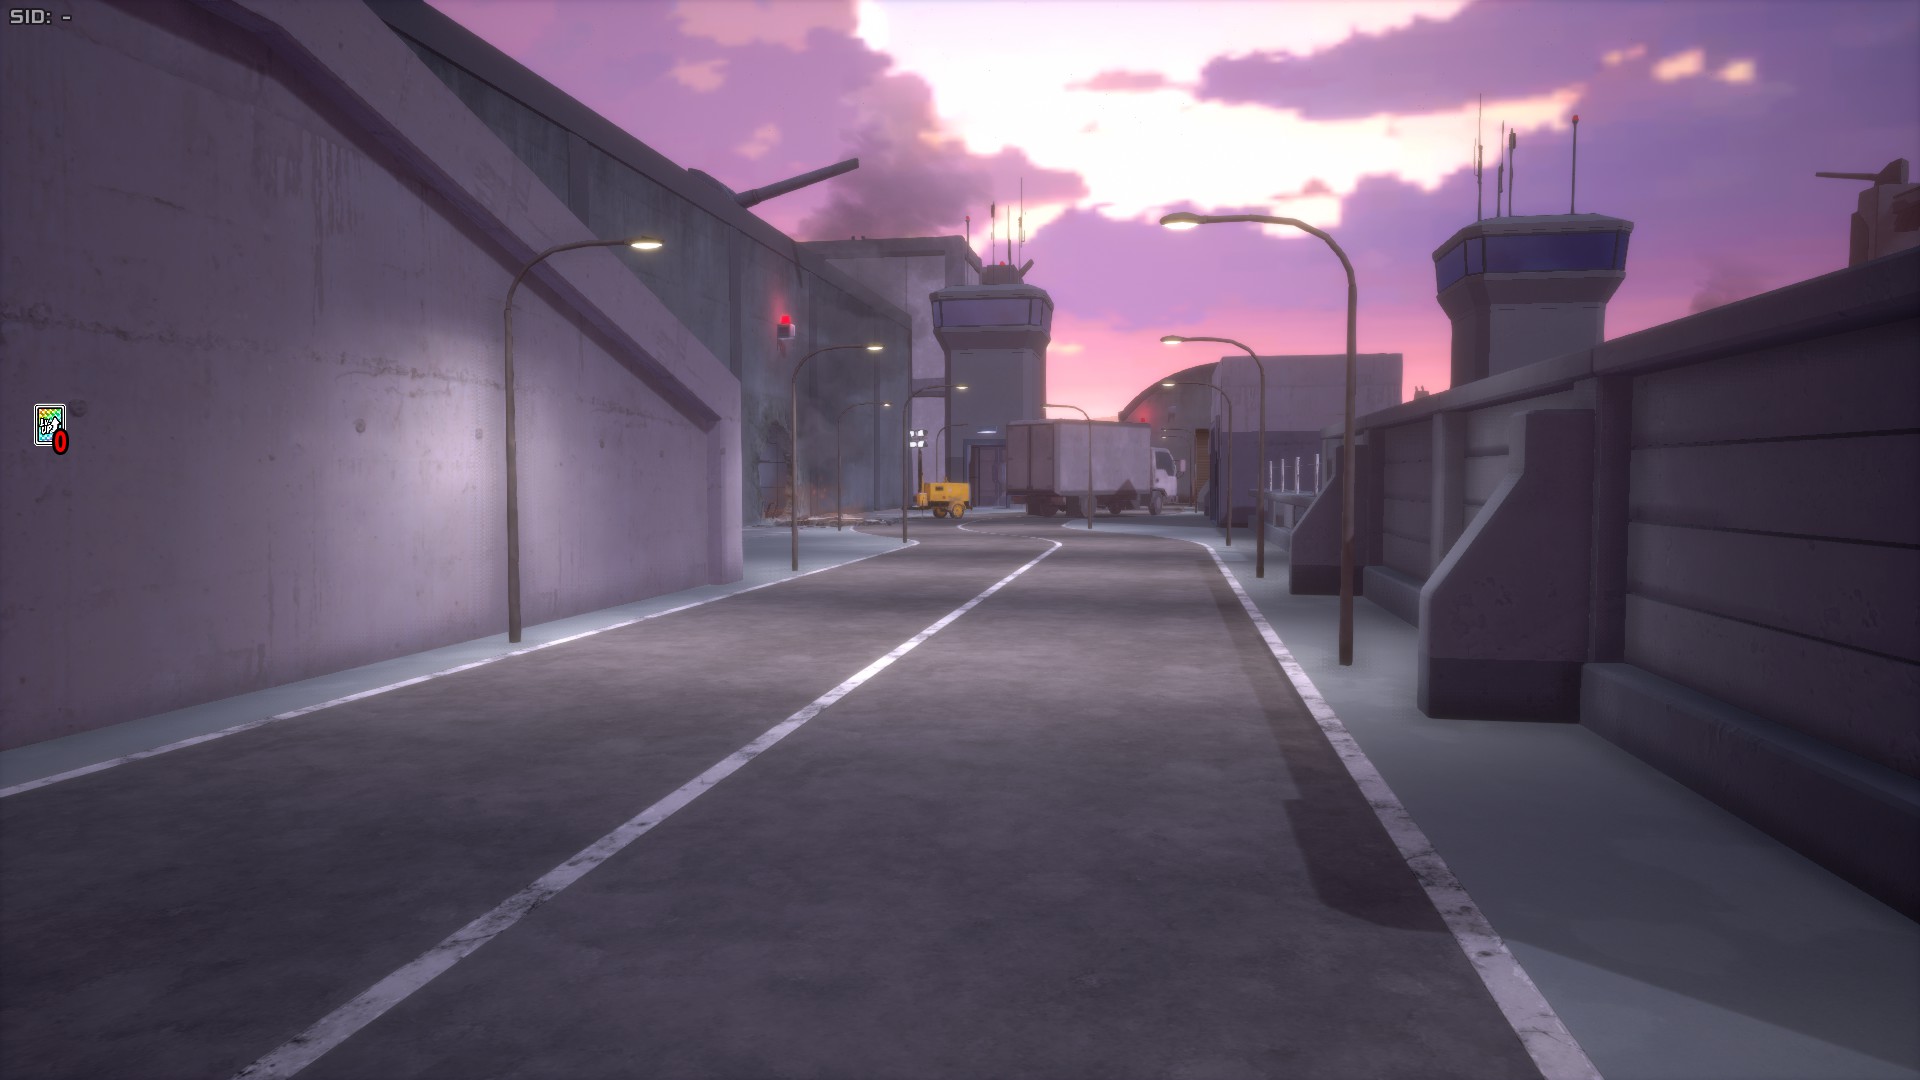
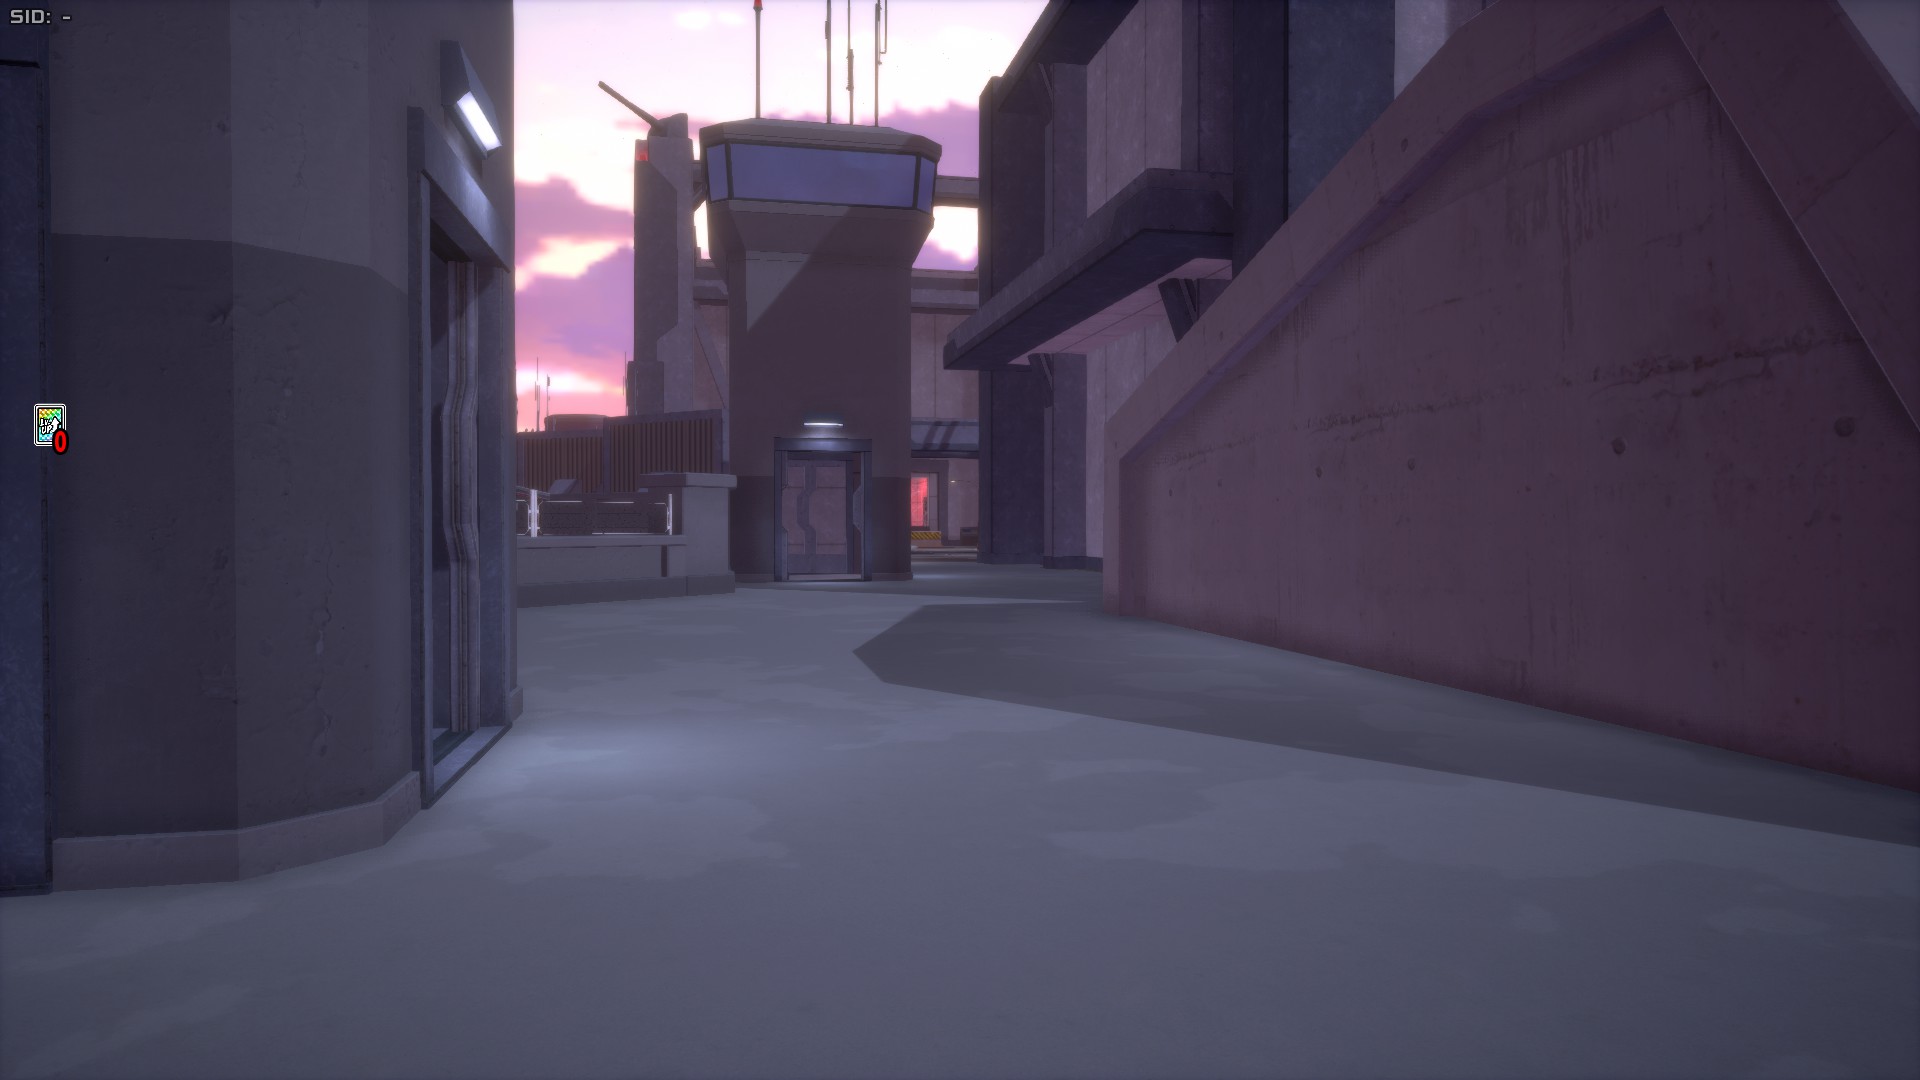
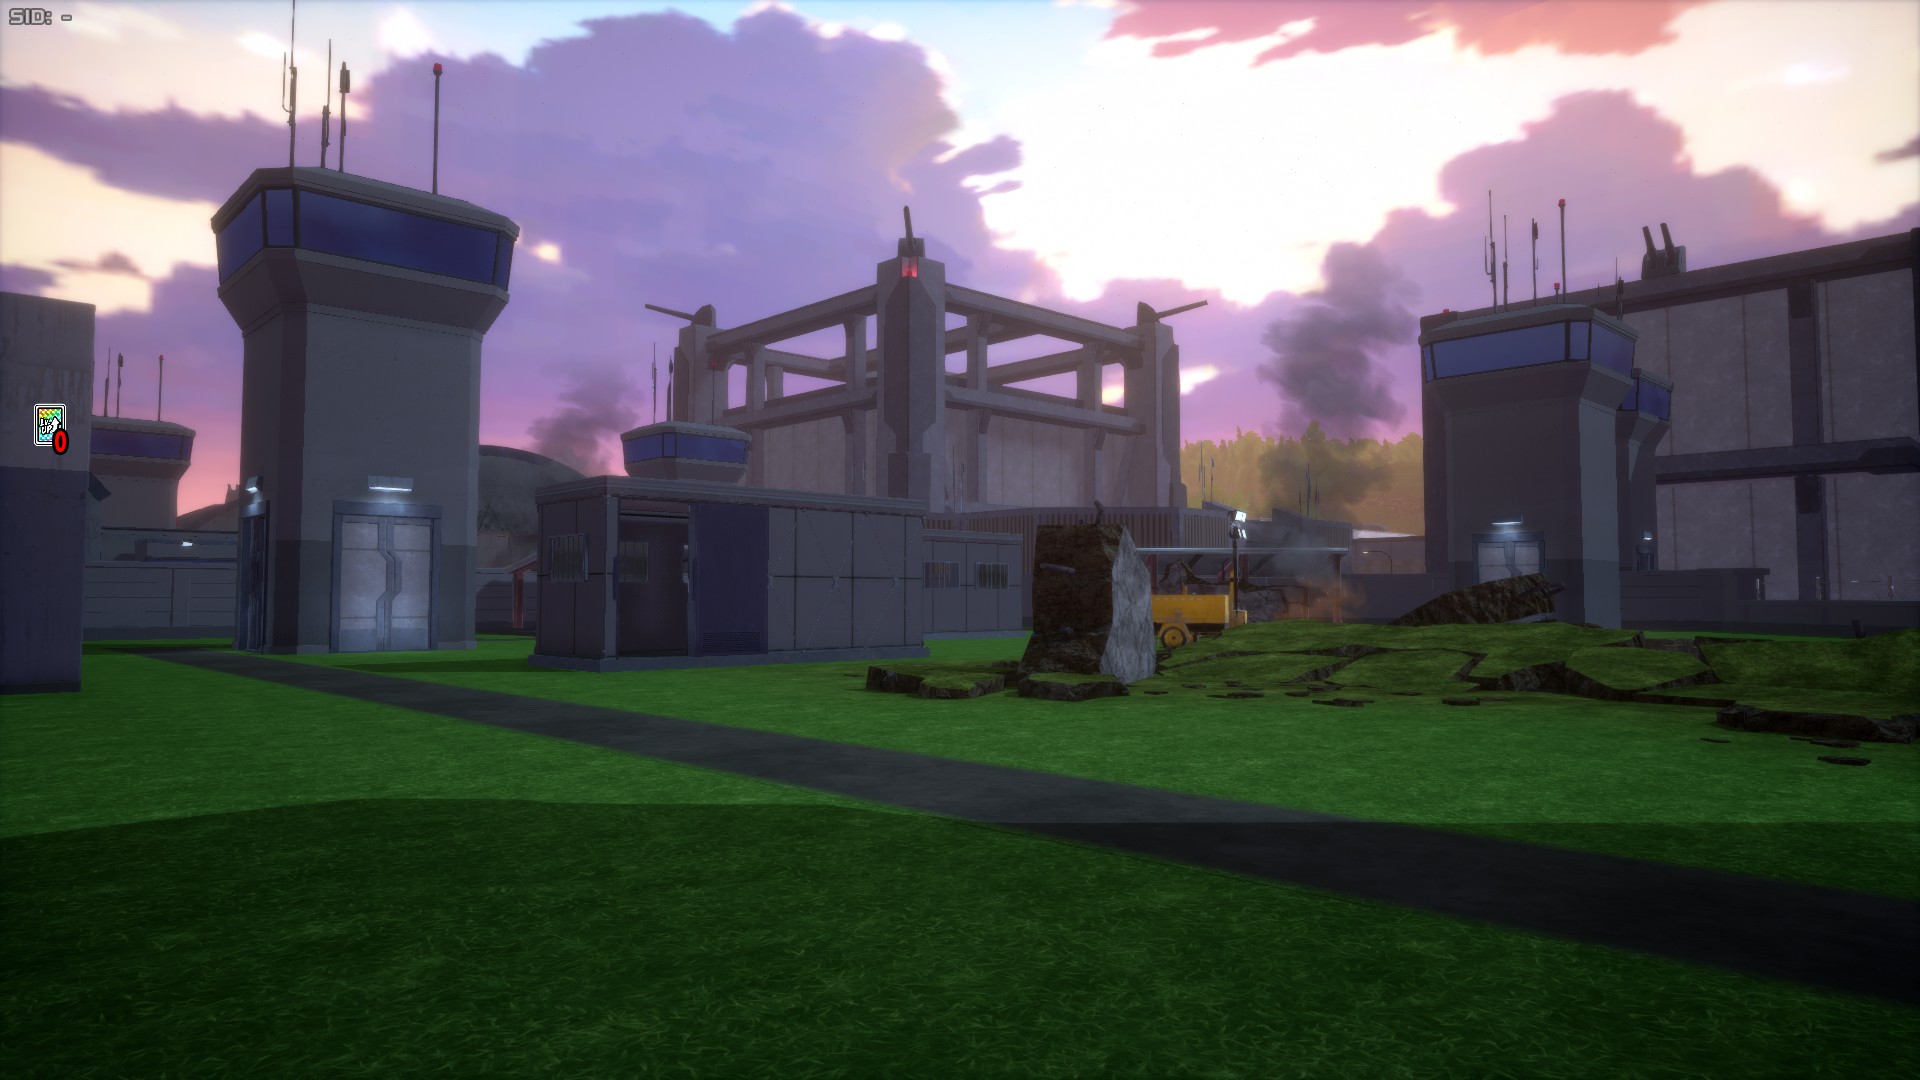
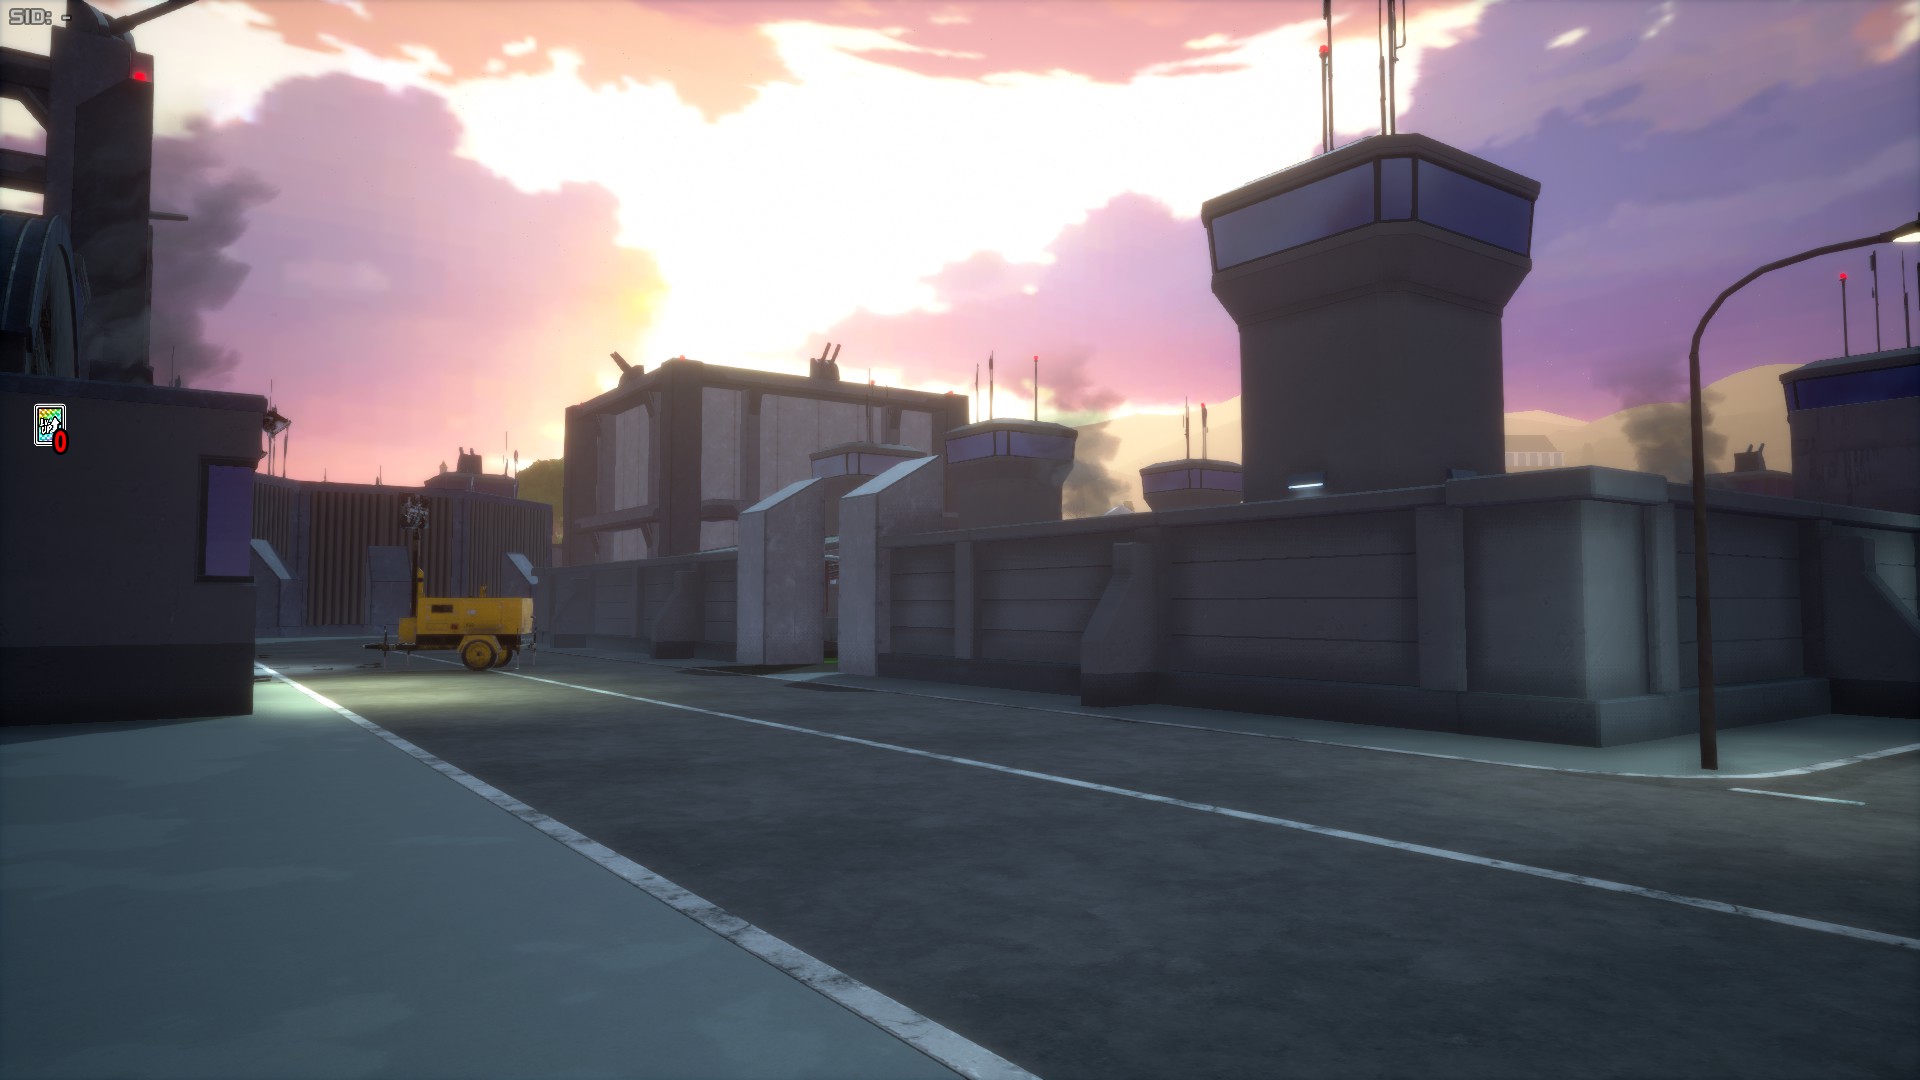
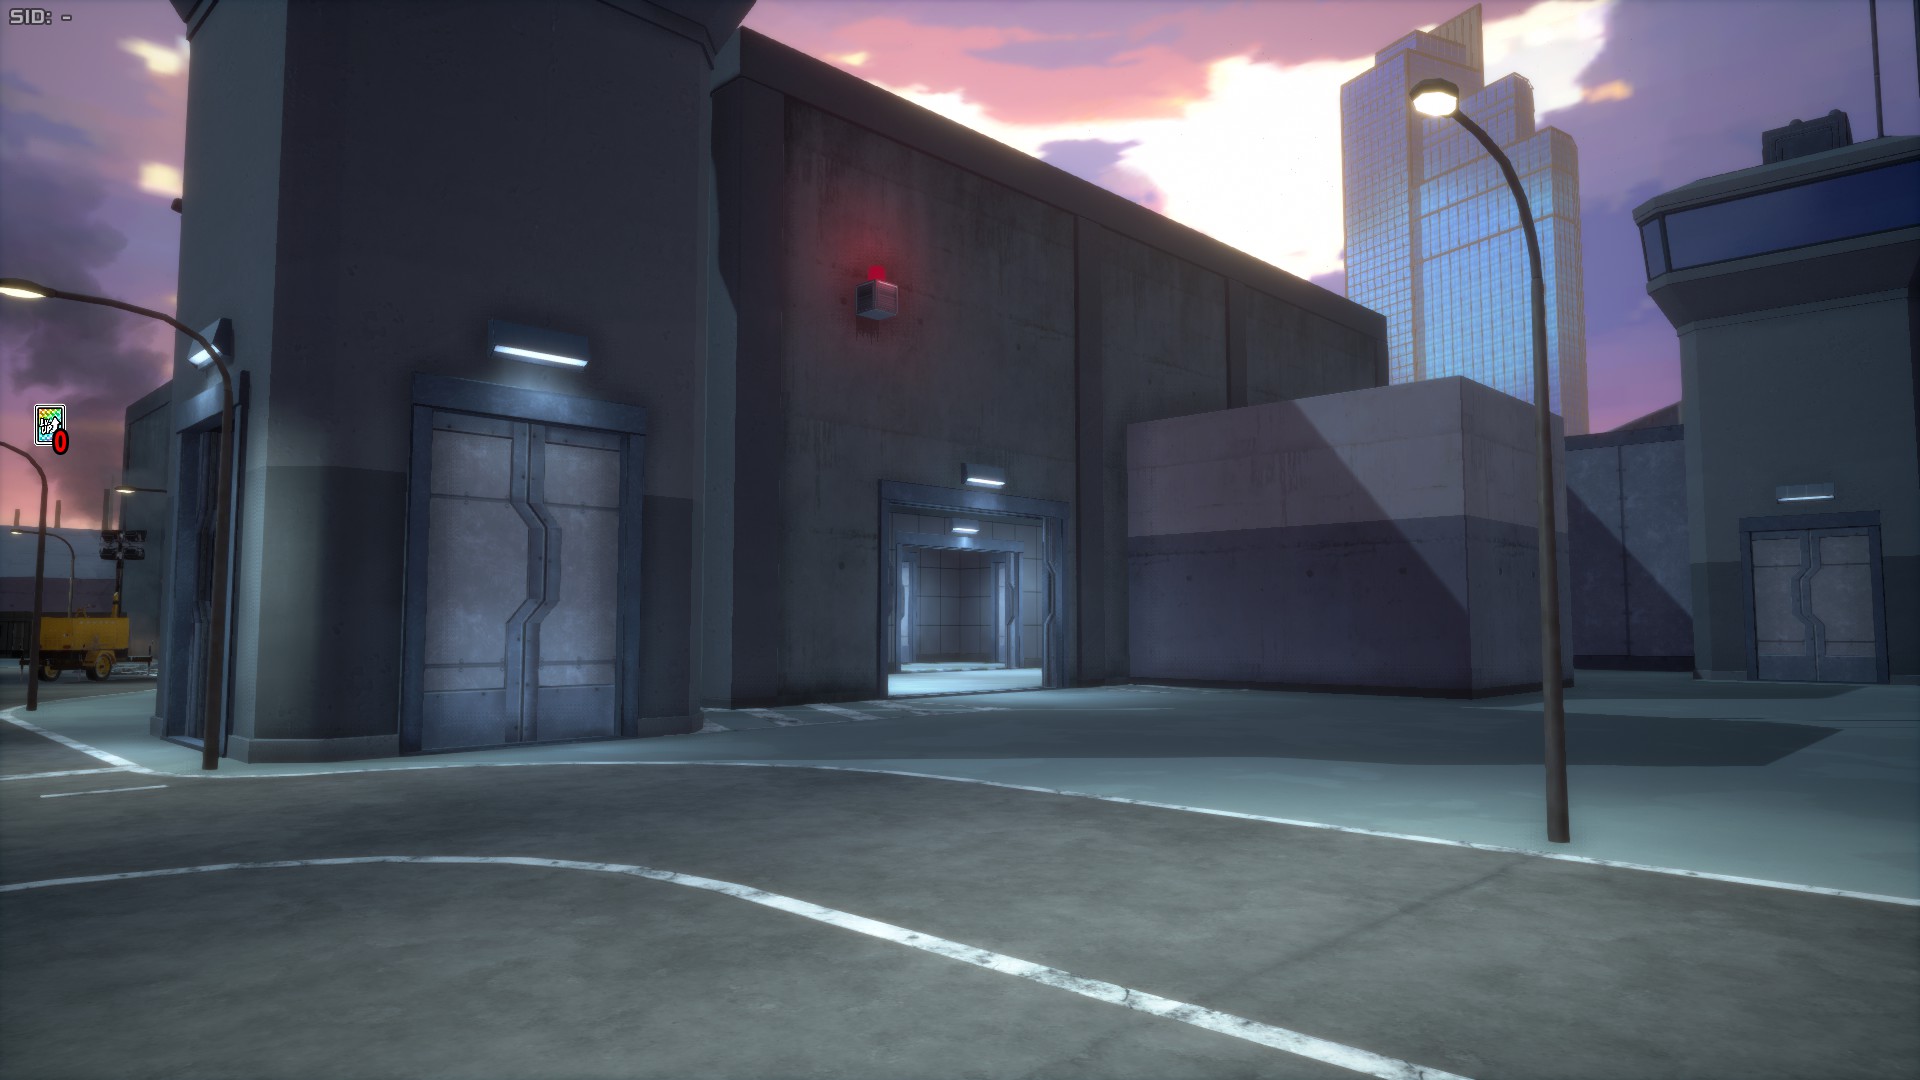
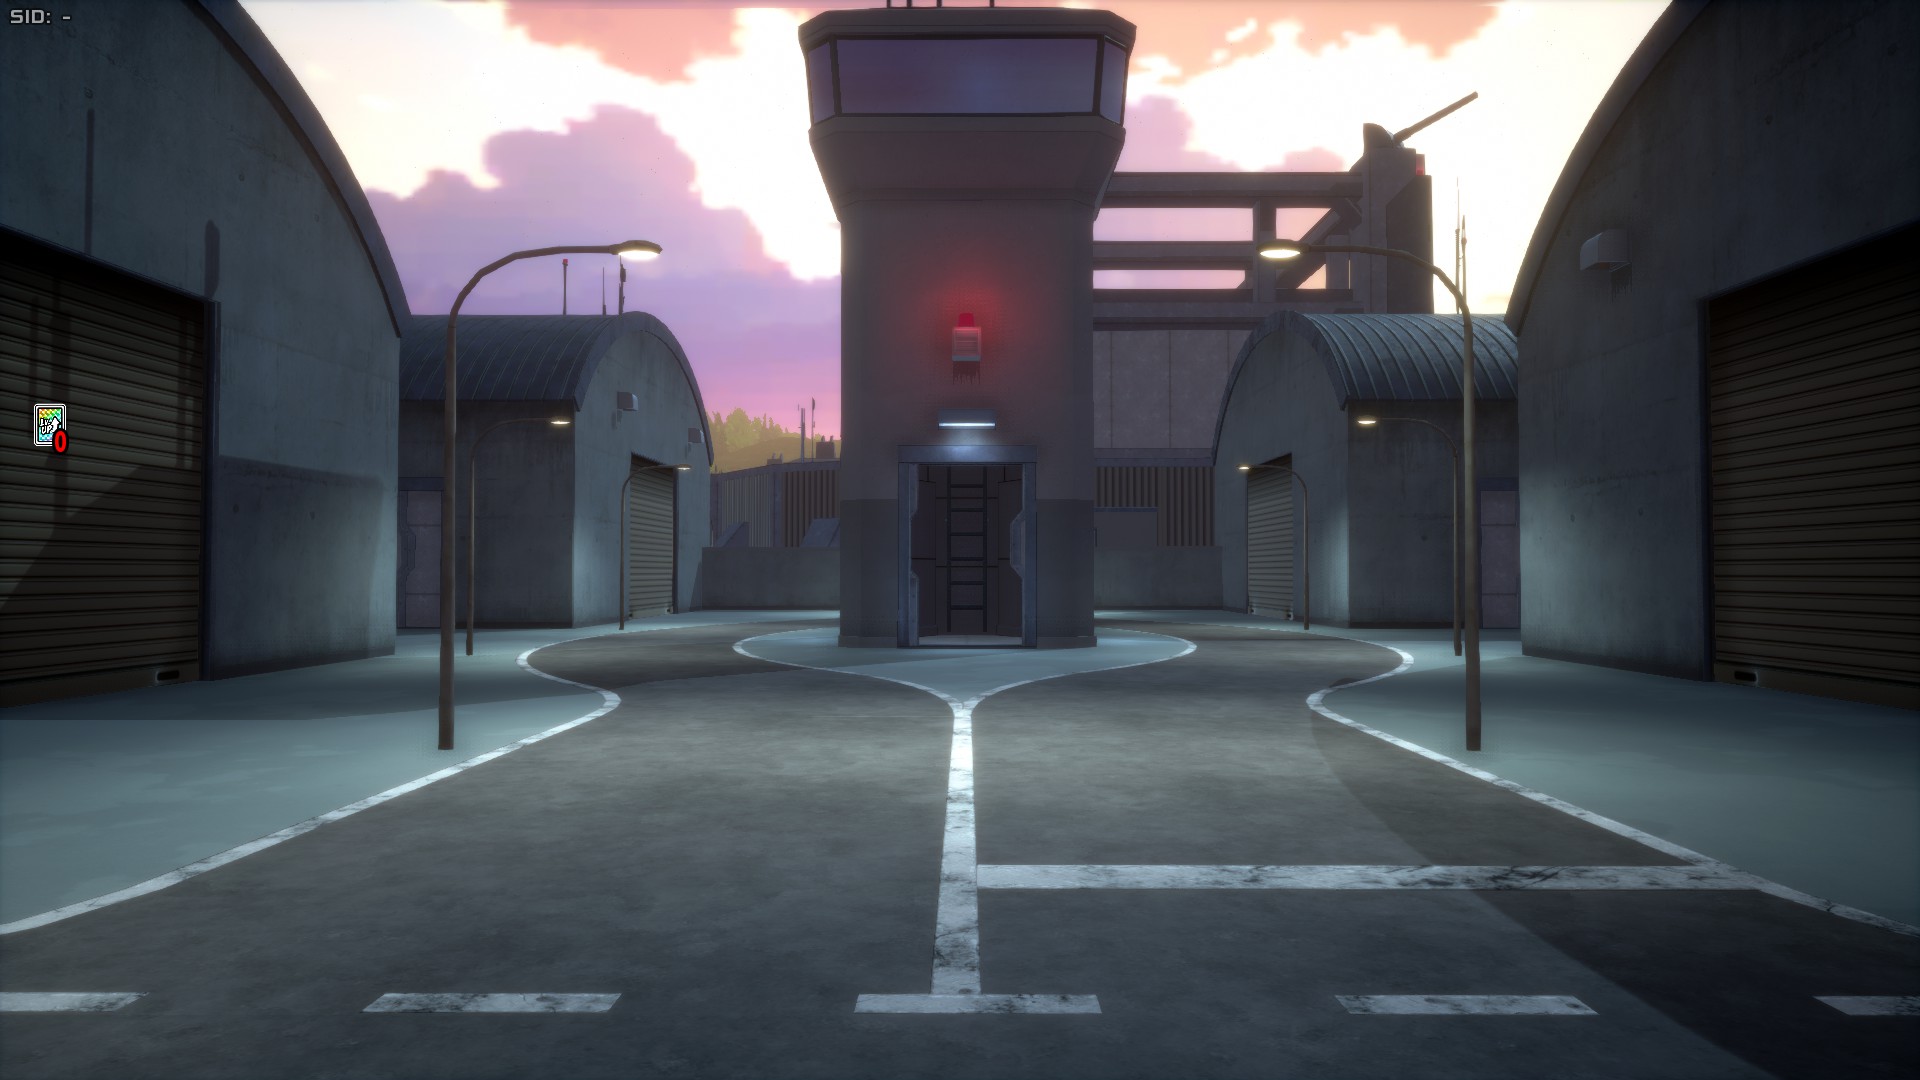
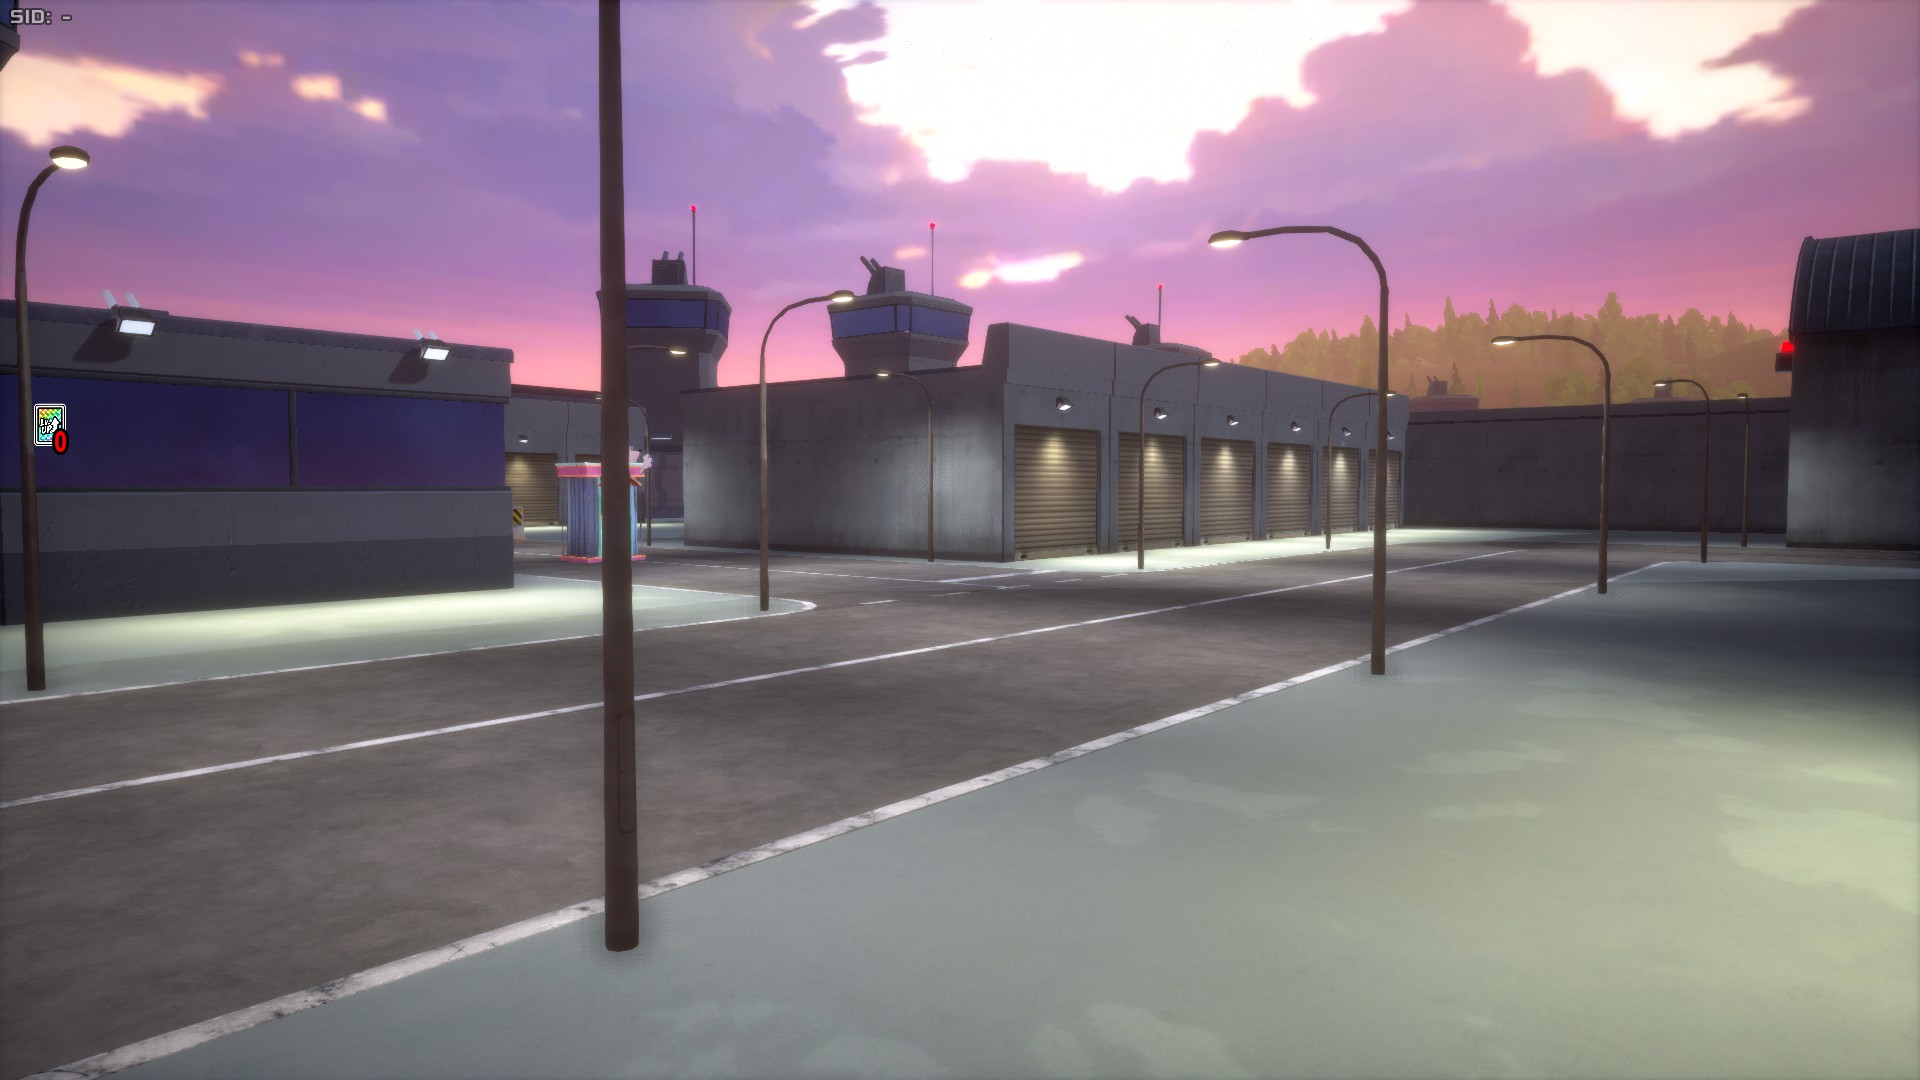
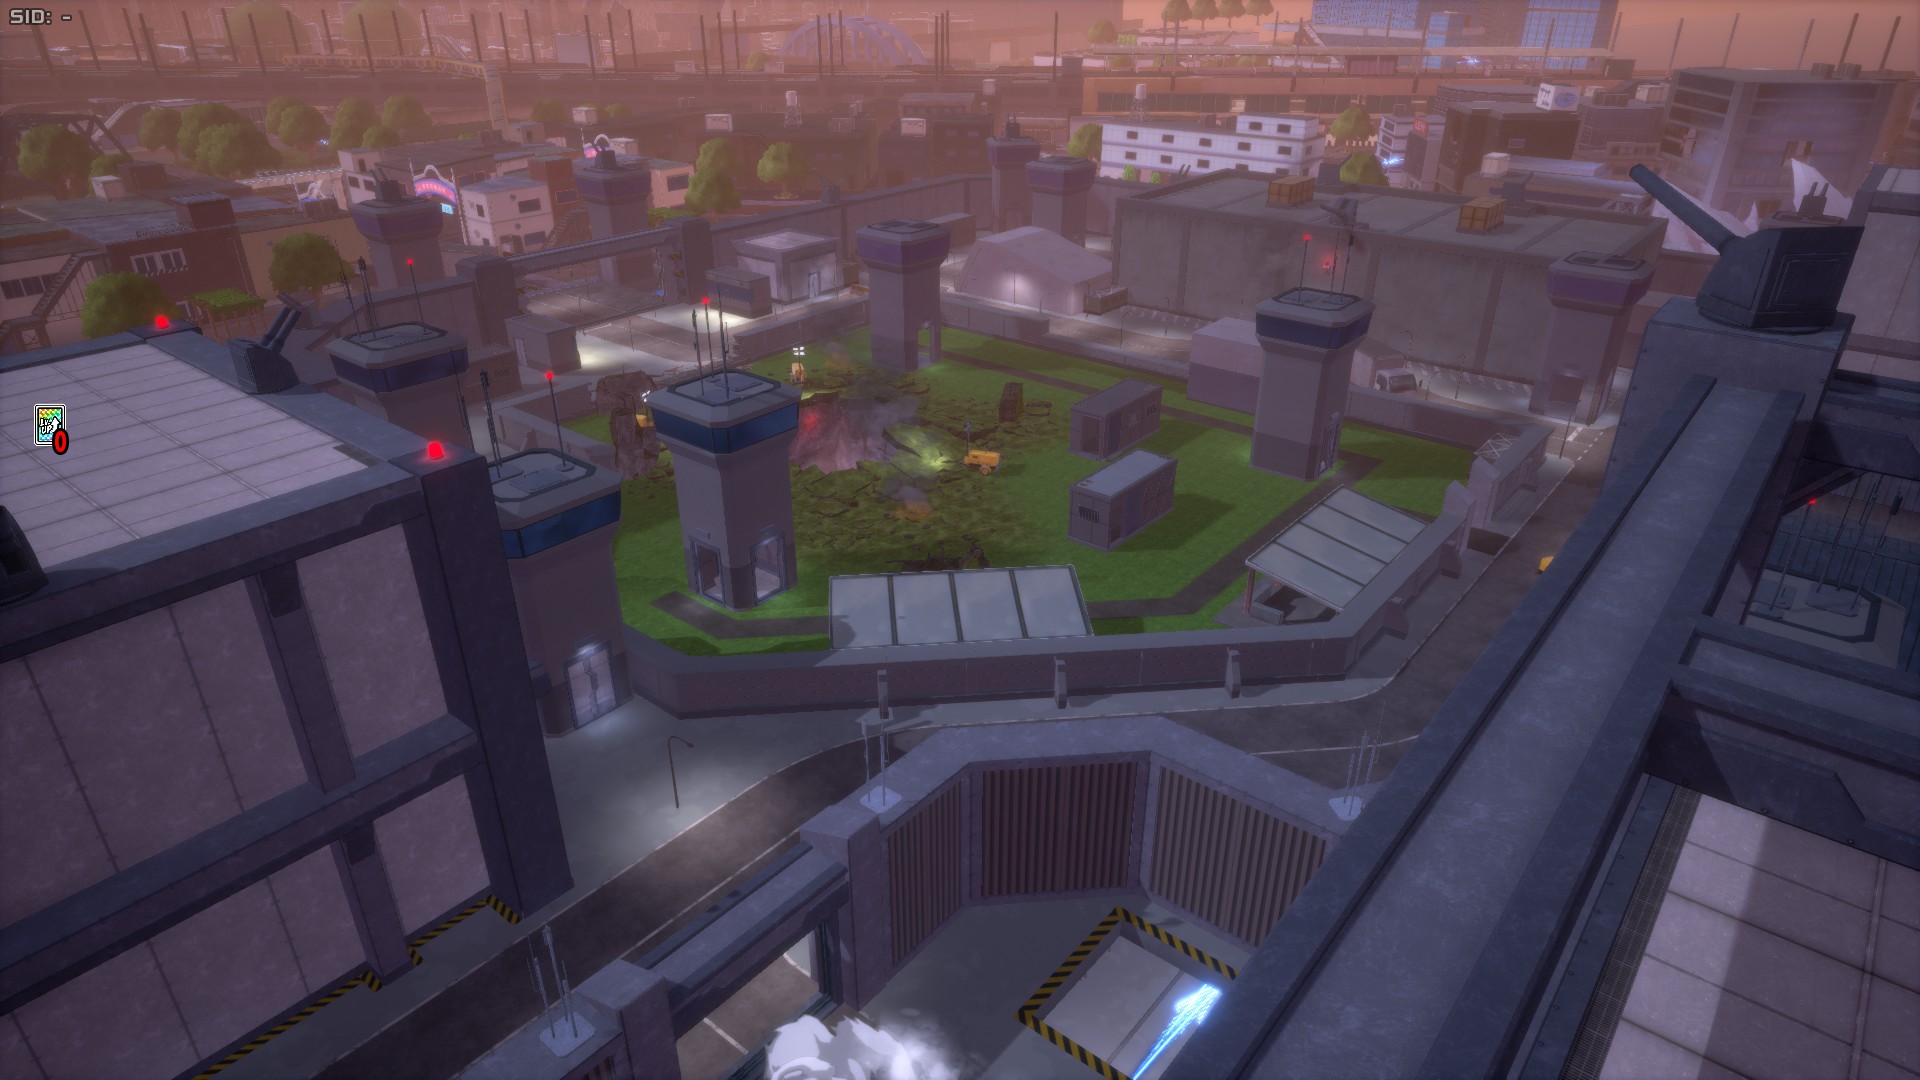
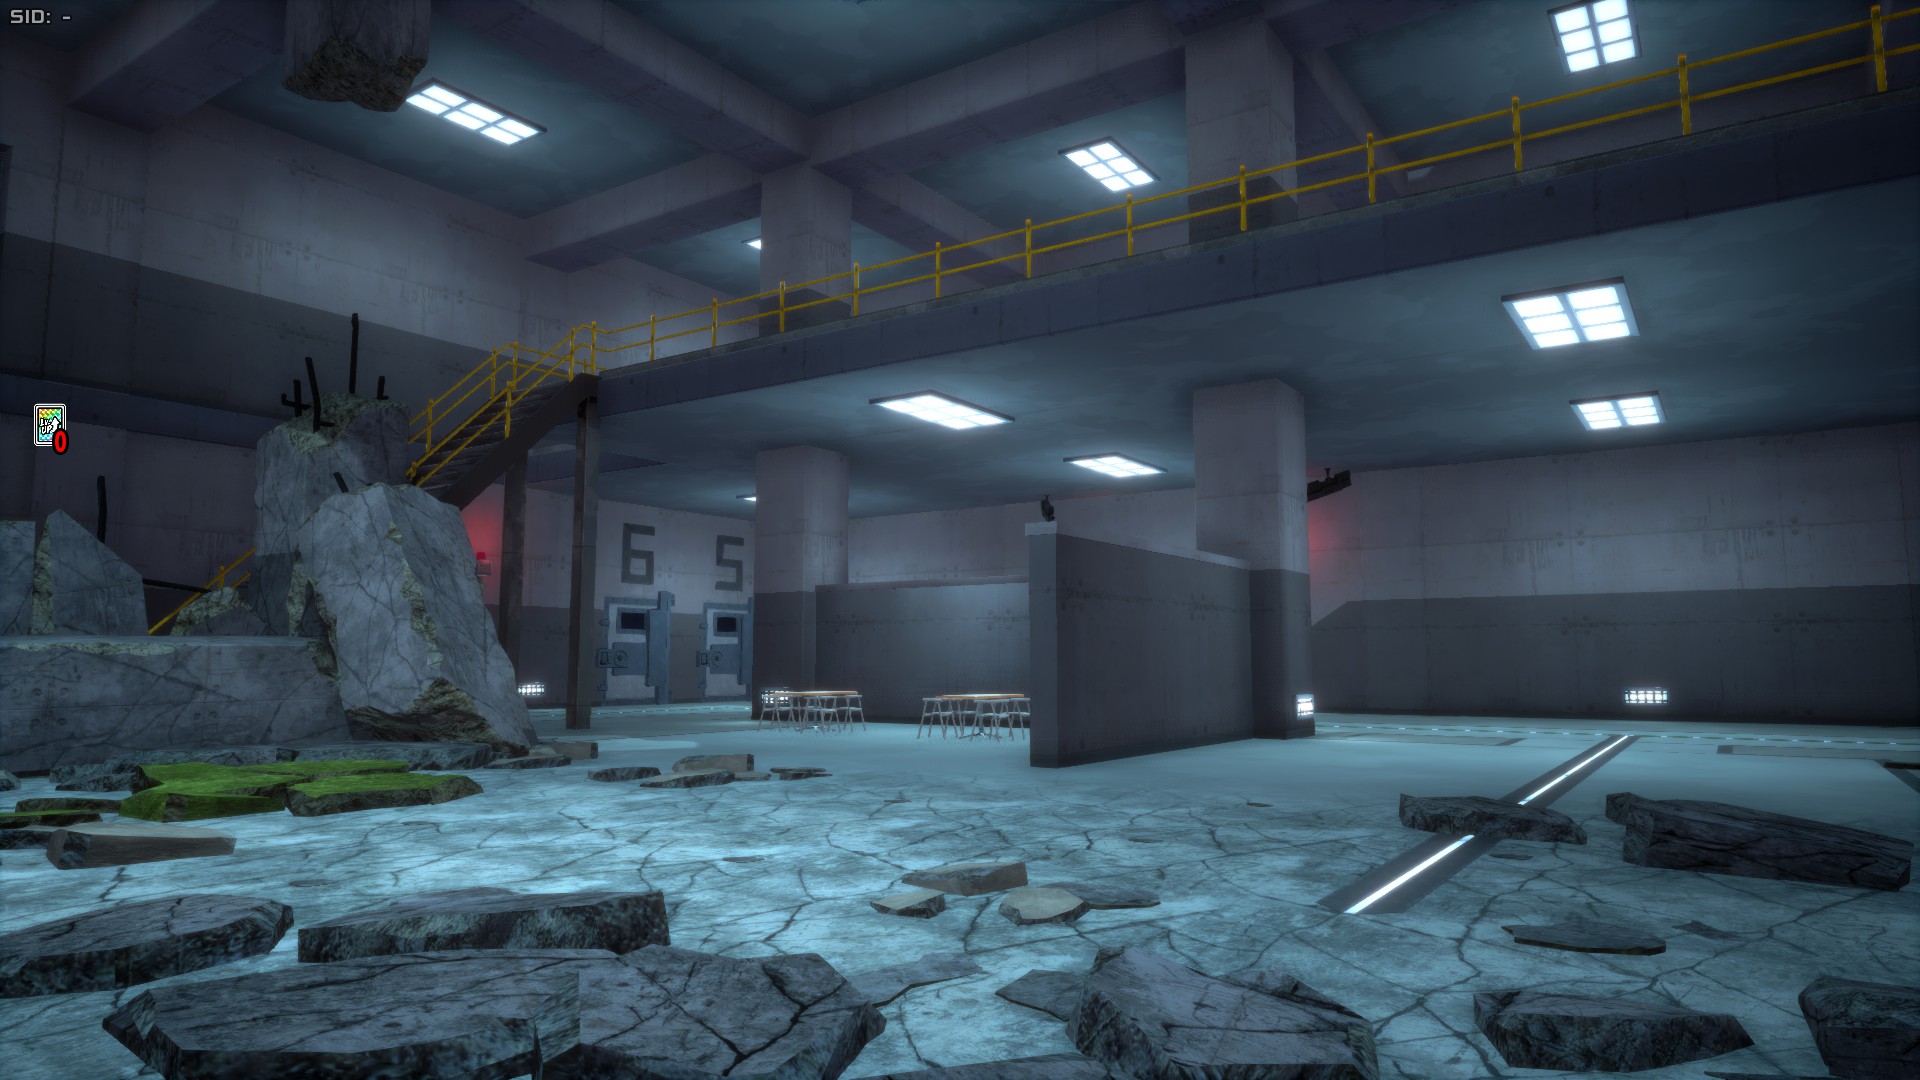
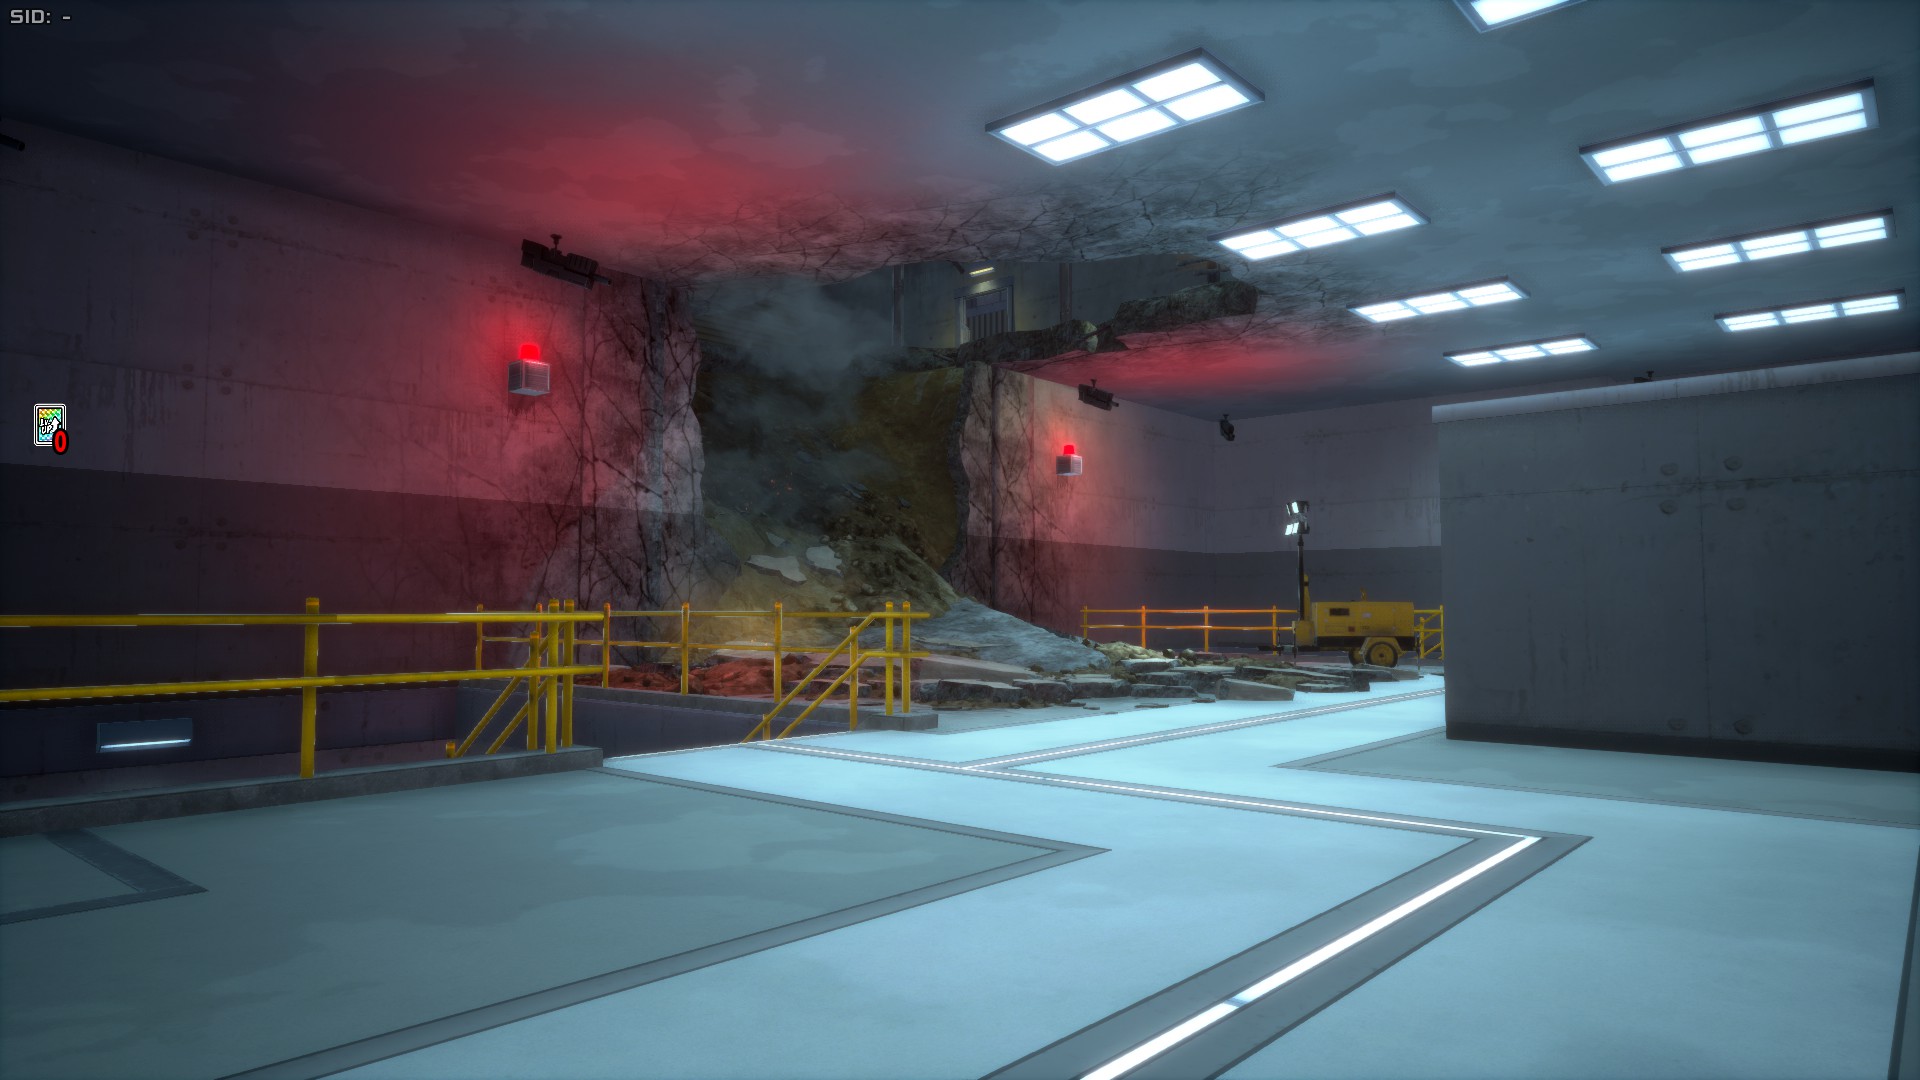
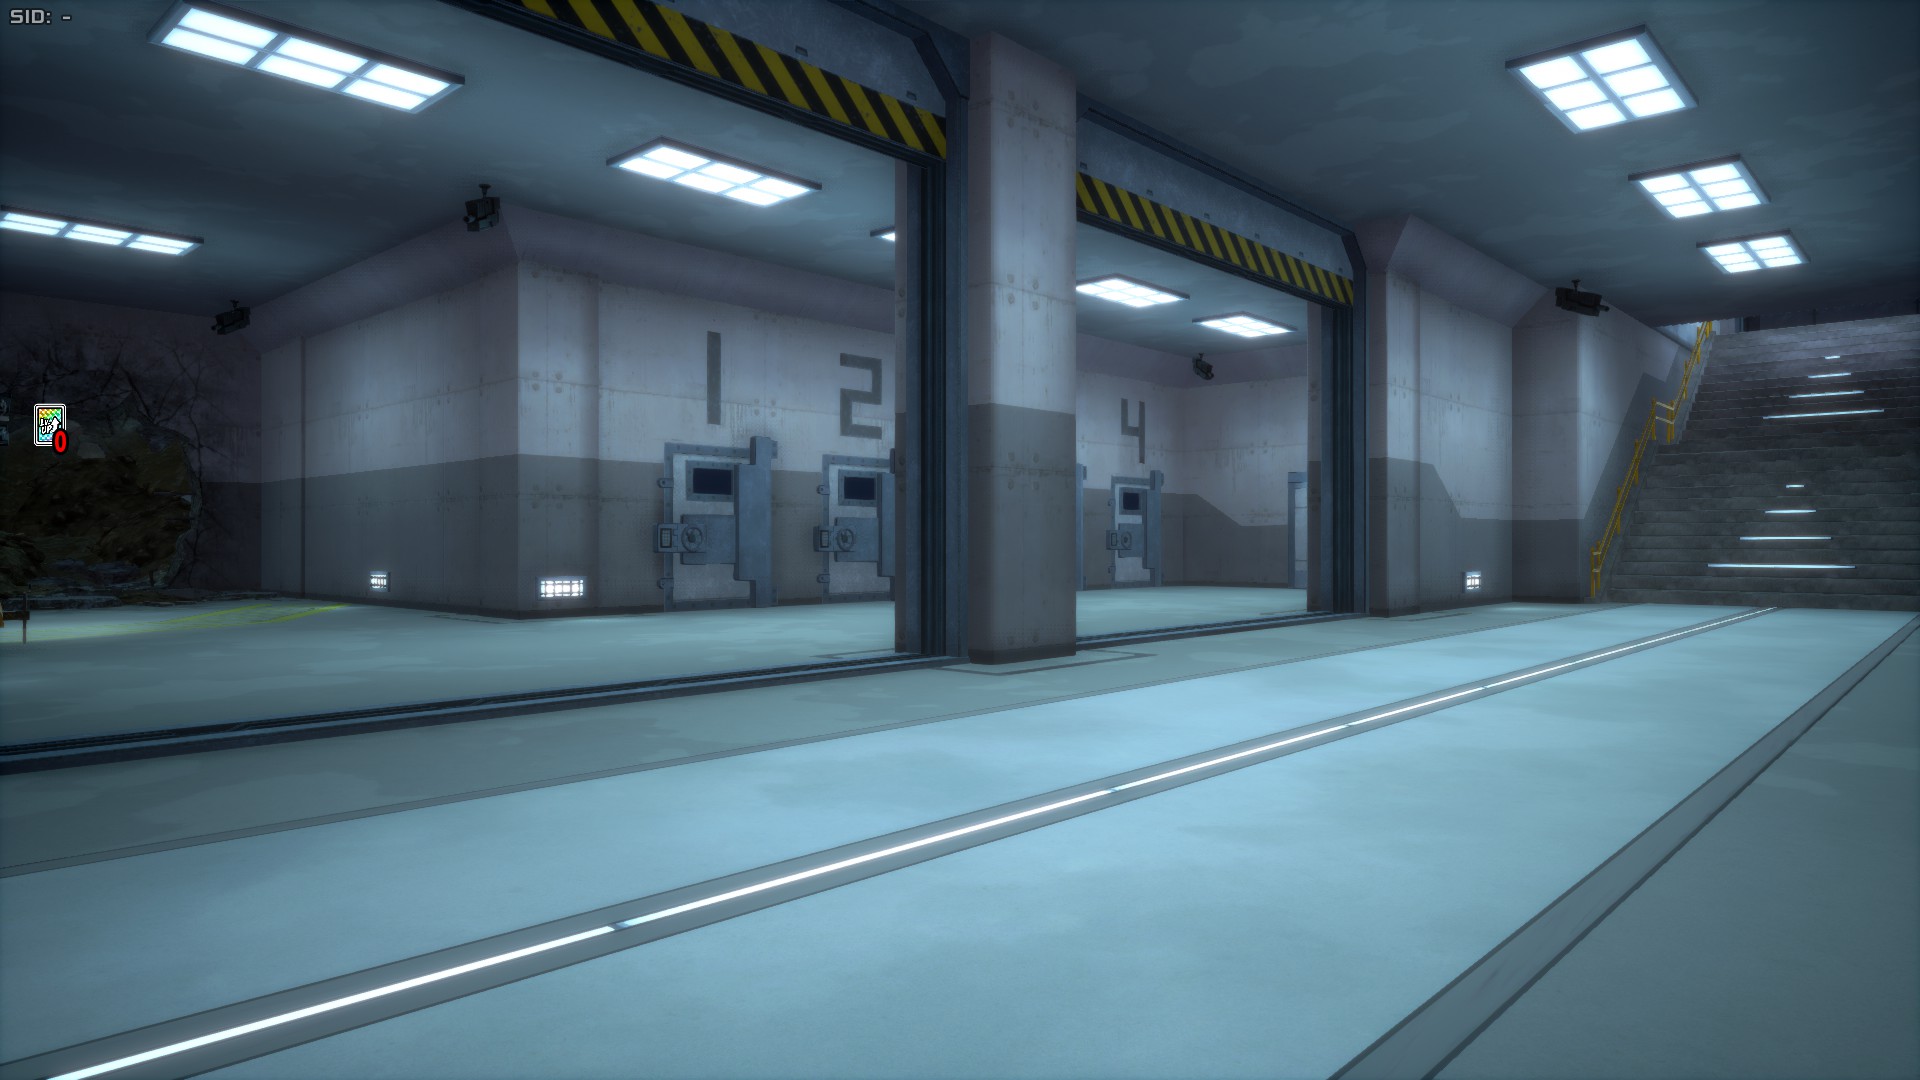
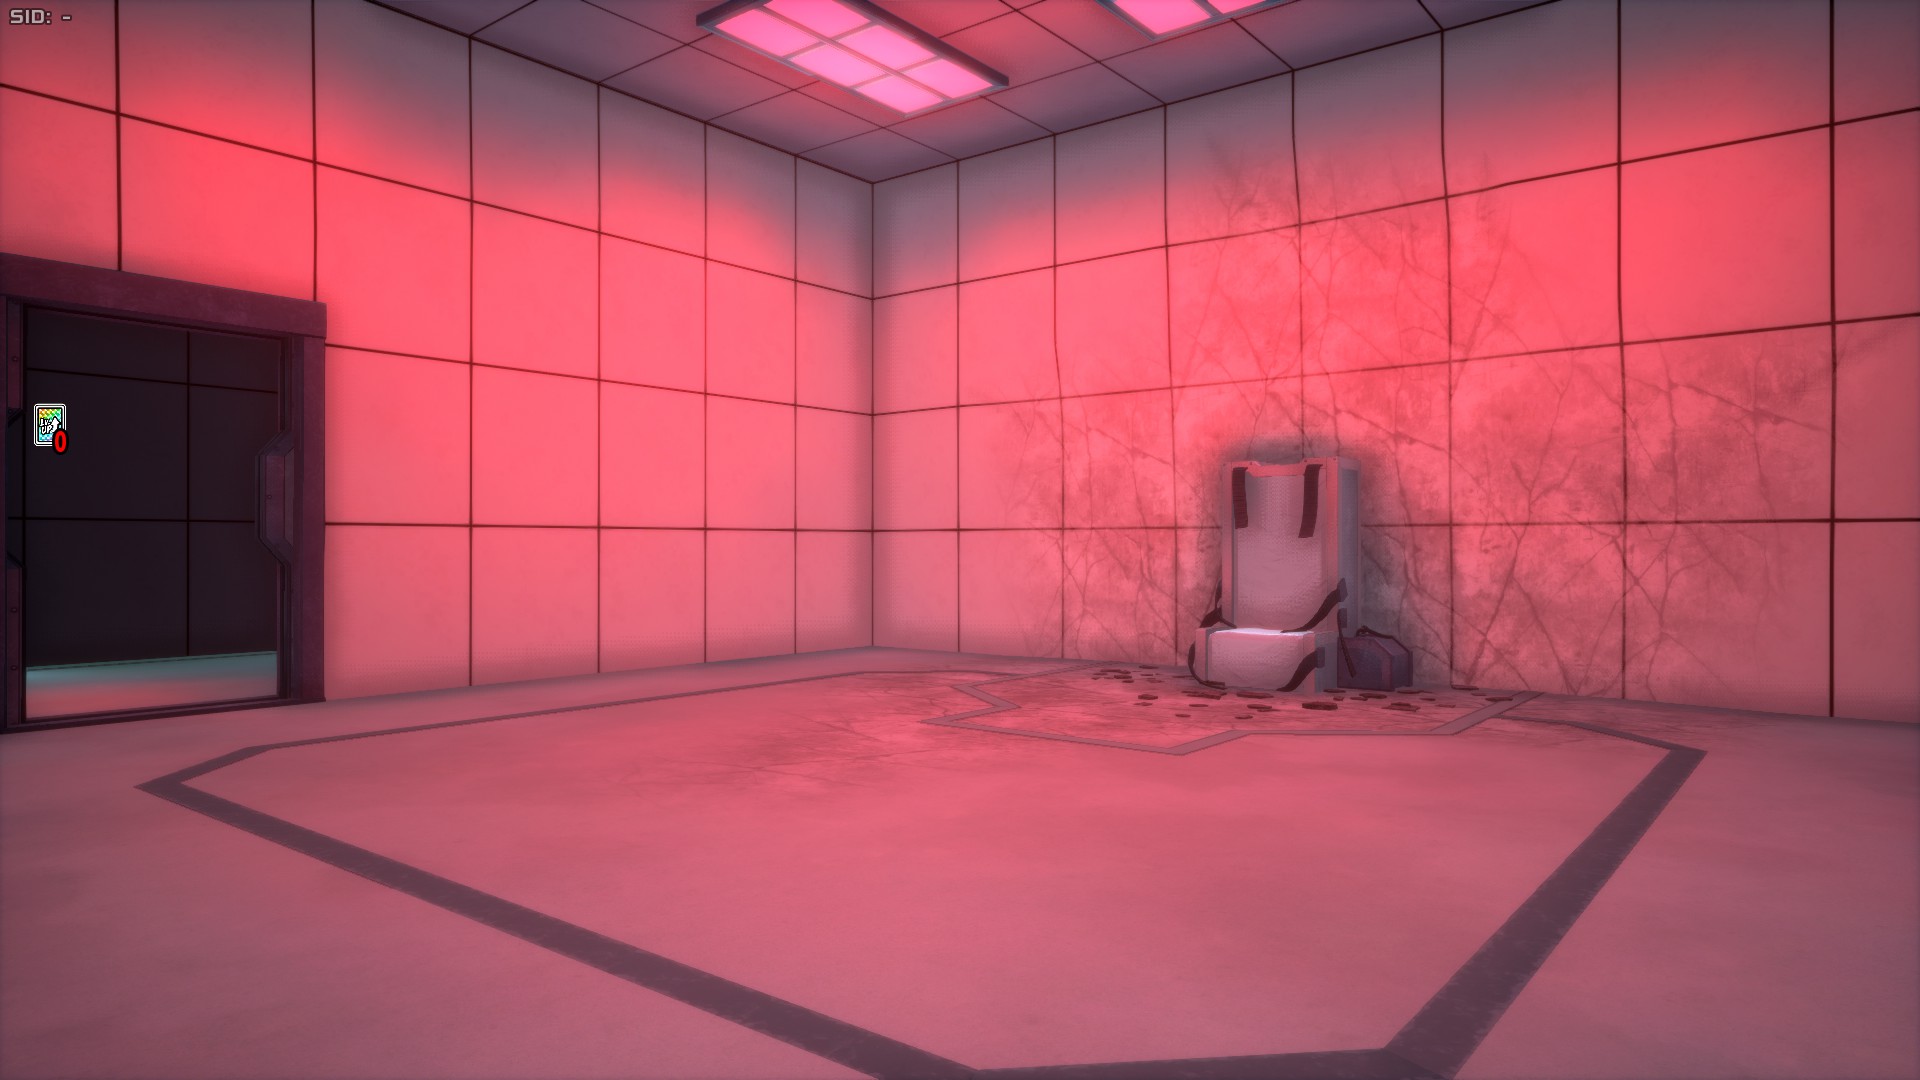
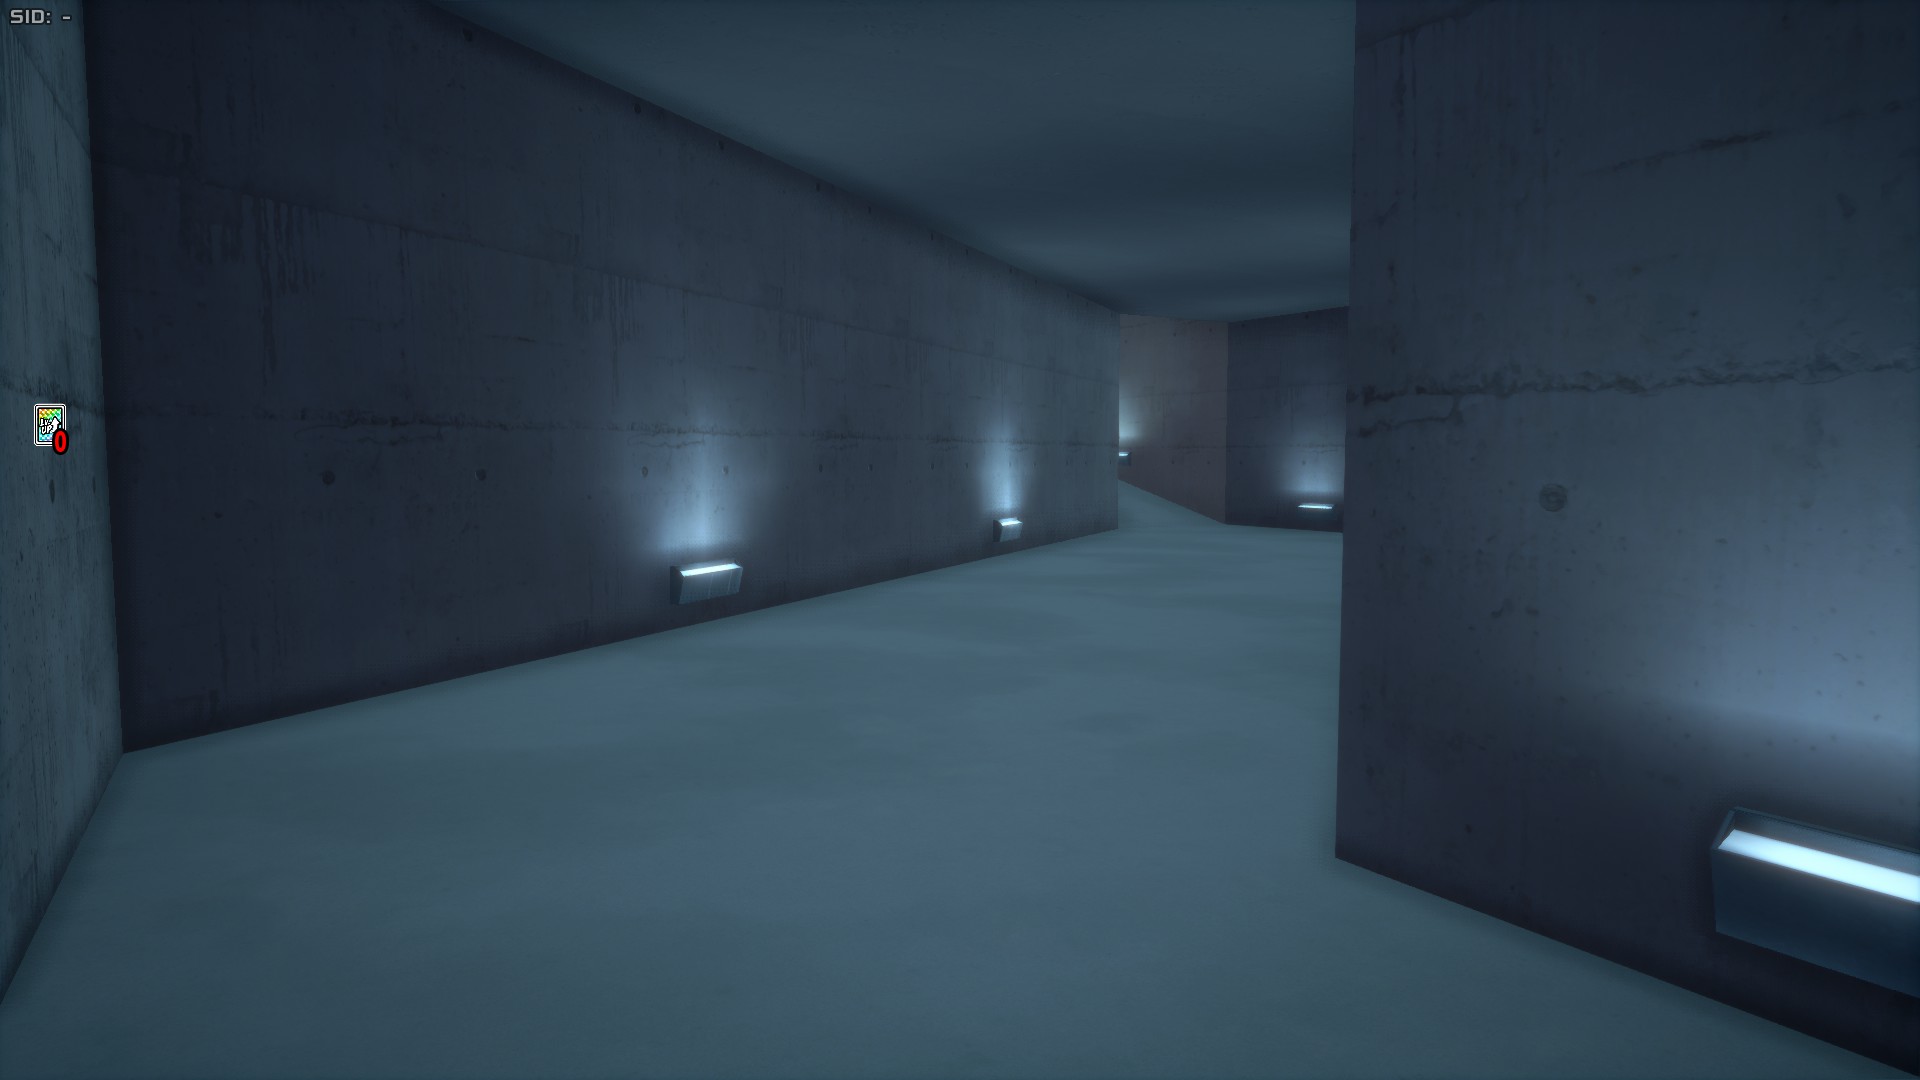
The Villain Containment Facility is an area based in the Maximum Security Prison "Tartarus" featured in the anime, with some famous locations such as the sea-side entrance and All For One's cell. It occupies a good chunk of the northern side of the map, and features a sizeable underground space along with a good amount of loot, though this can sometimes be invalidated by the popularity of the area. There's numerous watchtowers one can you to hide in the final zone, especially if they jump on top of the inner corners, as that gives a certain elevation that may make it harder for enemies to notice you.
Kamino Ward Area
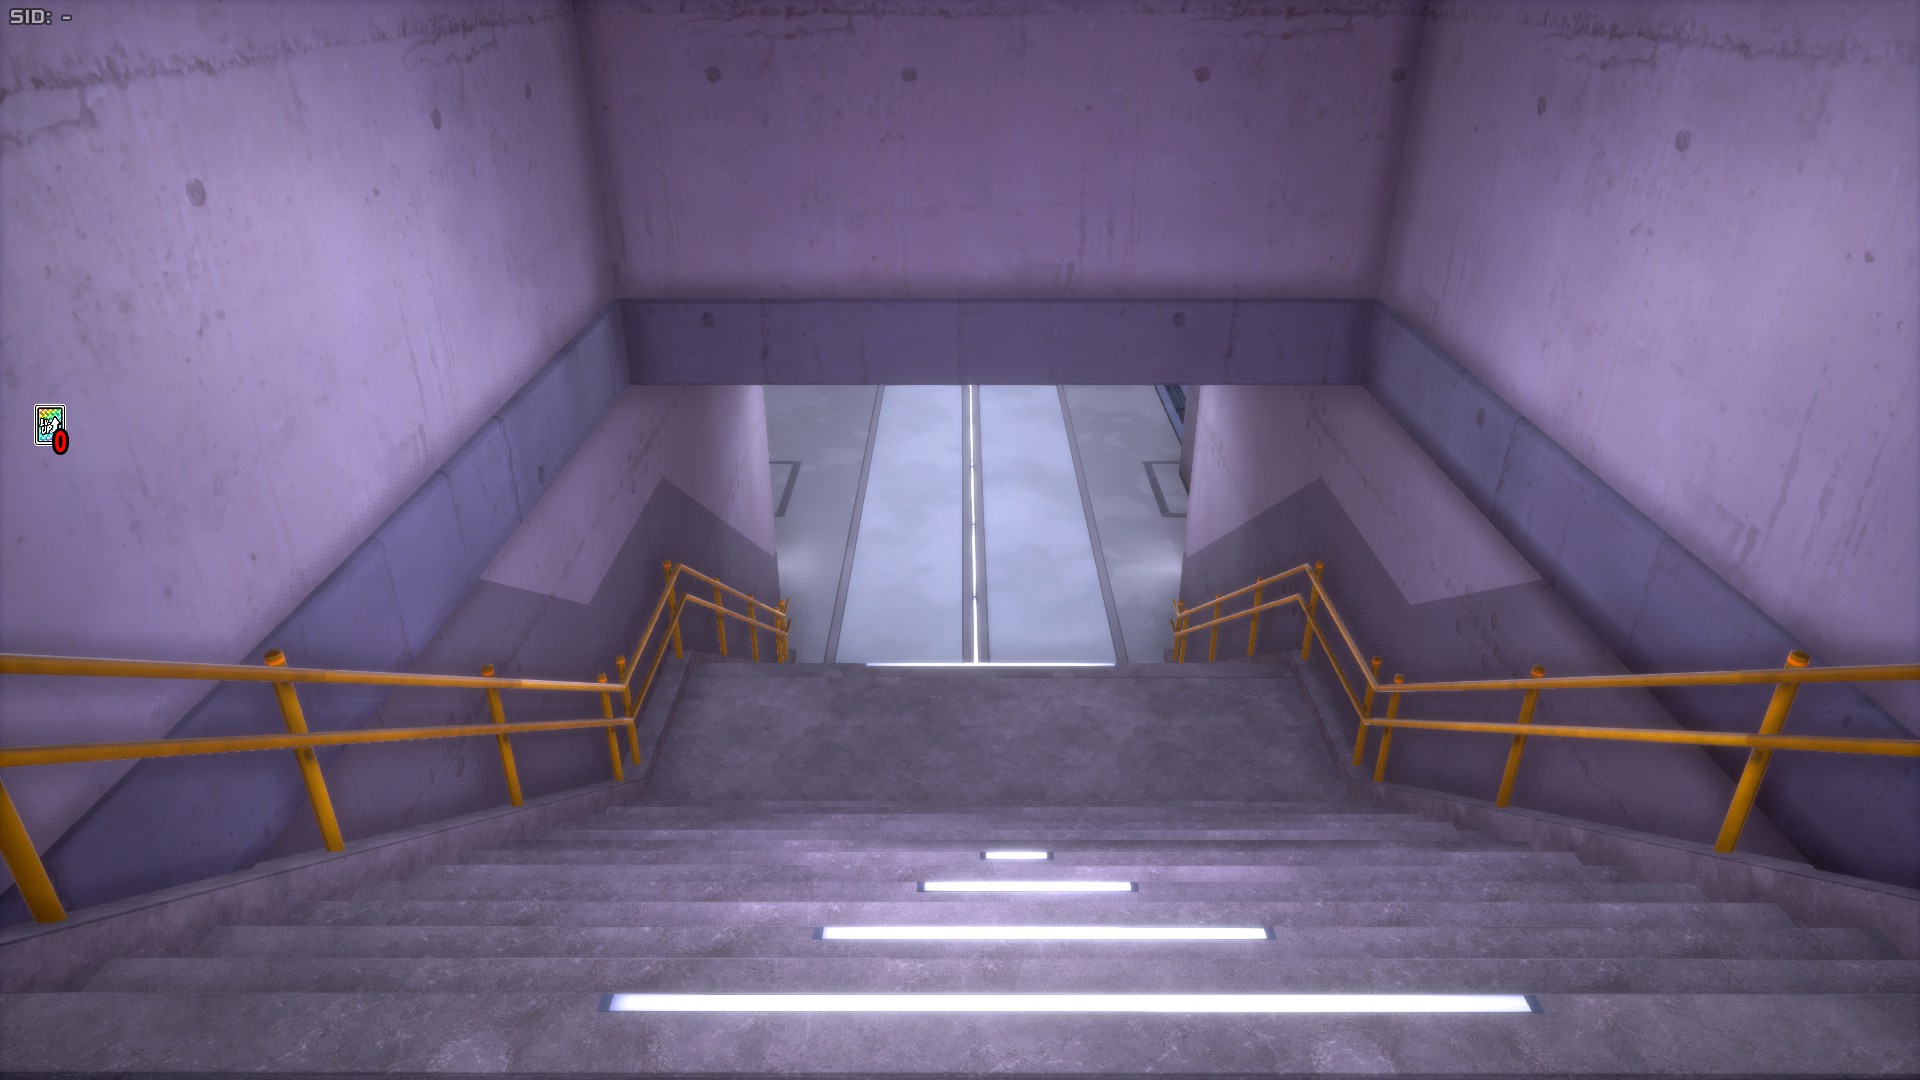
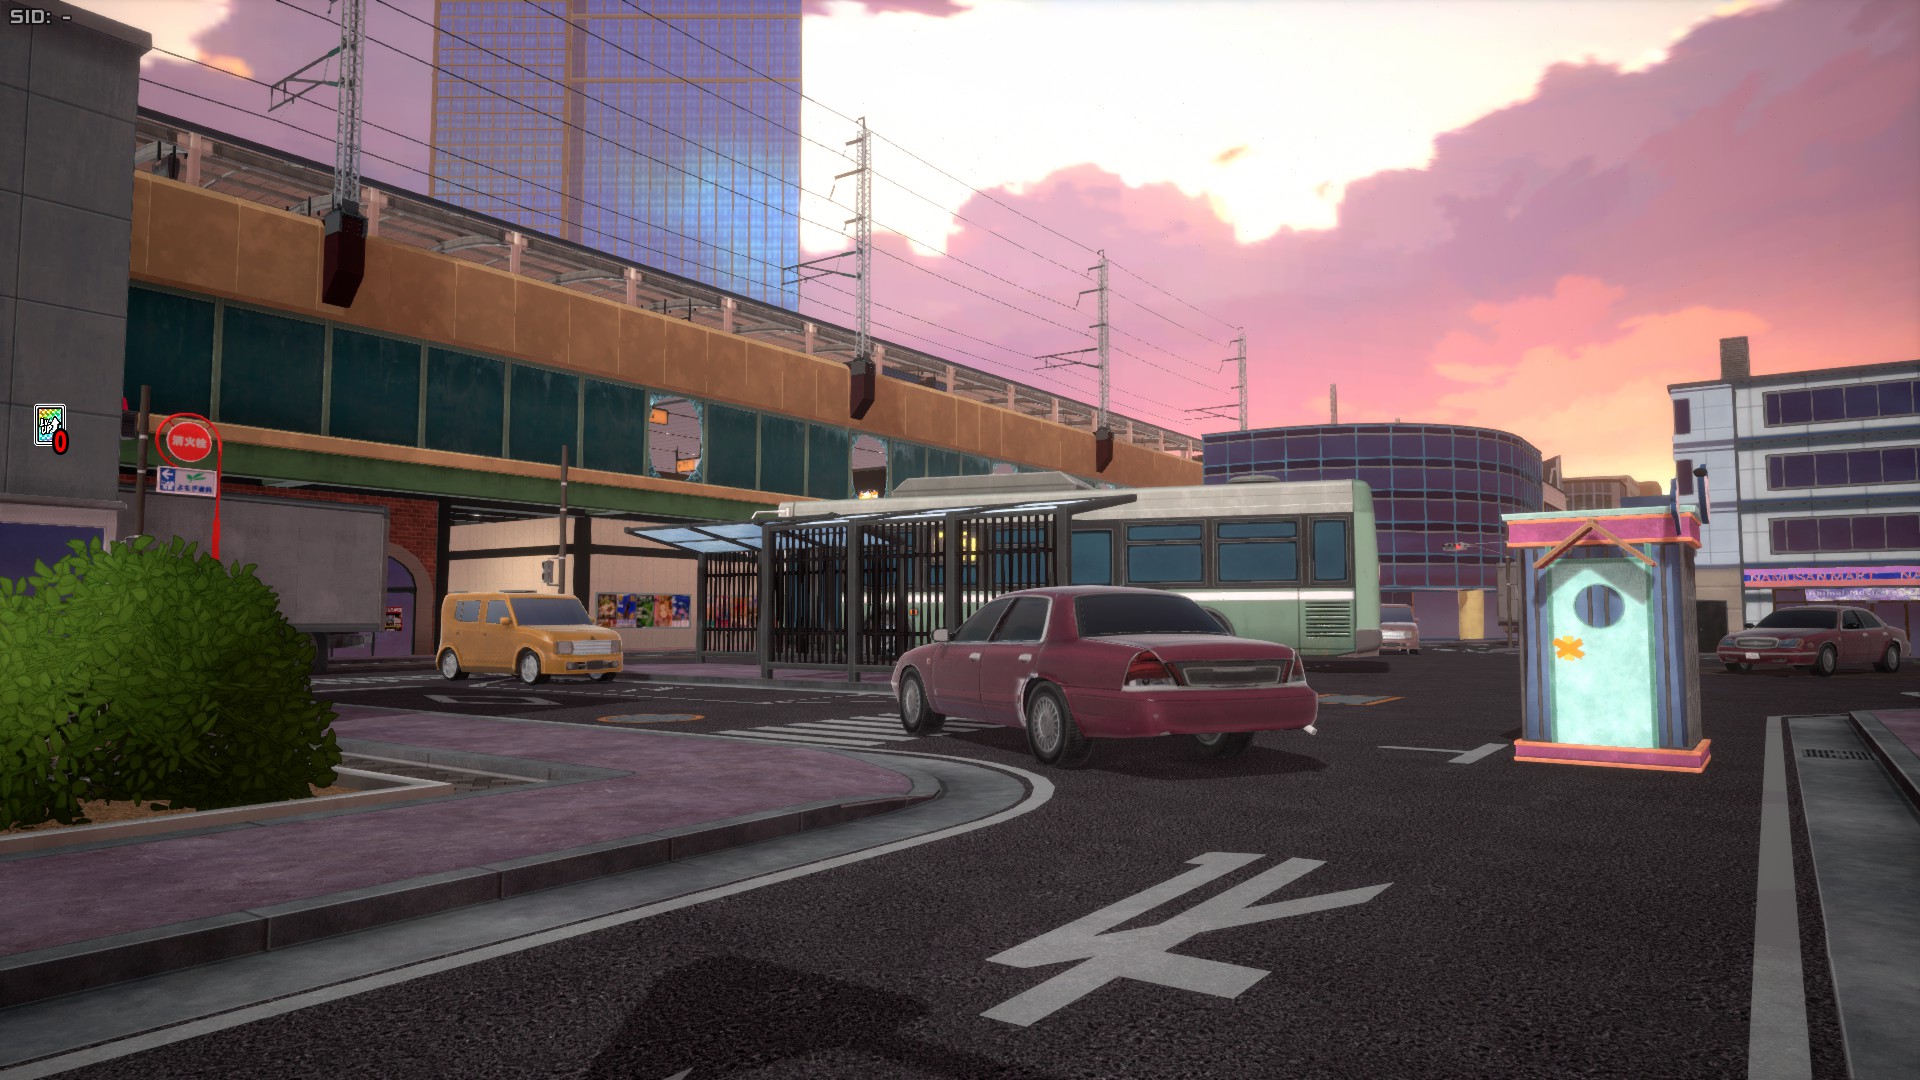
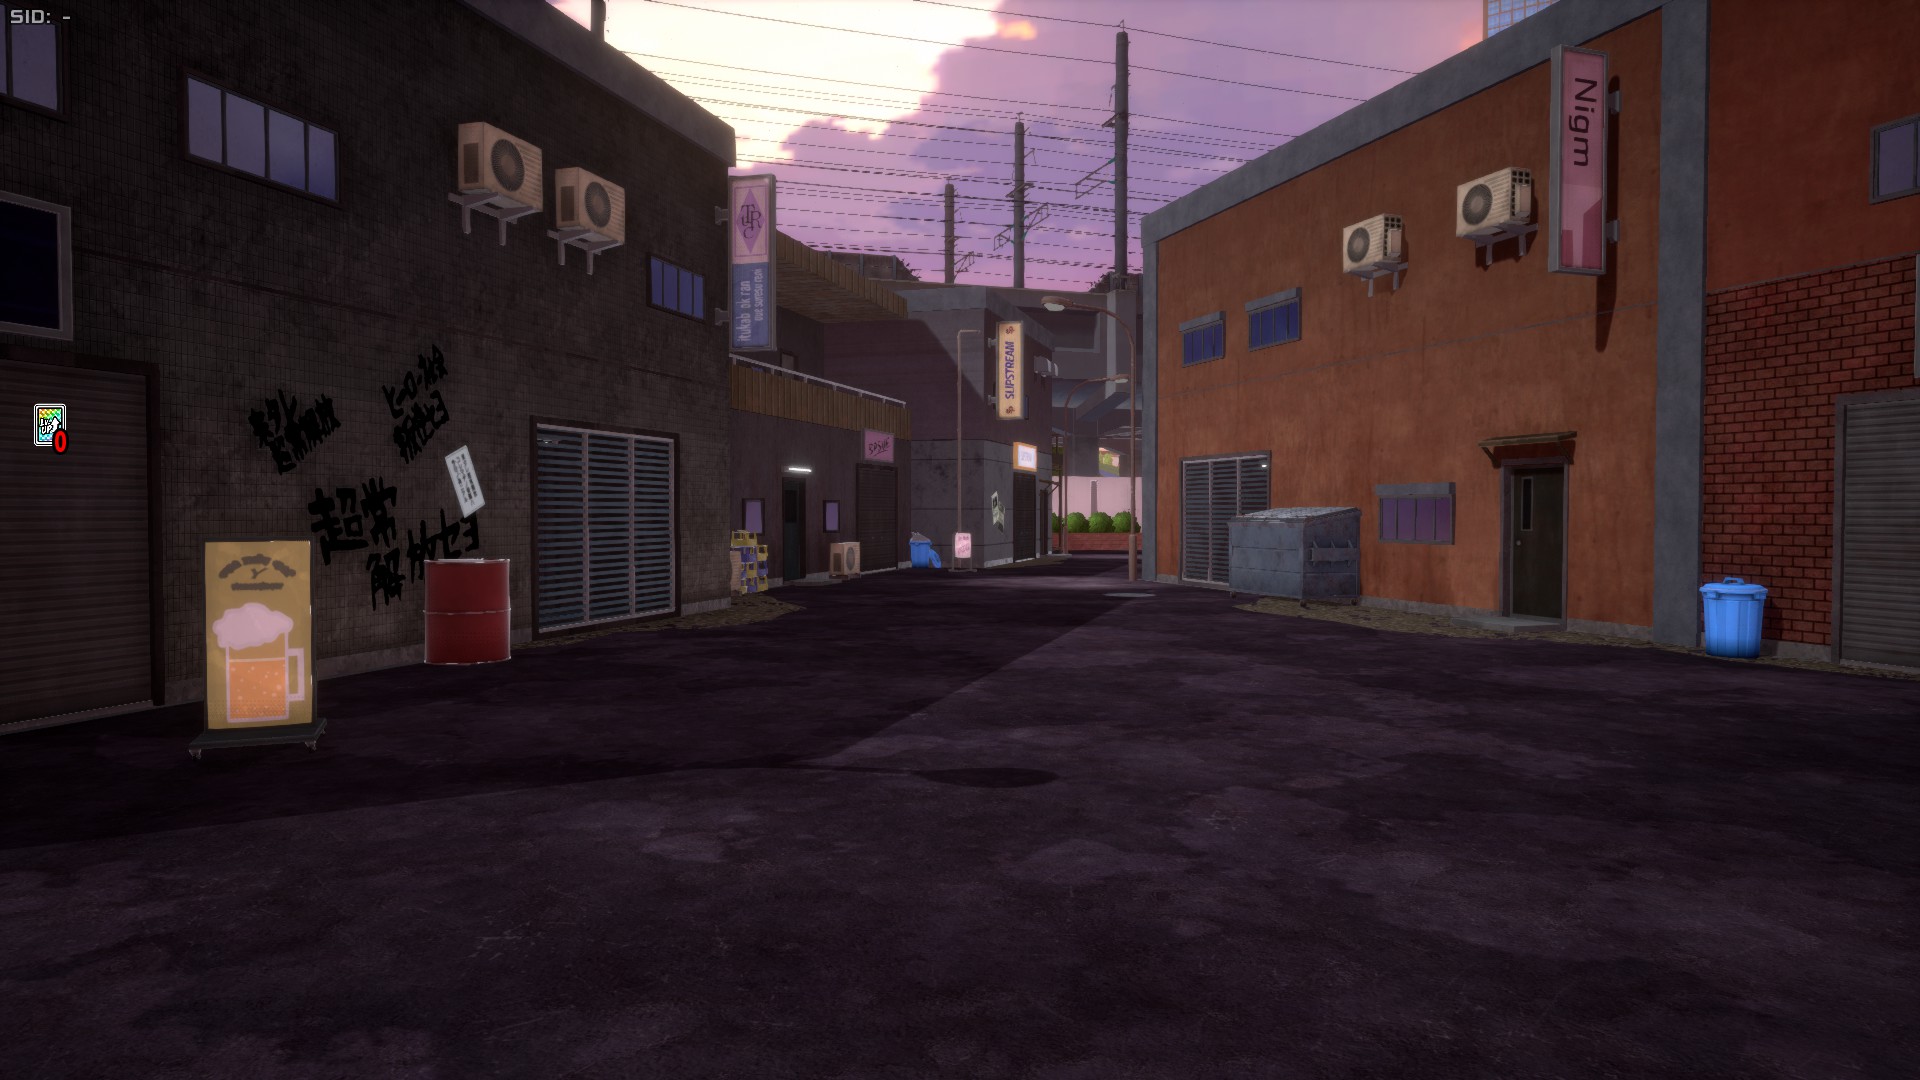
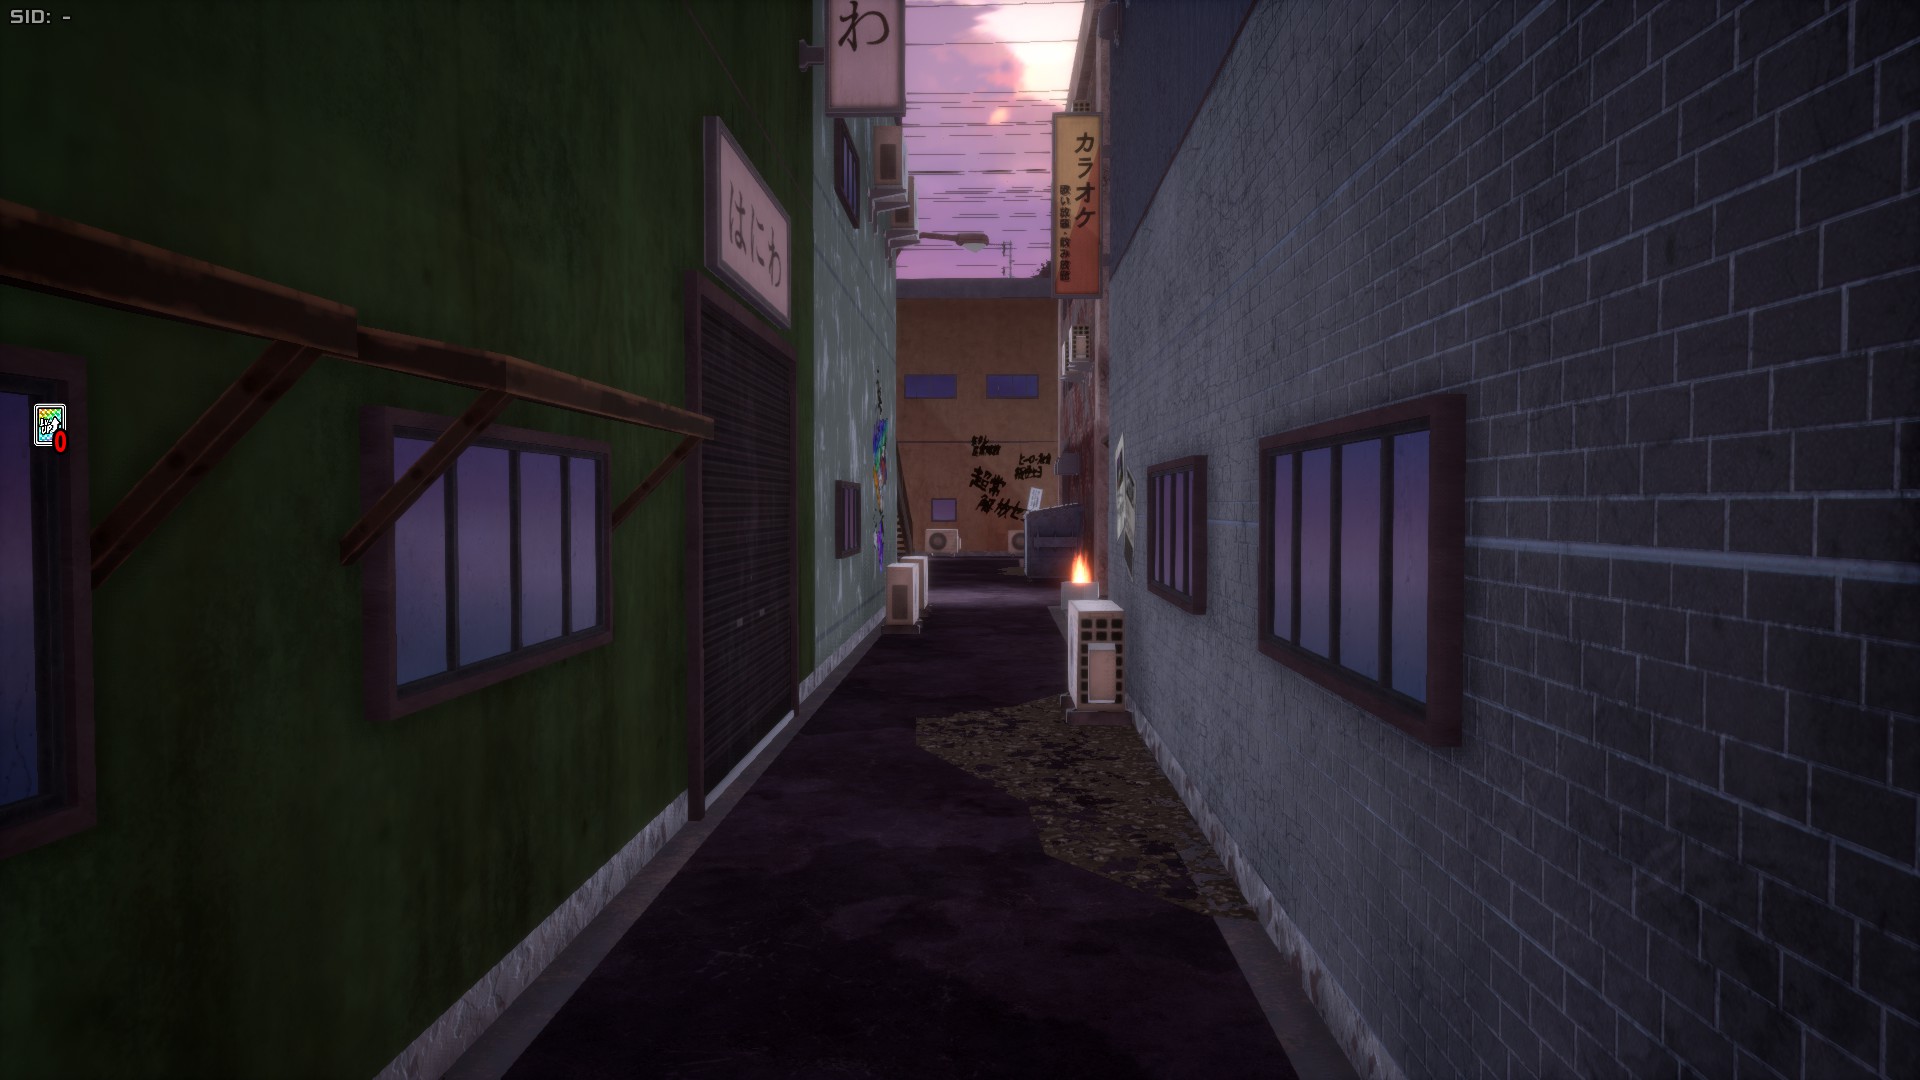
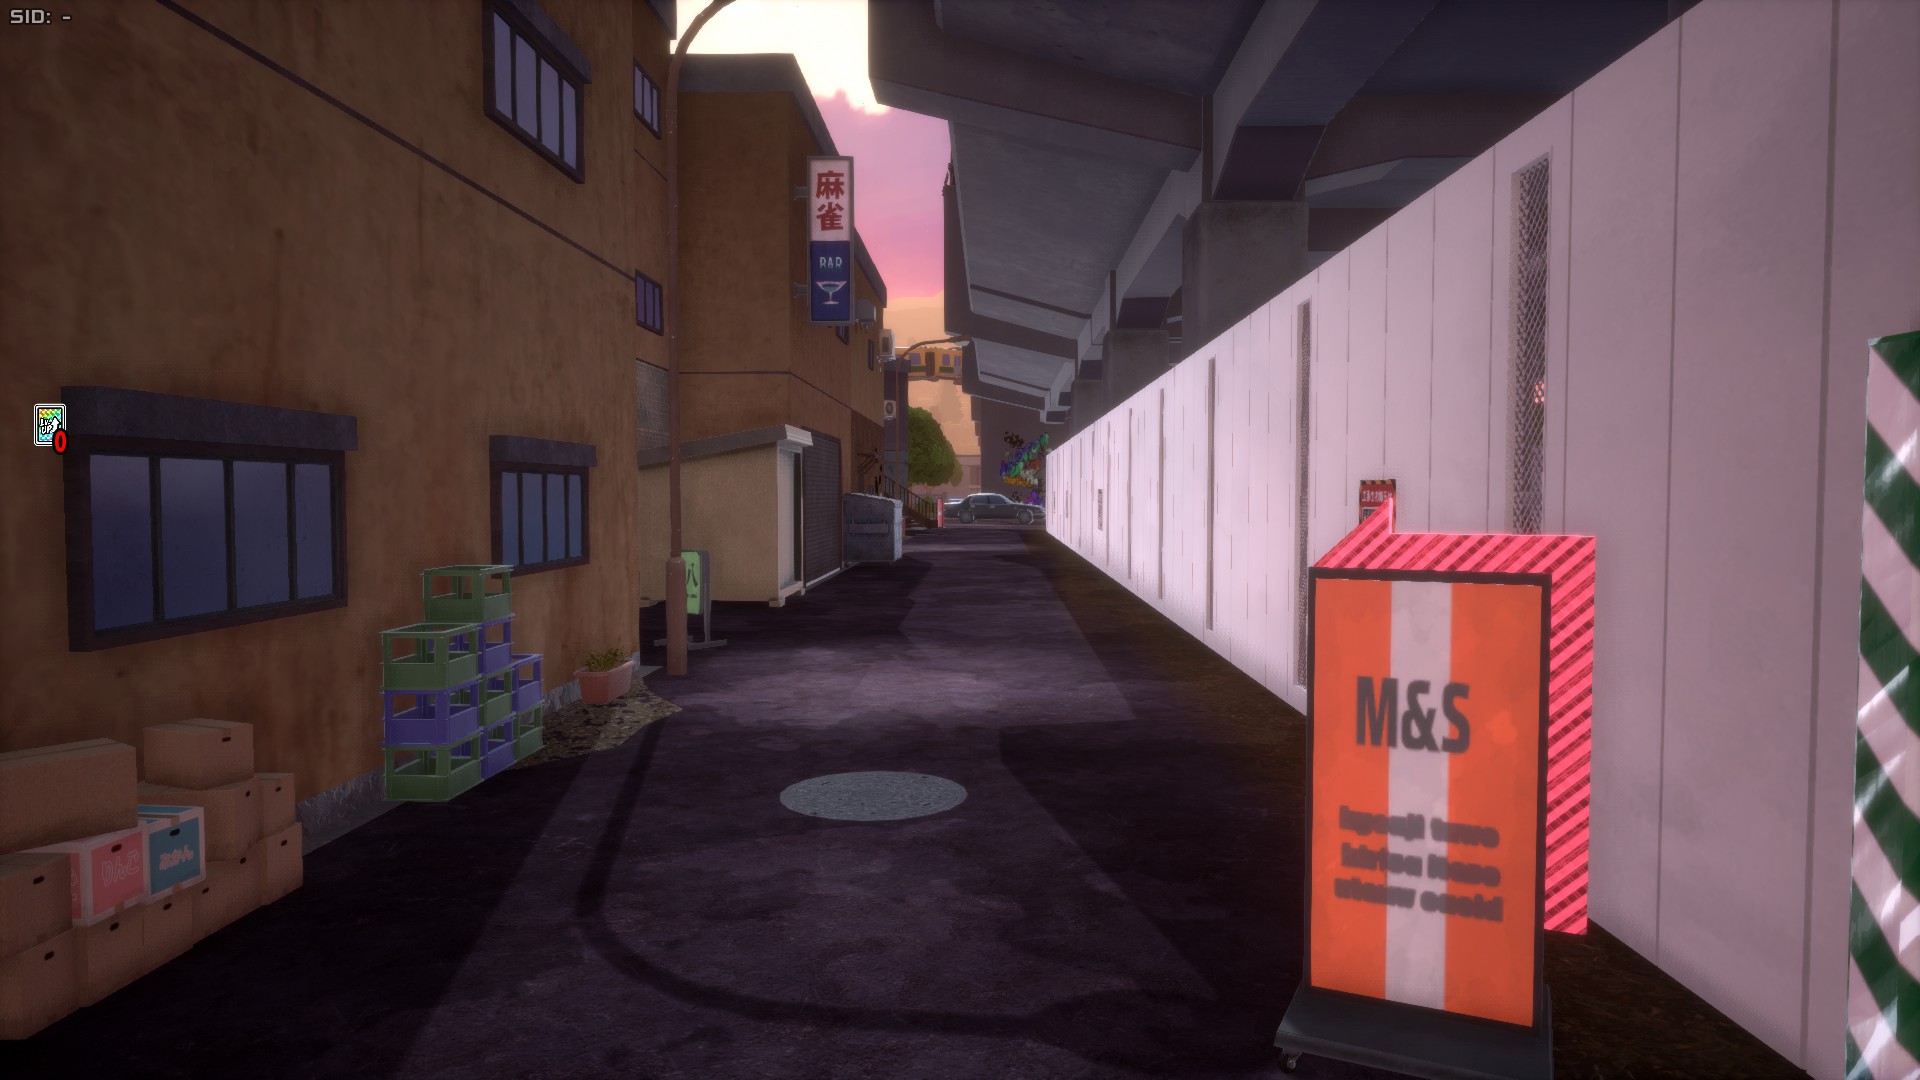
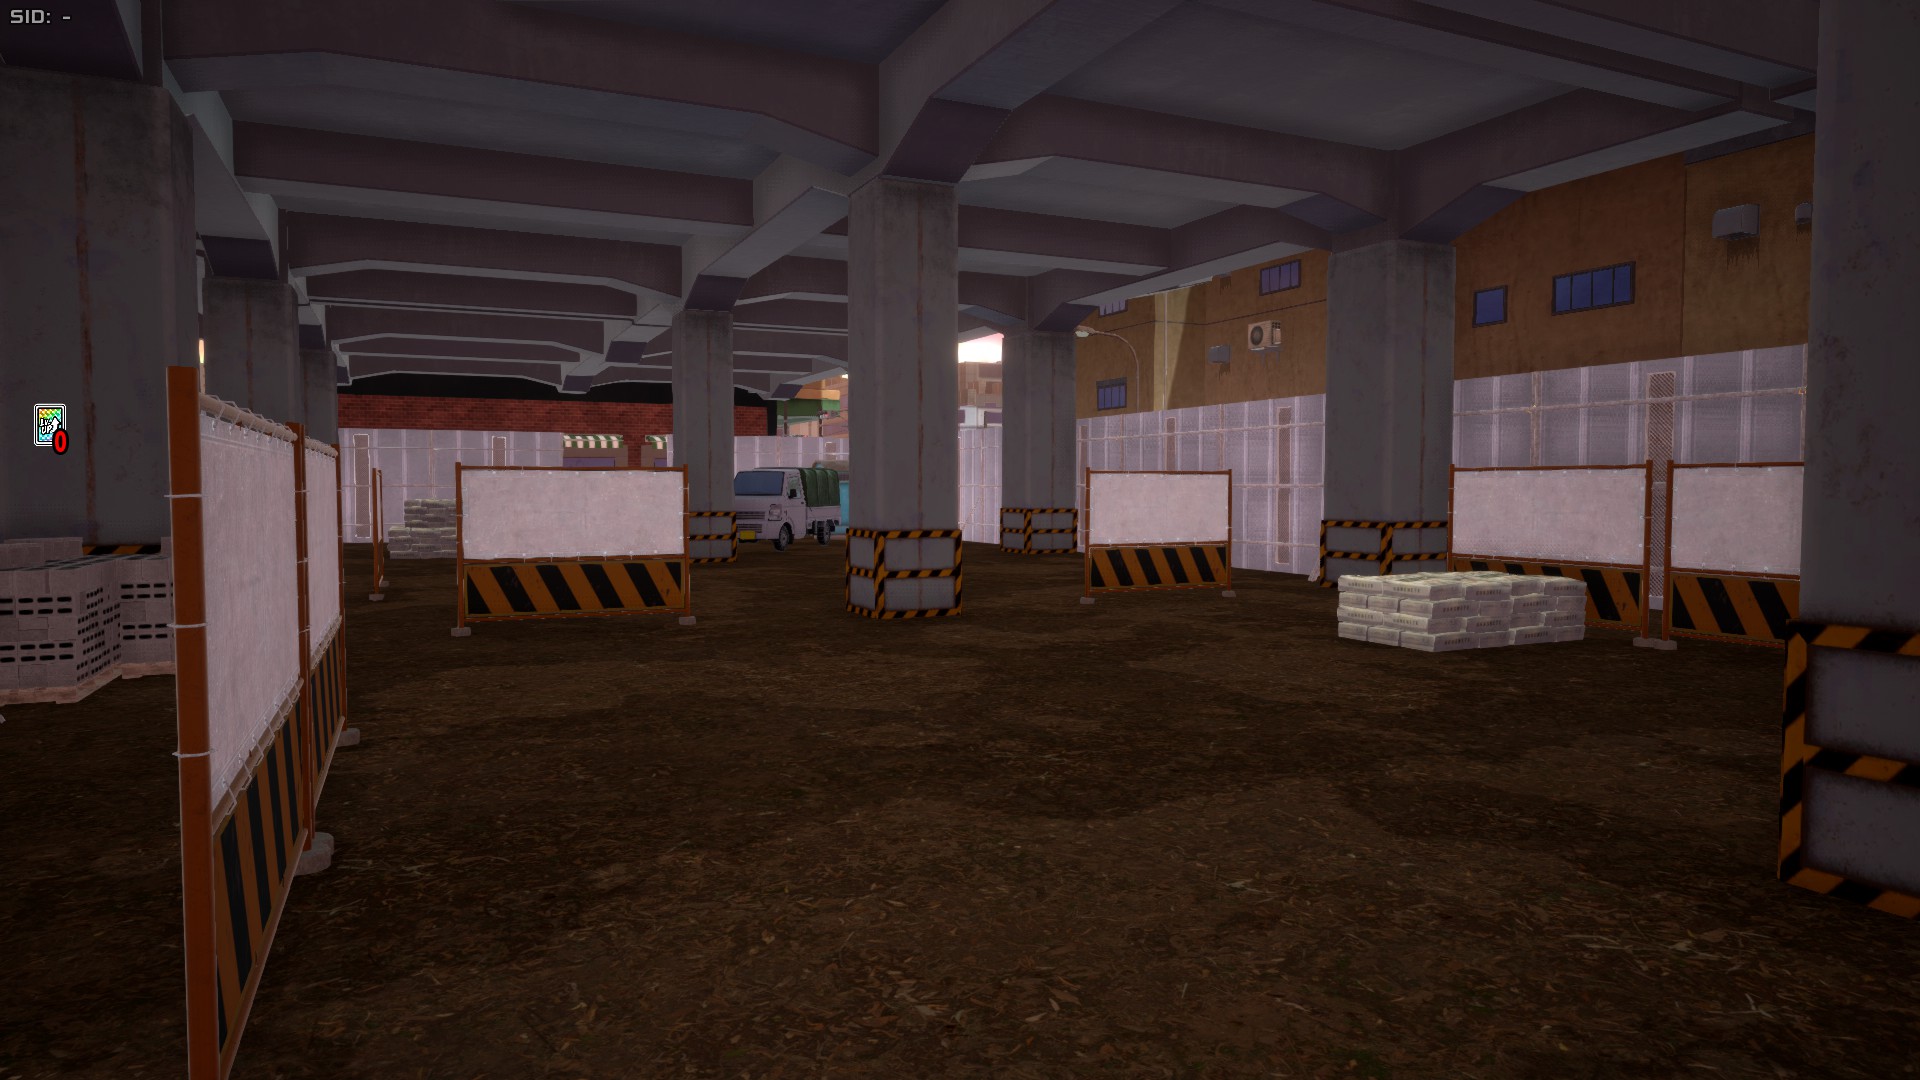
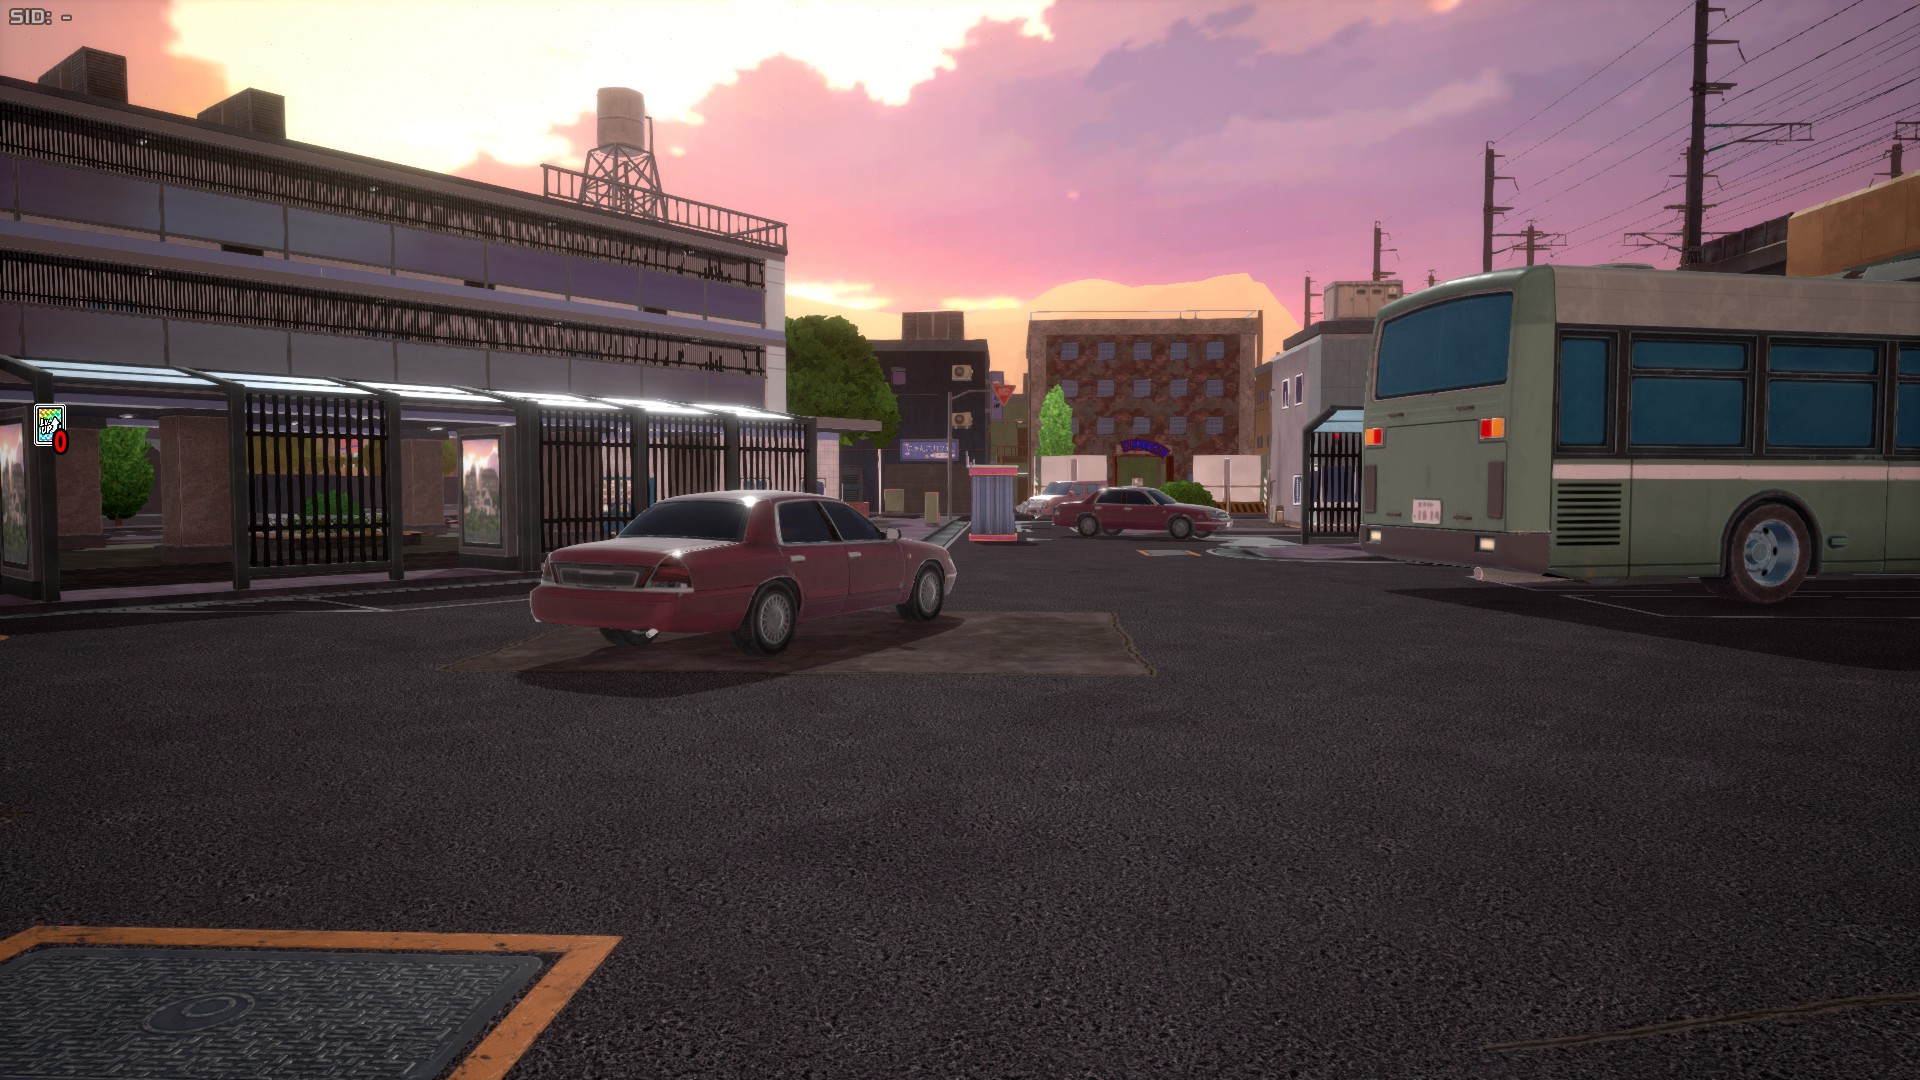
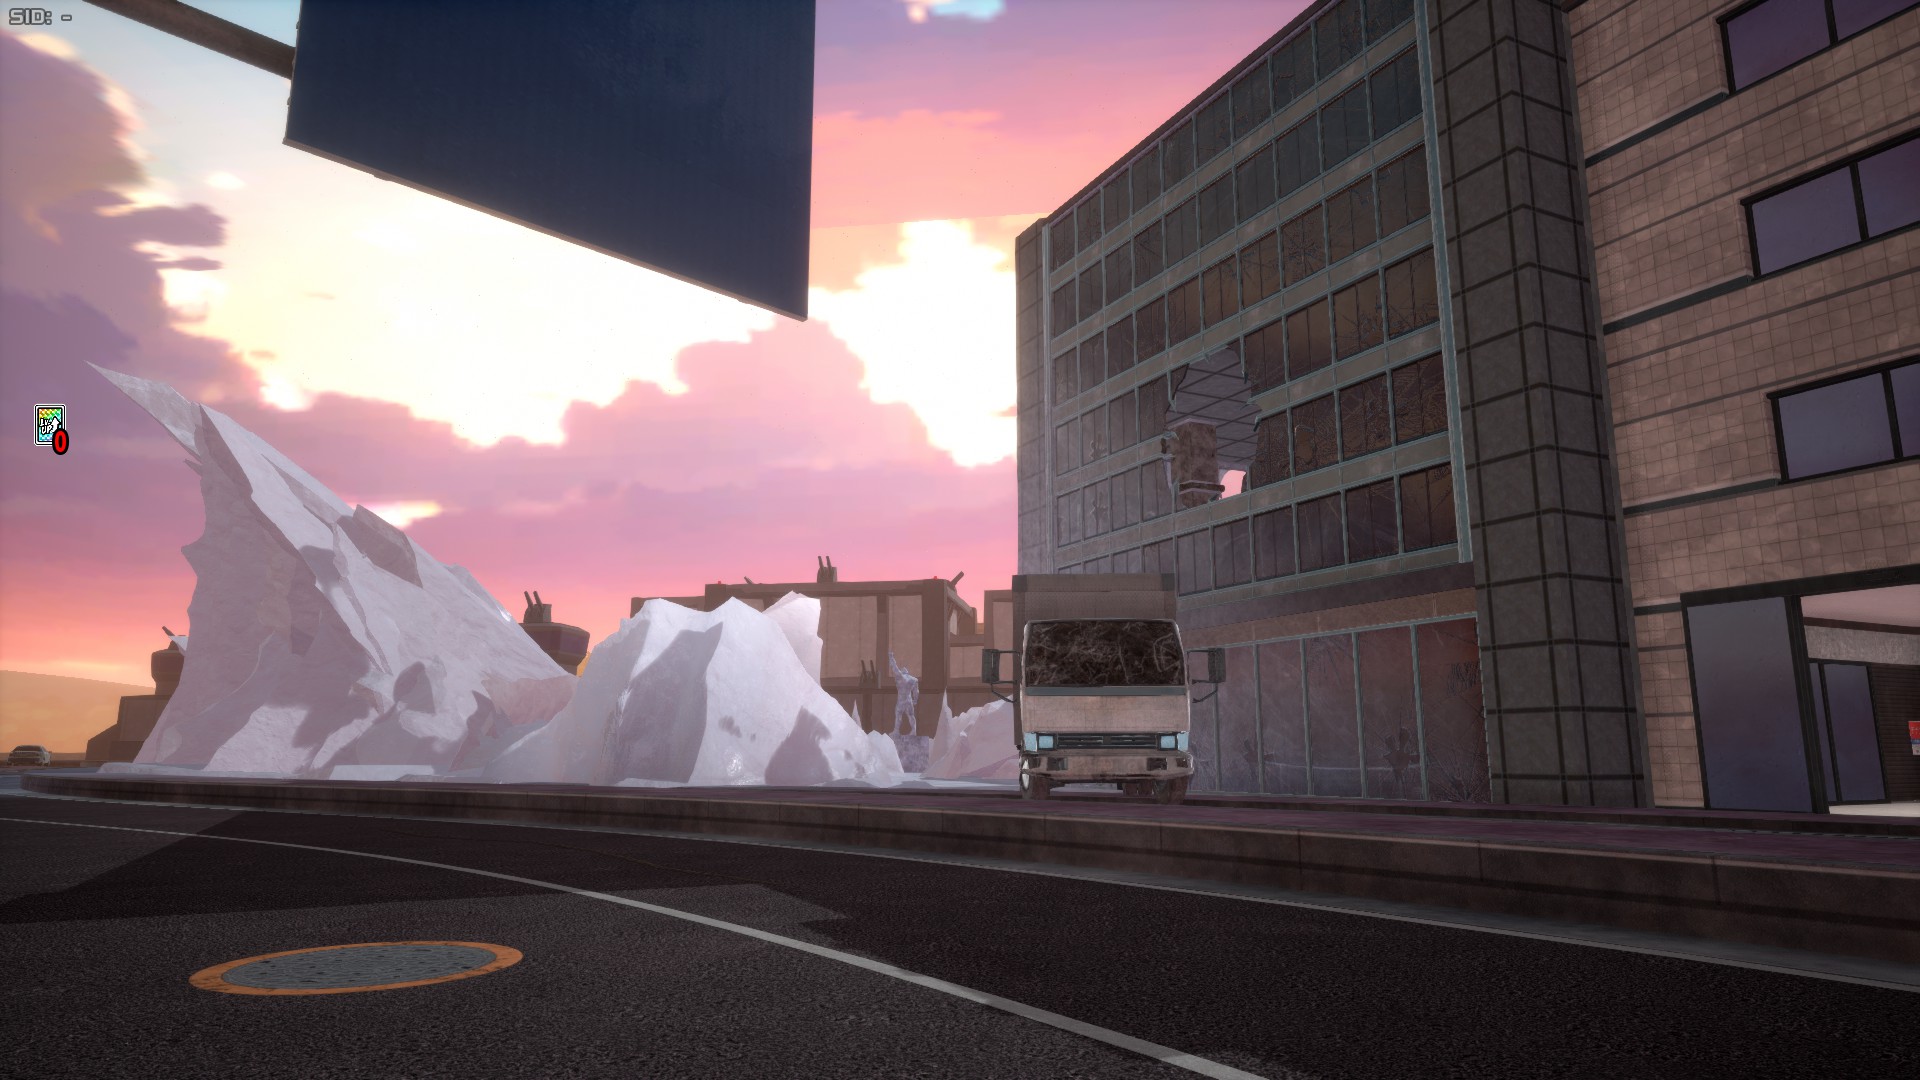
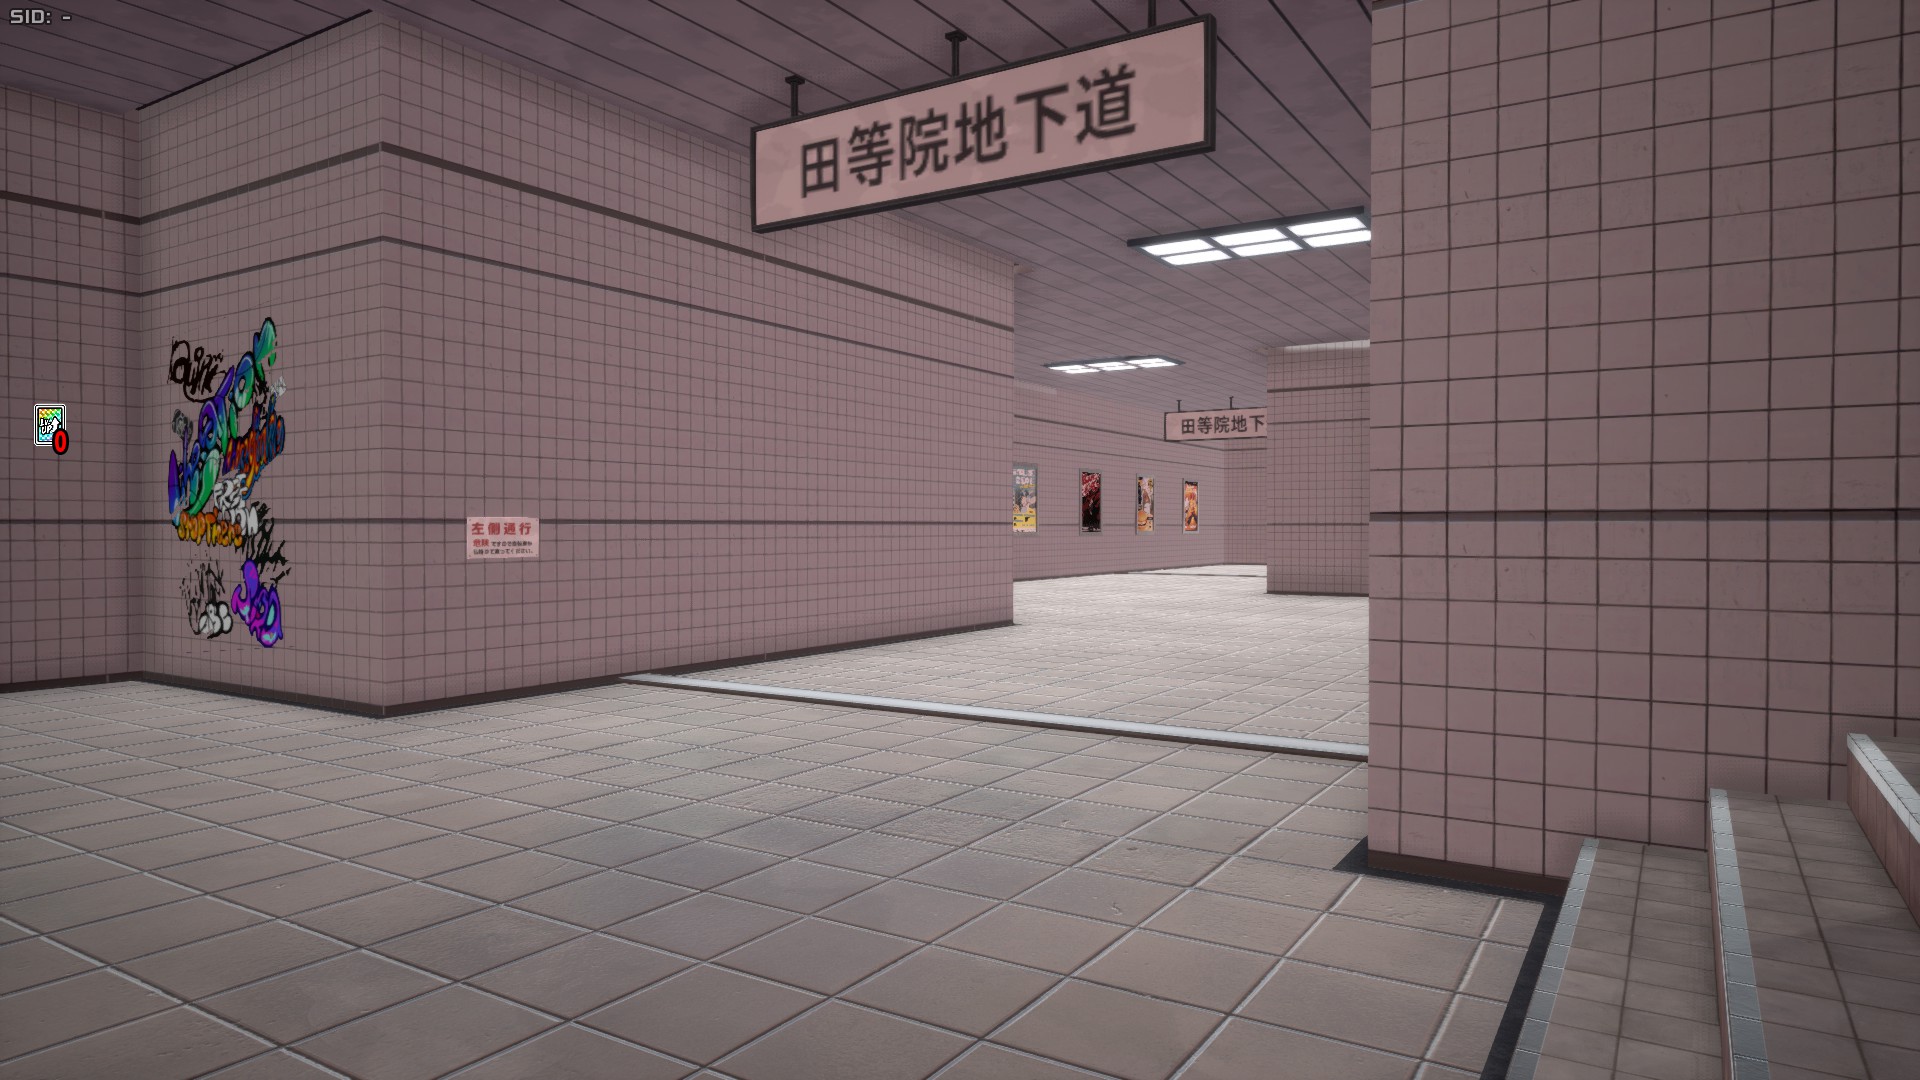
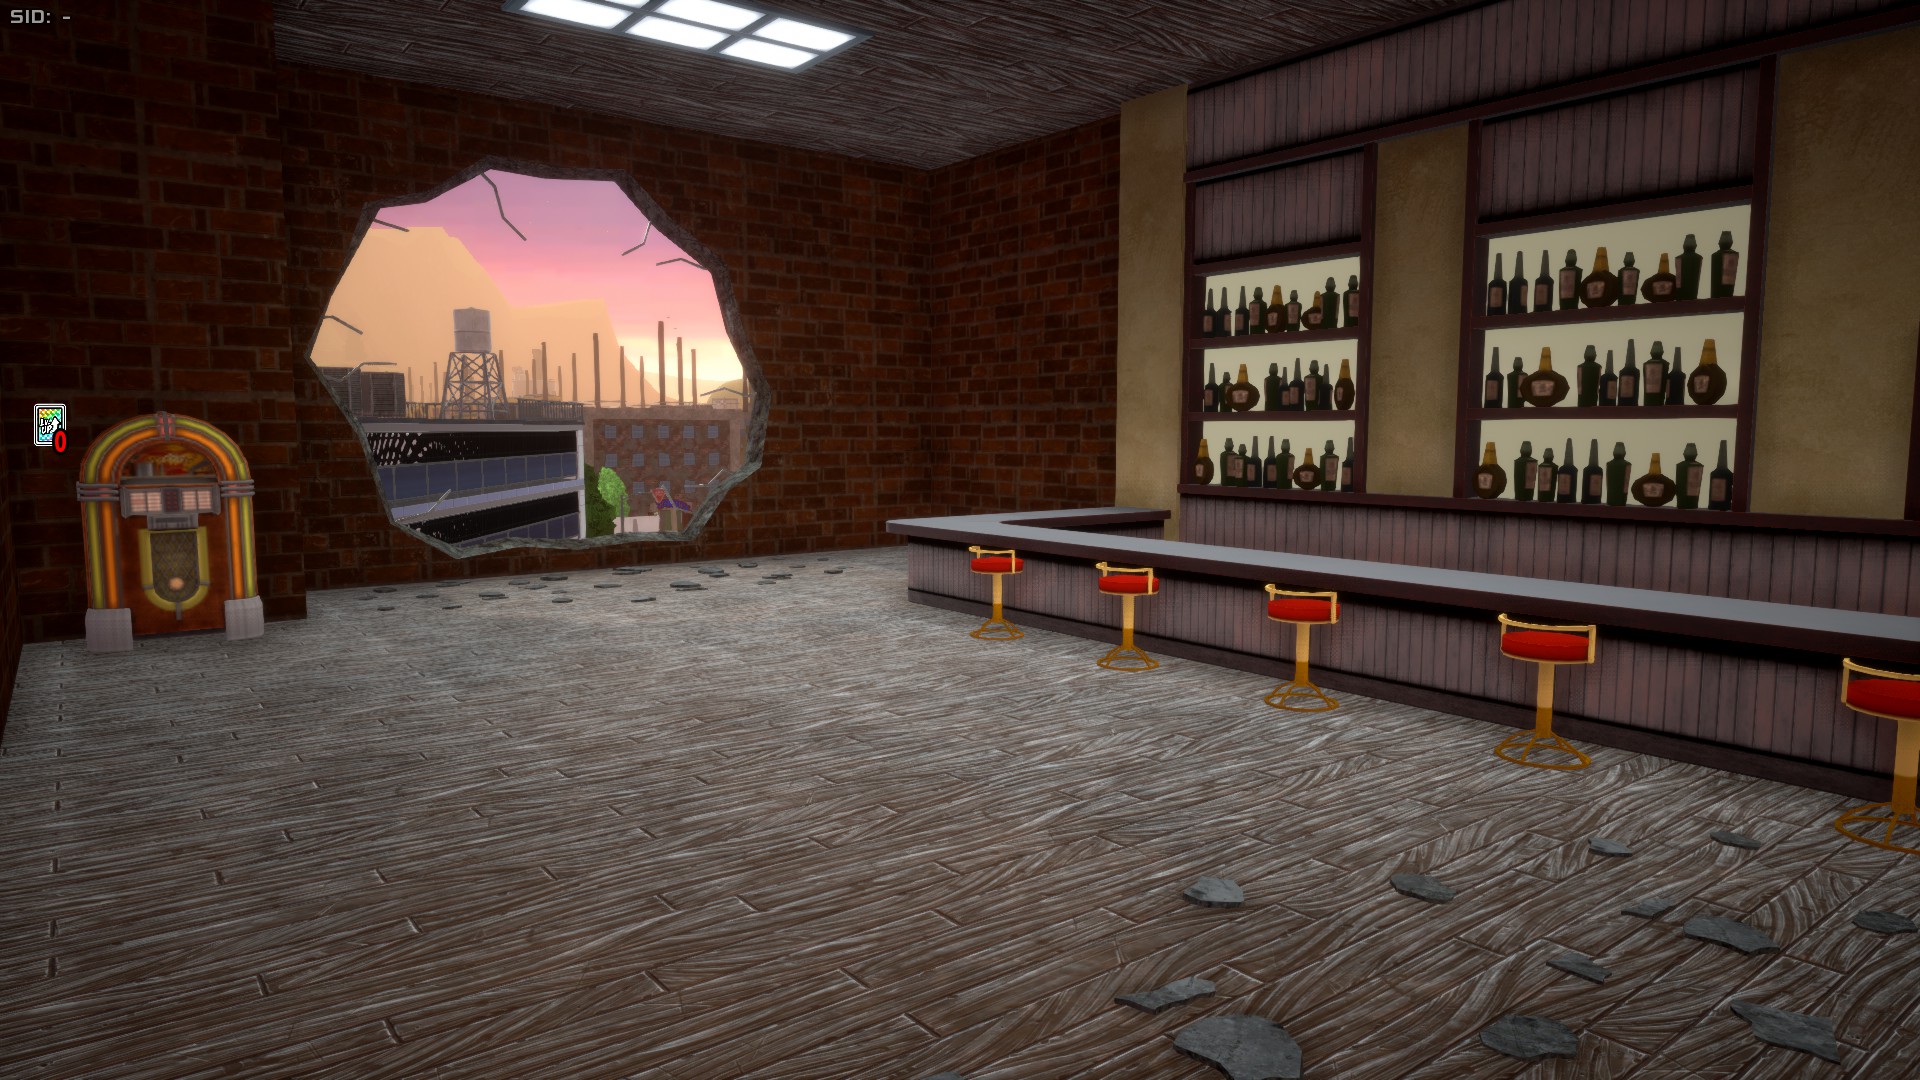
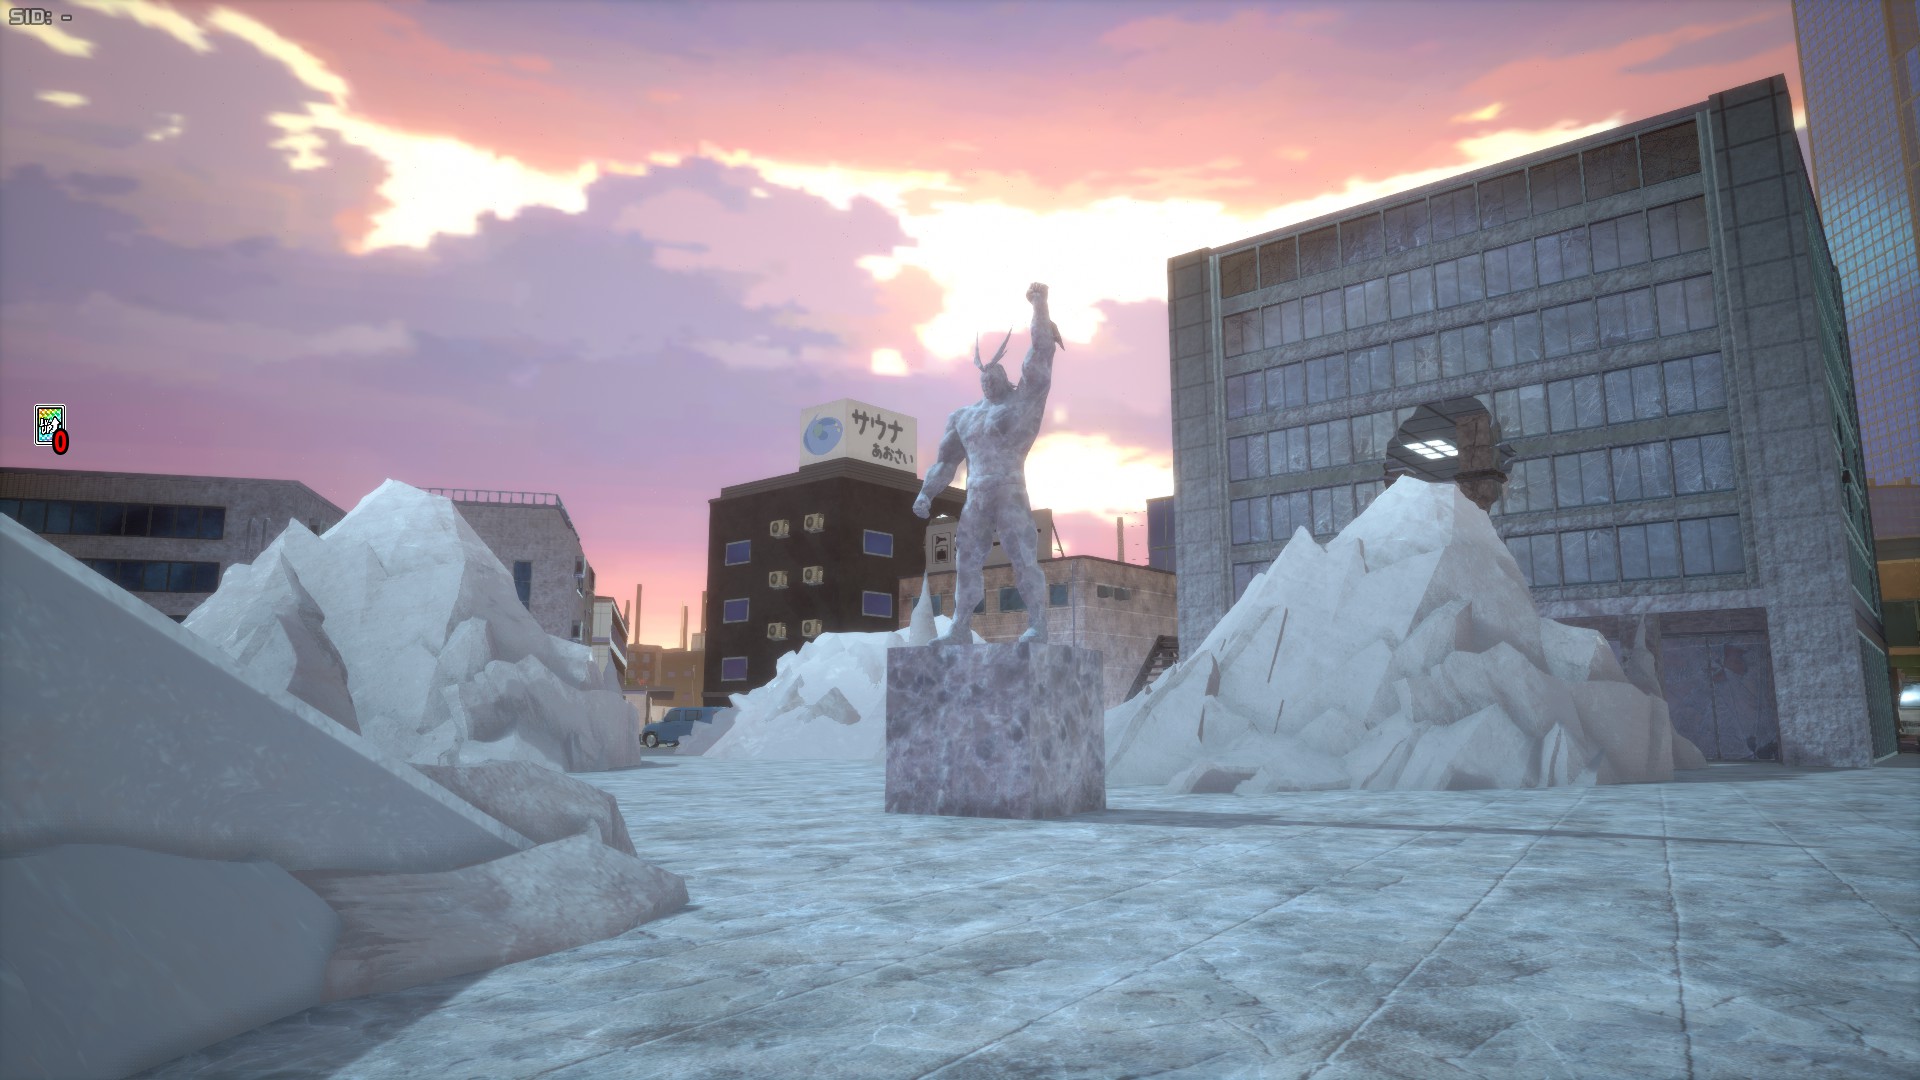
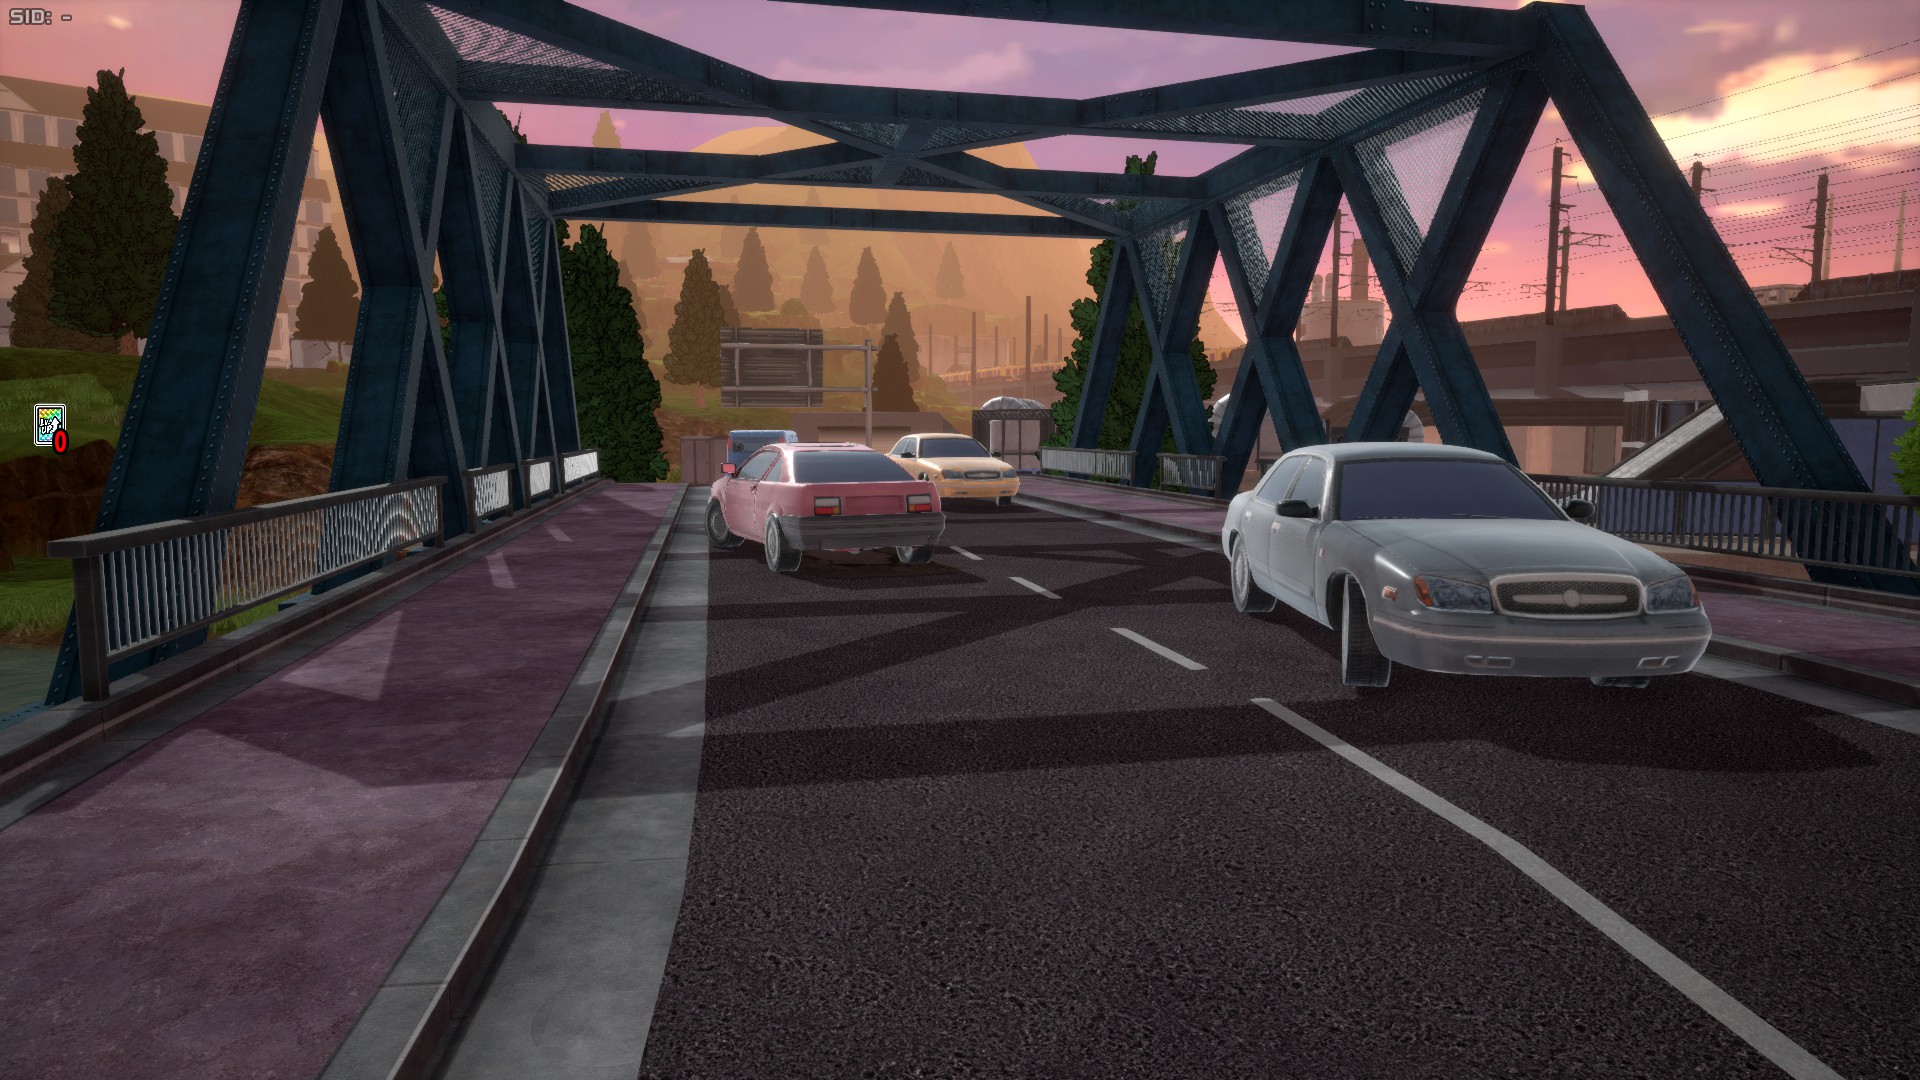
The Kamino Ward Area is a mostly elongated zone that lies on the center-west side of the map and spans all the way to the north-western side. It features many tight alleys, buildings, a construction area, an underground passage, and a plaza with ice. It most notably features a Train Station and a giant railed bridge that cuts over the whole map, causing a divide between the western plus south-western side of the map and the rest of the stage, which often creates its own team battle dynamics, separating battles that are close together. This area is home to a few references to the anime, such as Gran Torino's house from Season 2 of the anime, the League of Villains' bar, and the frozen Kamino Plaza from the encounter between Shoto Todoroki and Dabi in Season 7 of the anime.
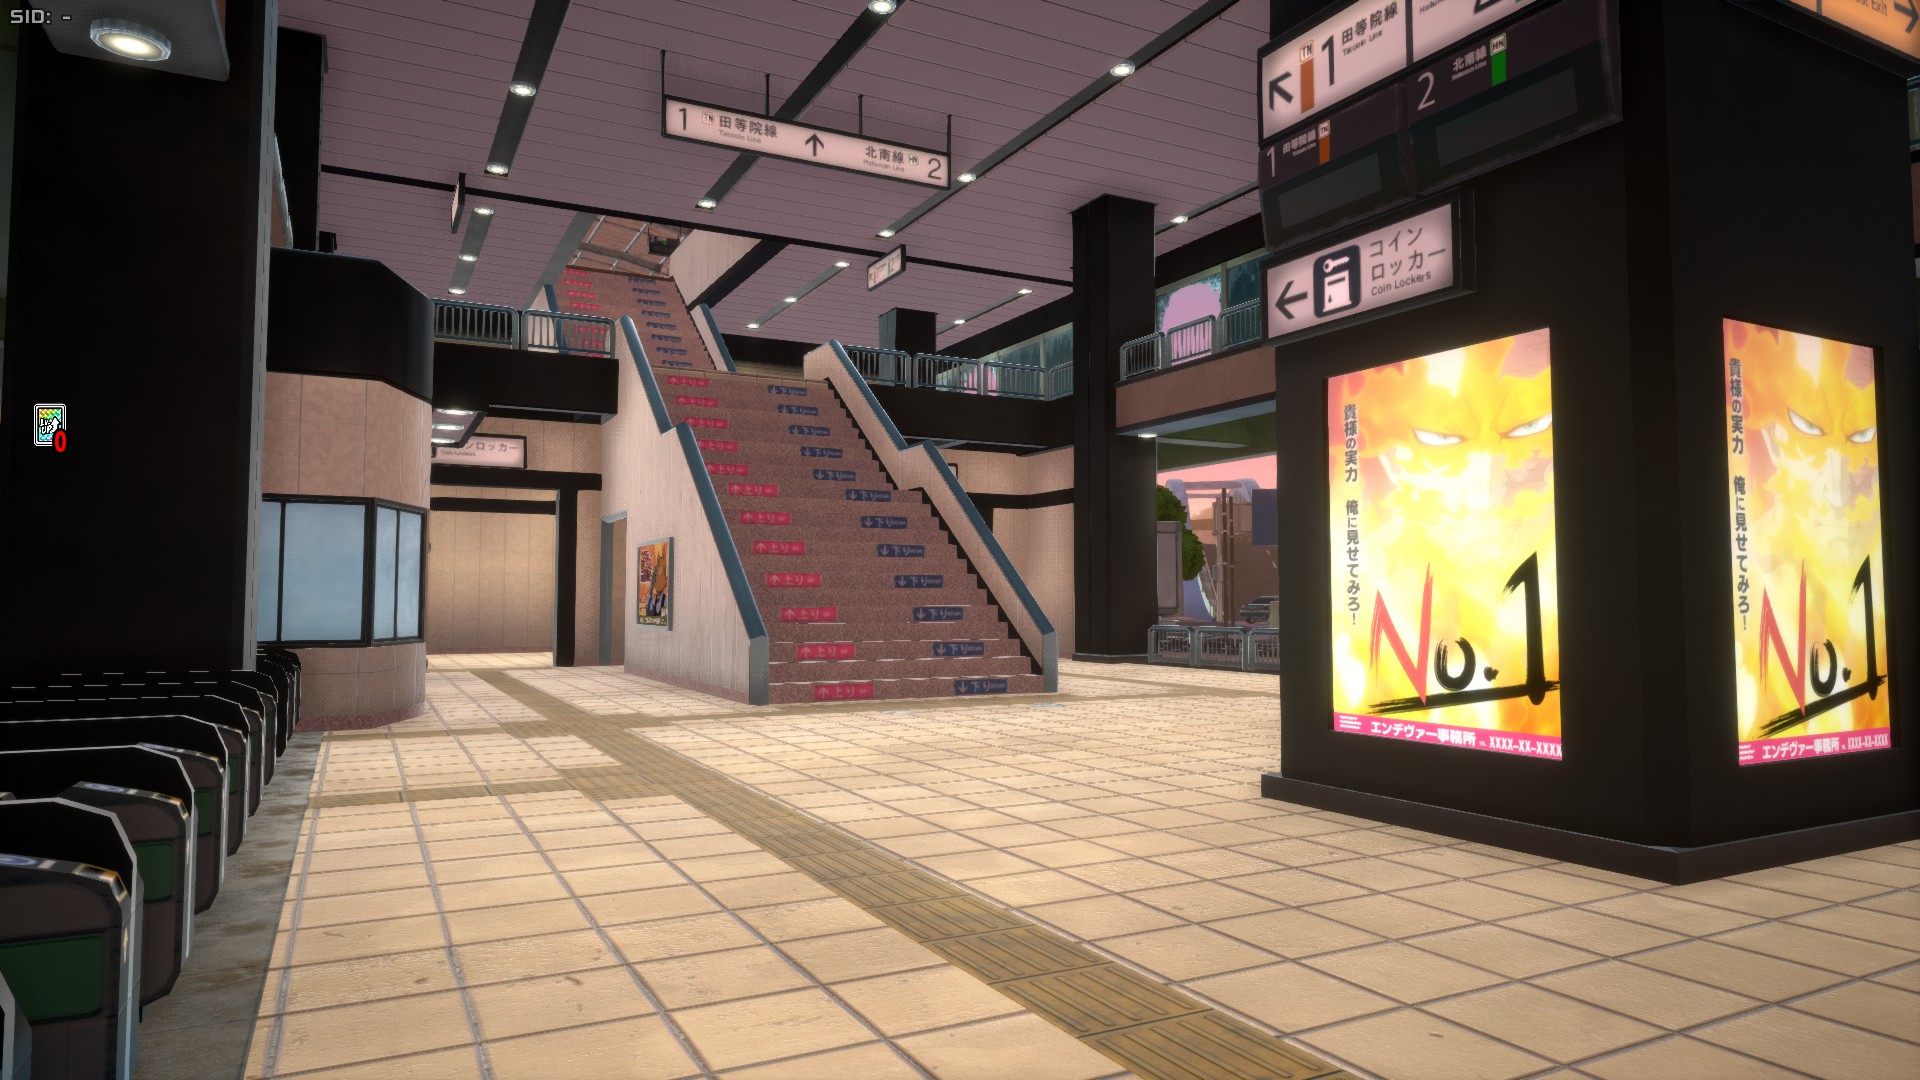
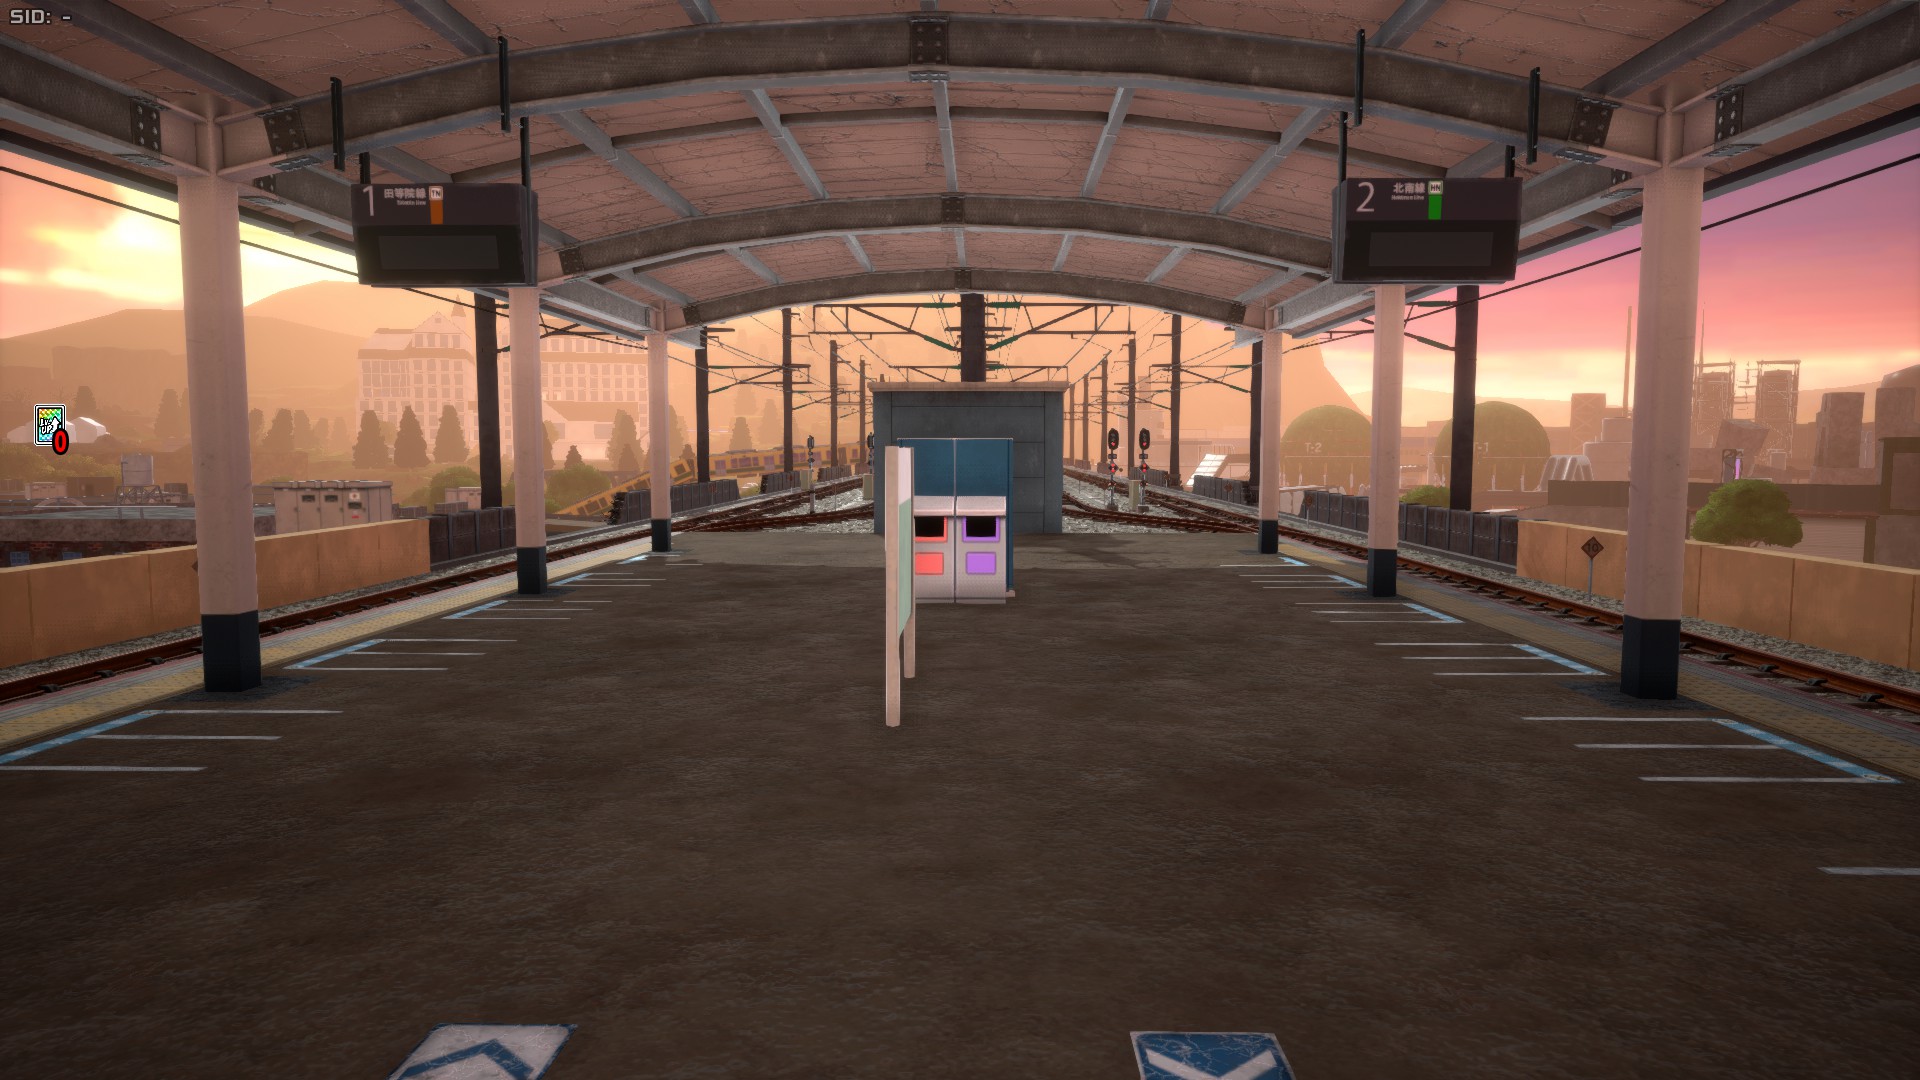
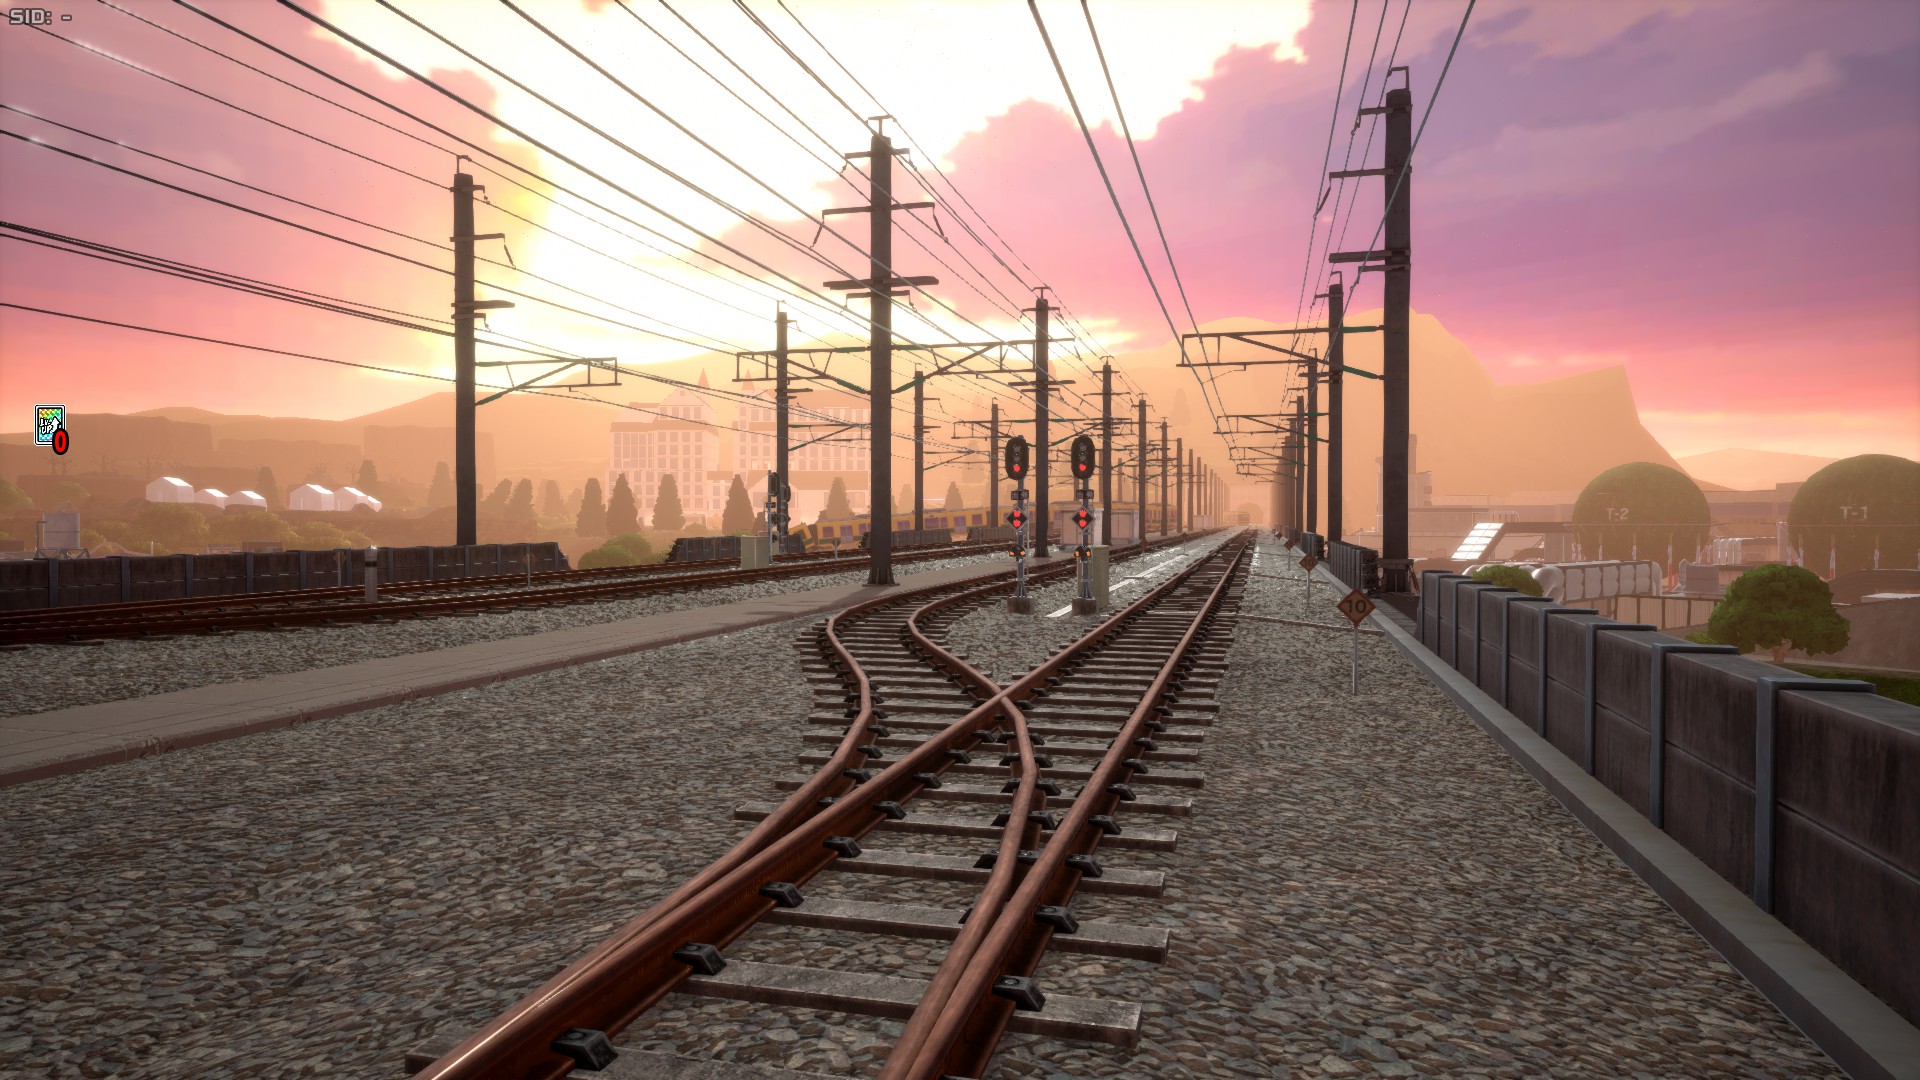
Mountain Lodge
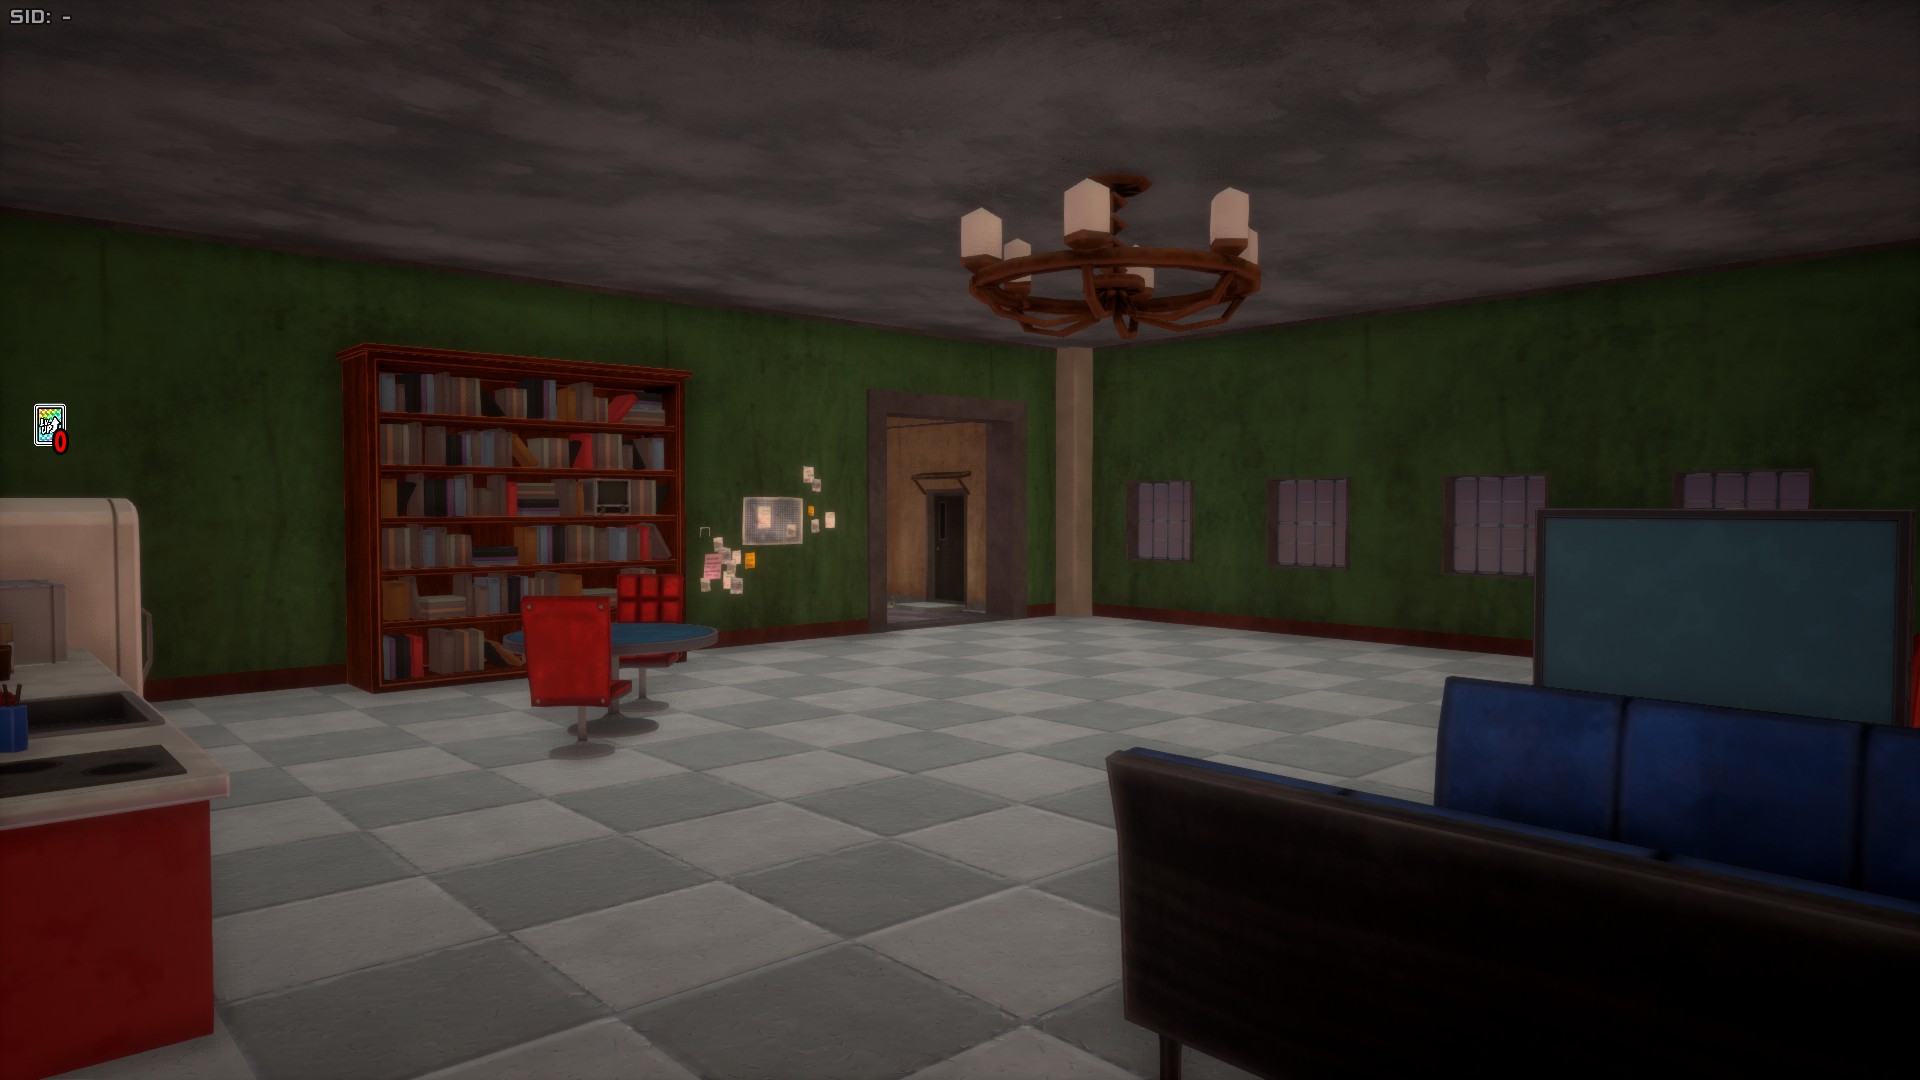
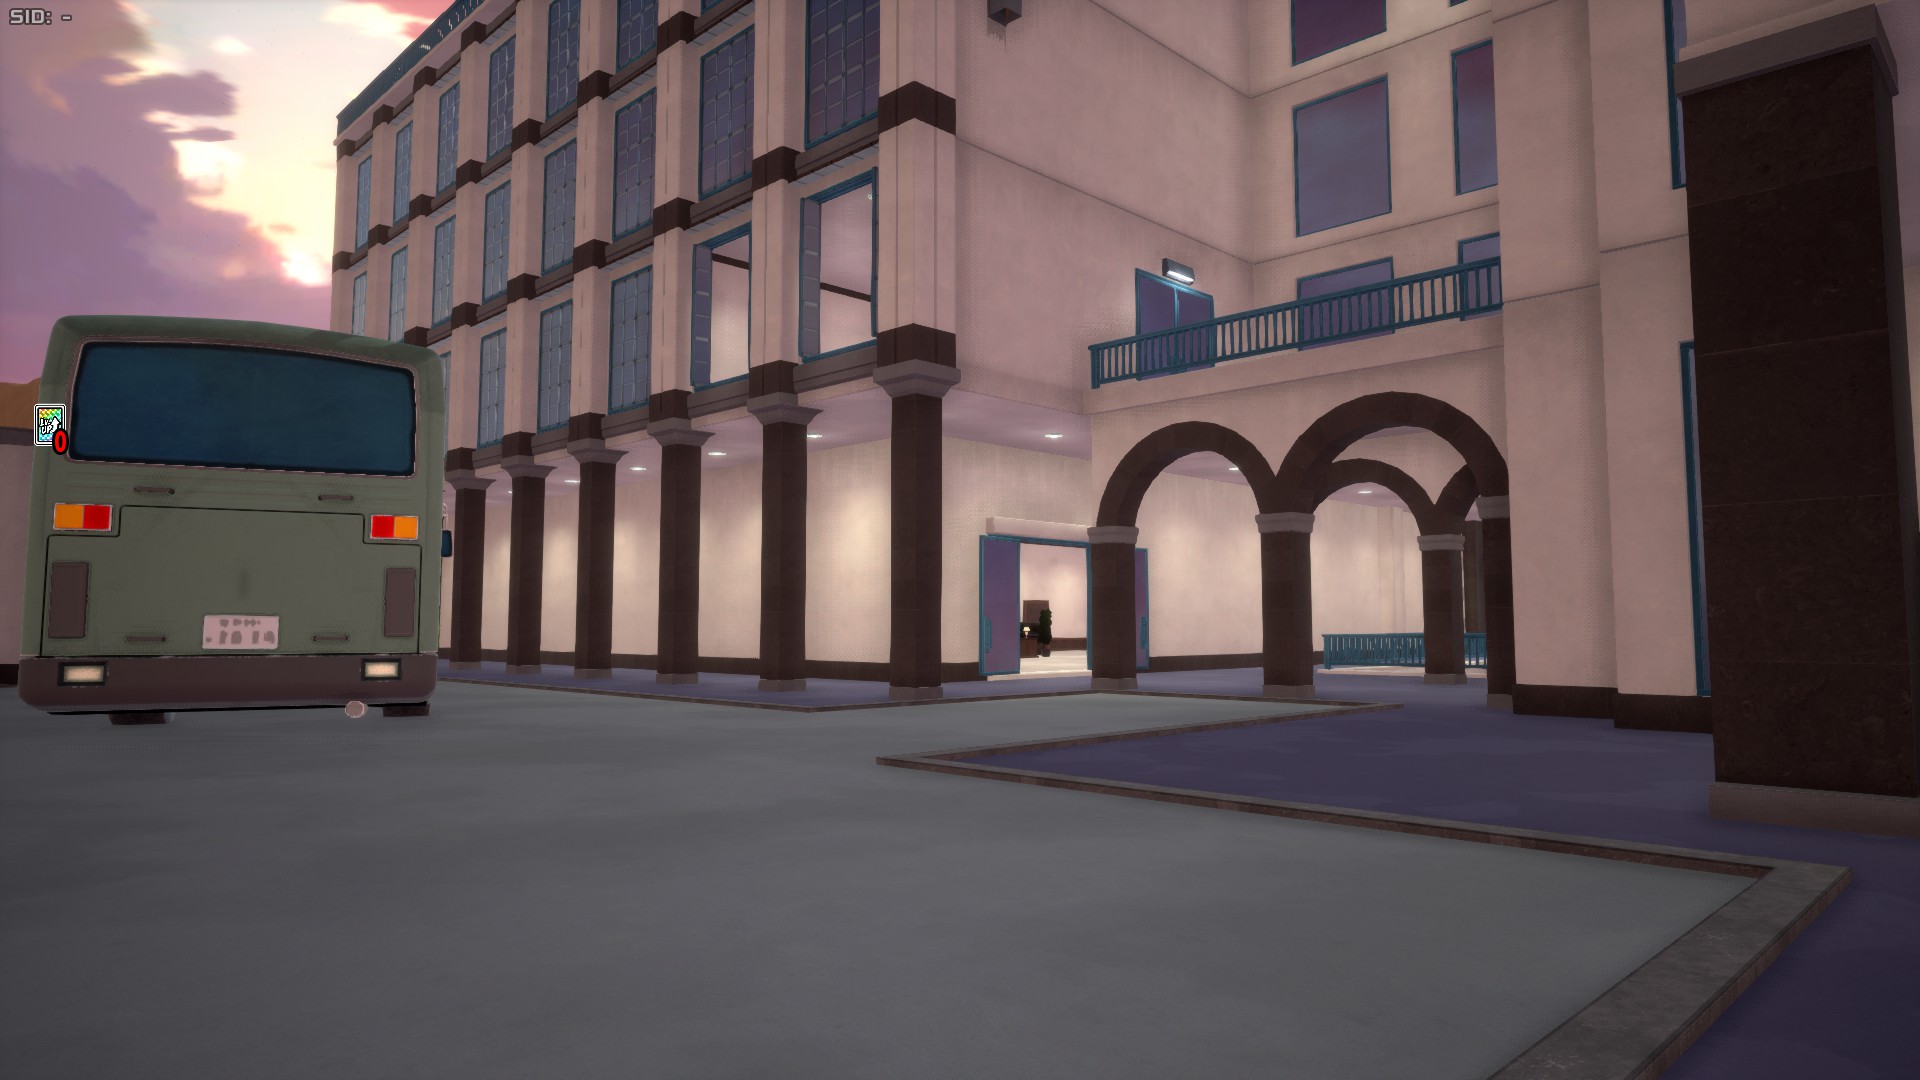
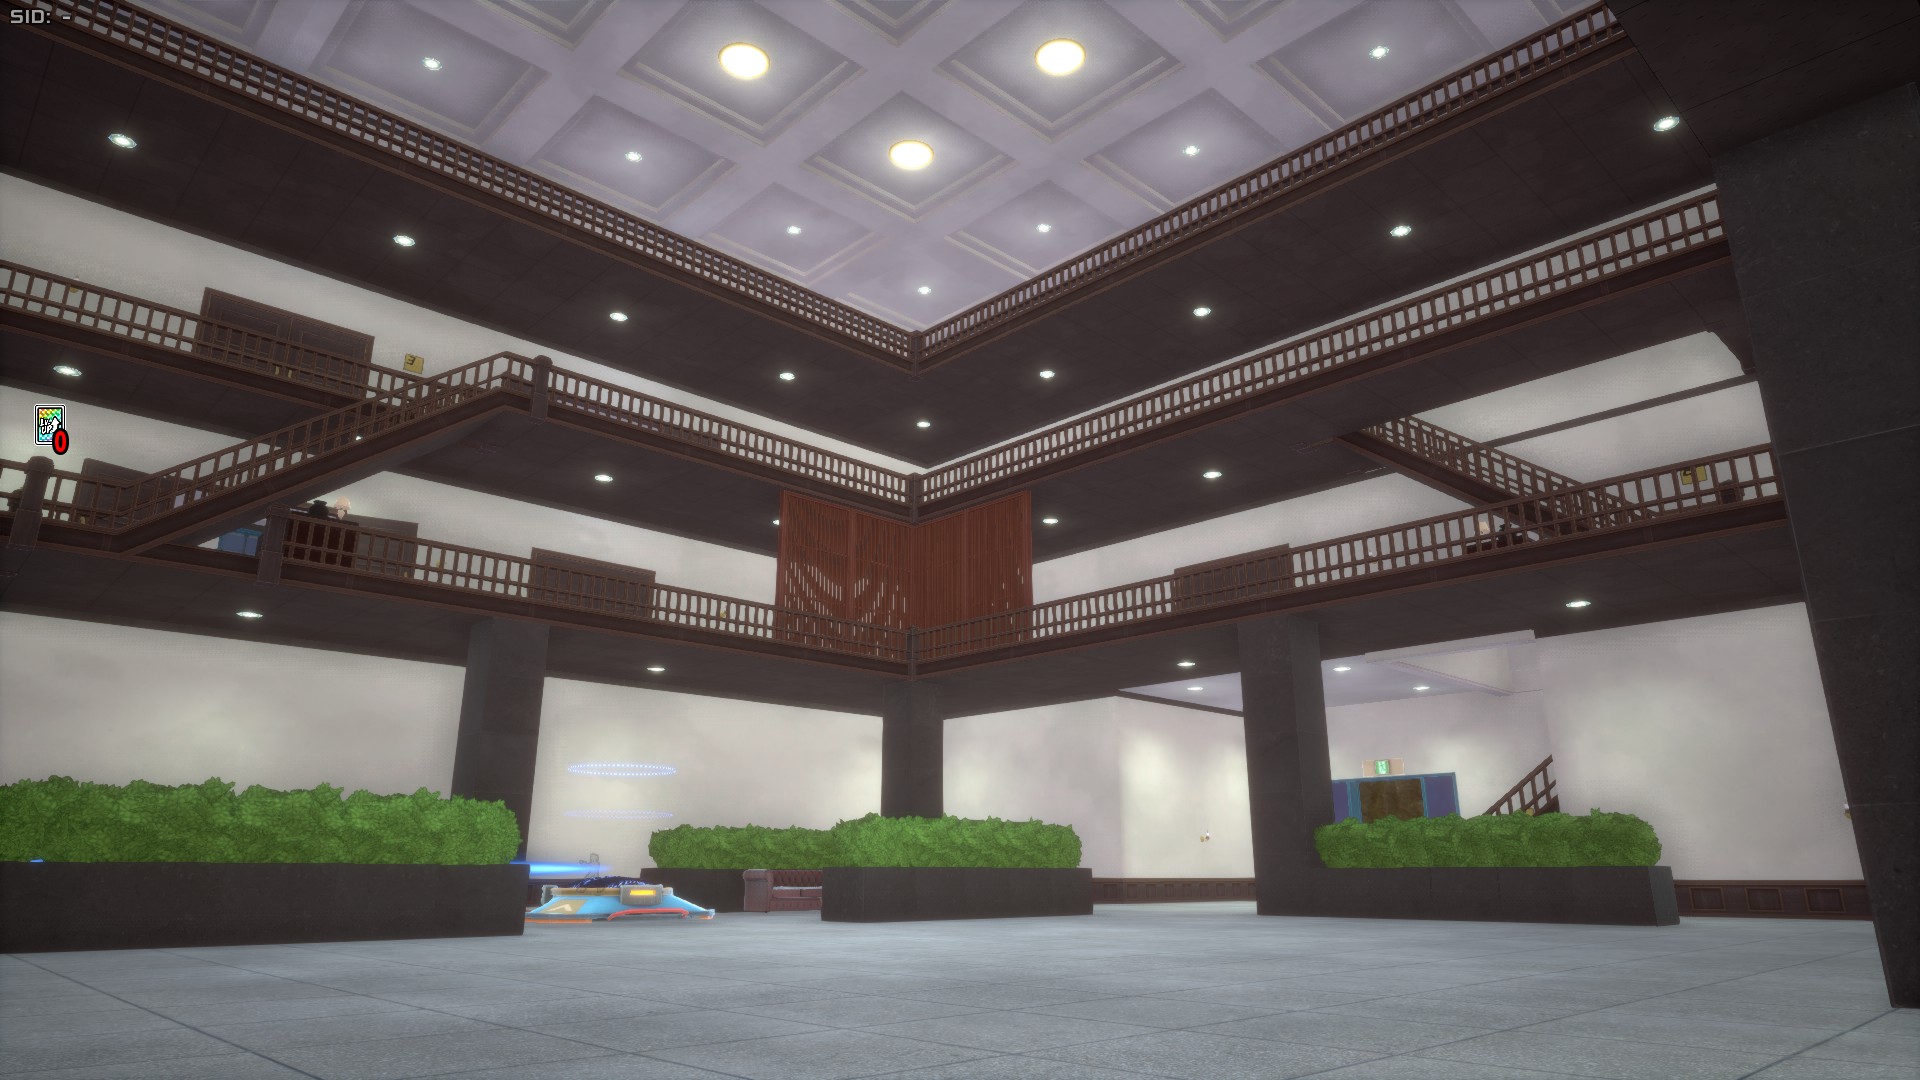
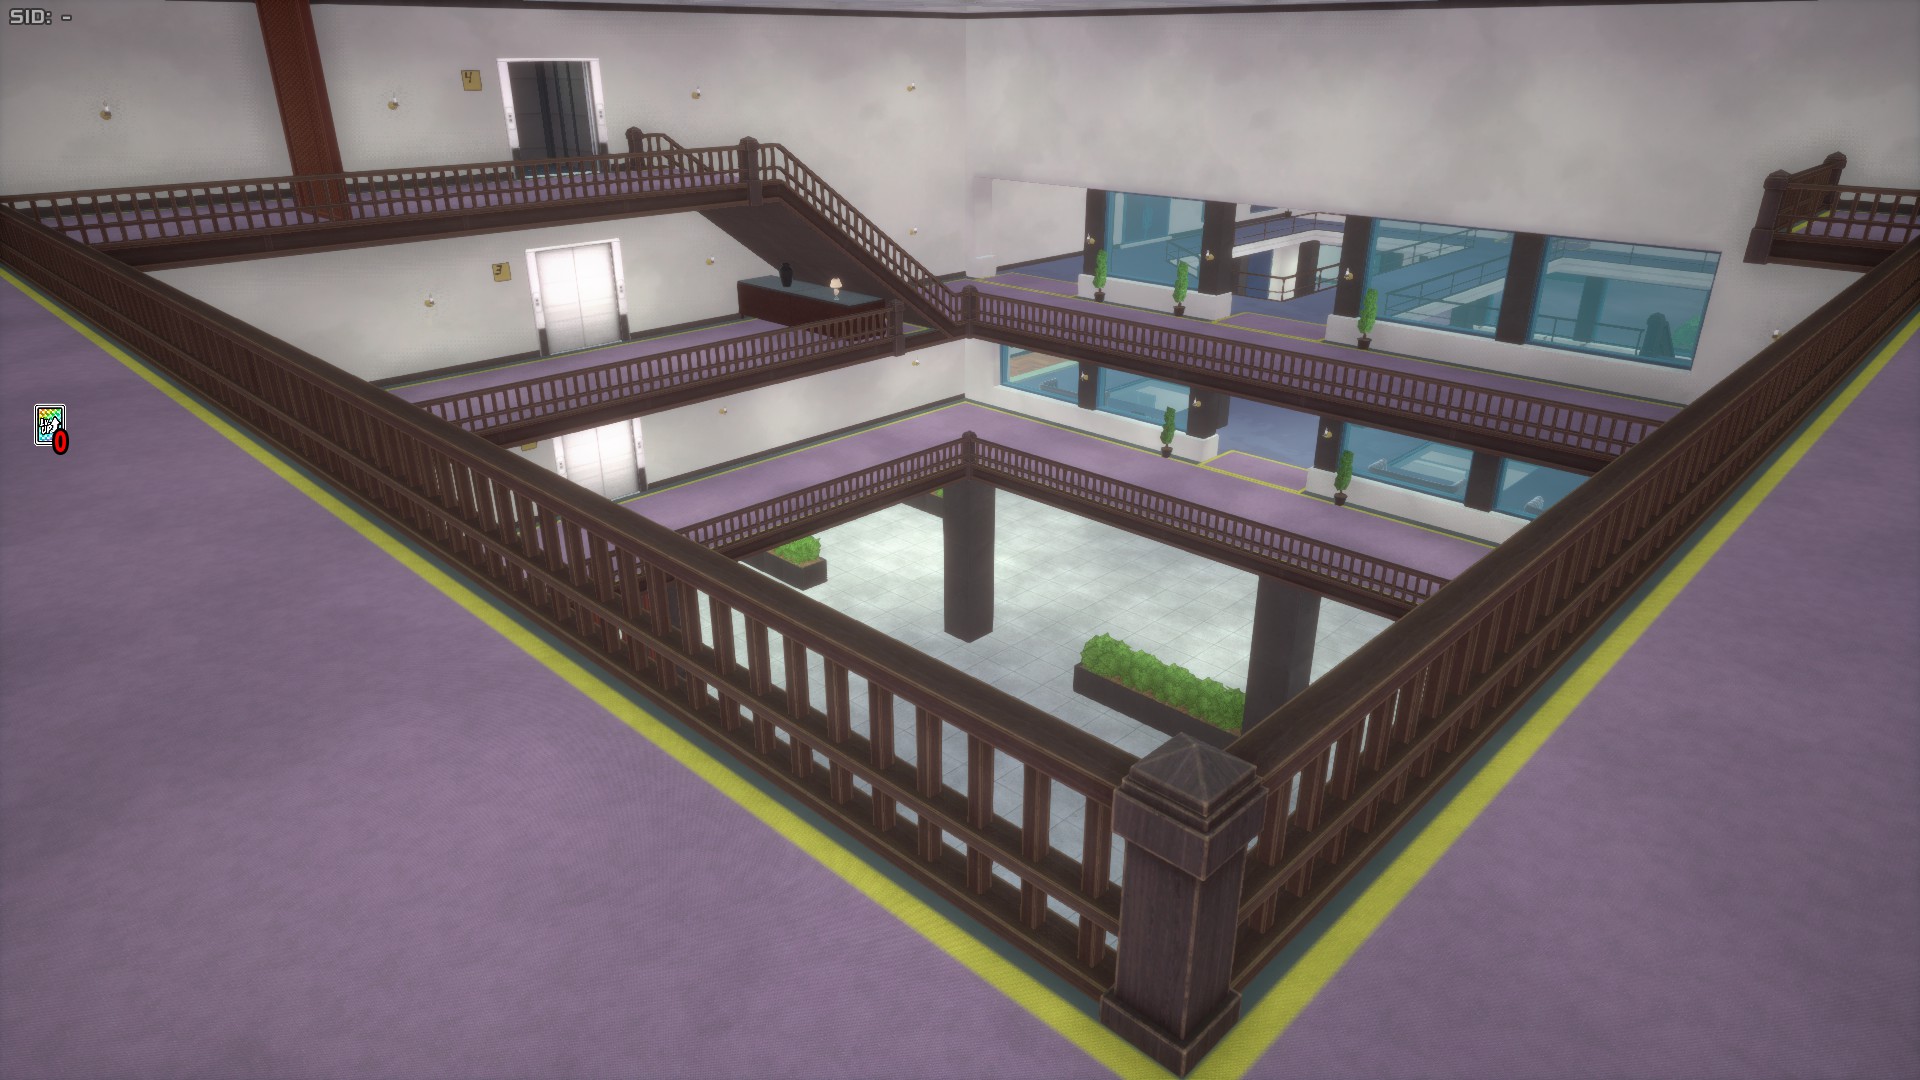
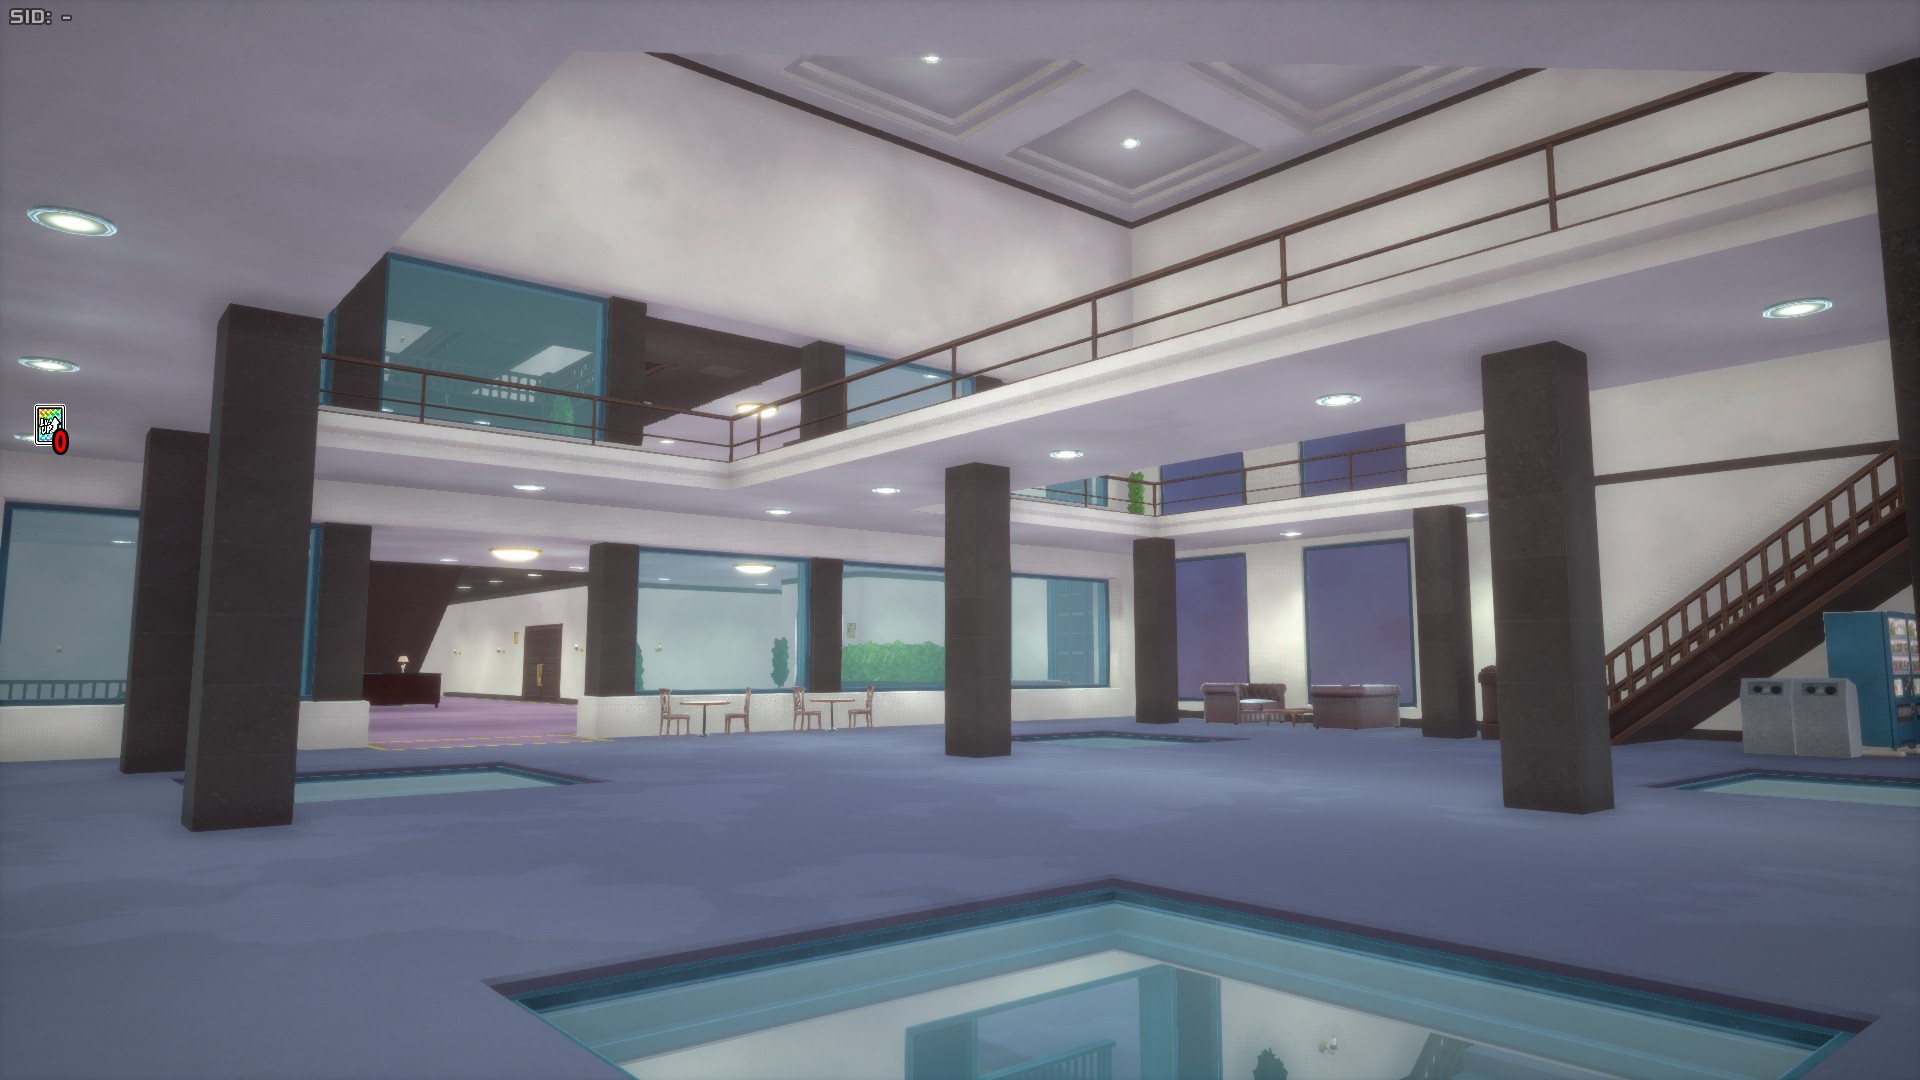
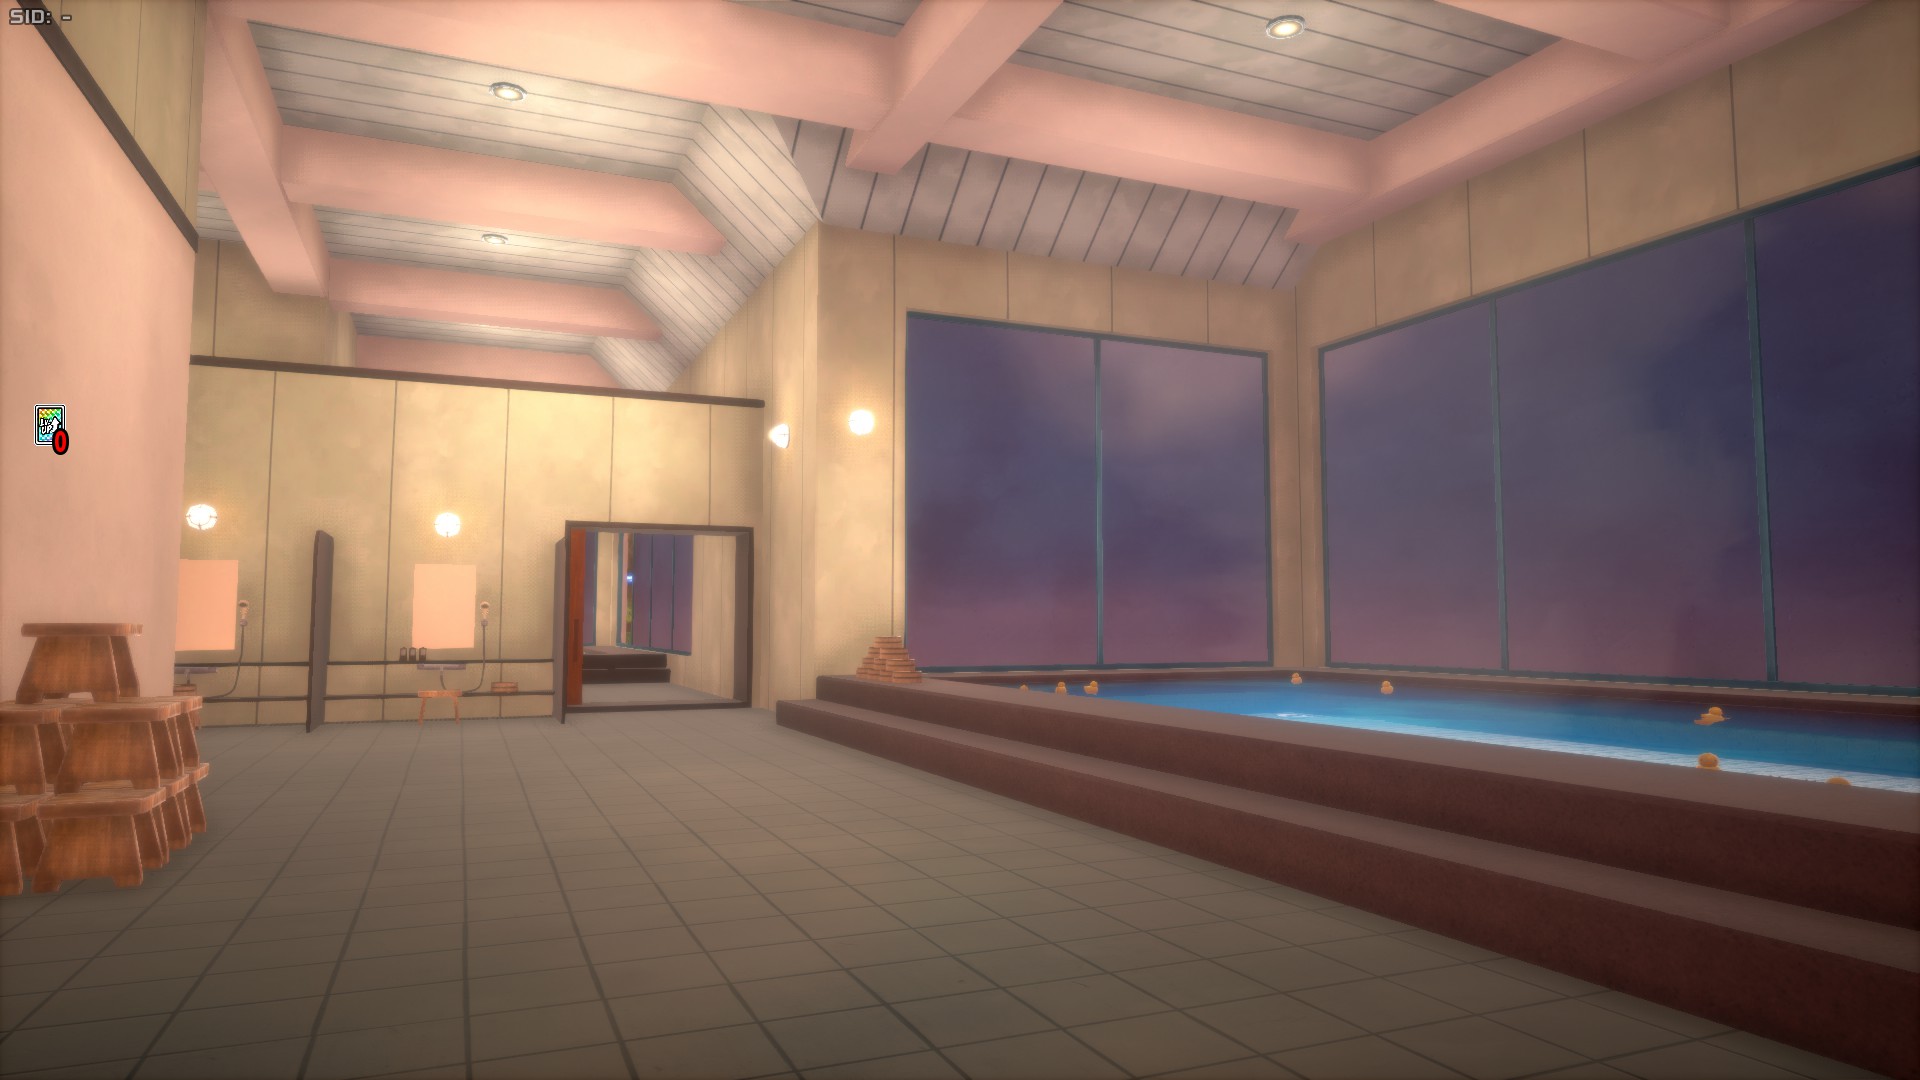
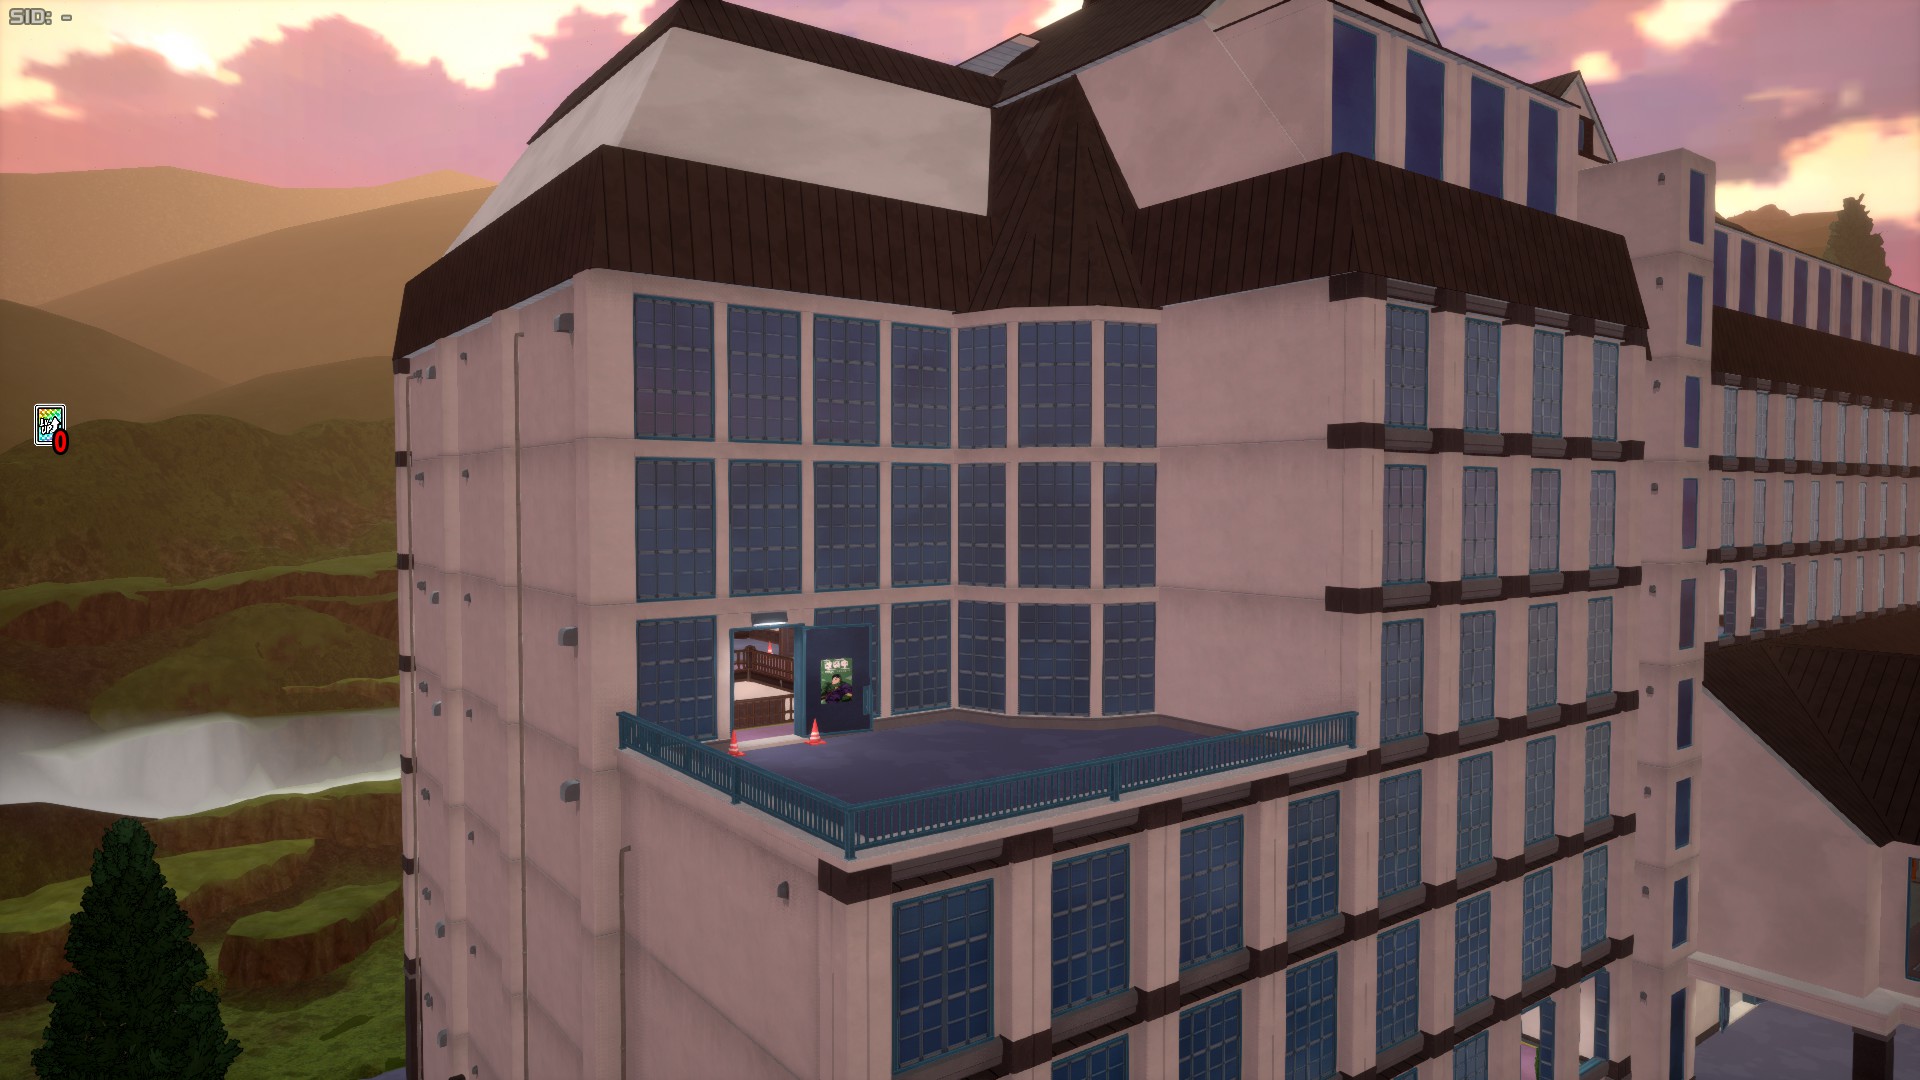
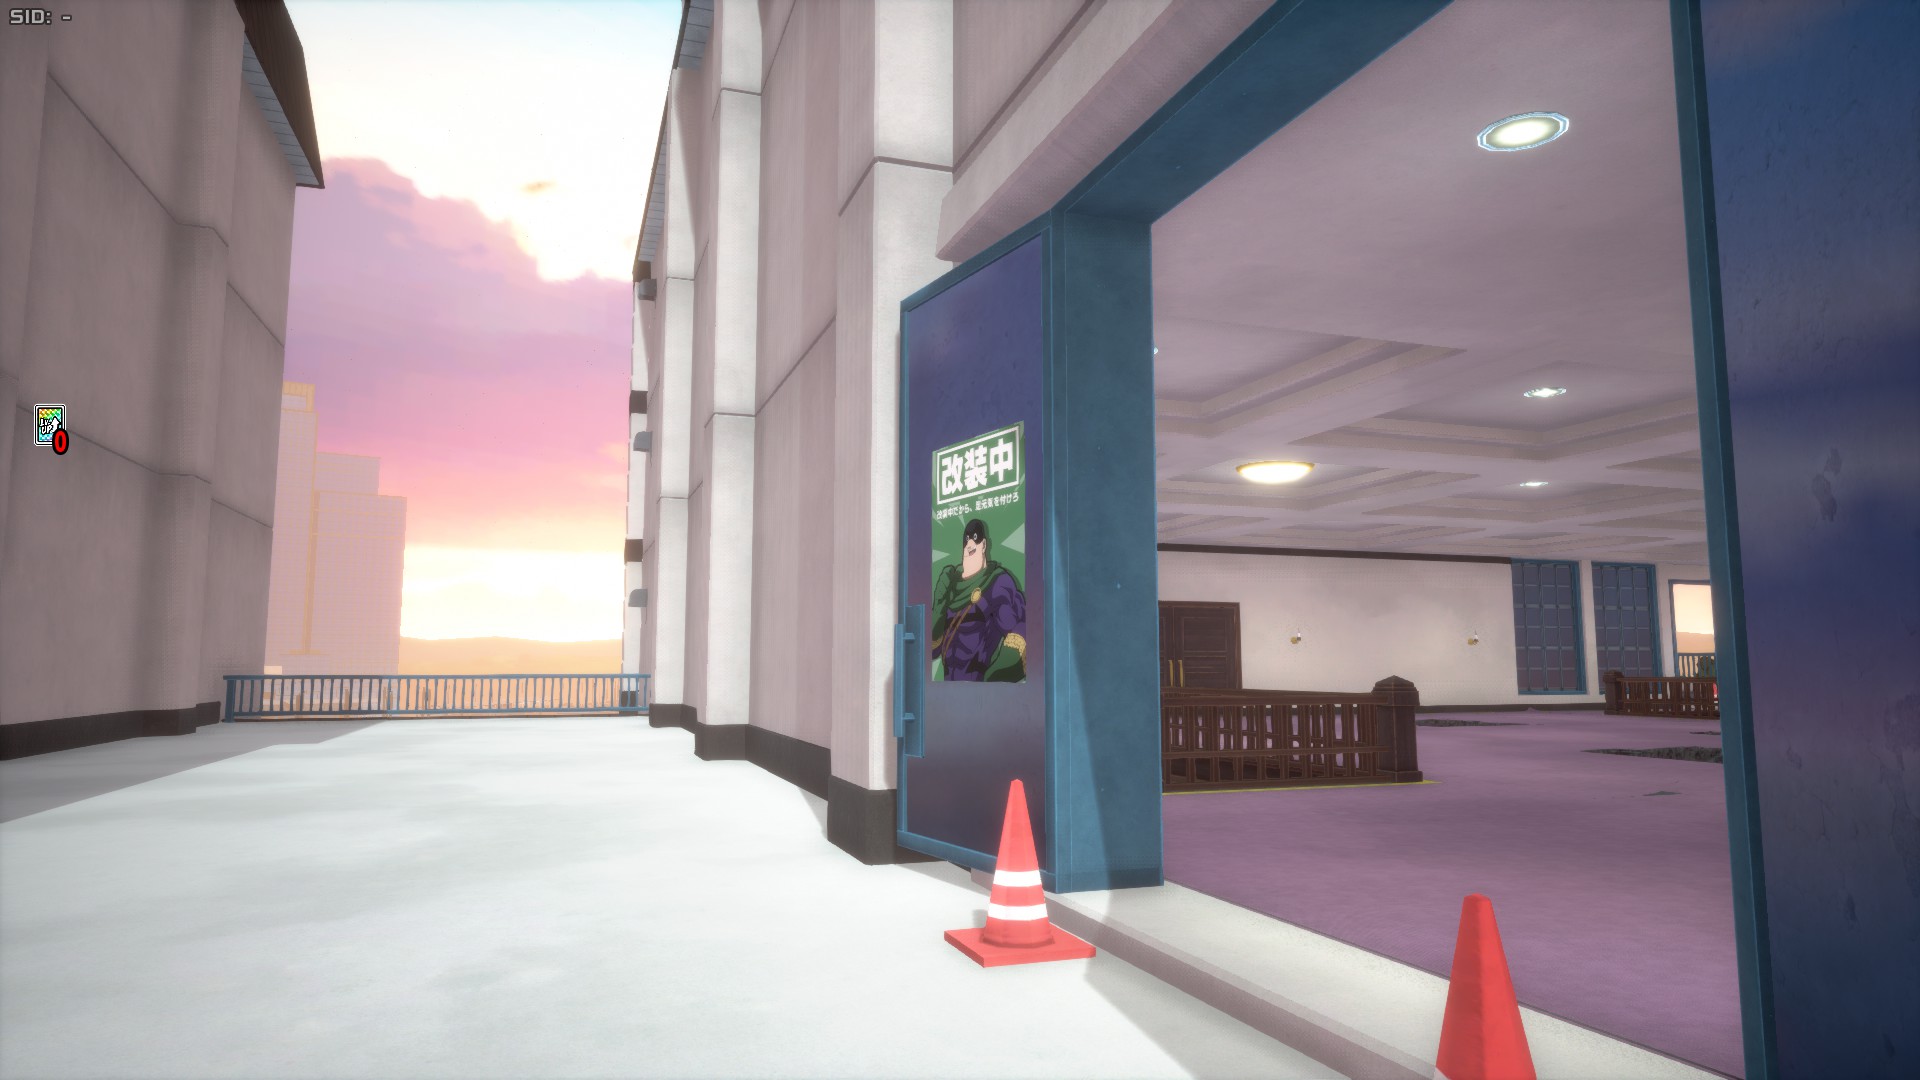
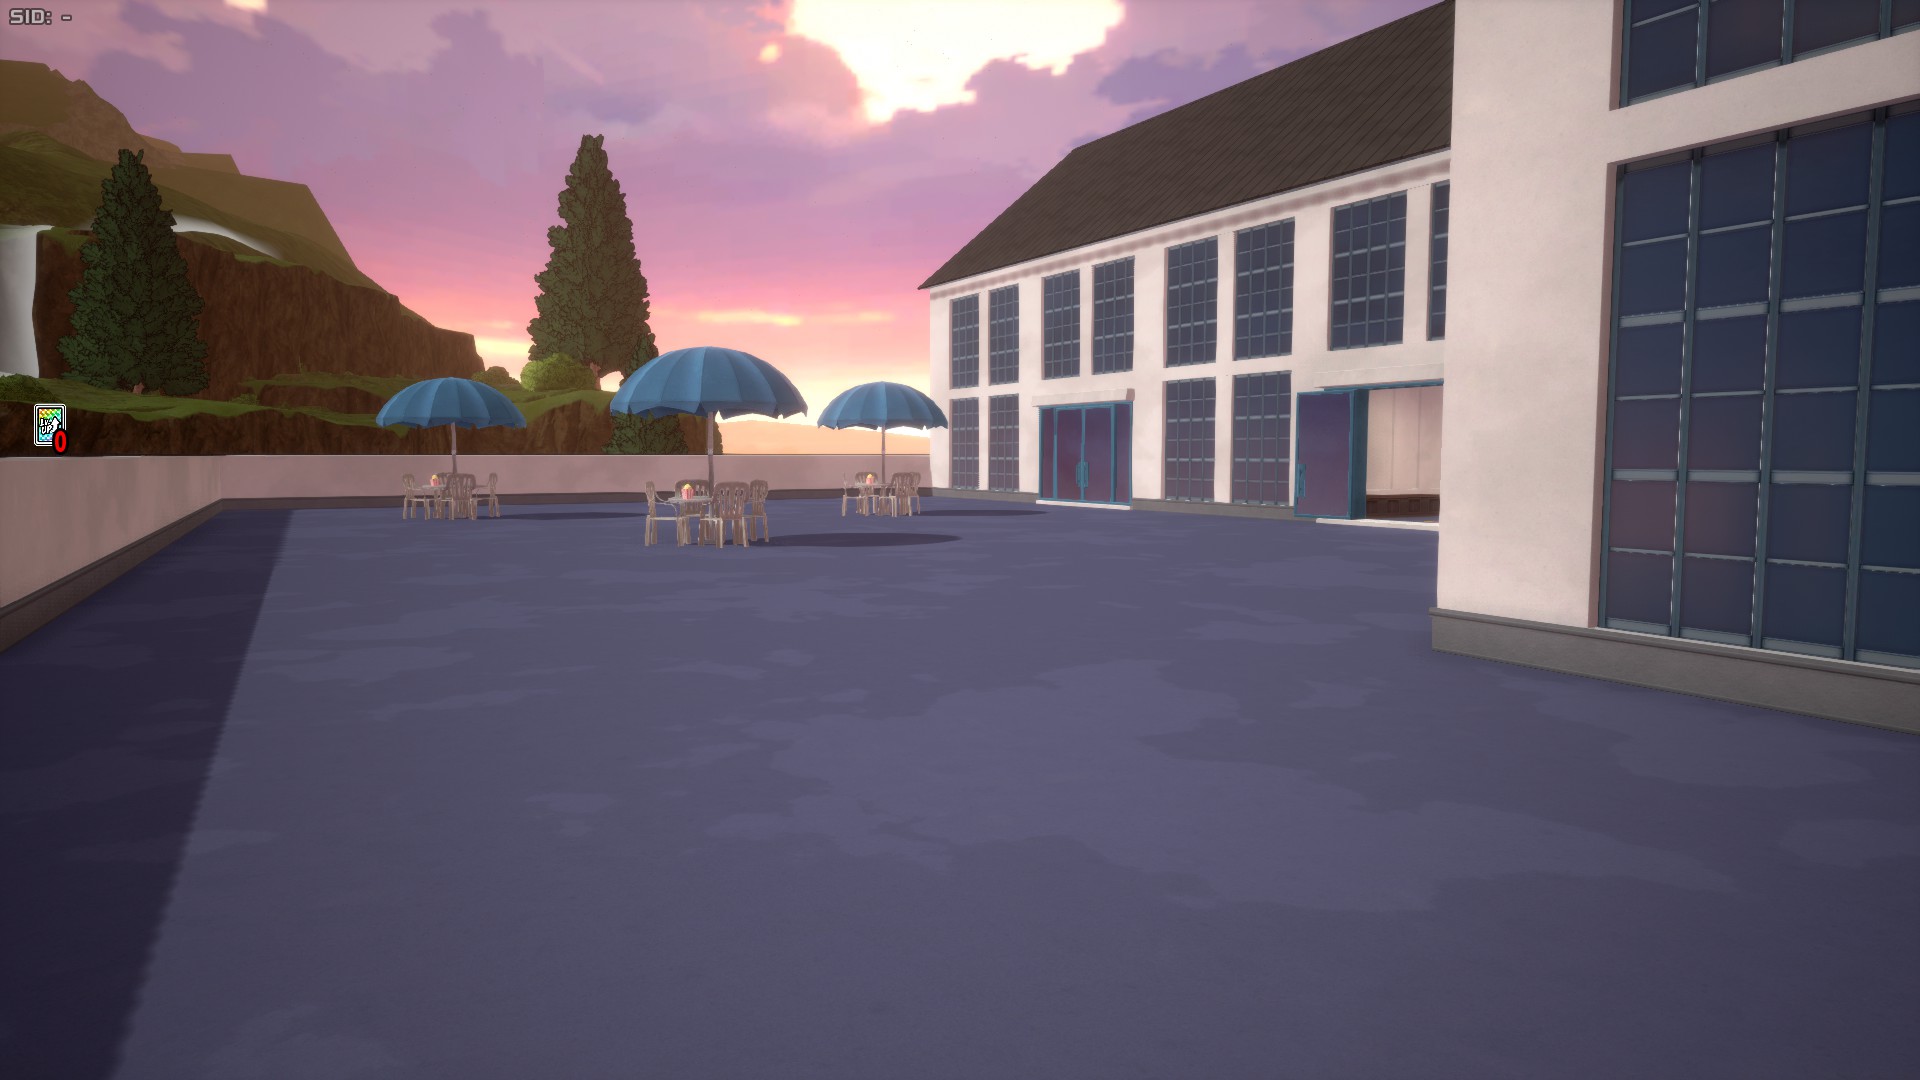
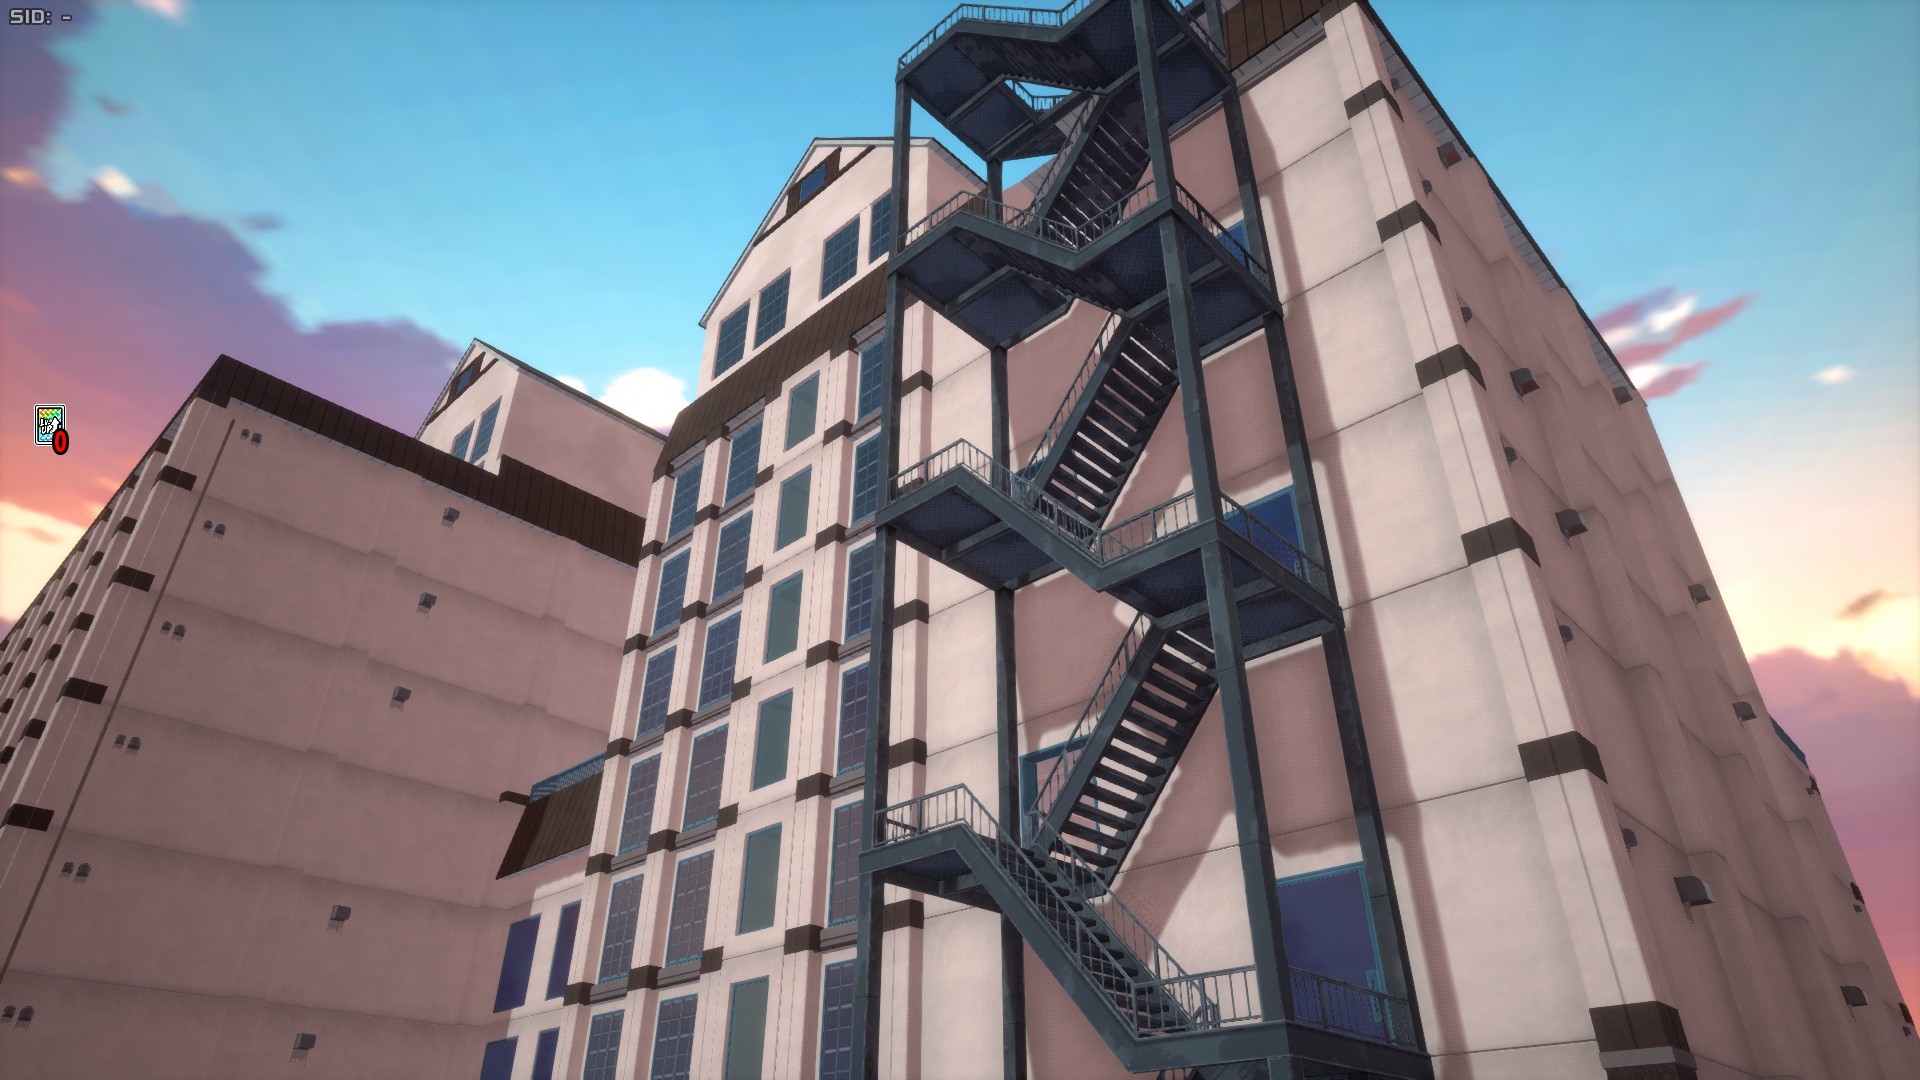
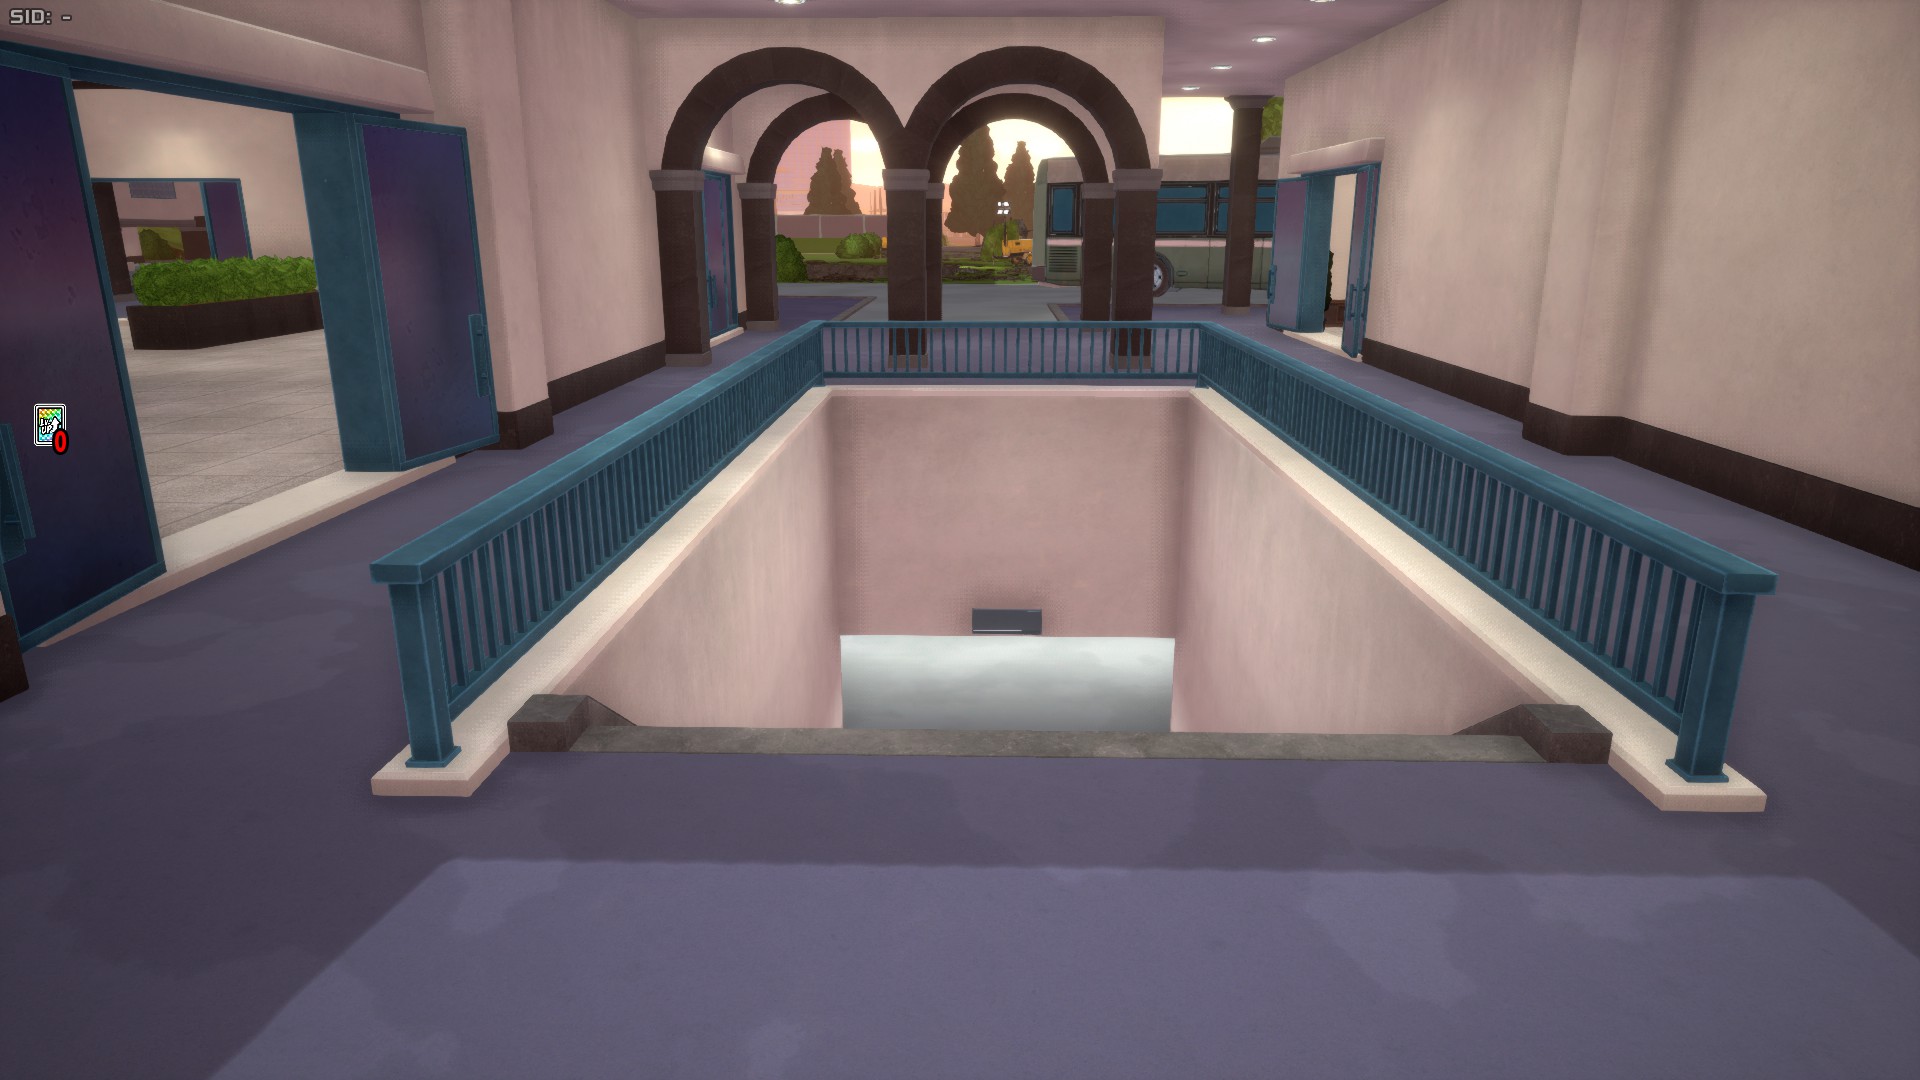
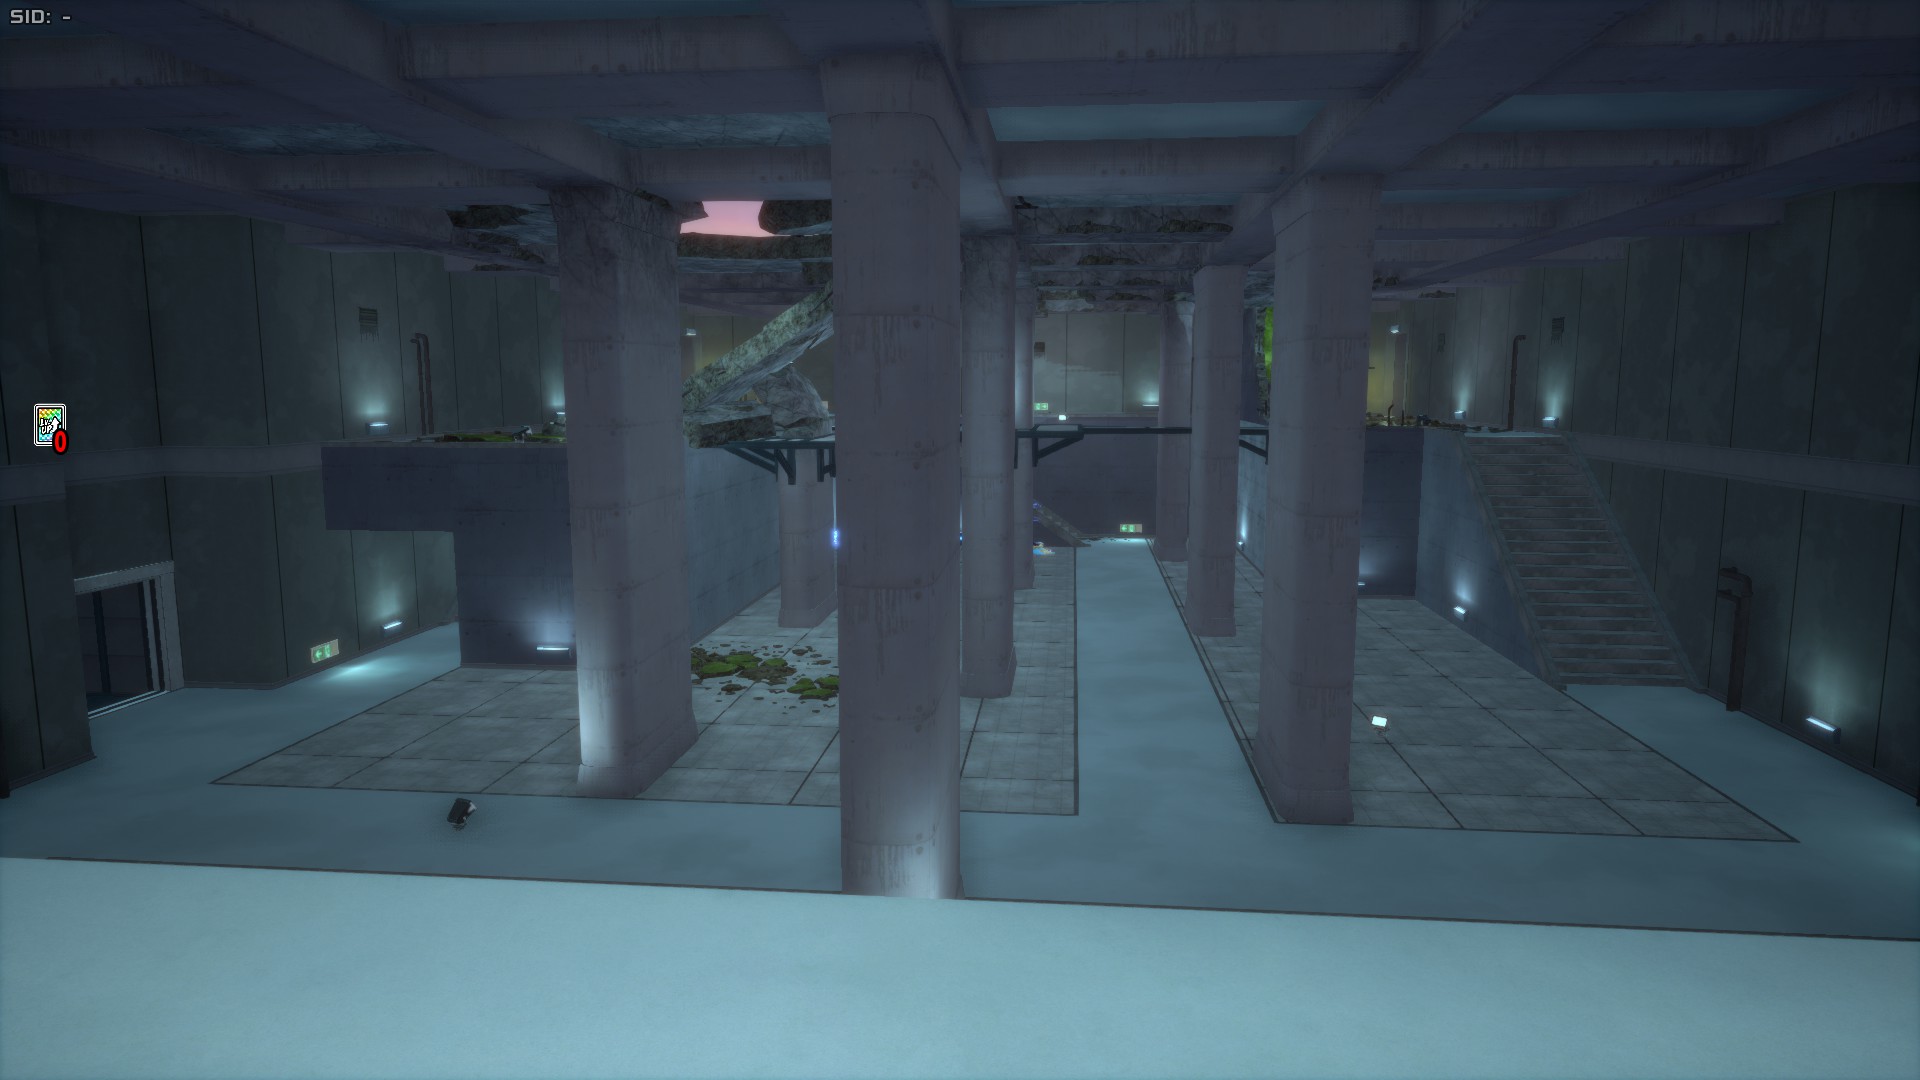
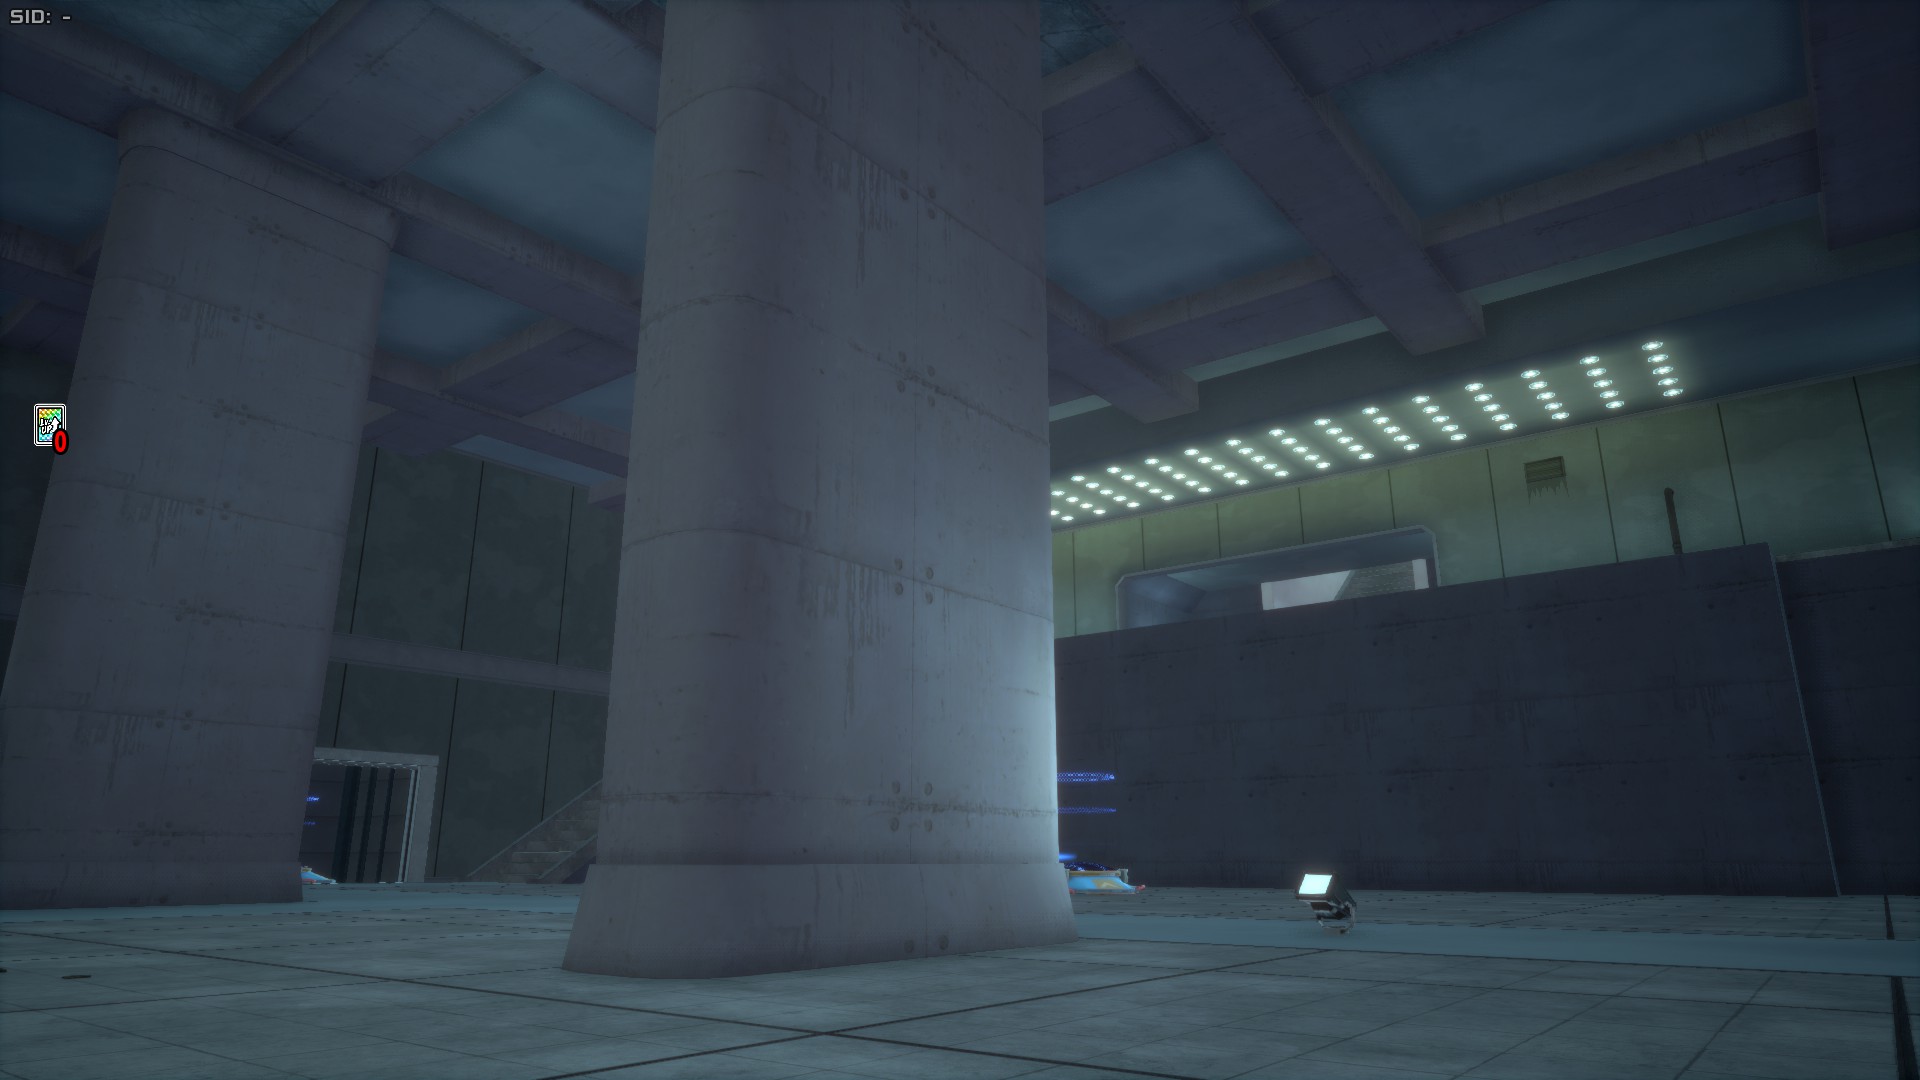
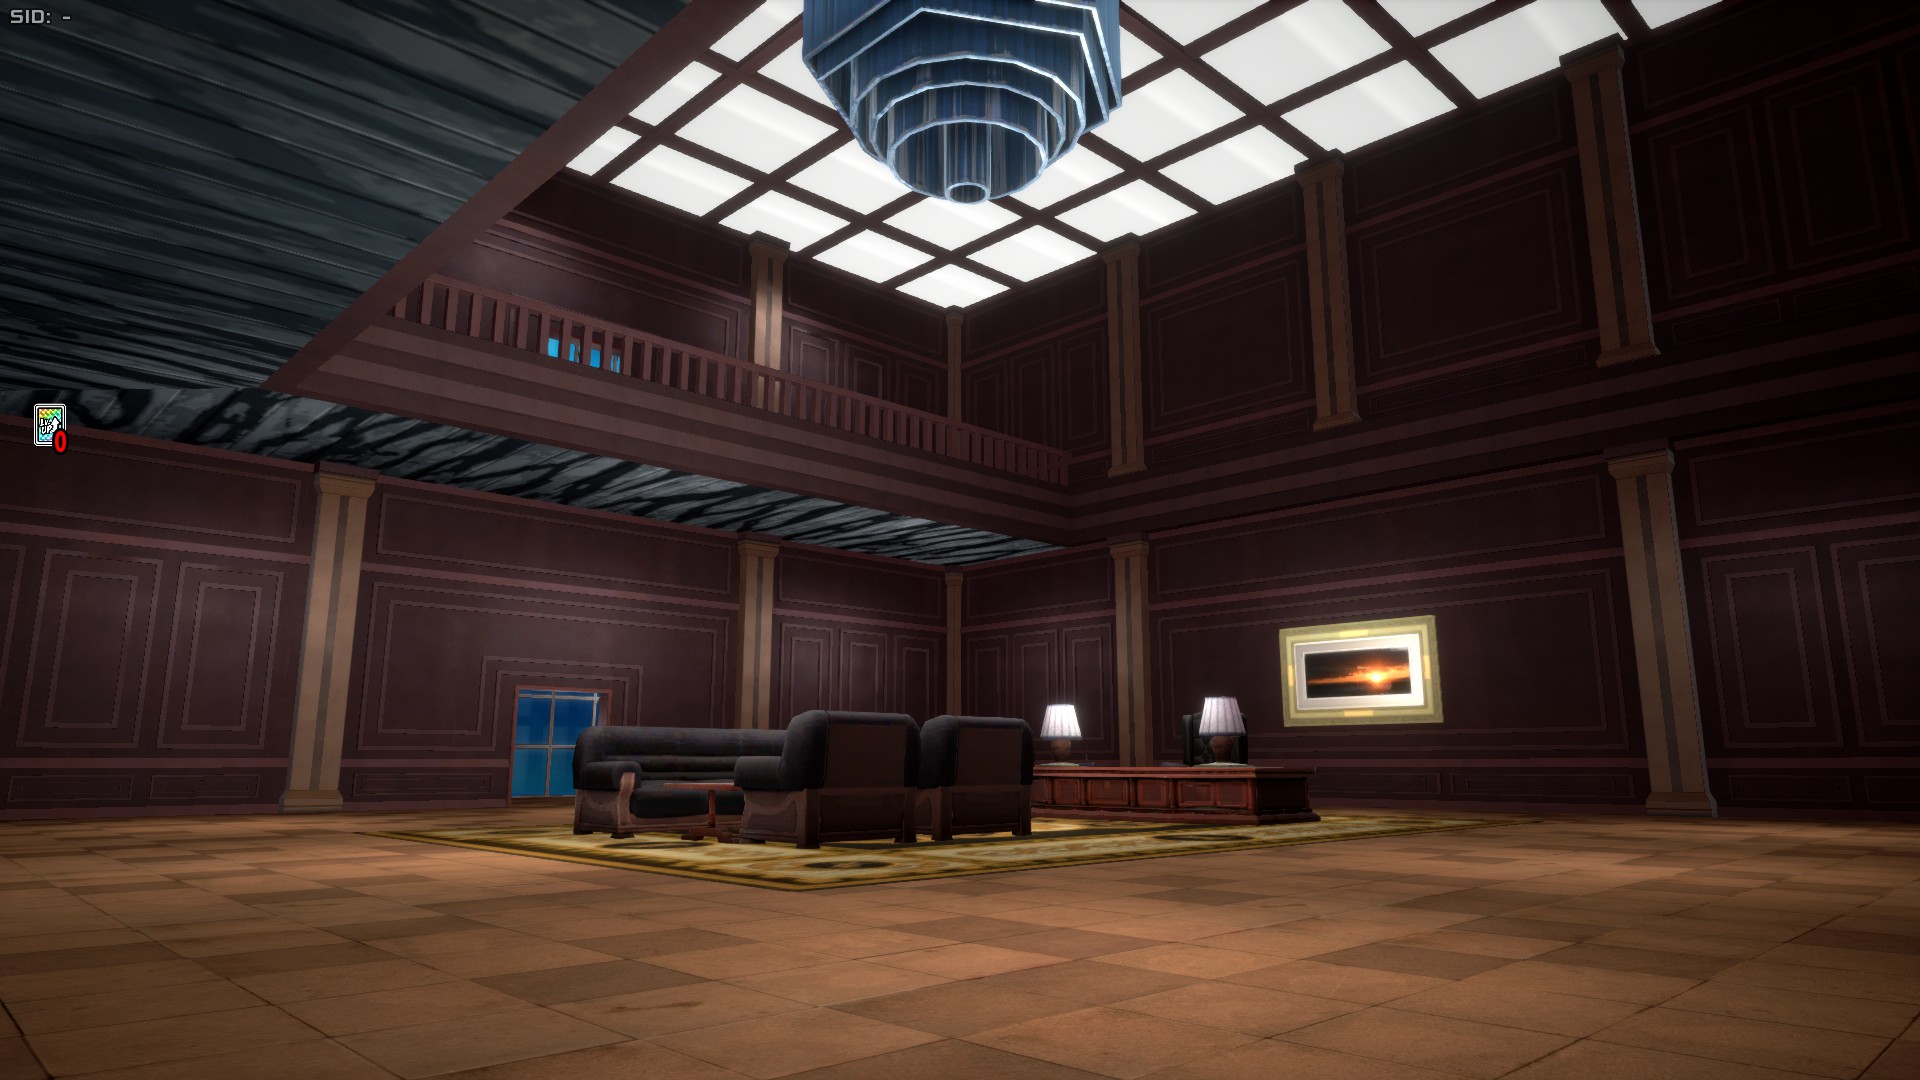
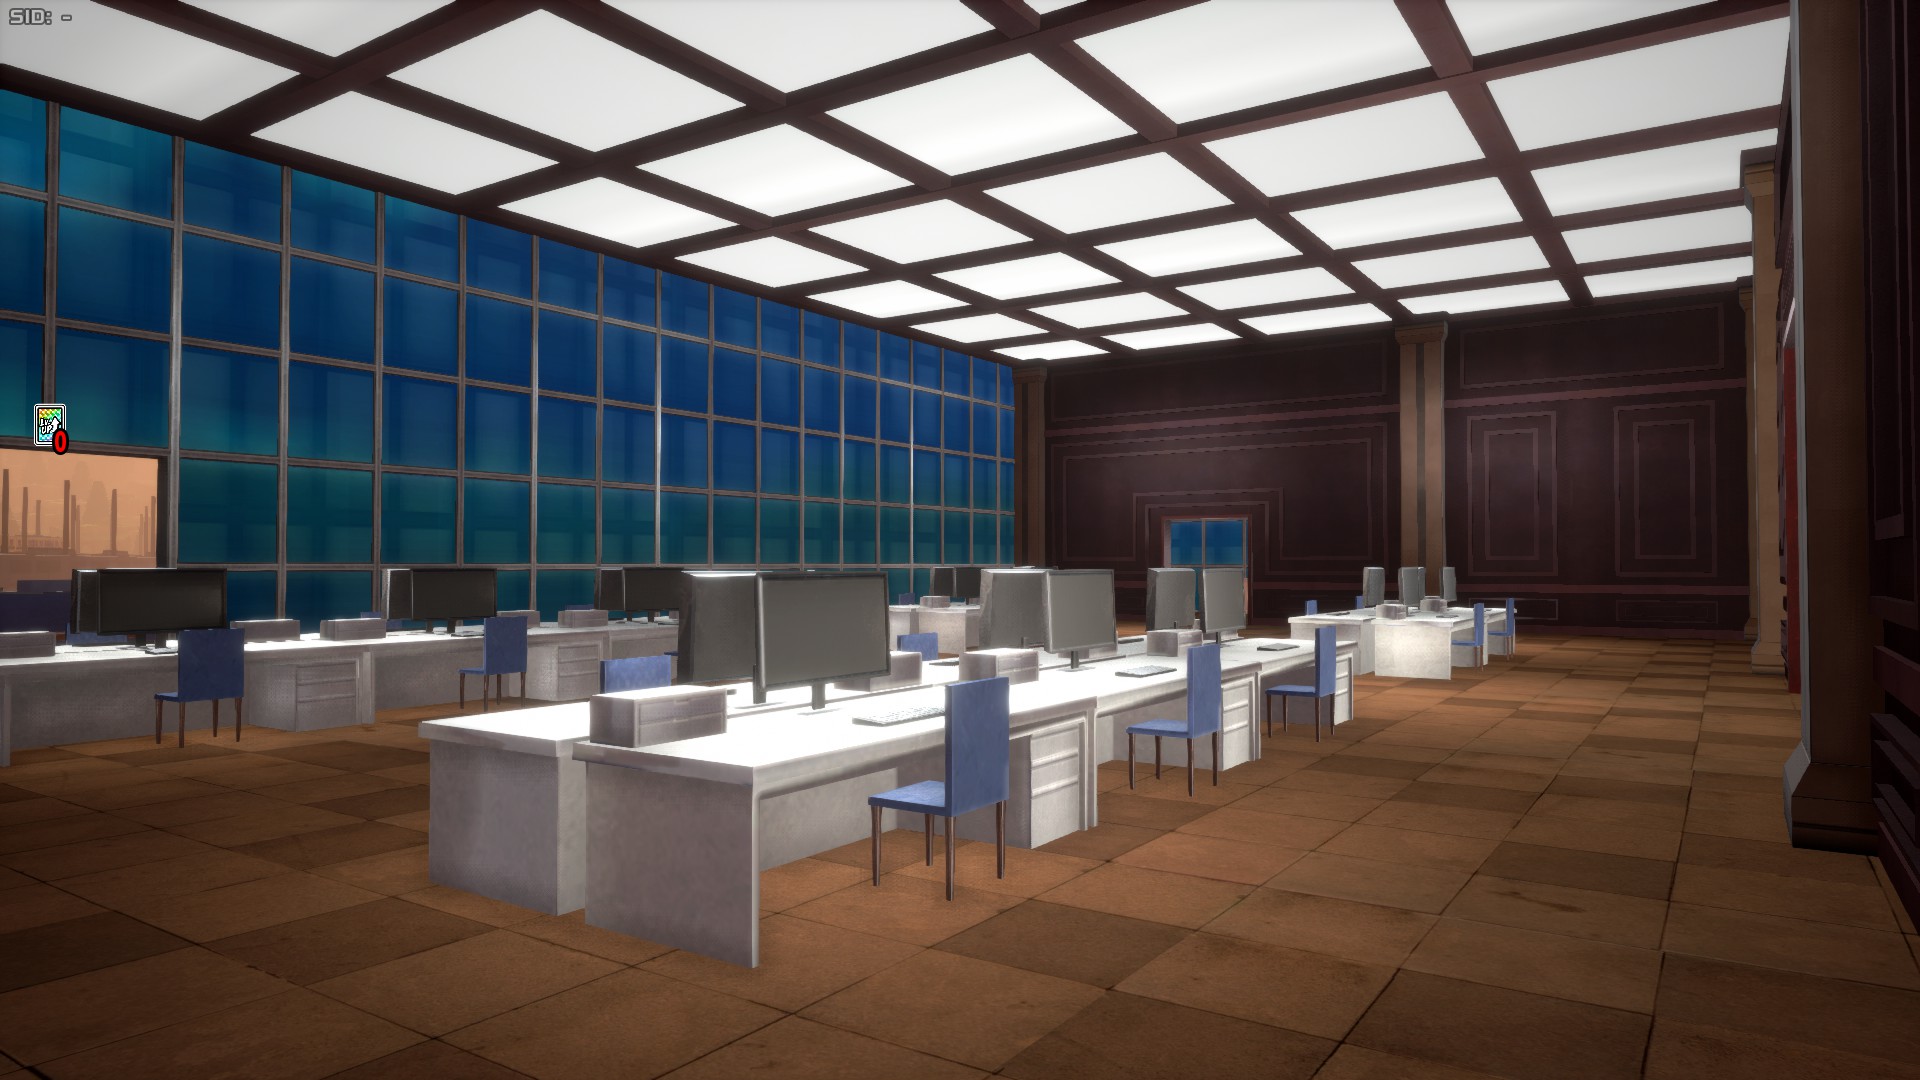
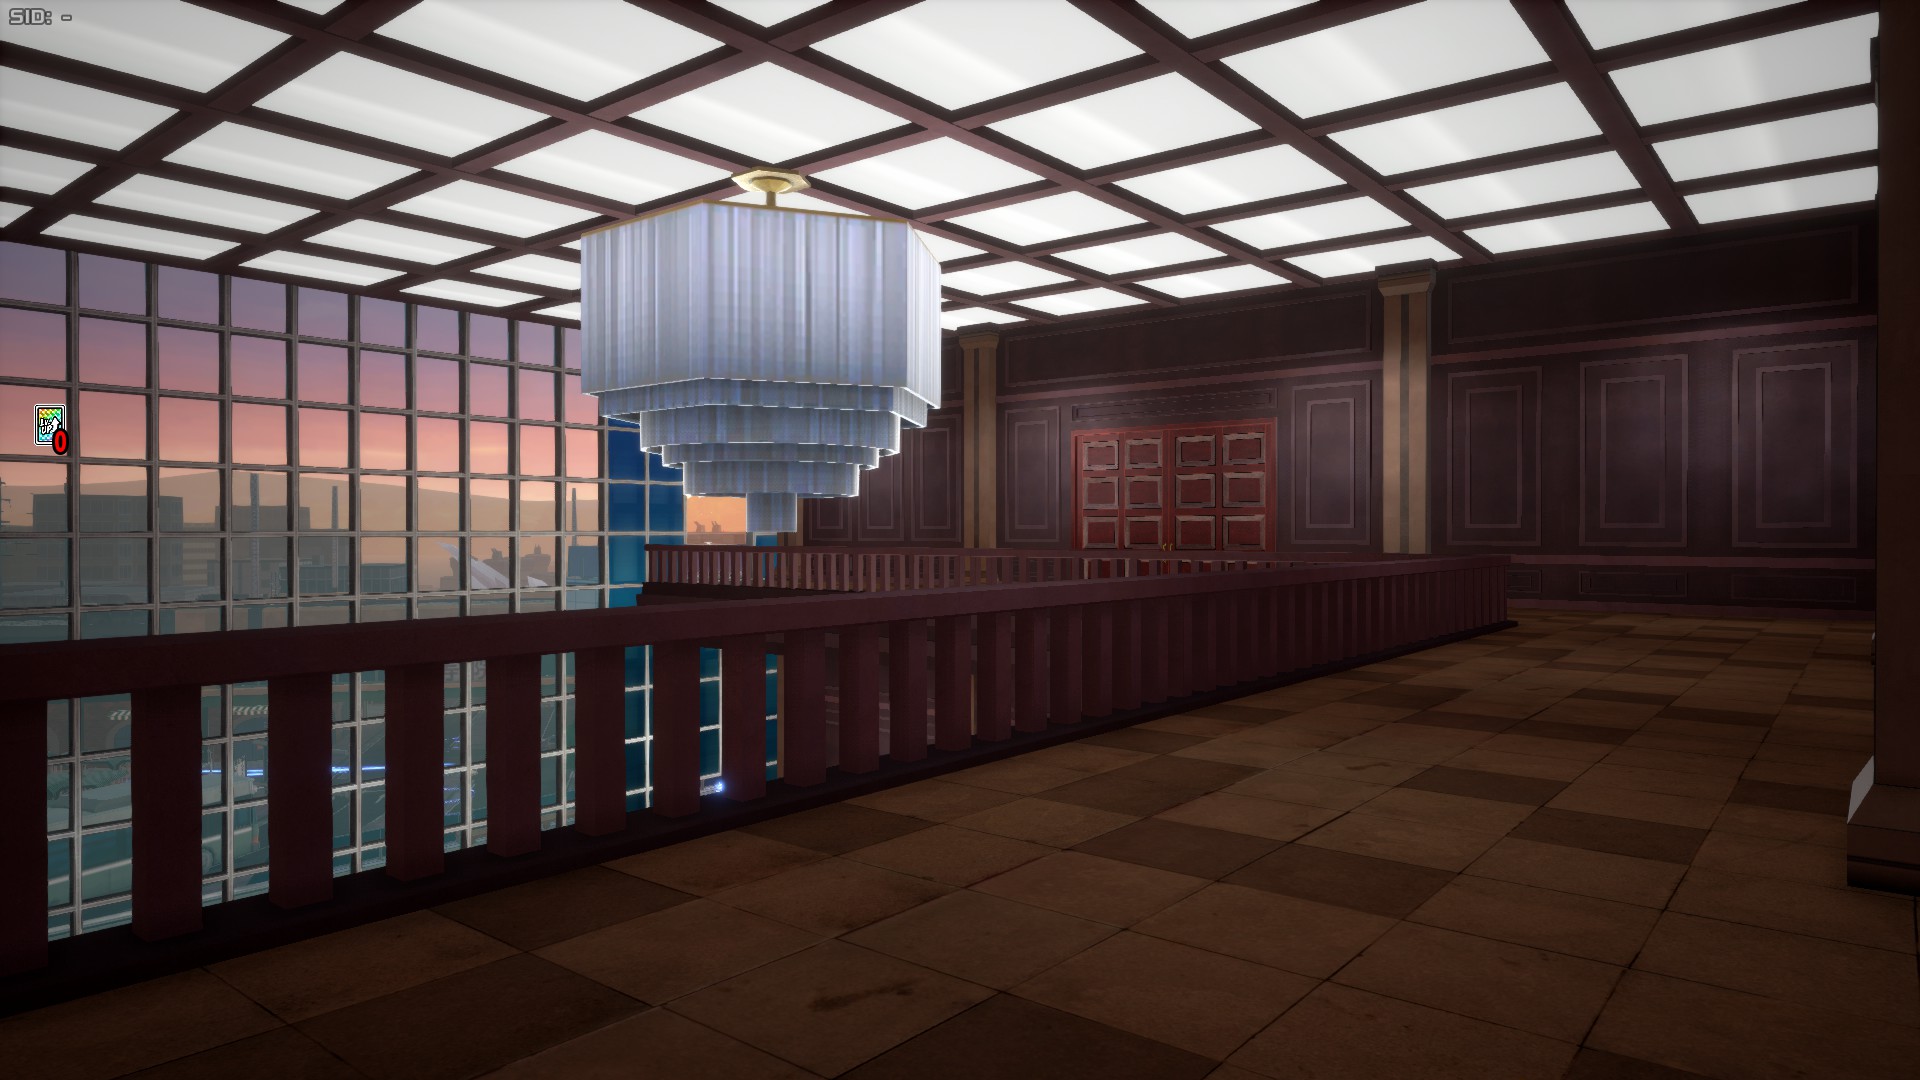
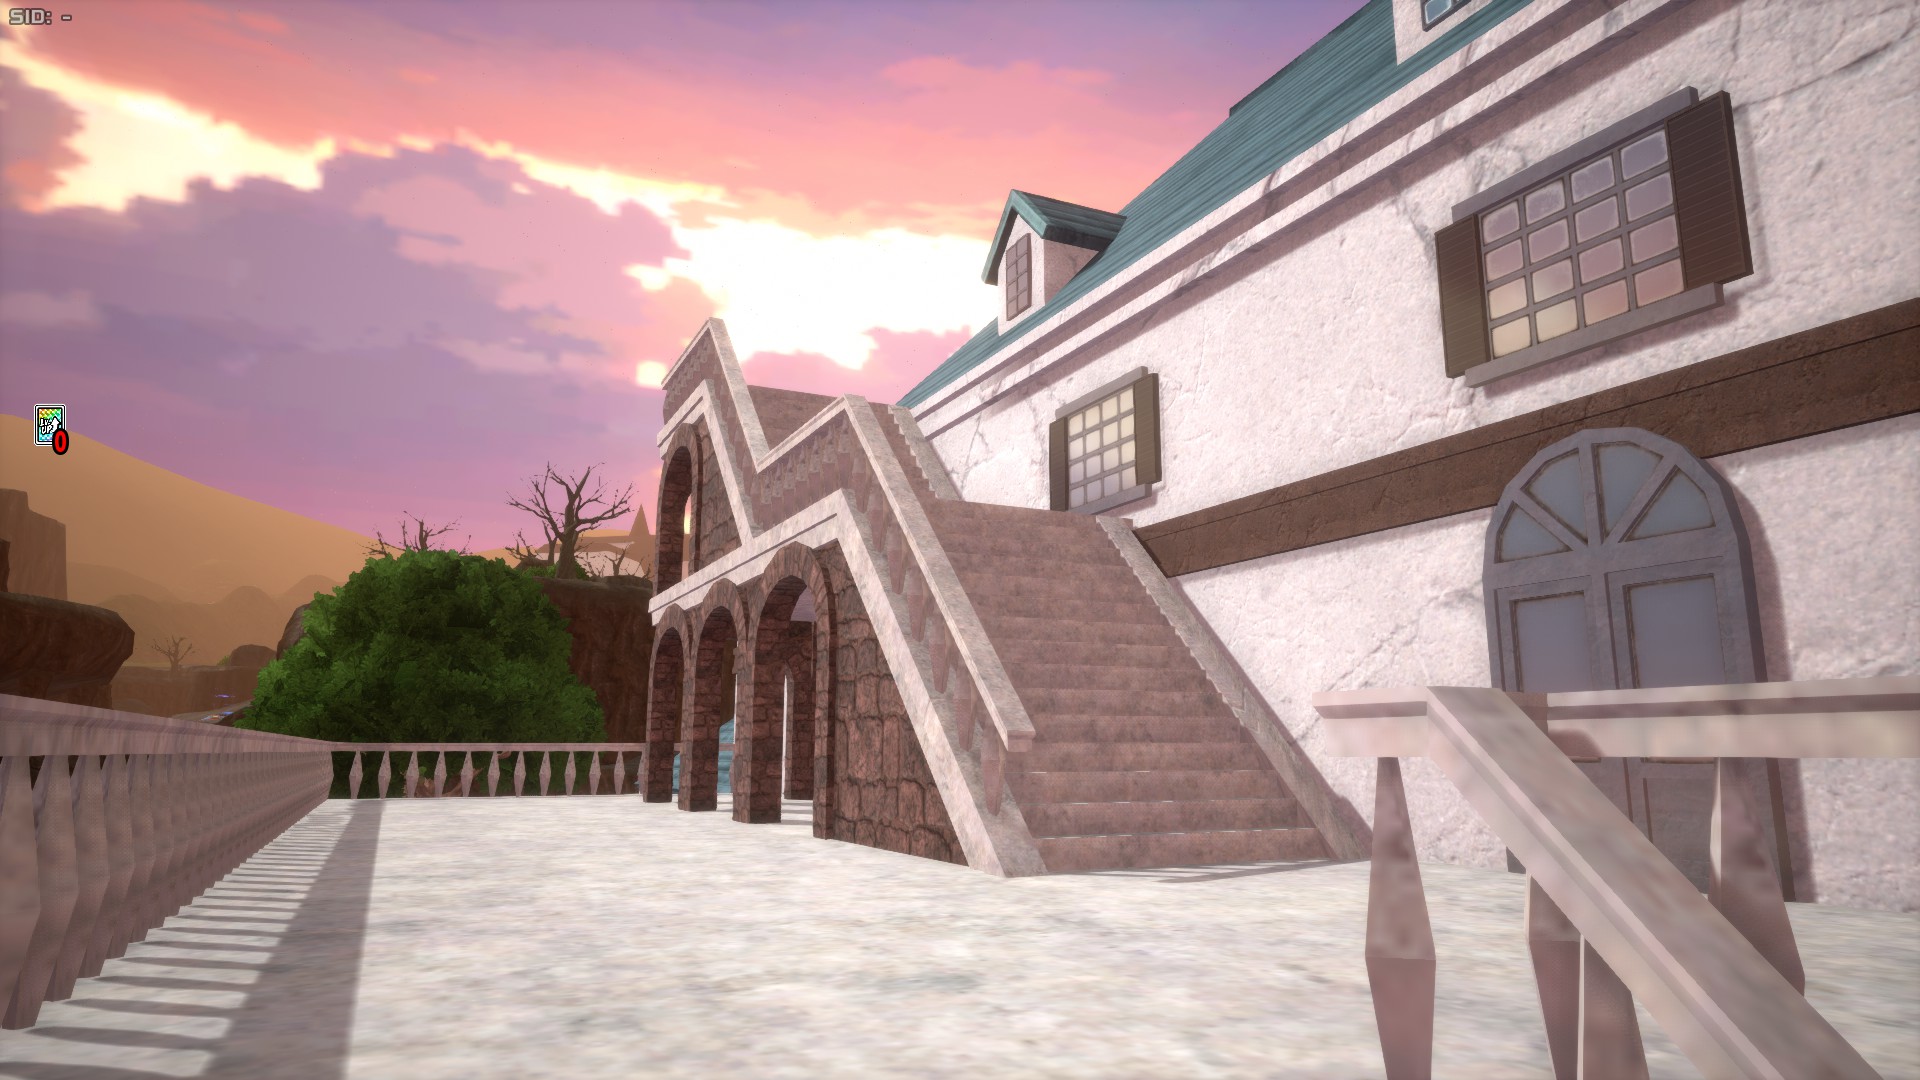
Mountain Lodge is the area that occupies the south-eastern side of the map, and mostly consists of a large mansion building with several floors, a small underground area and the mansion's outskirts. It's based in the Gunga Pension mansion seen in Season 5 and 6 of the anime. The outskirts are mostly flat-ish and lacking in loot, but the rest of the building and underground make up for it.
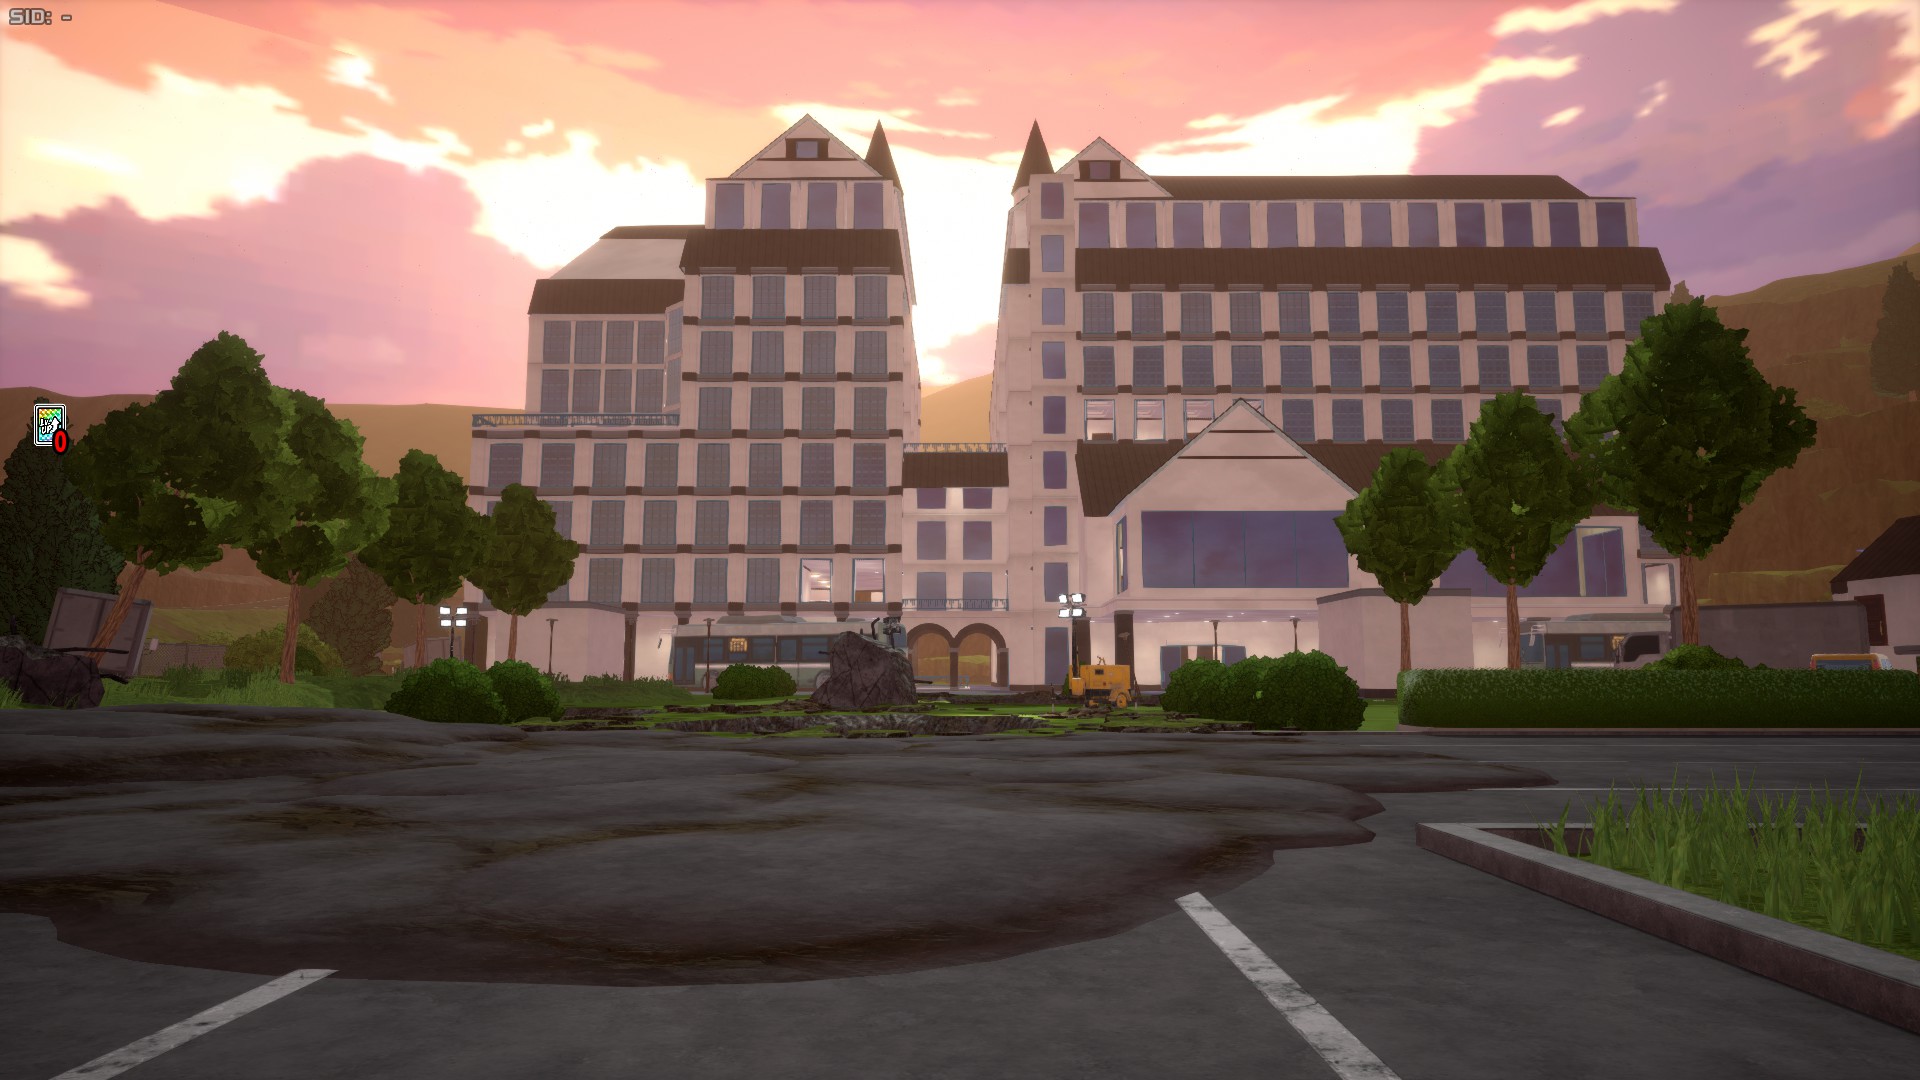
Training Ground
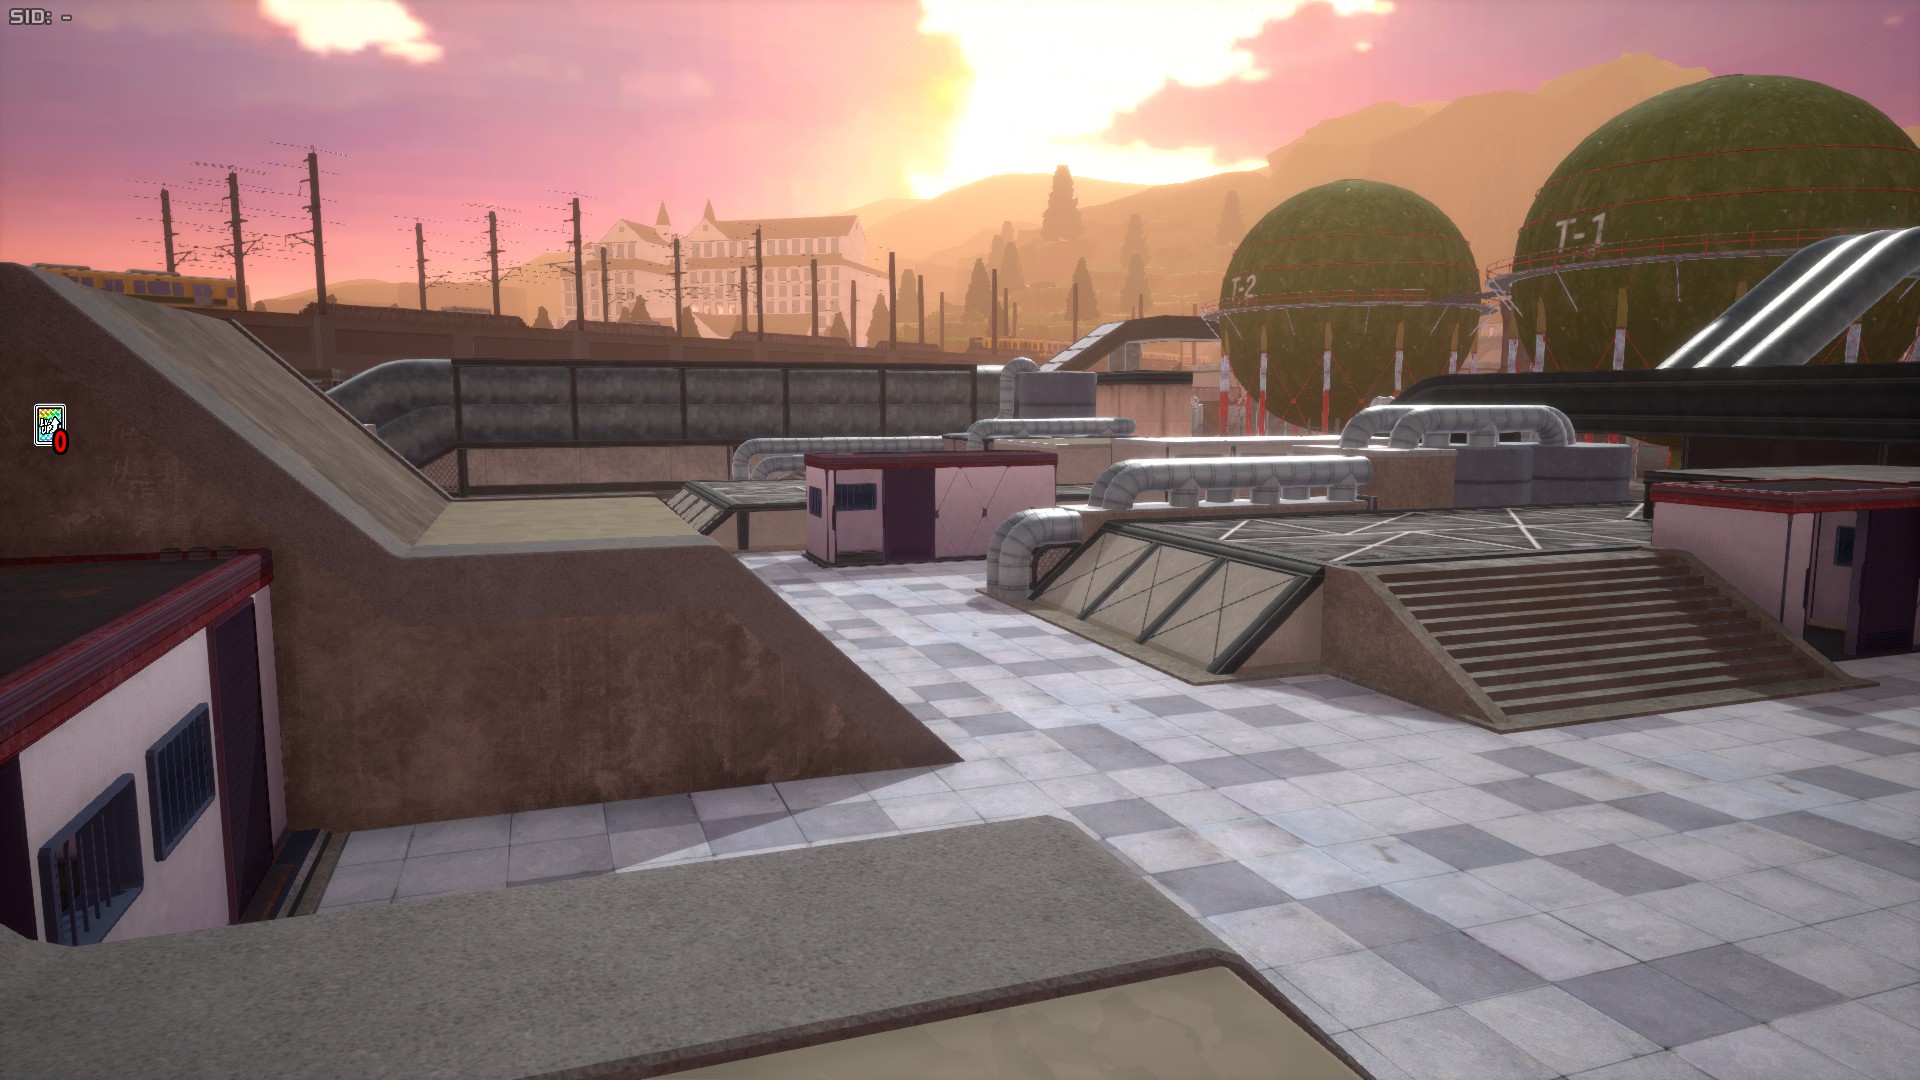
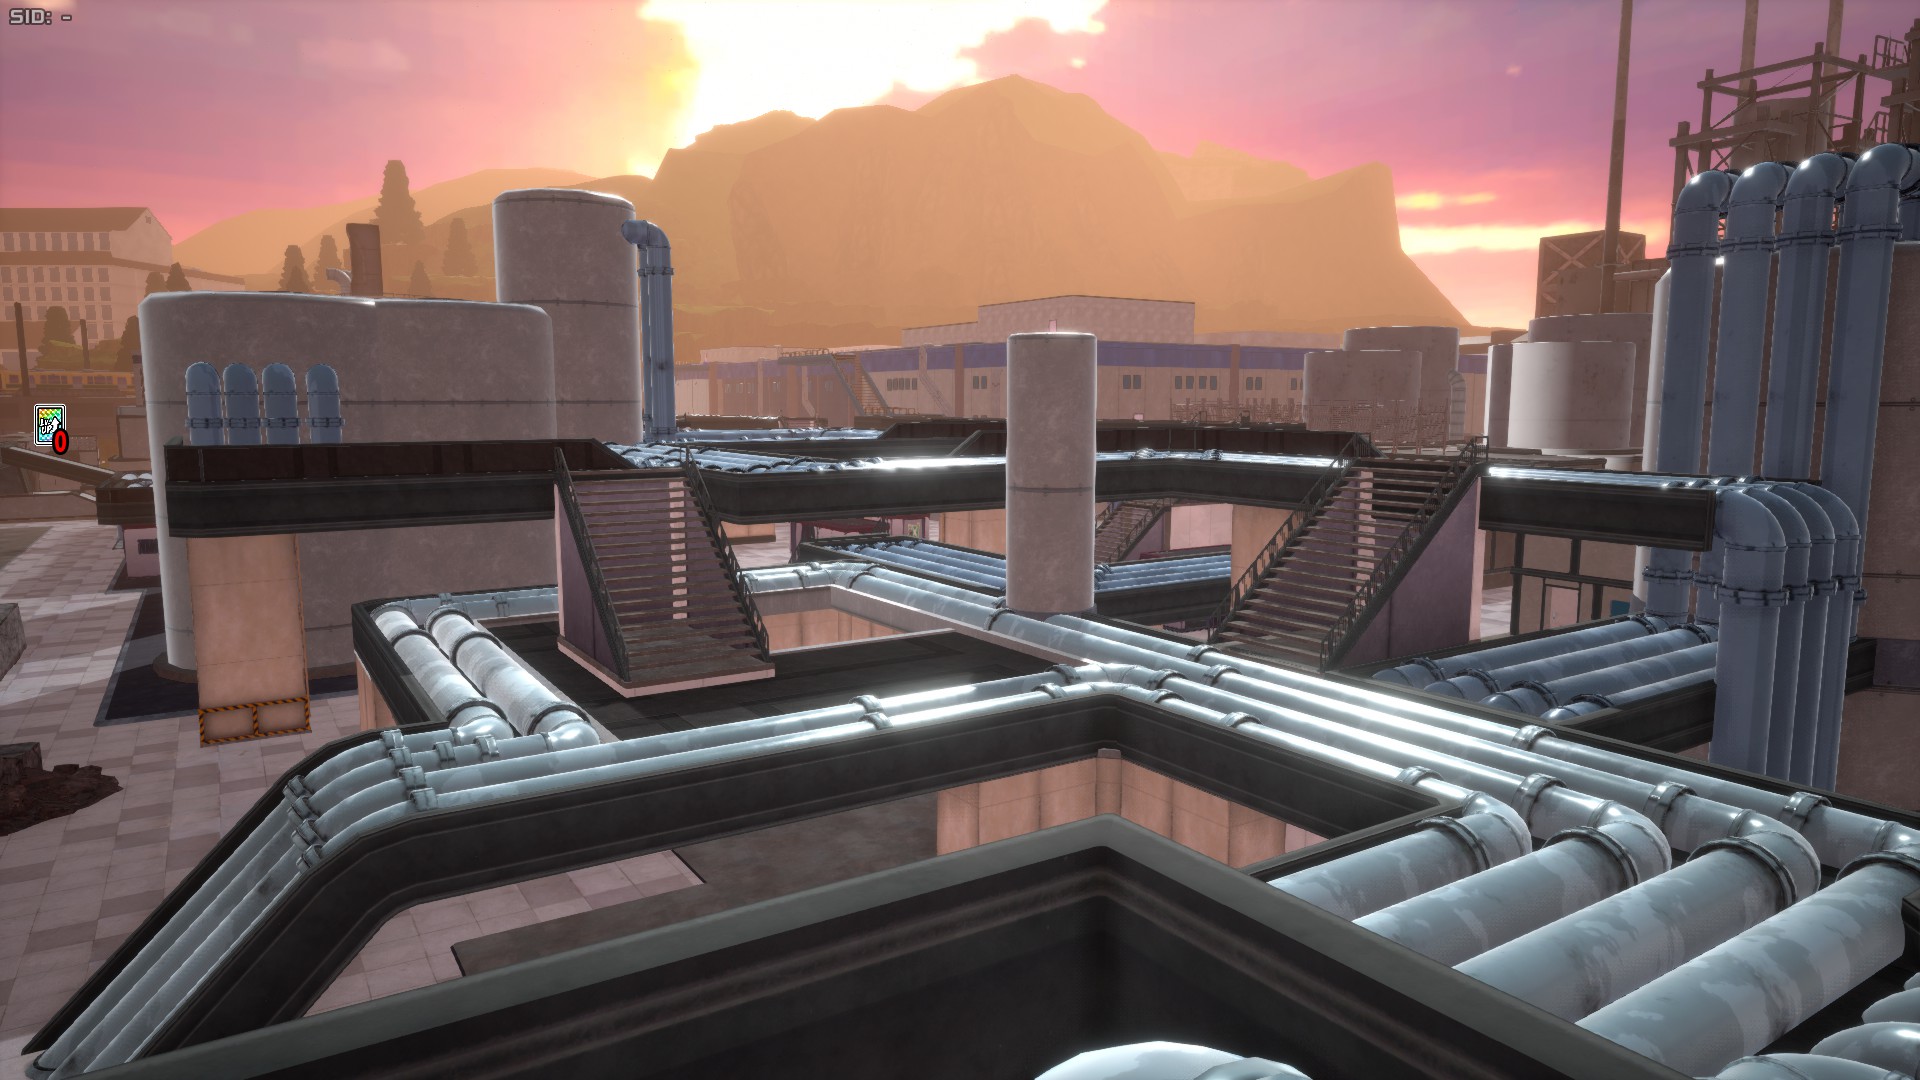
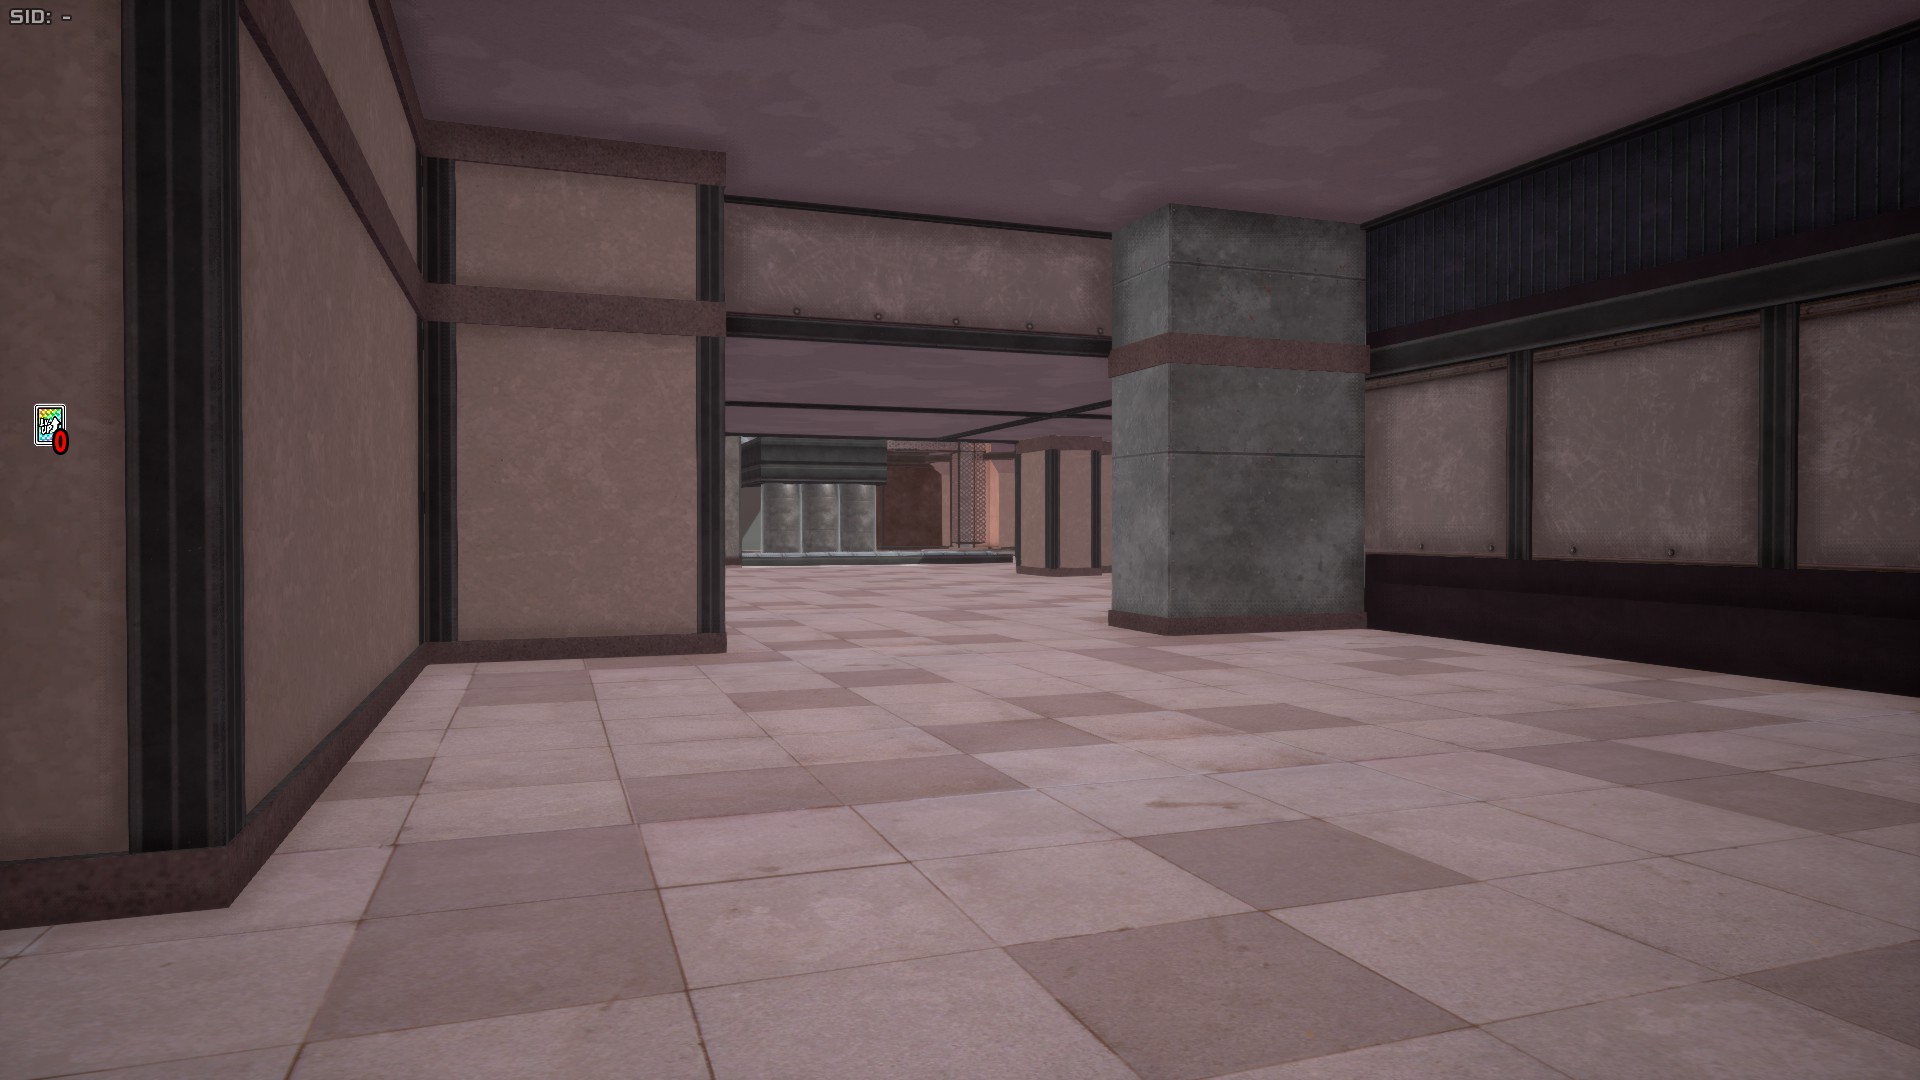
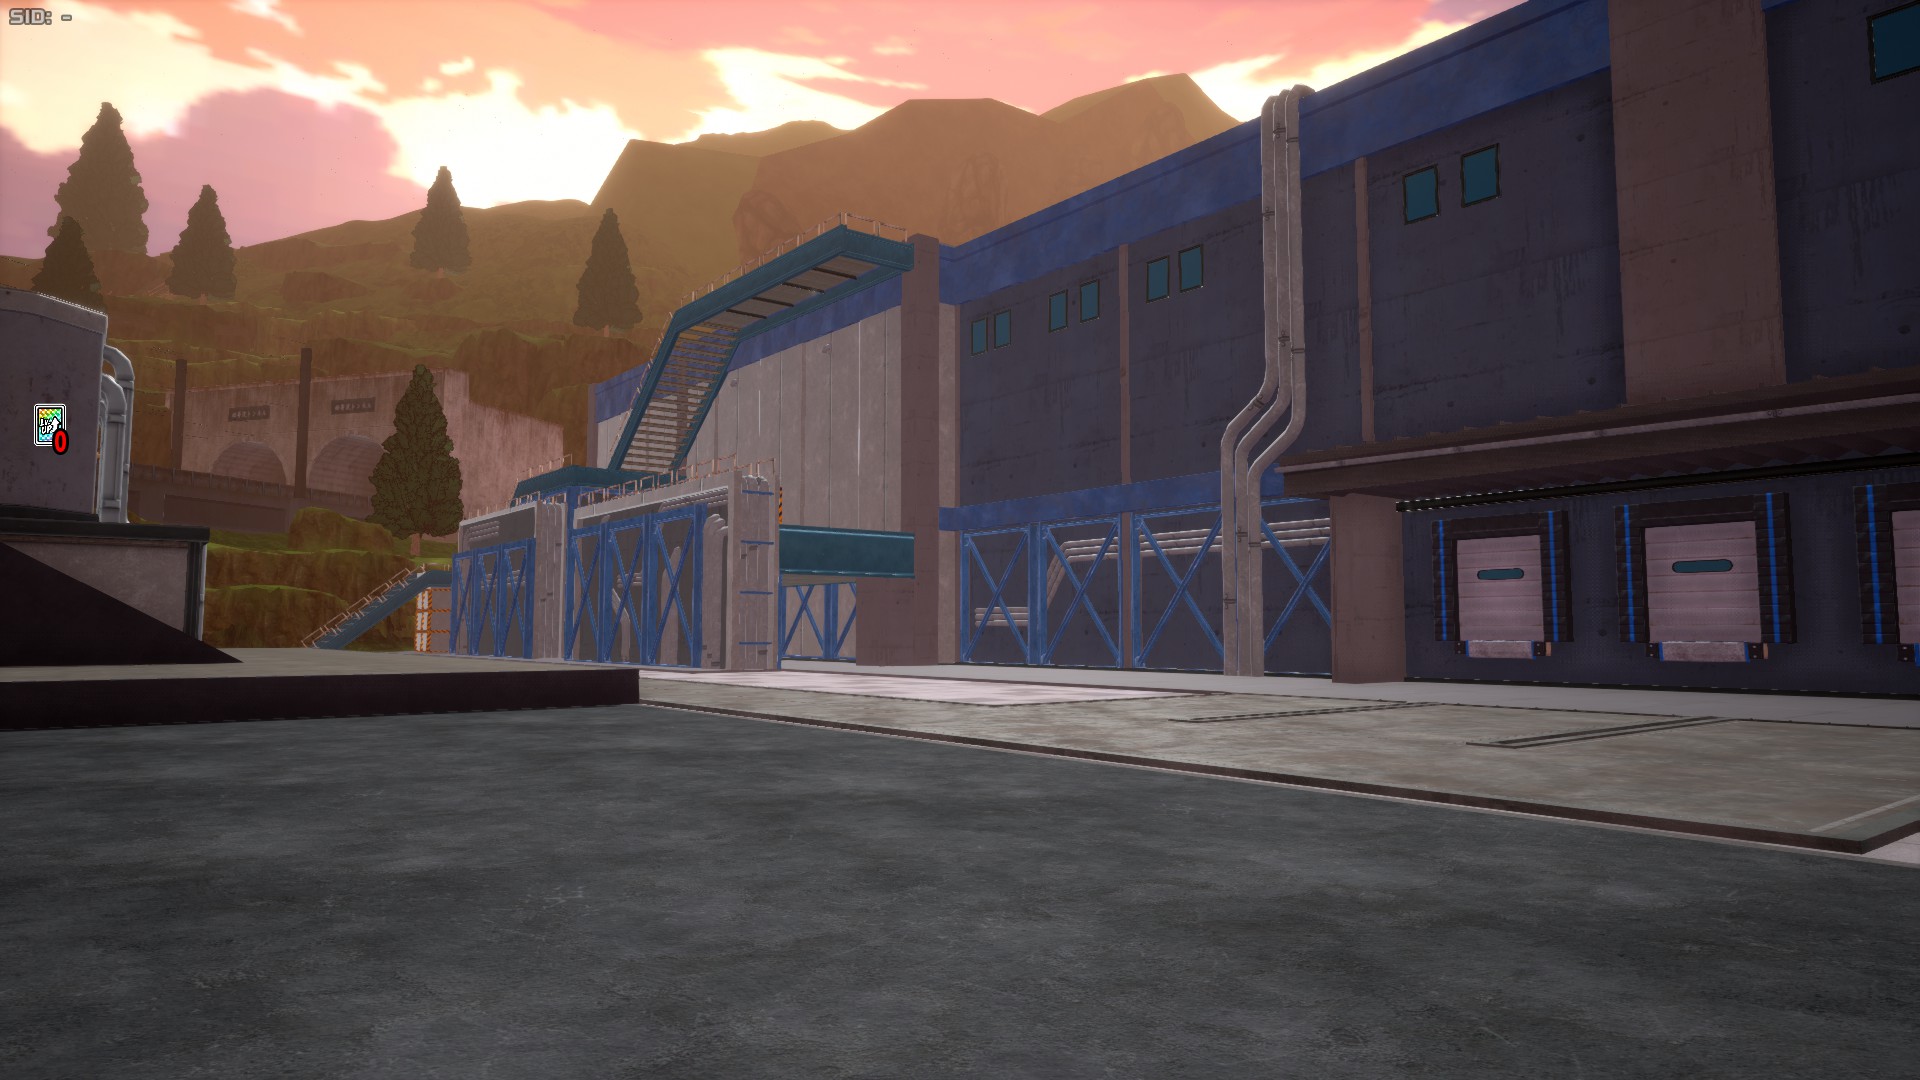
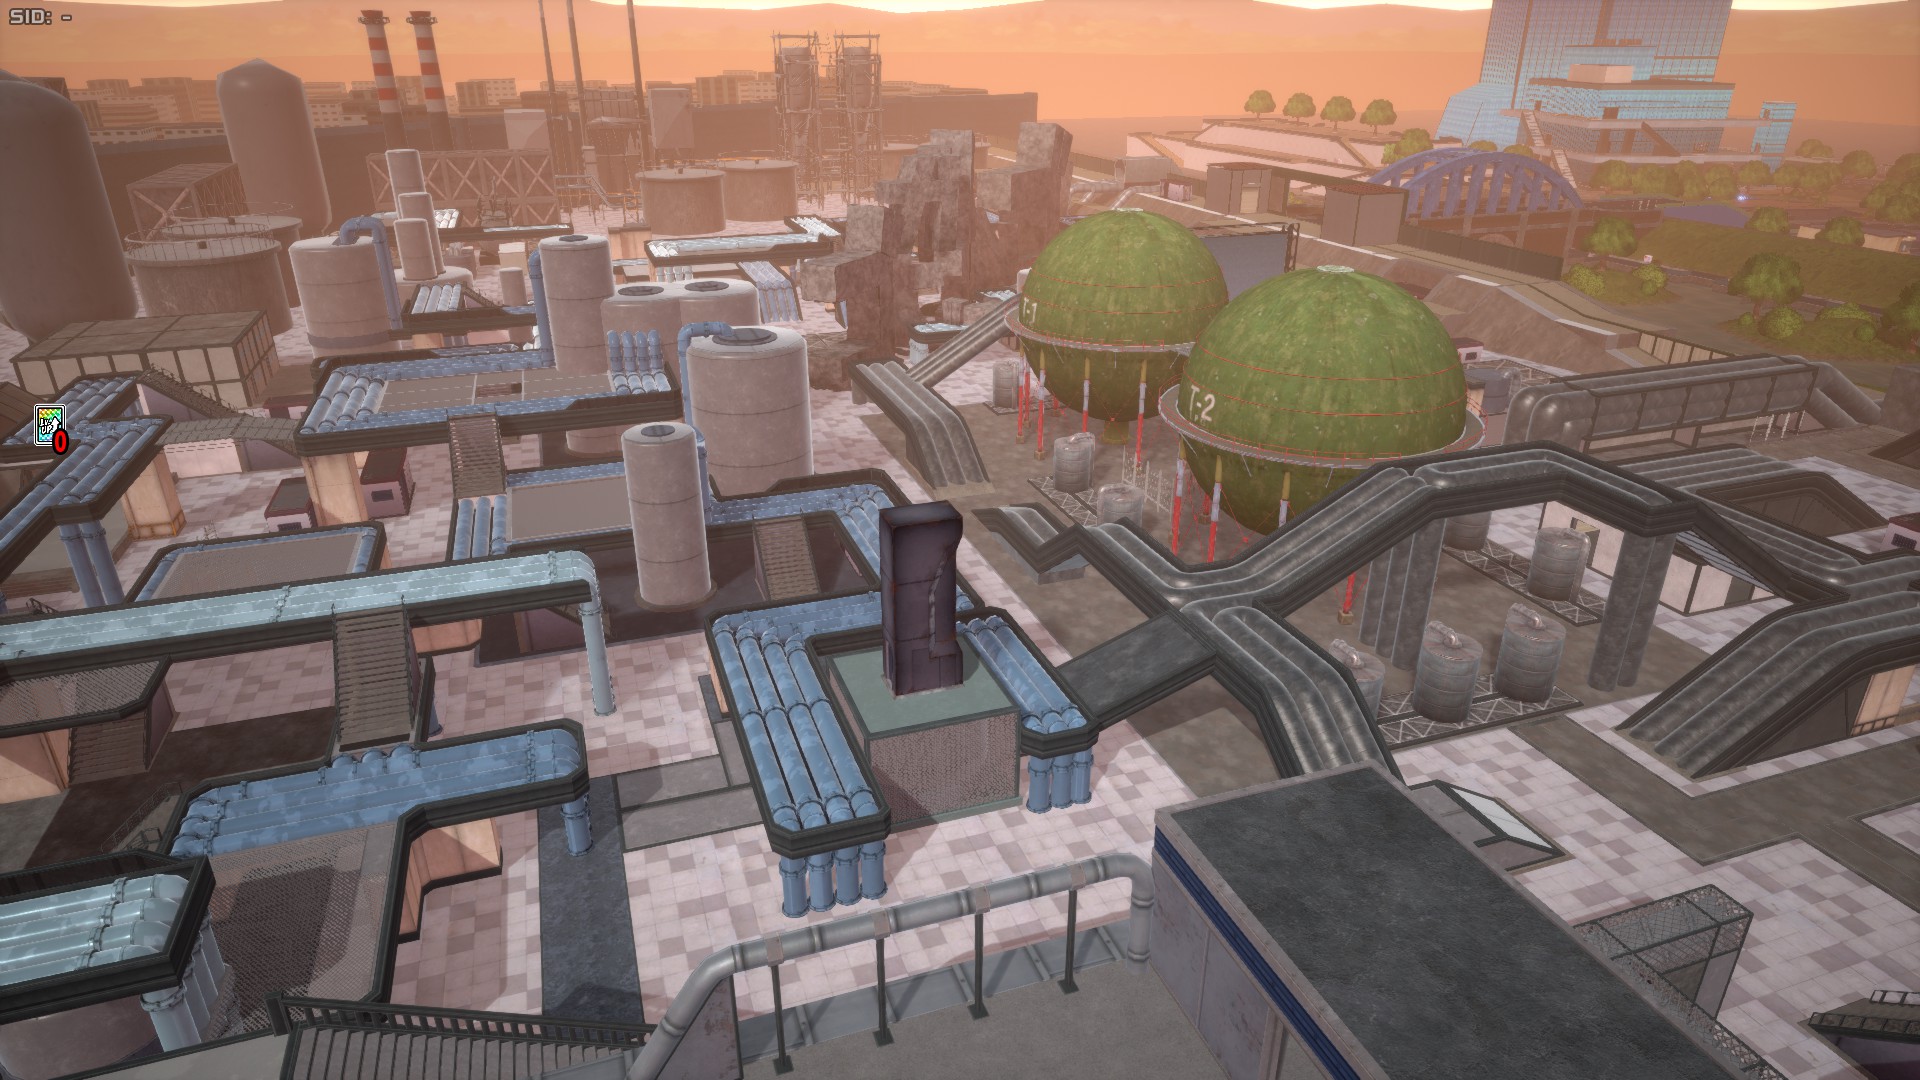
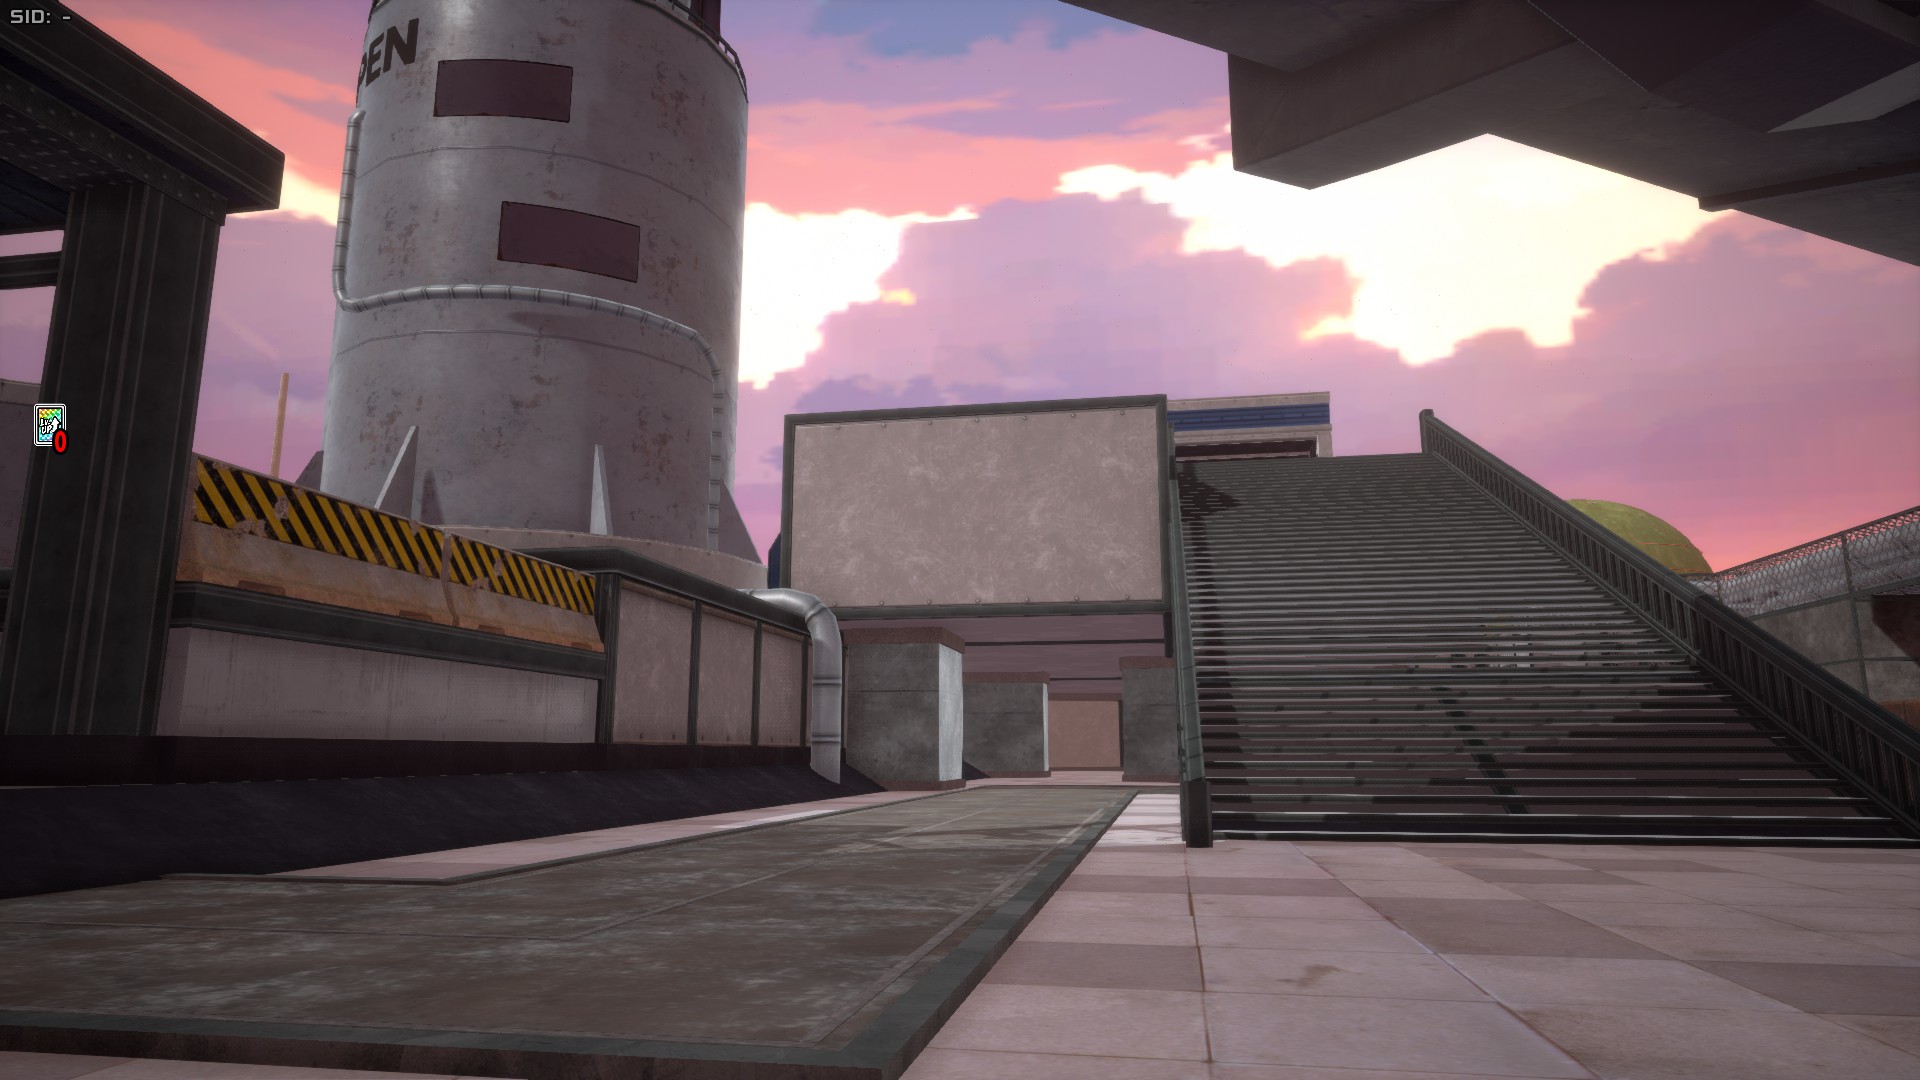
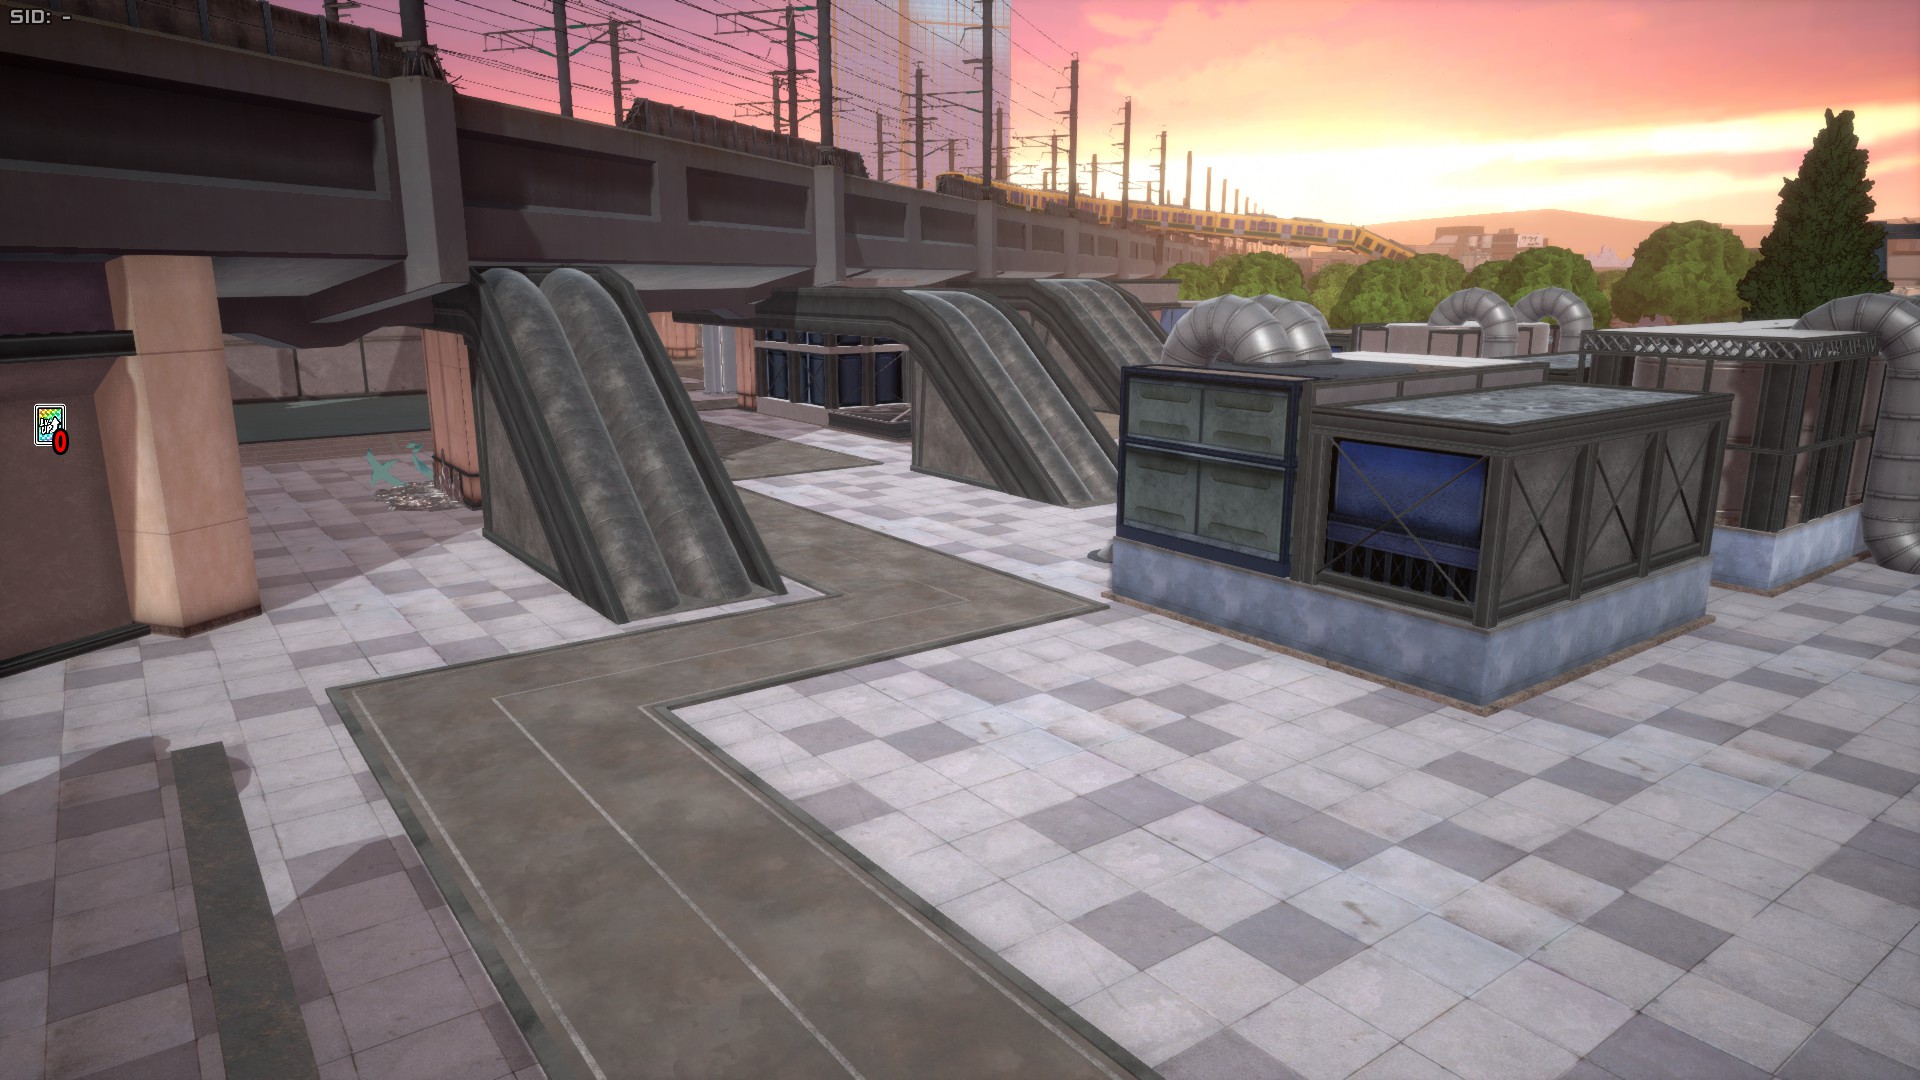
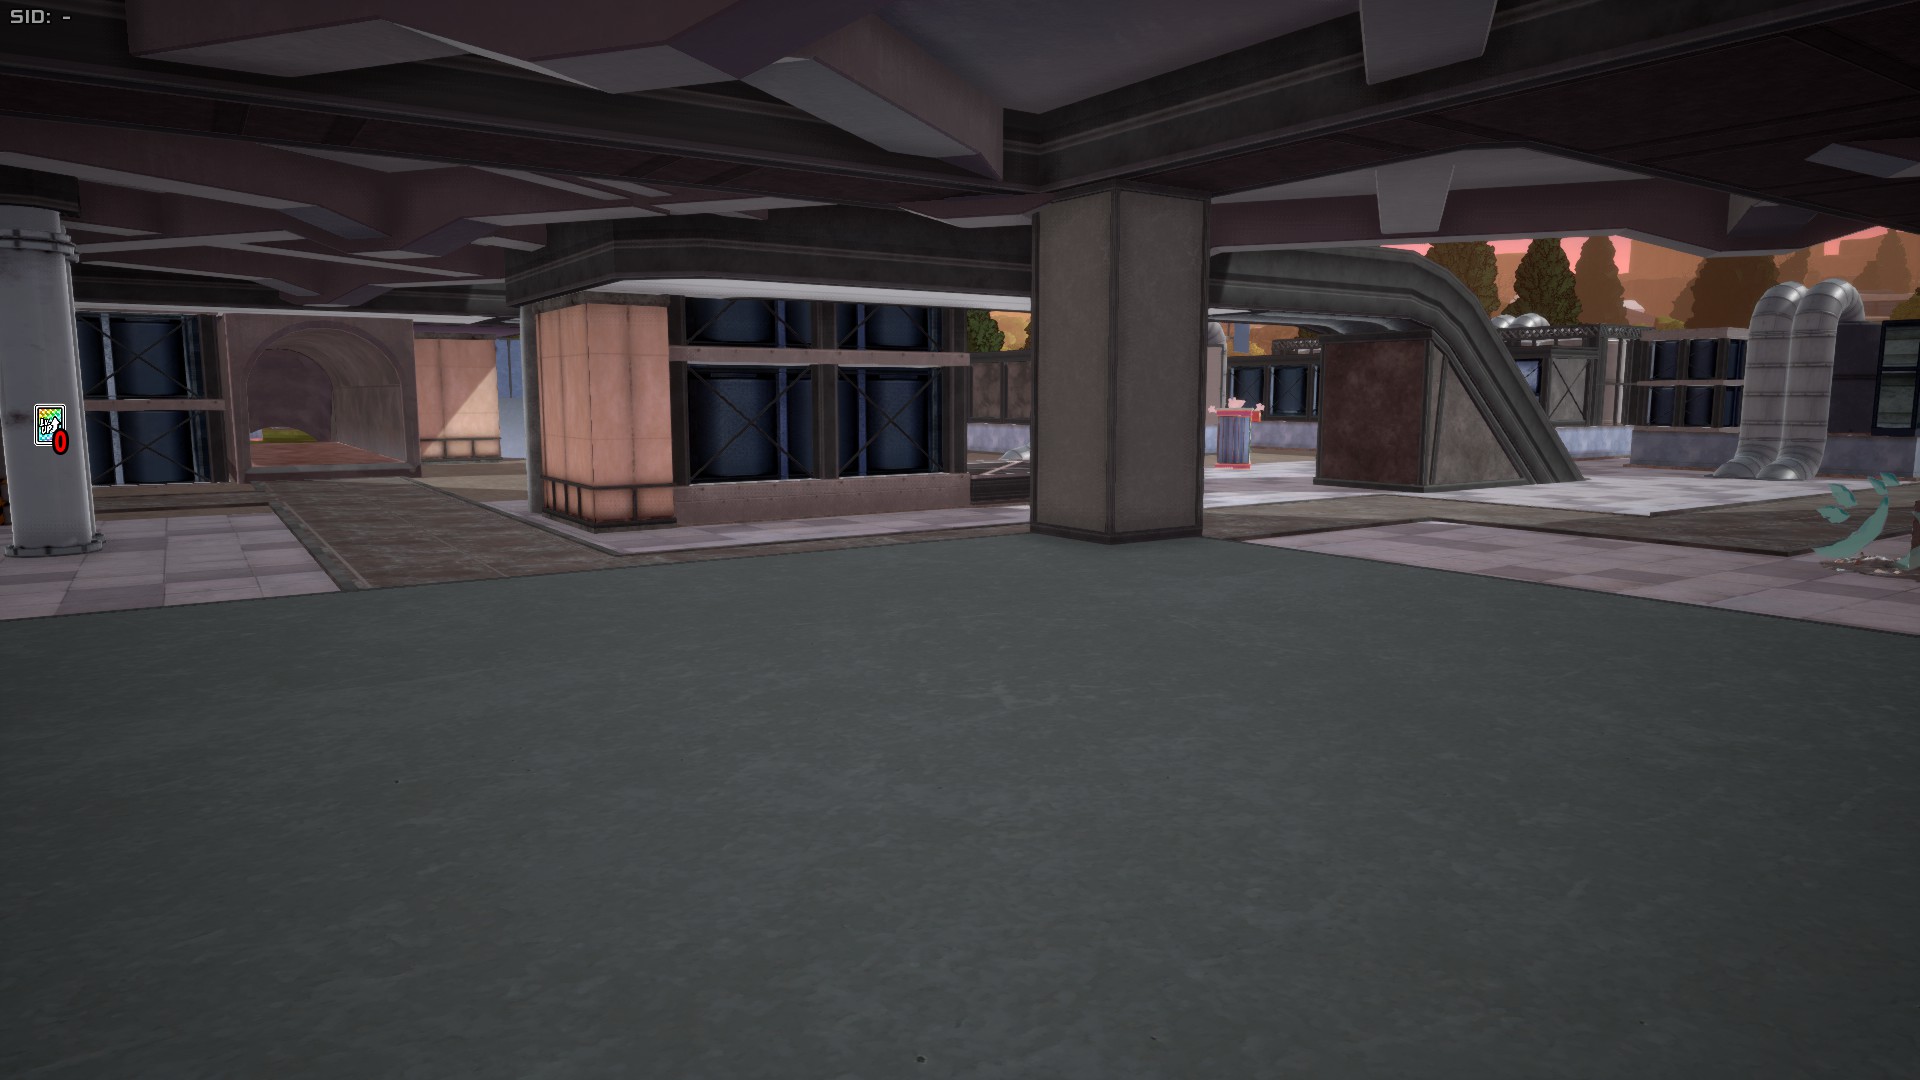
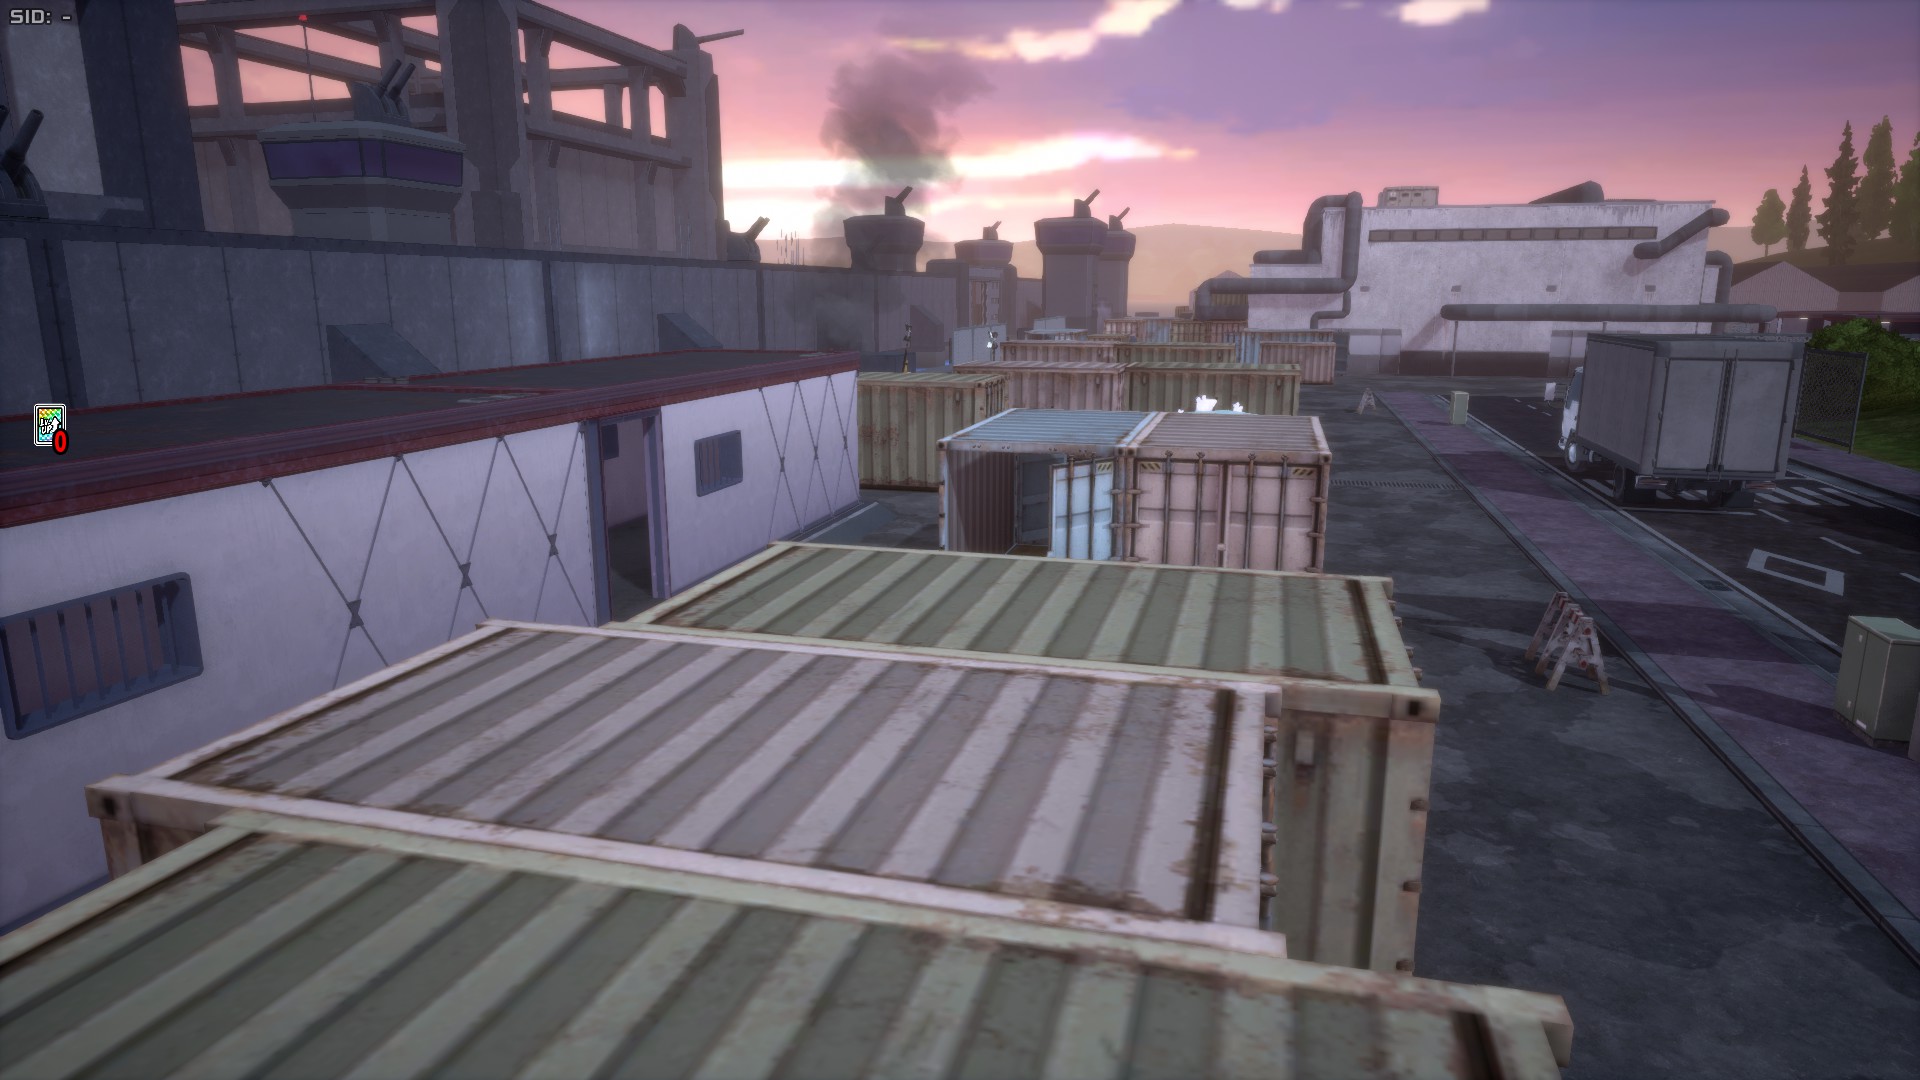
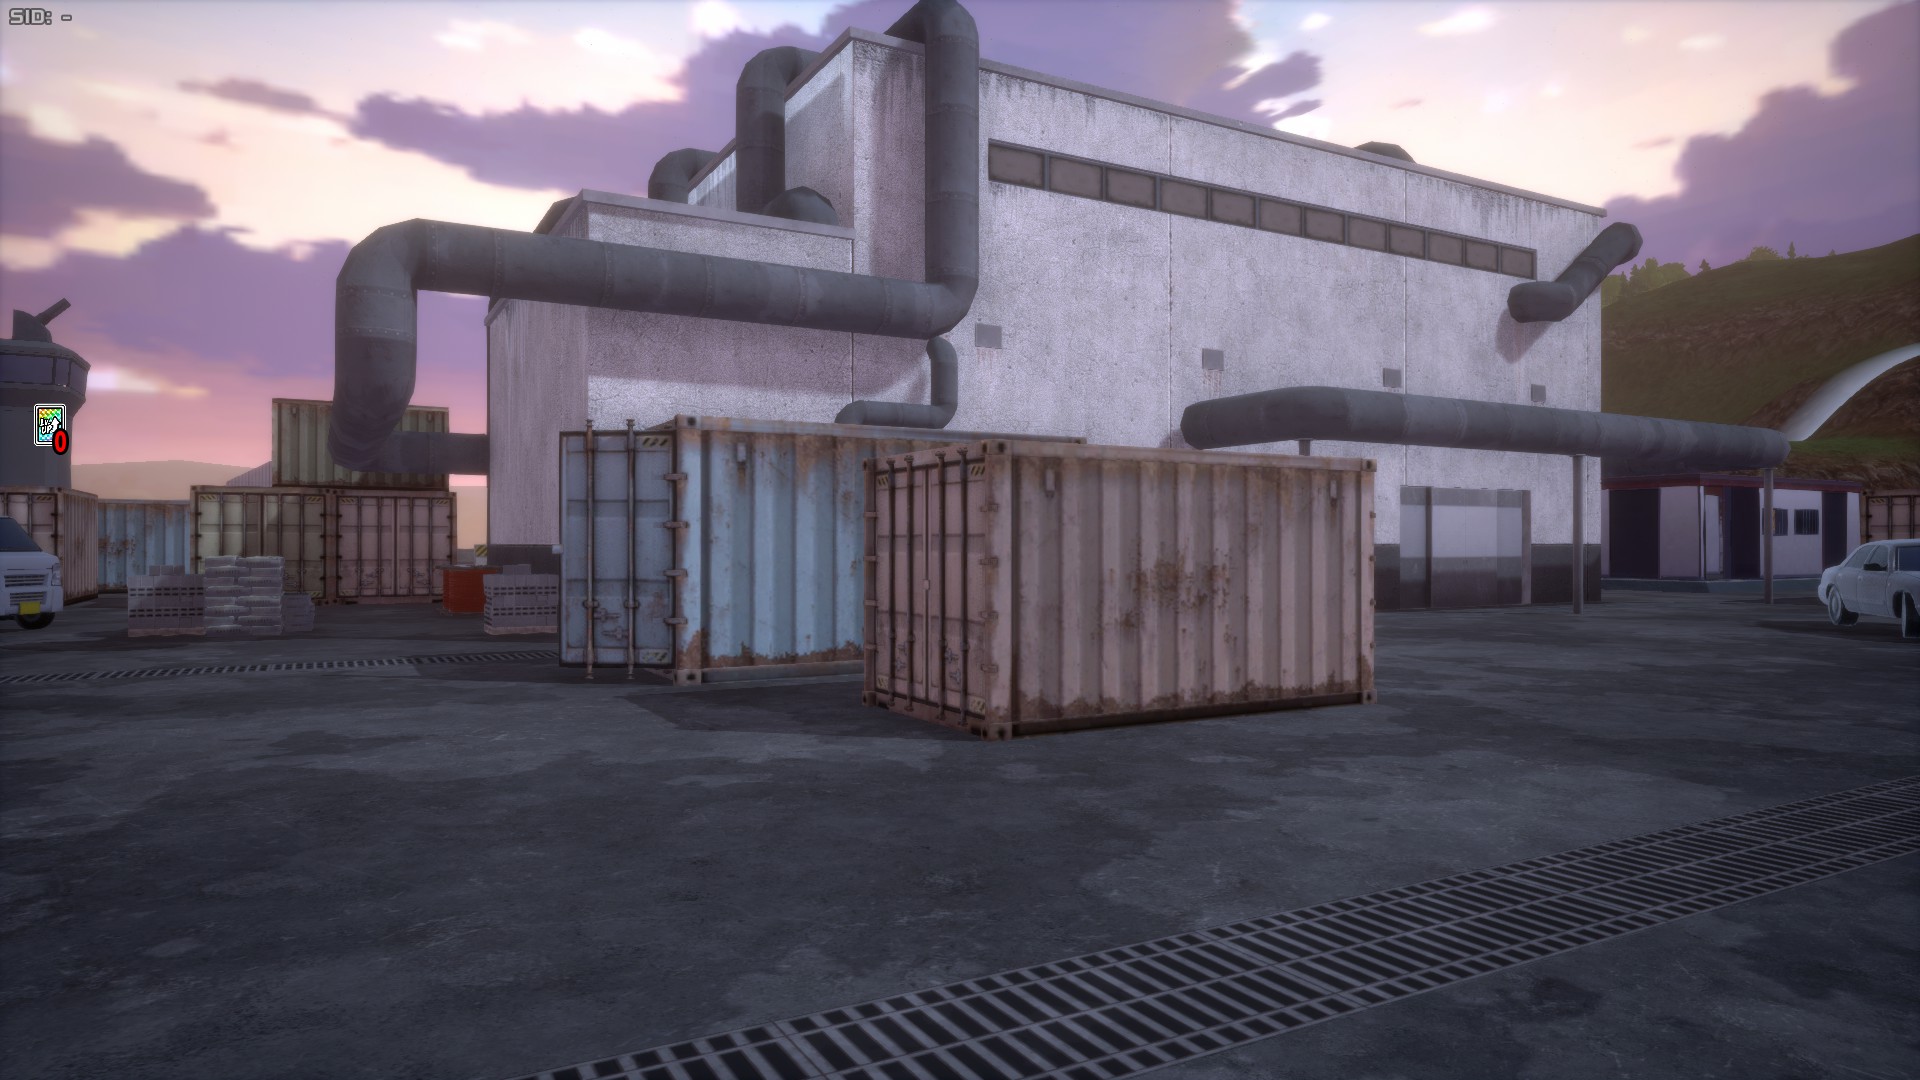
The Training Ground is an industrial area that occupies the whole south-western quarter of the map. It's a flat area with numerous surfaces and pipes to take cover or walk over, and has quite a few Nezu Boxes. This area is based in the area in the Training Joint where Class 1-A and Class 1-B fought in Season 5 of the anime, we can appreciate this thanks to it featuring the Class 1A win screen and the giant stone japanese onomatopoeia created by one of Class 1-B's students.
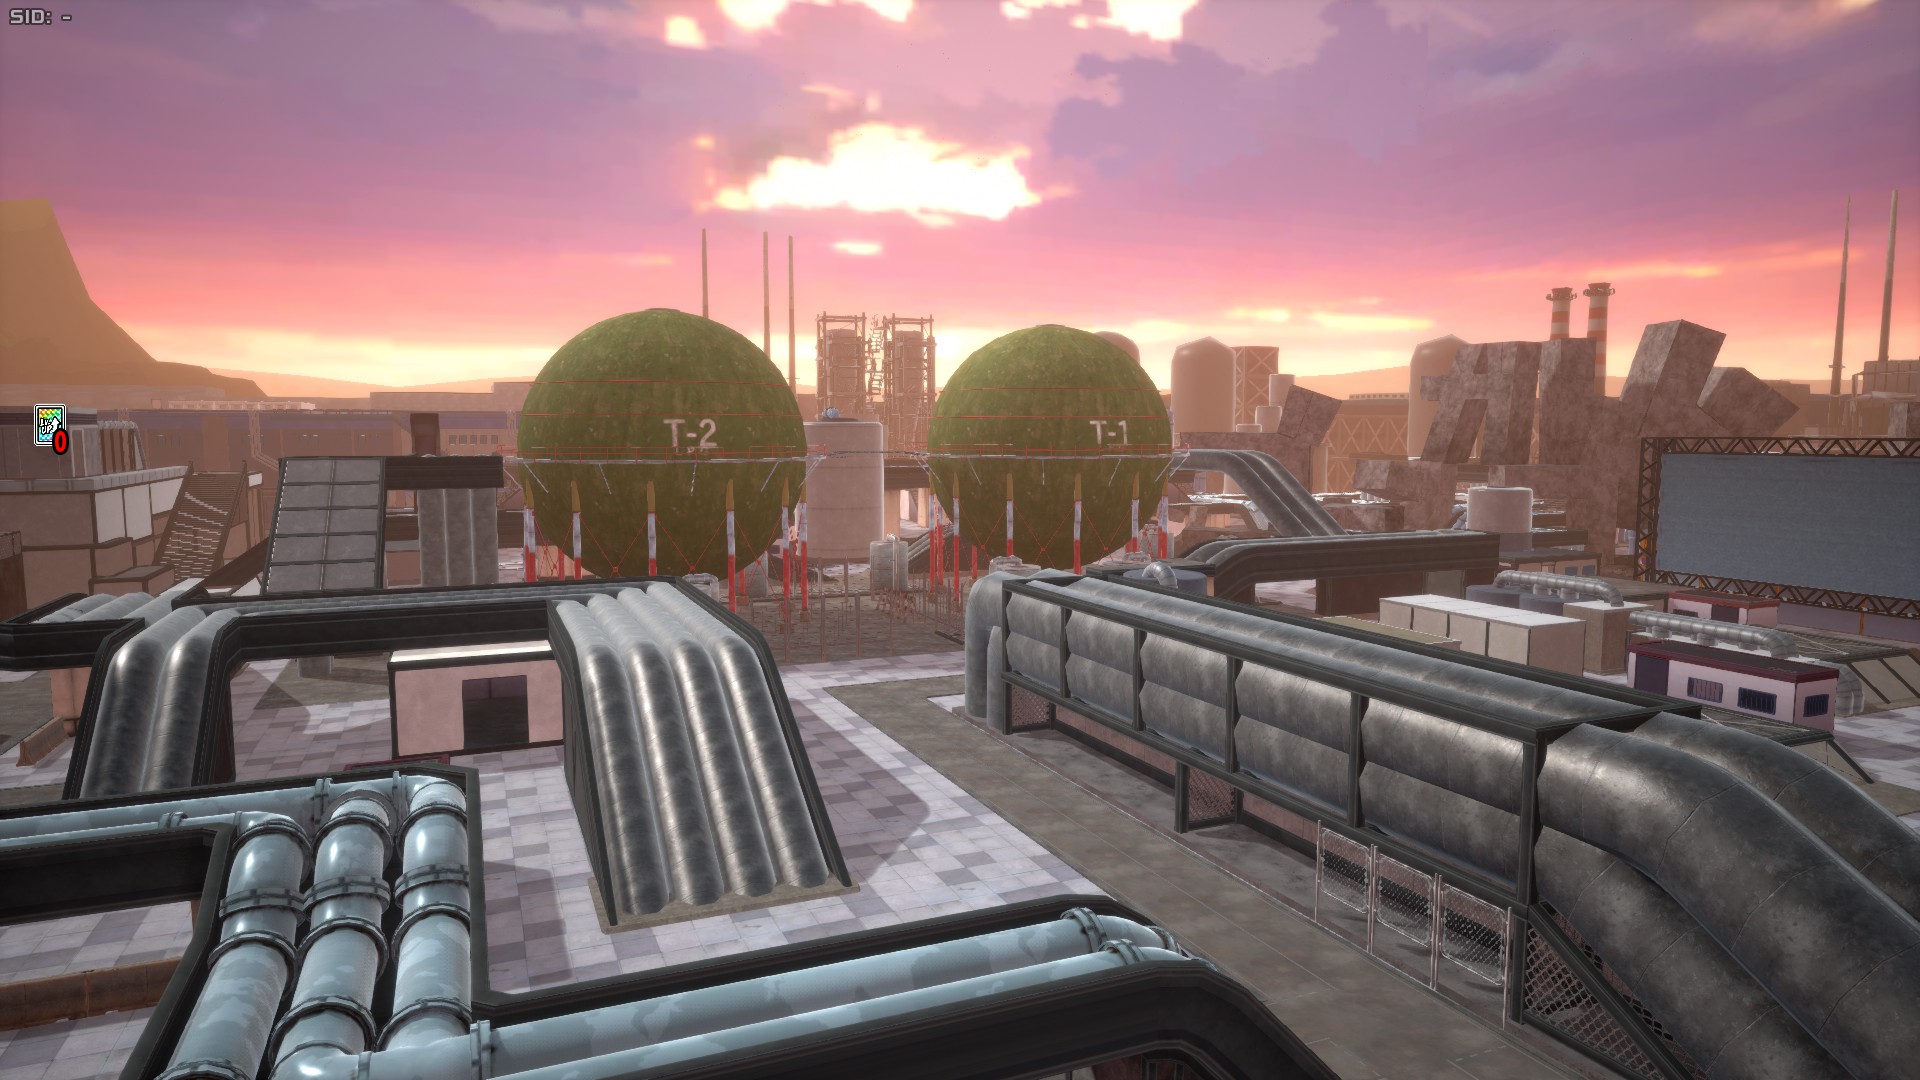
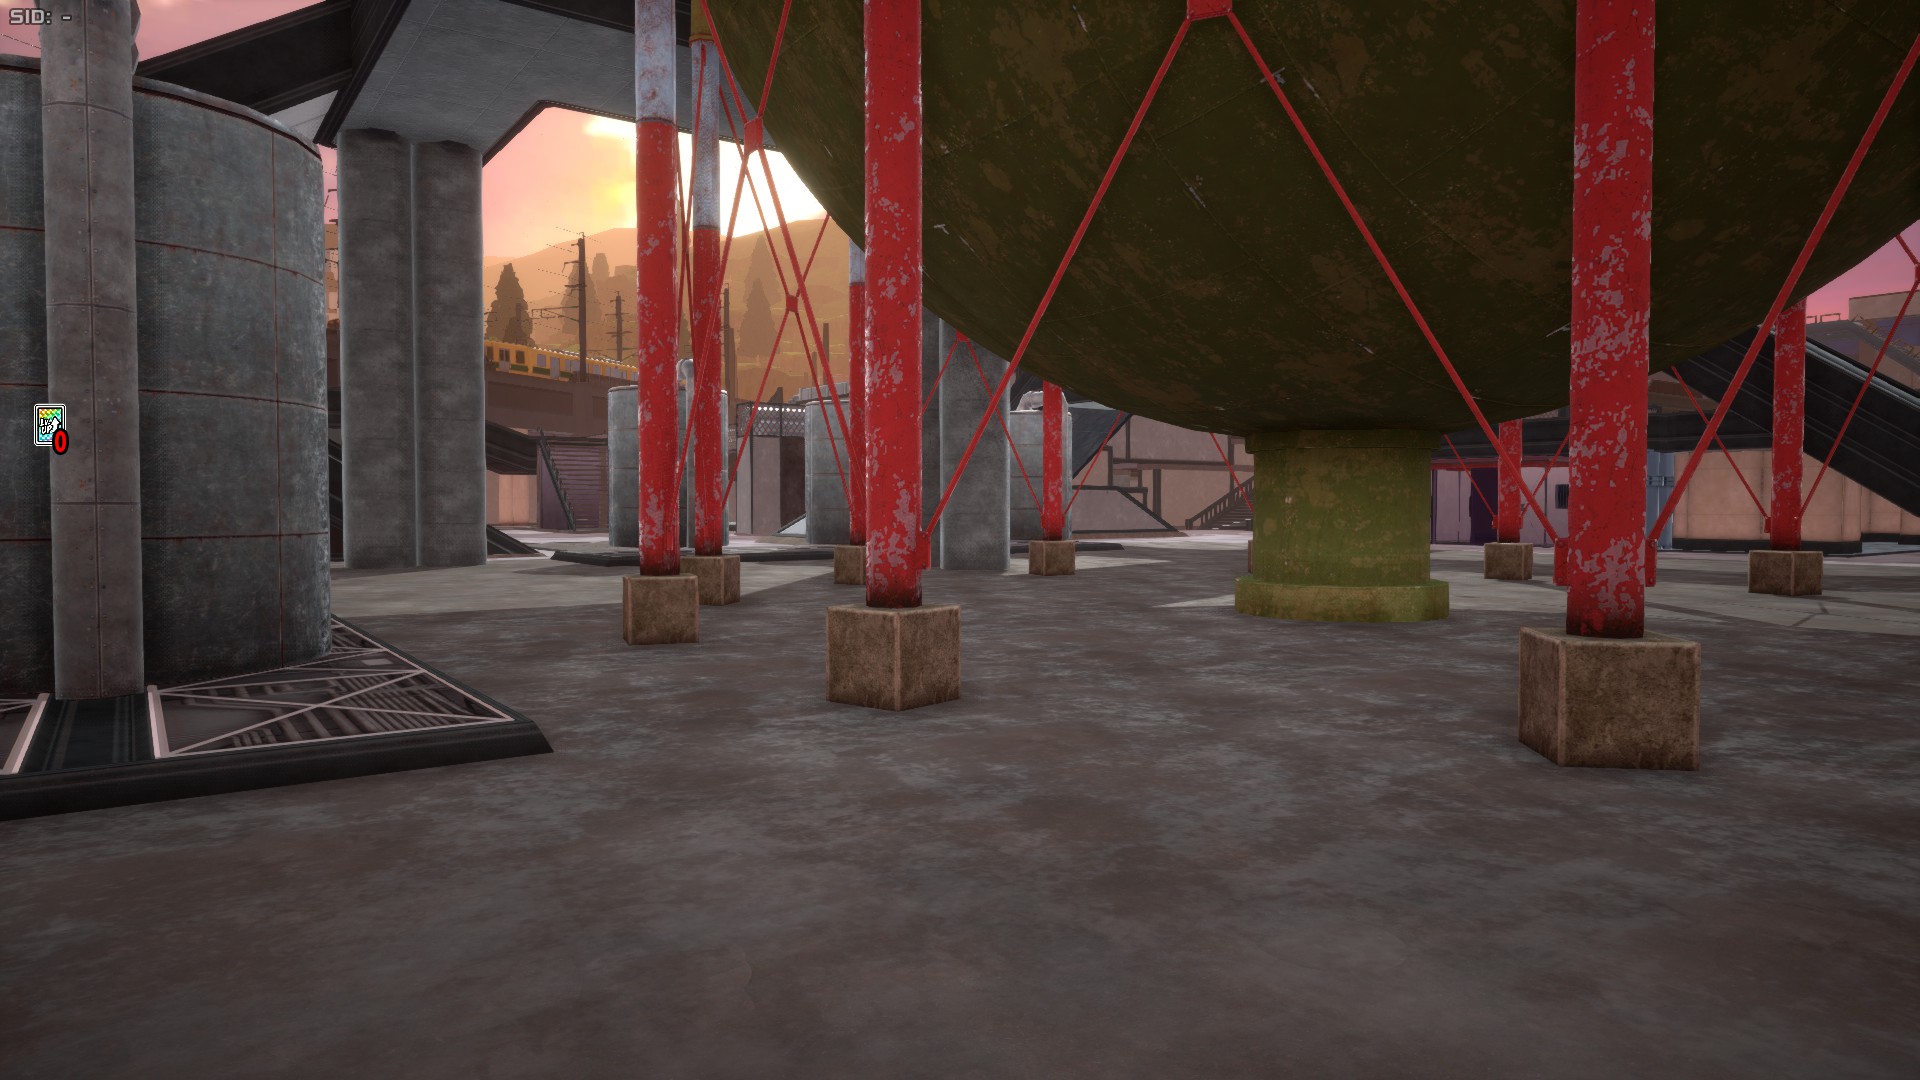
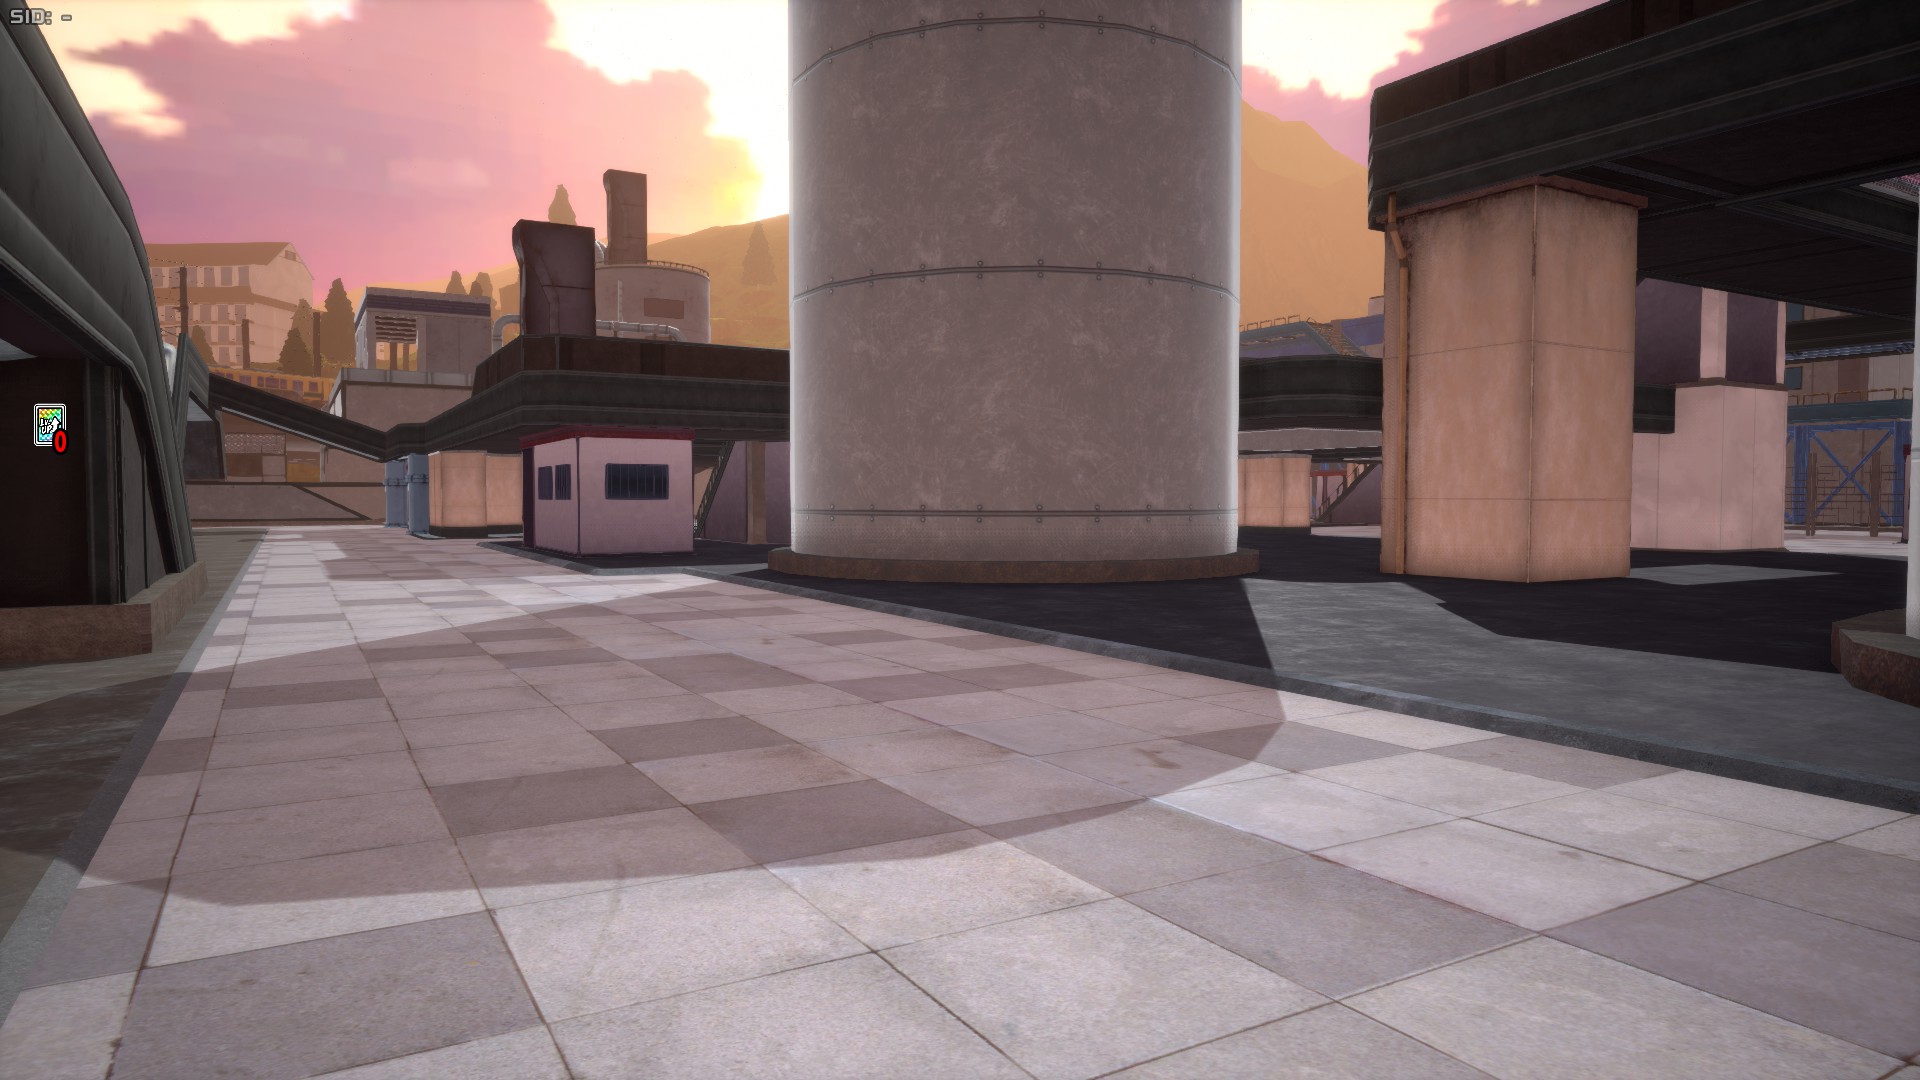
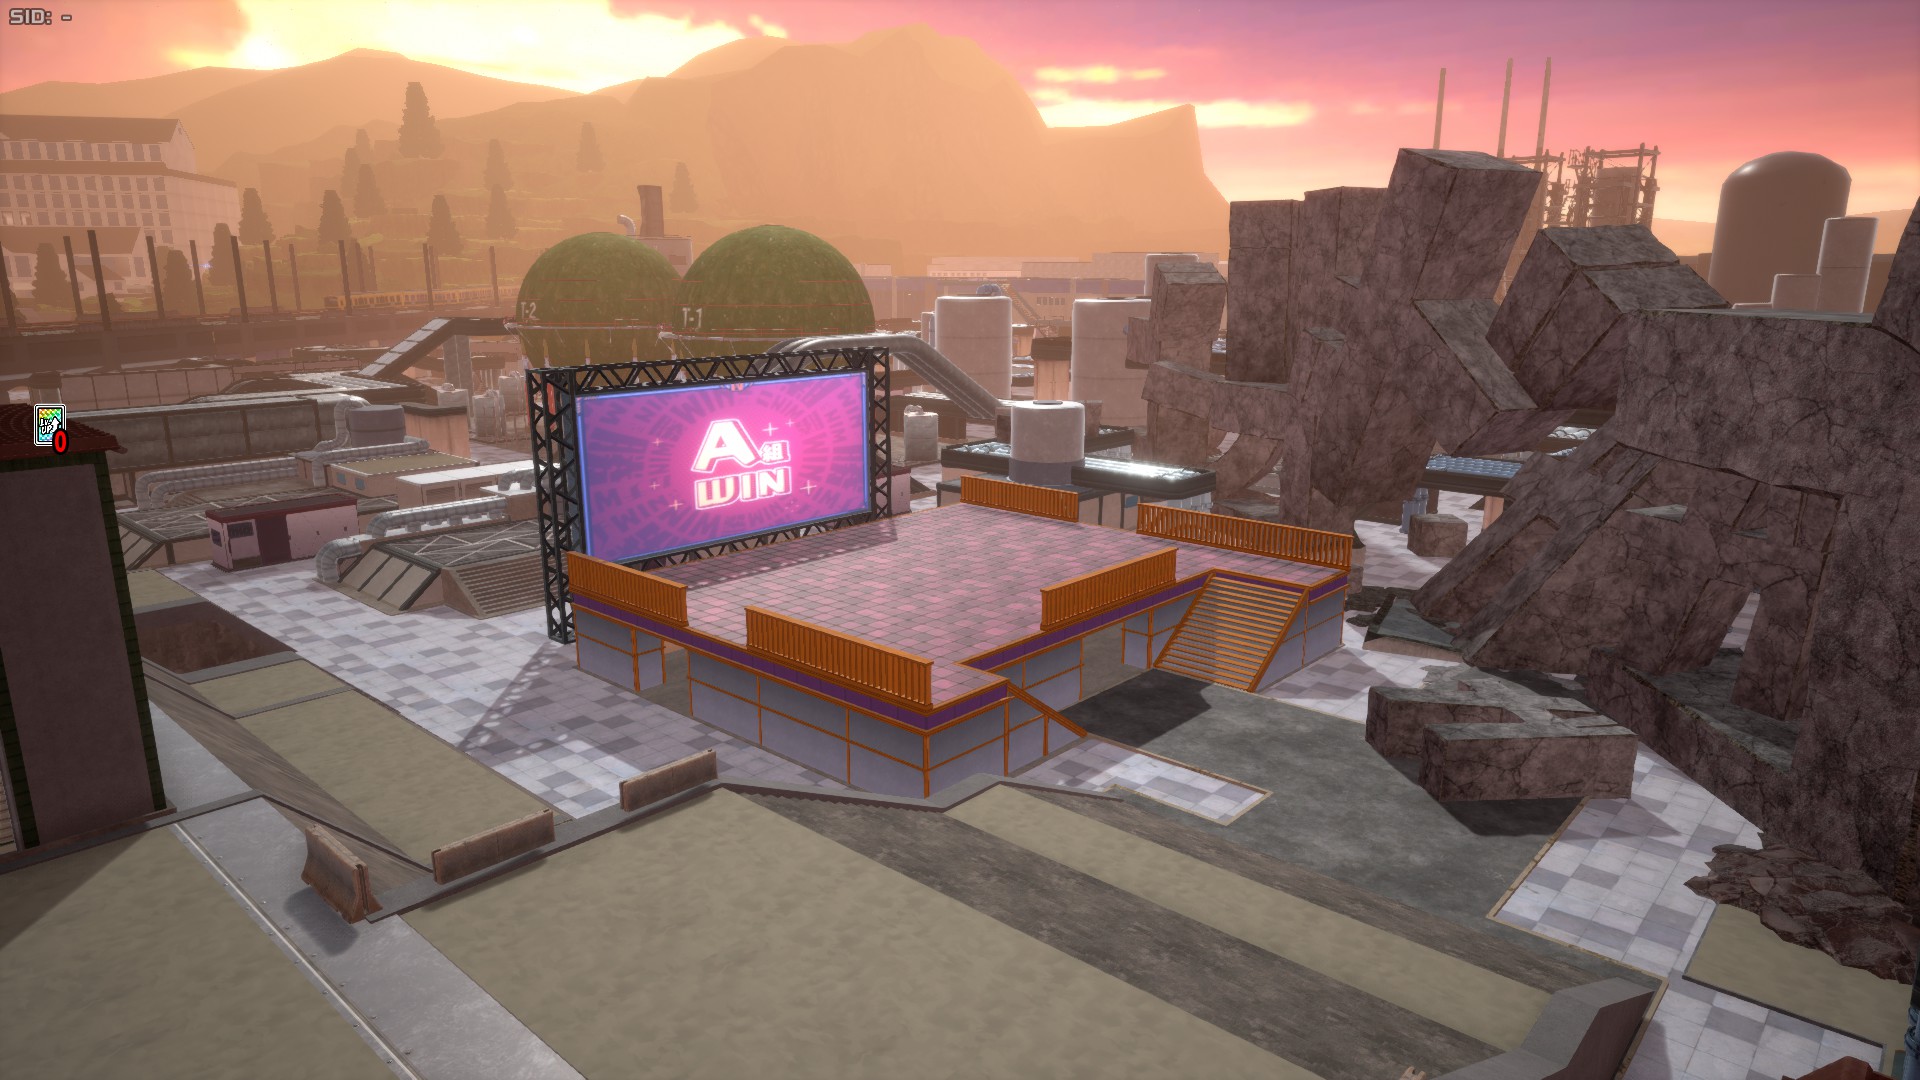
Hero Agency
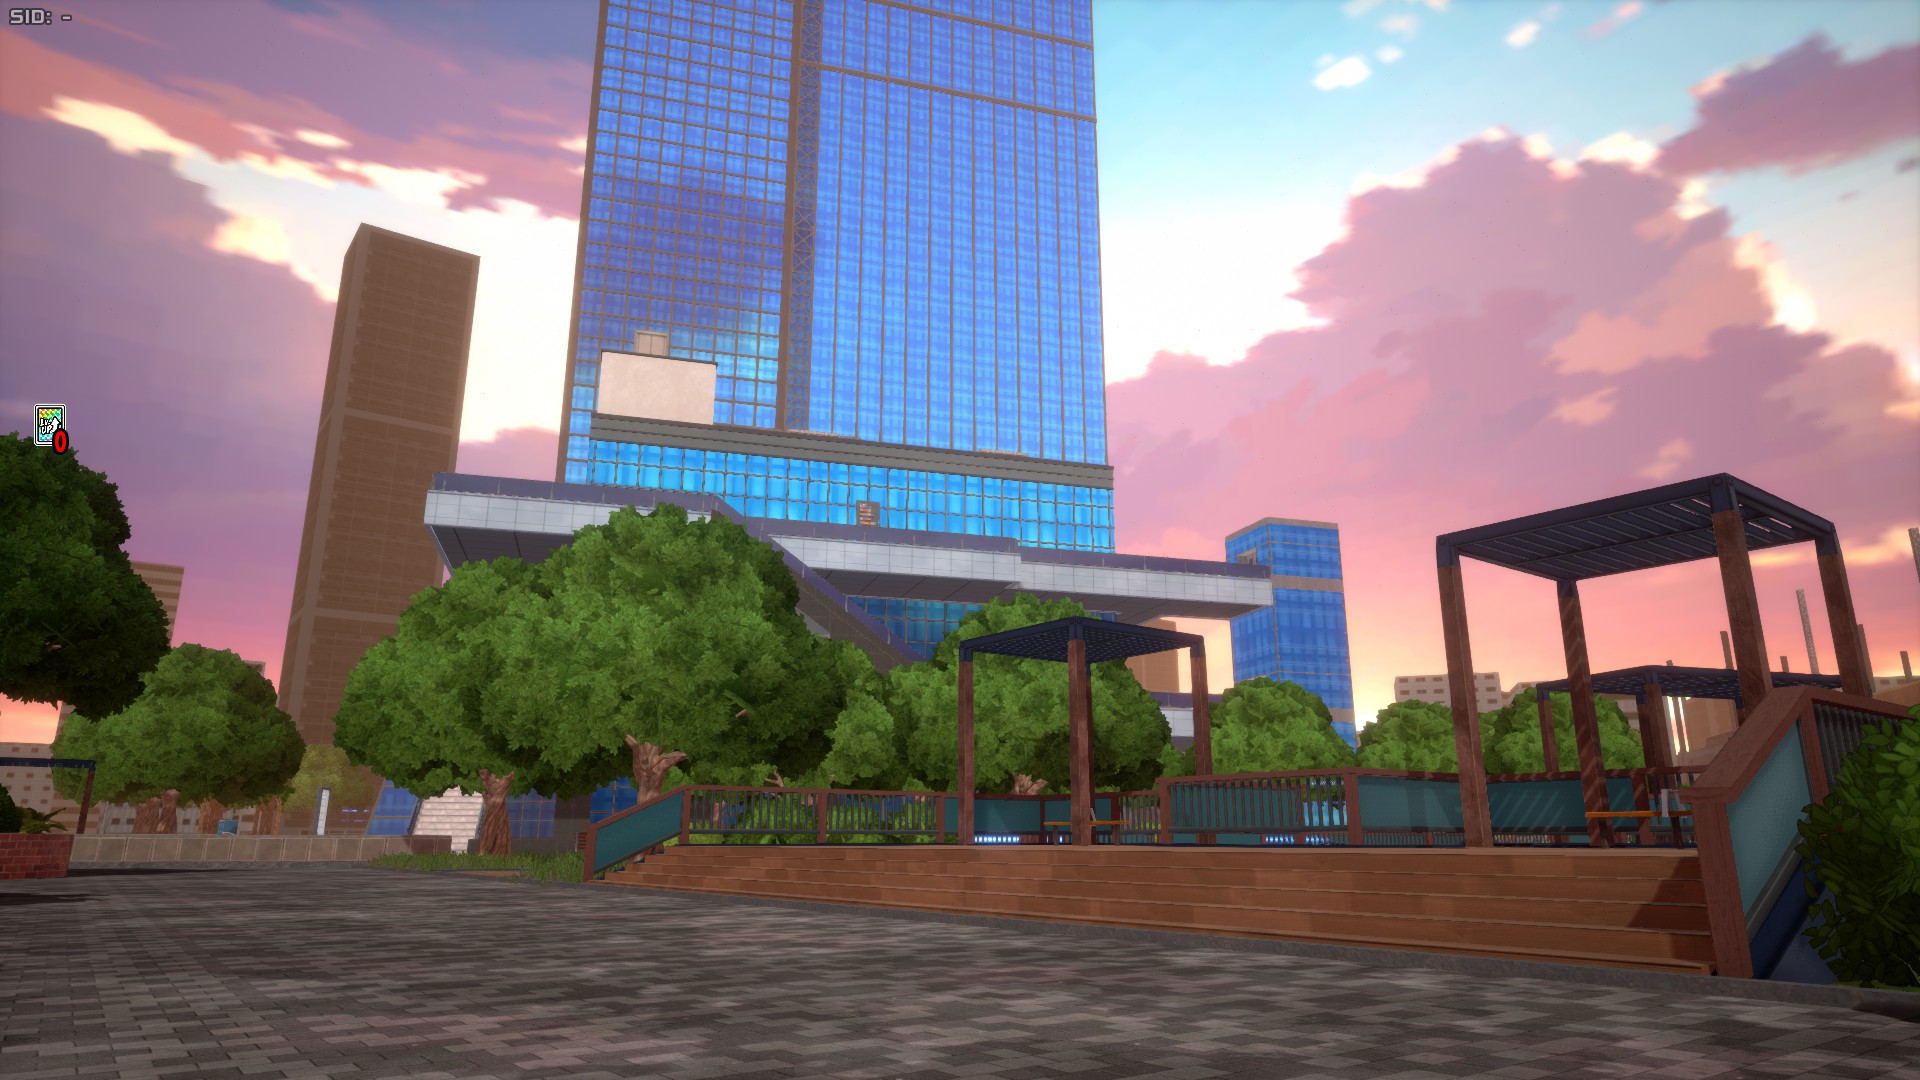
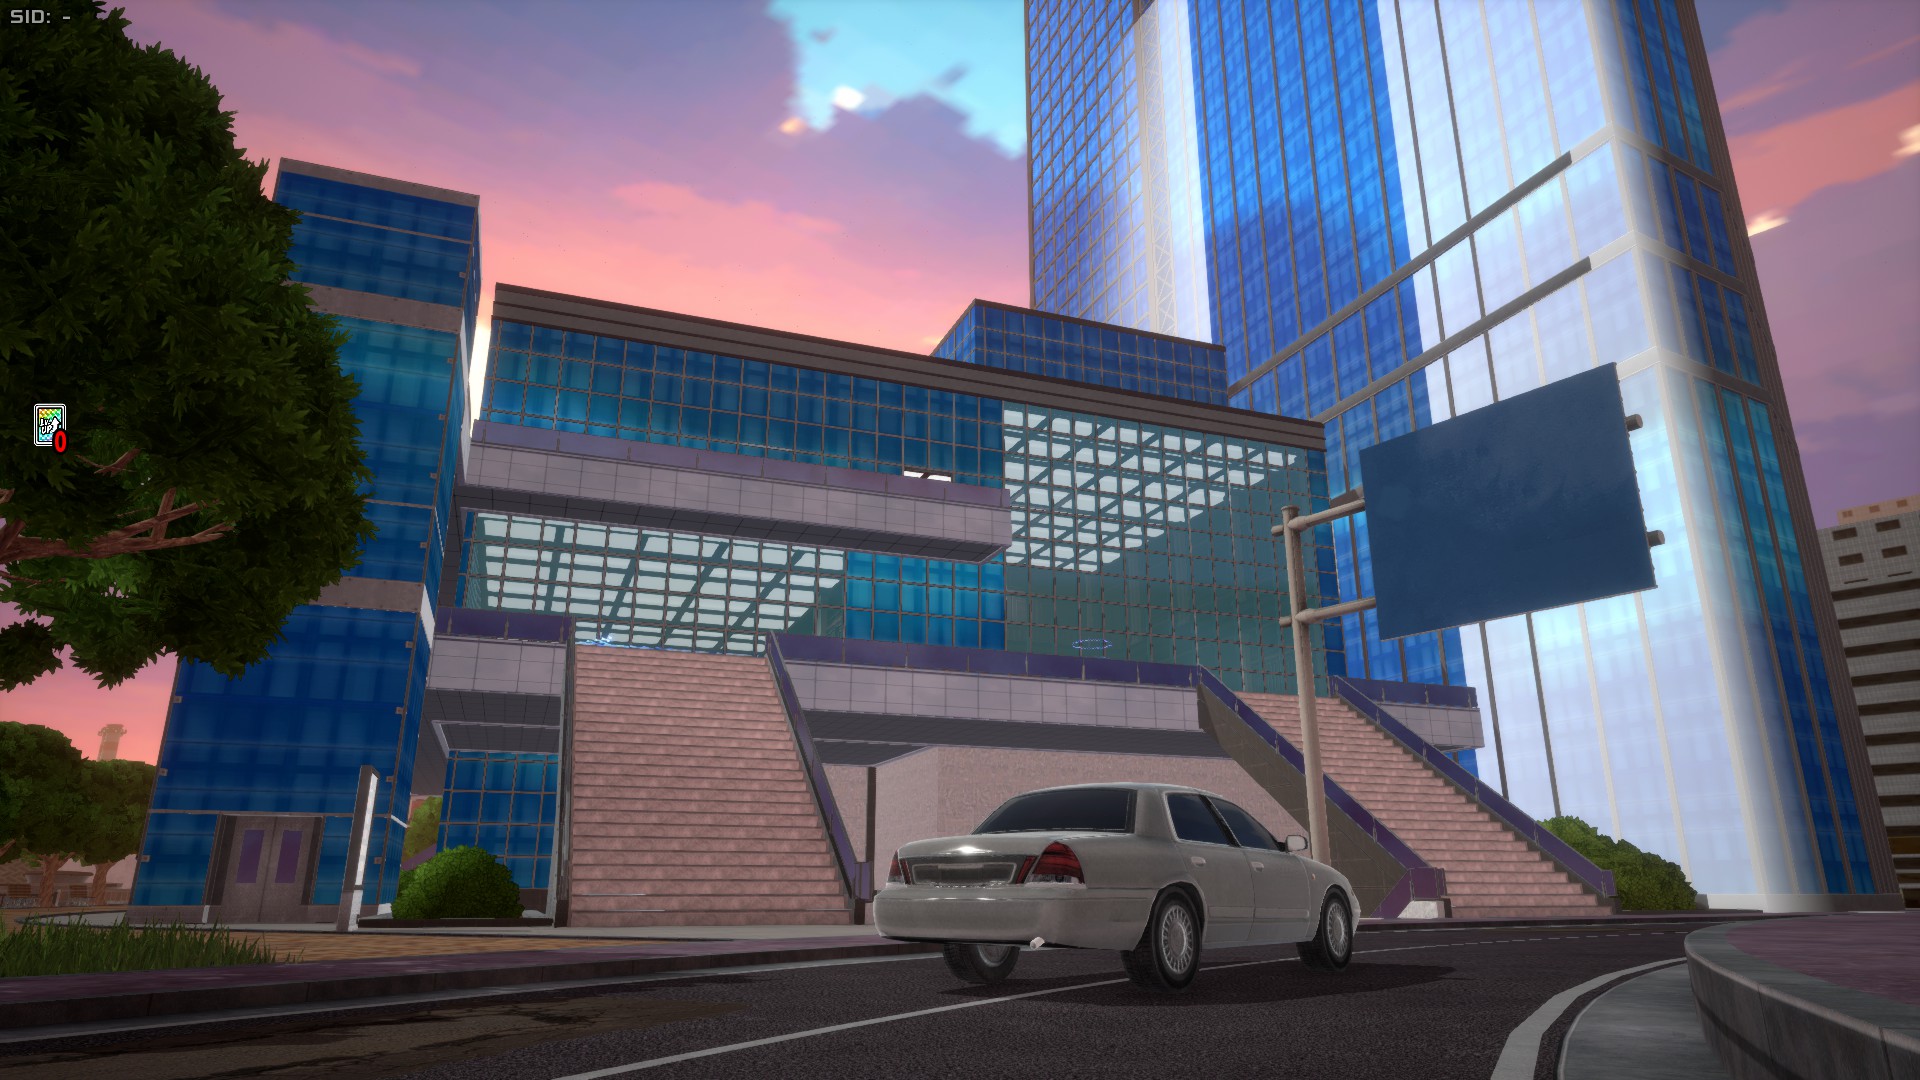
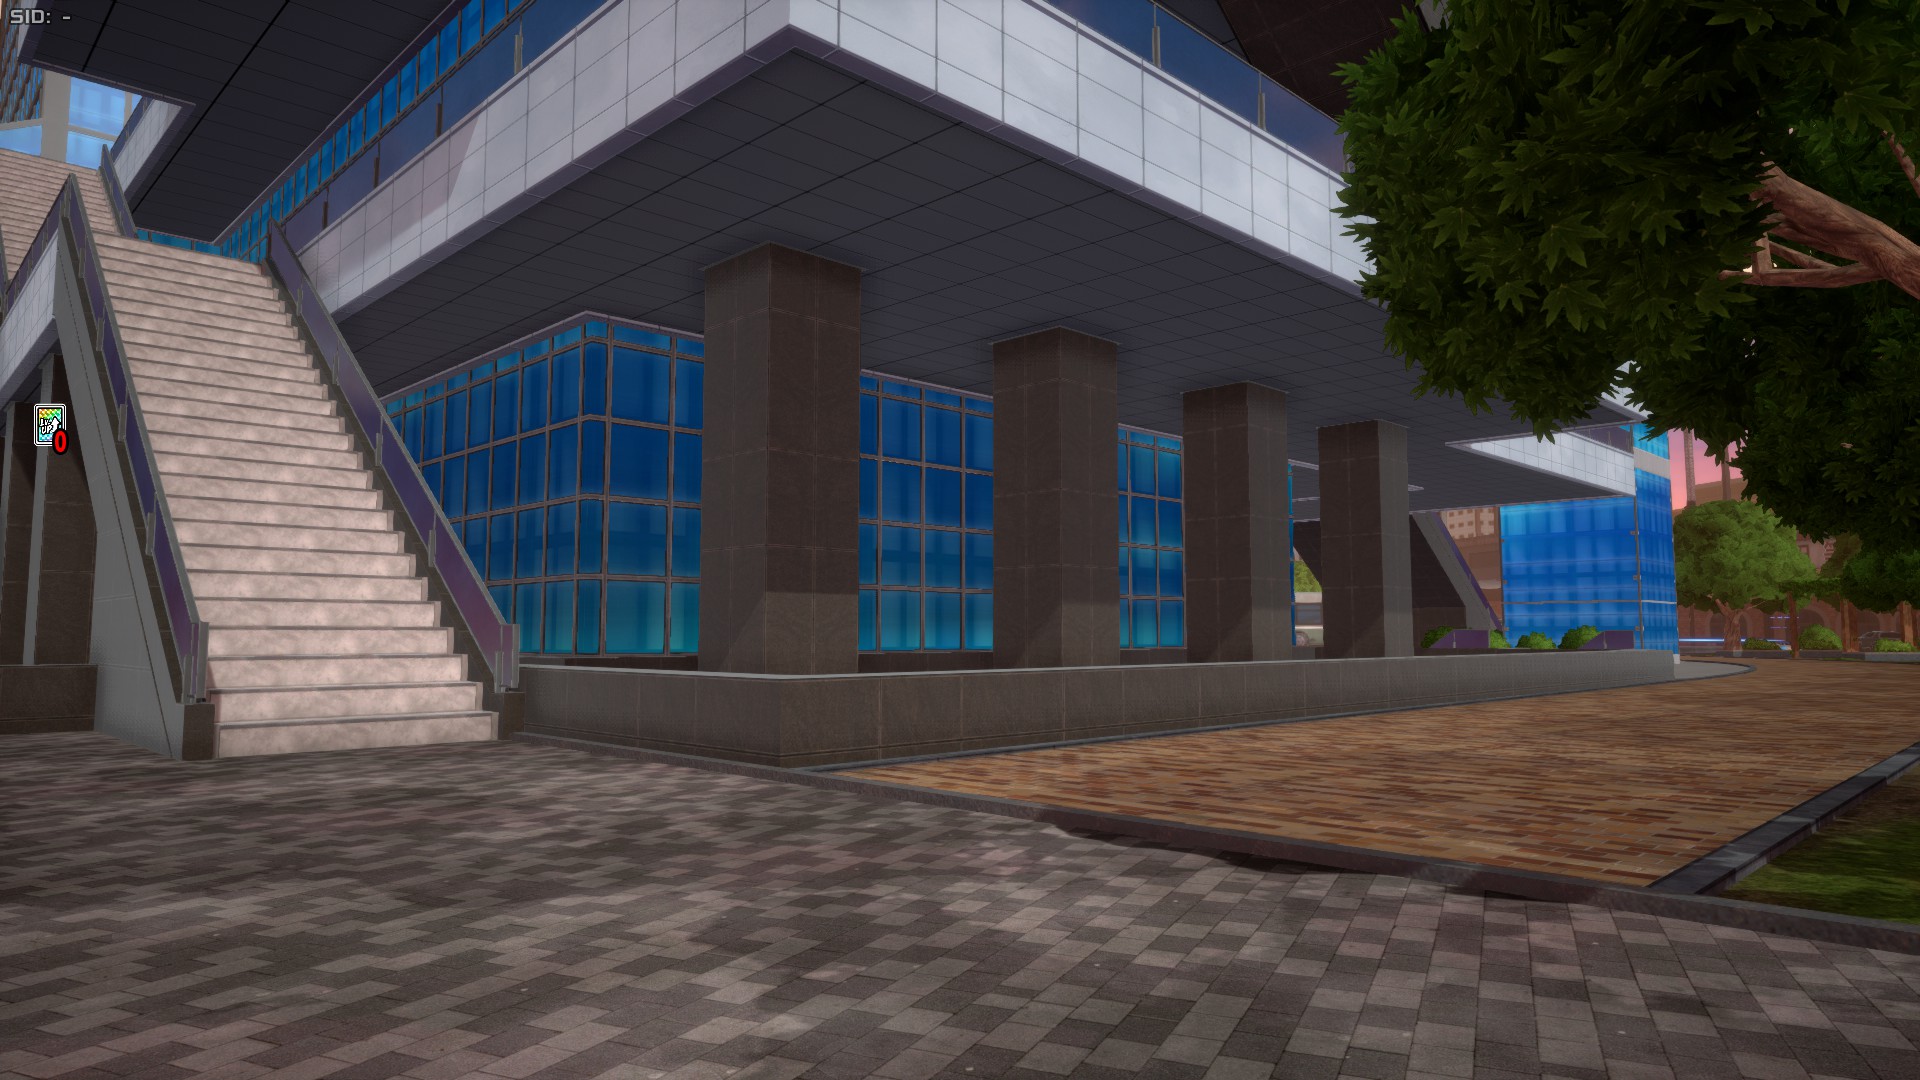
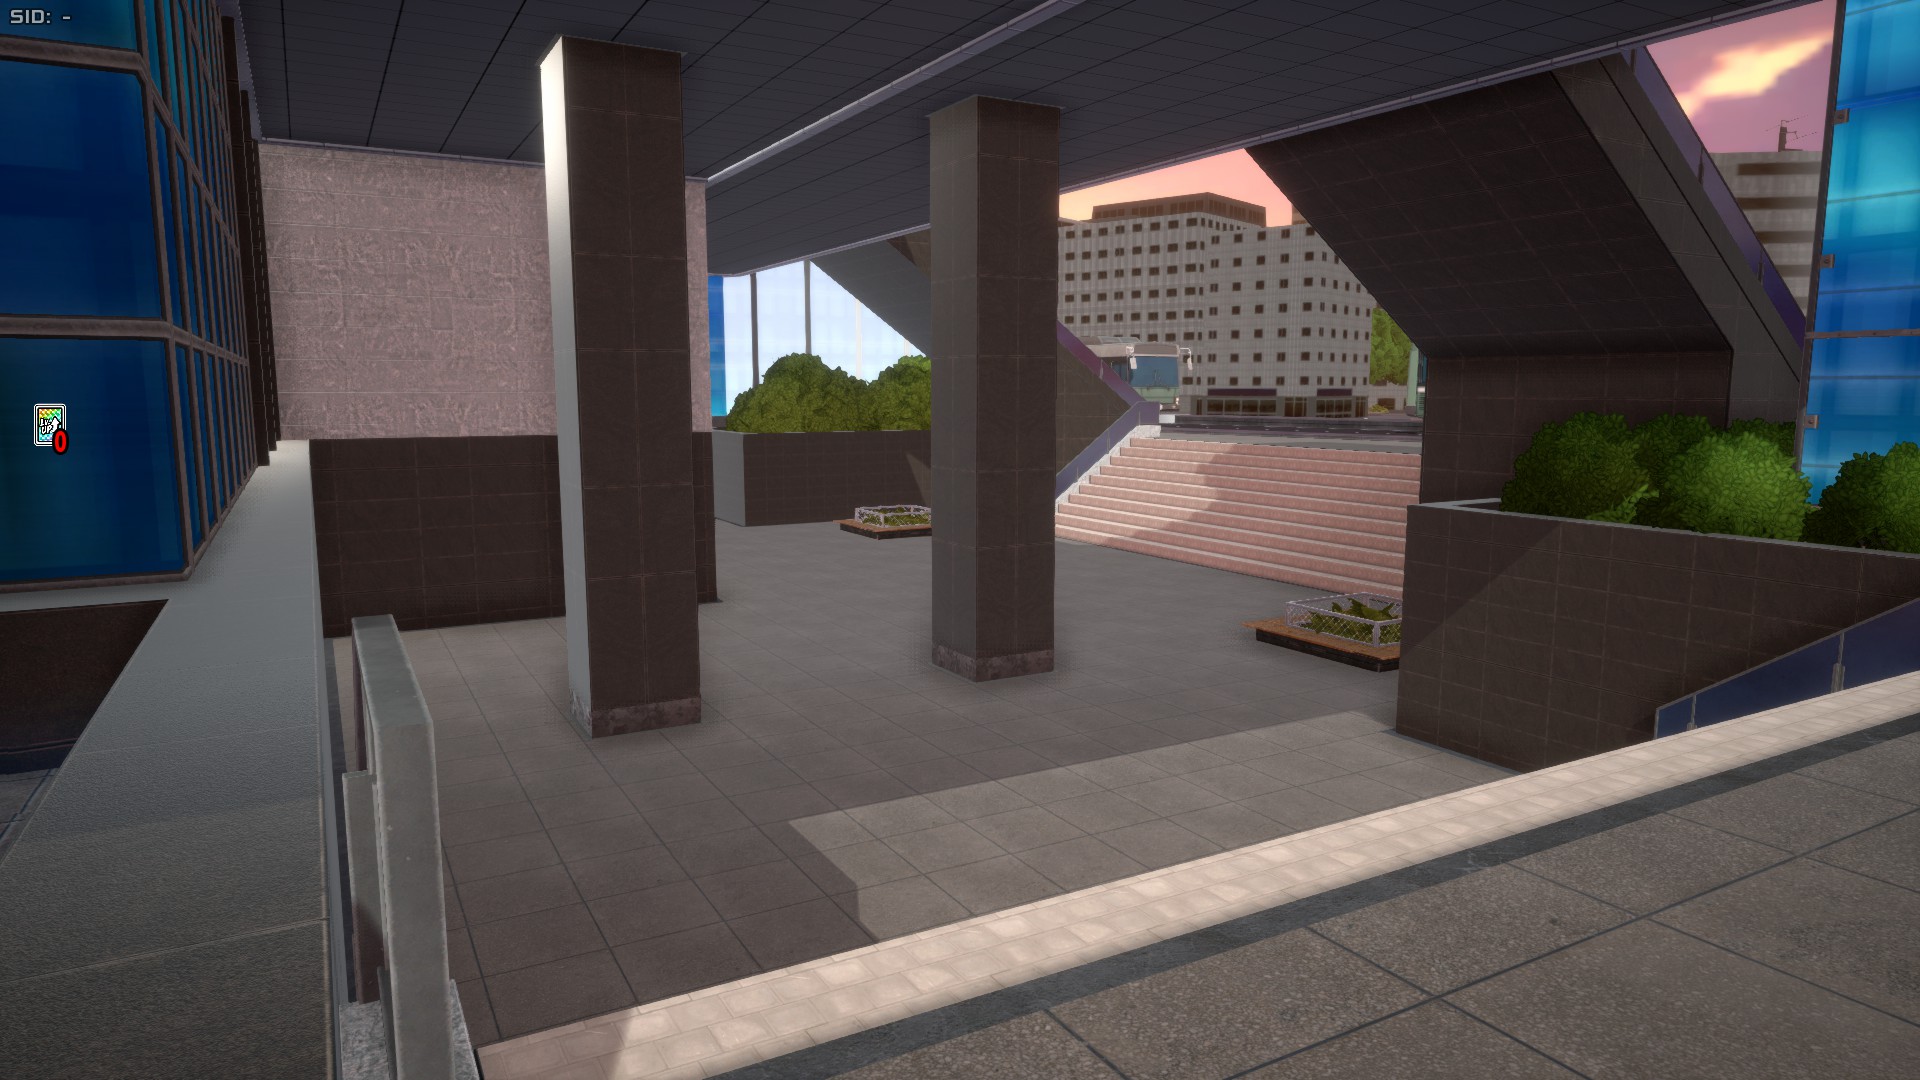
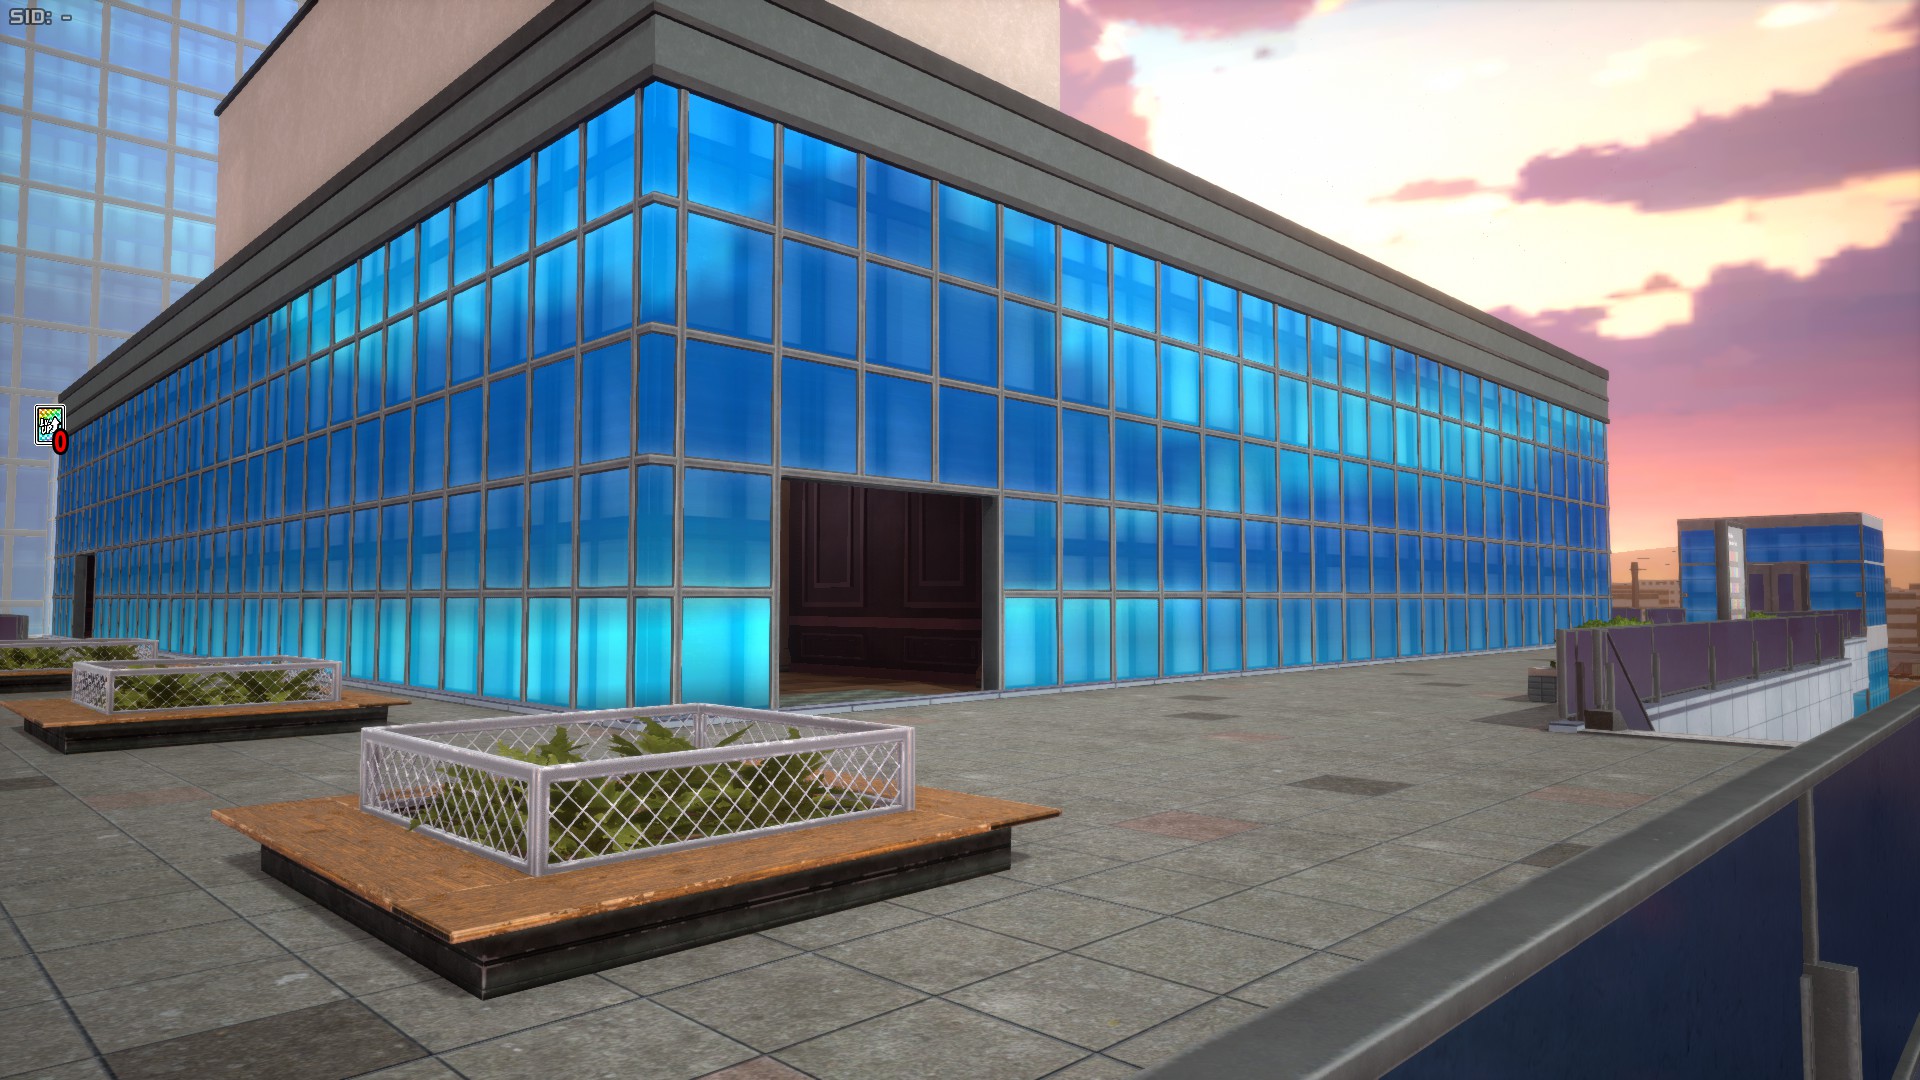
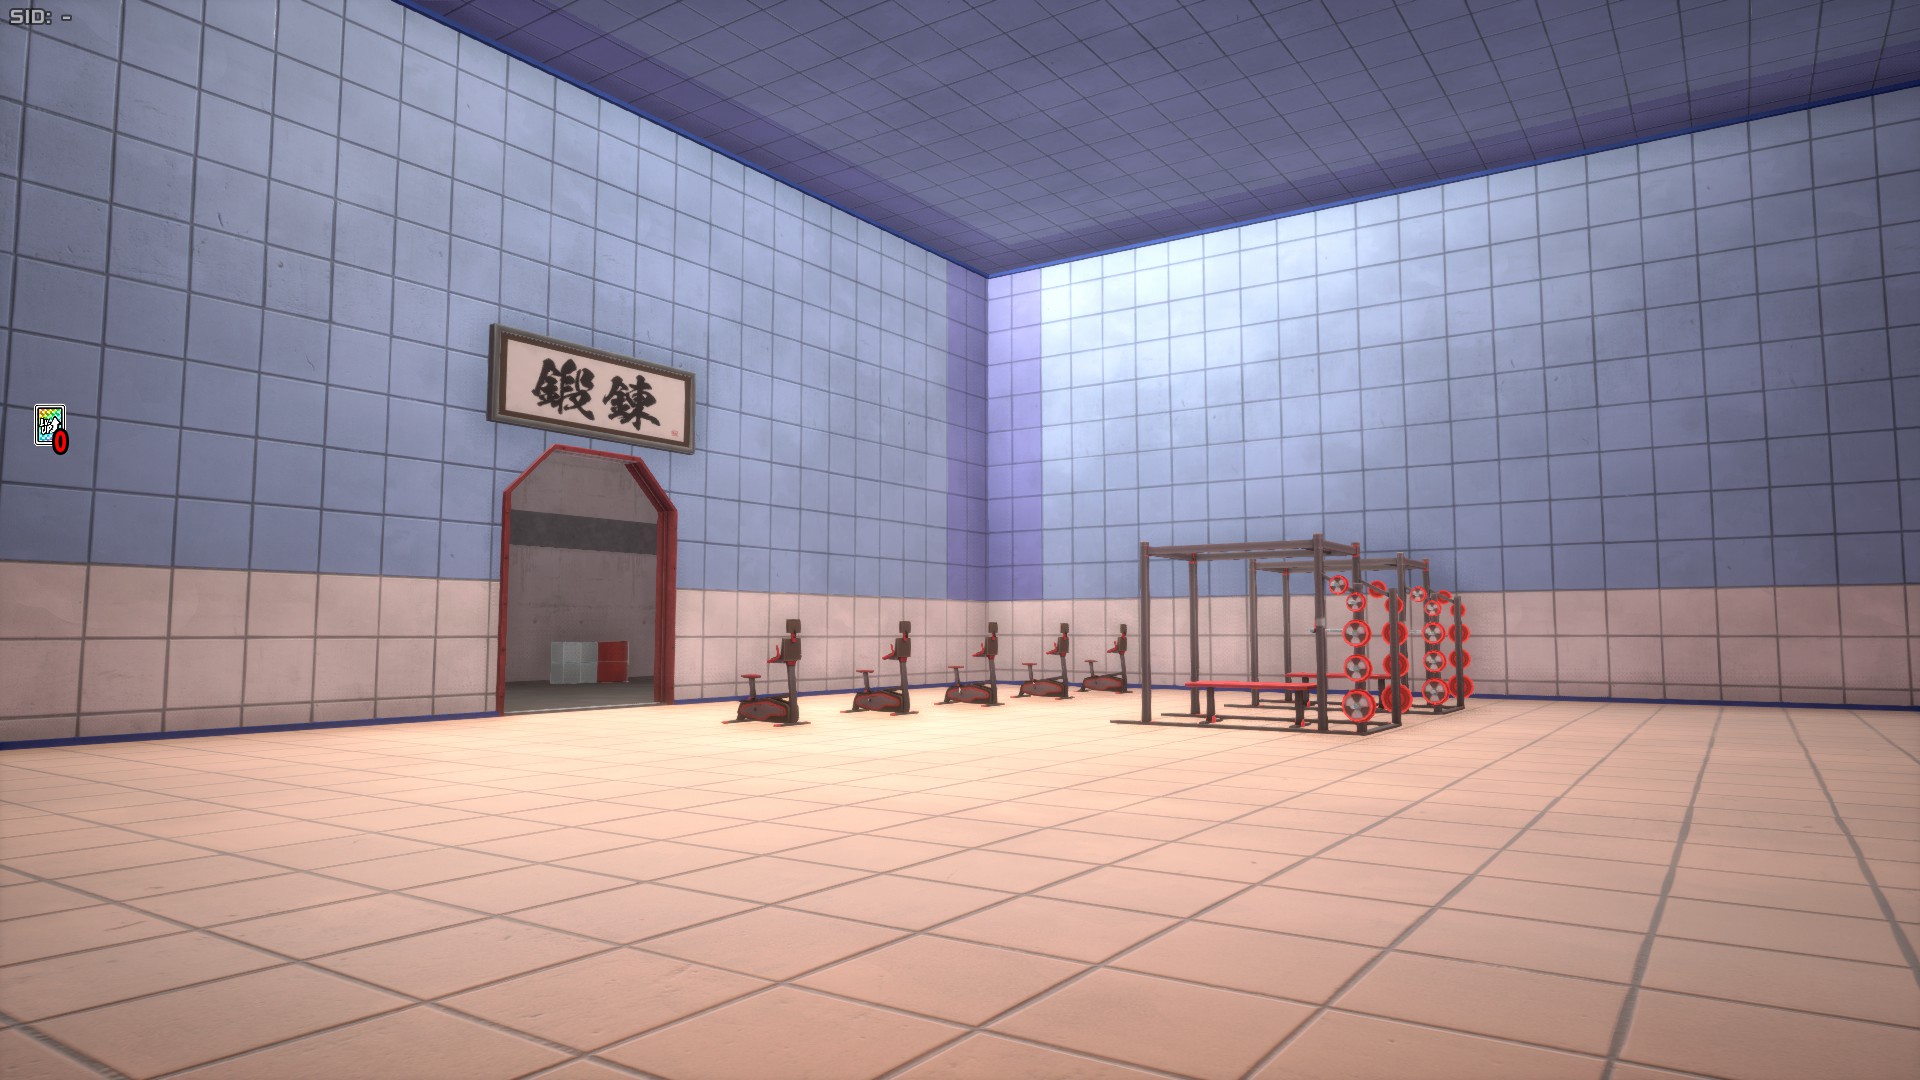
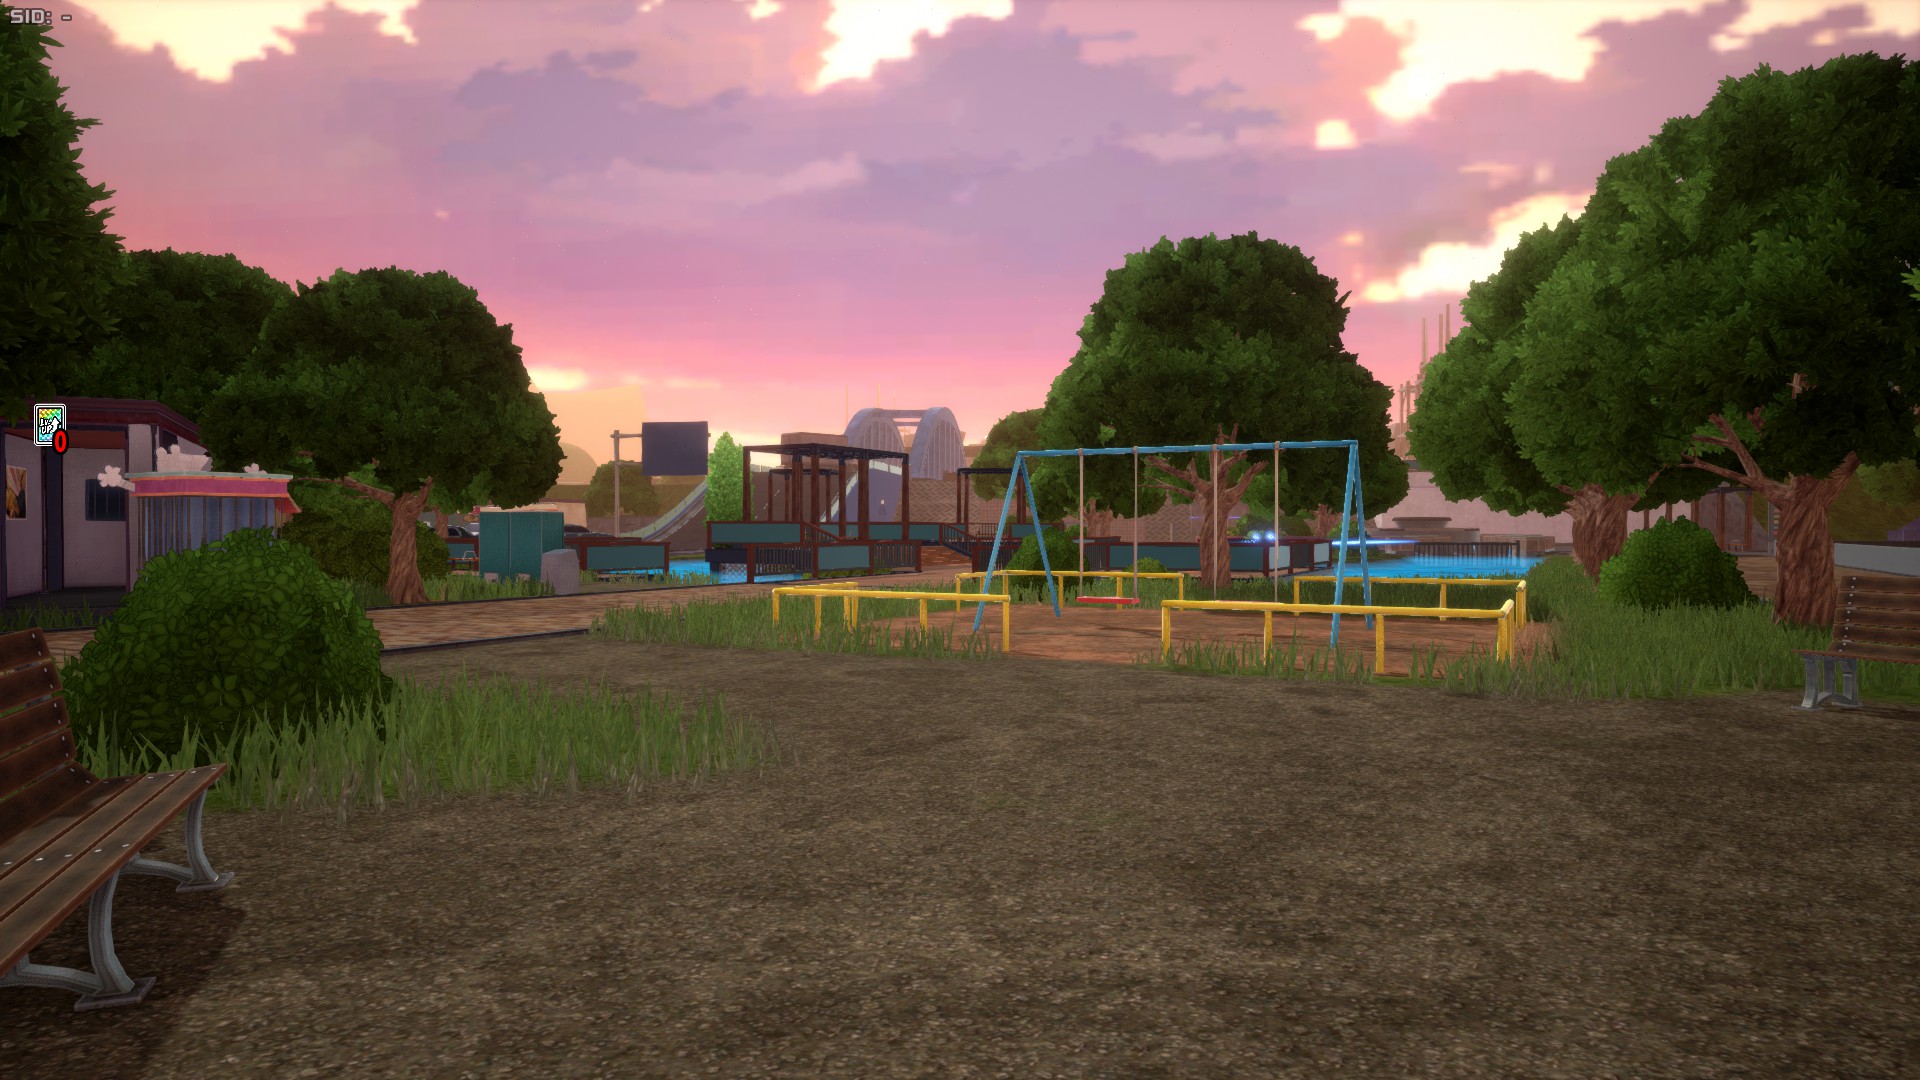
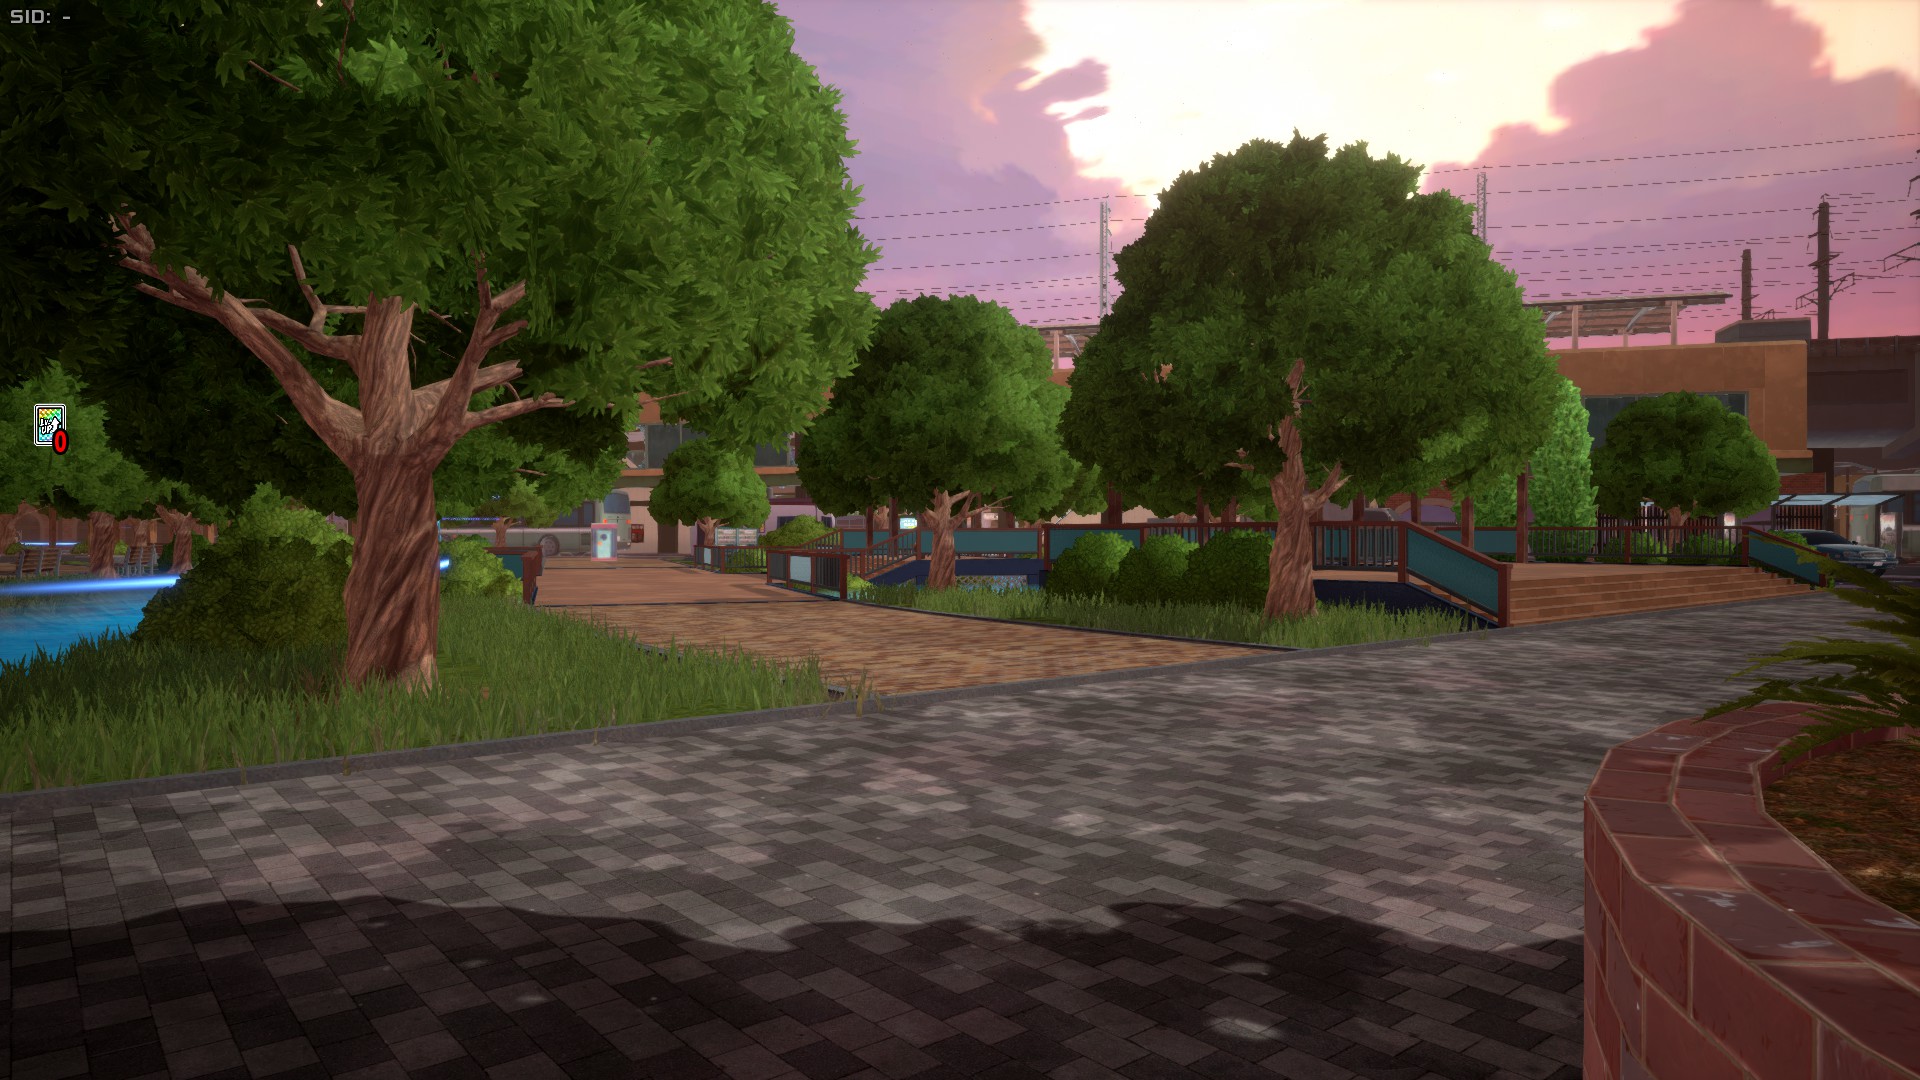
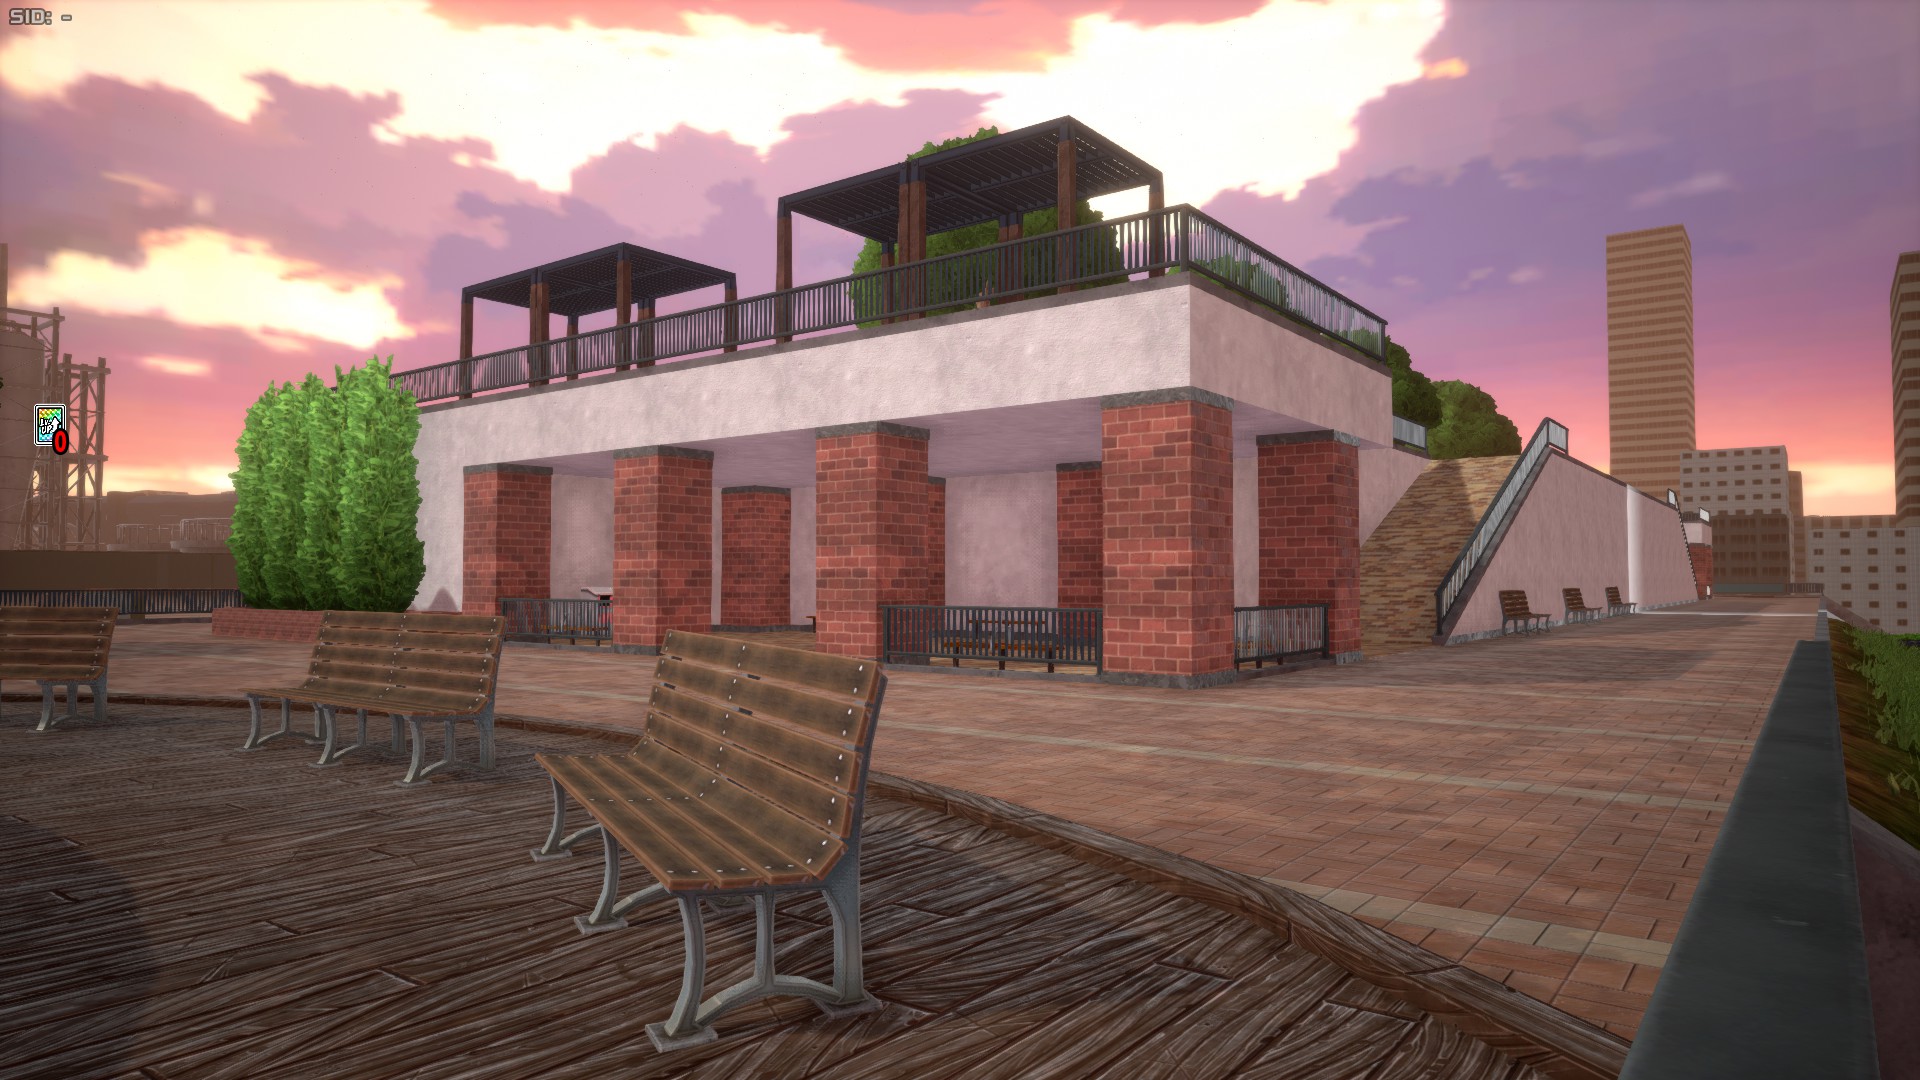
The Hero Agency is an area located at the west/north-west of the map, and it's based in Endeavor's Agency. It features a large building with 2 main floors and a lower floor for gym equipment. This building stands out from anywhere in Chaos City, as its sheer full height makes it the tallest building in the game by far. However, the tall part of the building is not accessible and remains out of bounds, so the playable area is much smaller. Hero Agency also features a small bit of nature and park-like structures around it.
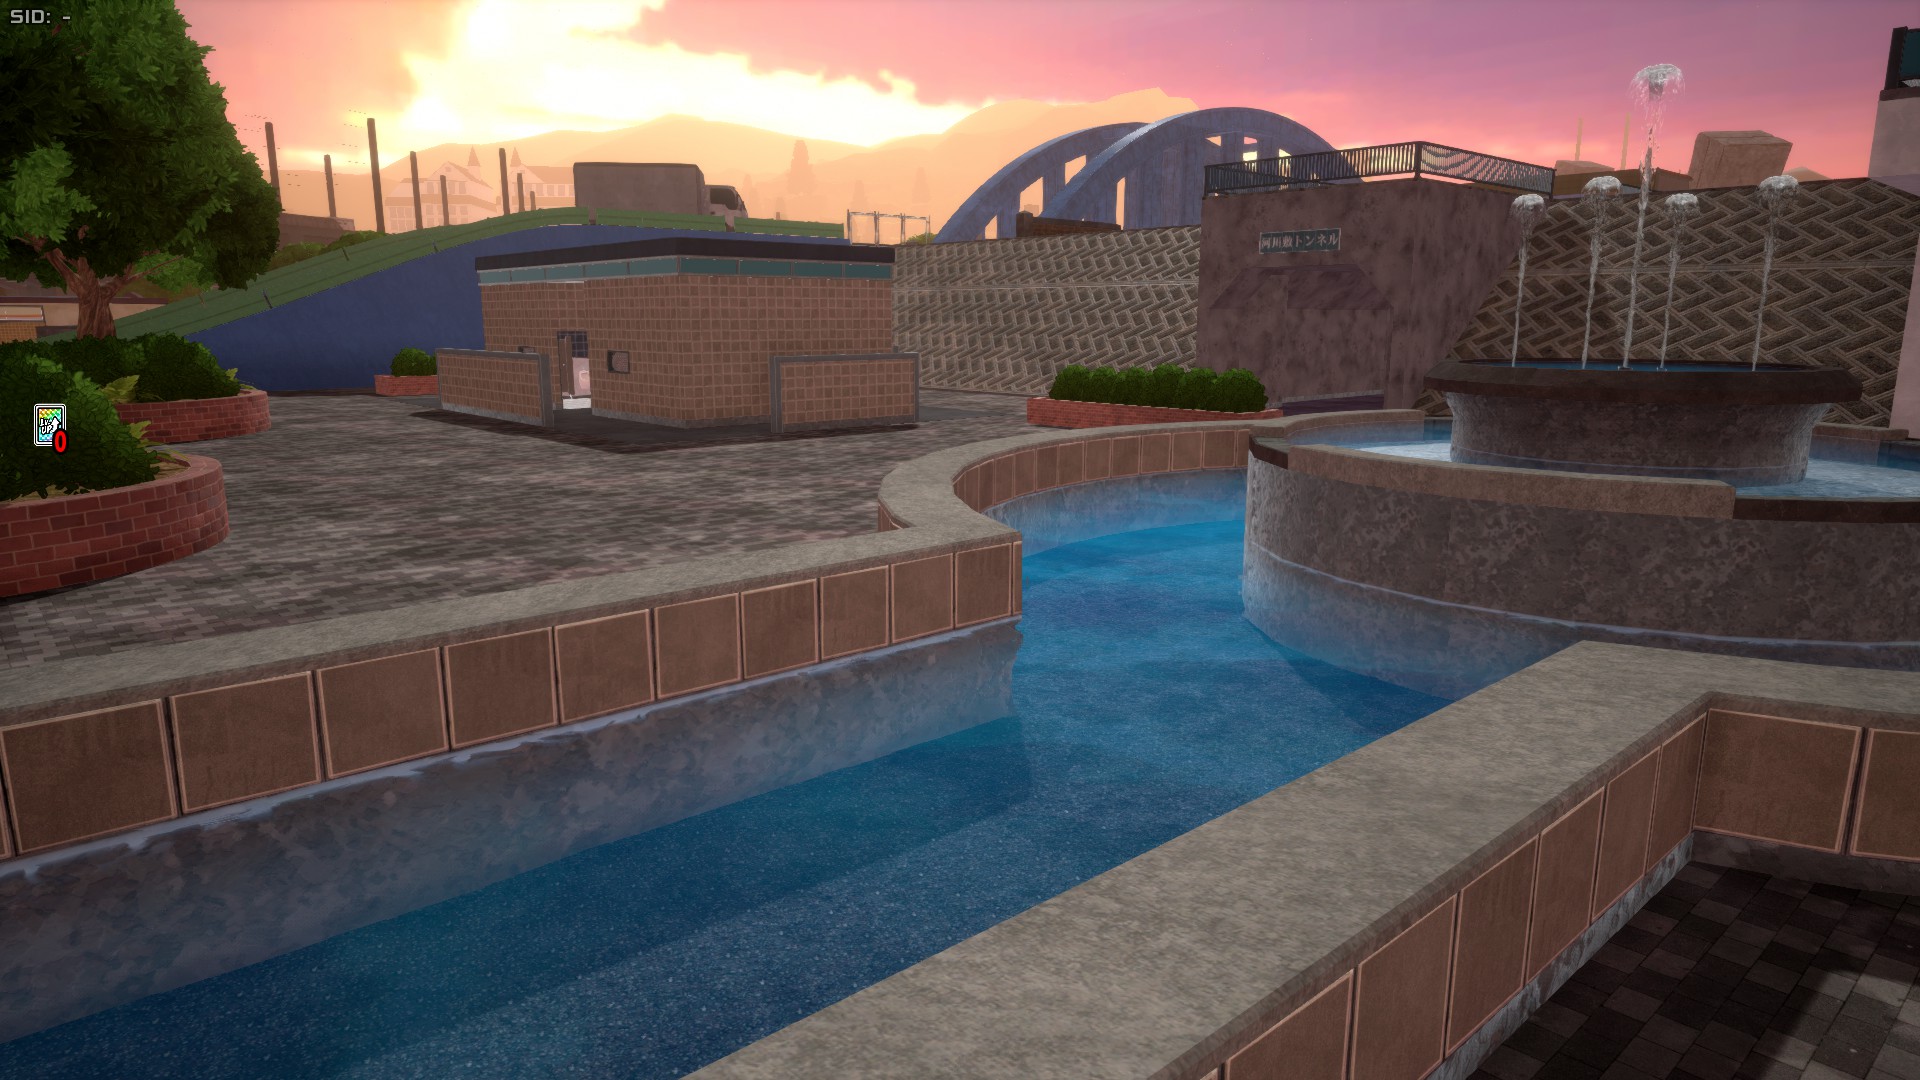
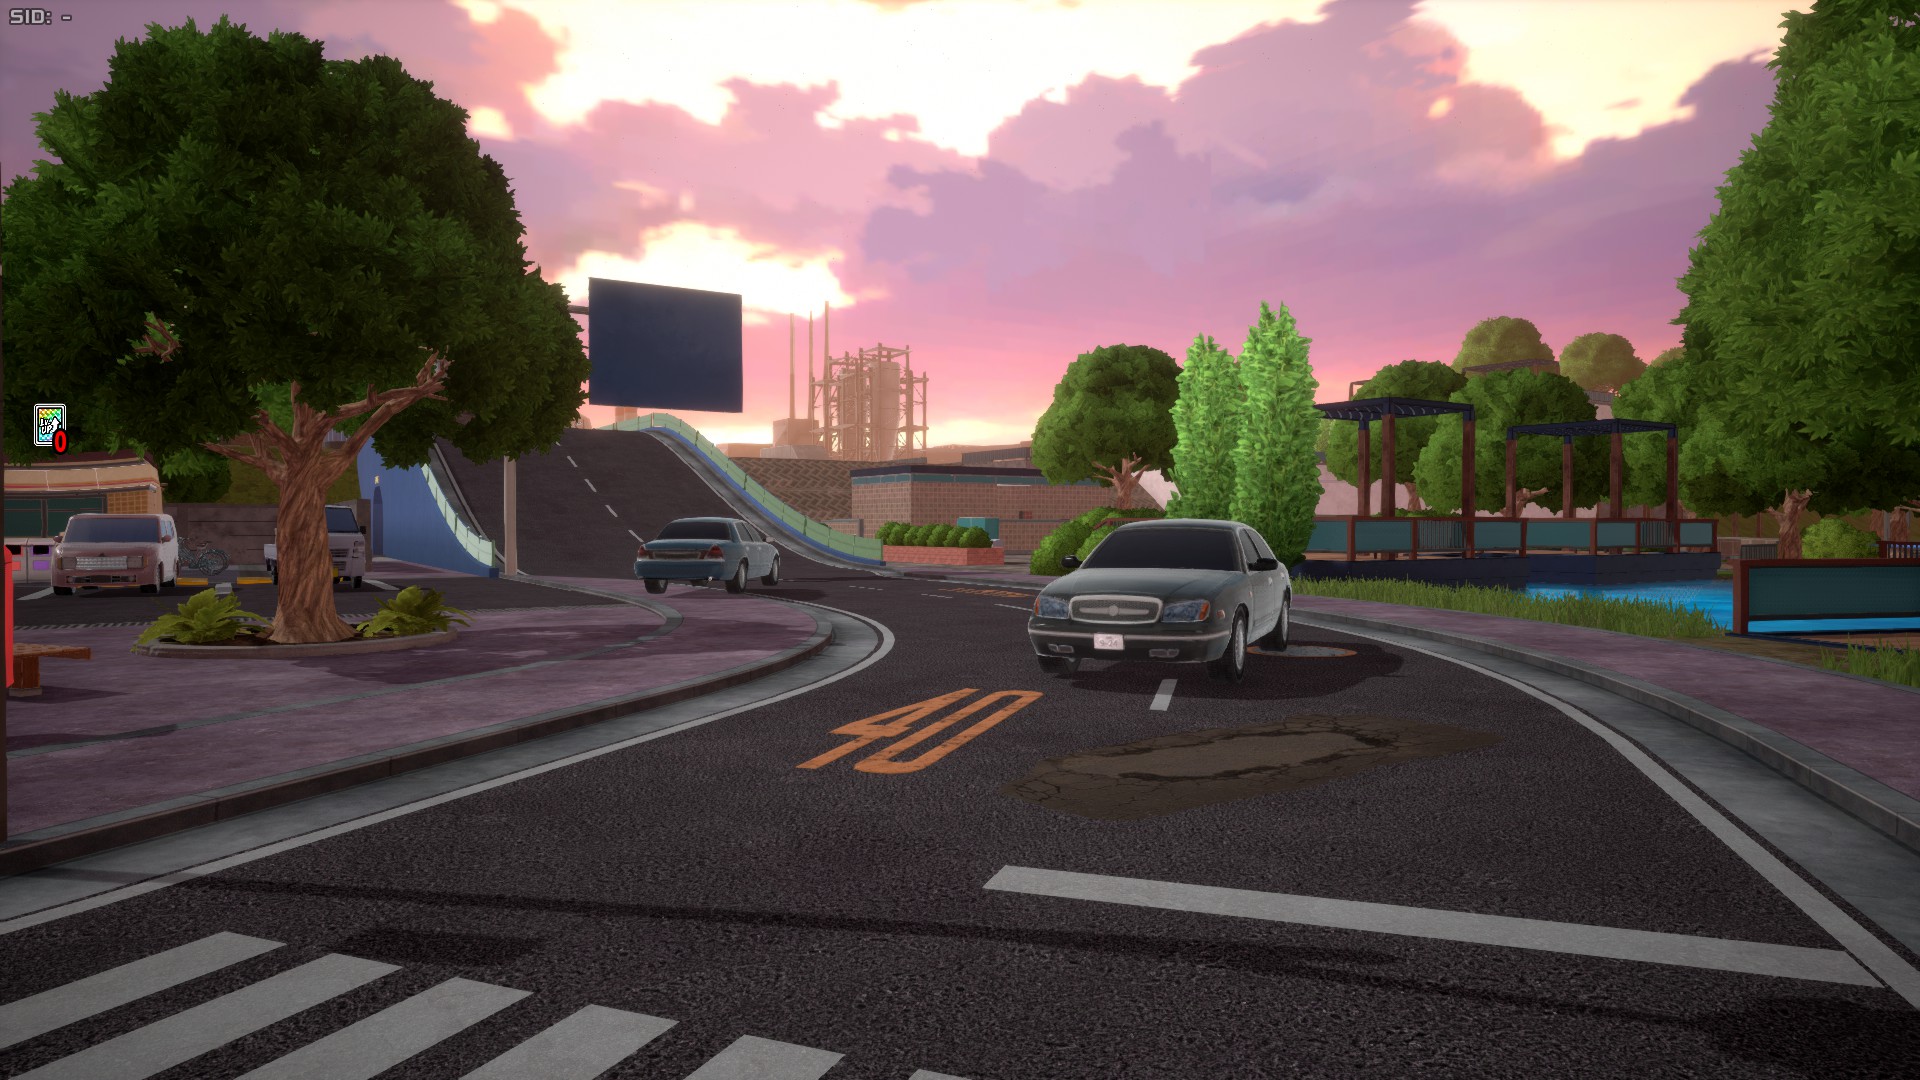
Canyon Area
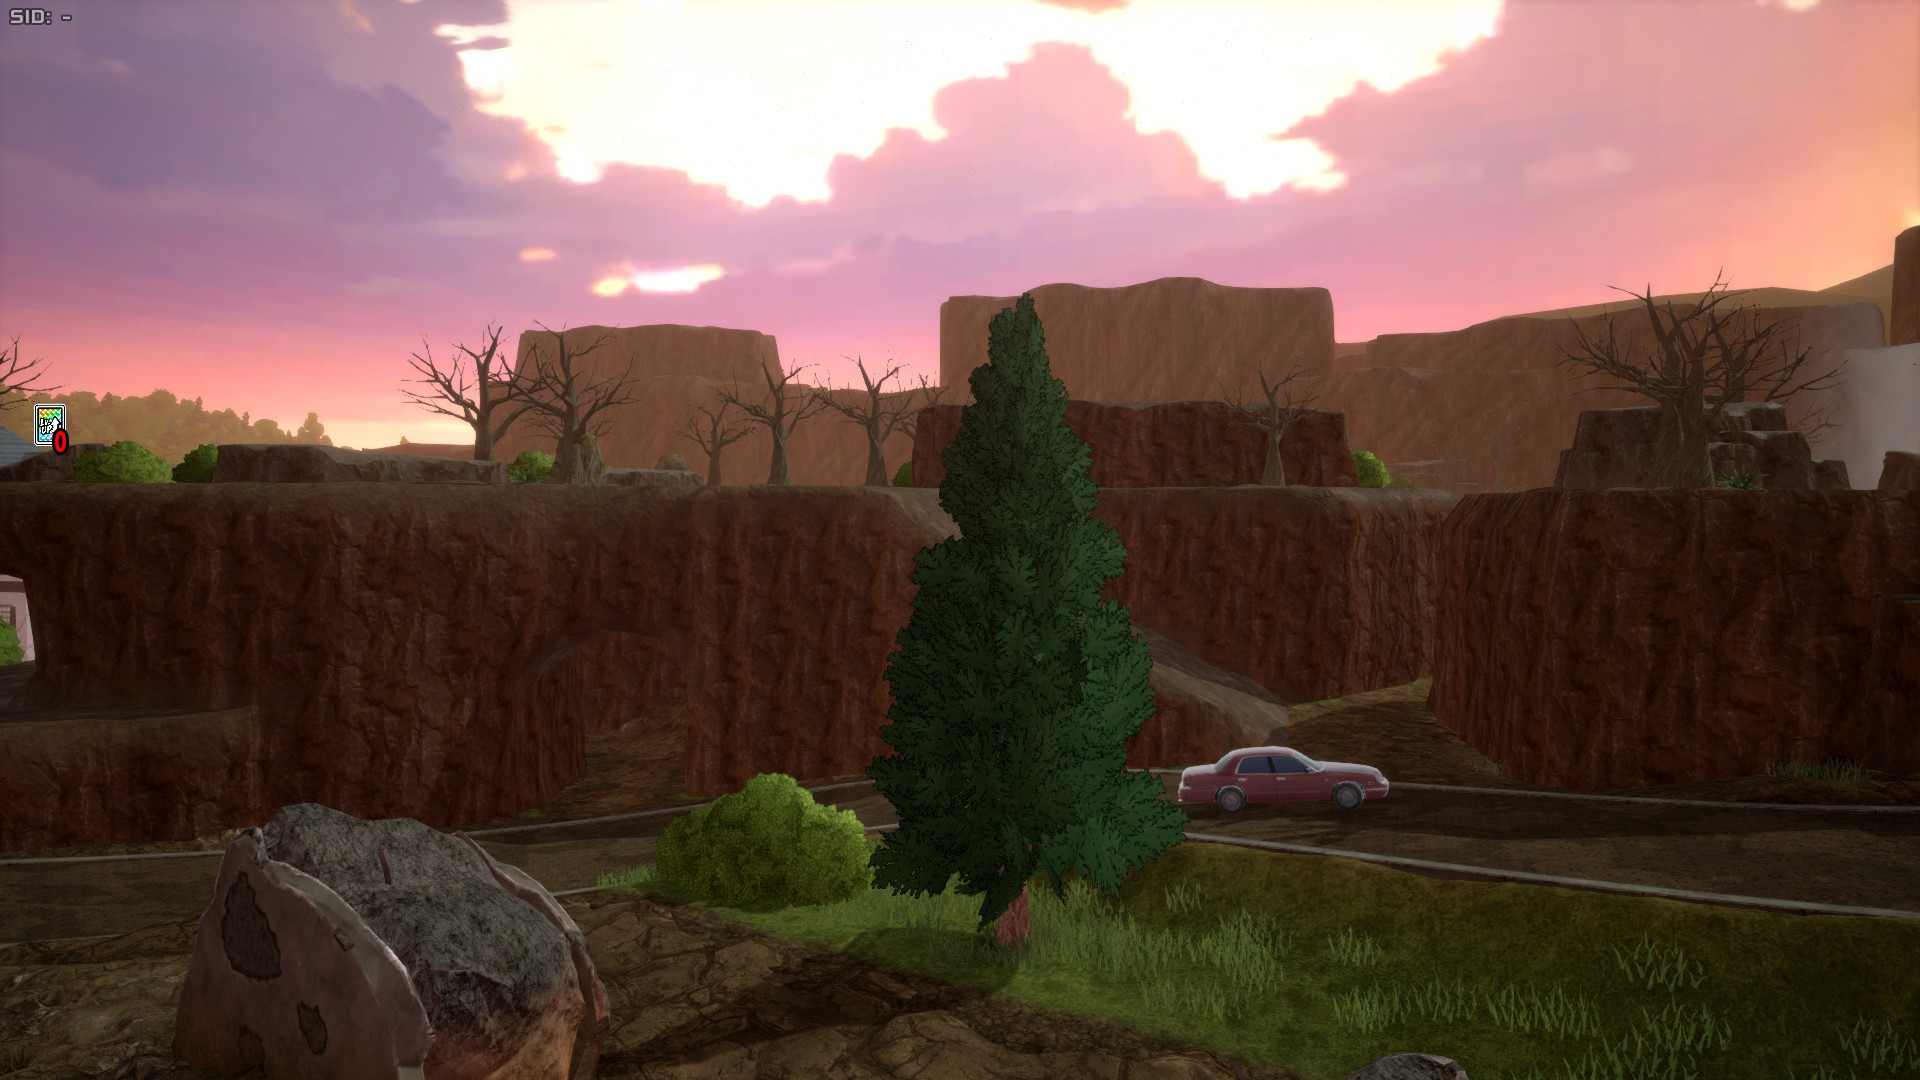
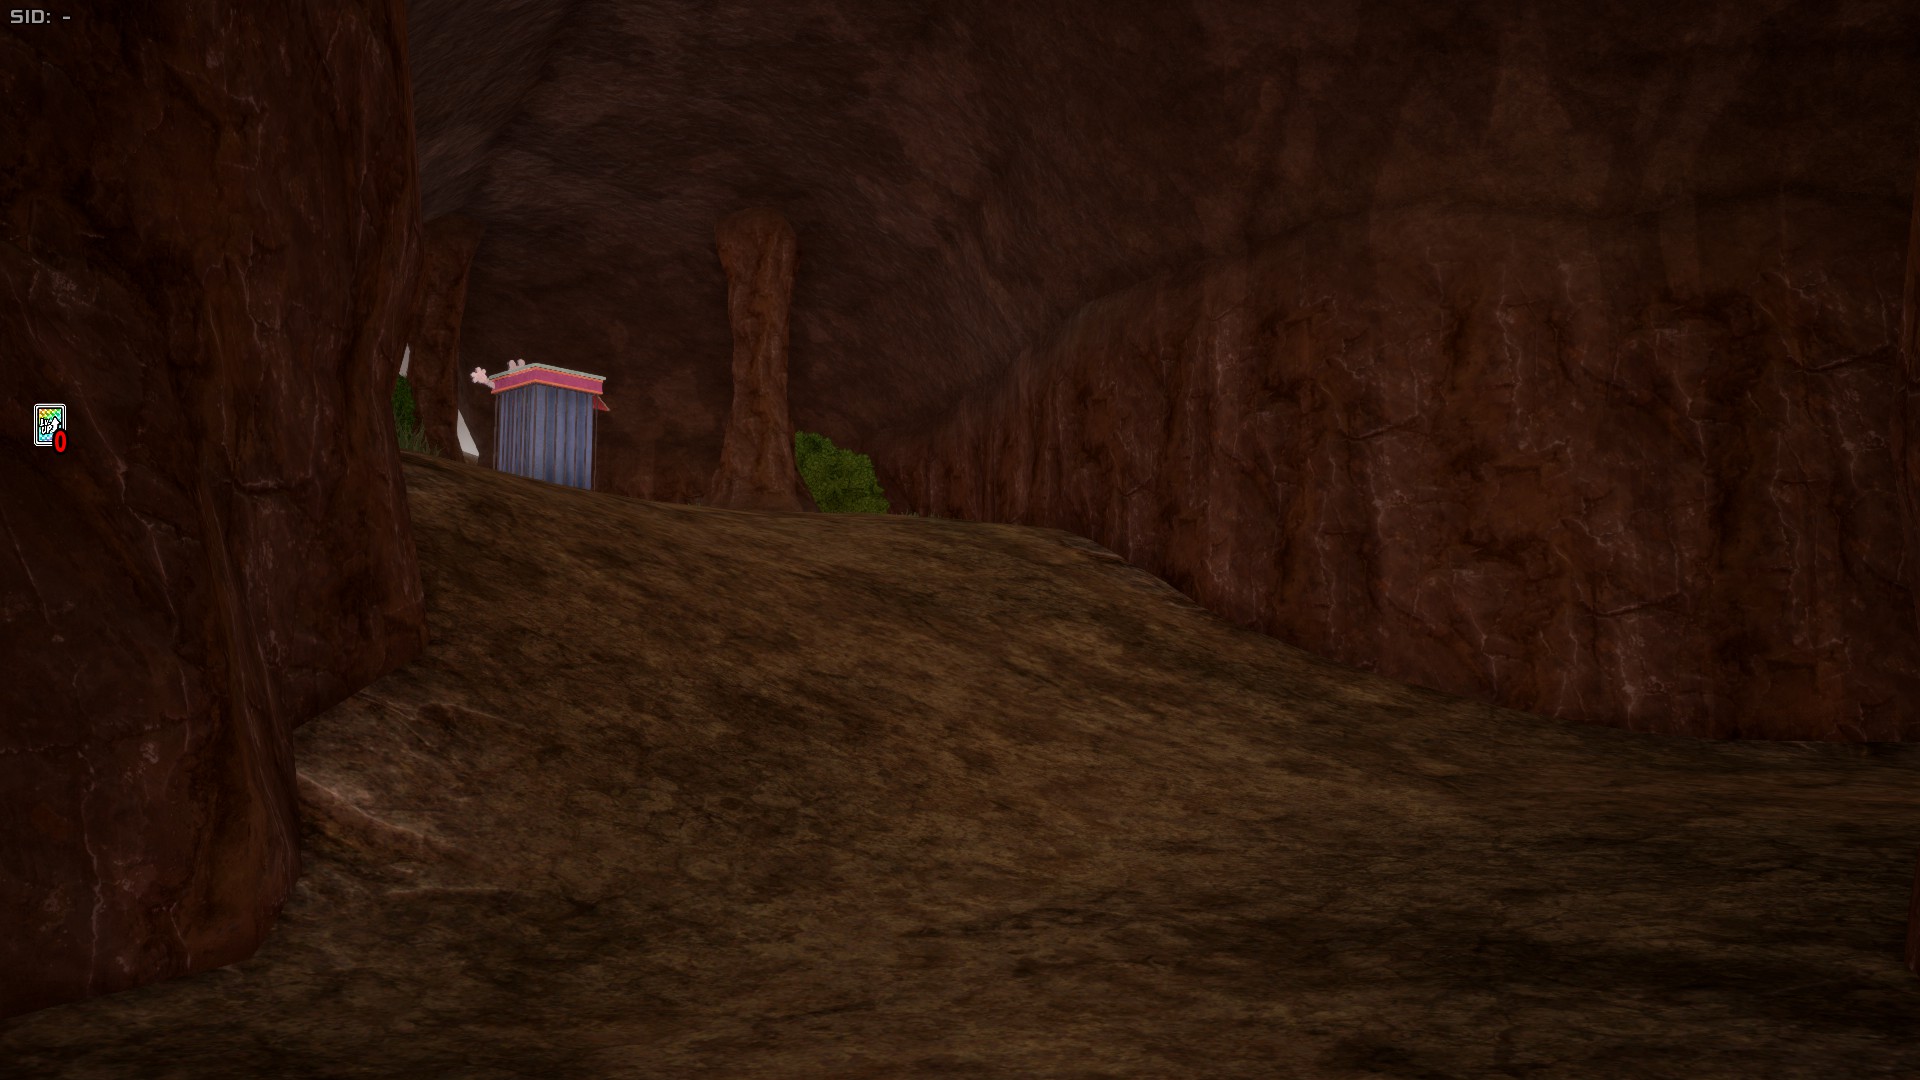
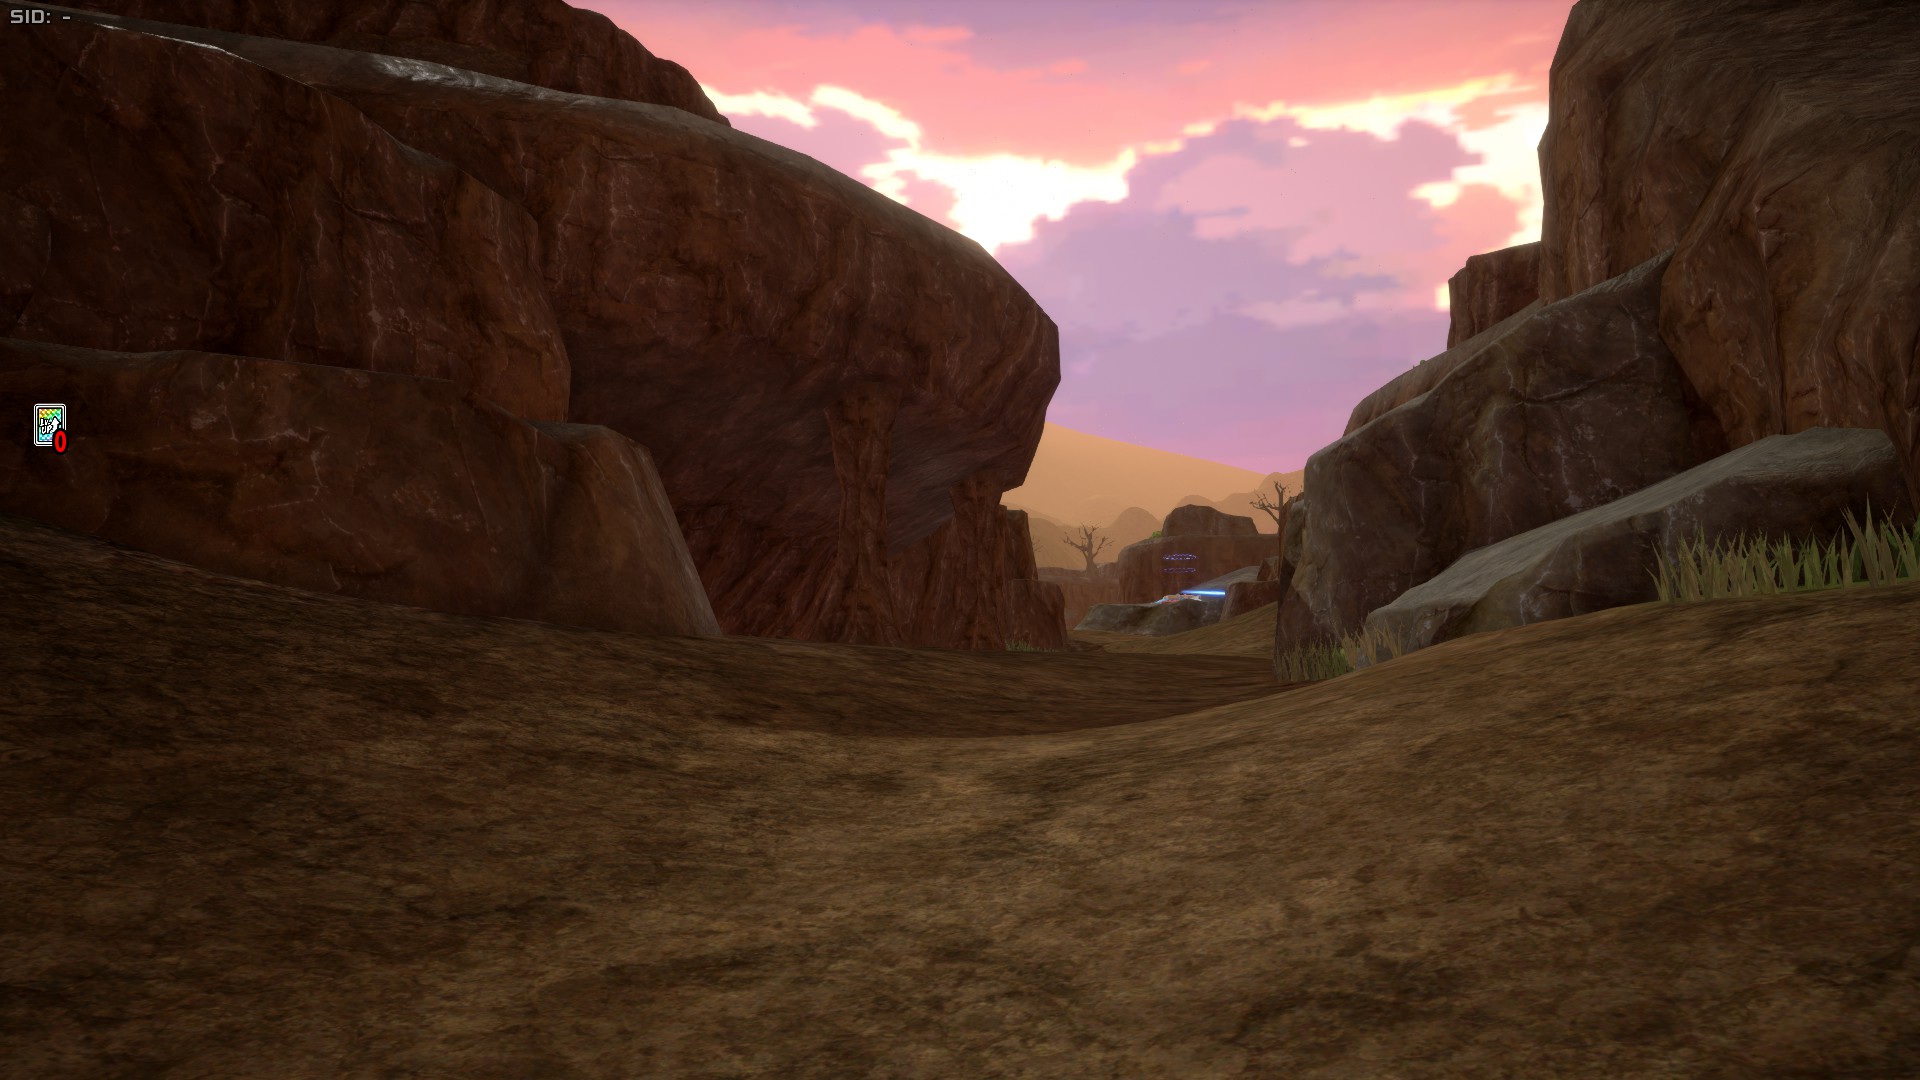
Canyon Area is a rocky place that occupies the eastern side of the map. We can split Canyon Area in two halves: the inner and outer parts.
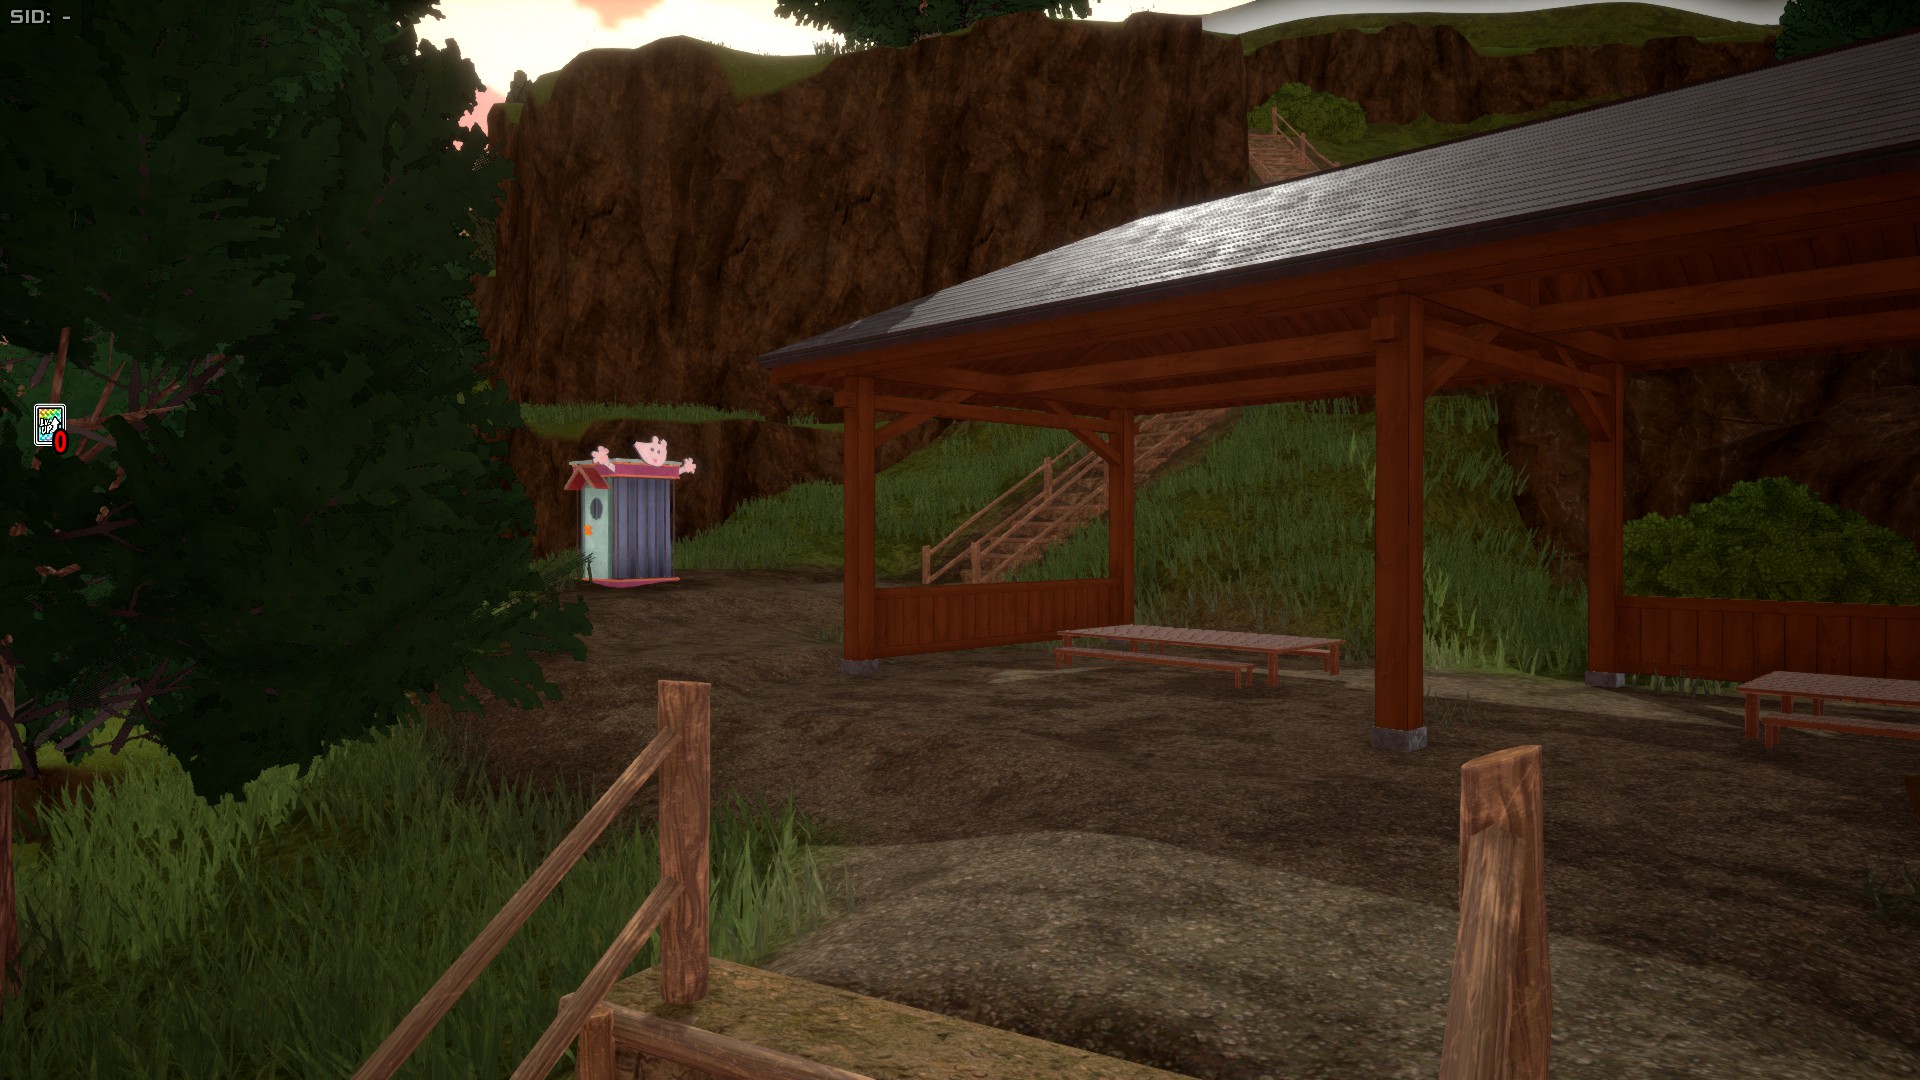
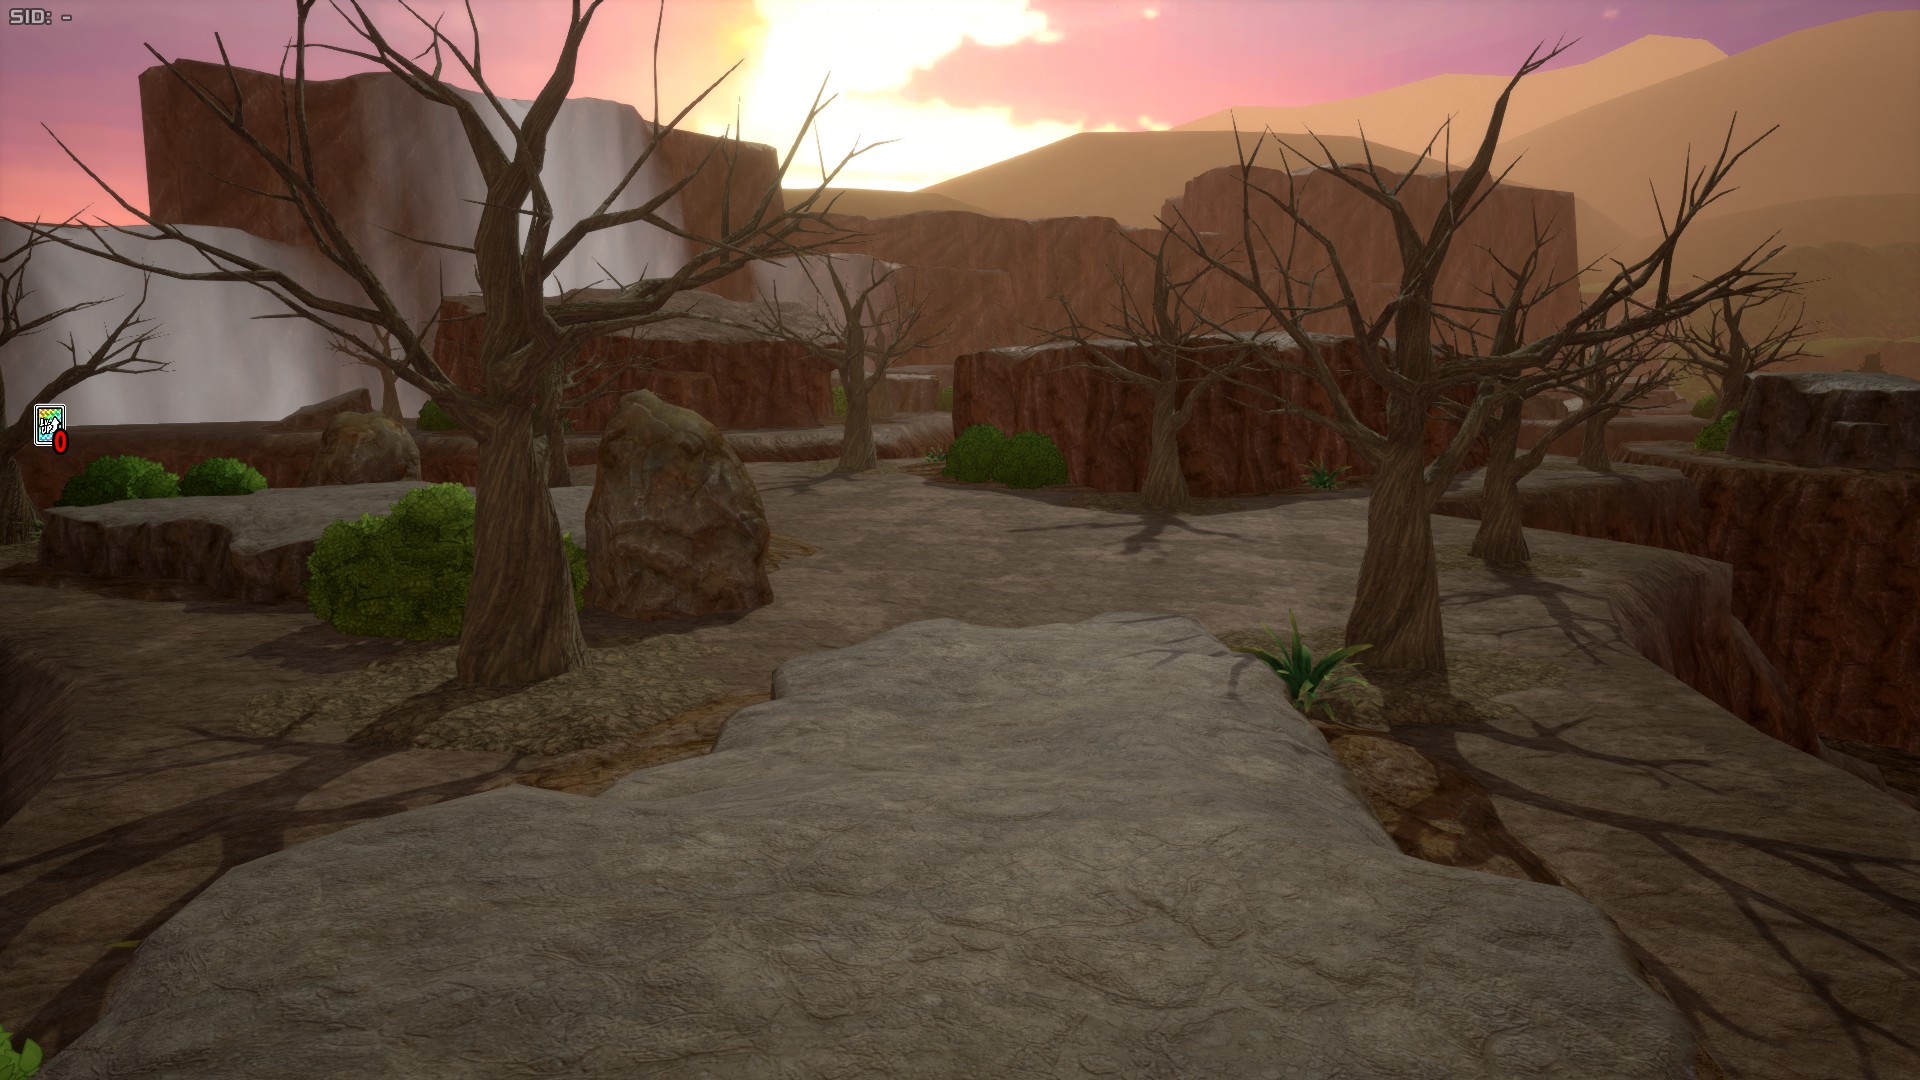
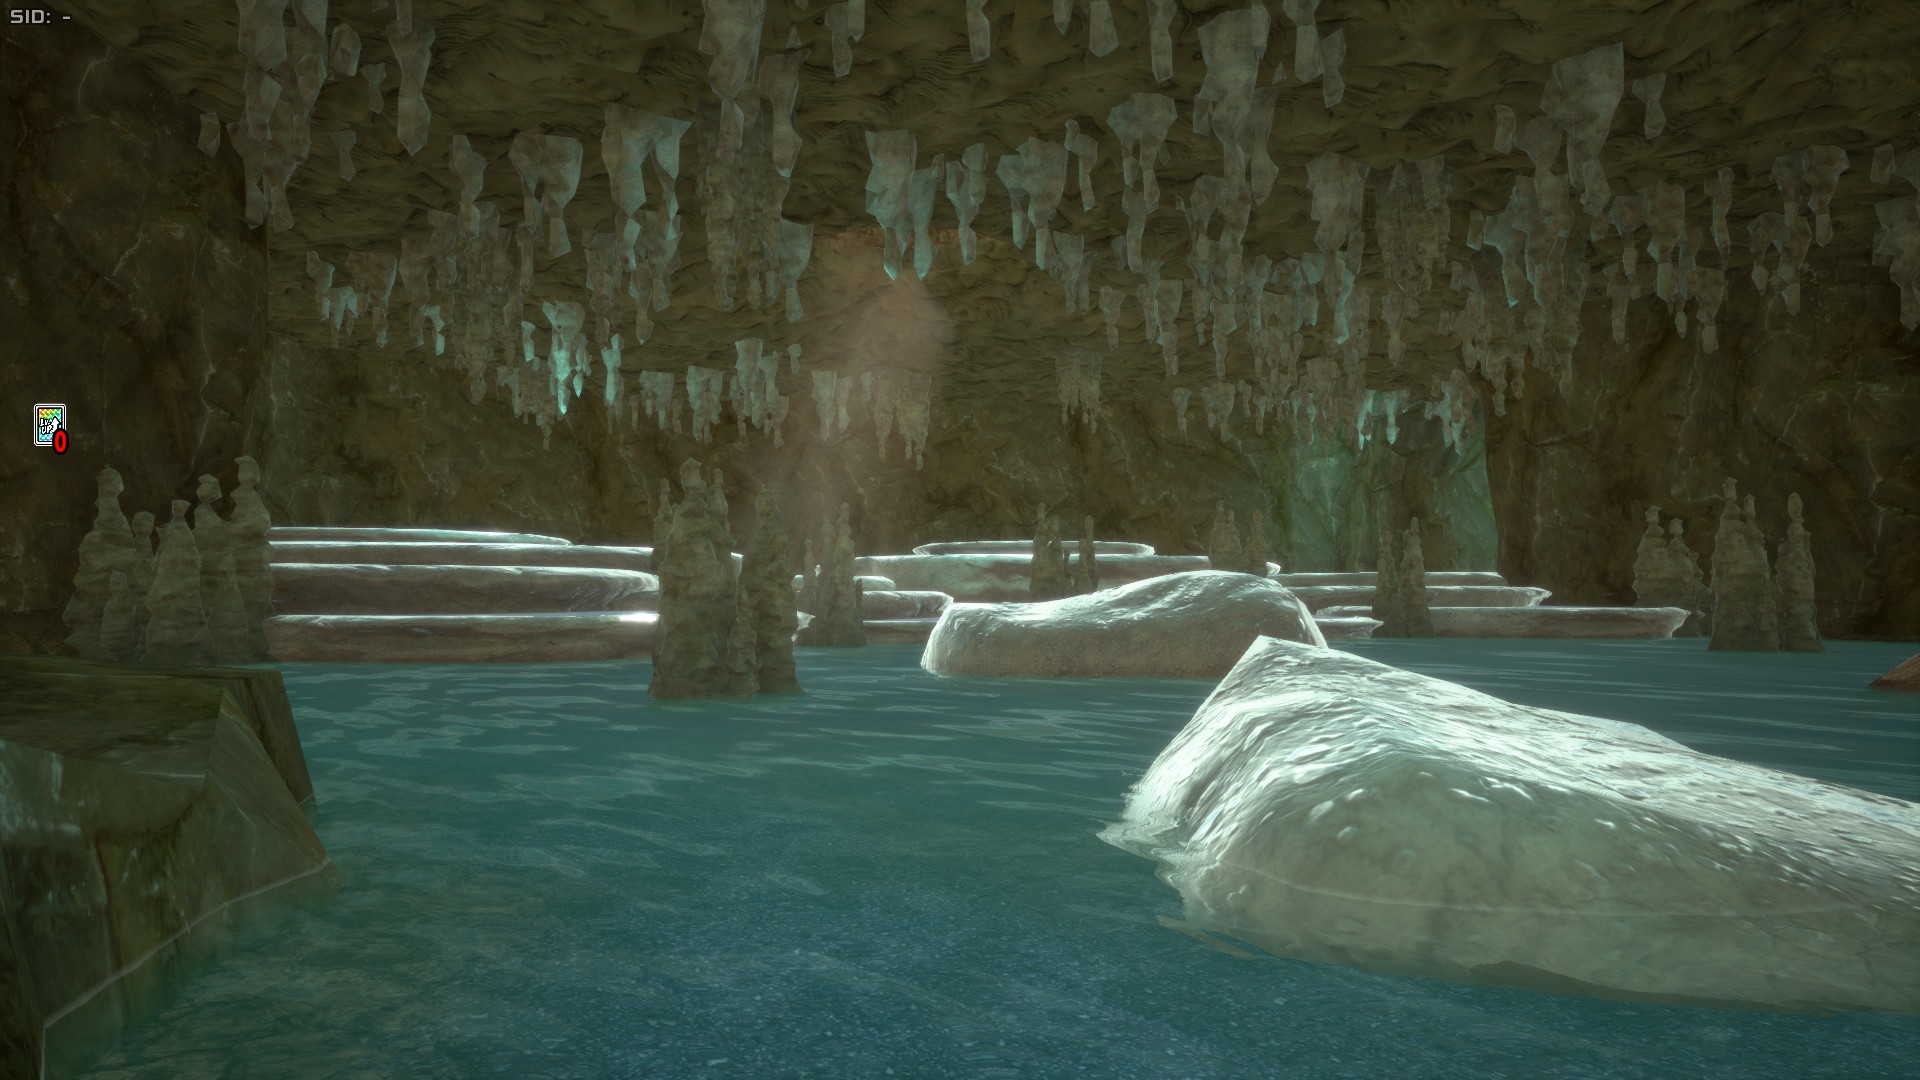
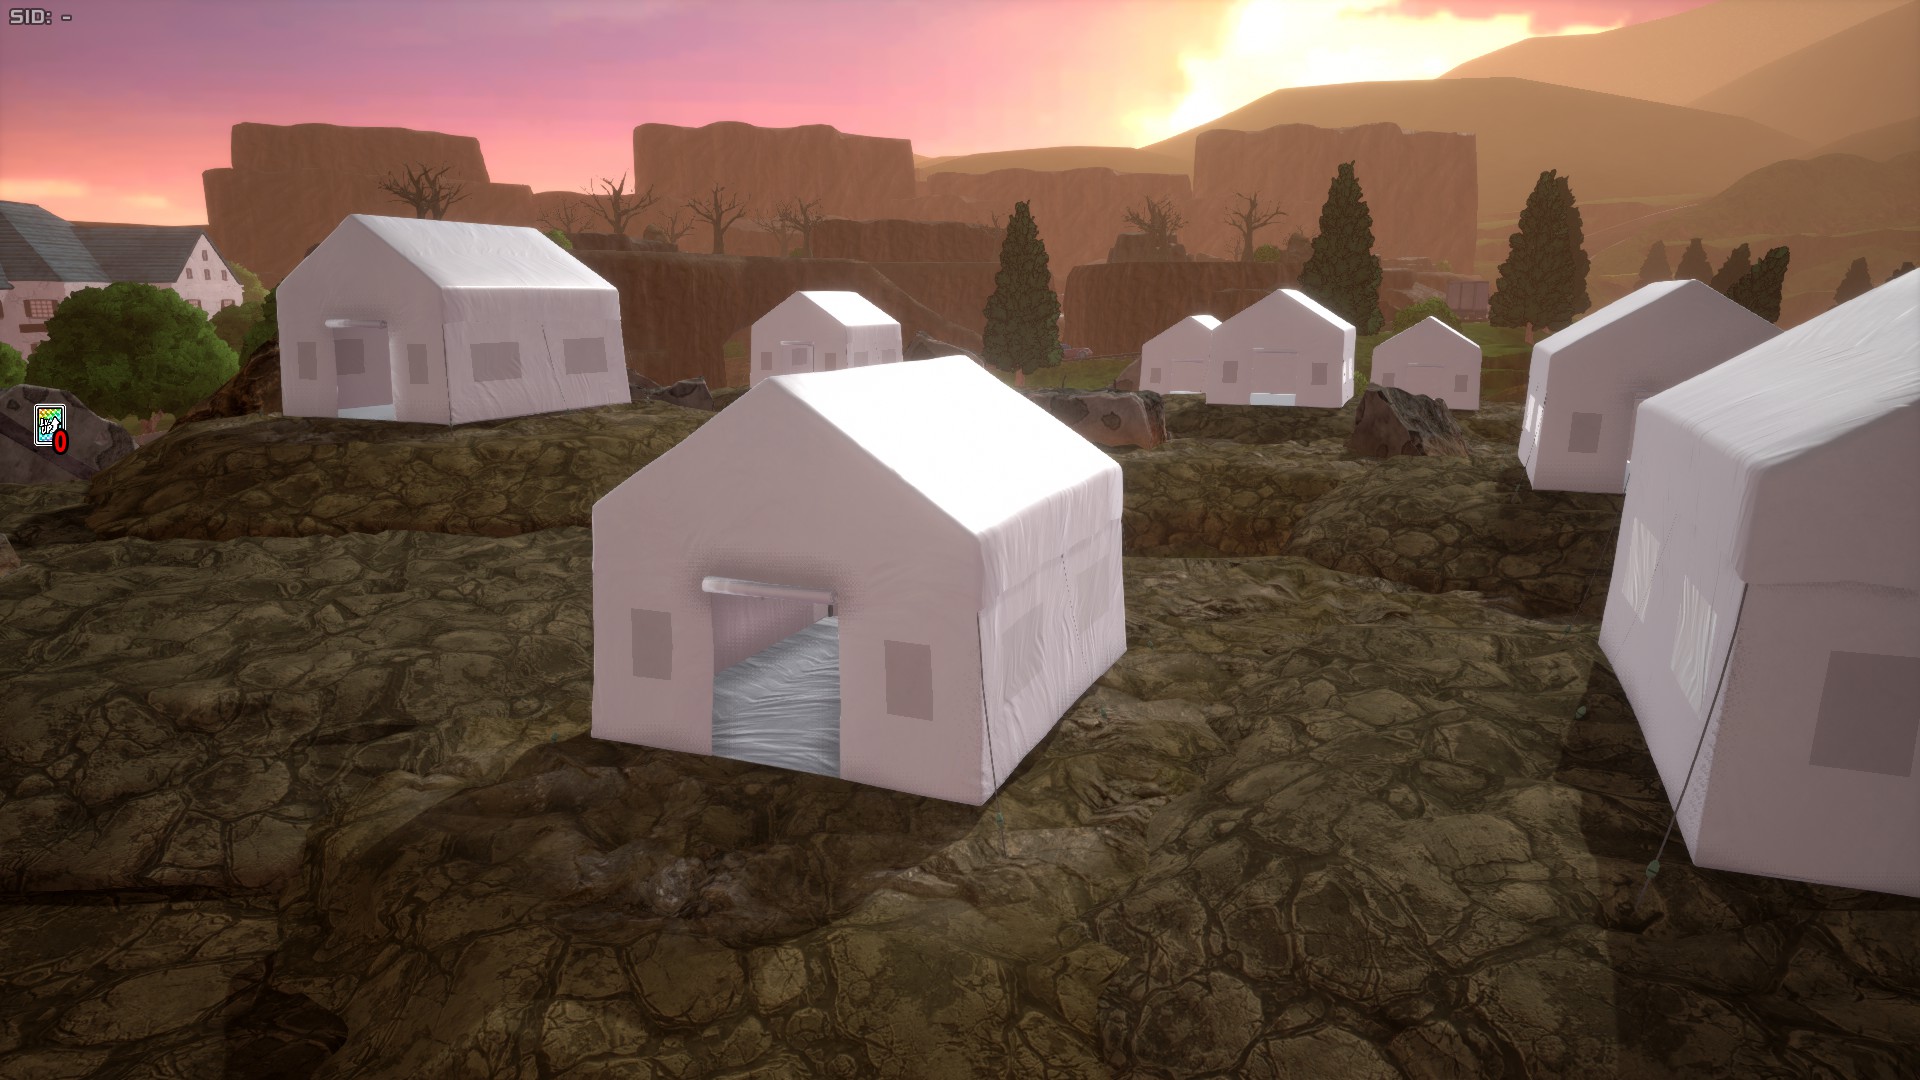
The inner half of Canyon is a flat-ish rocky space with many white tents, each with some loot inside. Below it, there's a cave with water terraces and classic cavelike formations, which has some more loot. Overall, this part of Canyon is quite lackluster and often disliked by the community.
The outer half of Canyon is much richer, featuring a more diverse topology with small caves and bushes to hide in. Loot-wise, it's quite superior to its inner counterpart, with a much bigger presence of treasure boxes and random items.
Villain Hideout
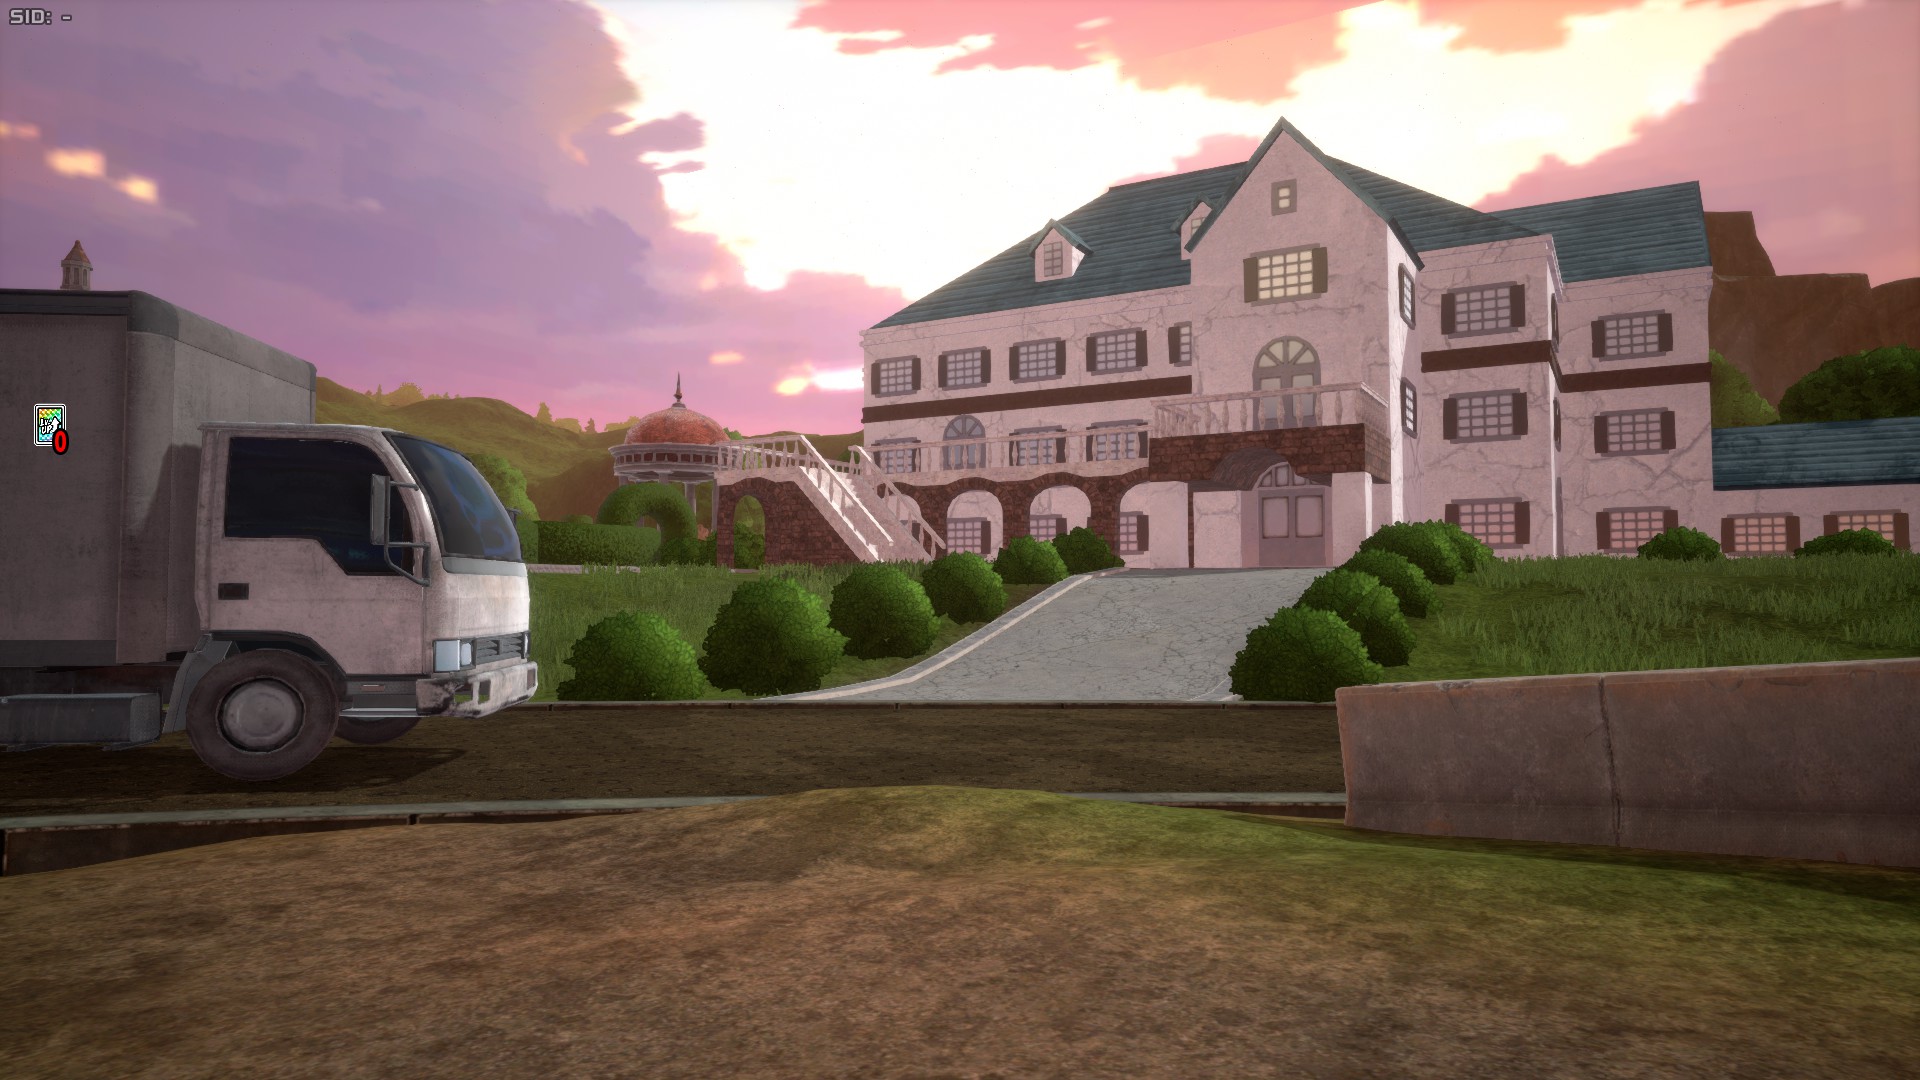
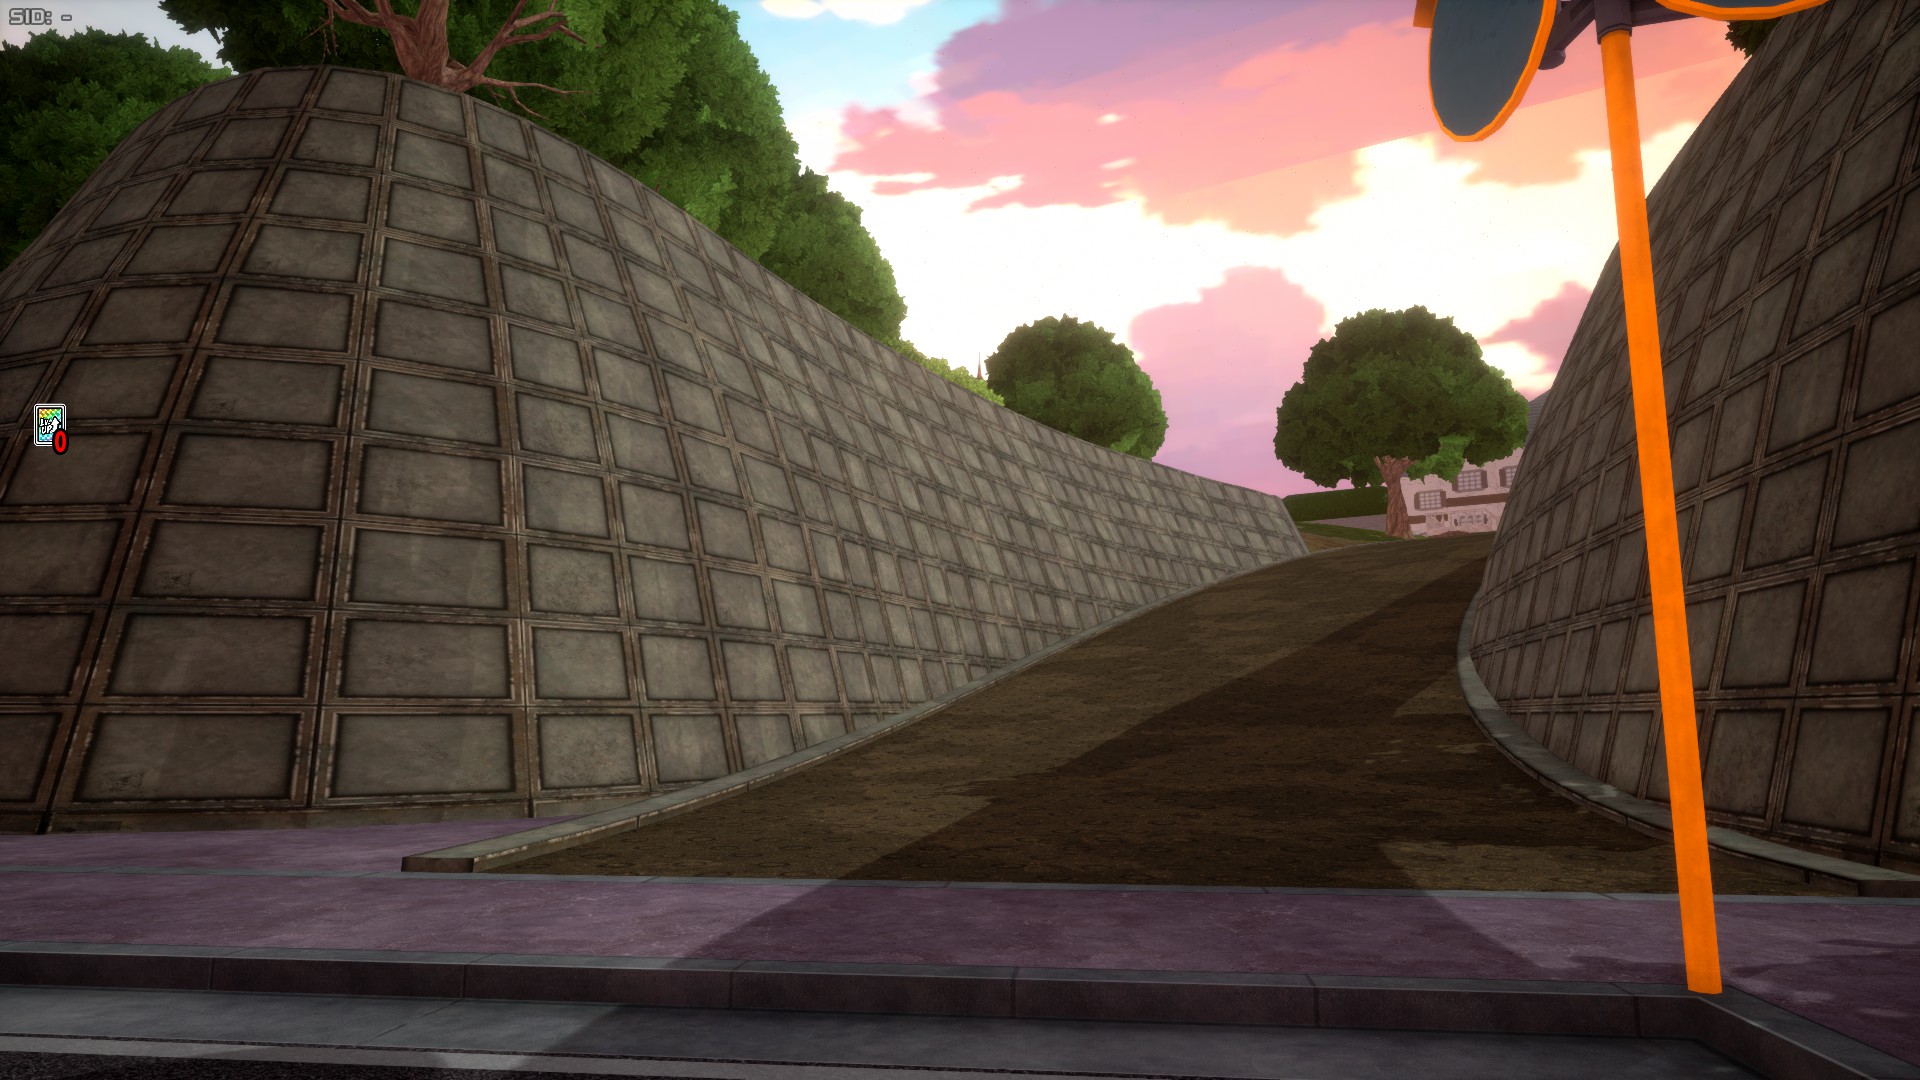
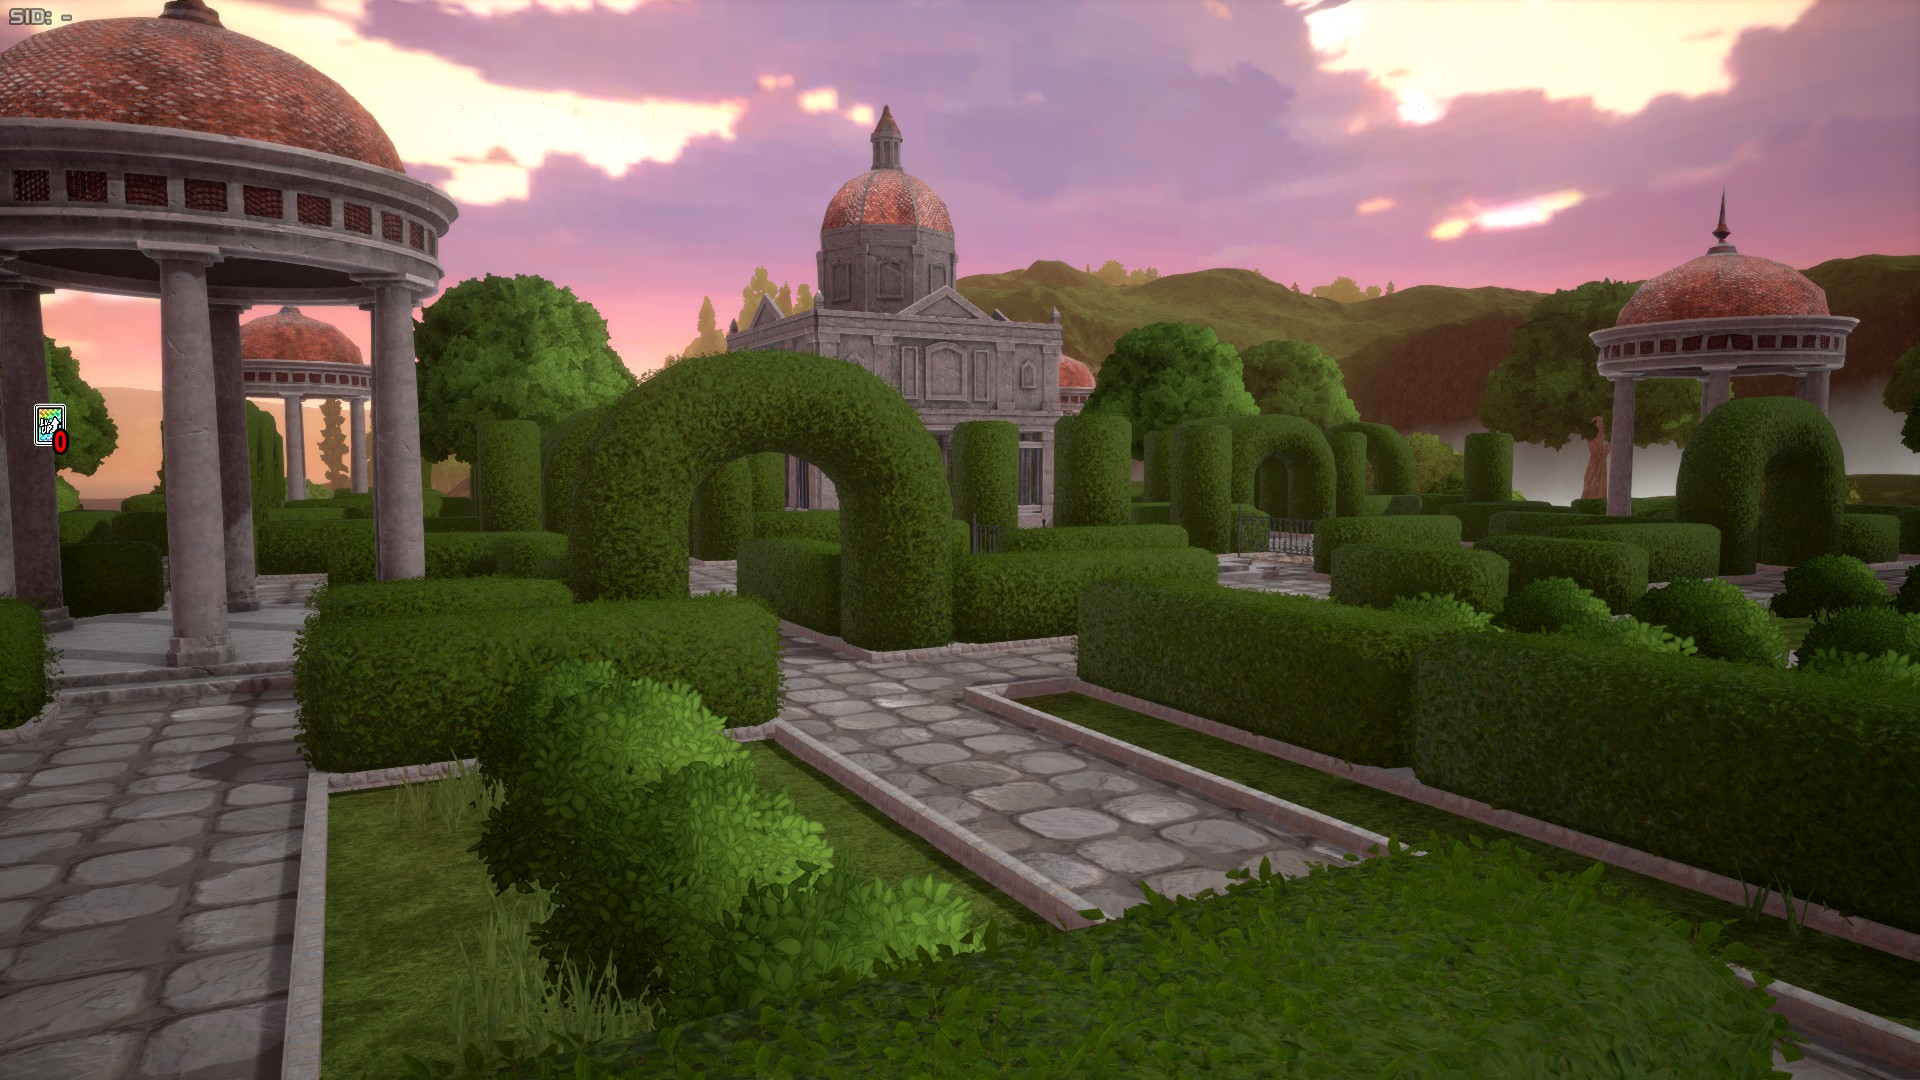
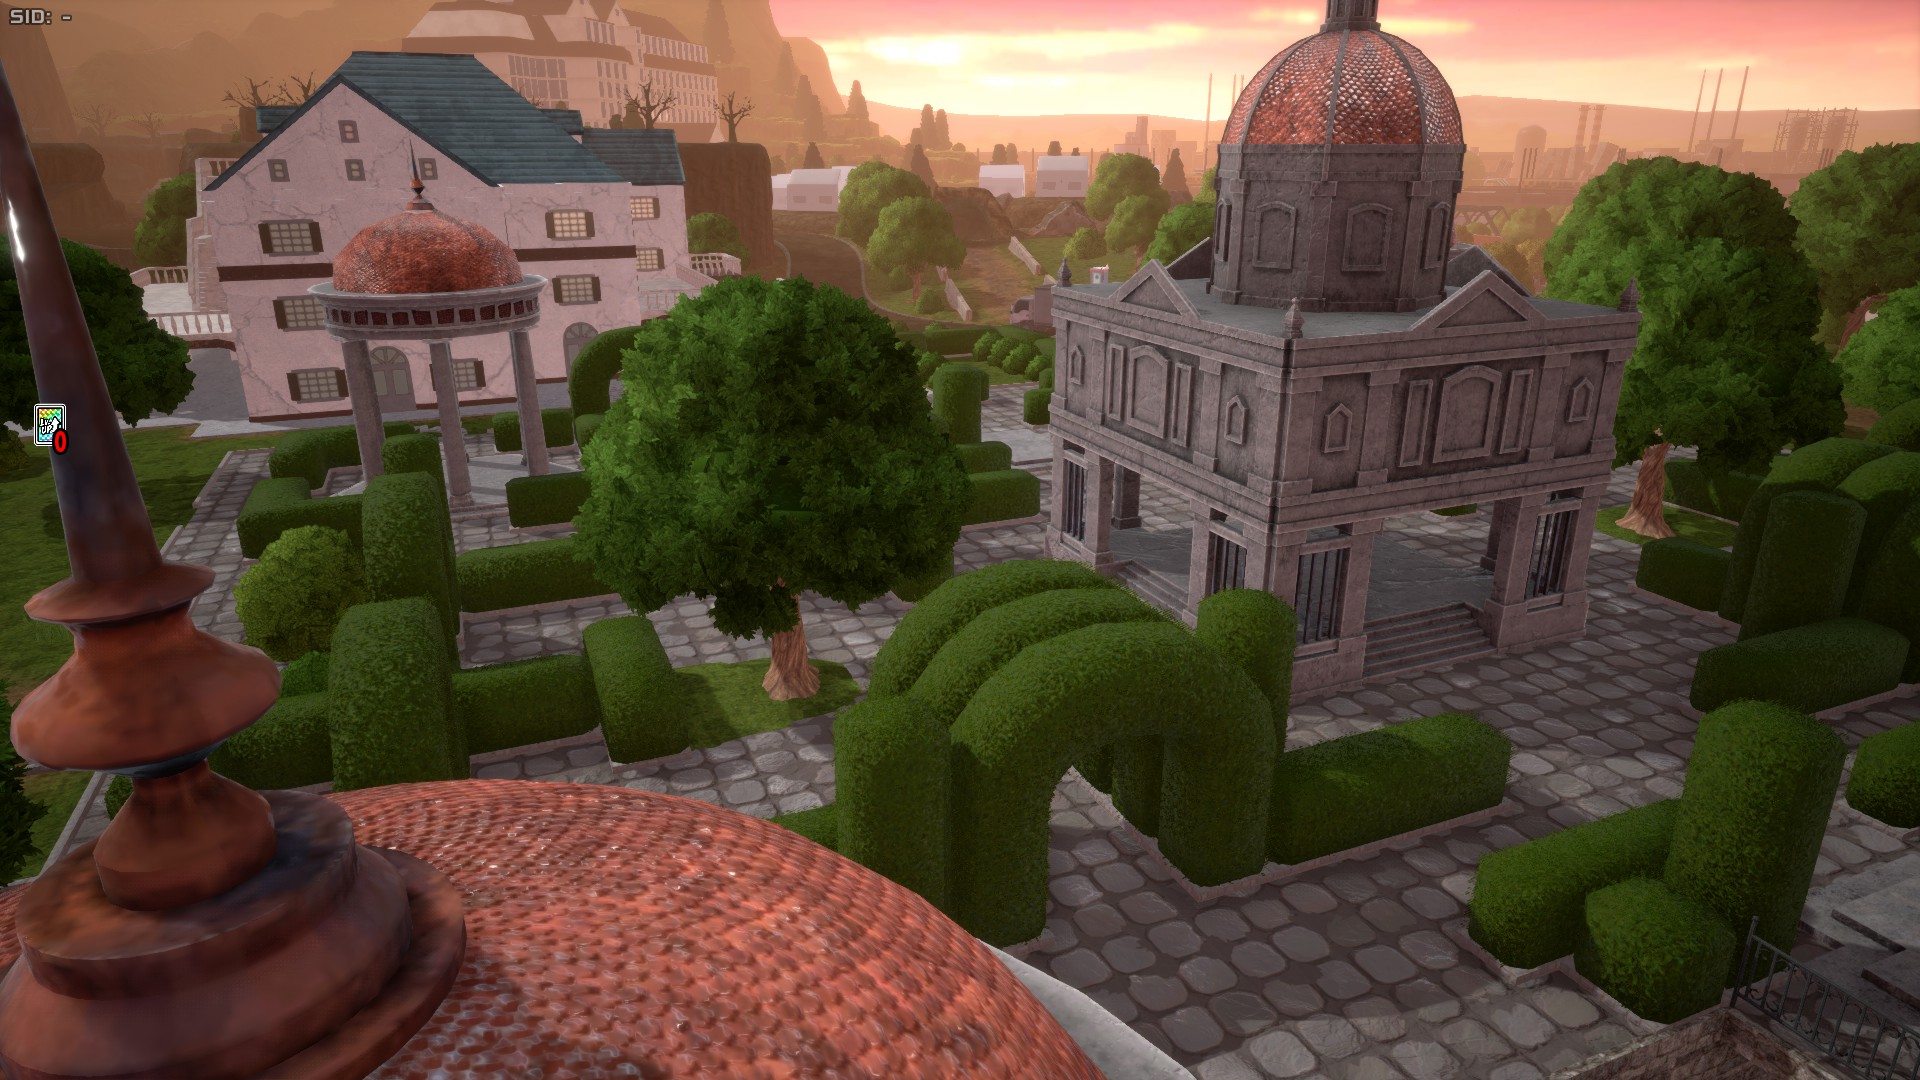
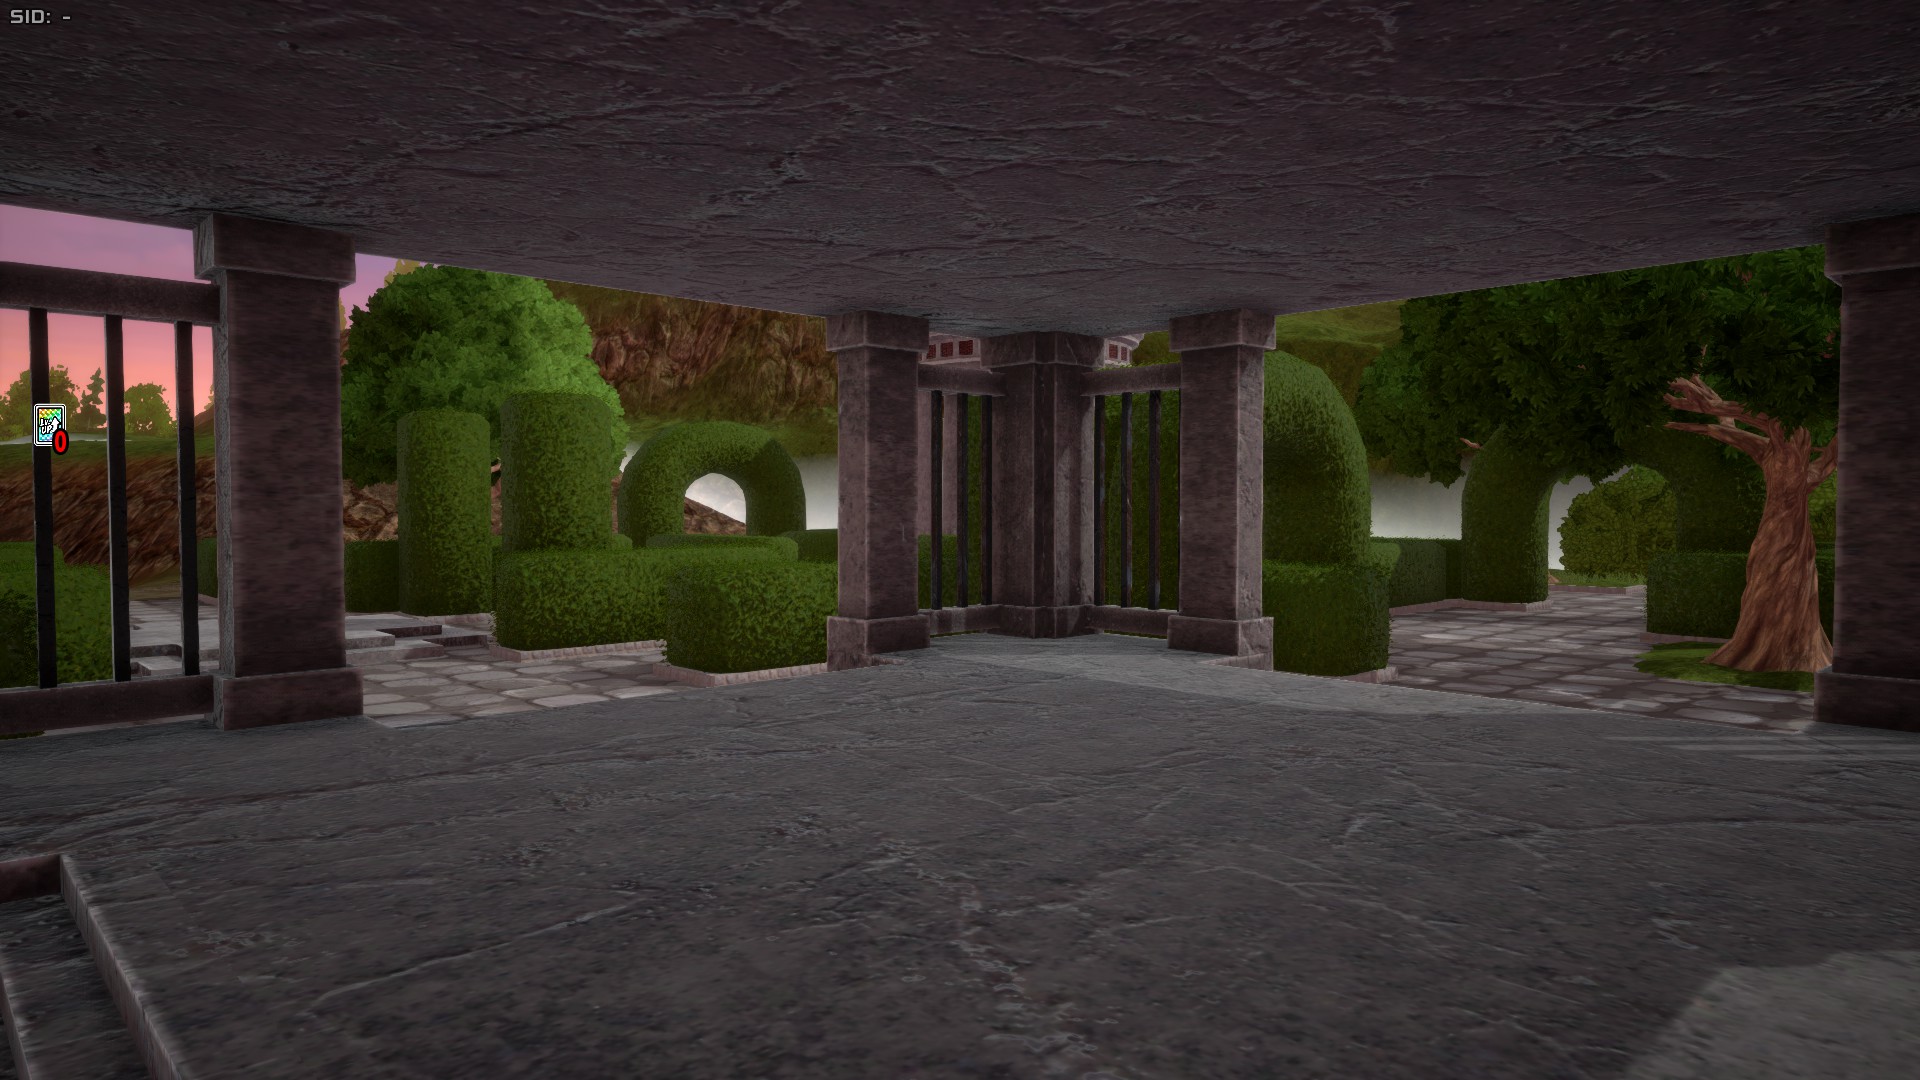
The Villain Hideout is a small area located in the north-eastern side of the map, and it features a house along with a fancy garden and decorative dome structures, as well as tiny underground spaces. It's based in the place where the League of Villains was hiding after the events of the battle in the first half of Season 6 of the anime.
Other Locations
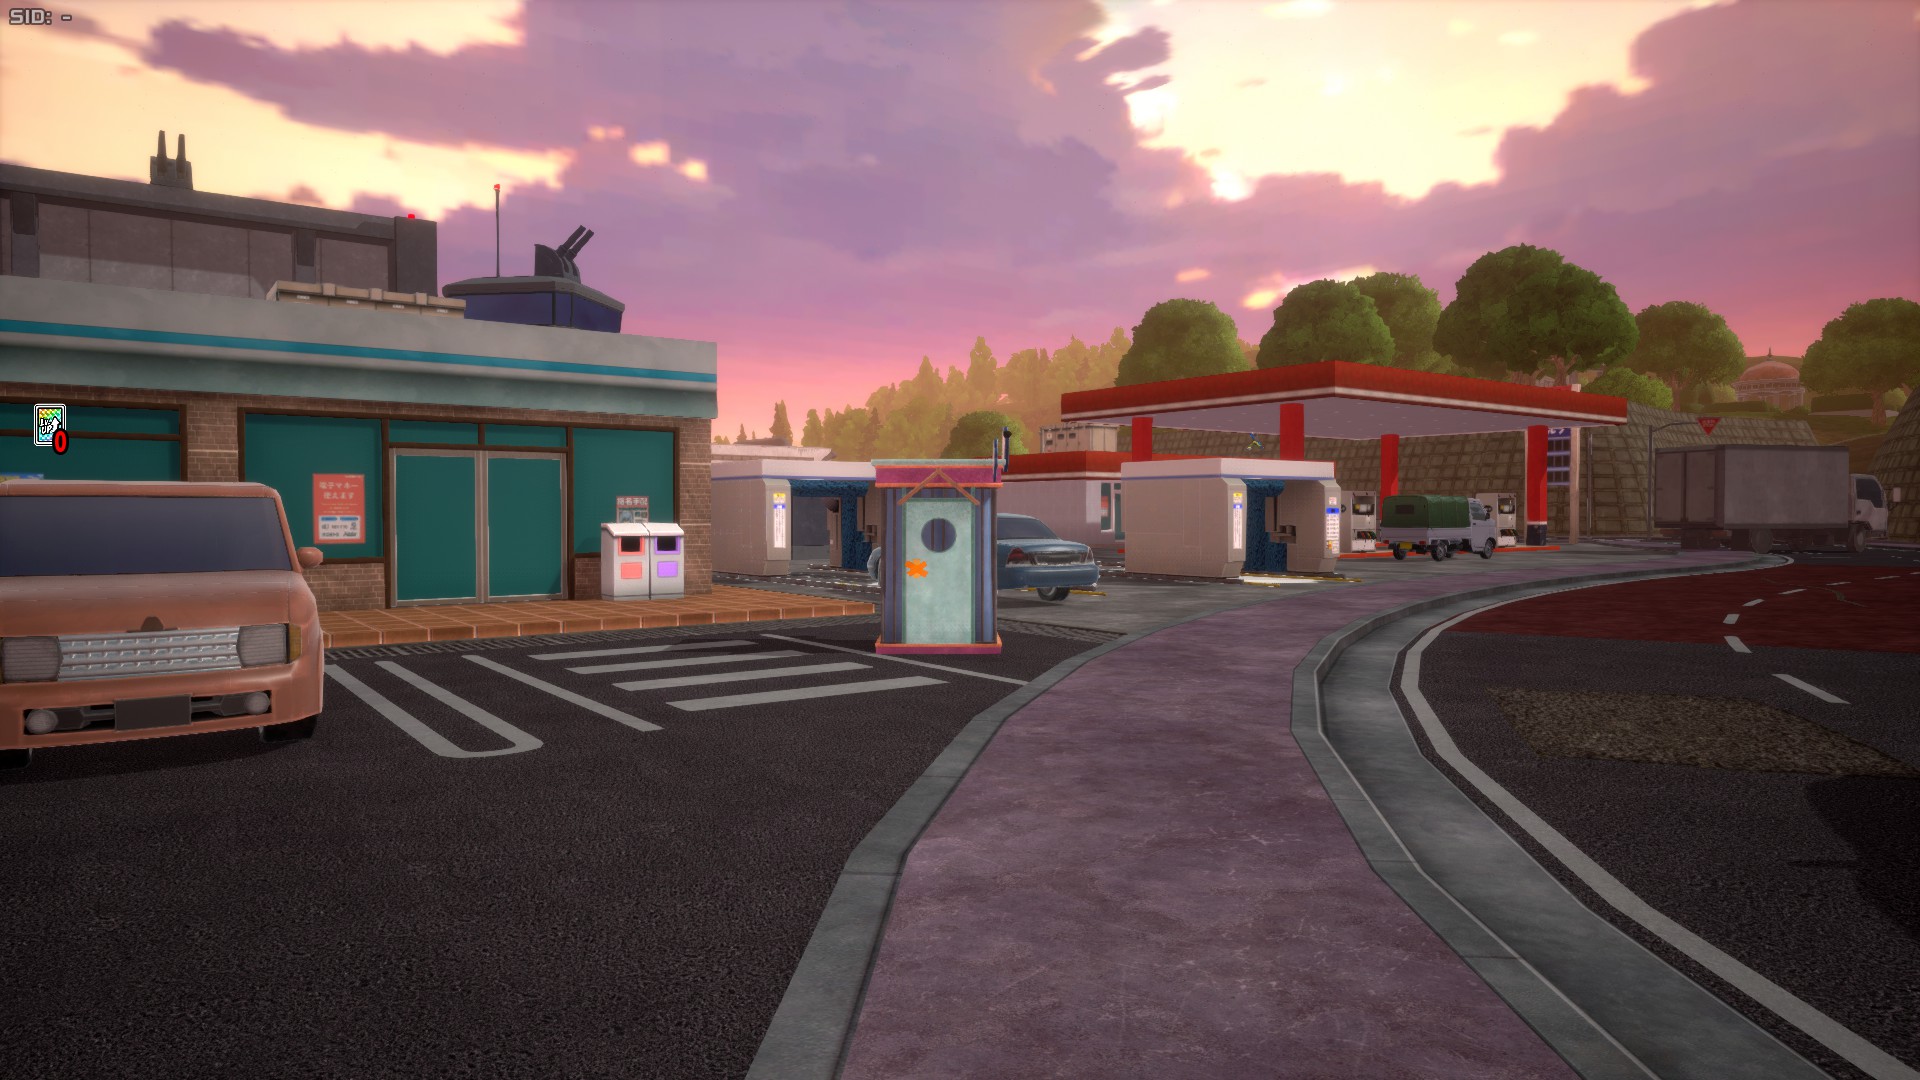
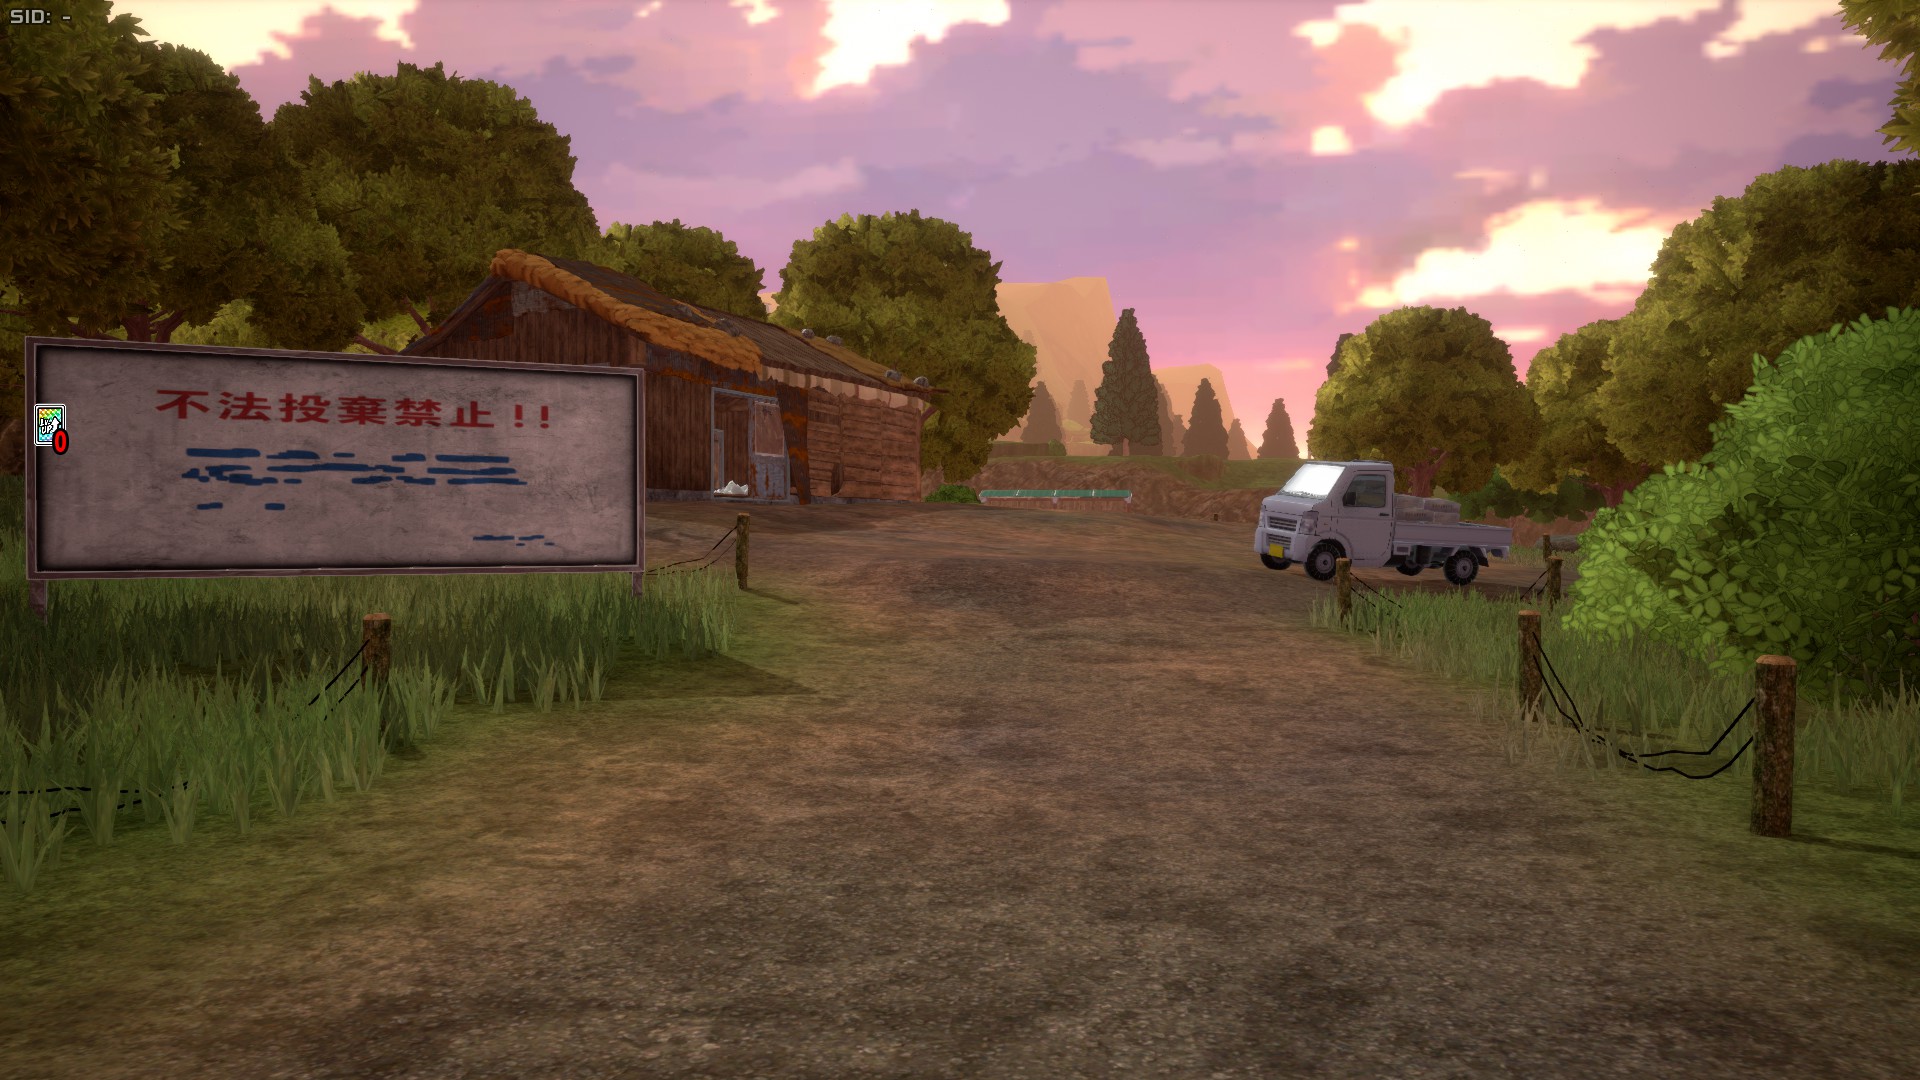
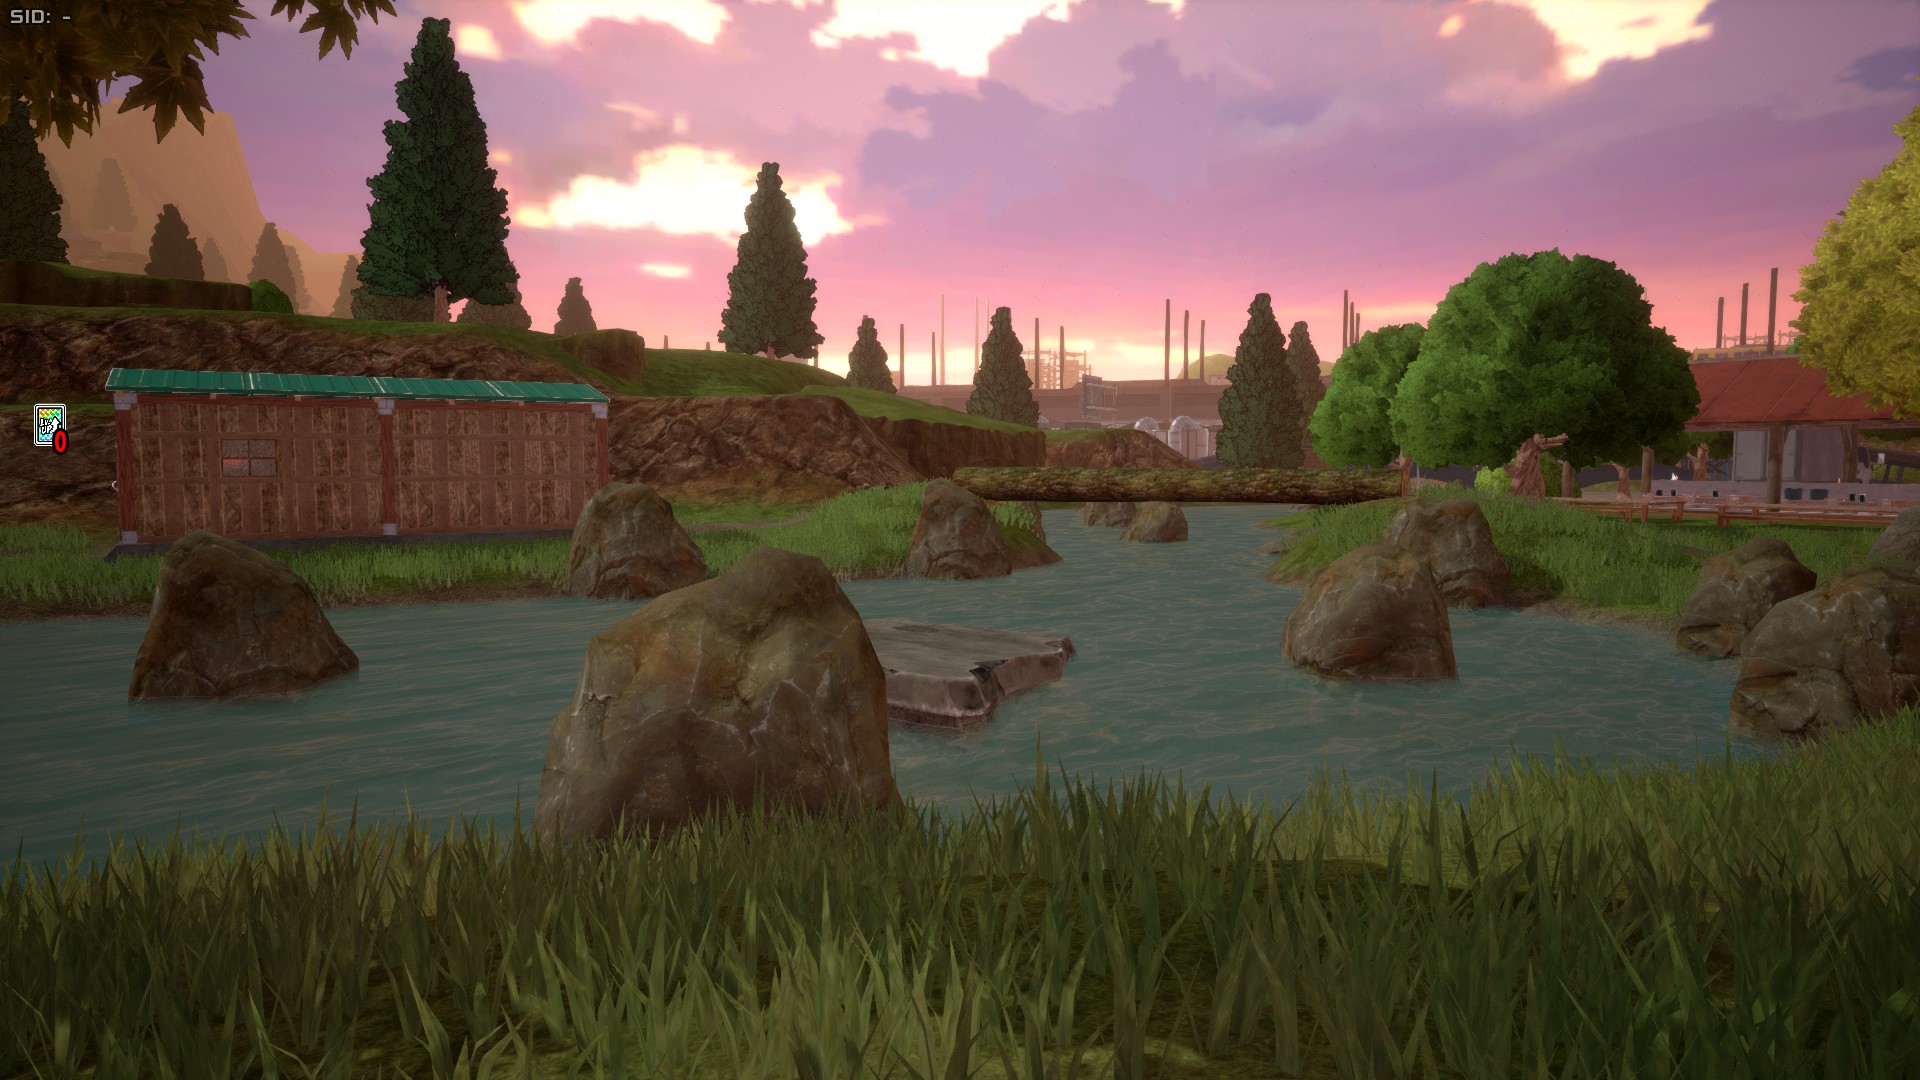
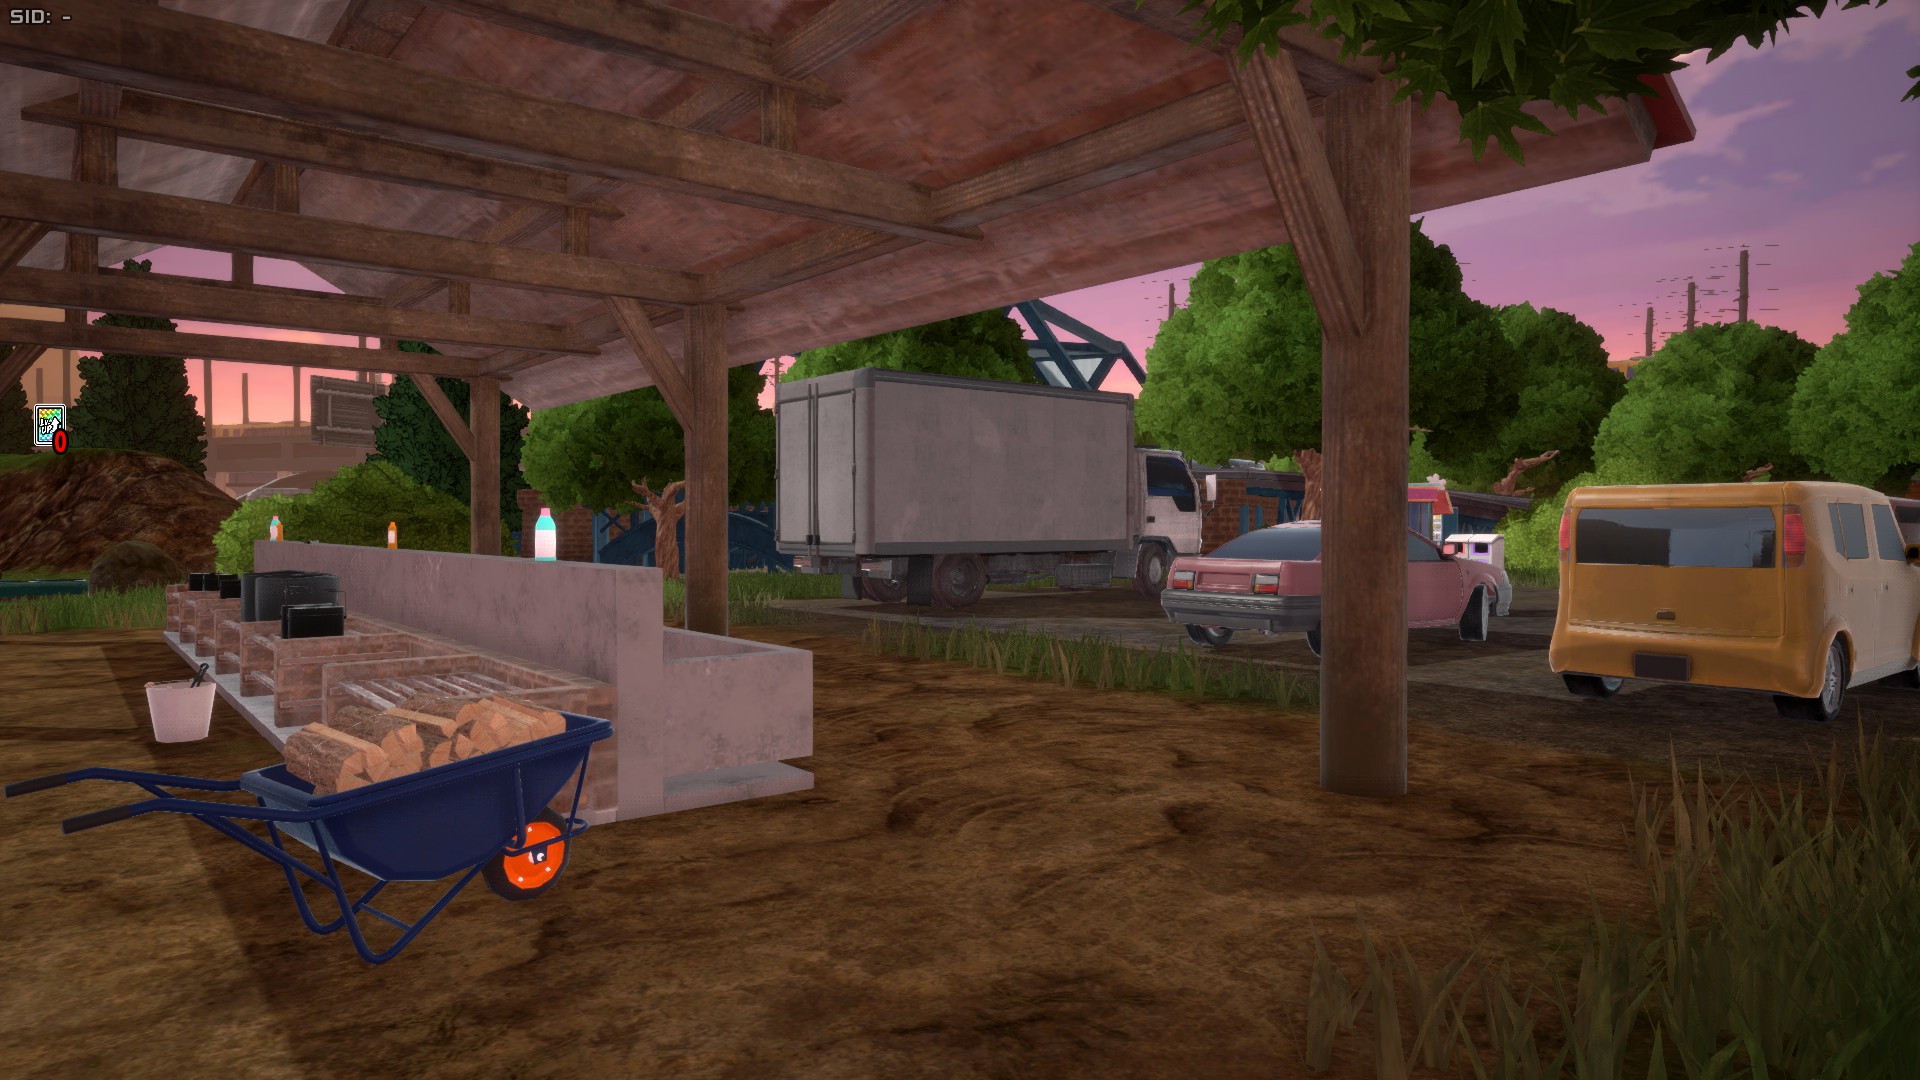
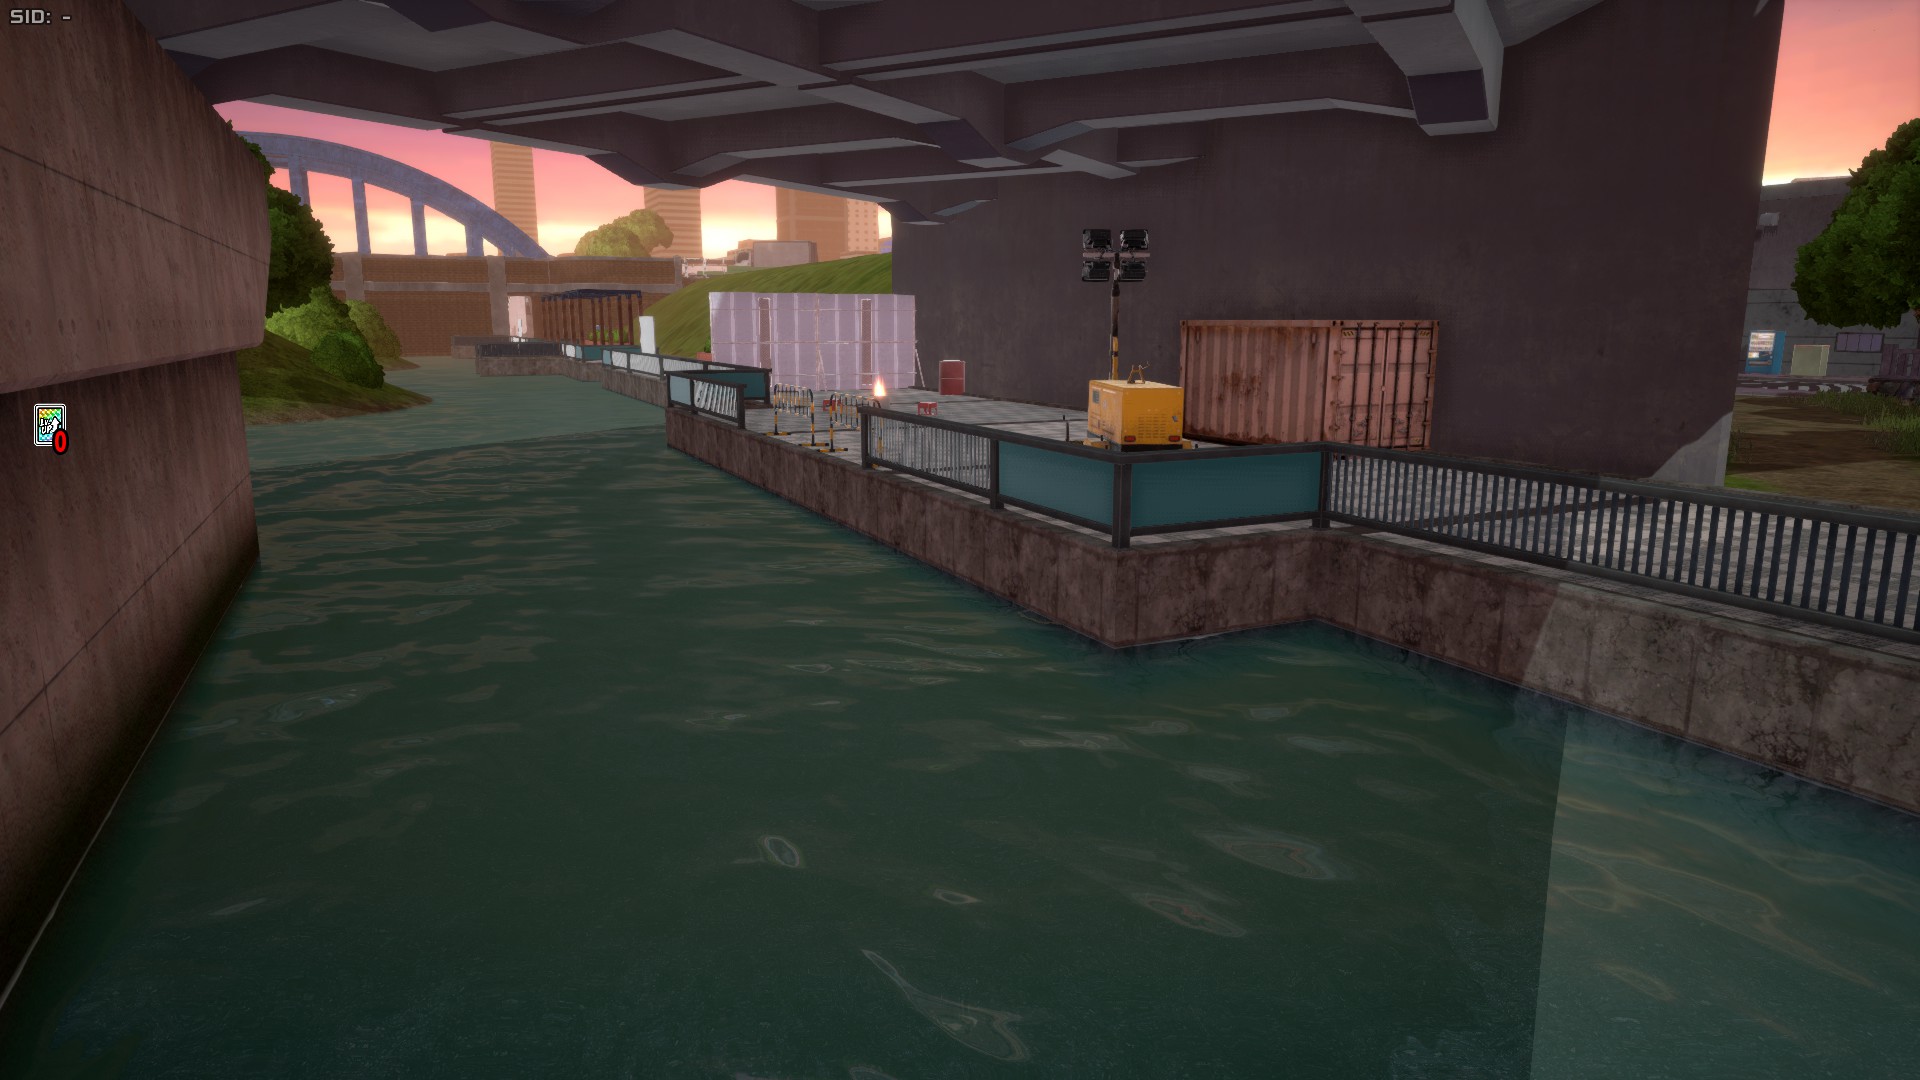
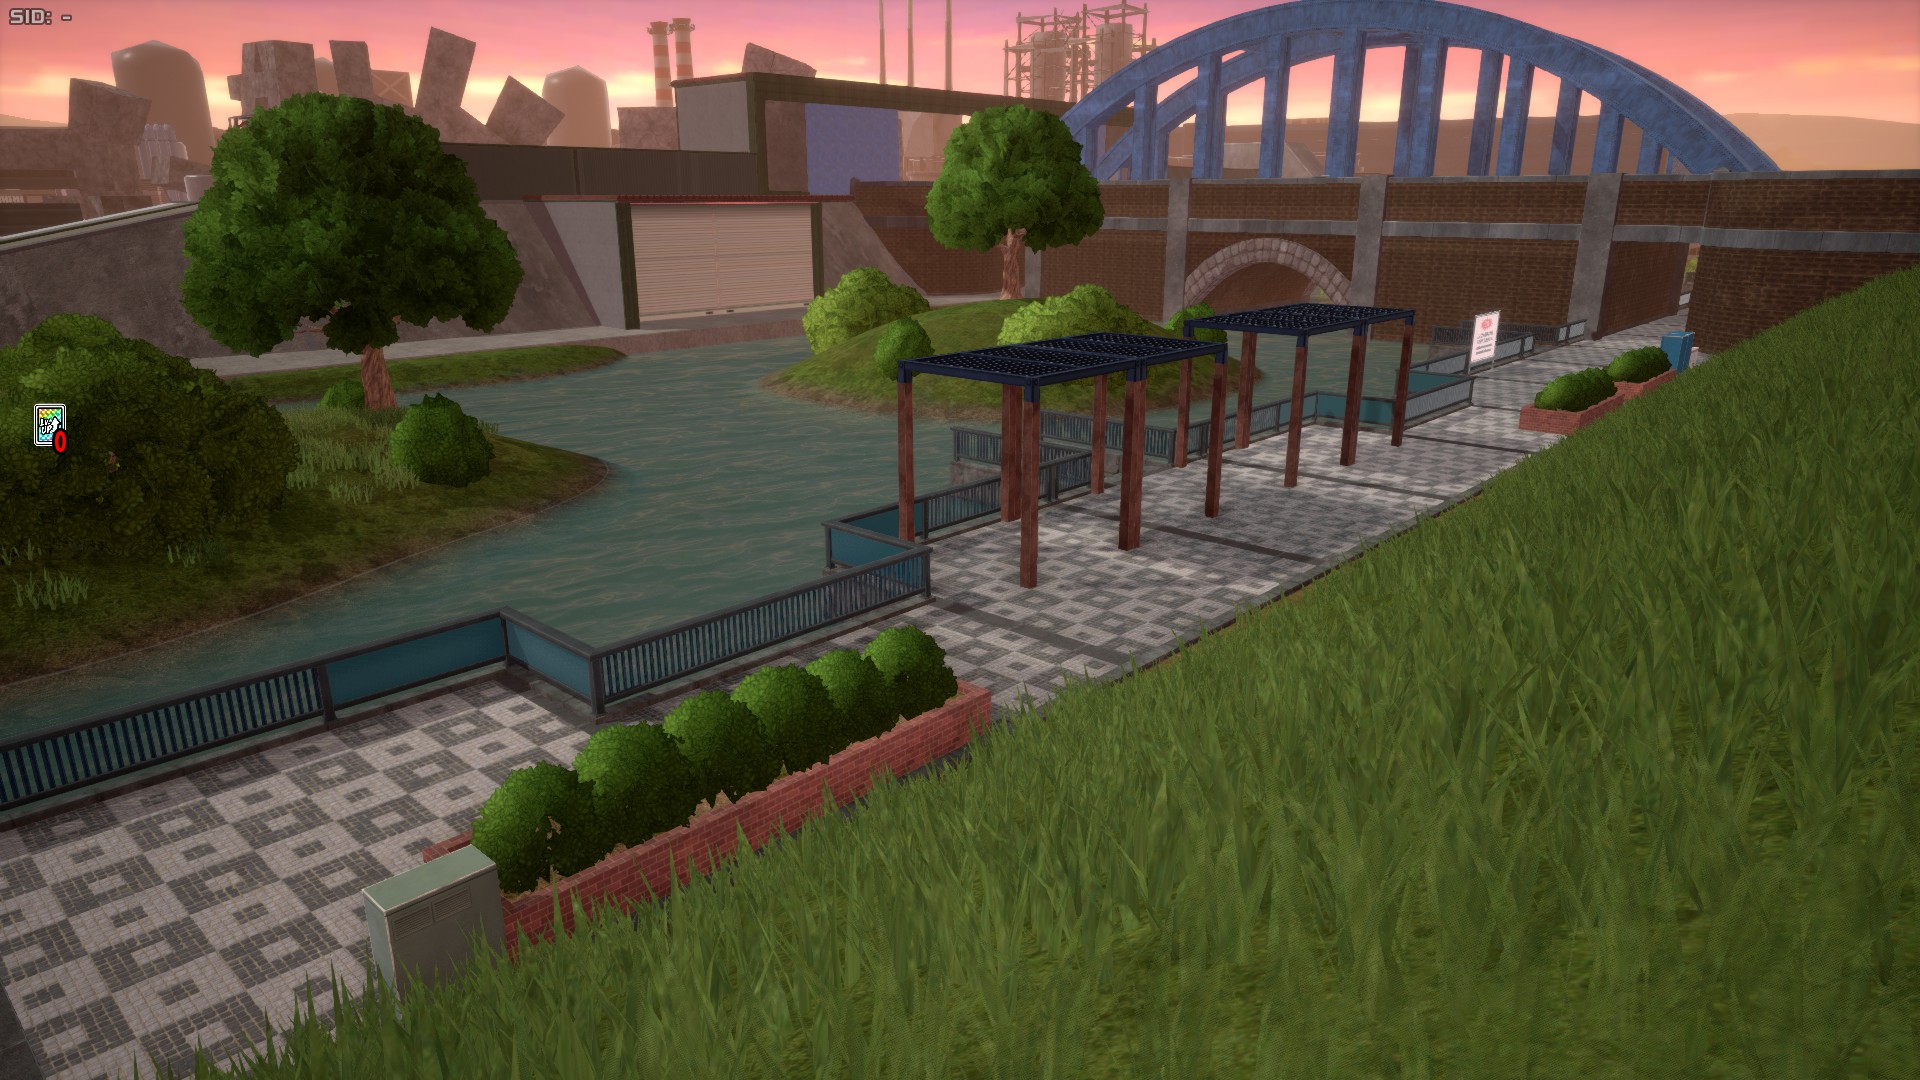
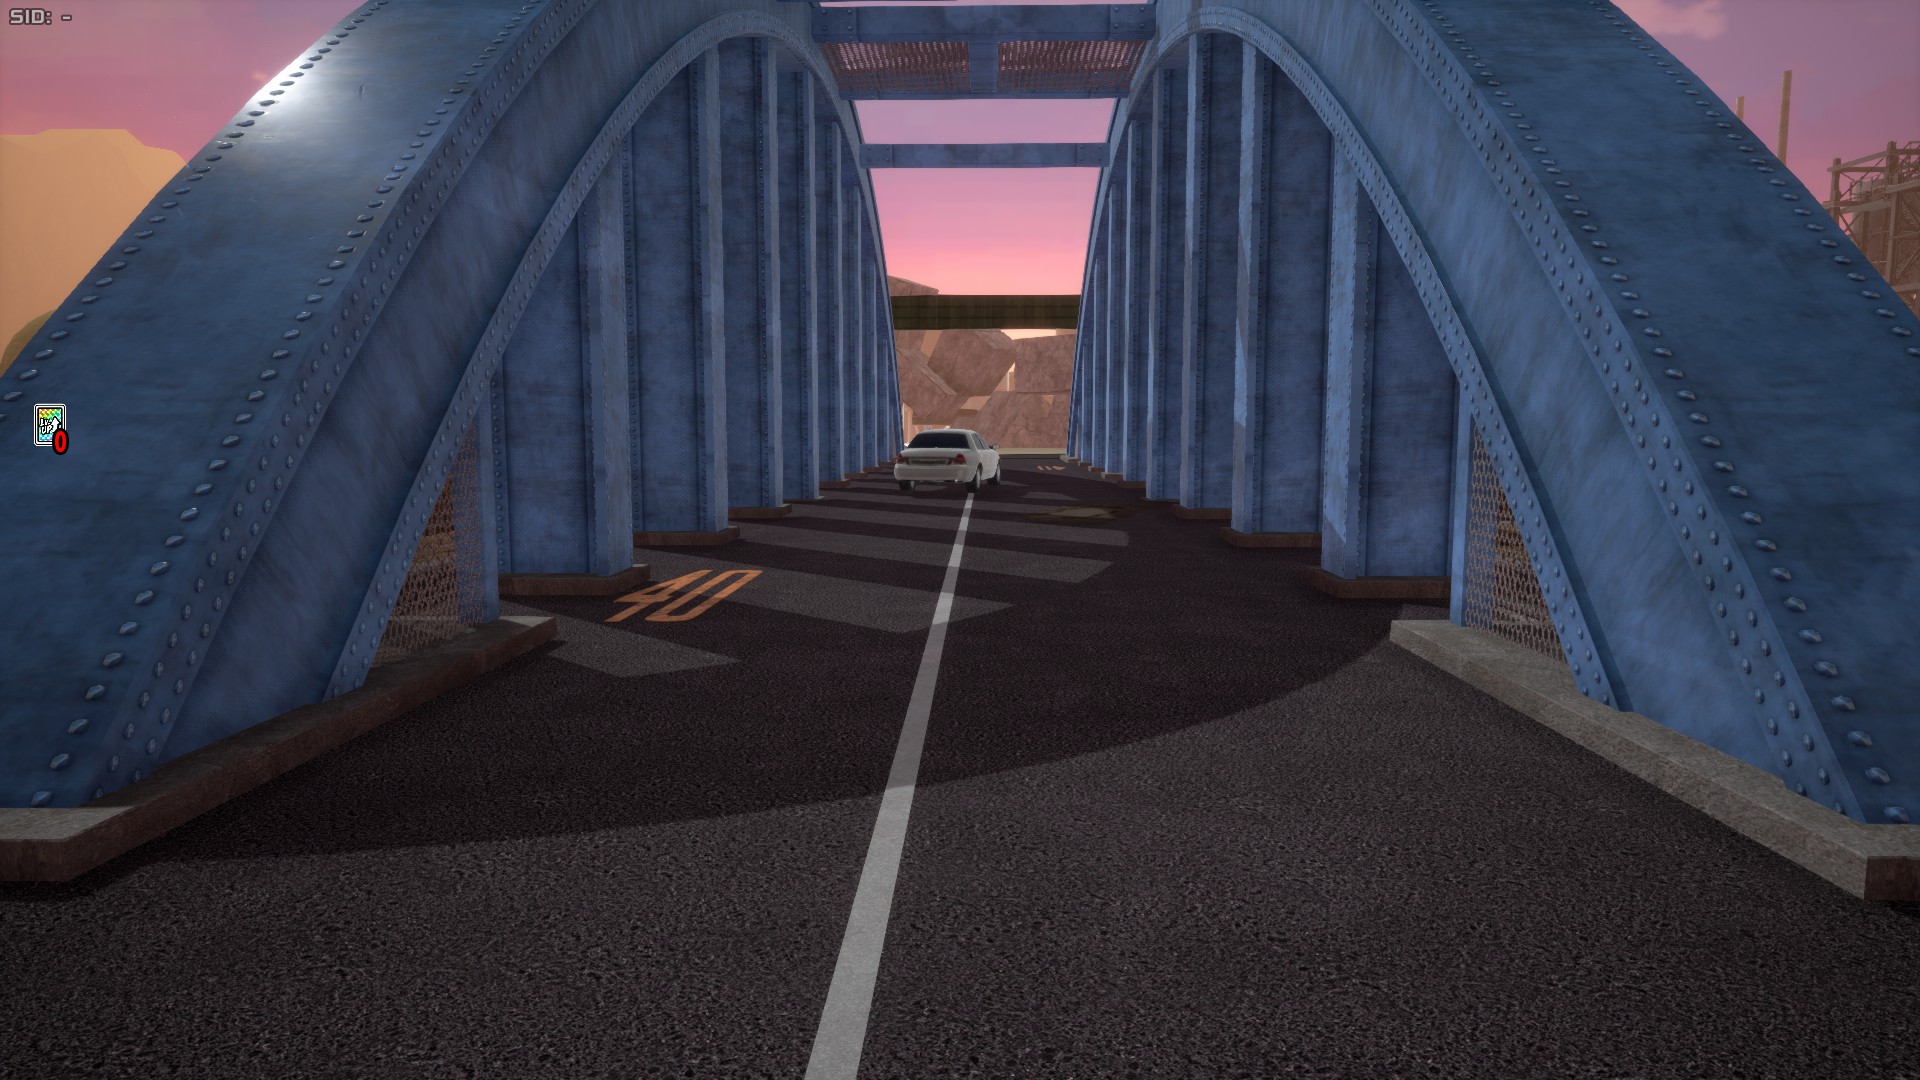
Chaos City has many locations that don't clearly belong to one area or another, or can be seen as belonging to two areas at the same time, these include the Riverbank, most of the Railbridge, the north-eastern outskirts, the gas station, the wobbly convenience store, and the natural area in the center-south bit of the map. These also hold some references, such as the wobby convenience store being affected by Gentle Criminal's quirk, or Hawks' crib from when he was a kid.
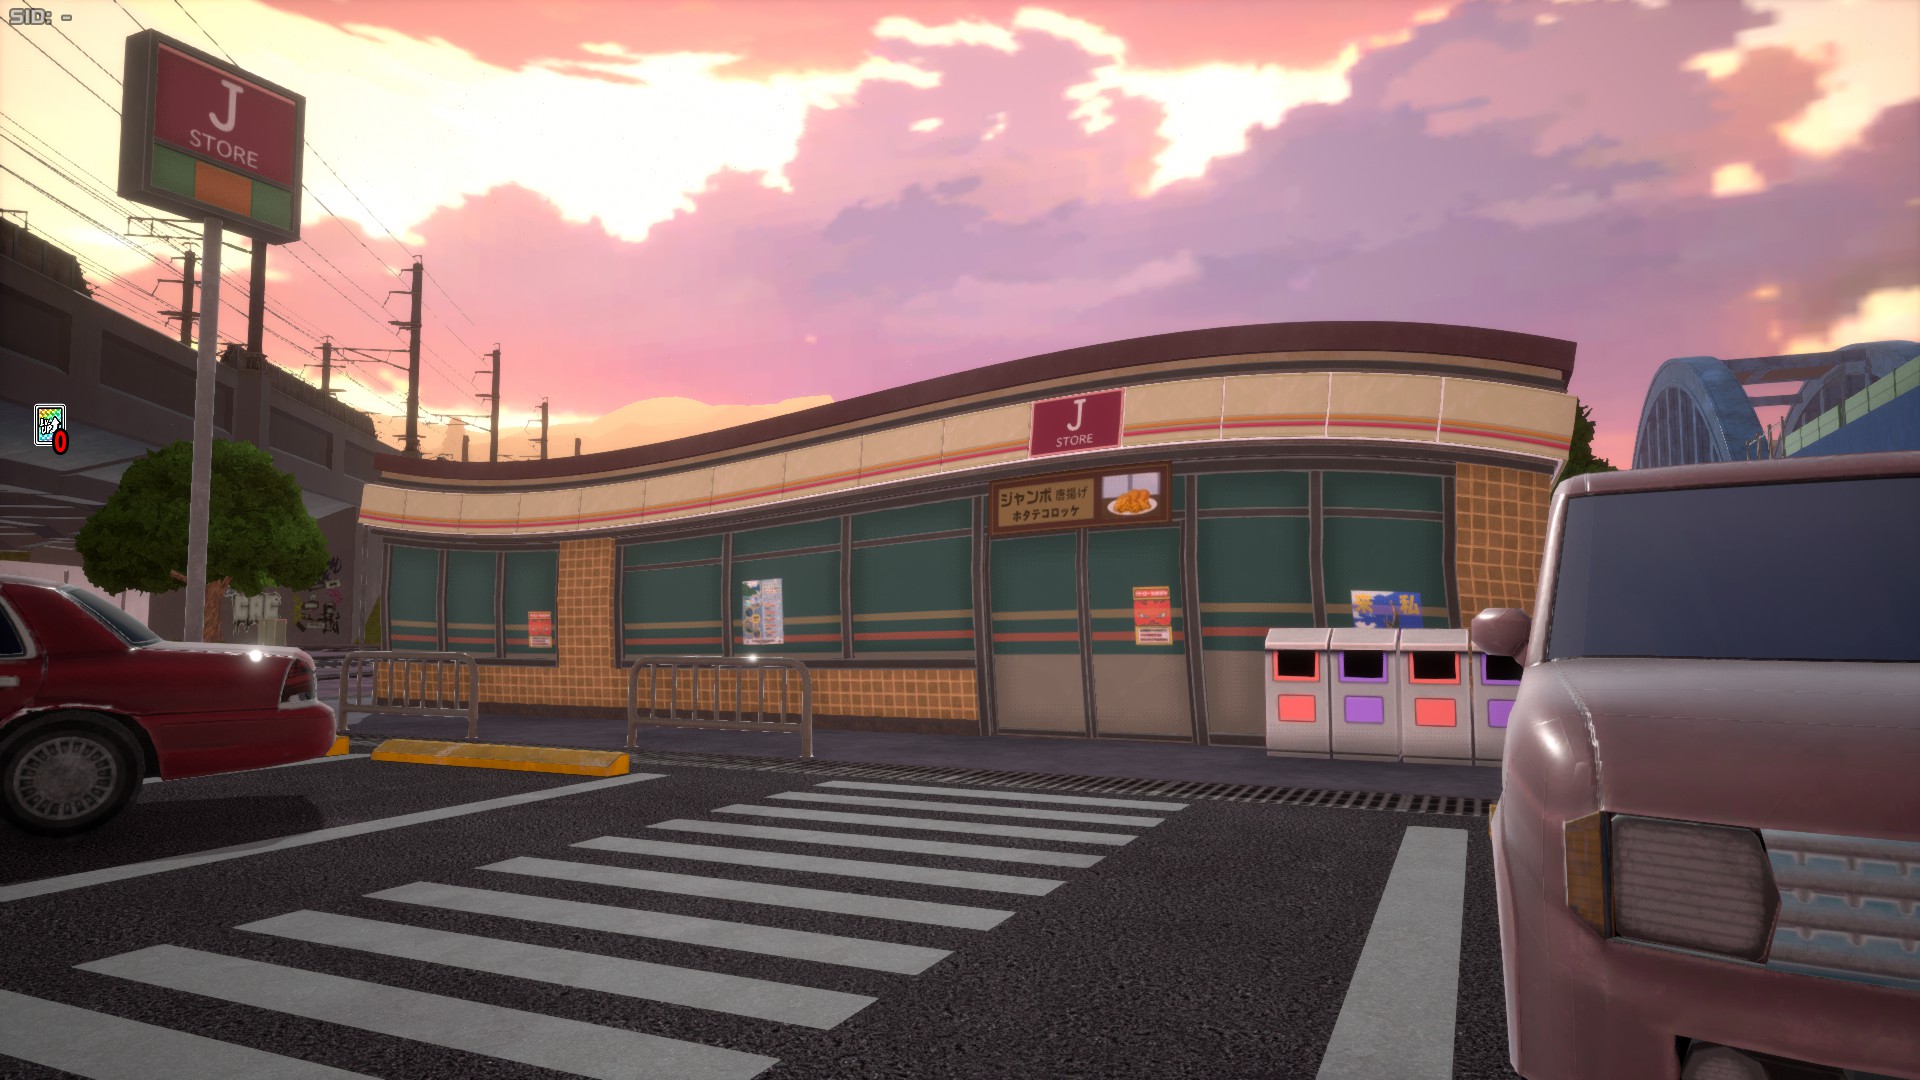
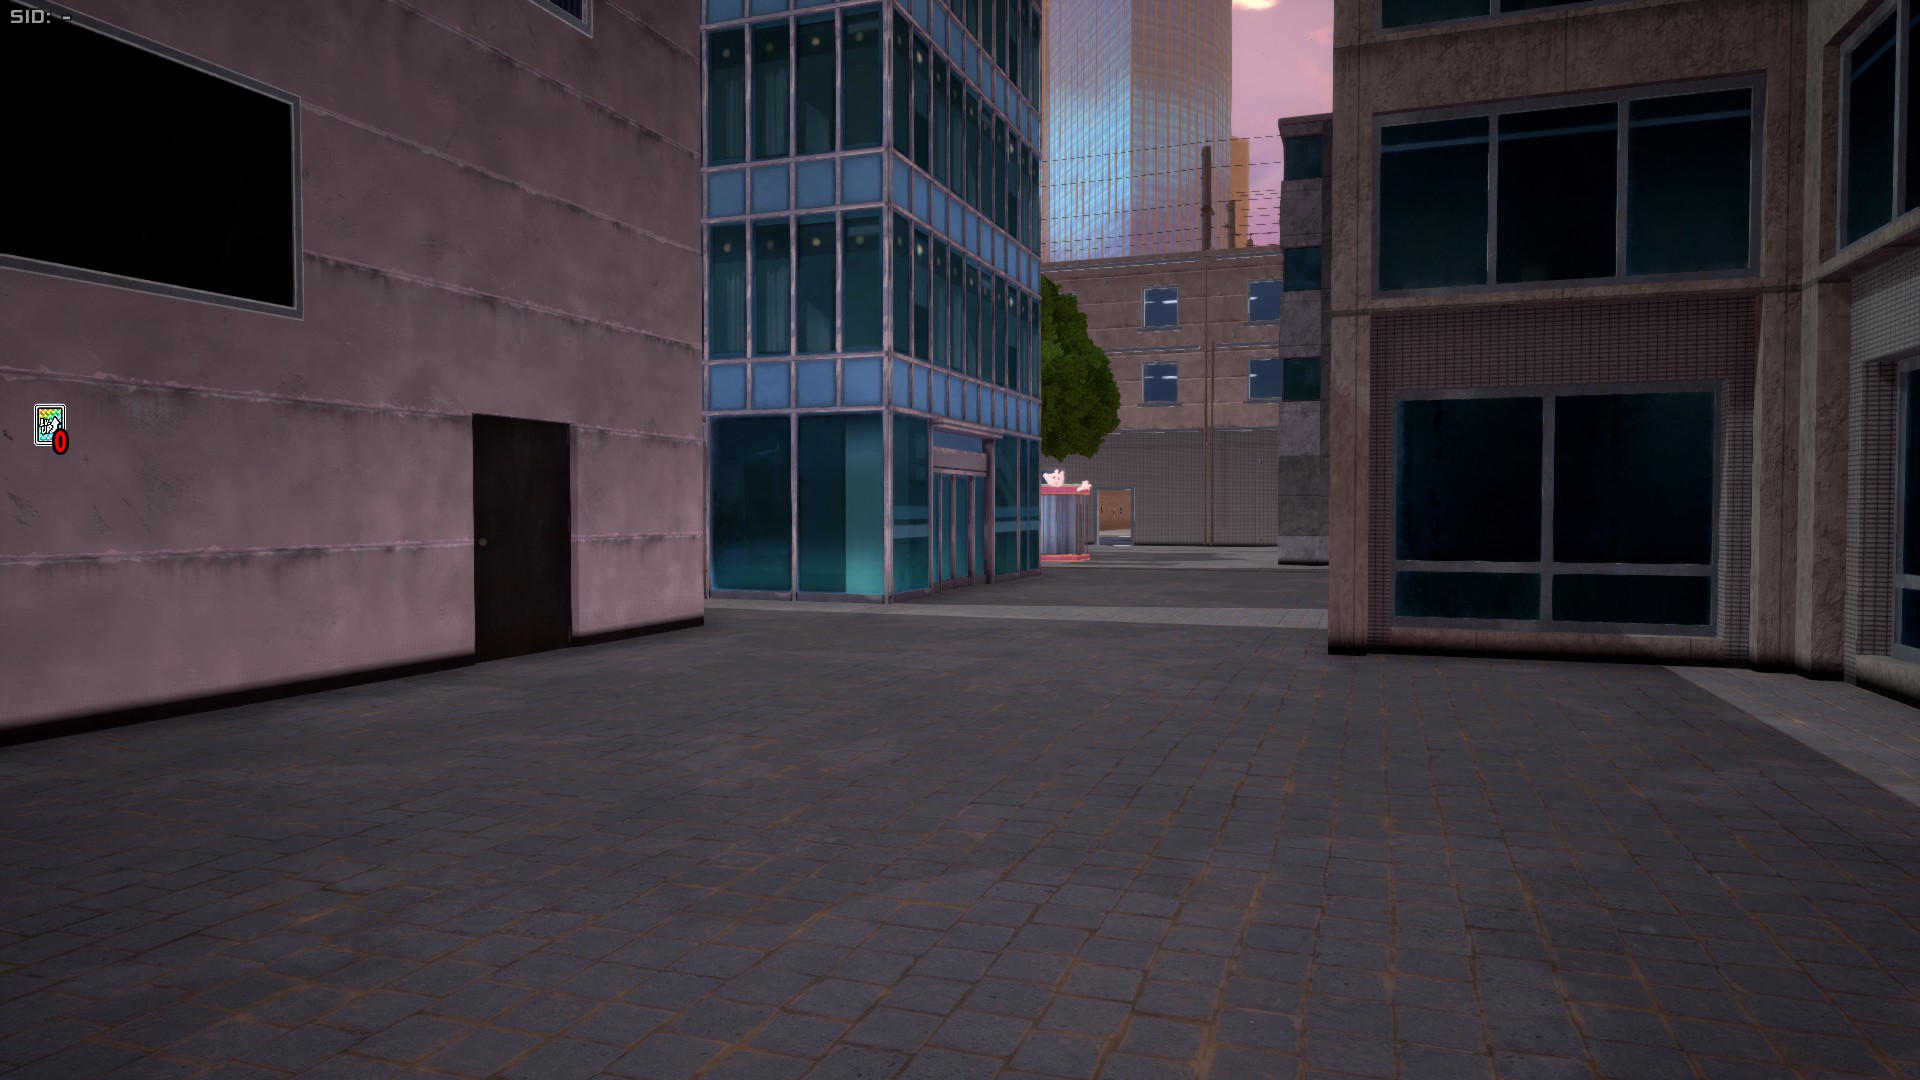
Chaos City (Ver.02)
Chaos City Ver.02 is an upcoming stage update to the Chaos City map, which has been datamined and is expected to release in an upcoming season. The data suggests that this update will focus on the Shopping Distrinct Area and the Villain Containment Facility, expanding on the underground of both a bit, but few details exist.
Neo Academia
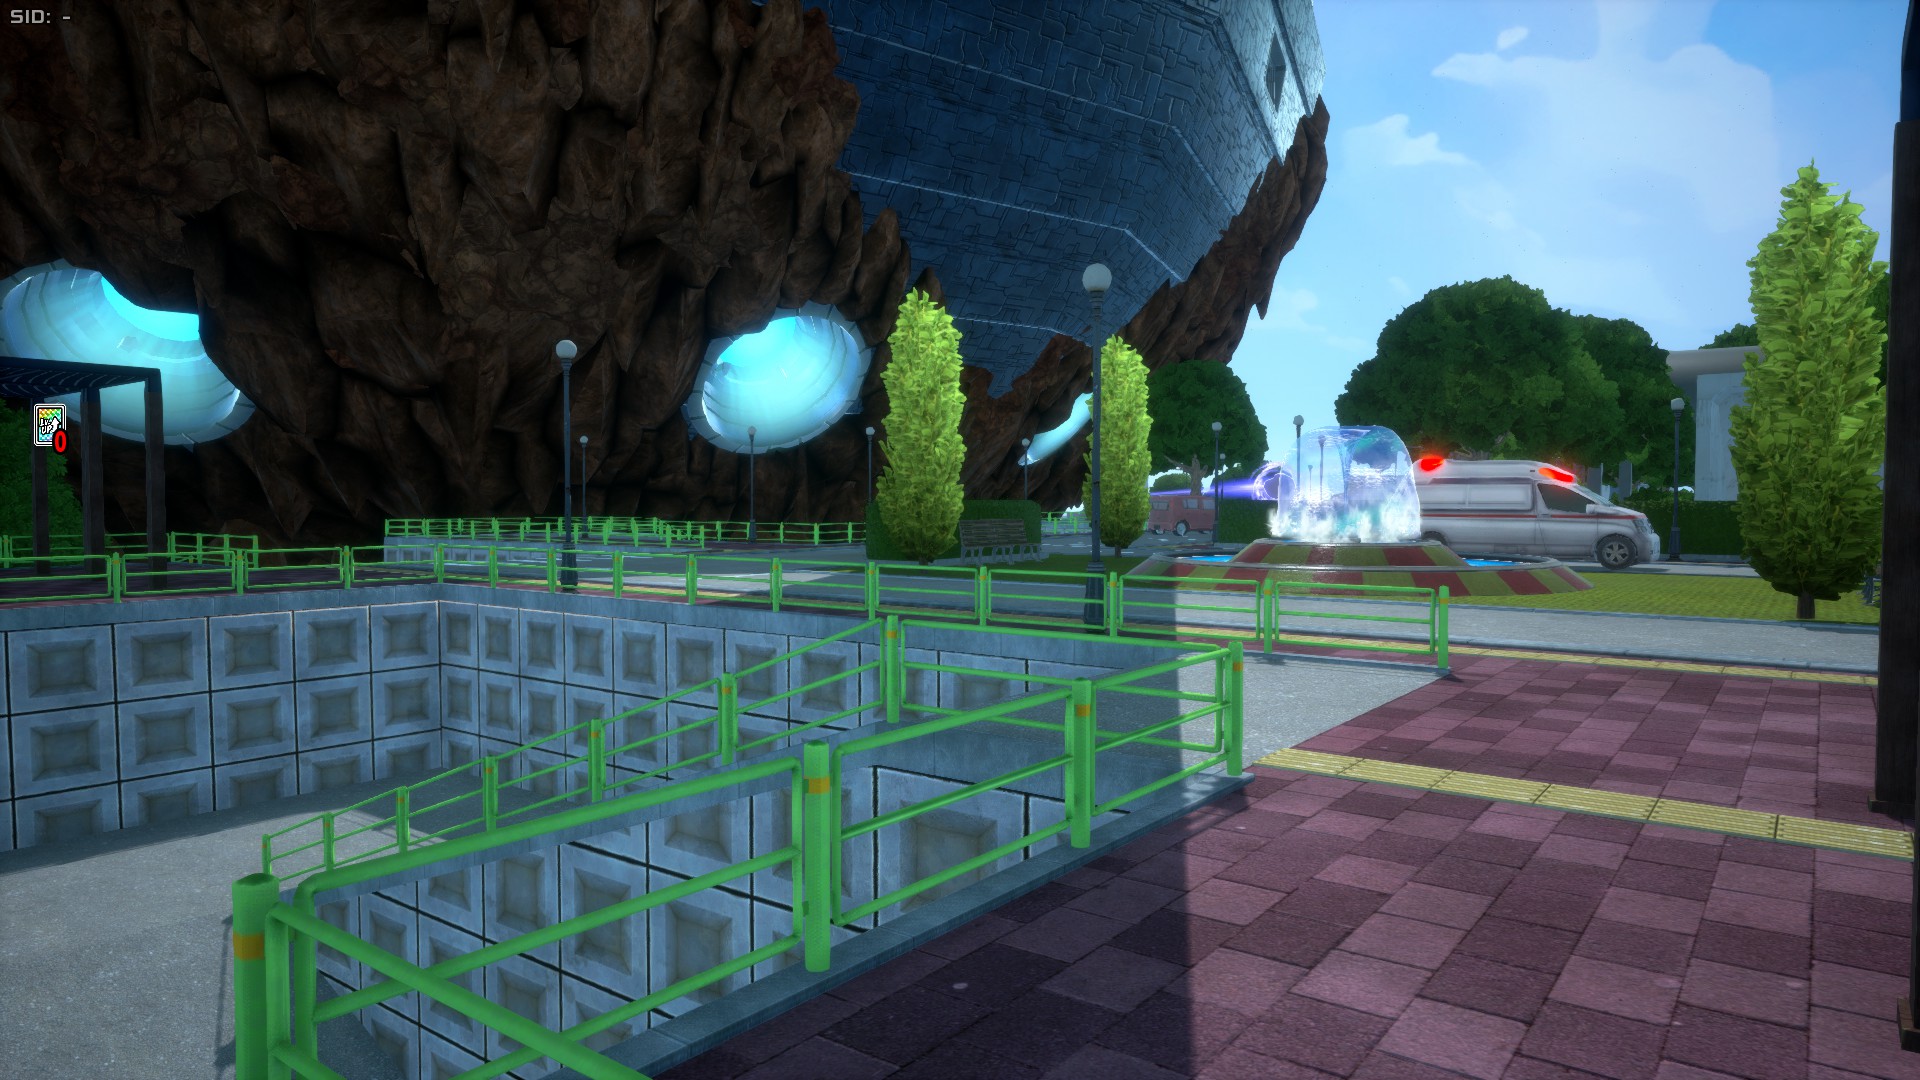
Neo Academia (also known as Stage 4 or St04), is Ultra Rumble's 4th and latest stage, released in Season 15. This stage is split into 7 areas: Sky Area, Hospital/Research Lab Area, Construction Area, Prison Escape Riot Area, Urban Area, Flood Area and Japanese House Area.
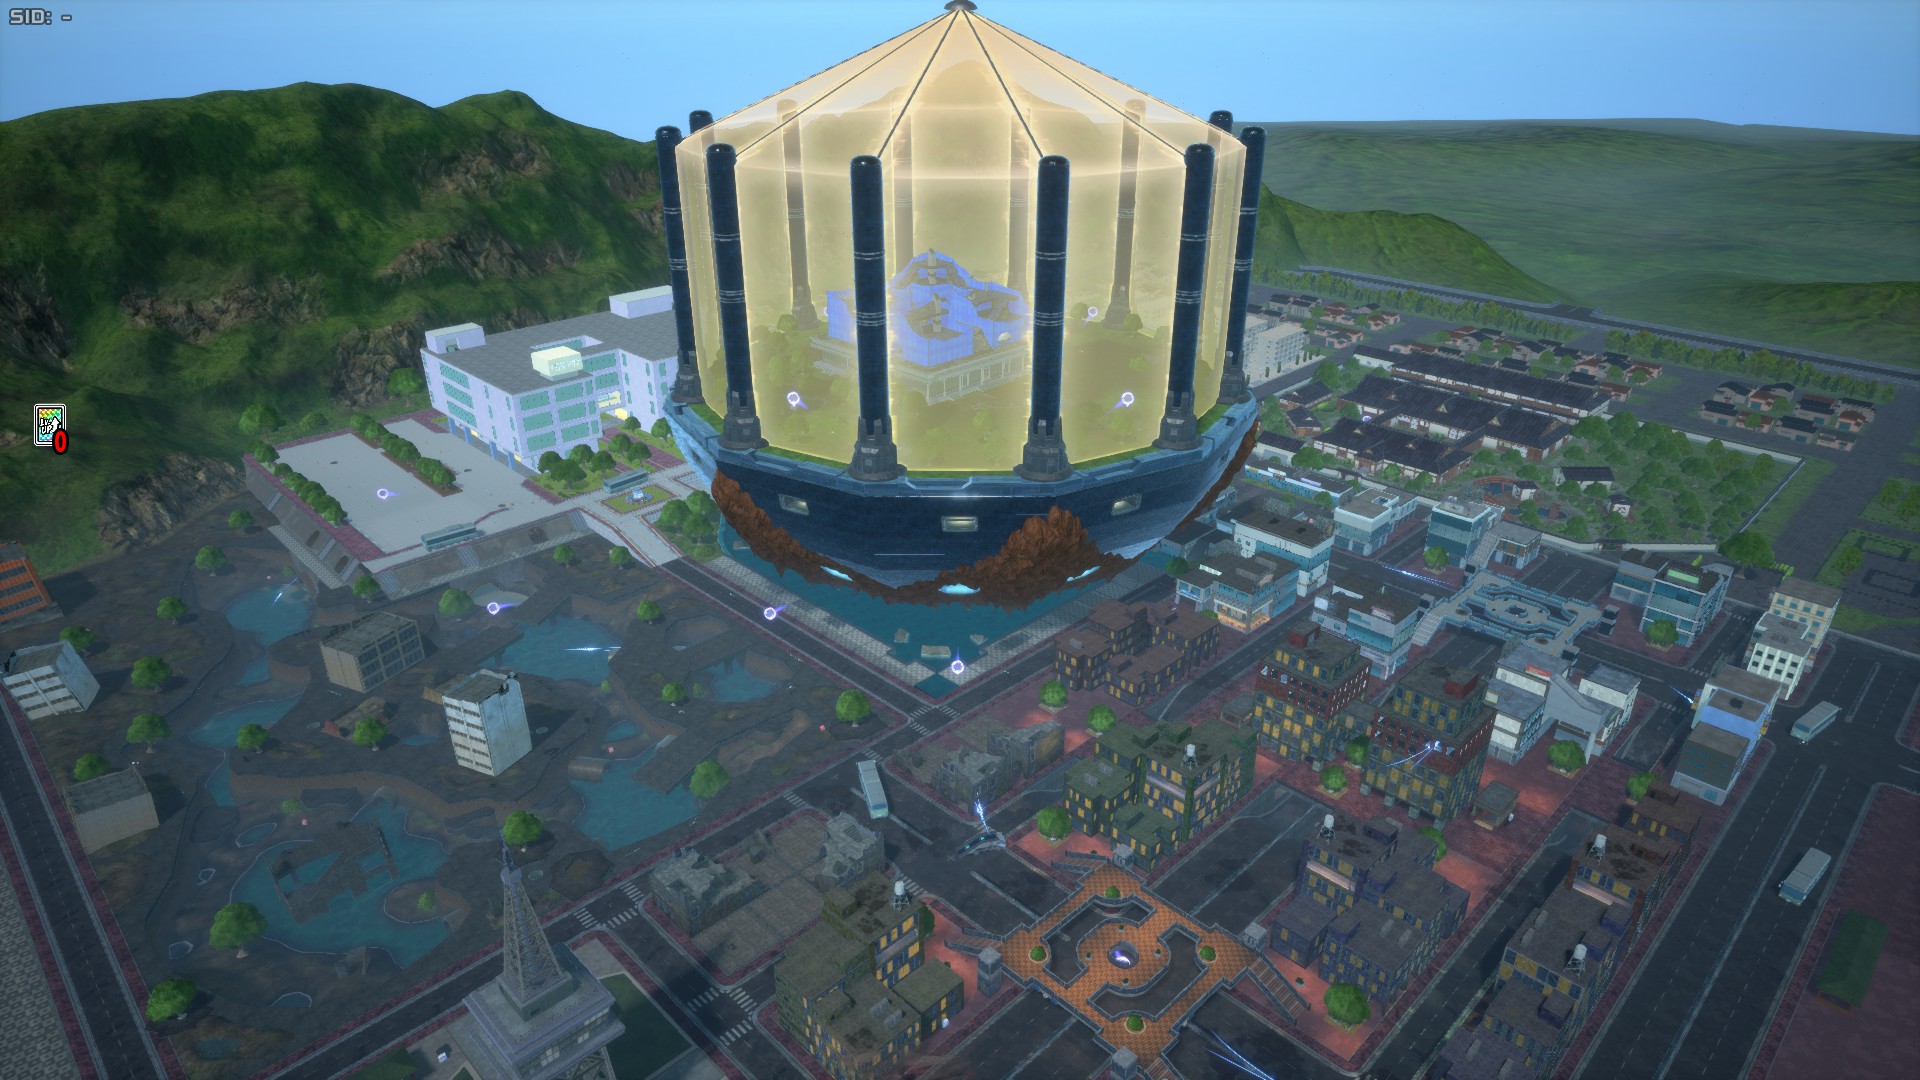
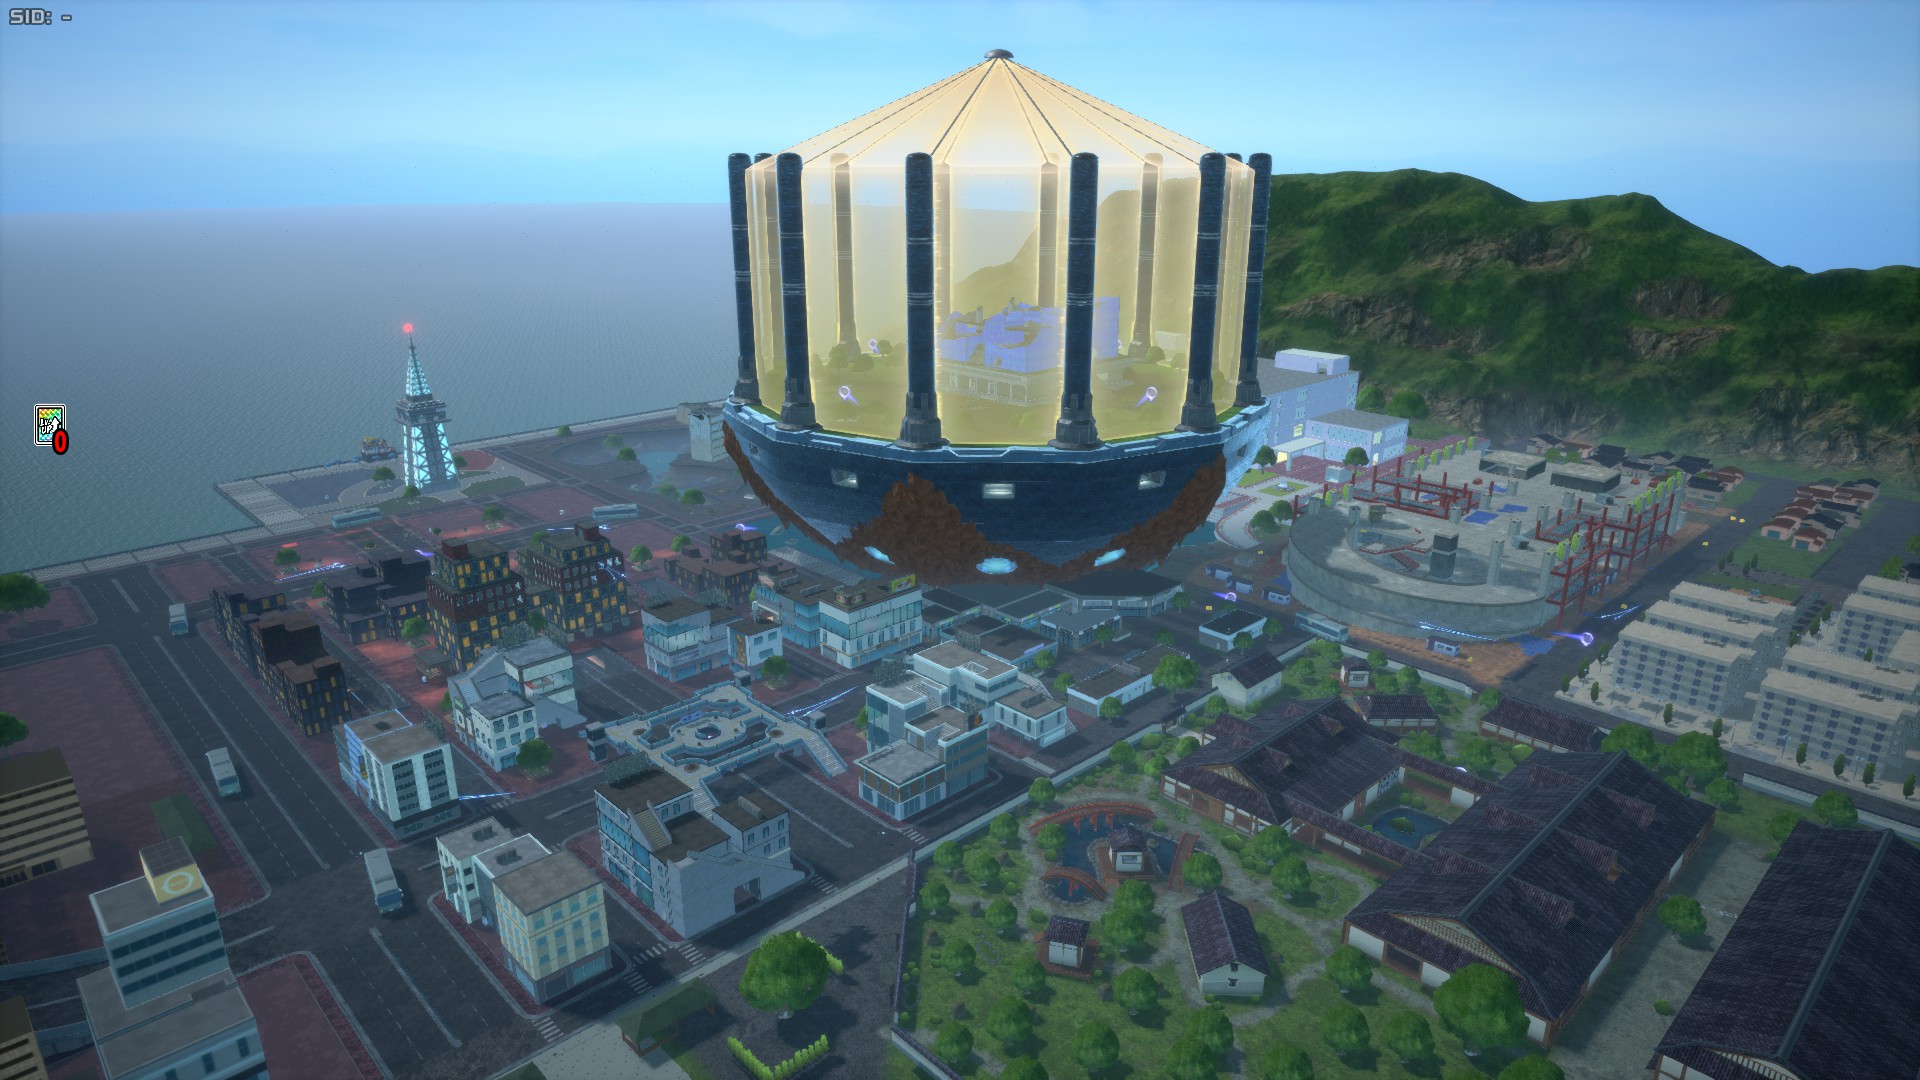
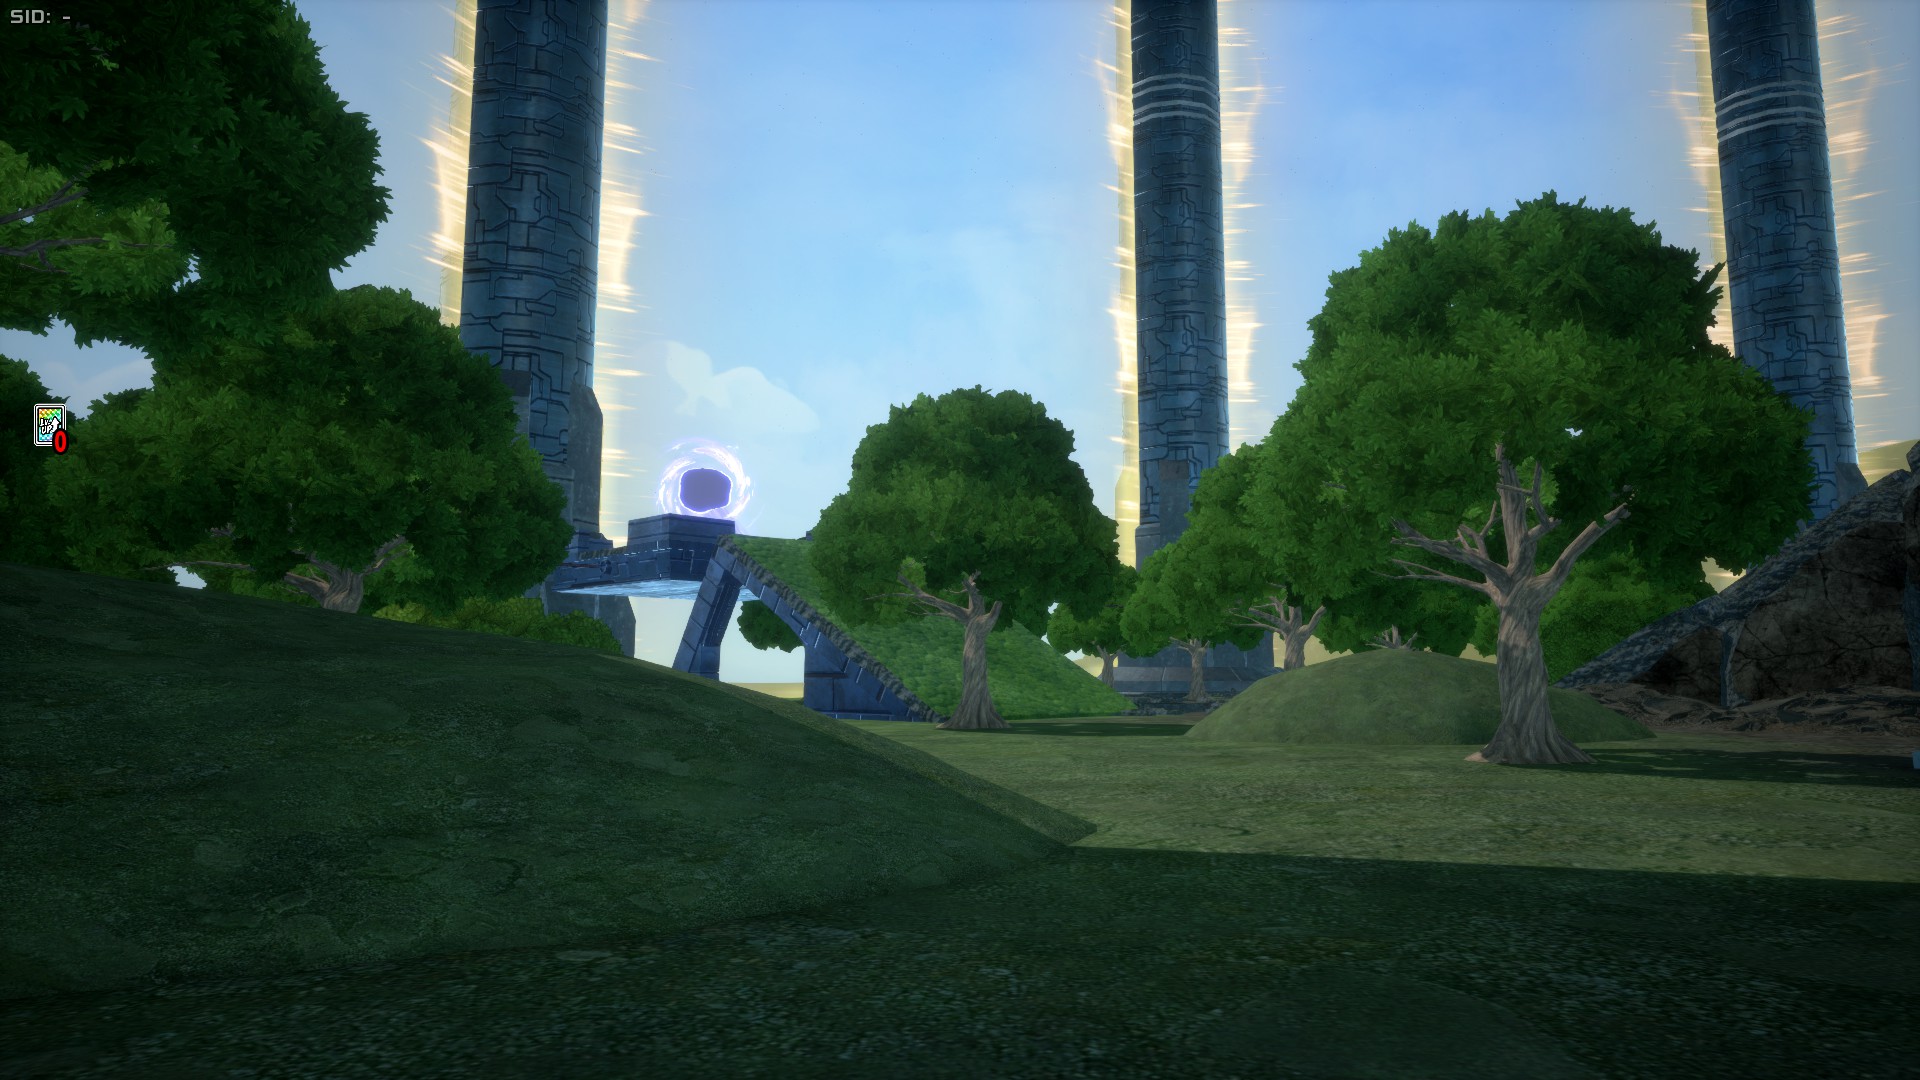
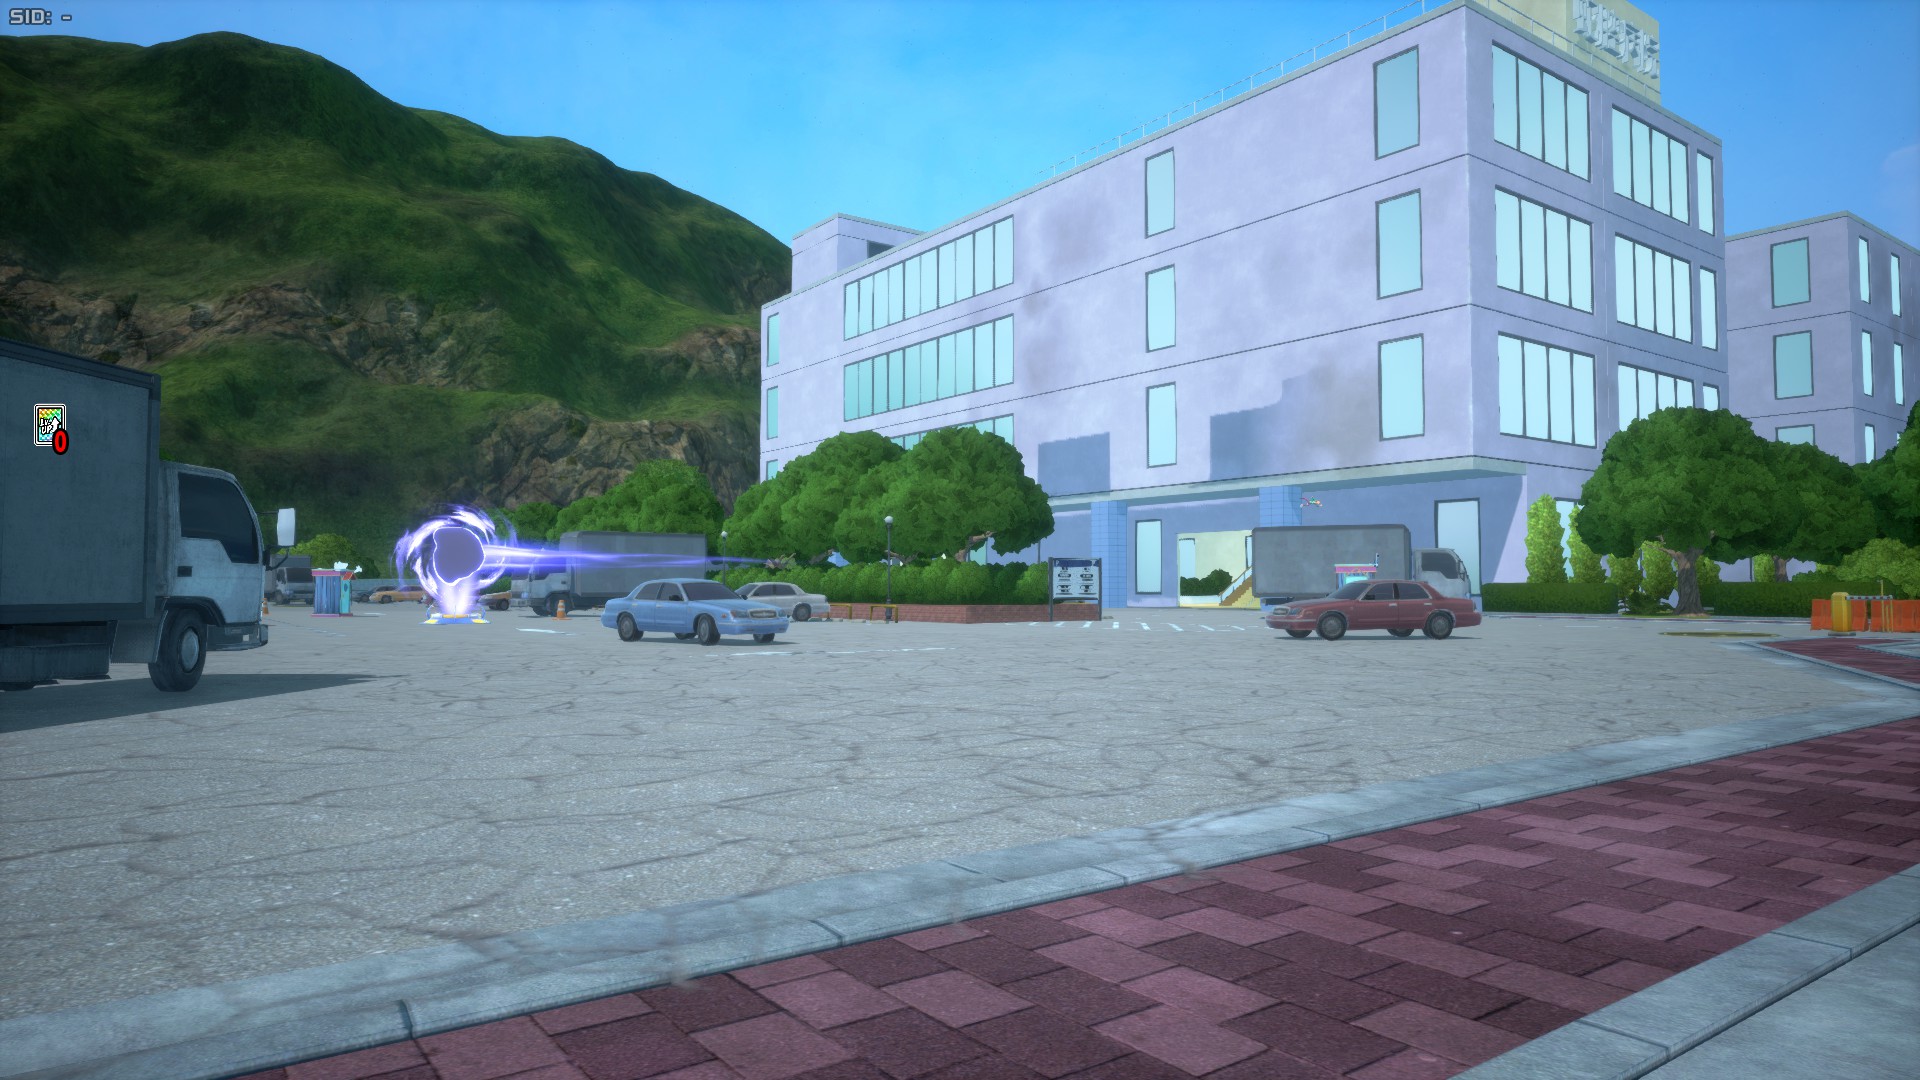
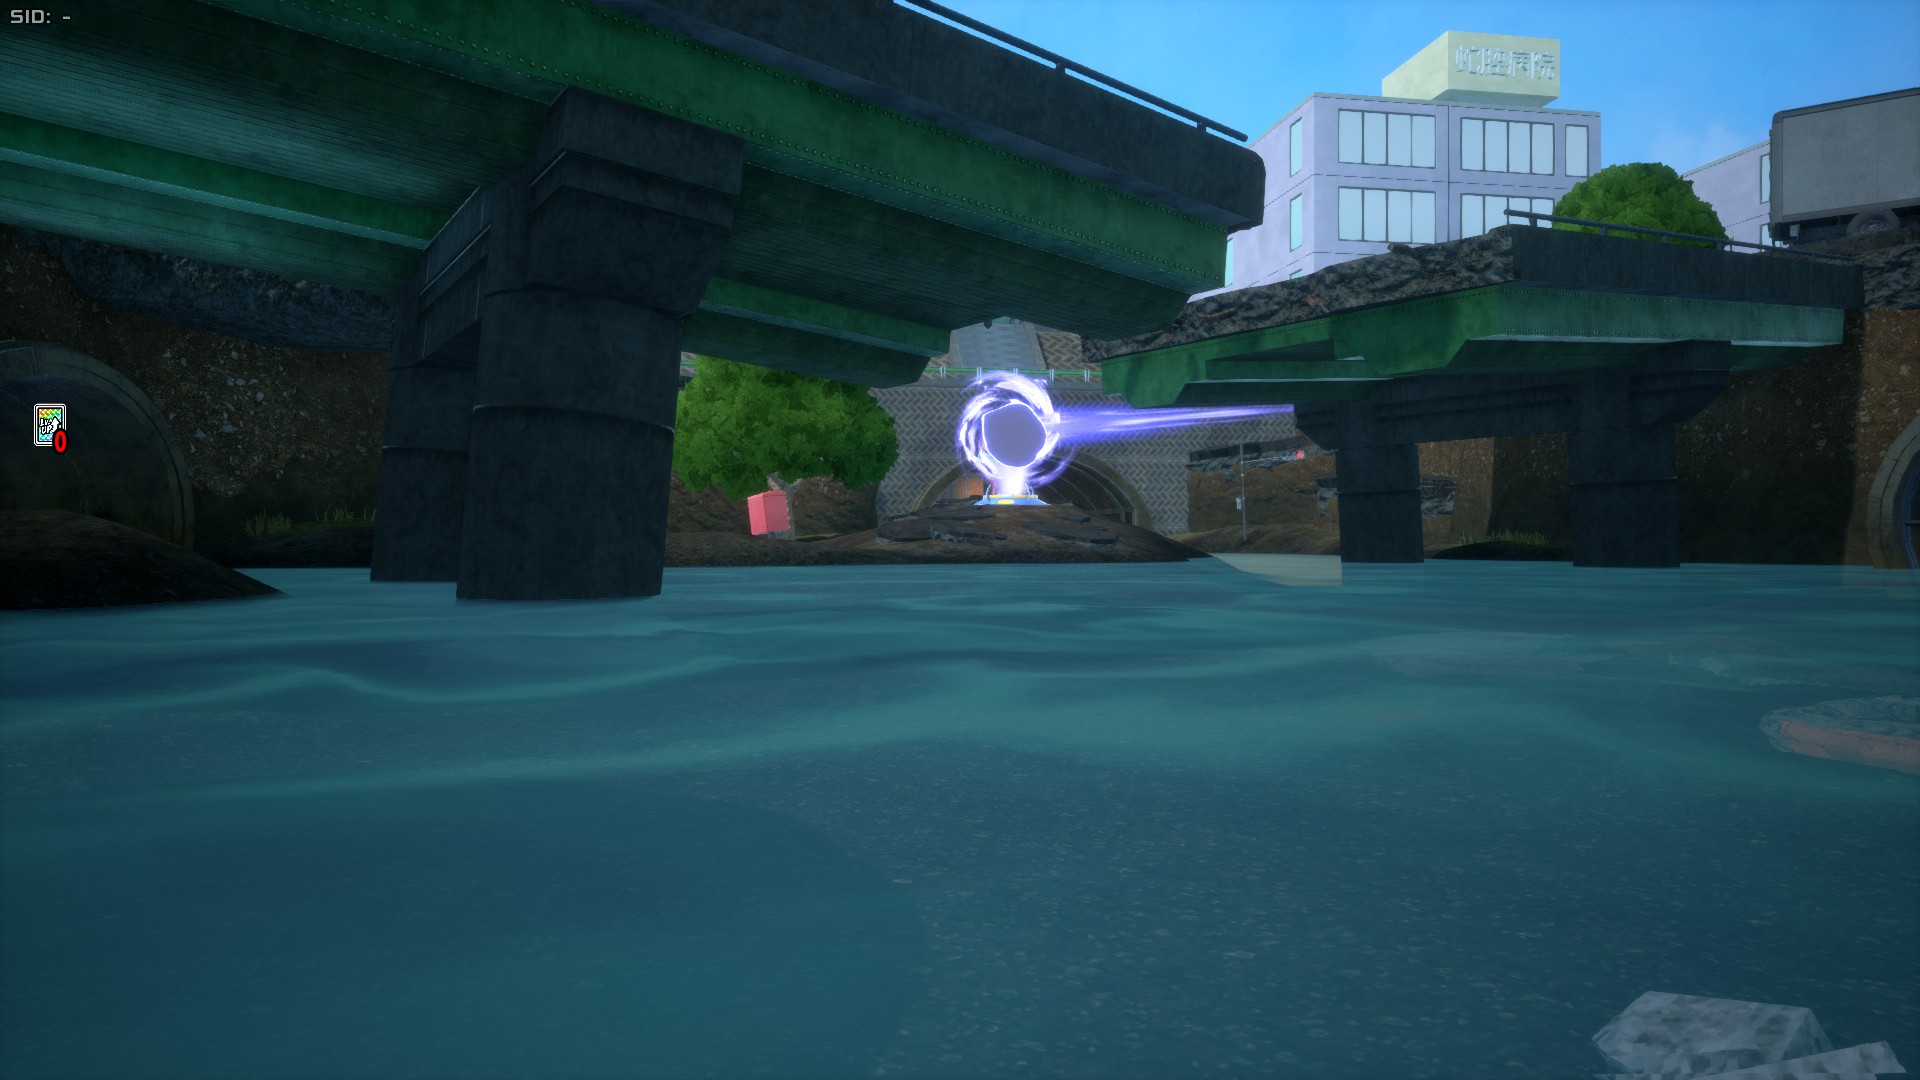
This stage features a unique gimmick, that being the Teleporters. These are devices similar to Jump Pads that teleport you to another location upon contact while not using a skill. These teleporters are used to travel back and forth in and out of Sky Area, which is difficult or even impossible for some characters to reach without. Teleporters can be damaged by the Poison Mist, leading to their disappearance, which can cause teammates to die in the Poison Mist if they're not quick enough, as they may not be able to return to battle.
Sky Area
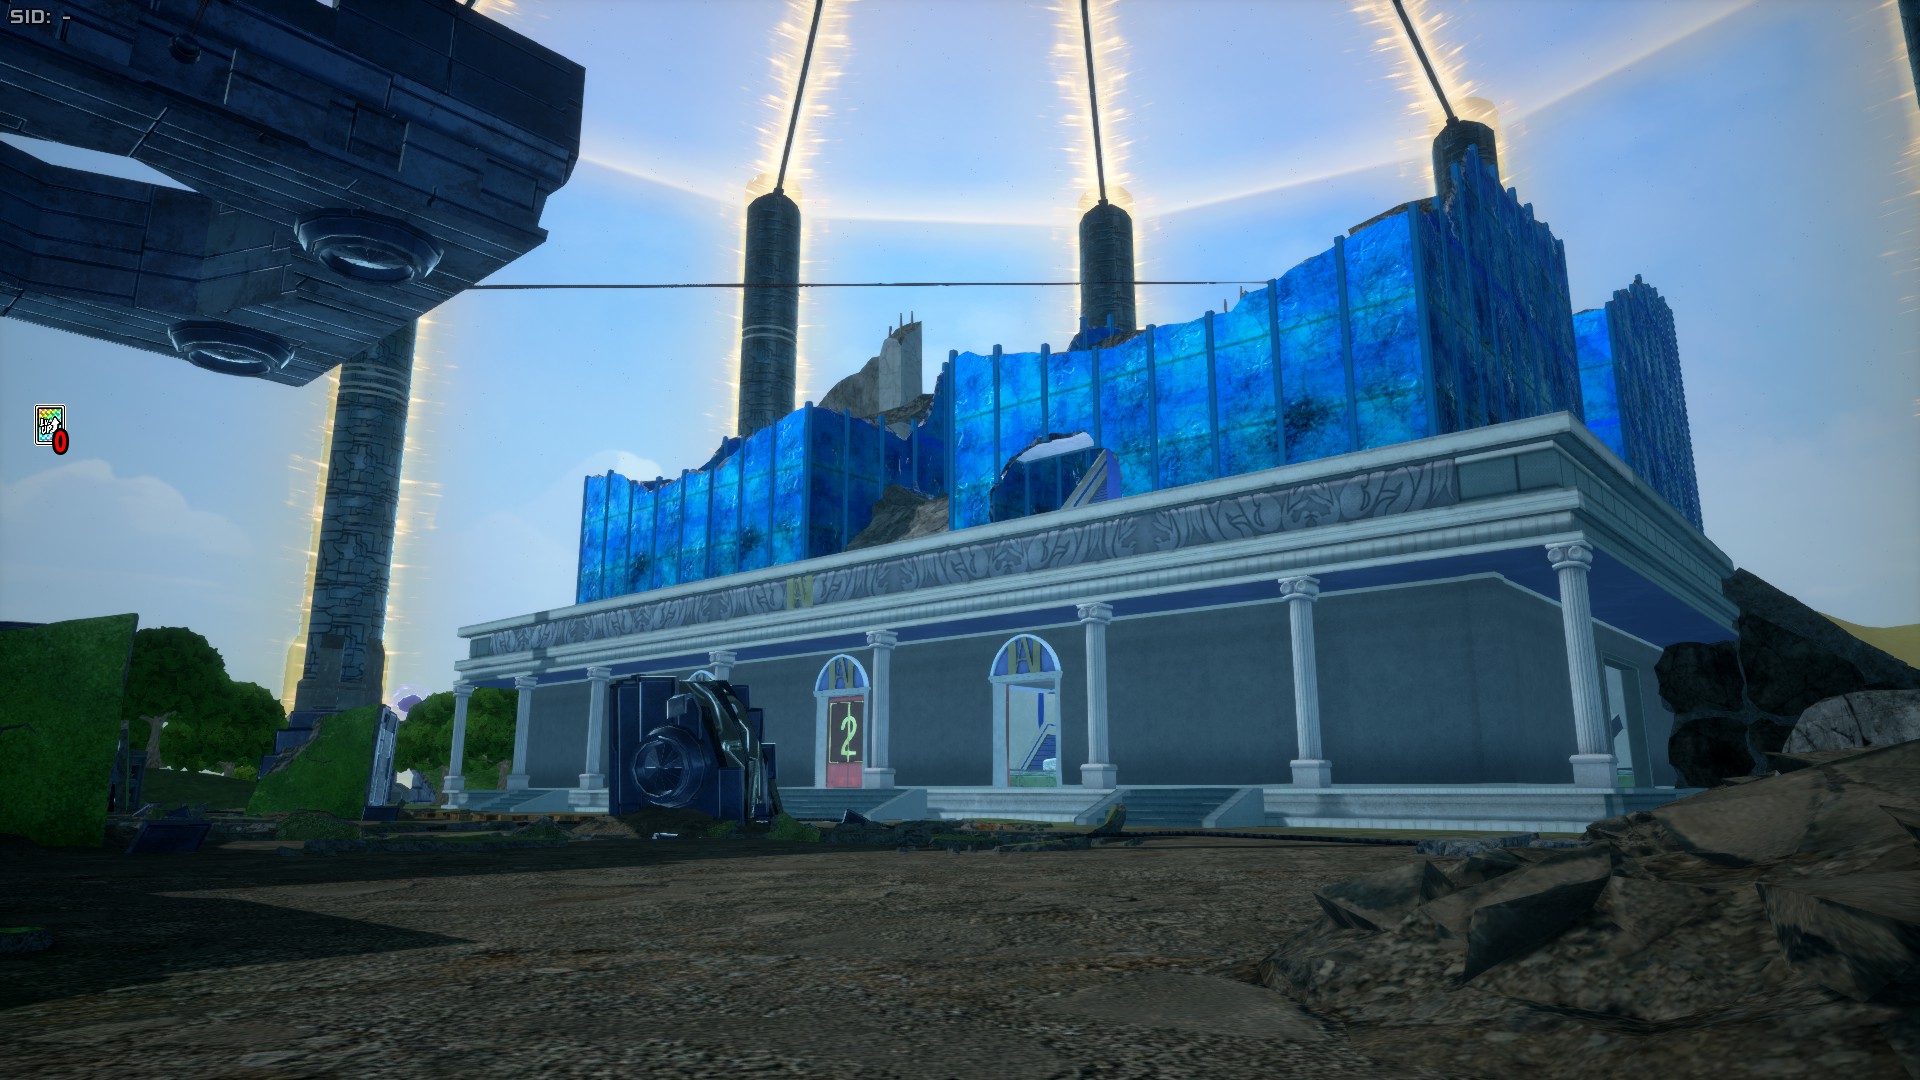
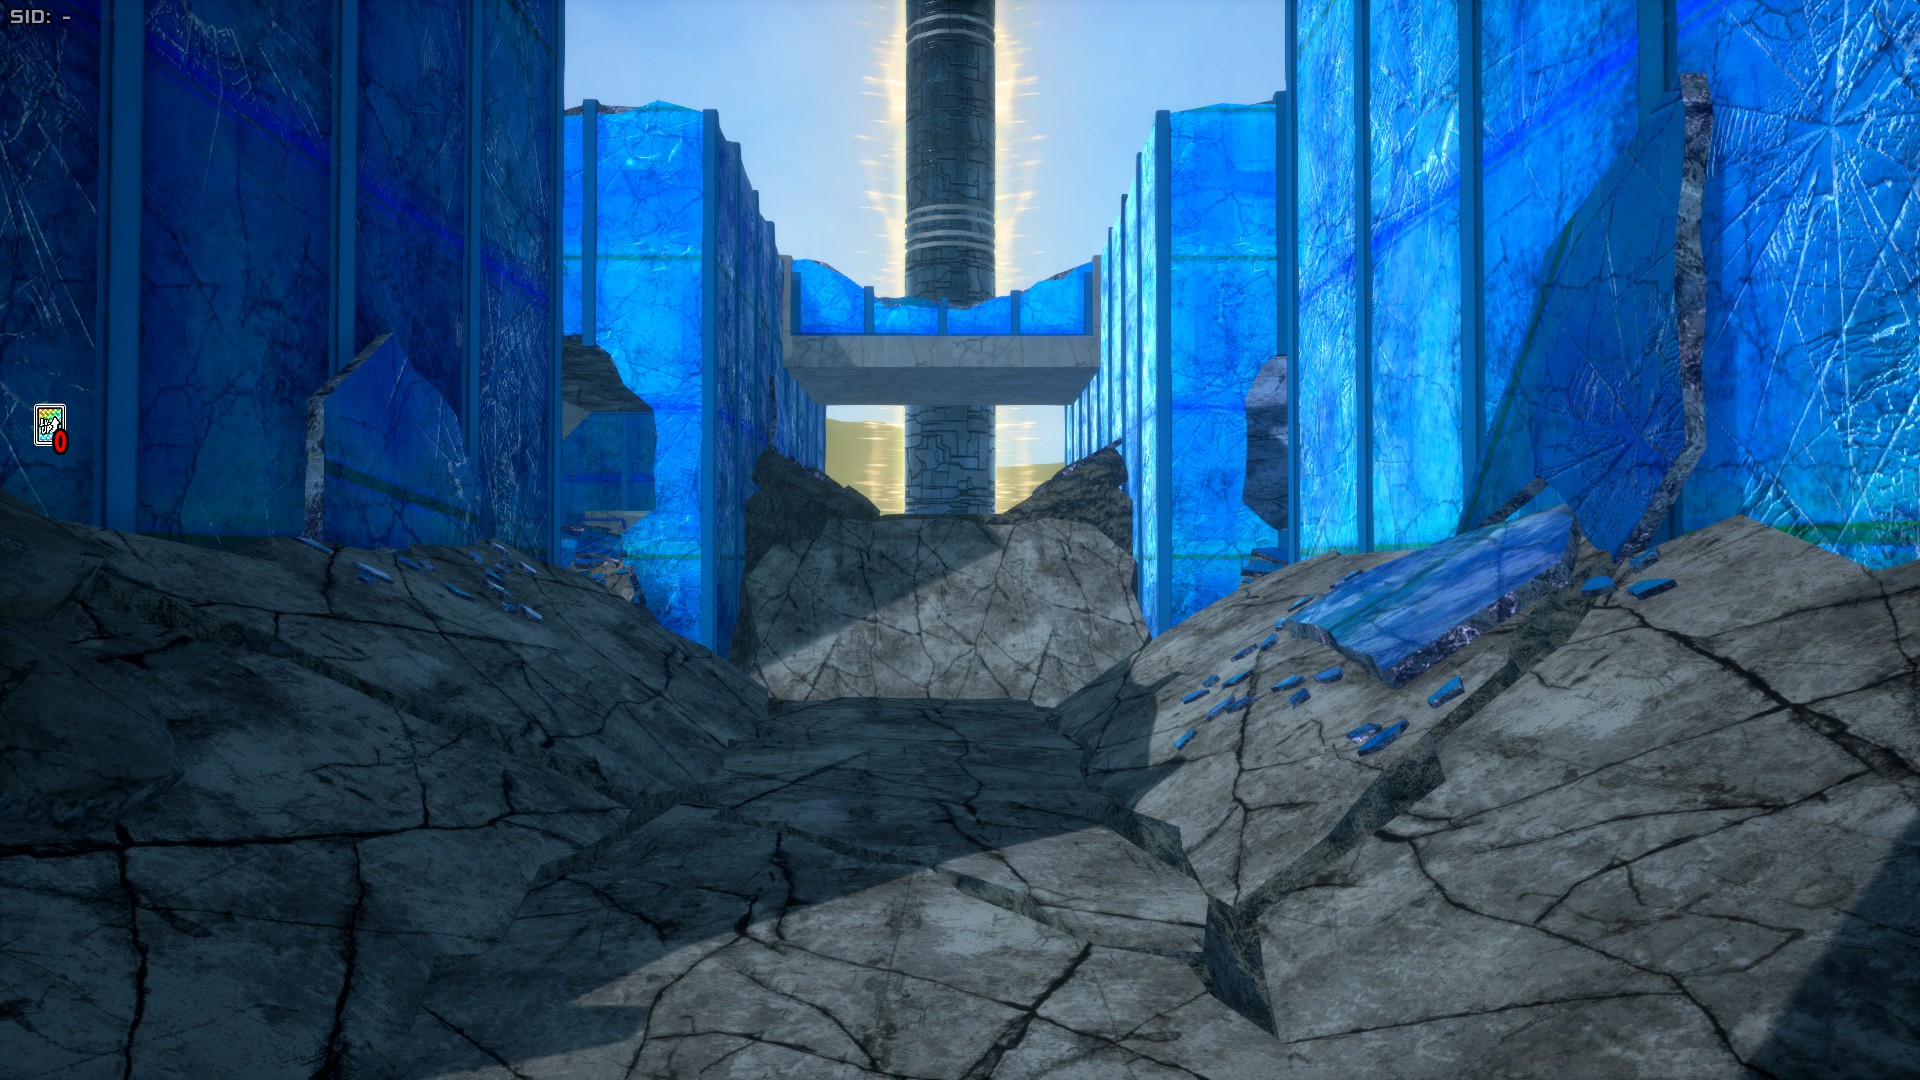
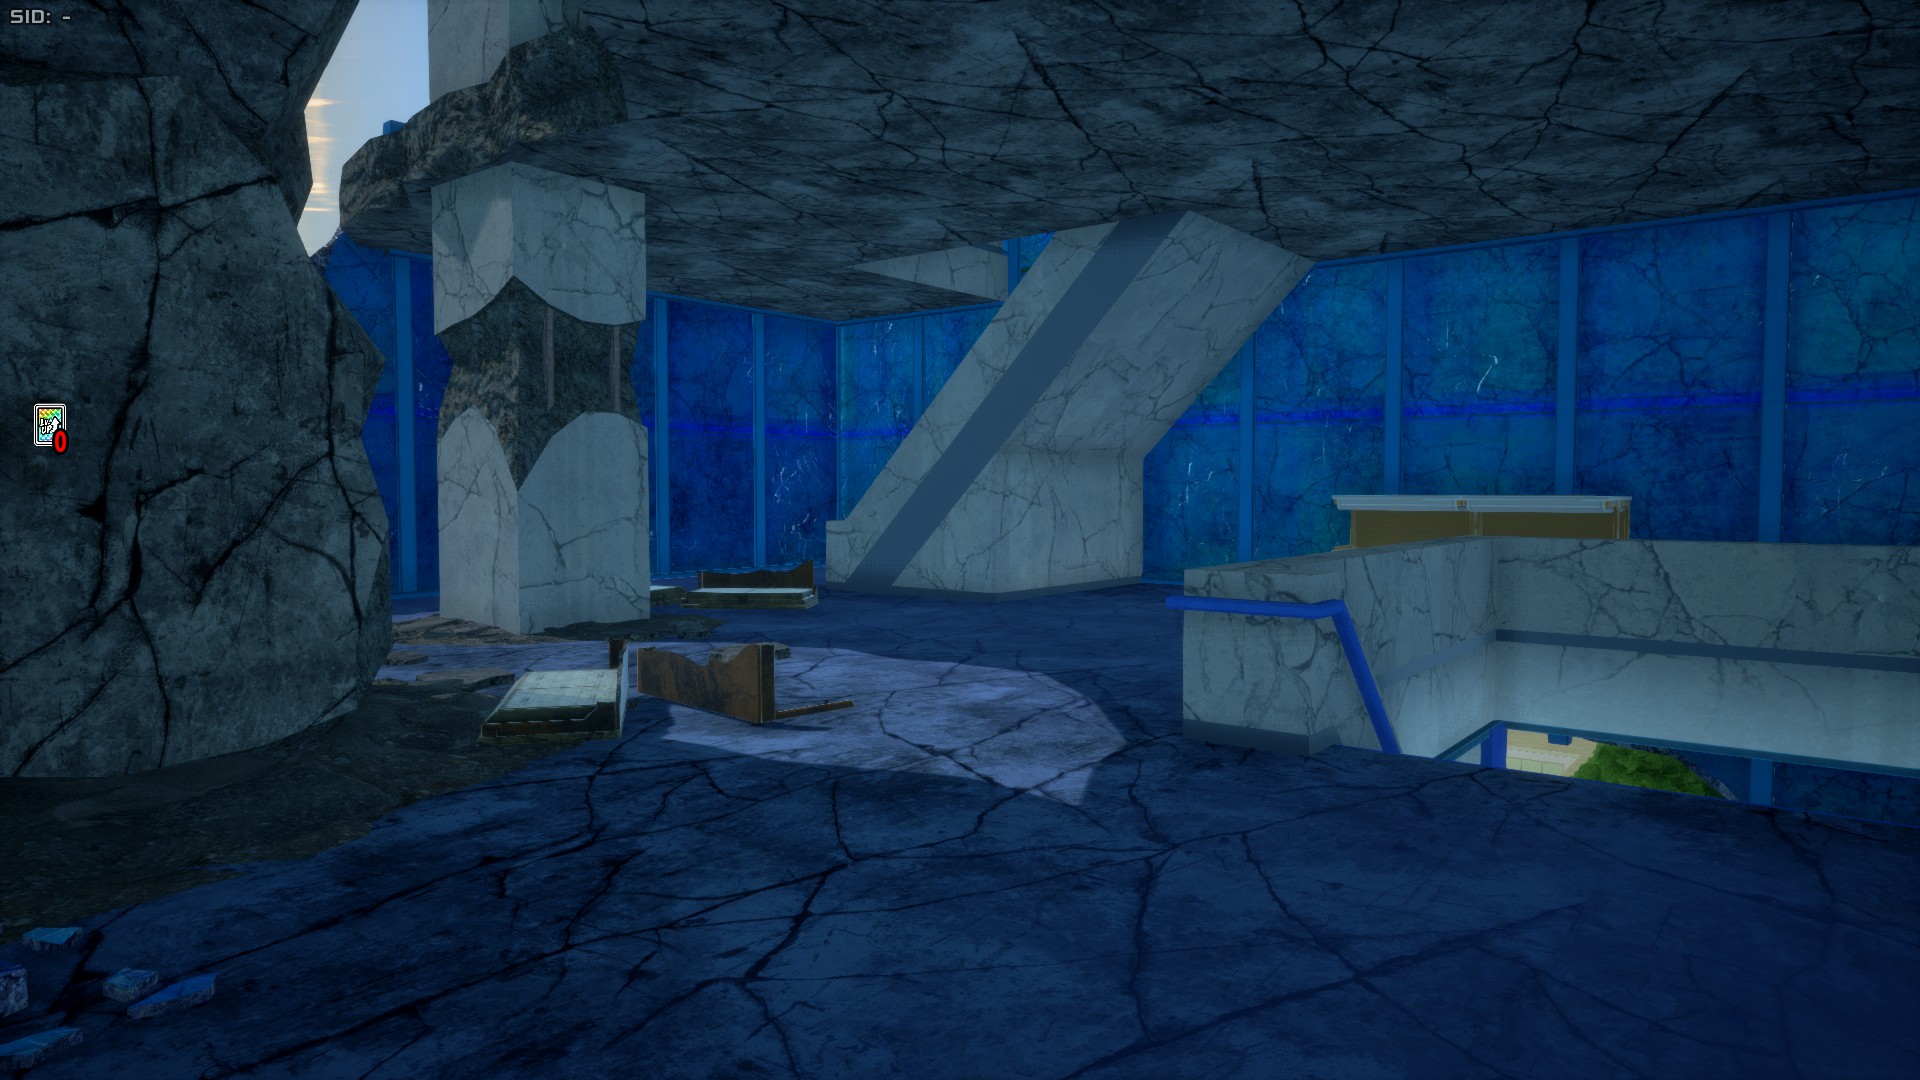
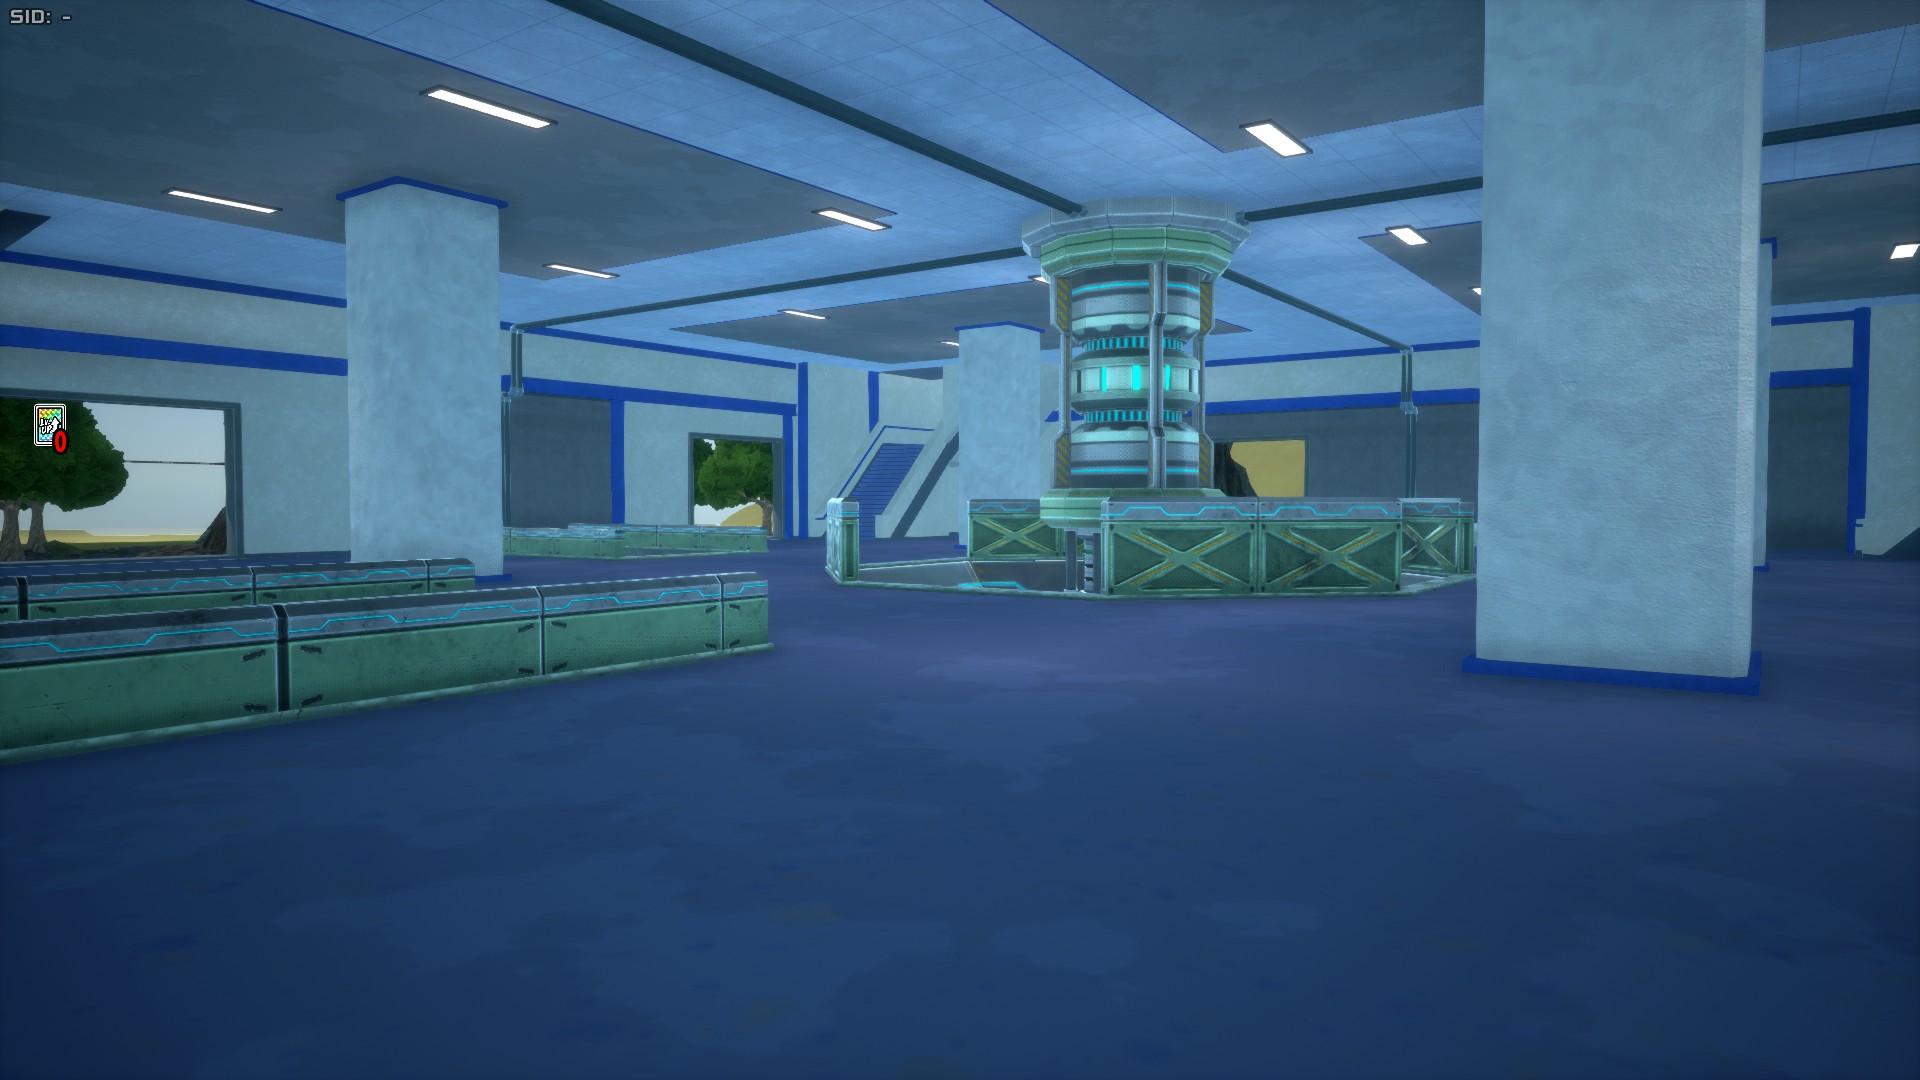
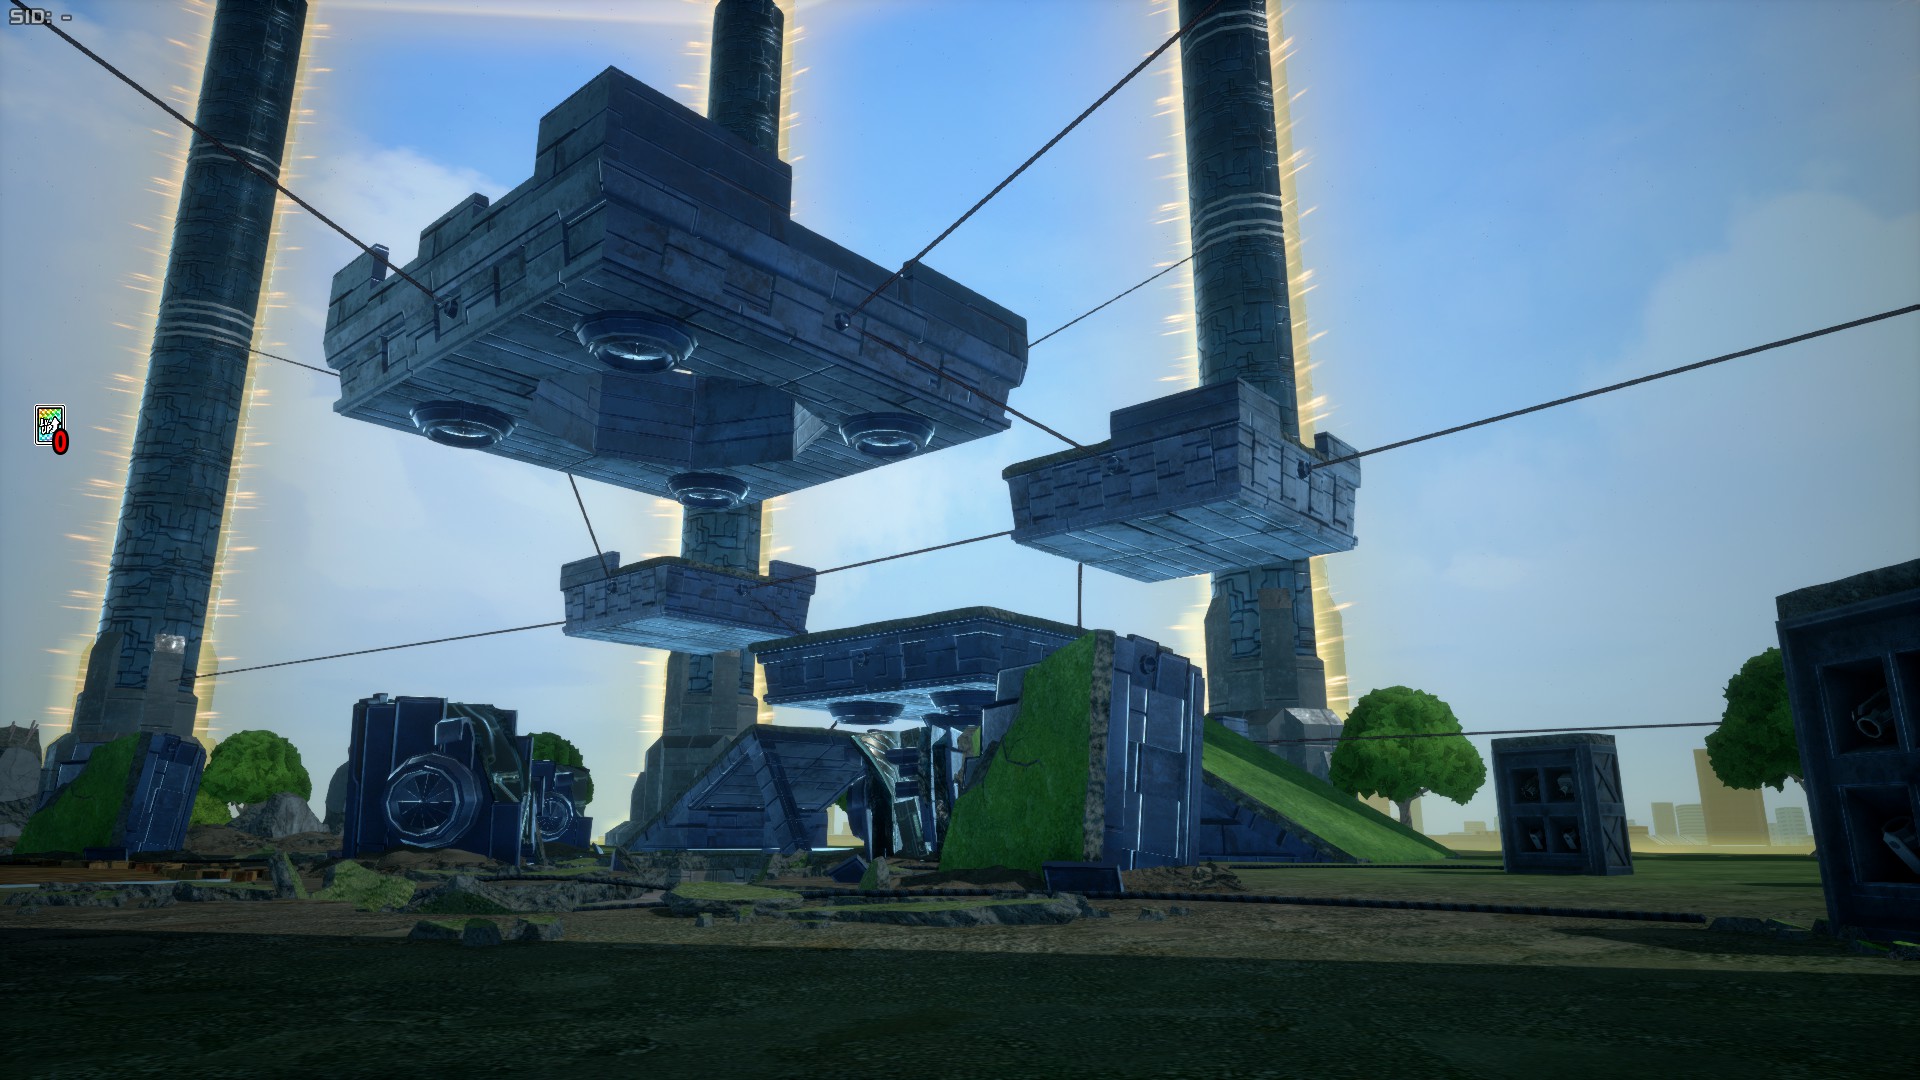
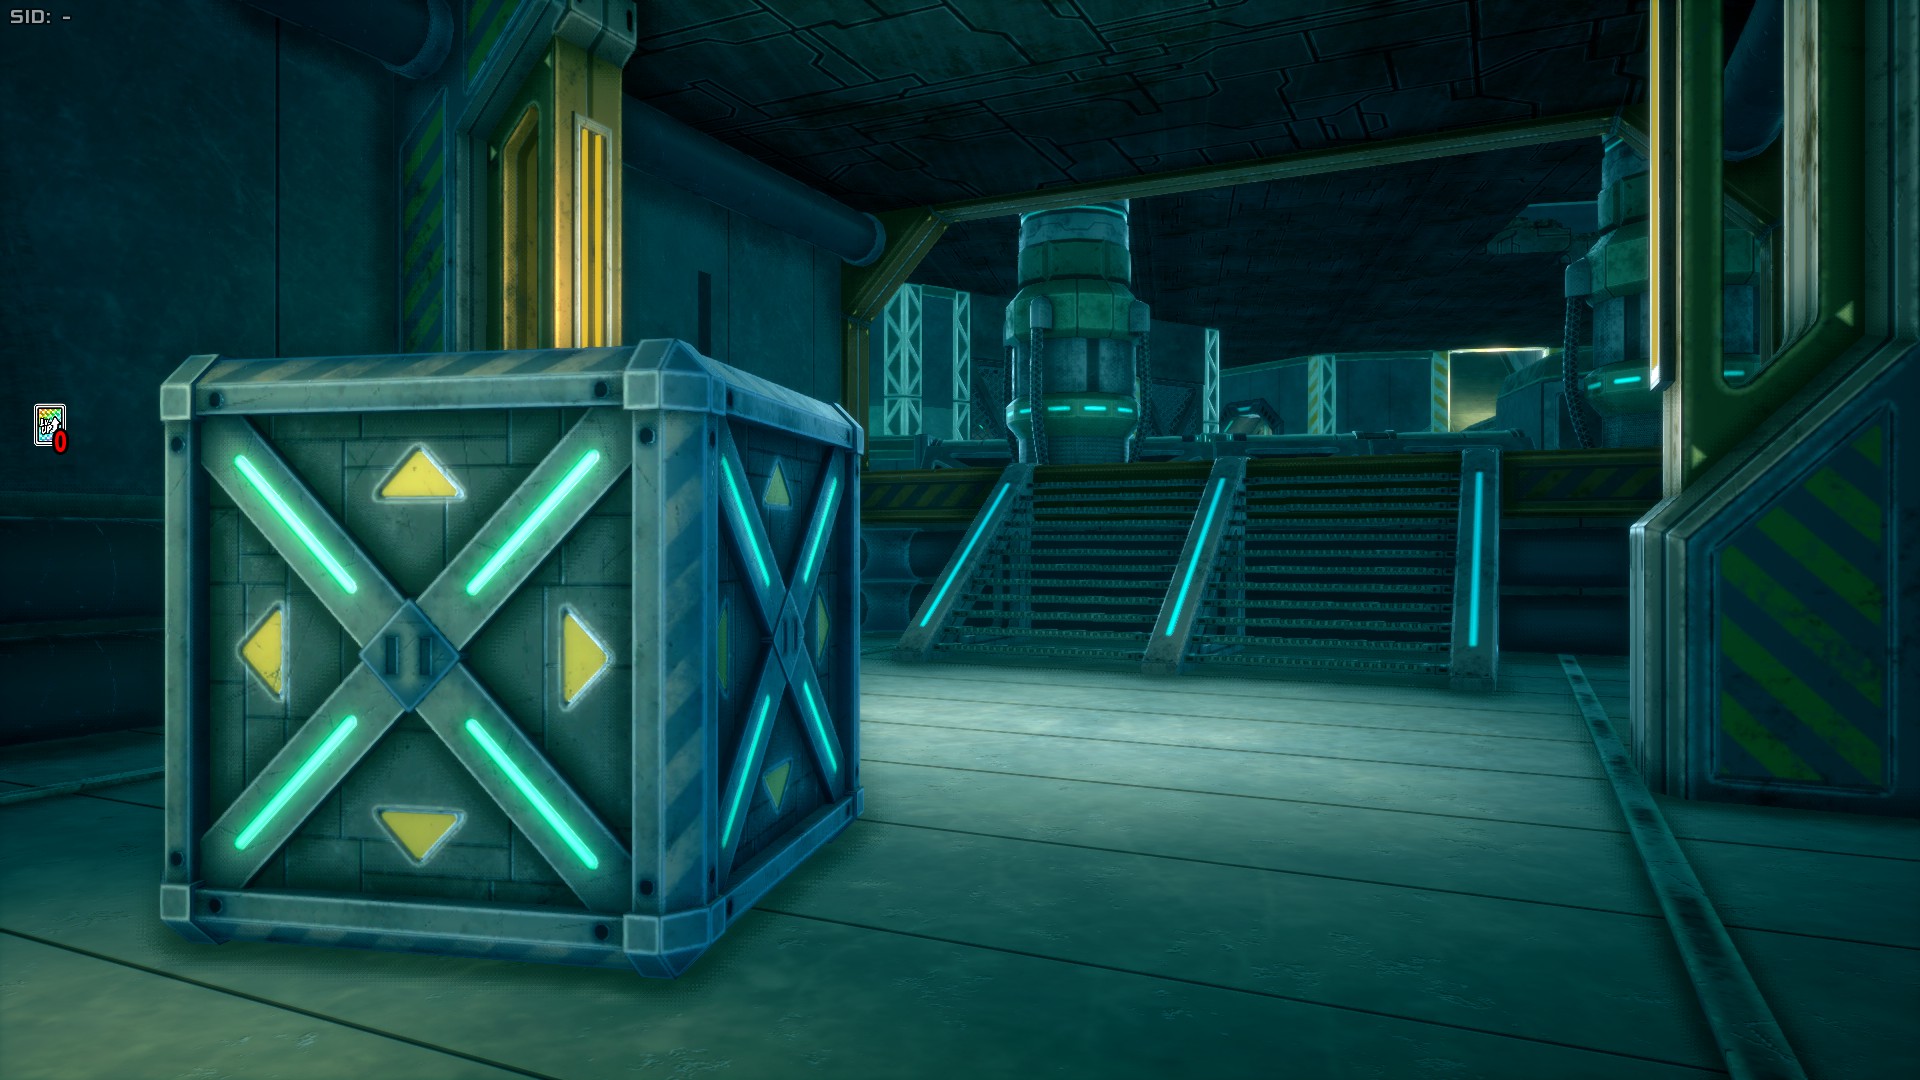
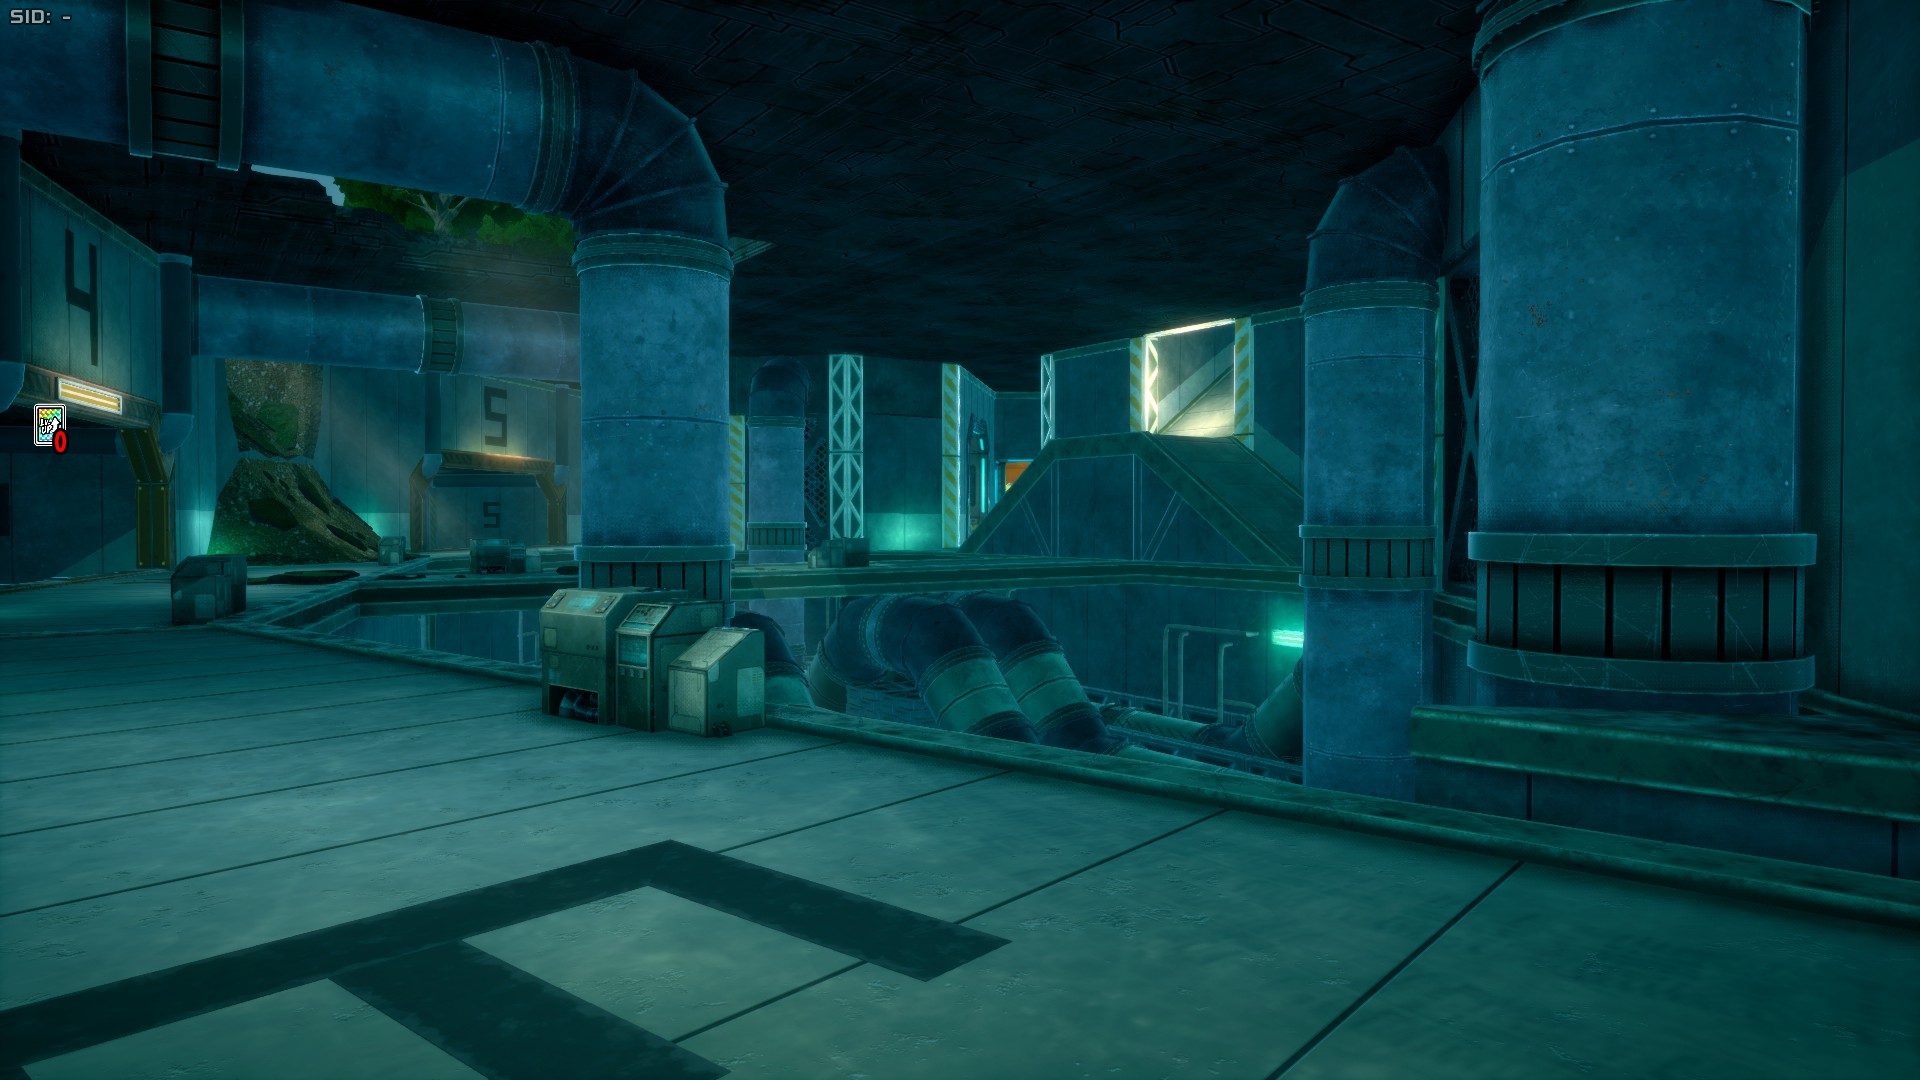
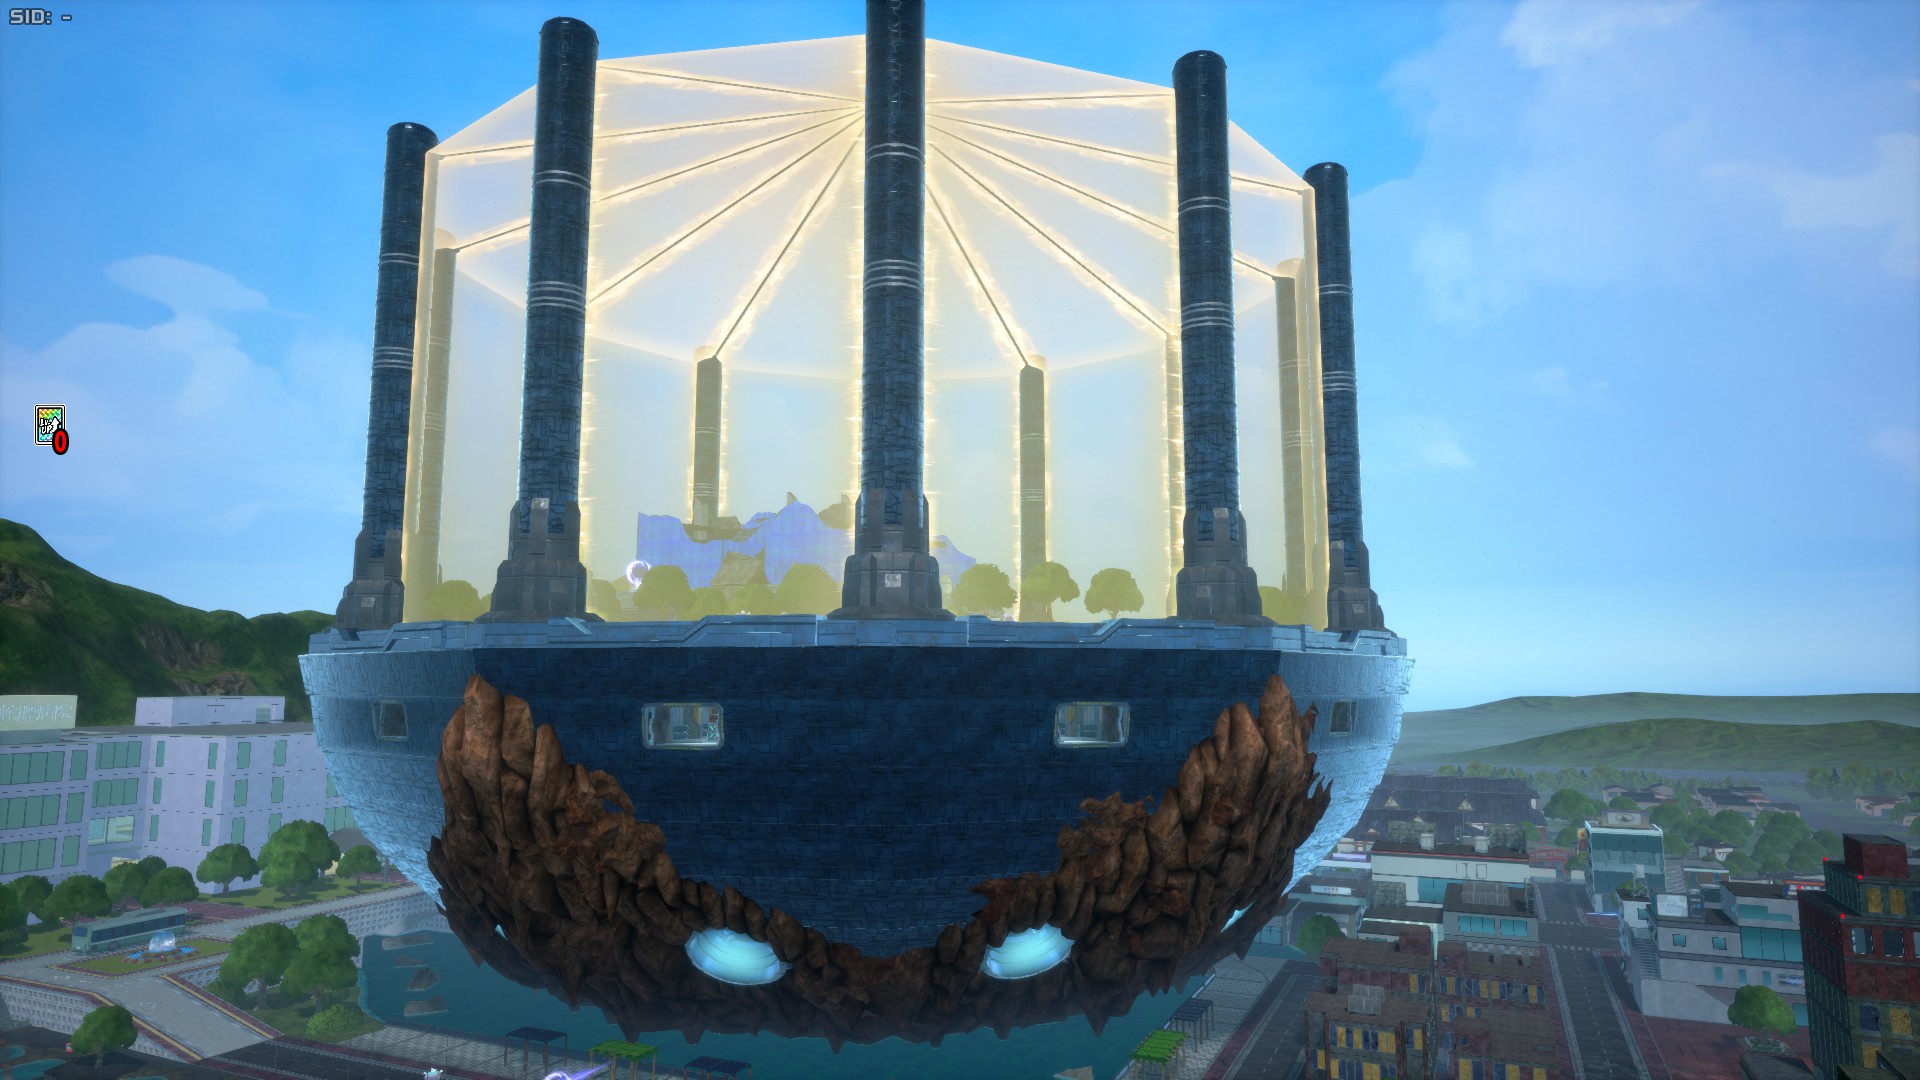
Sky Area is the central area of the map, and also its most notorious one. This area is so large that can be seen from anywhere in the stage. To access this area one can either use vertical mobility skills to go inside the mechanical basement of the area, or use portals to appear directly in its surface (the latter being pretty much the only means for a non-mobility character to get in). This area has giant laser barriers that don't do any damage, but prevent anyone except Mirio from leaving unless the methods stated earlier are taken. Loot-wise, this is a really good area, you can easily get a skill to level 9 in less than a minute (unless you're very unlucky). Interestingly, the Sally screen normally lets you land in any spot, however, in Neo Academia, you cannot land on top of Sky Area's barrier poles.
This place is based on the Coffin in the Sky introduced in Season 7 of the anime.
Urban Area
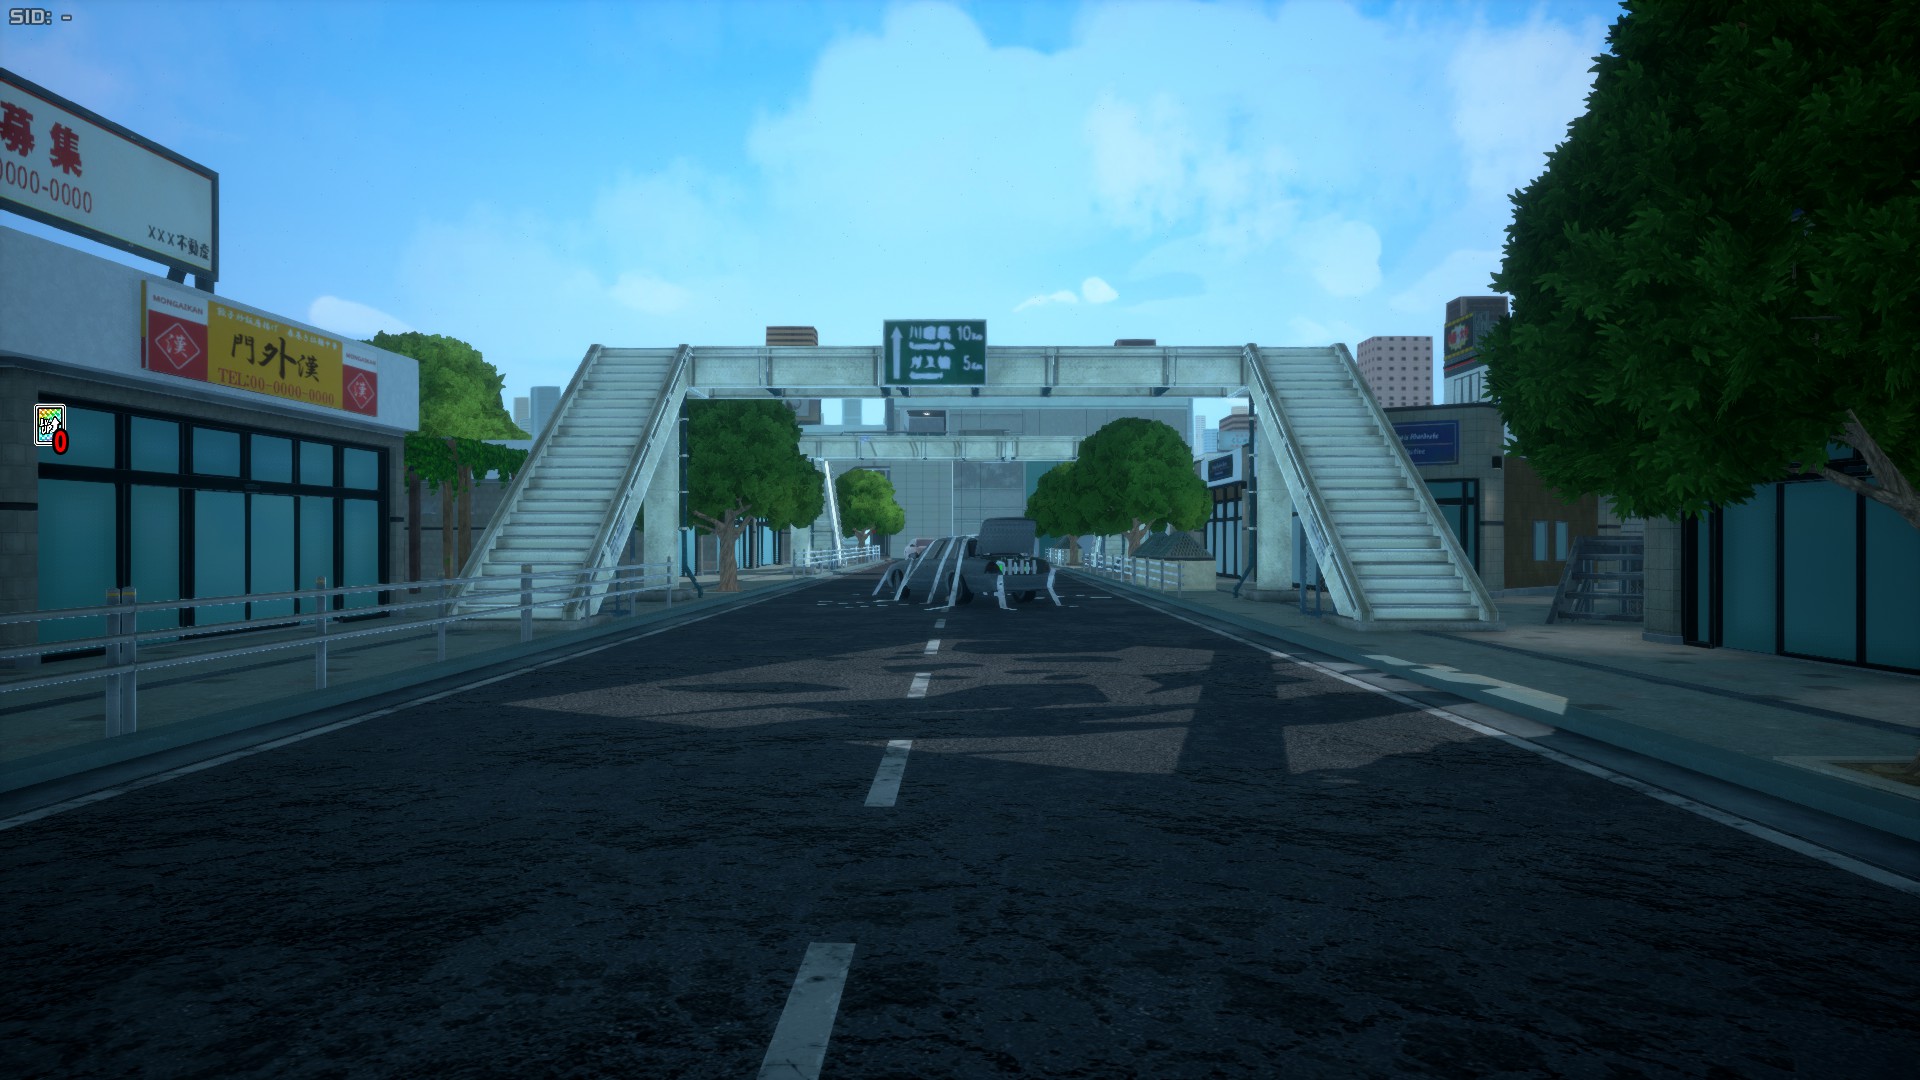
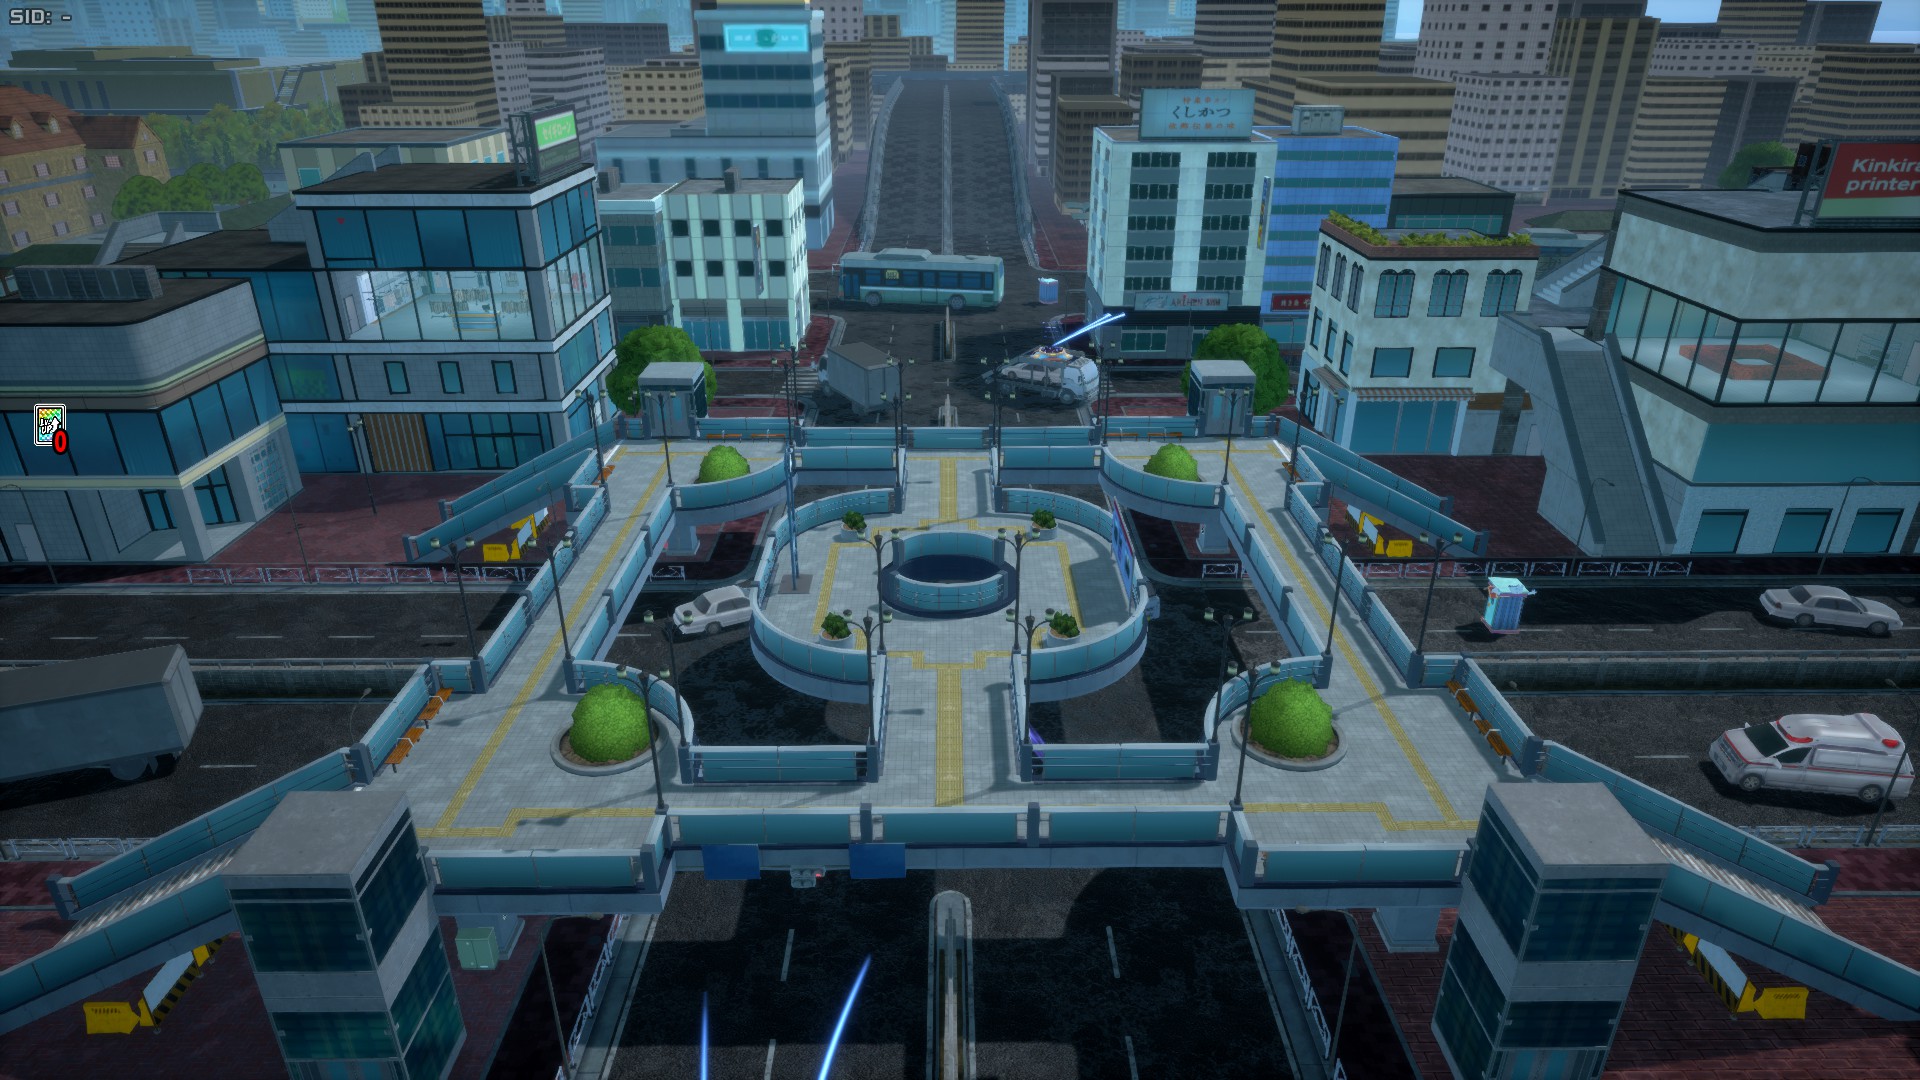
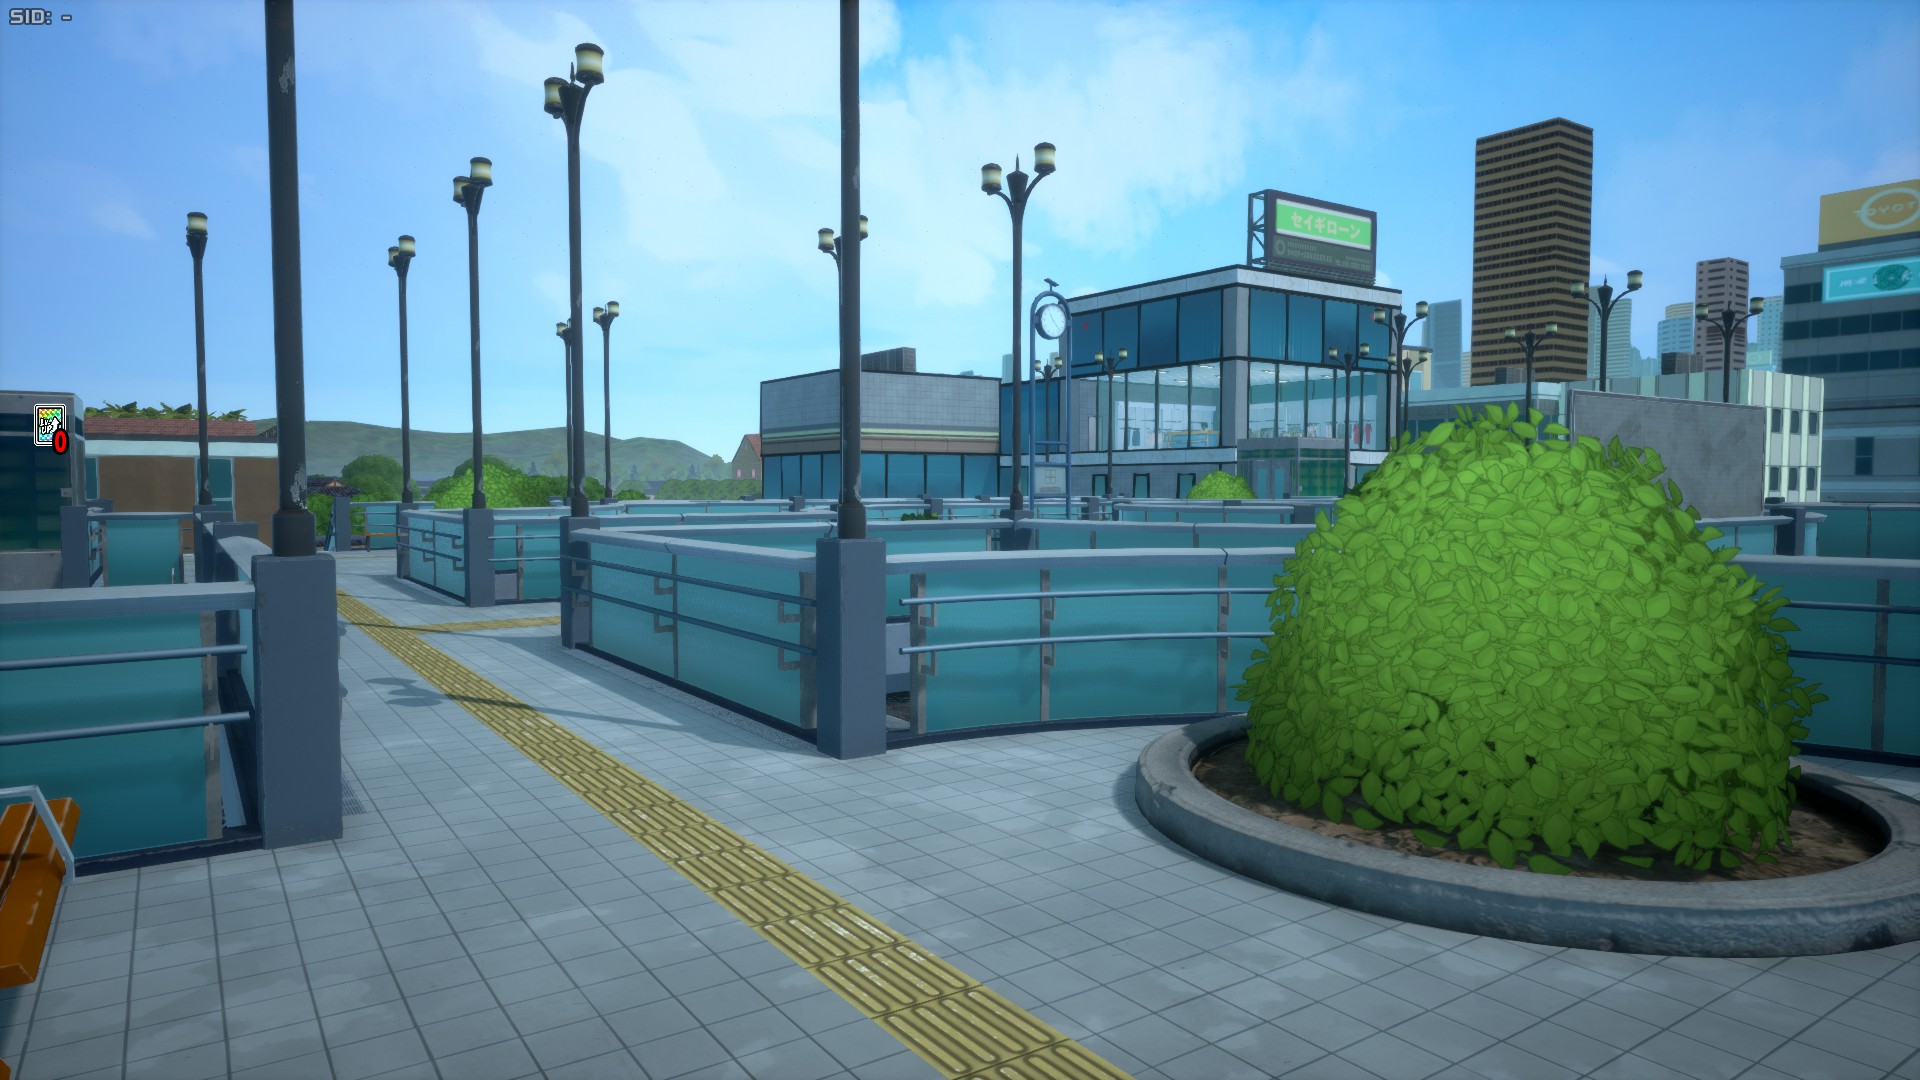
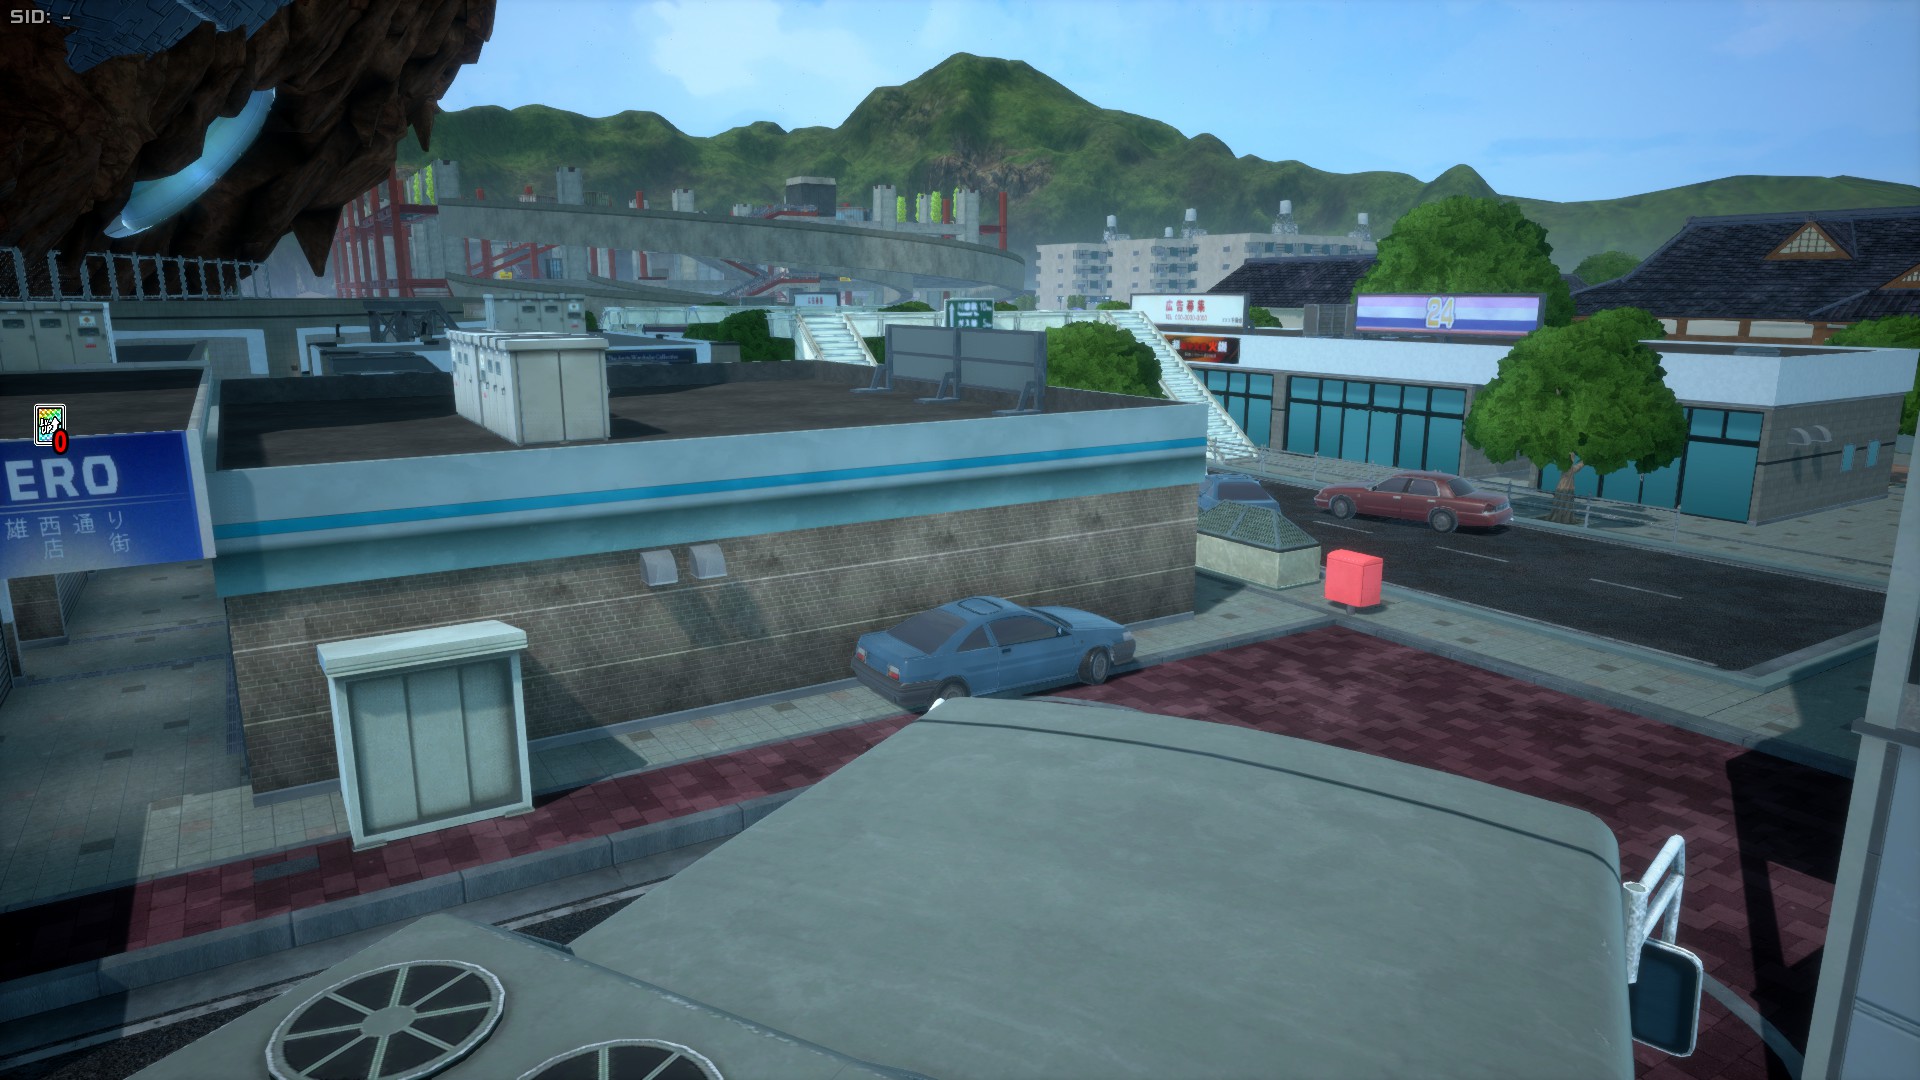
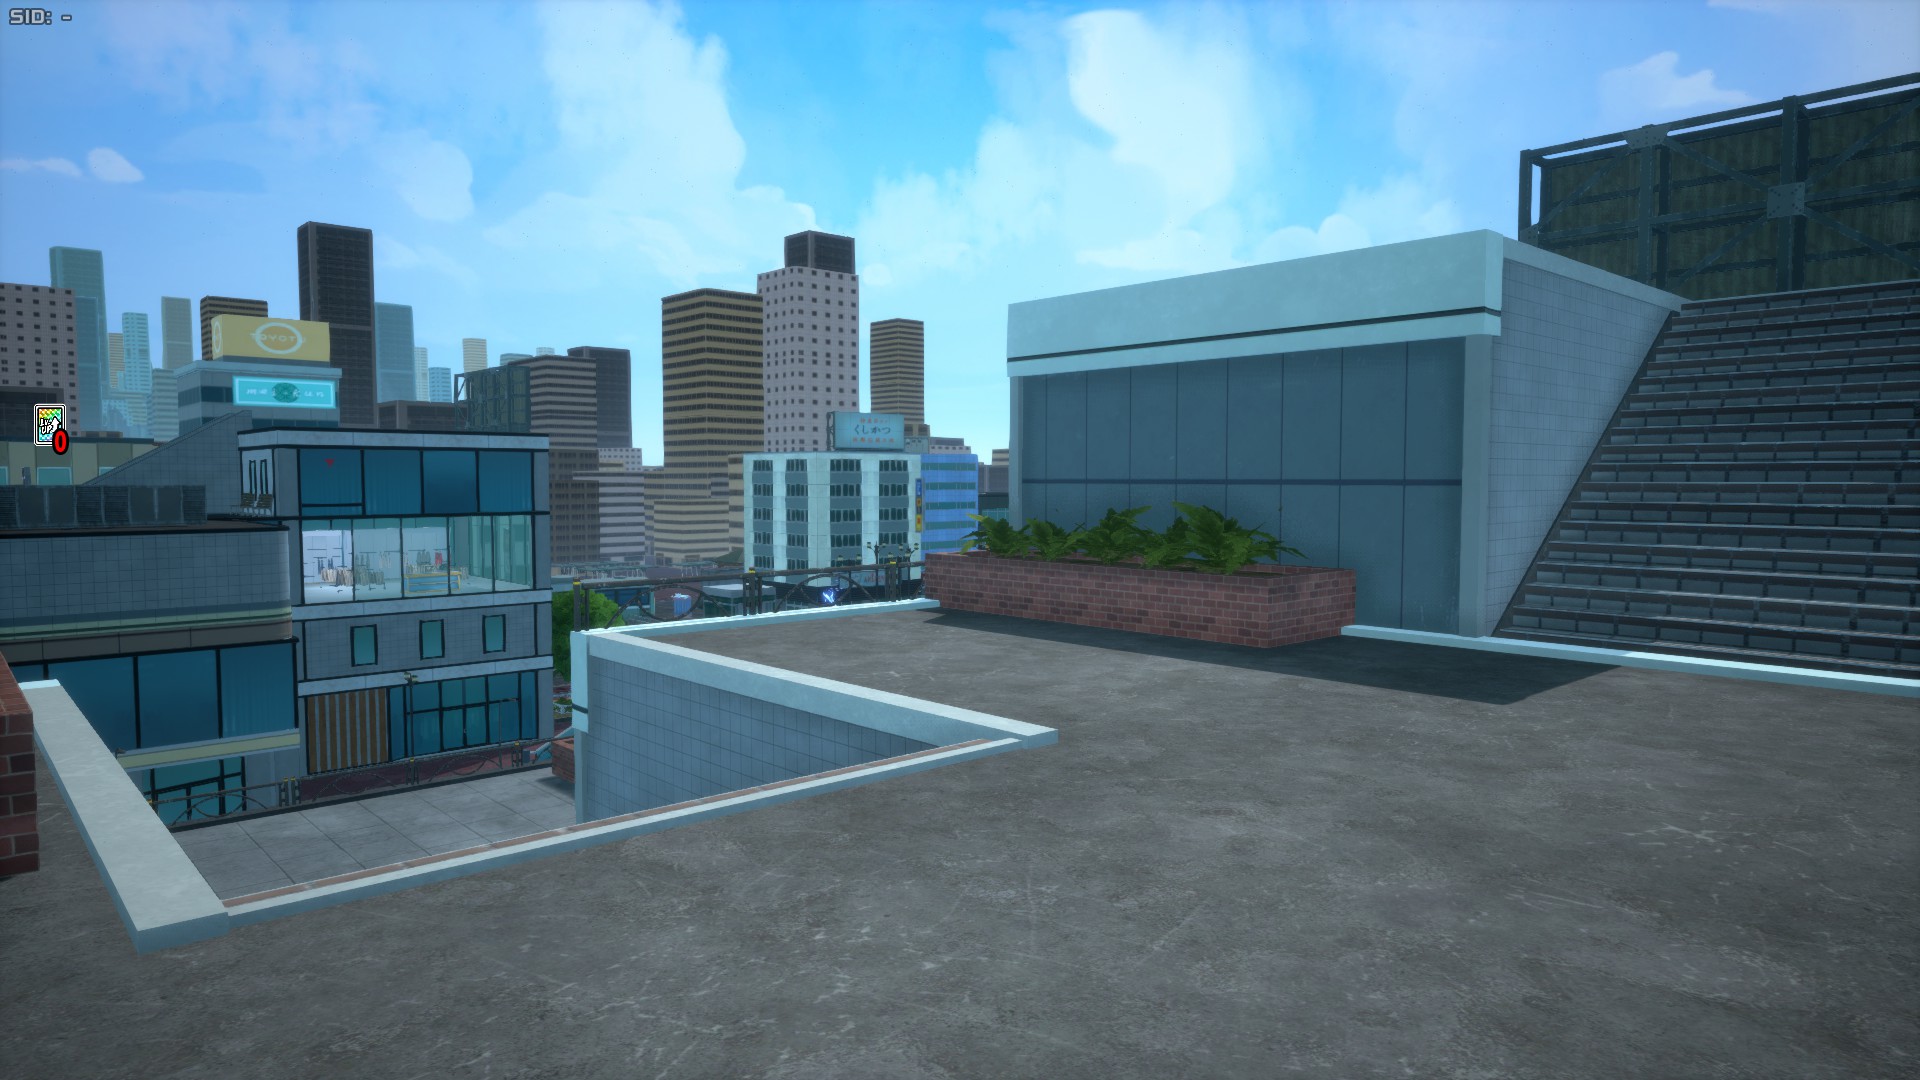
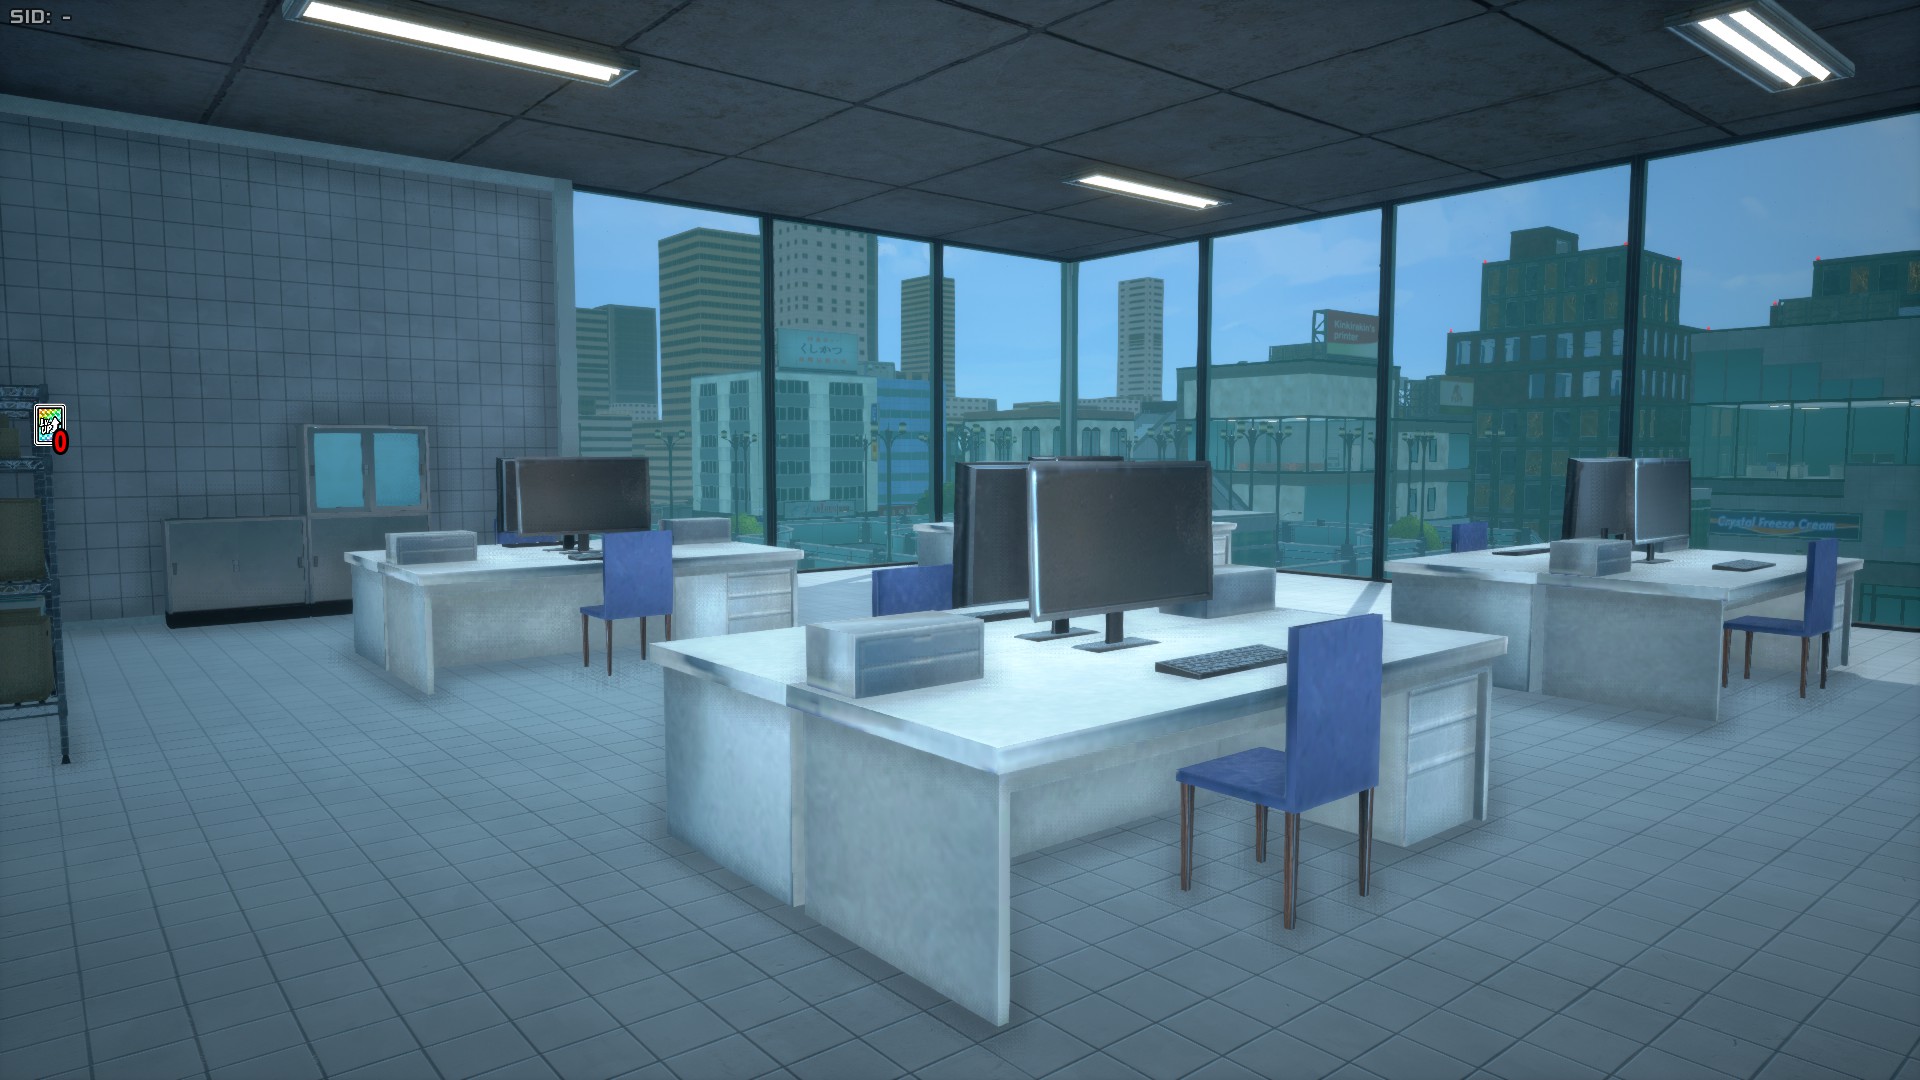
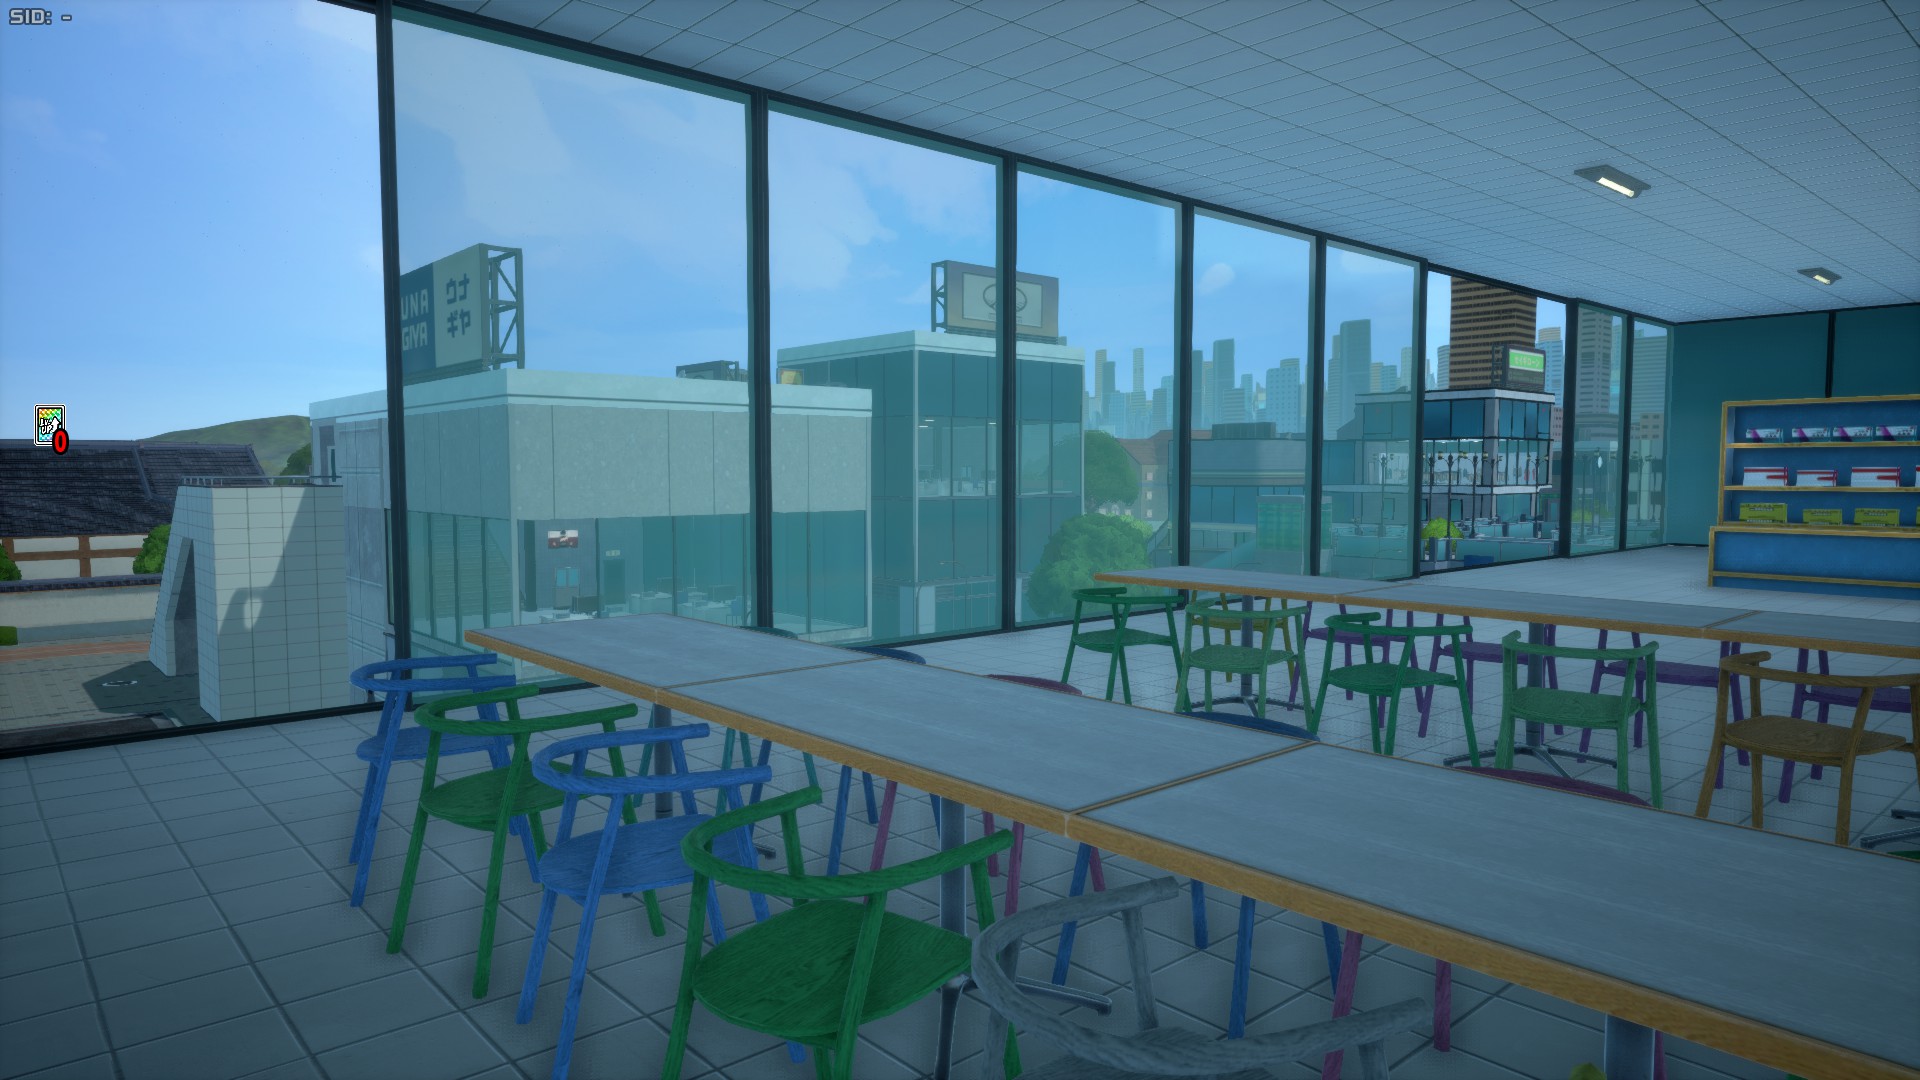
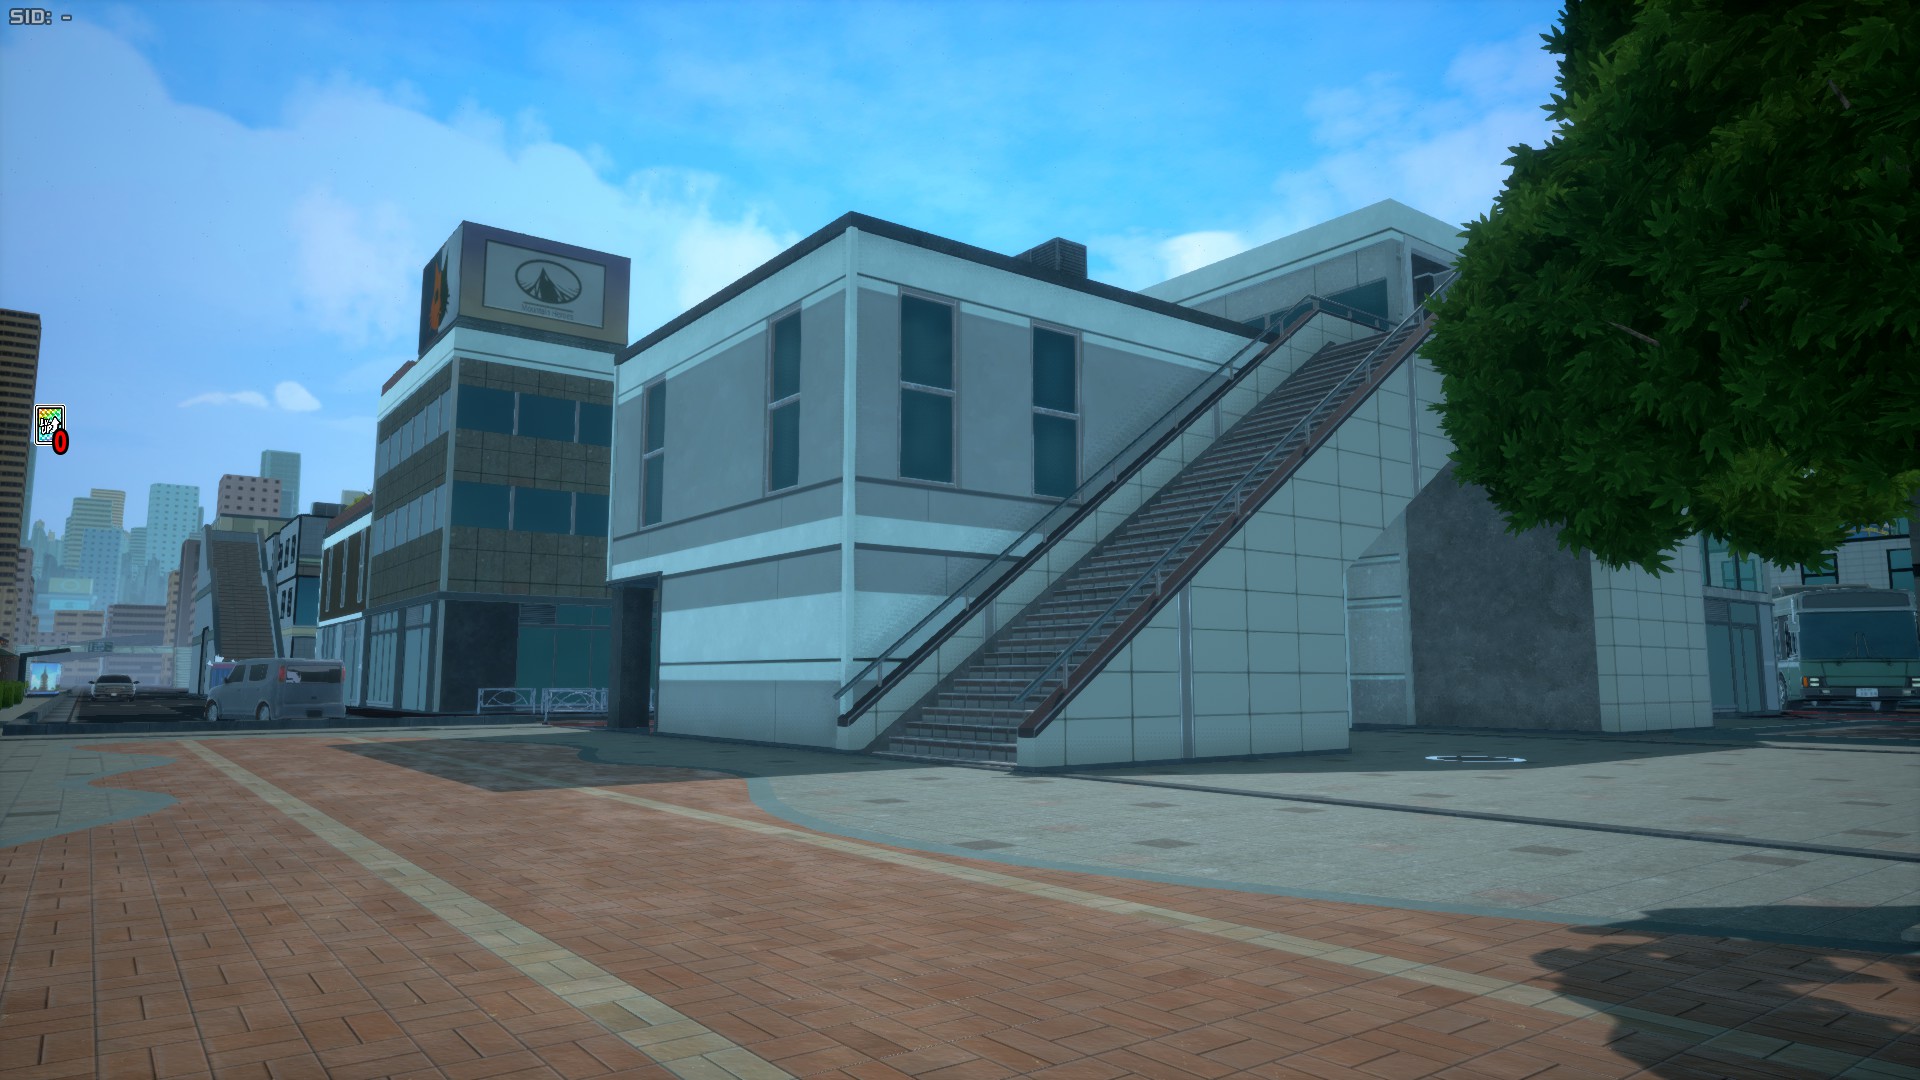
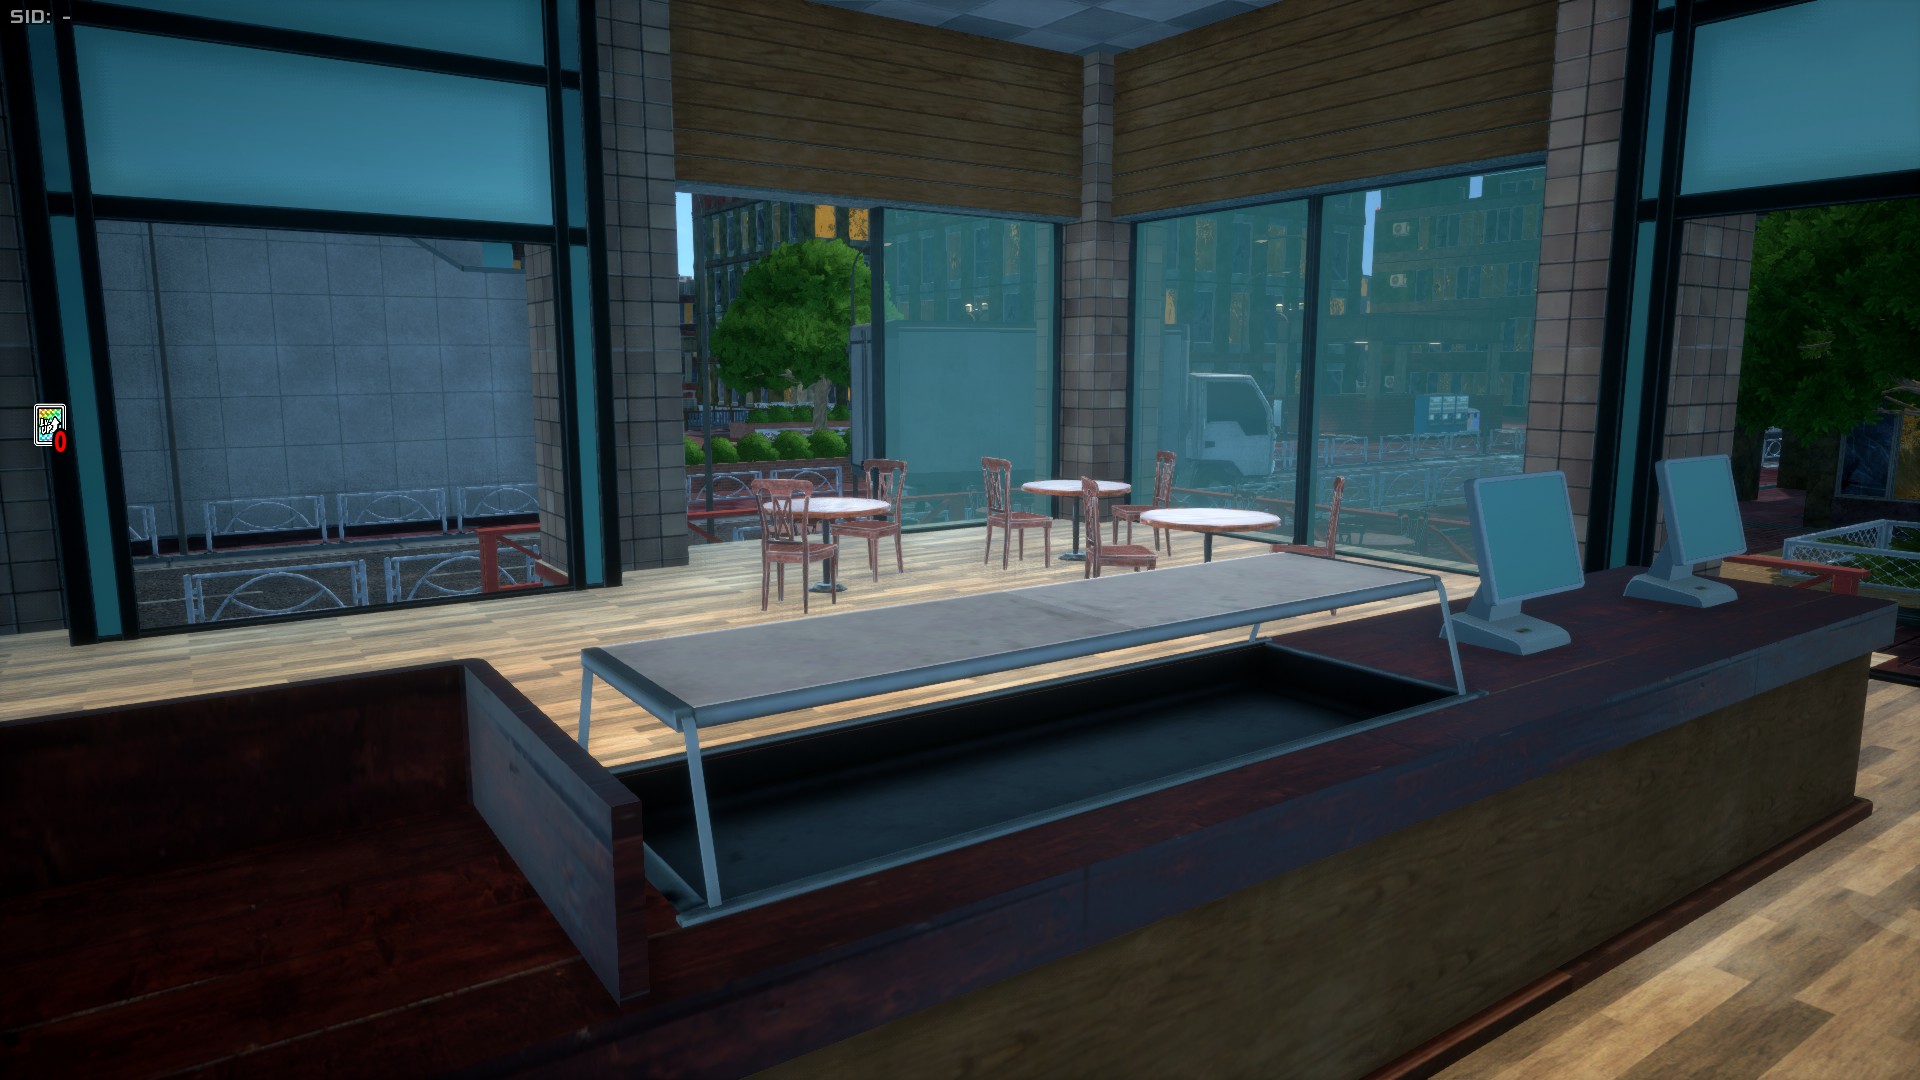
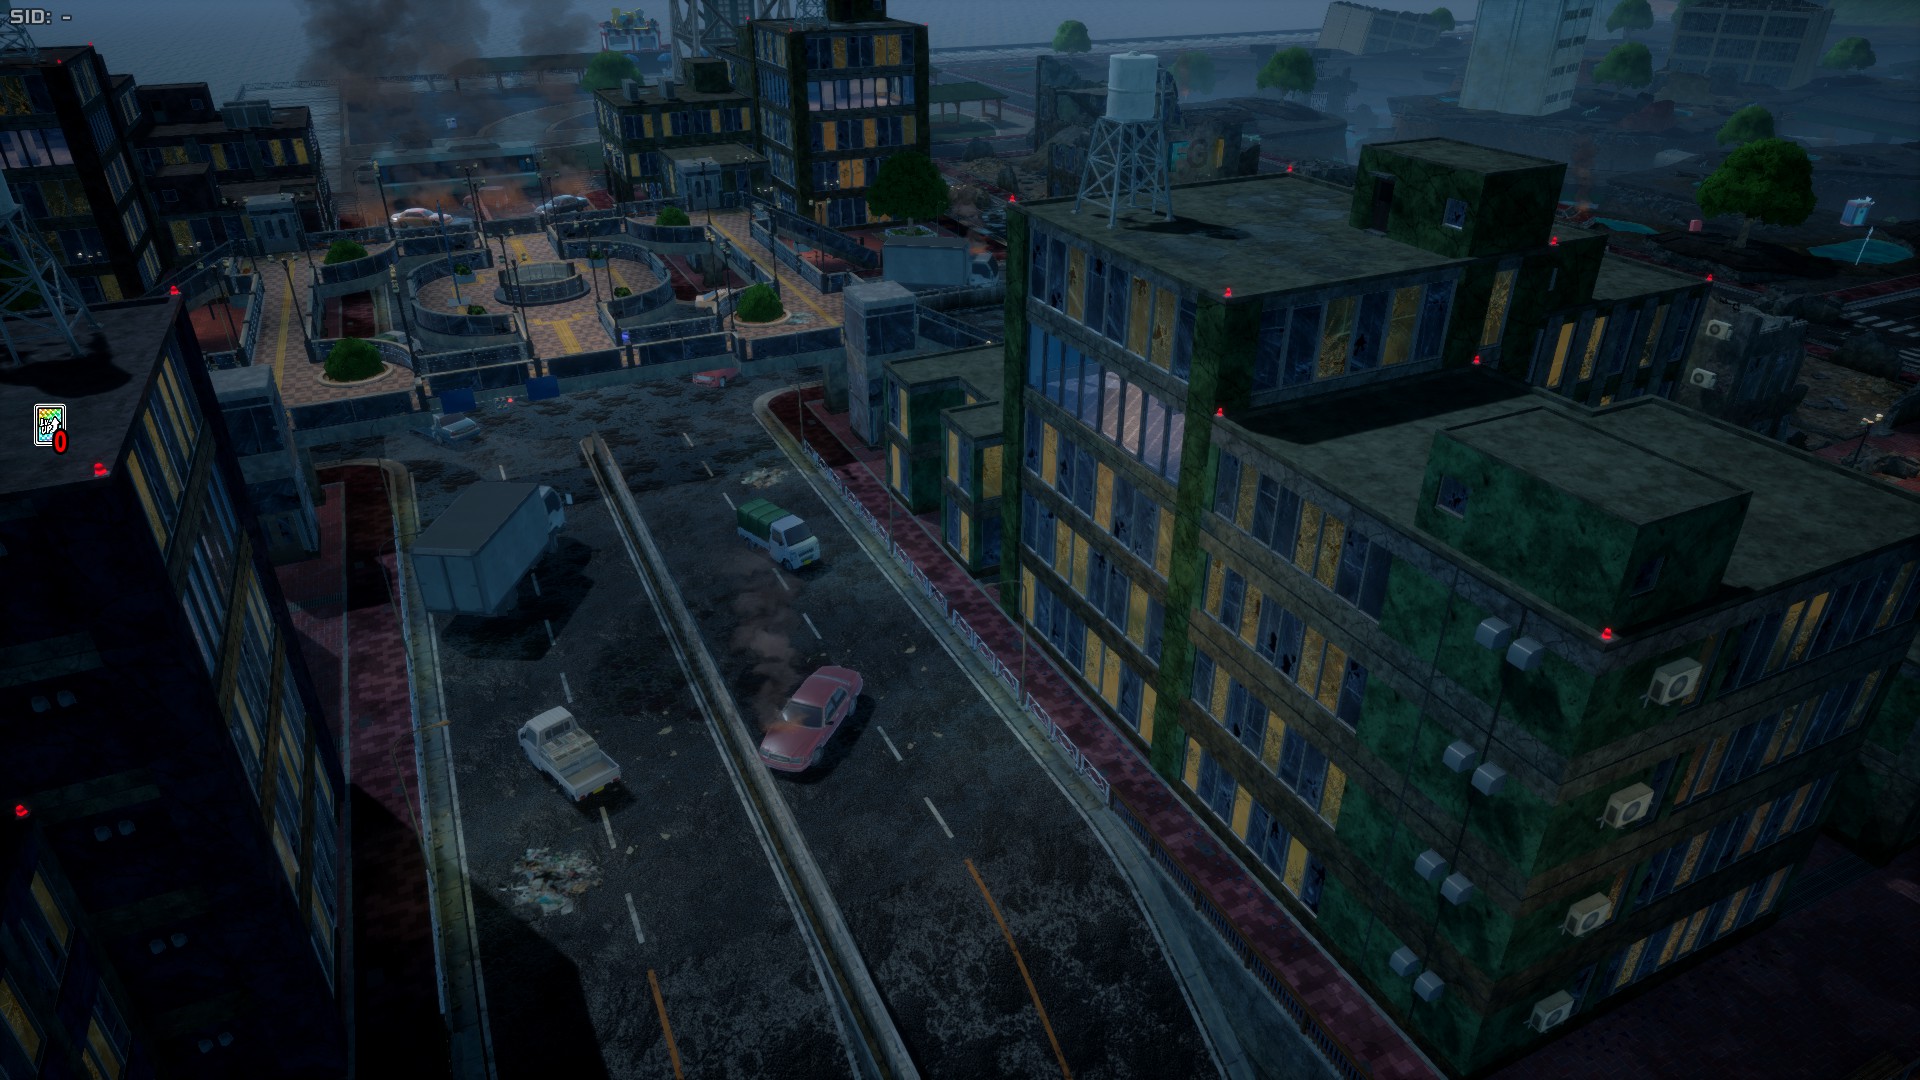
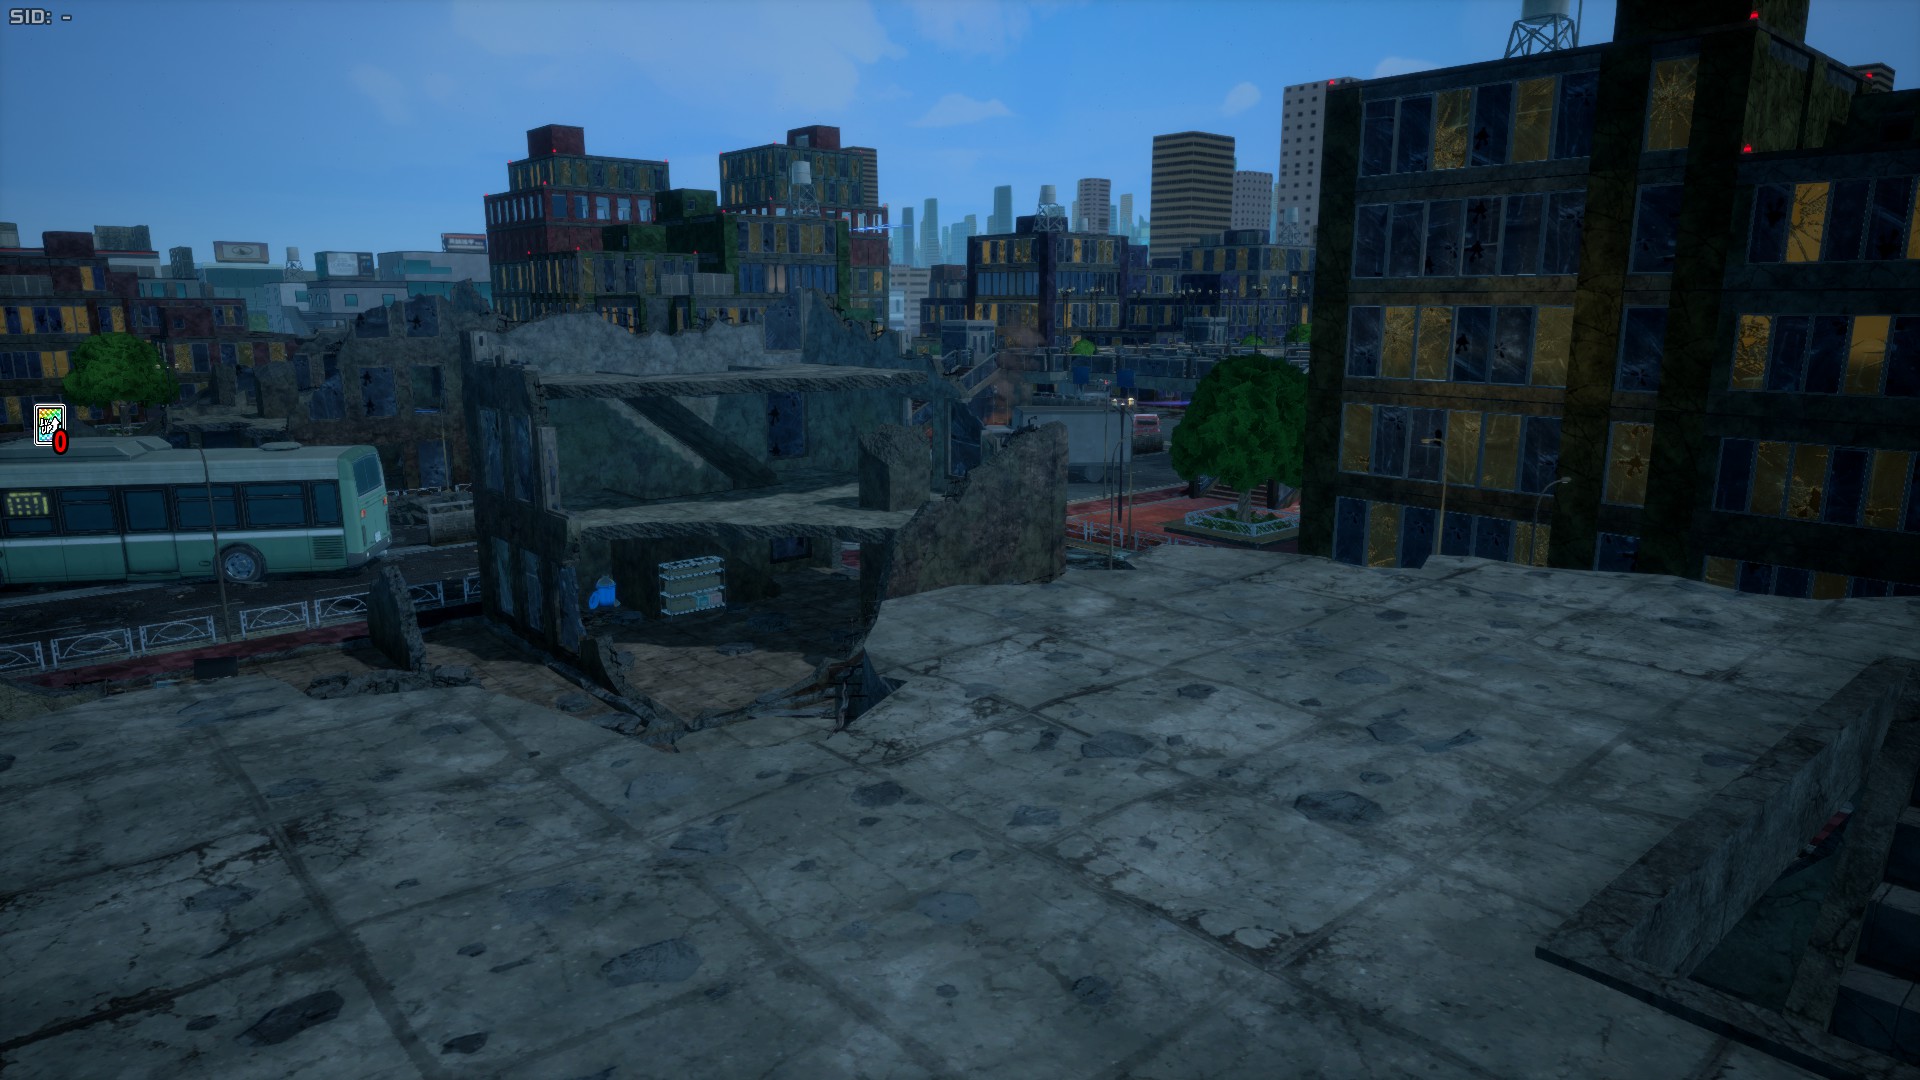
Urban Area (not to be confused with UA Island's Urban Area) is an area that occupies the western northern half the map. This area features many buildings with spaces you can get inside of that have huge windows. The most prominent part of this area is the intersection bridge that features a Teleporter below its center. The bushes in this bridge can be useful to hide.
Prison Escape Riot Area
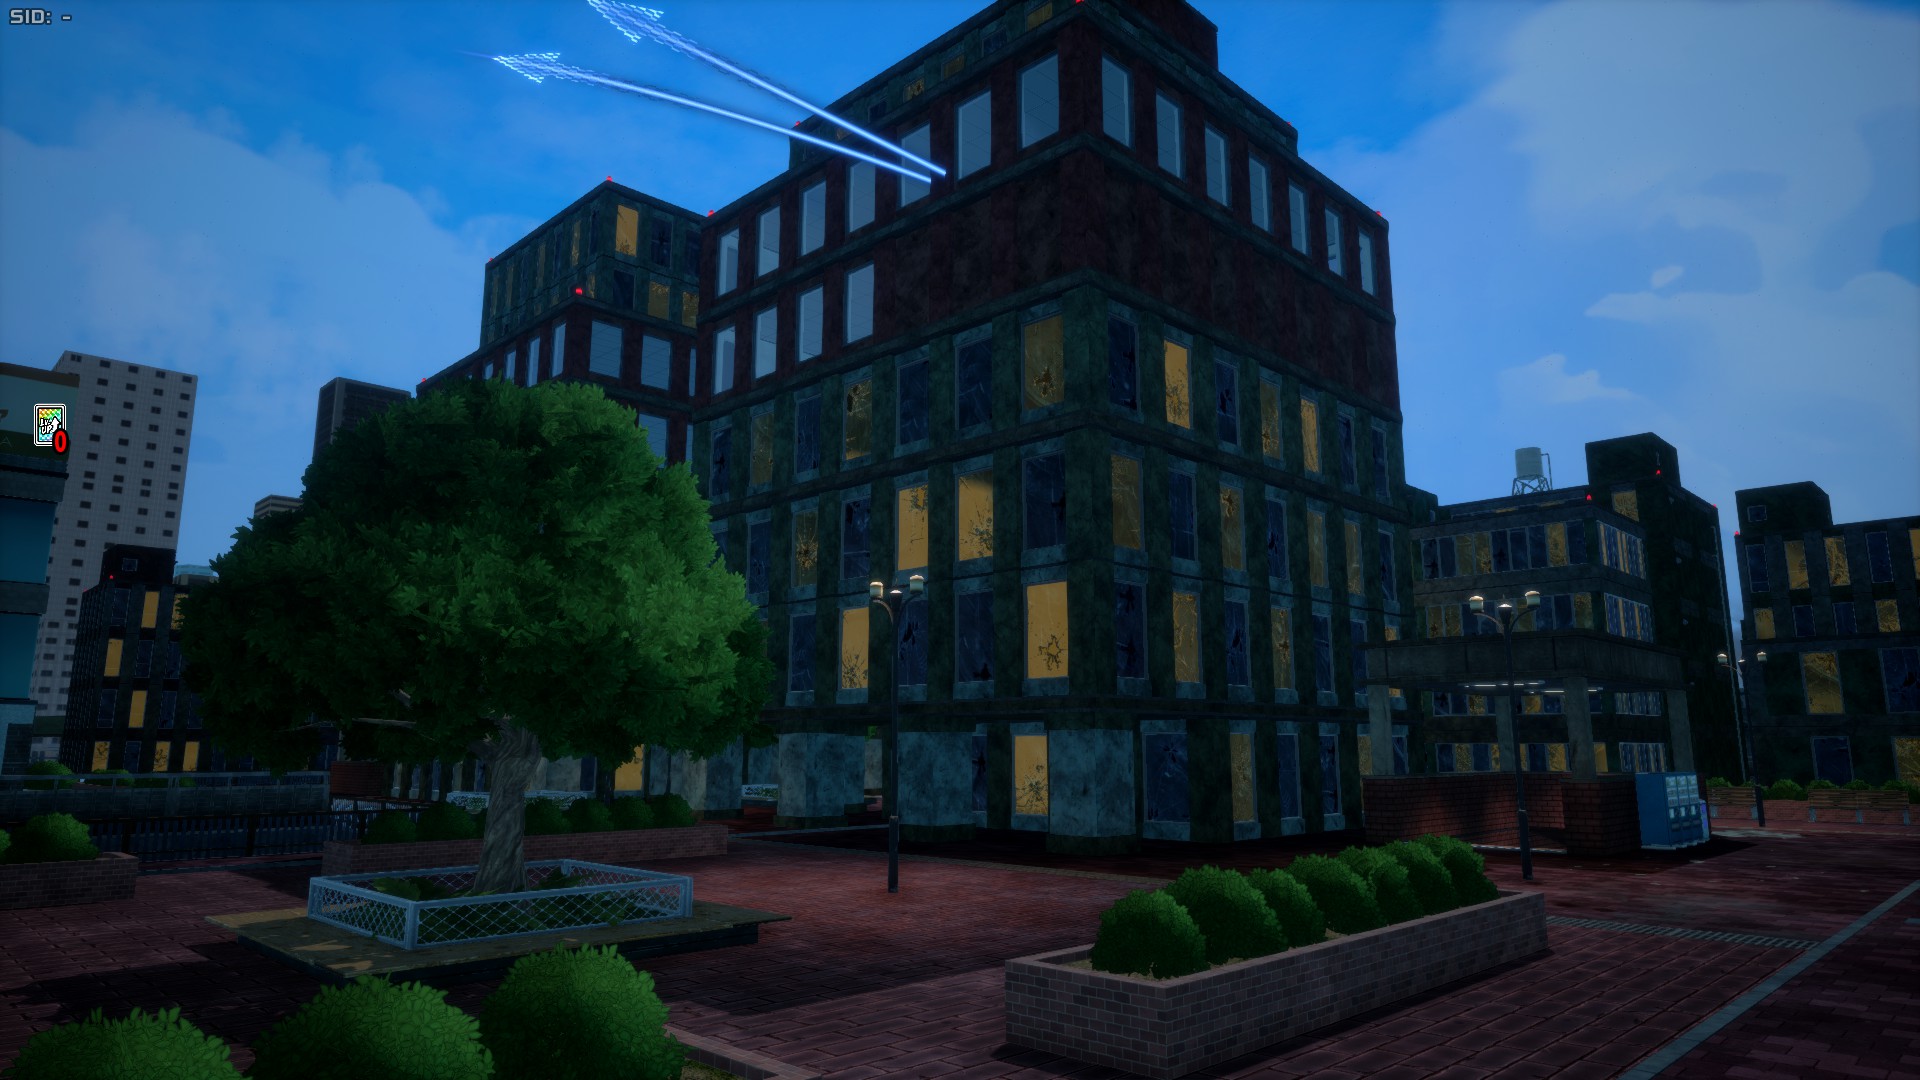
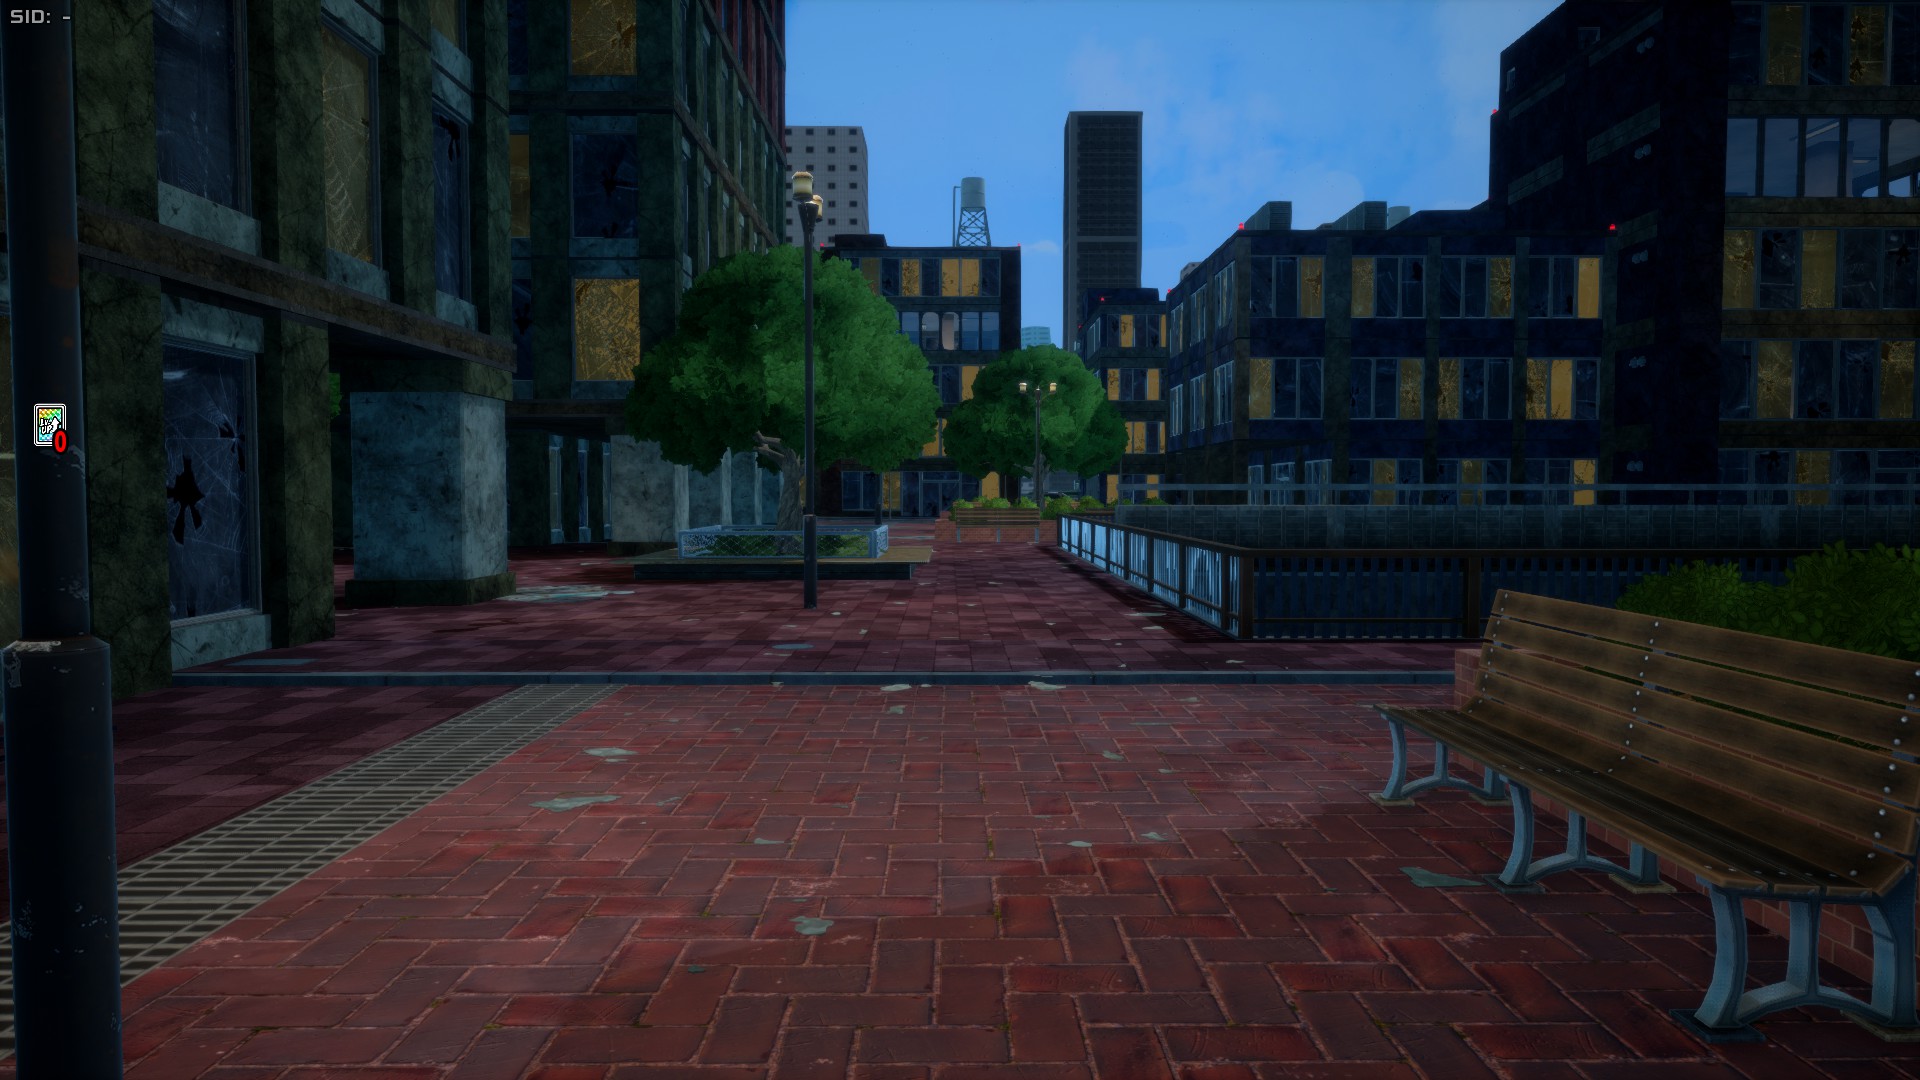
Prison Escape Riot Area is the zone that occupies the other half of the northern side of the map. It shares a lot of similarities with Urban Area, such as also having an intersection bridge with a Teleporter underneath, however it also has many distincts parts, such as its iconic twin building that don't like Hawks players, or the underground road tunnels located both beneath this building and to its sides. Some destroyed buildings and small interiors can also be found.
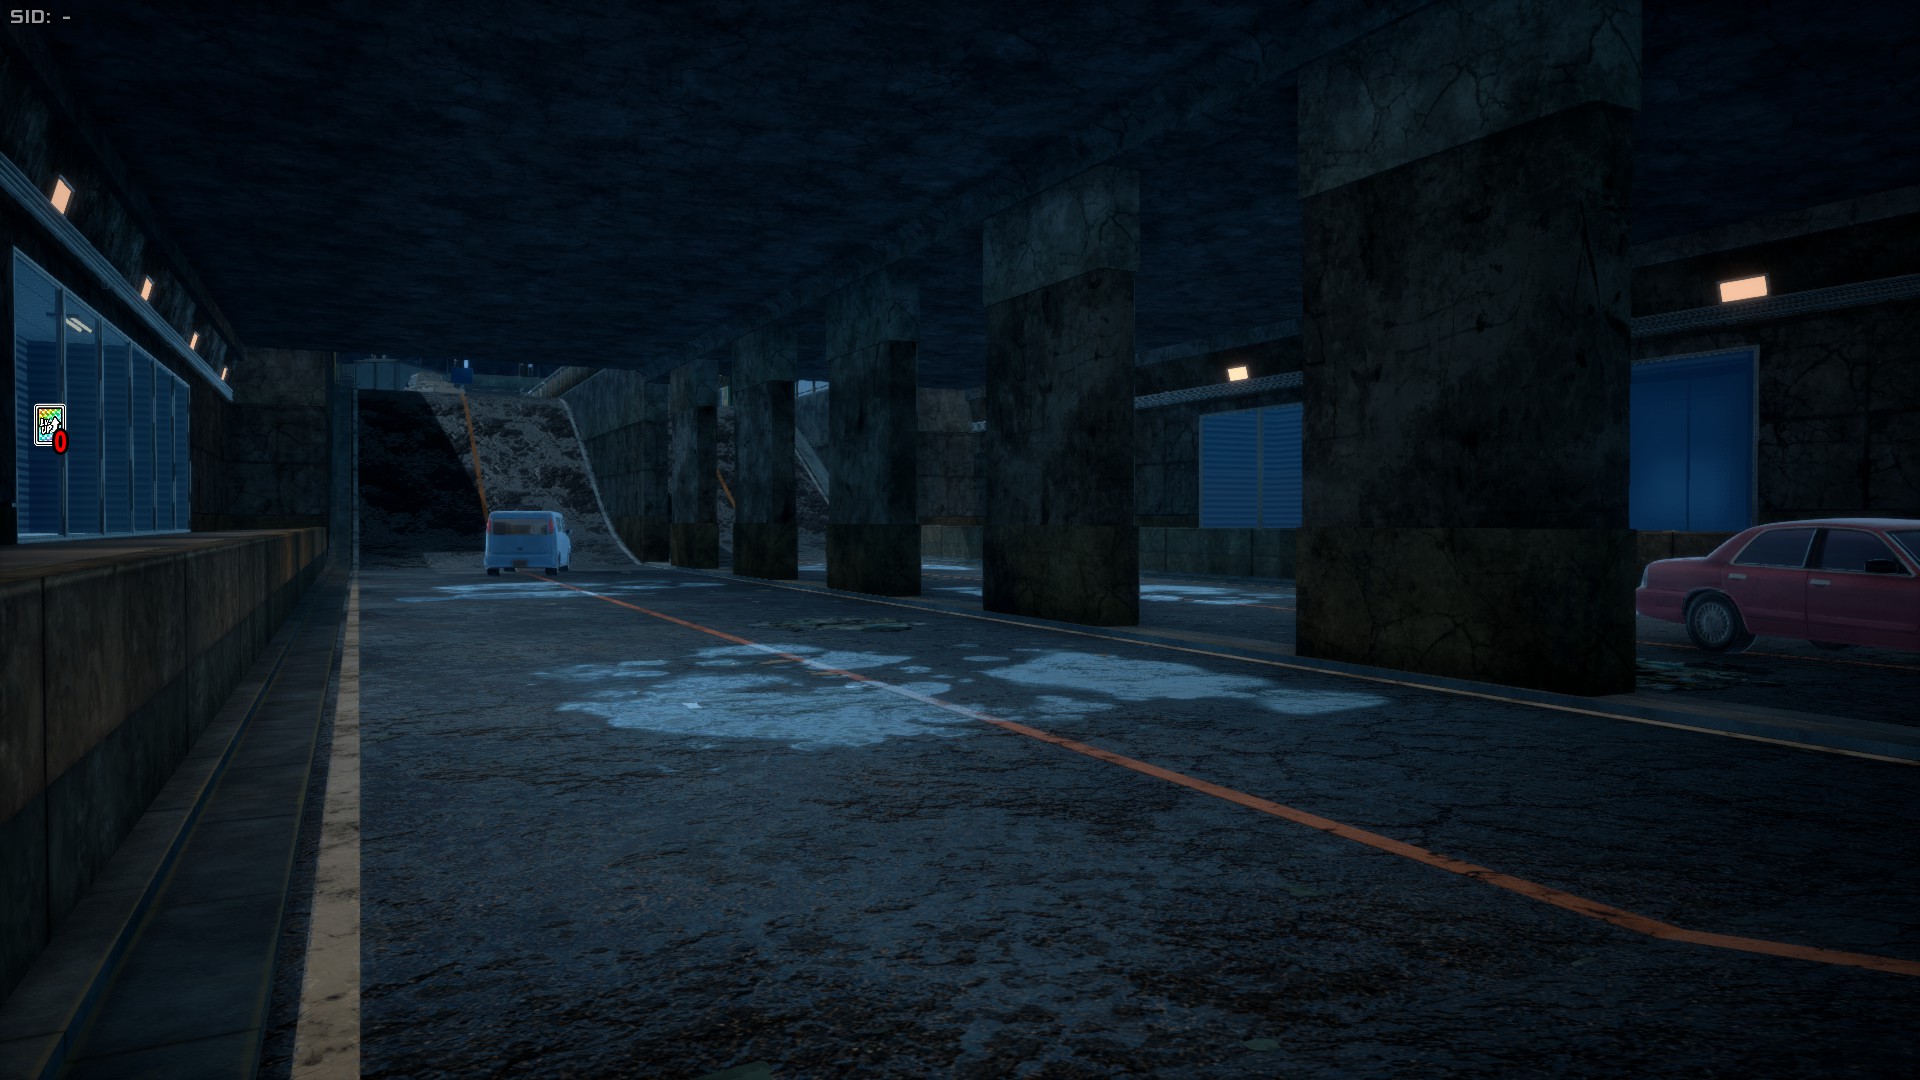
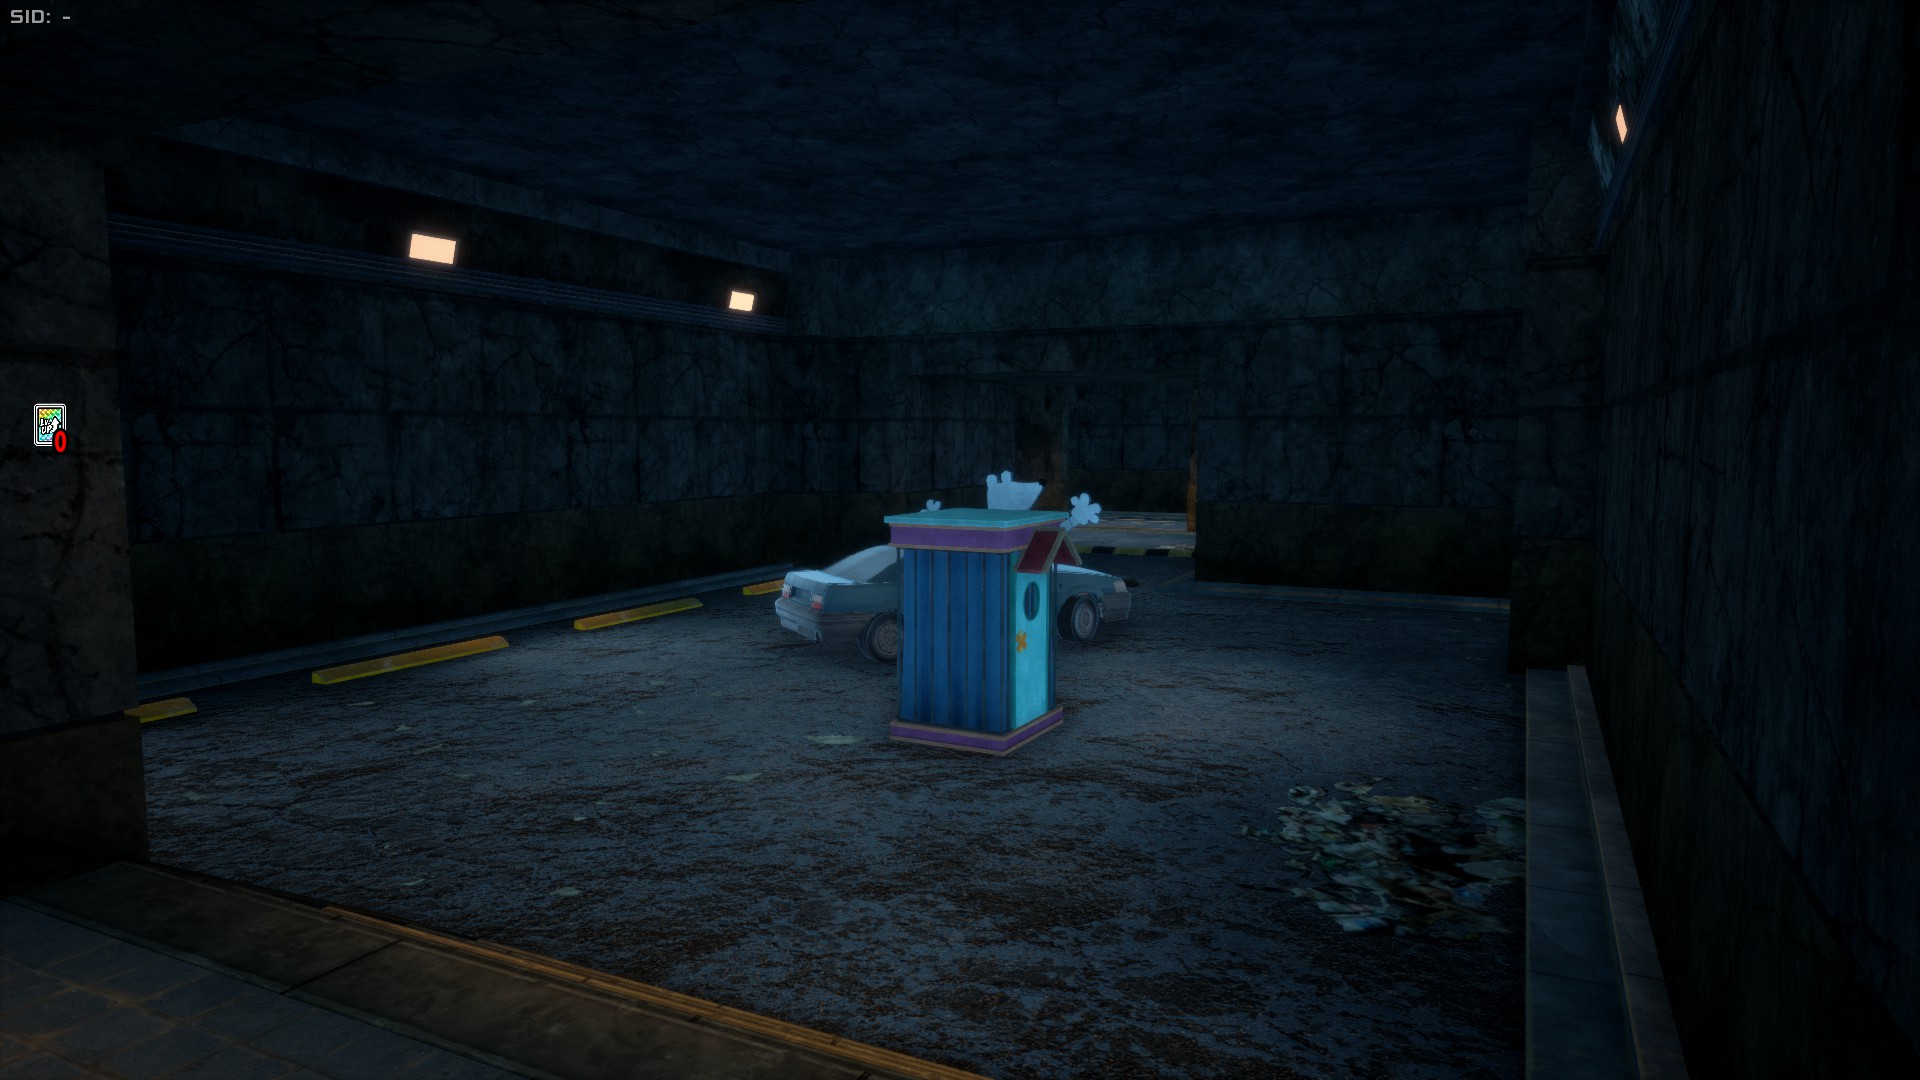
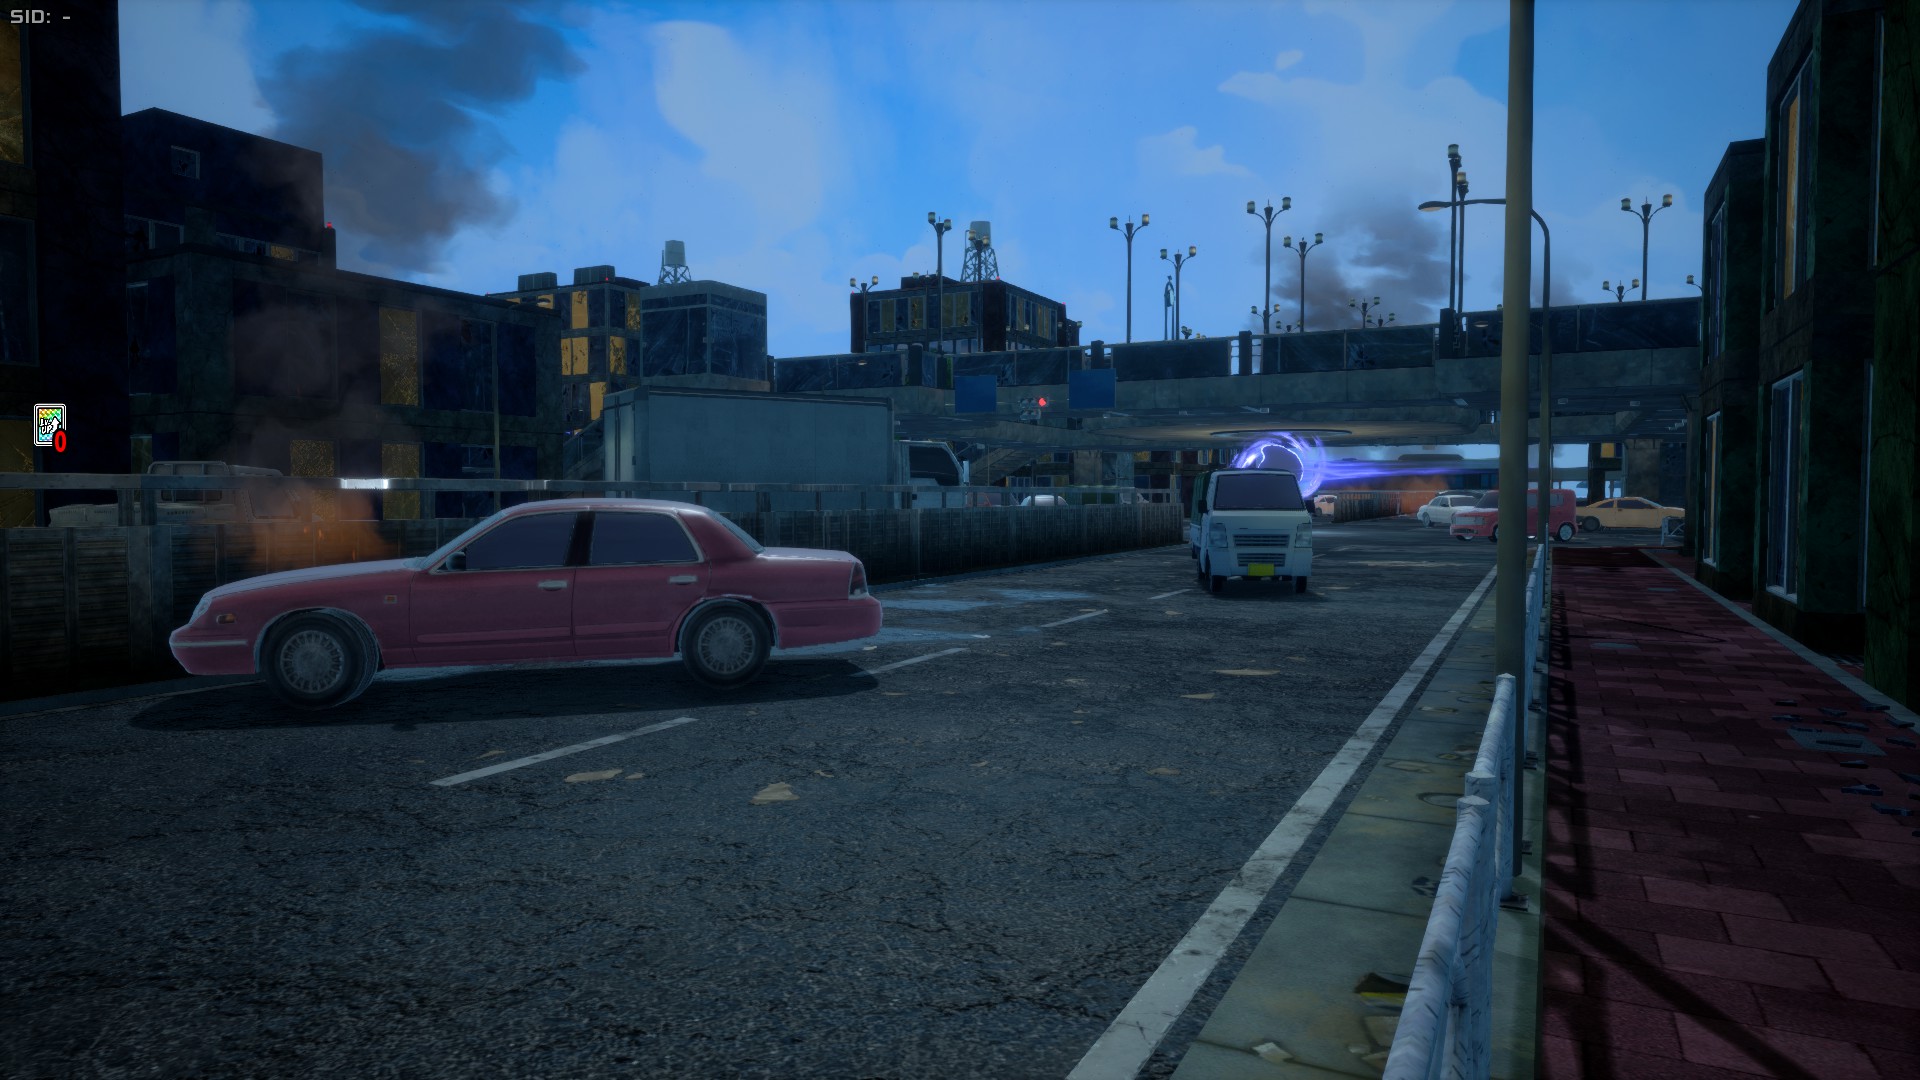
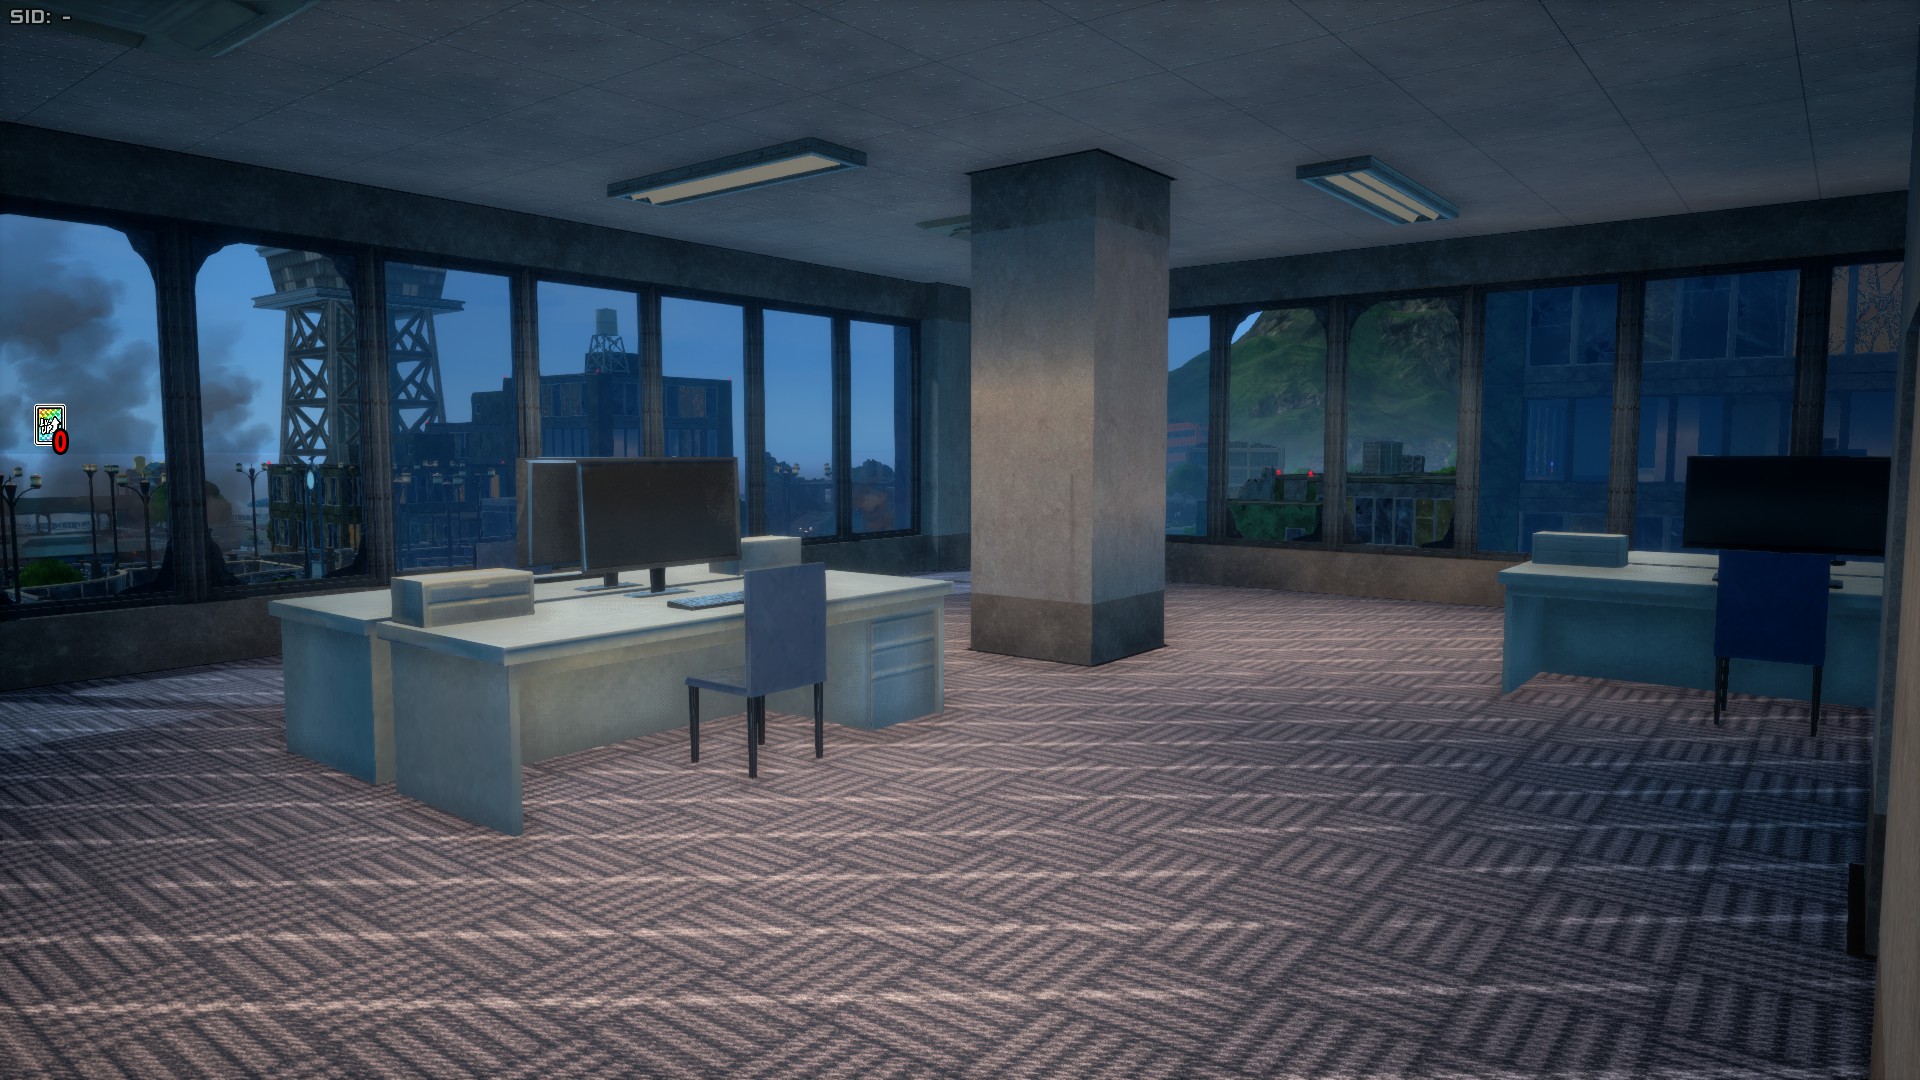
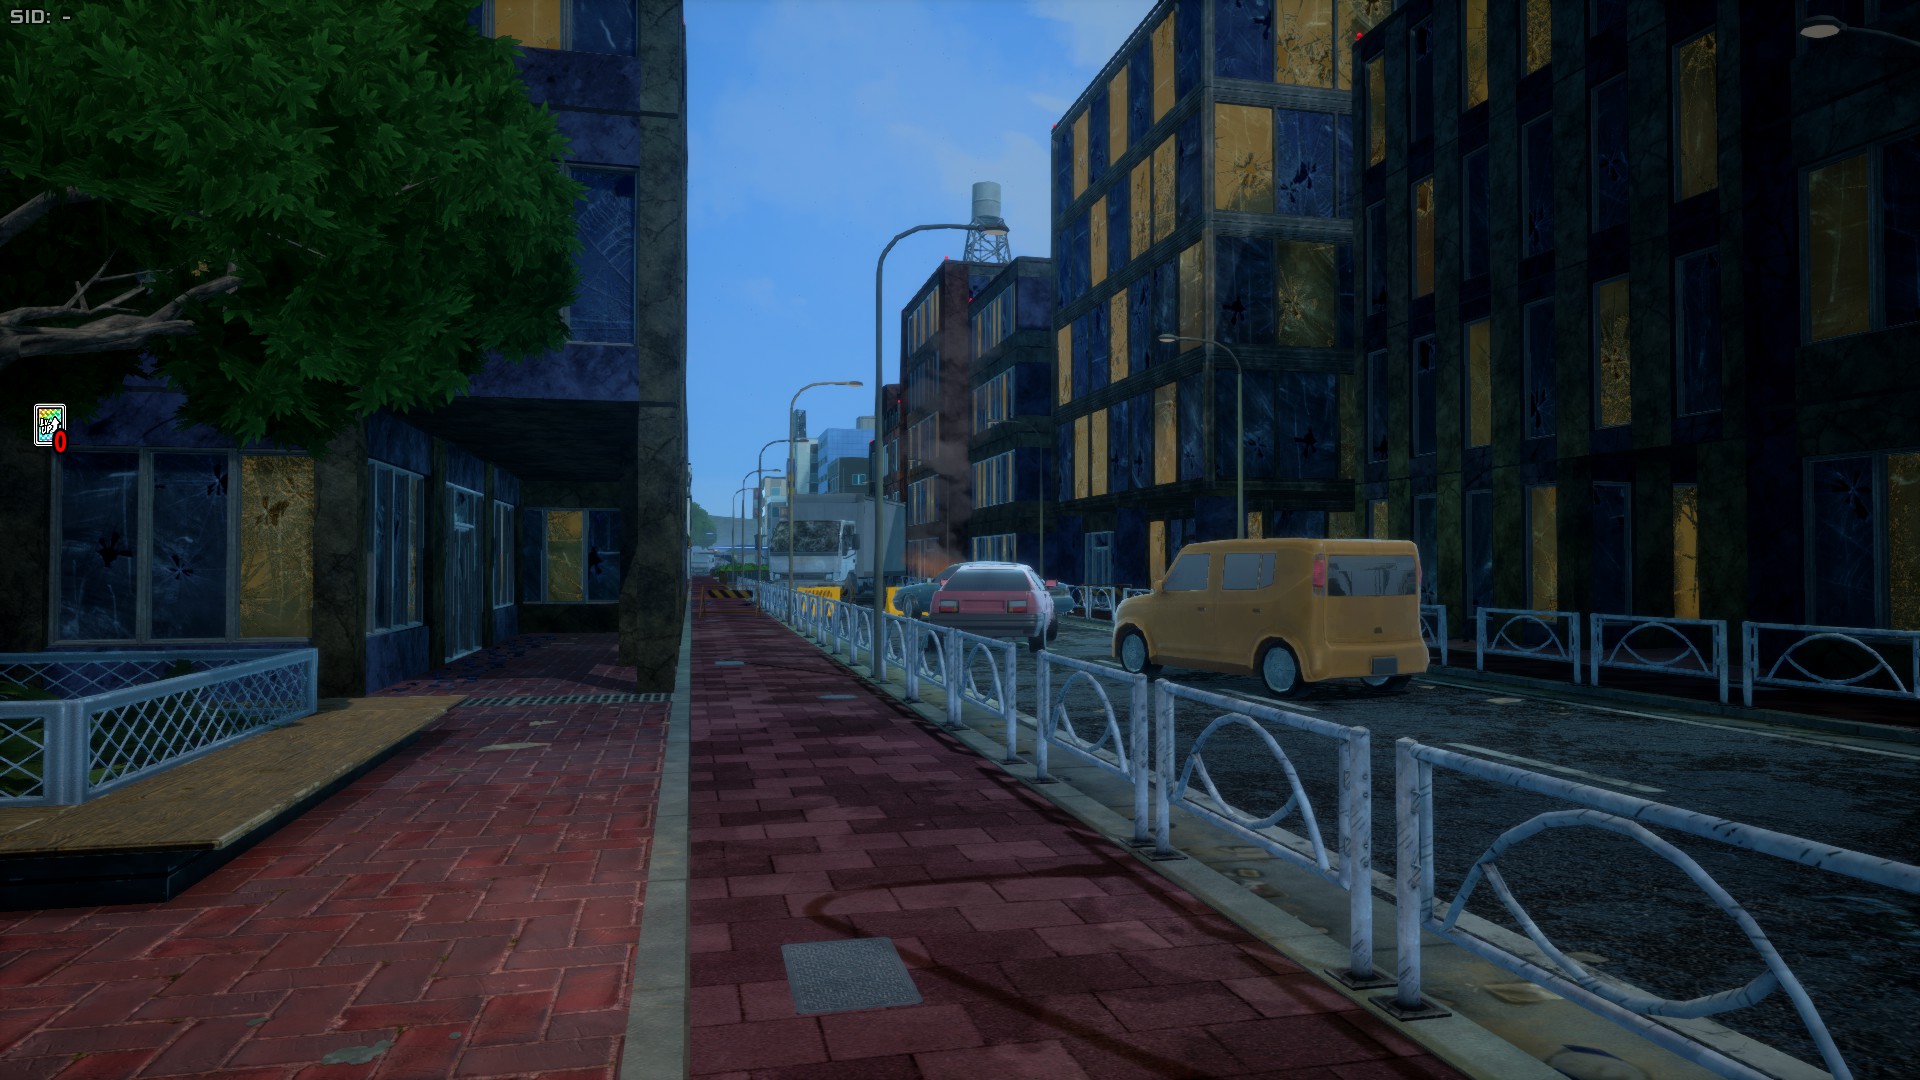
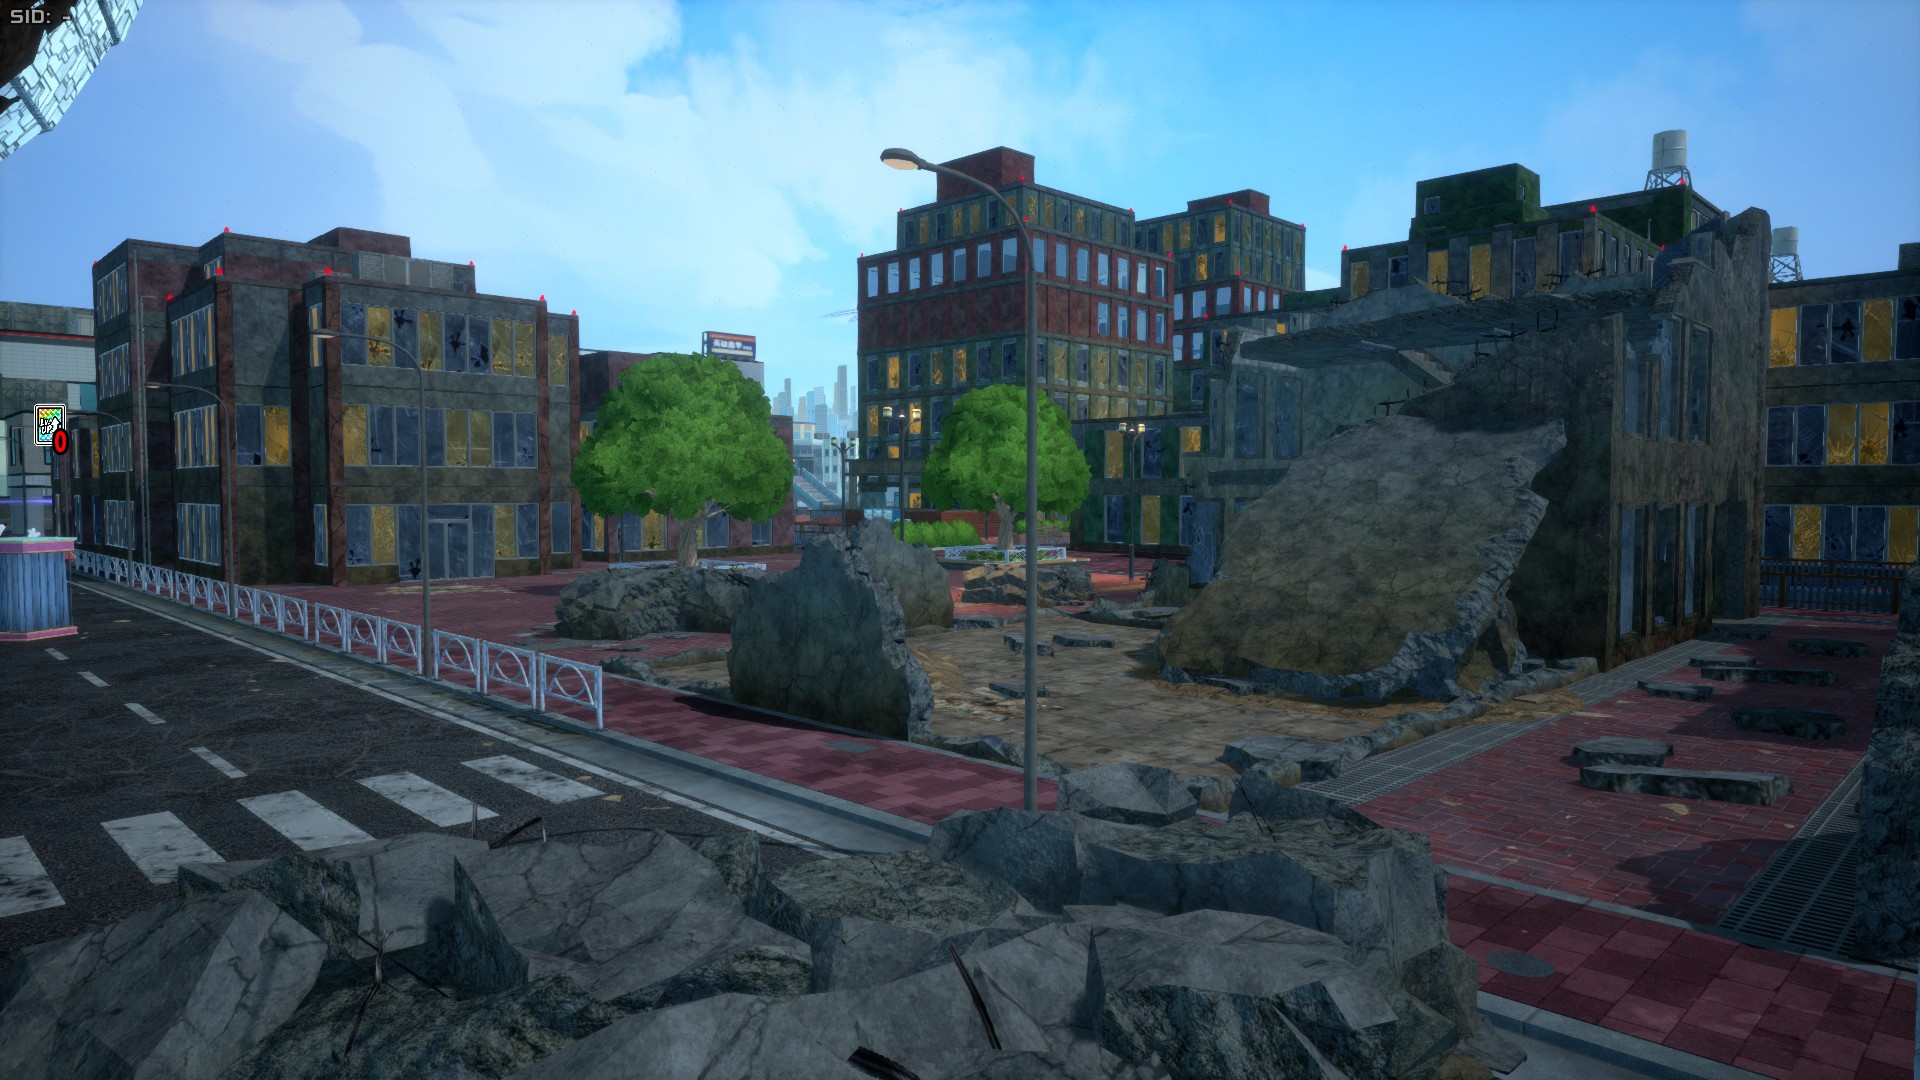
Hospital / Research Lab Area
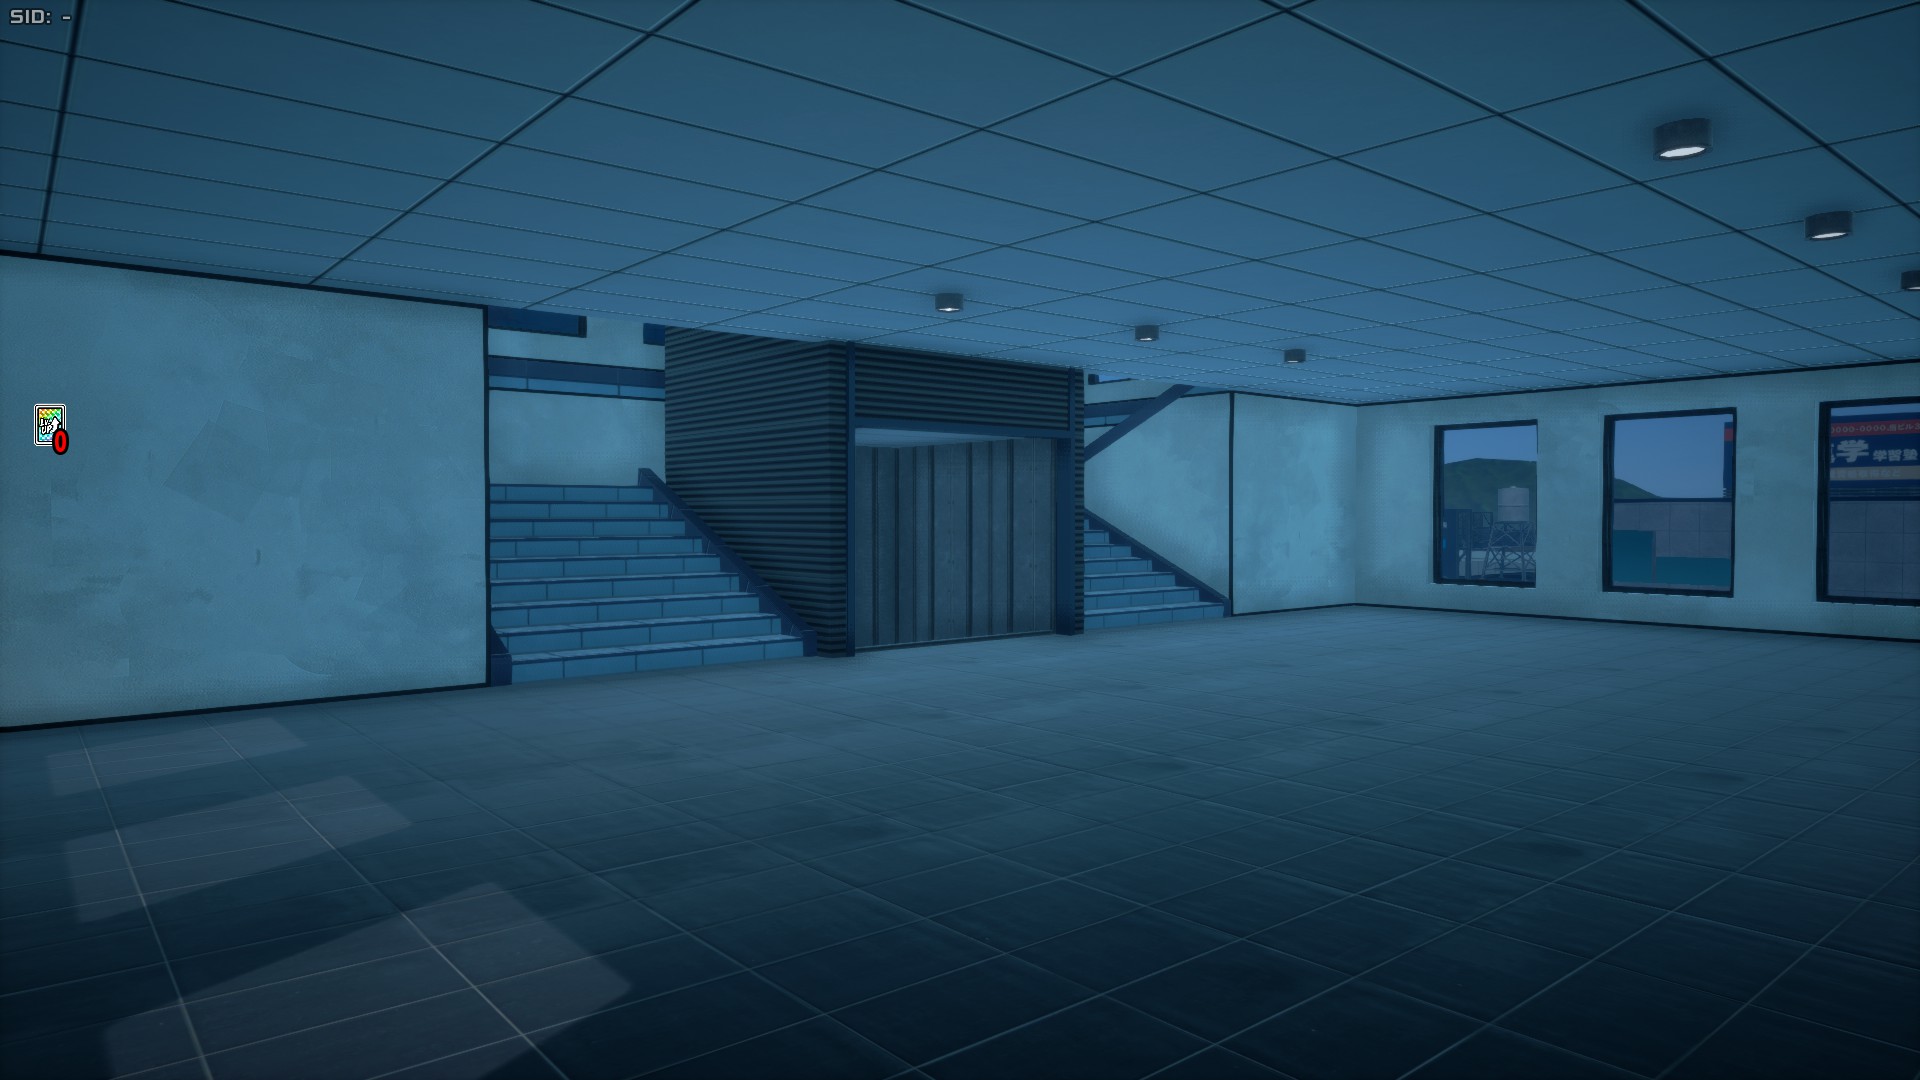
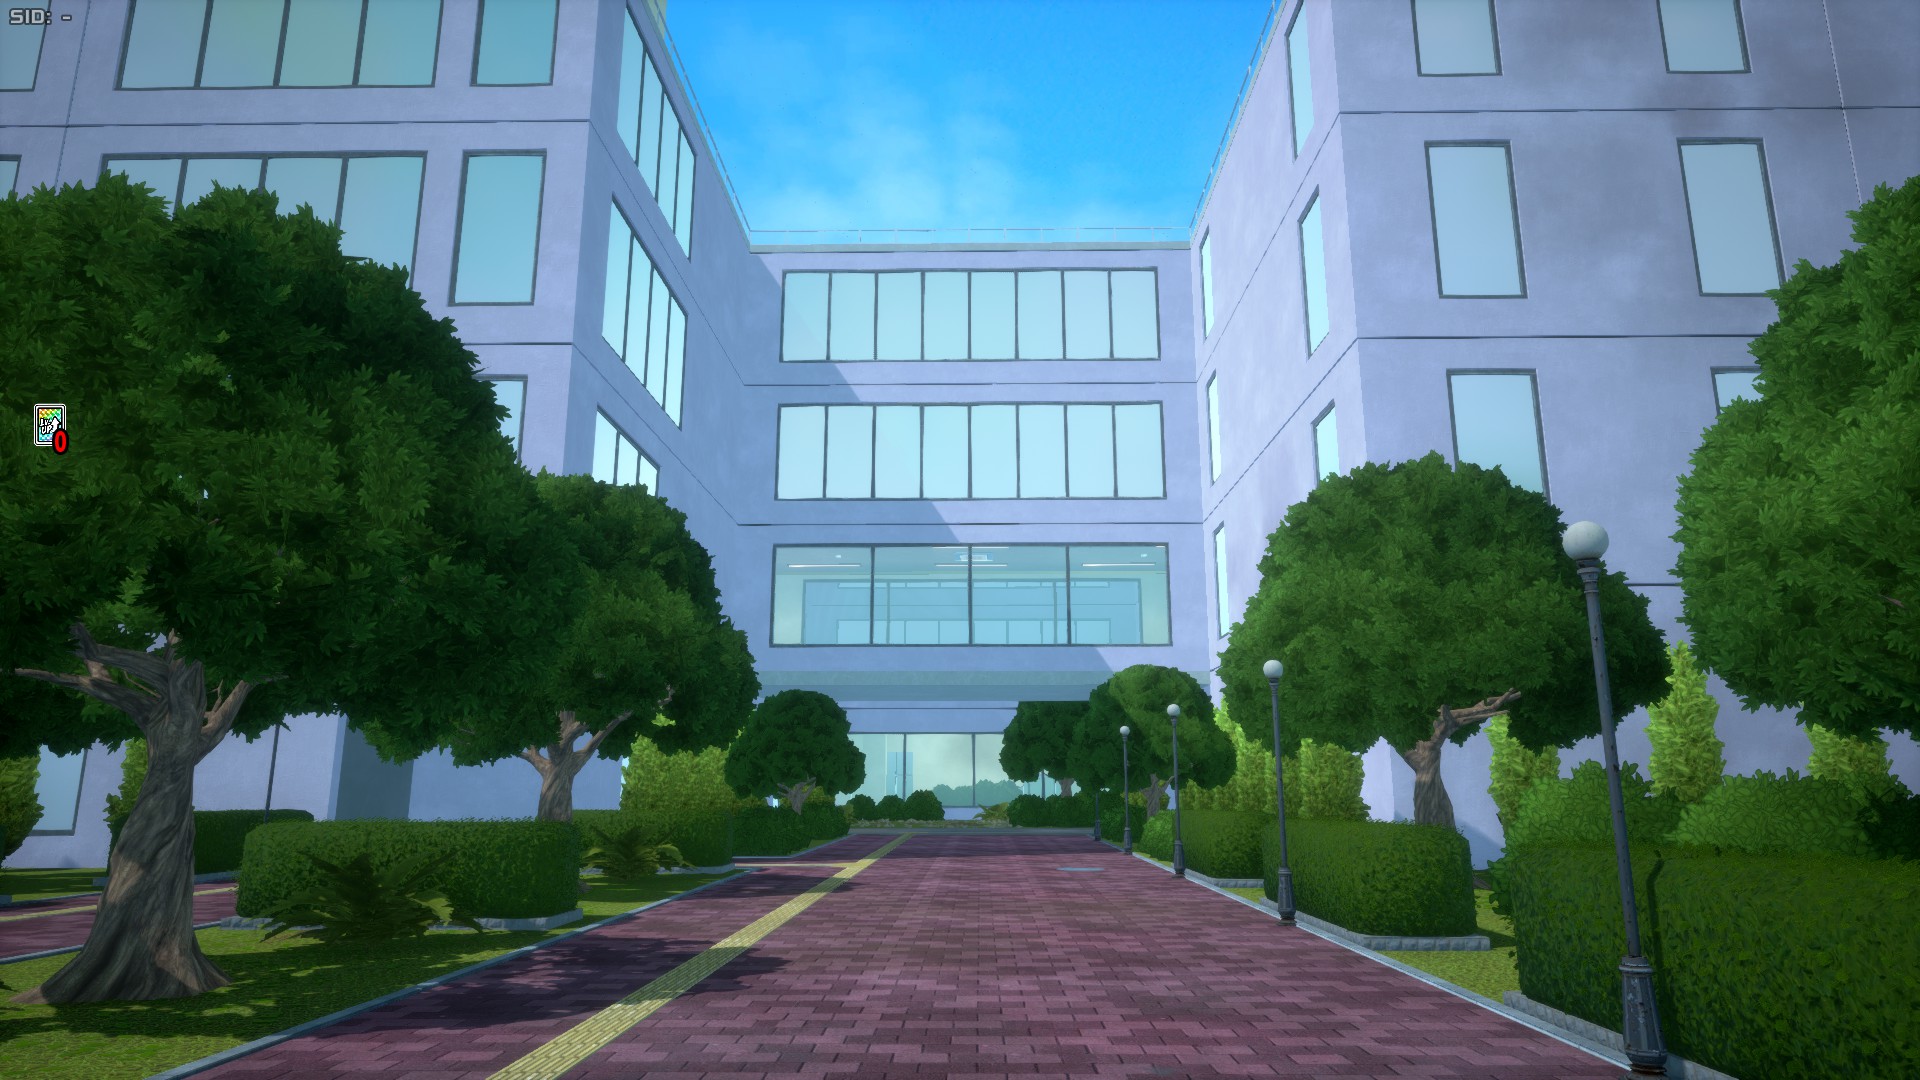
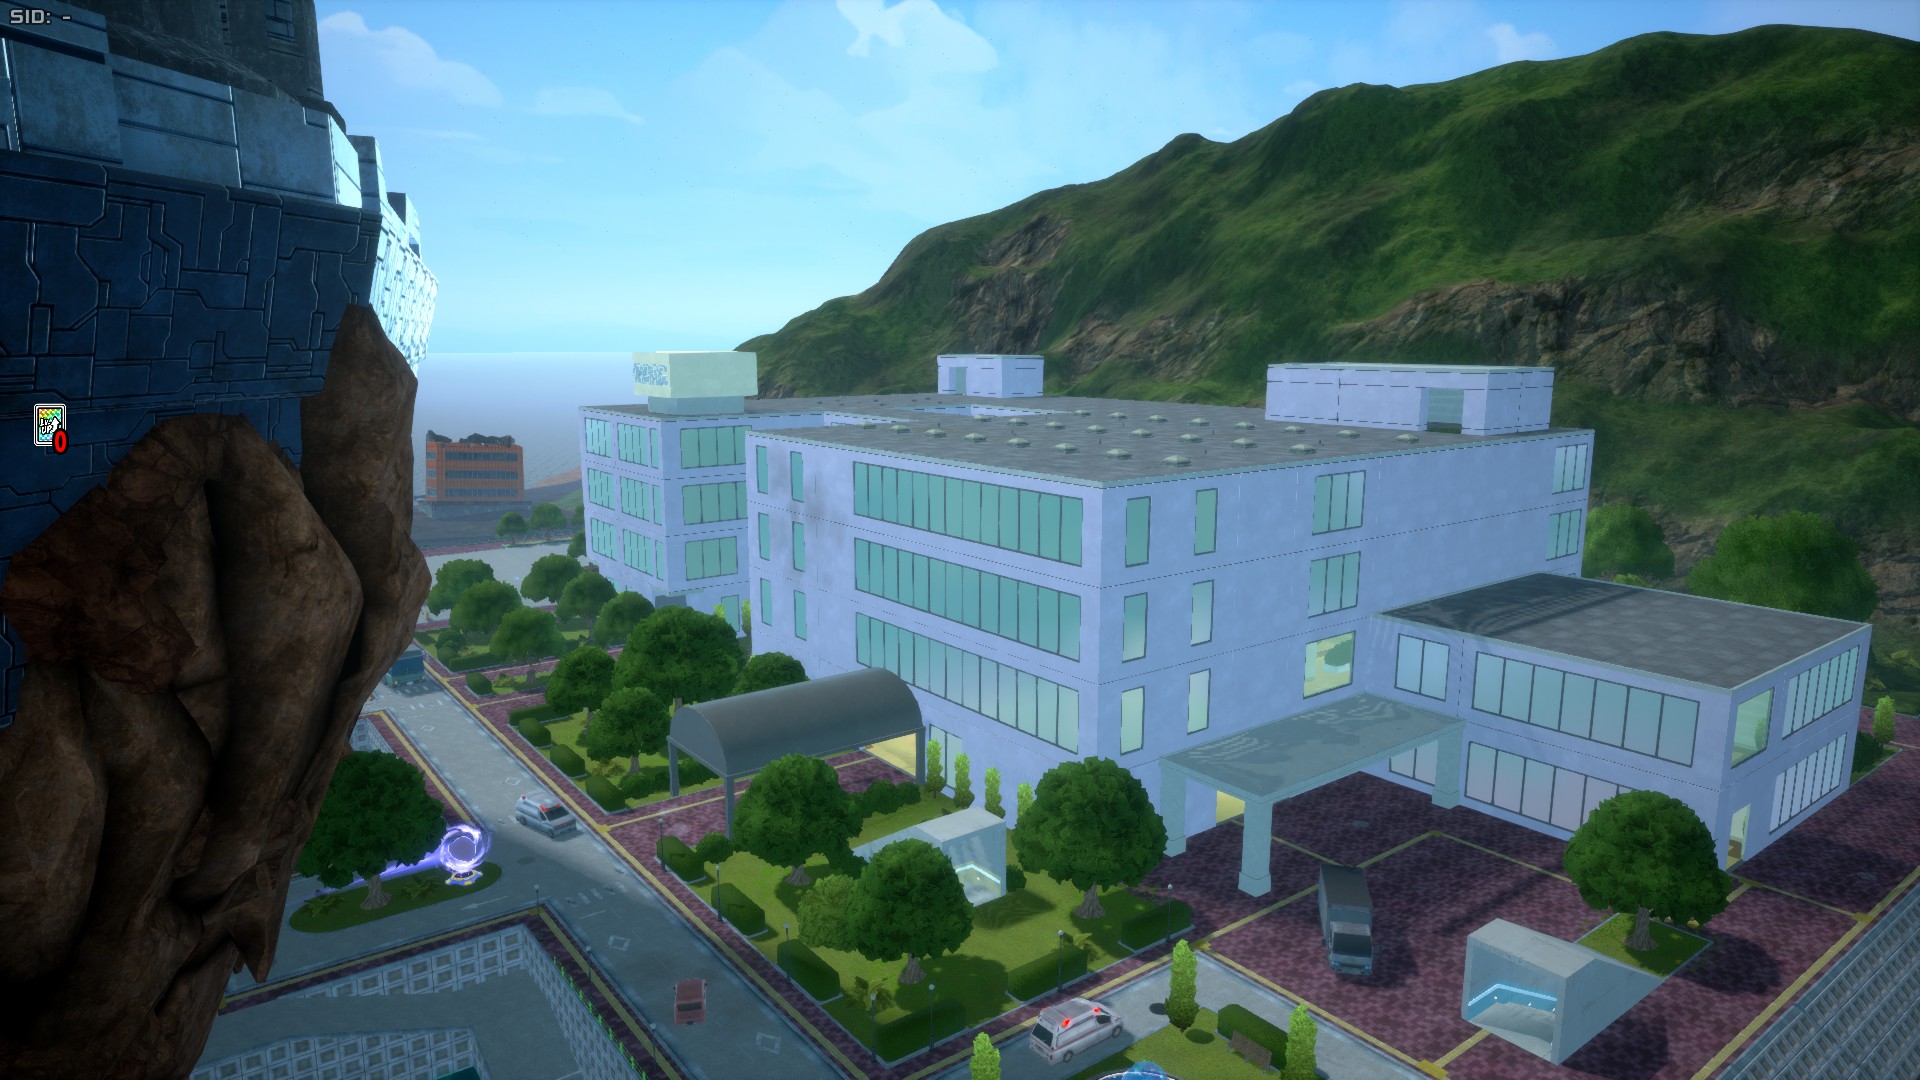
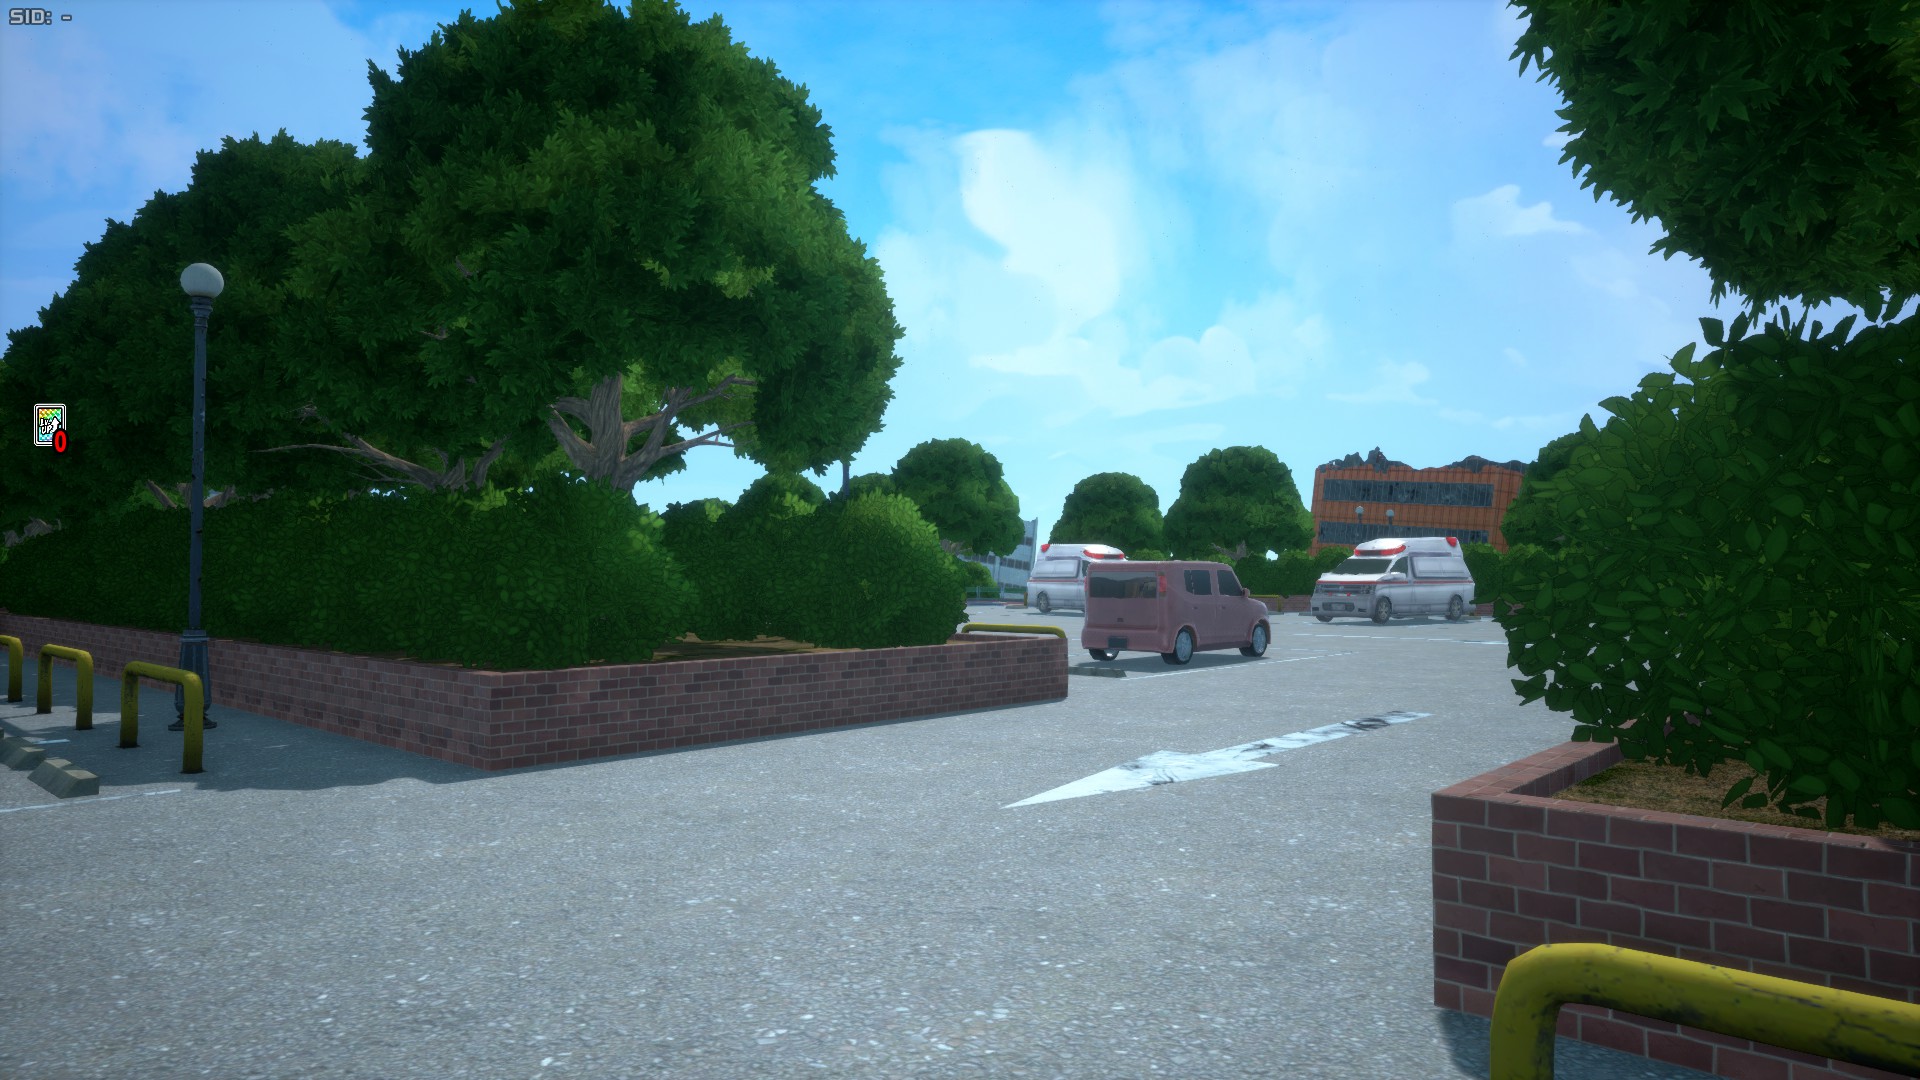
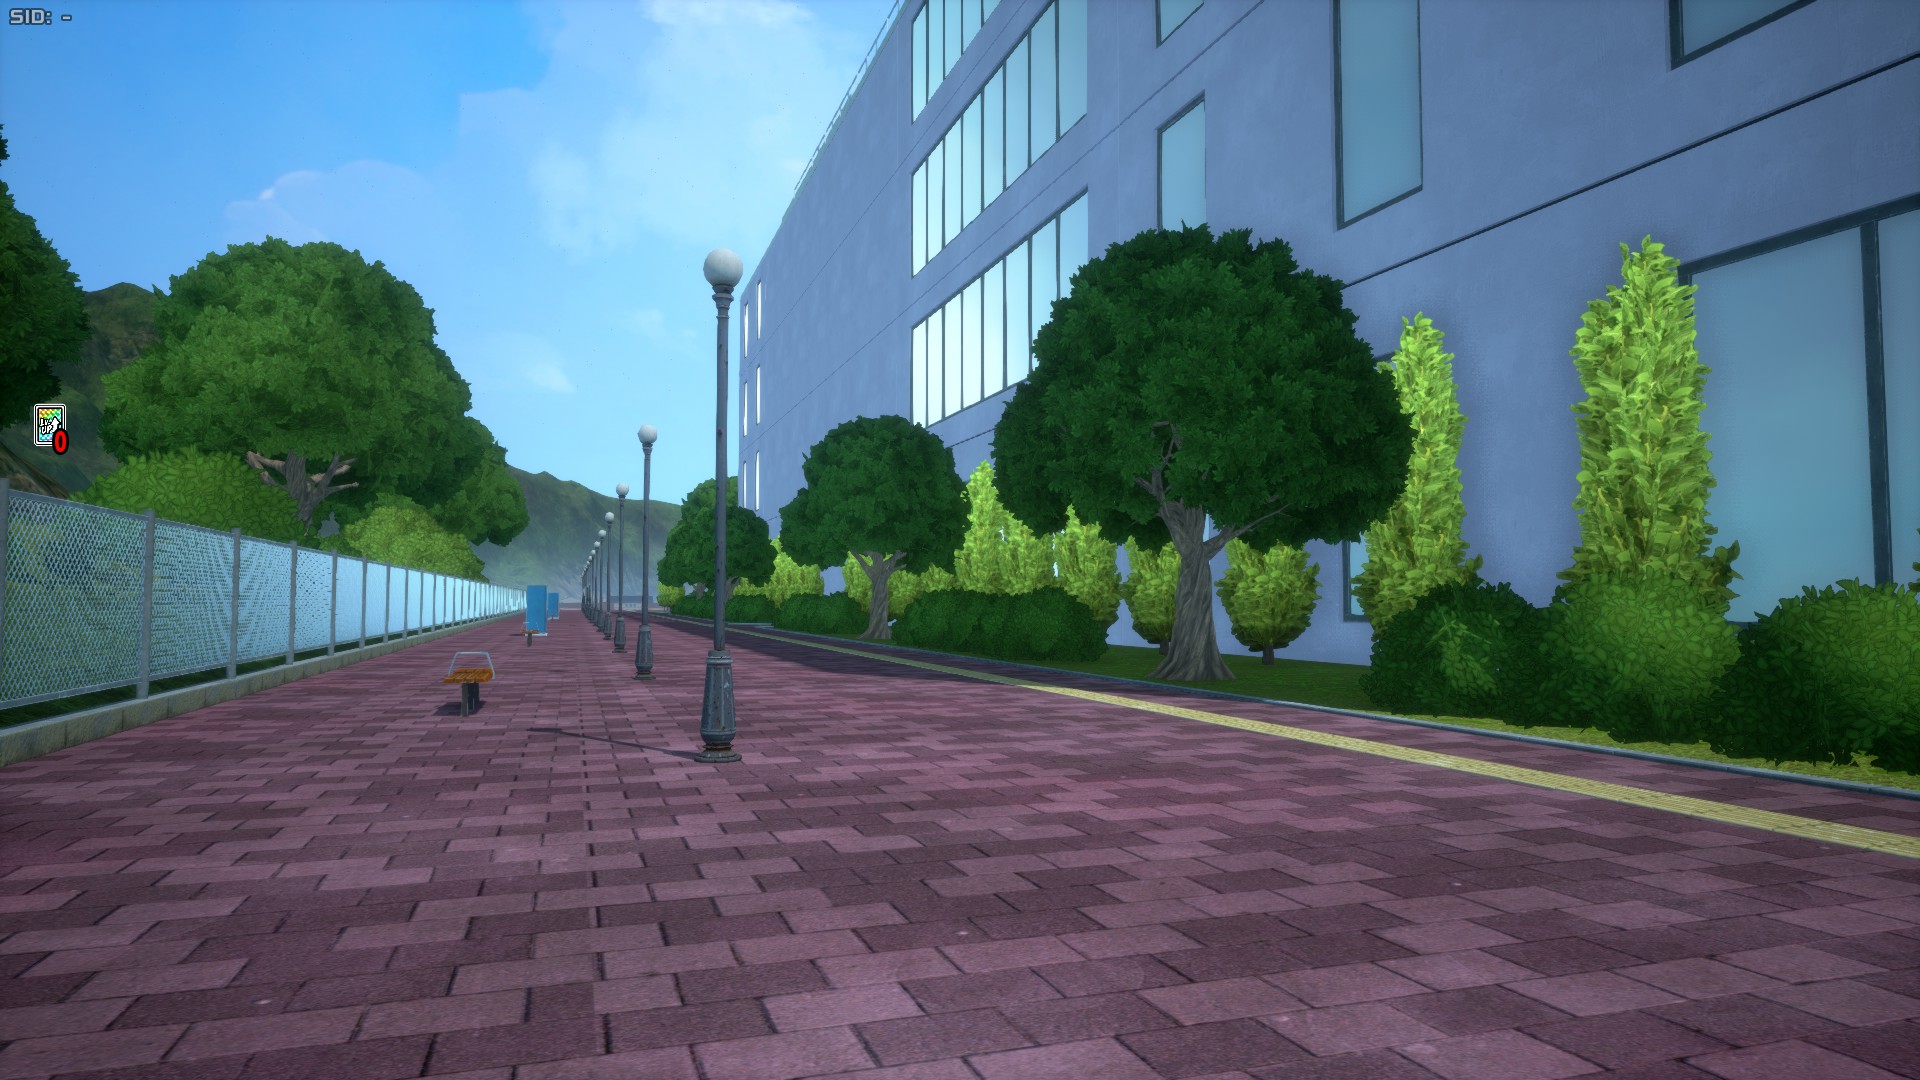
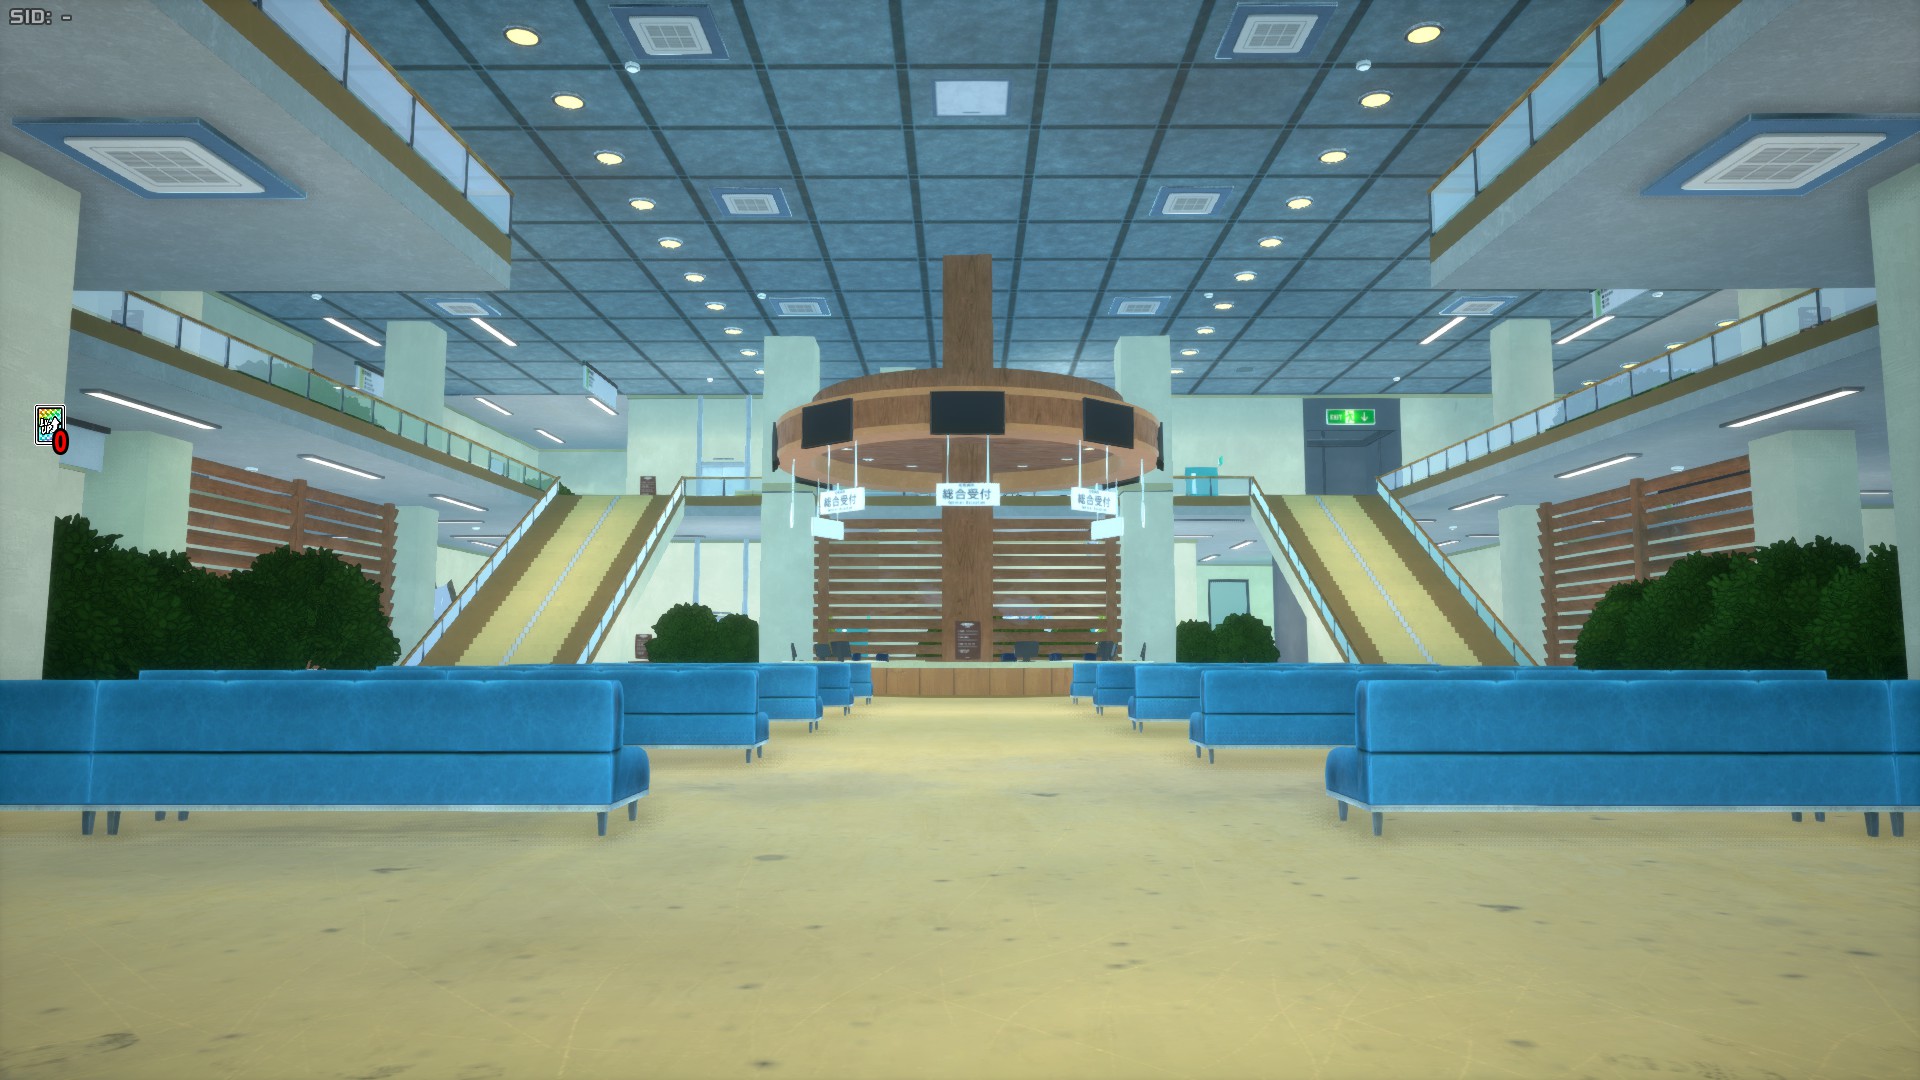
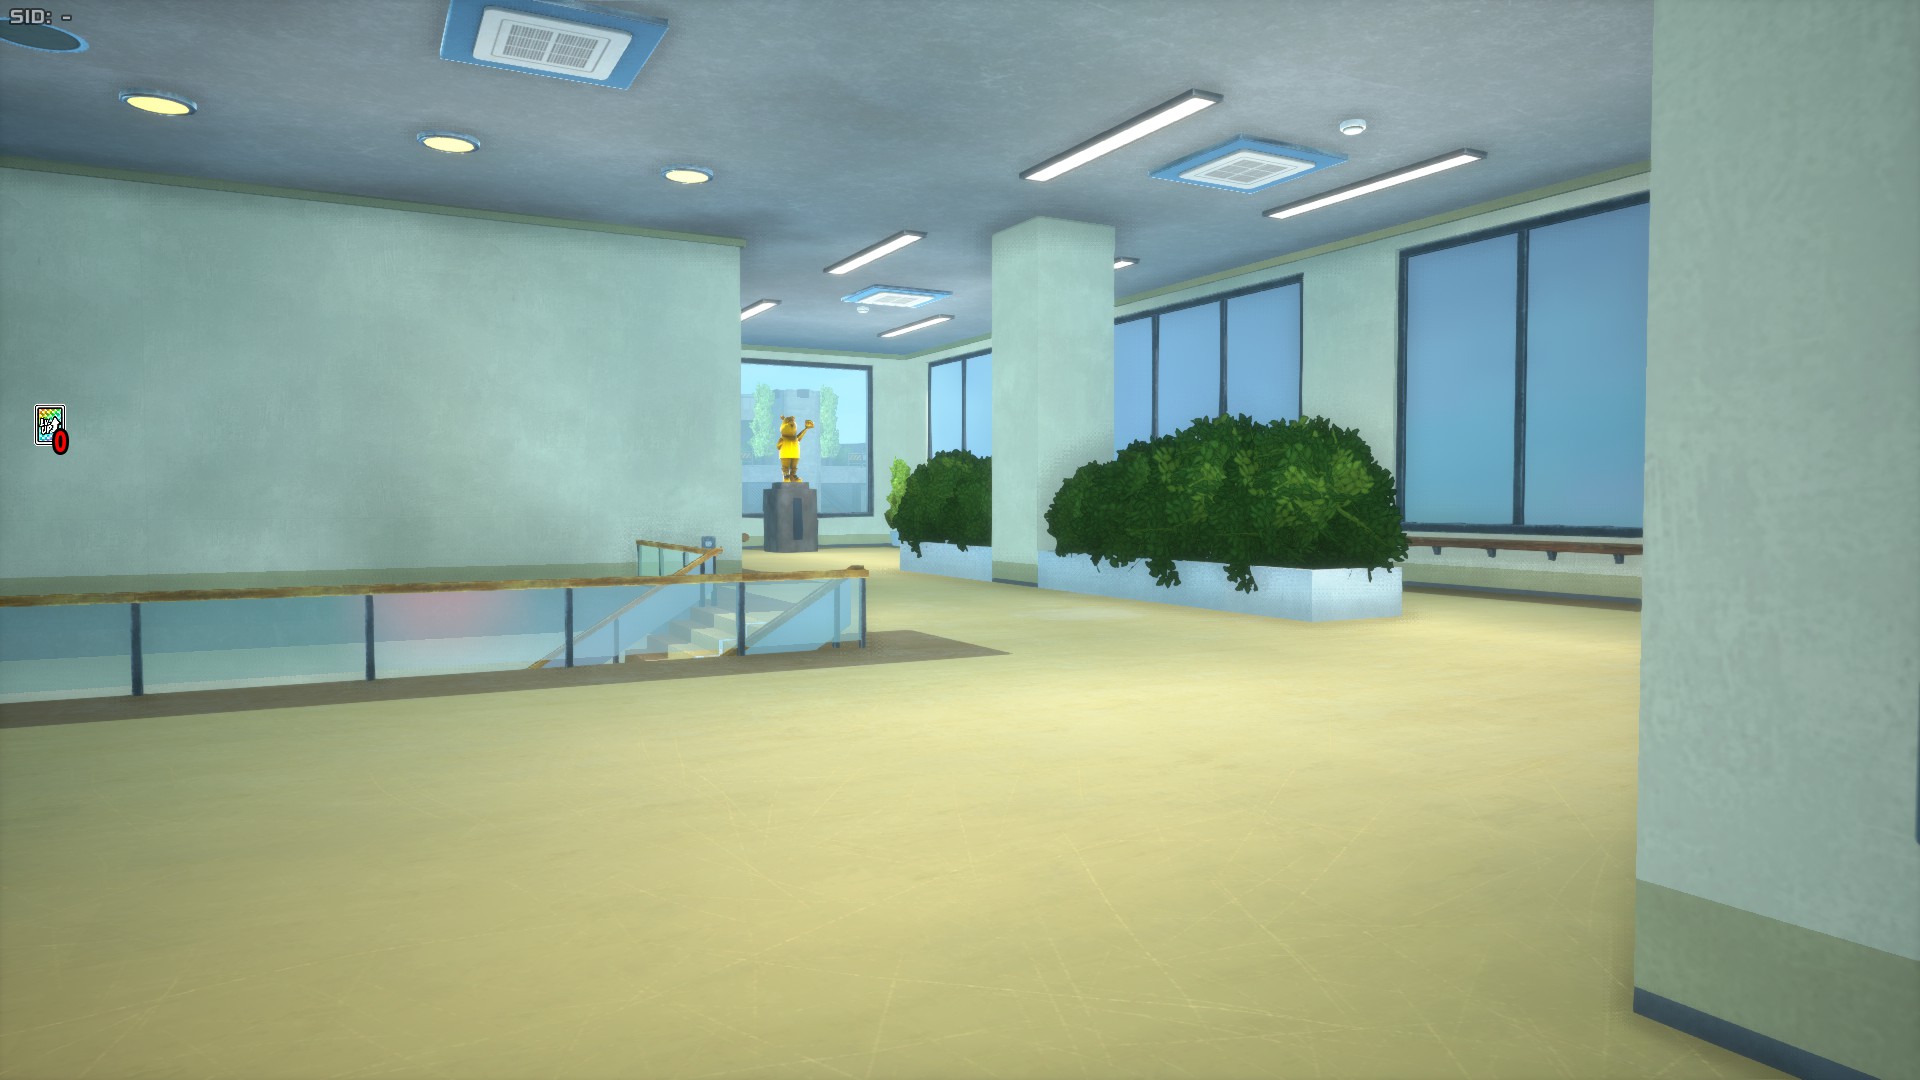
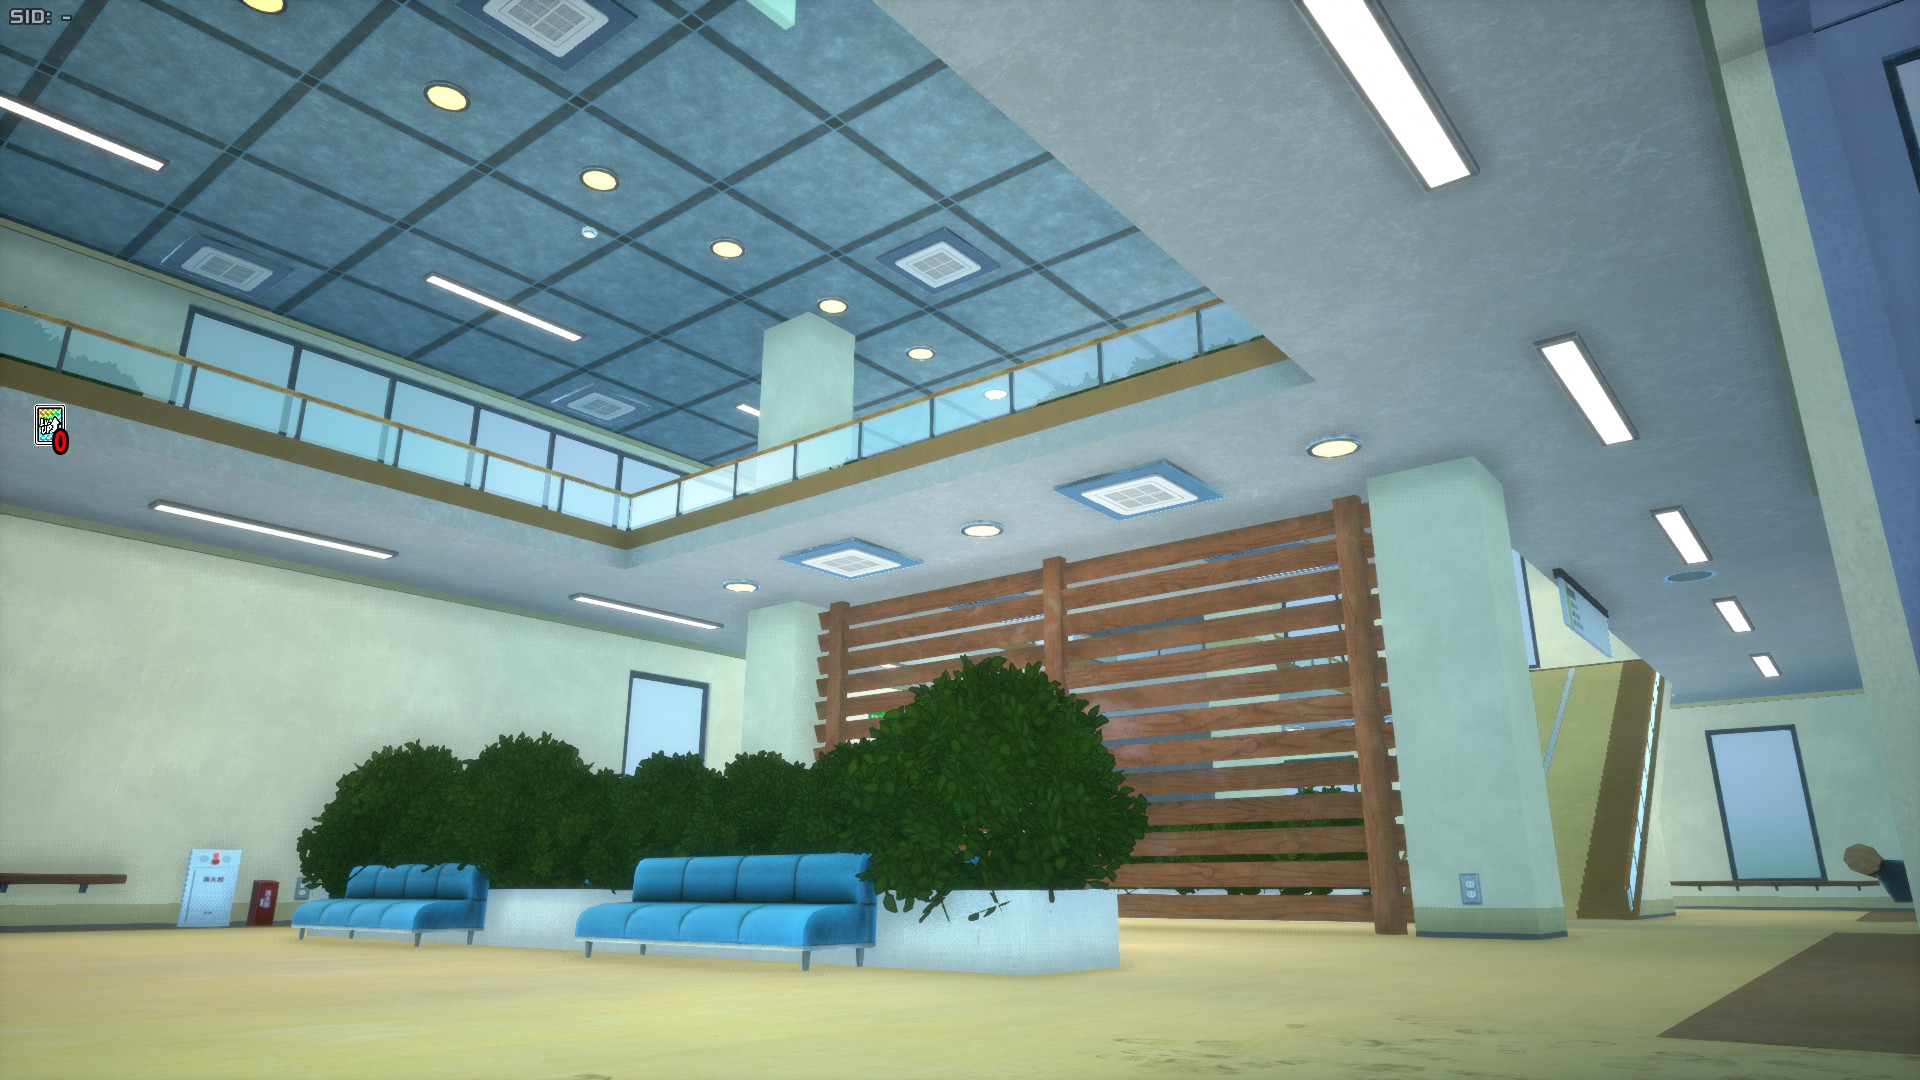
The Hospital & Research Lab Area occupies the whole southern side of the map, and features the largest building in the whole game: The Hospital.
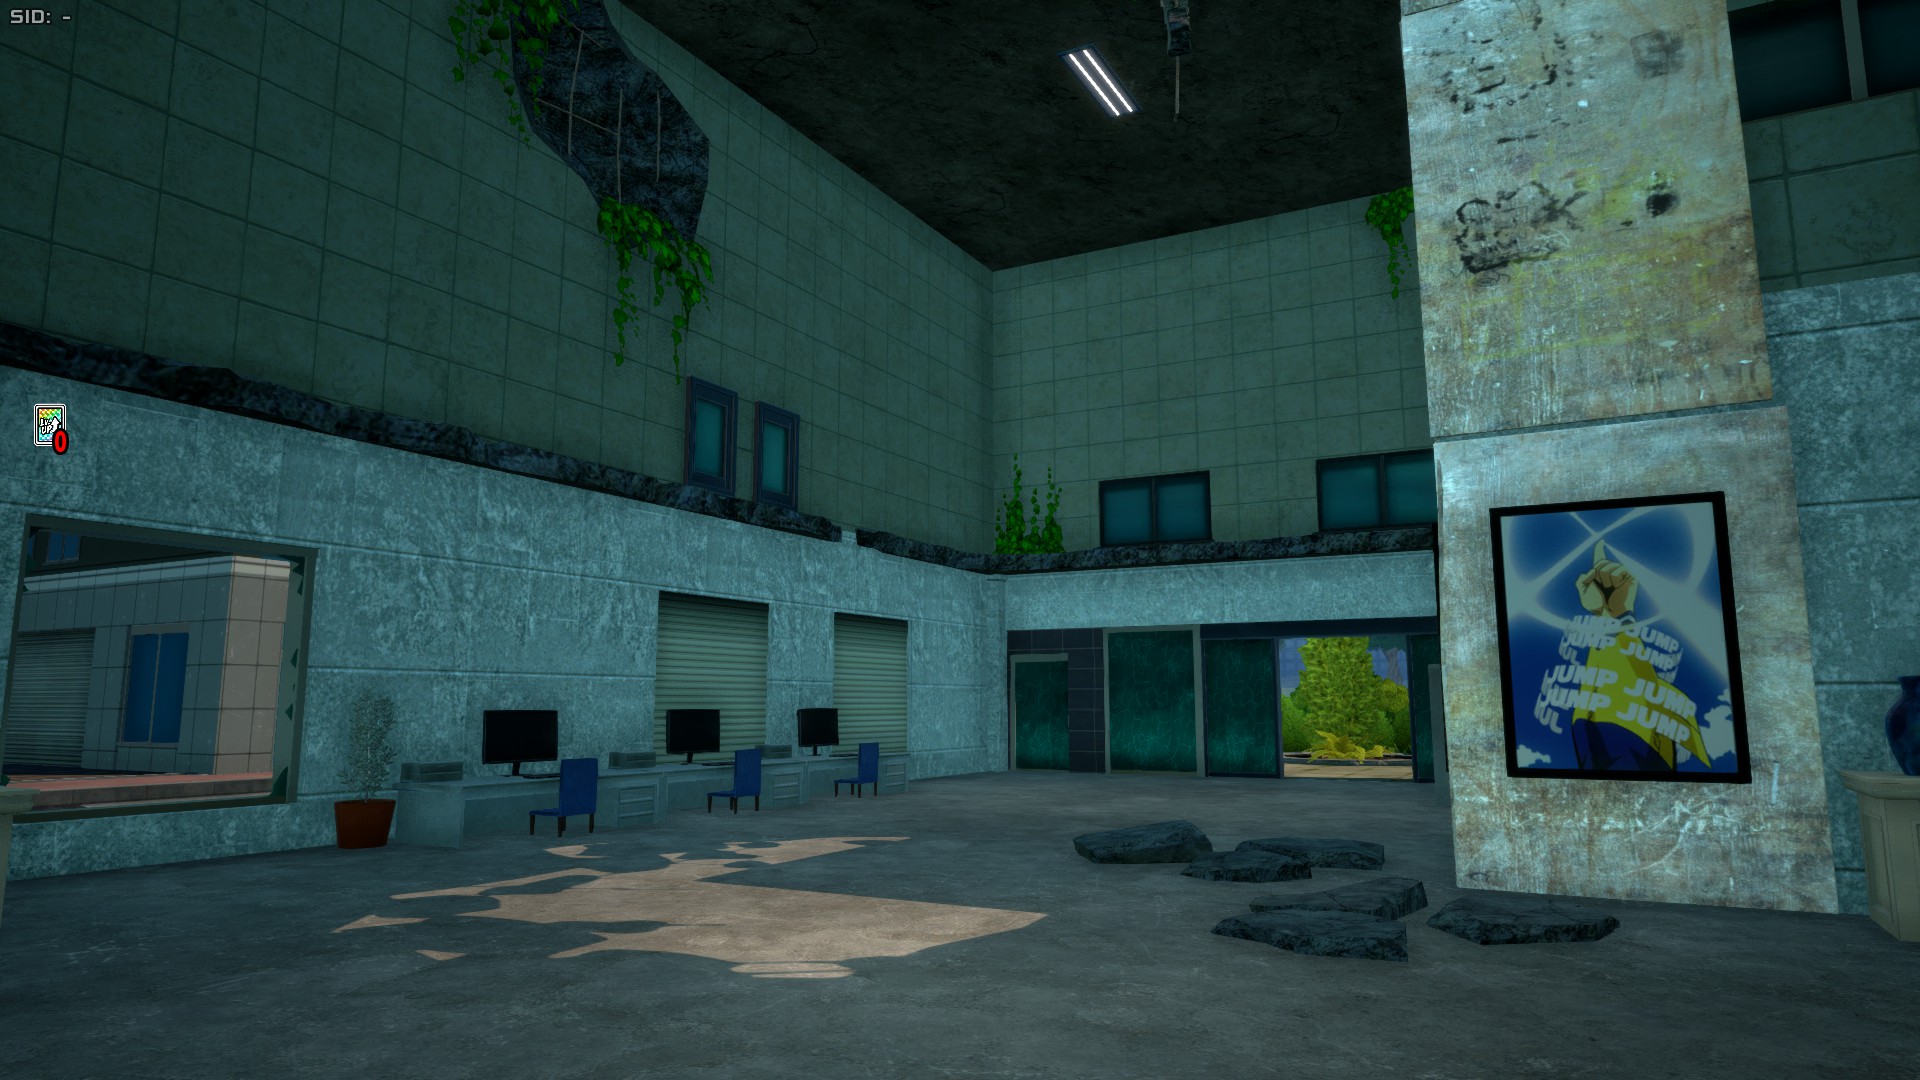
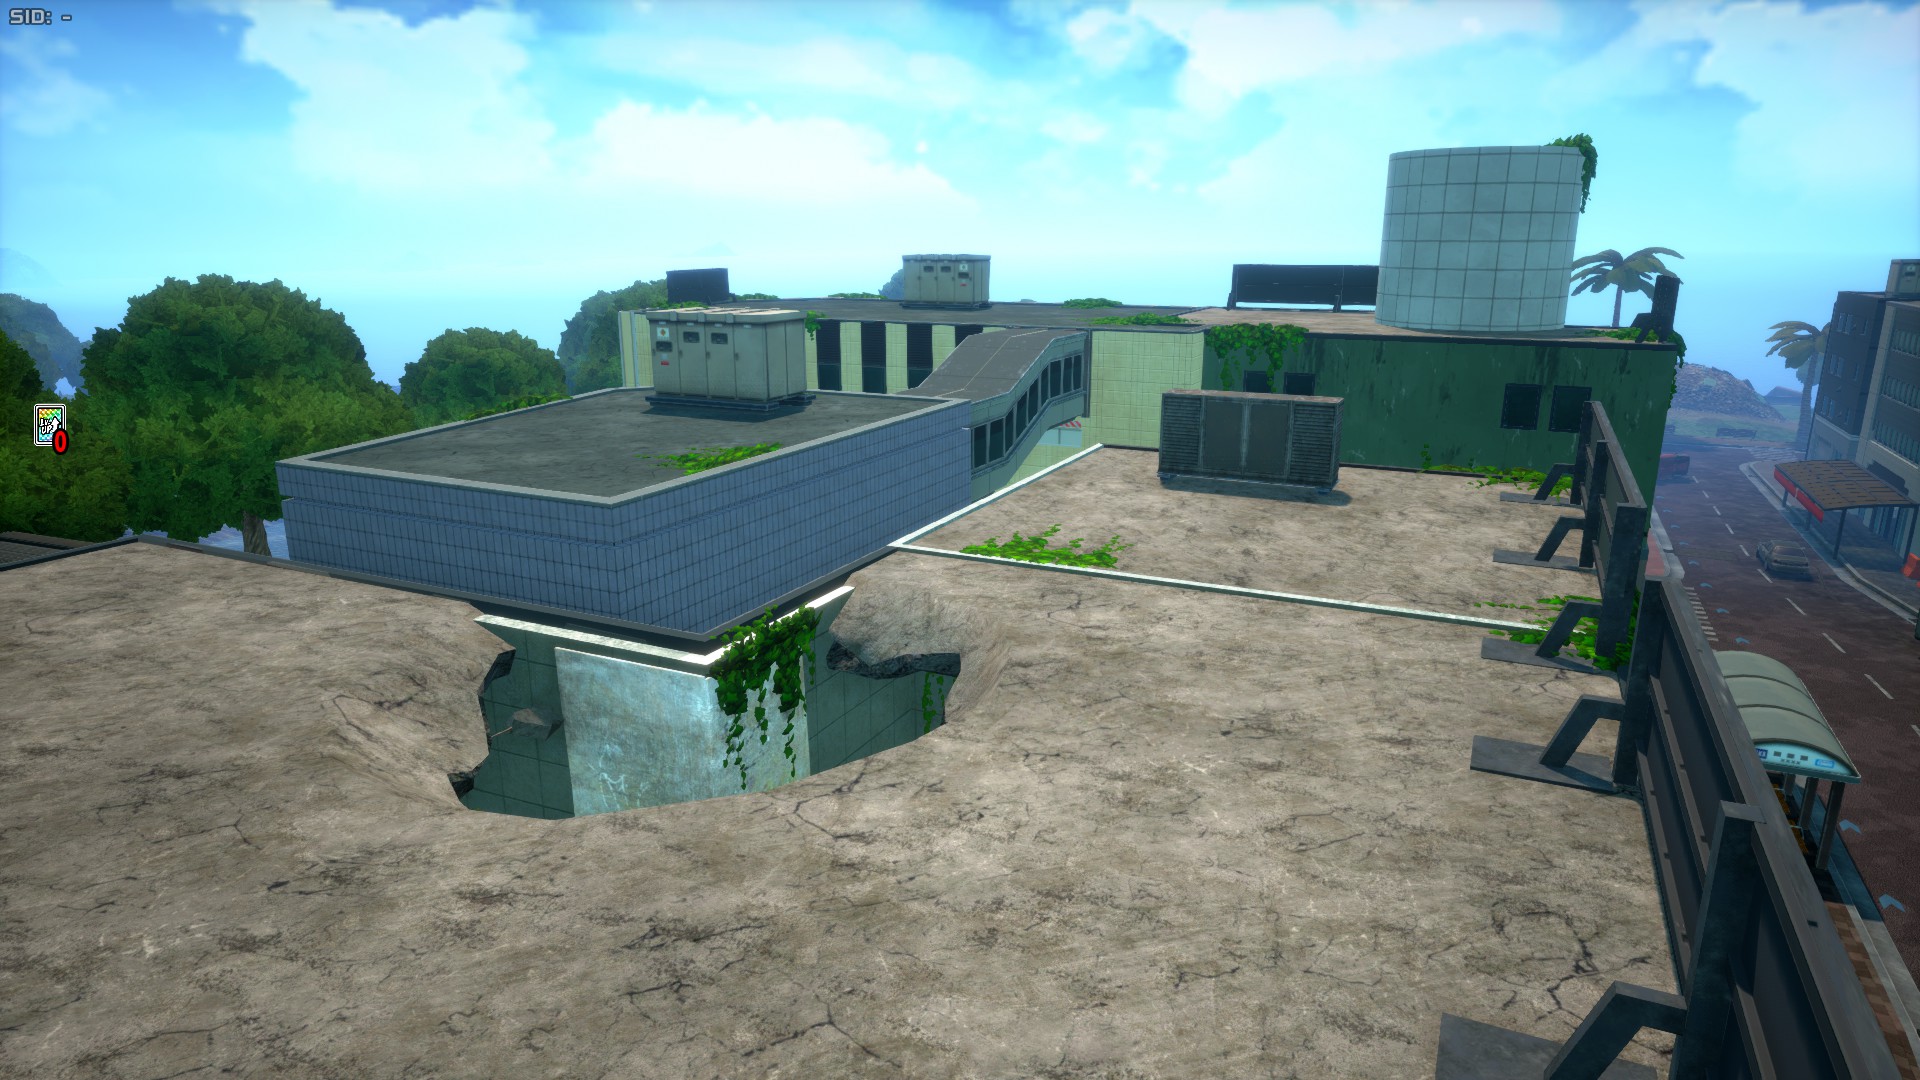
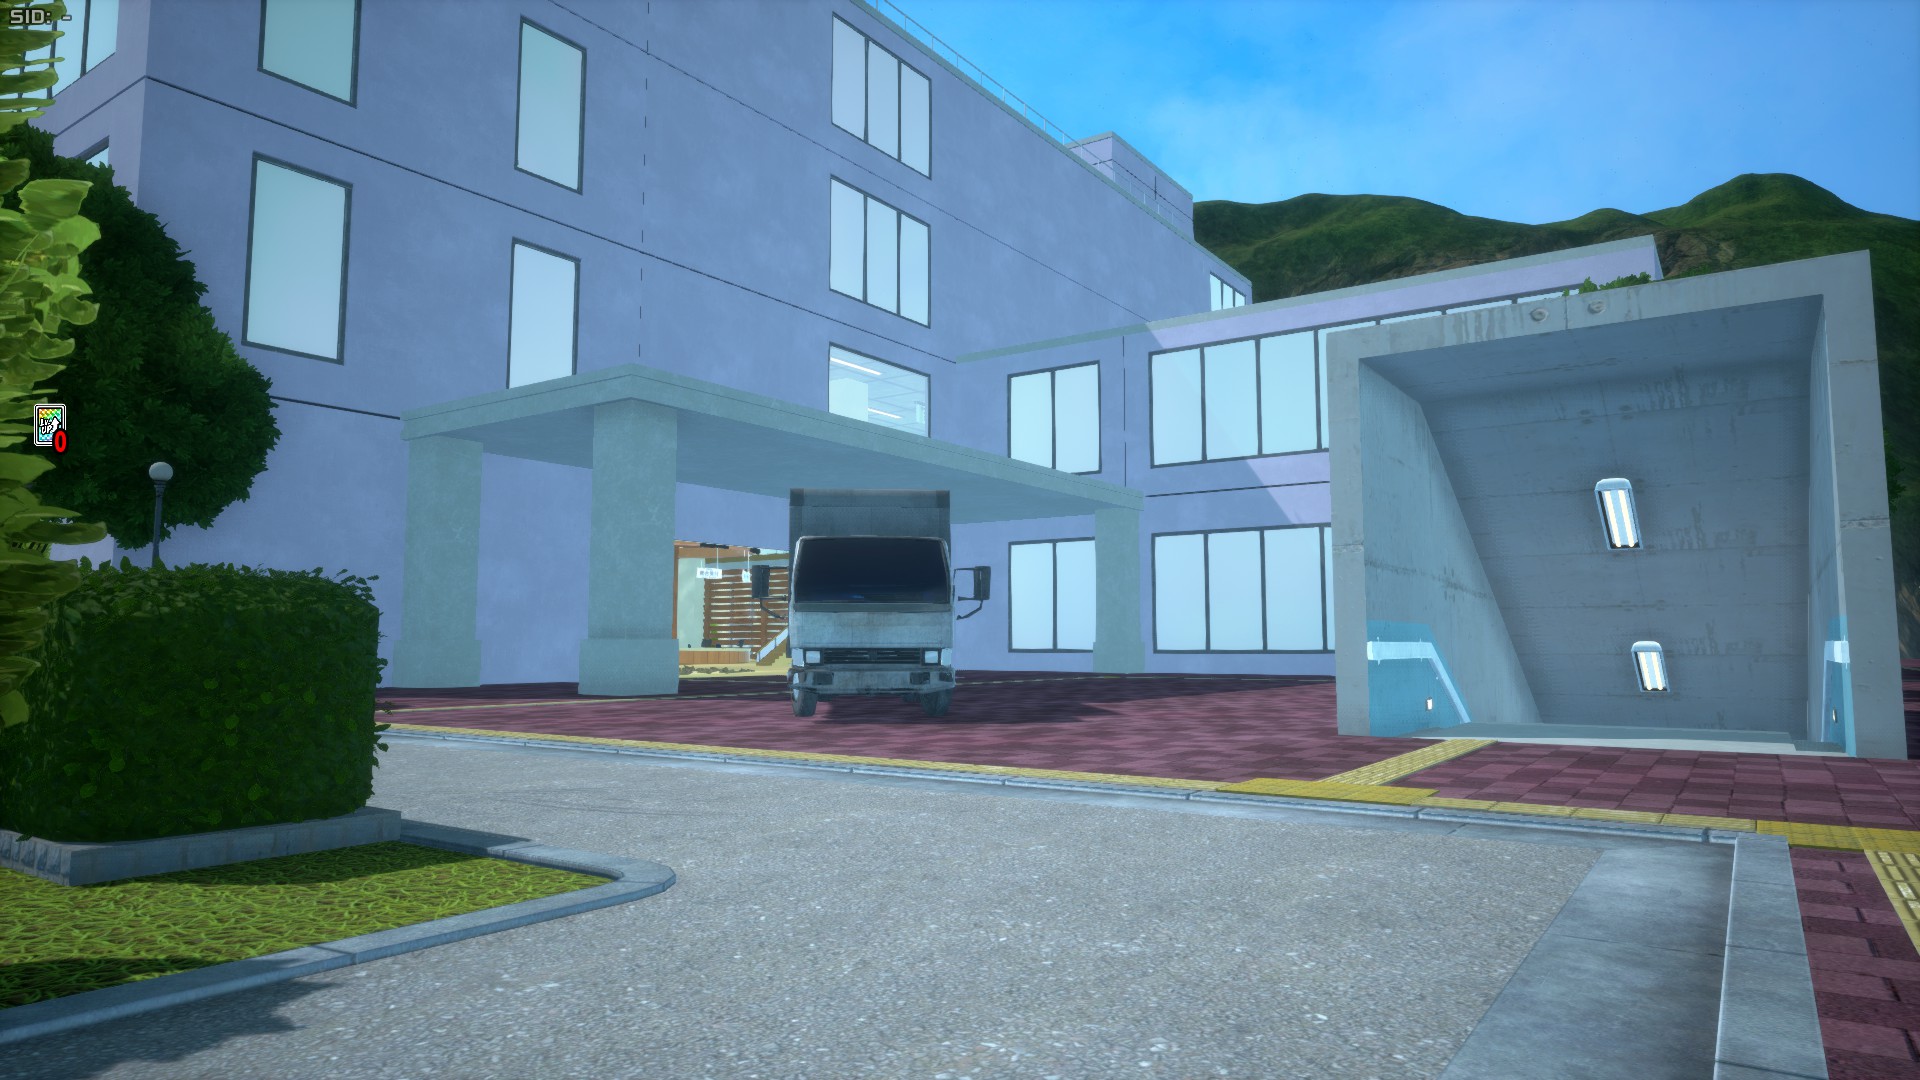
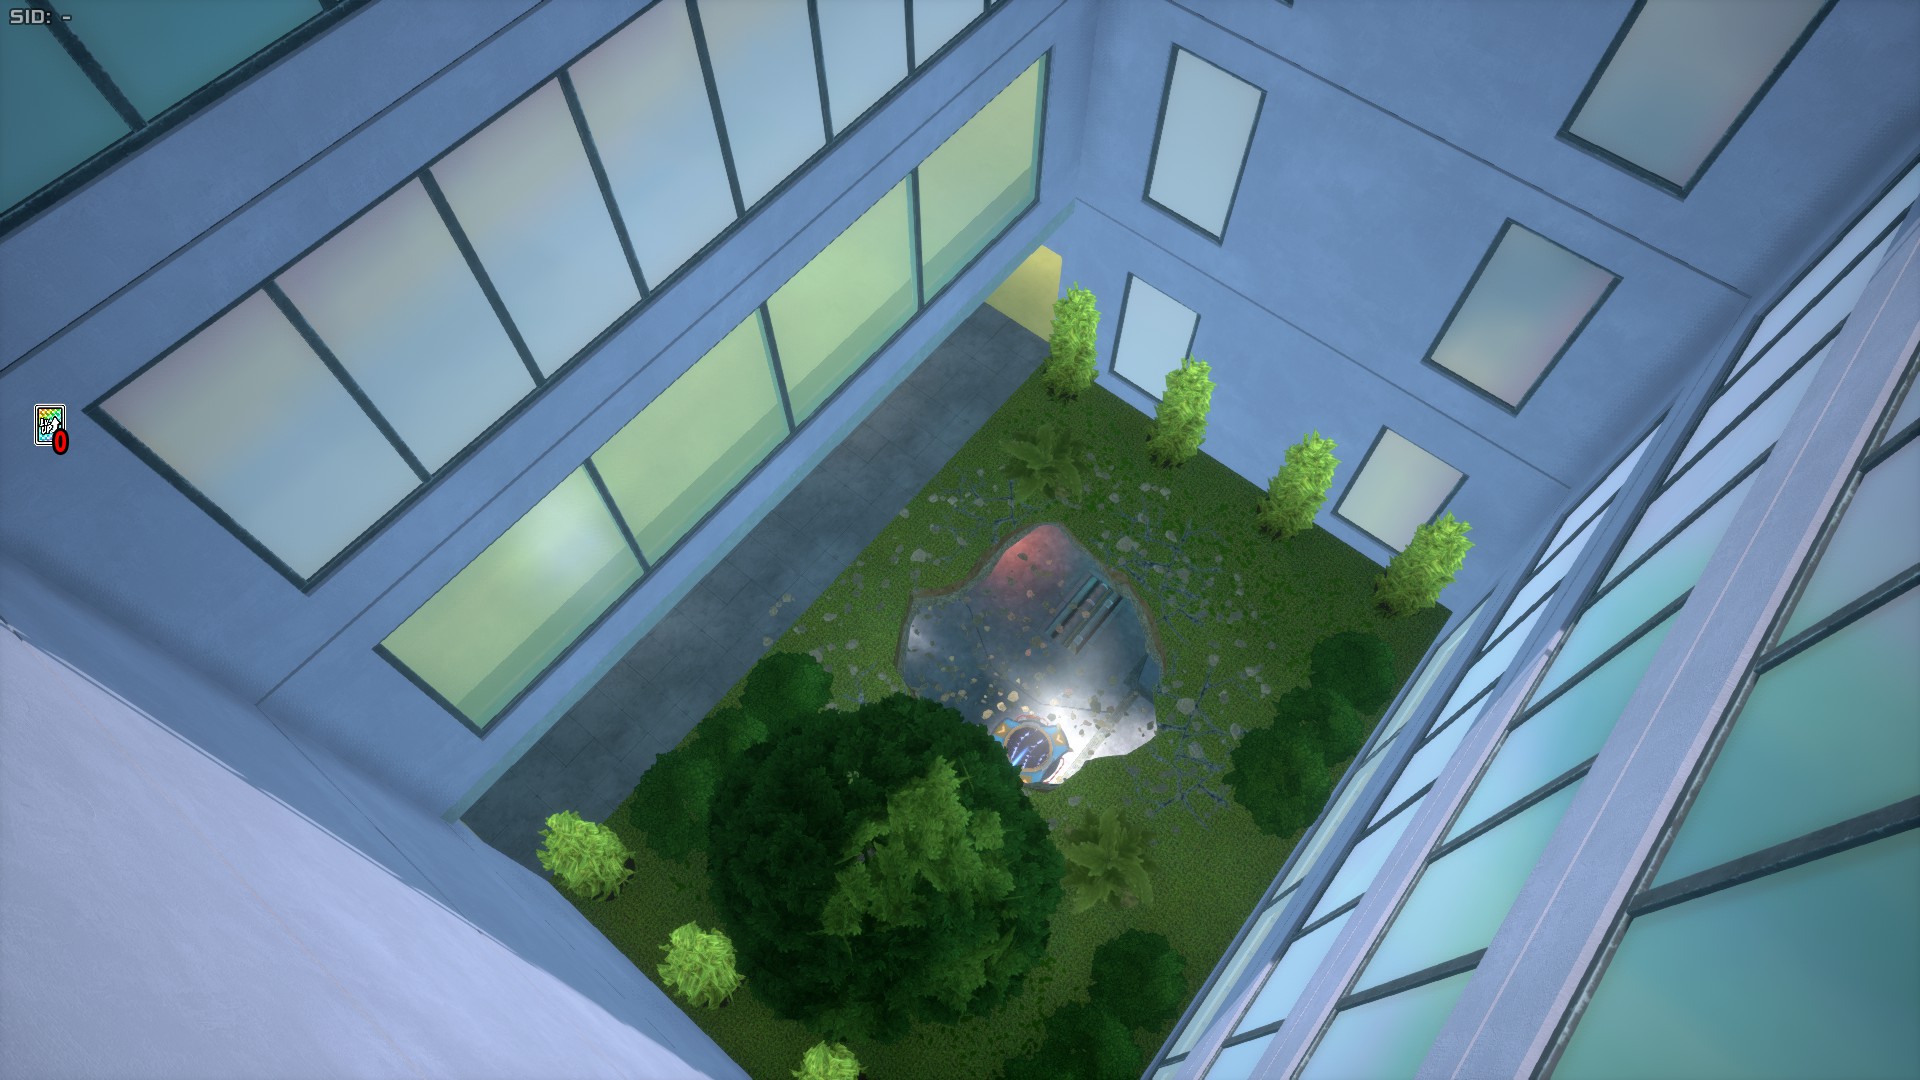
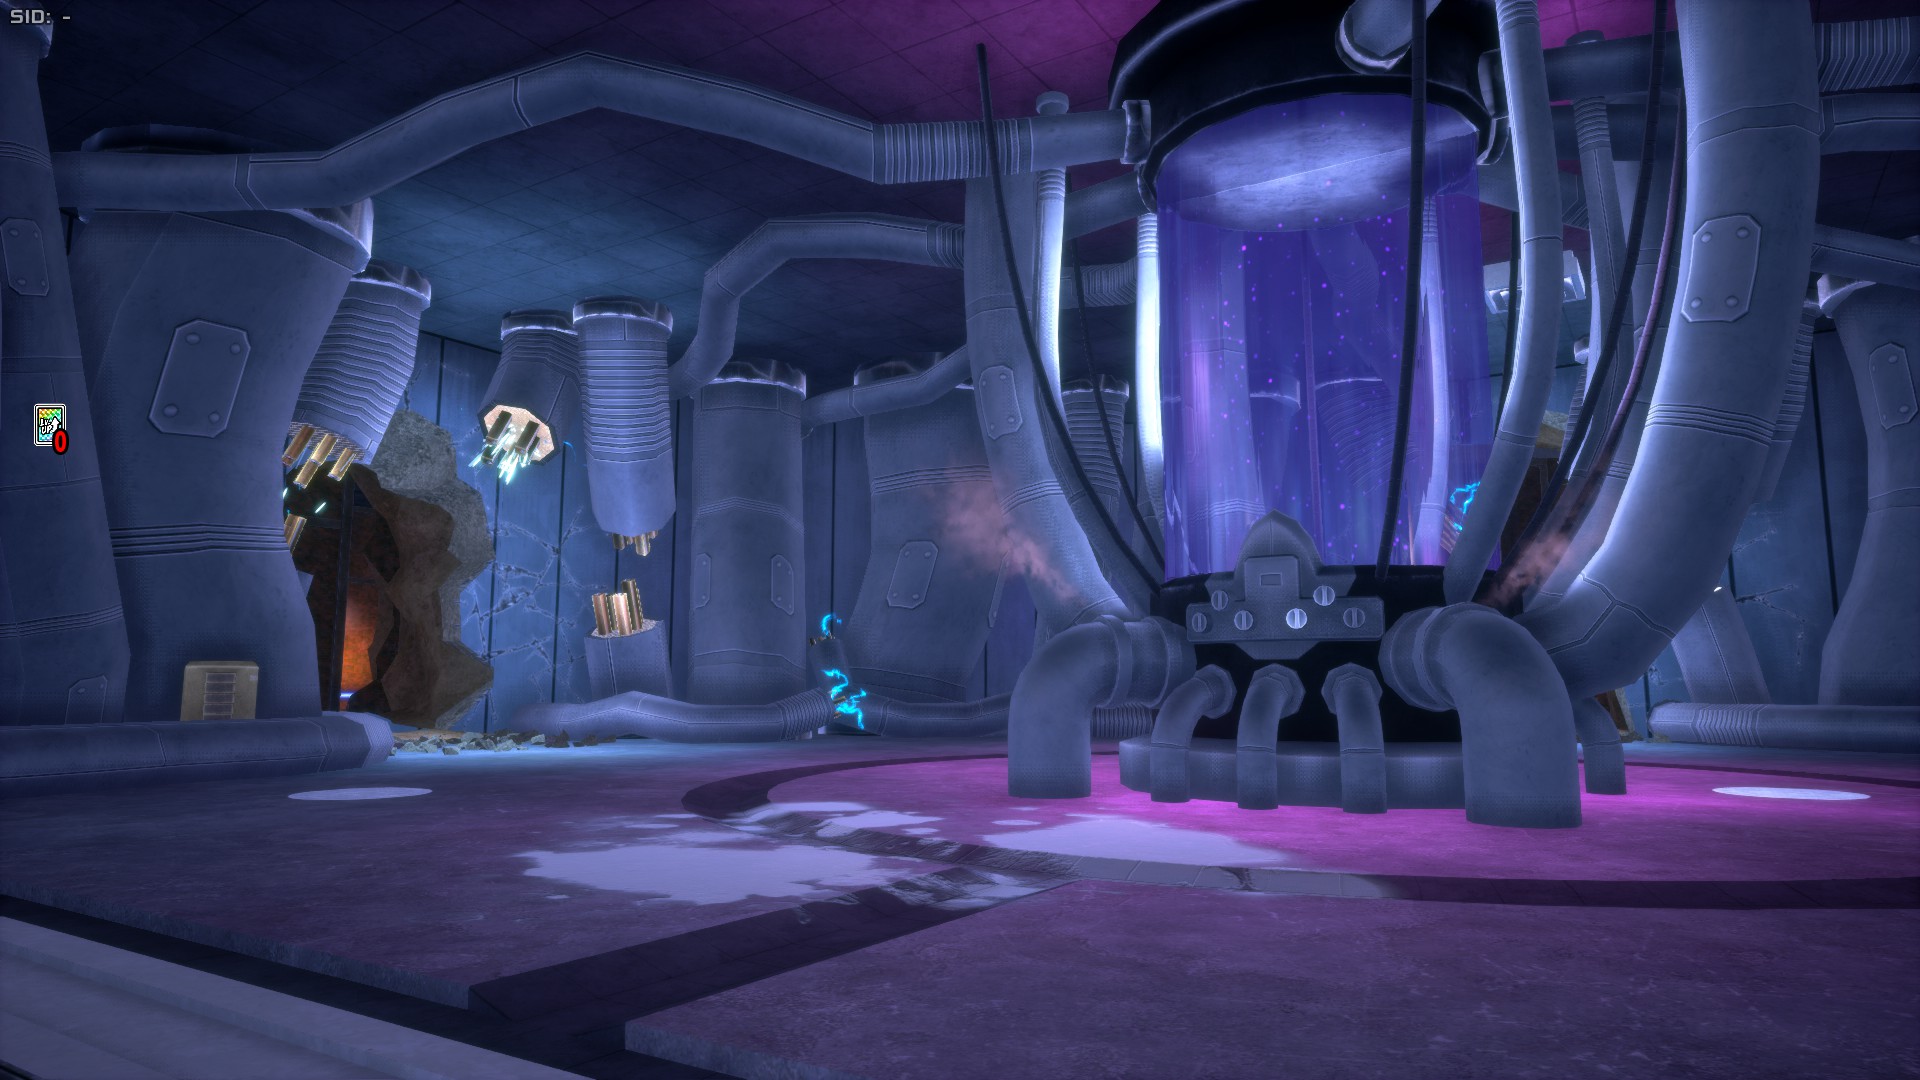
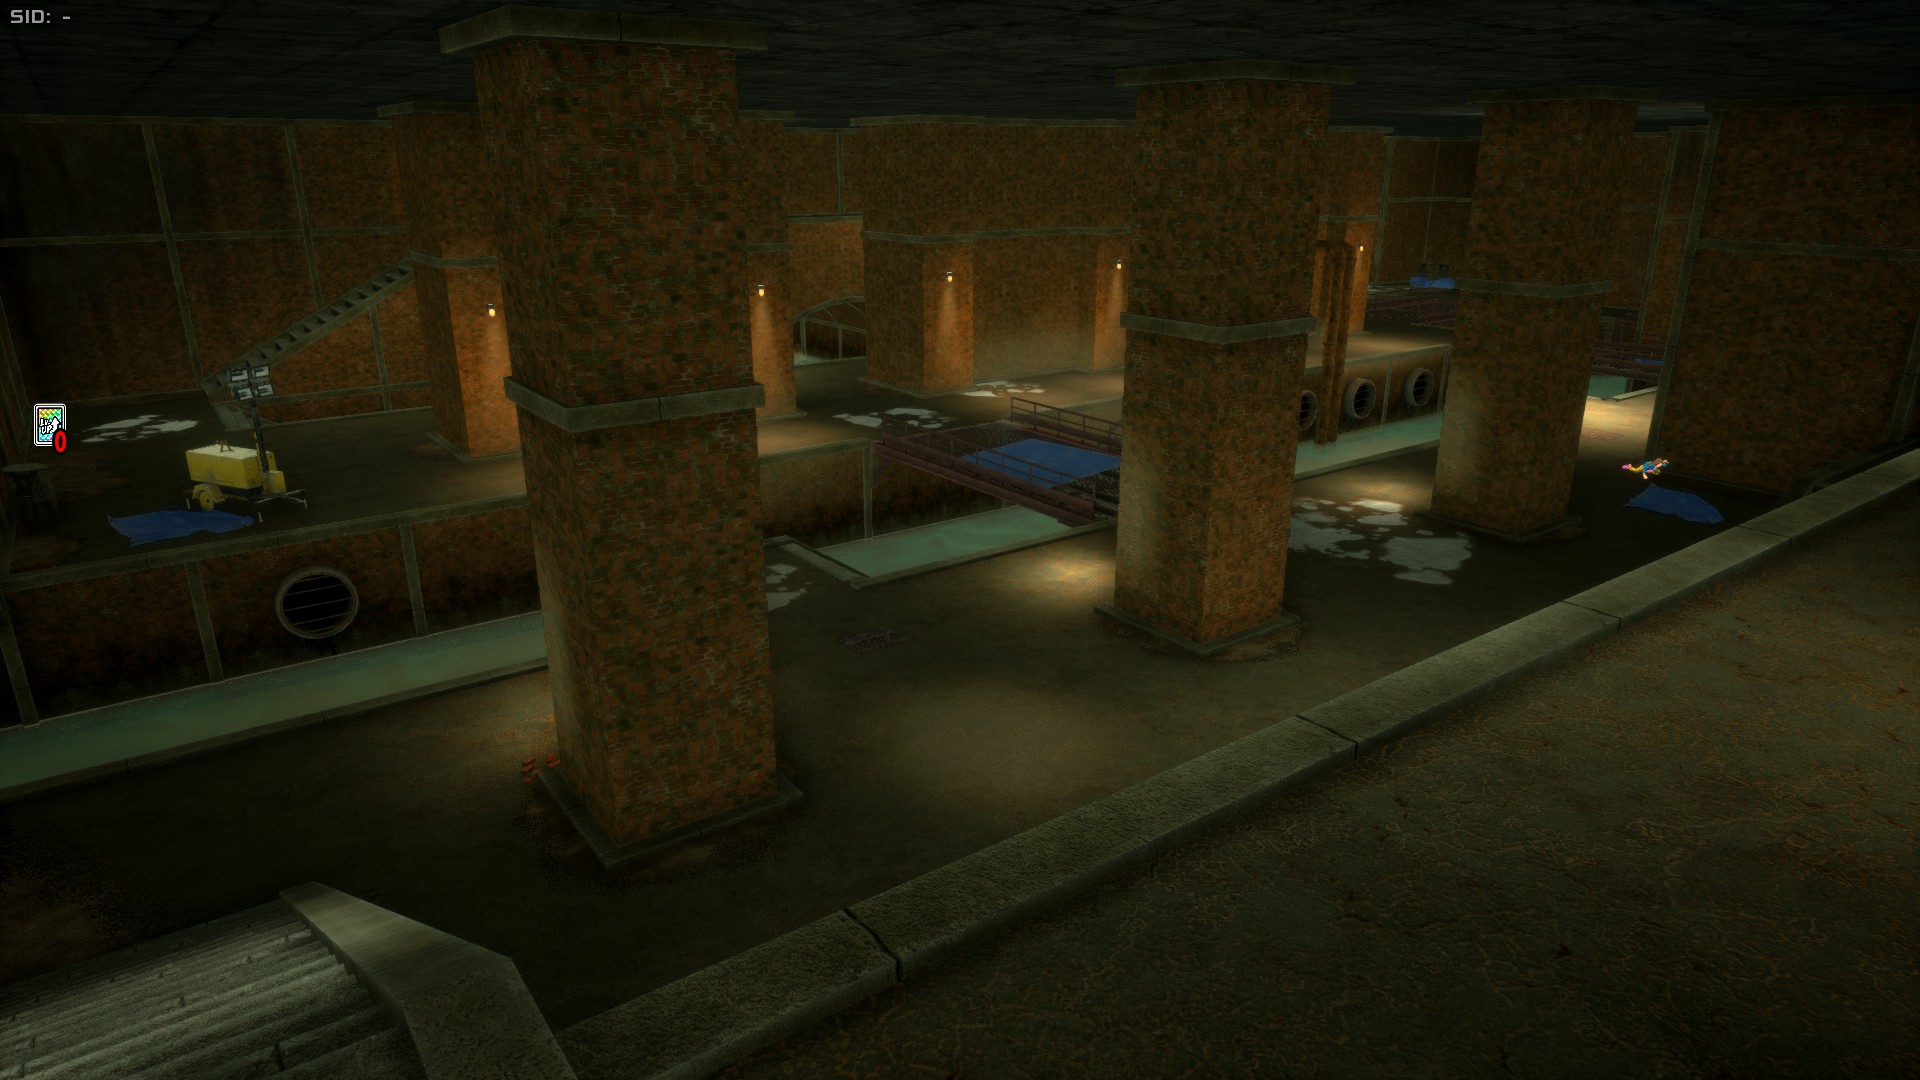
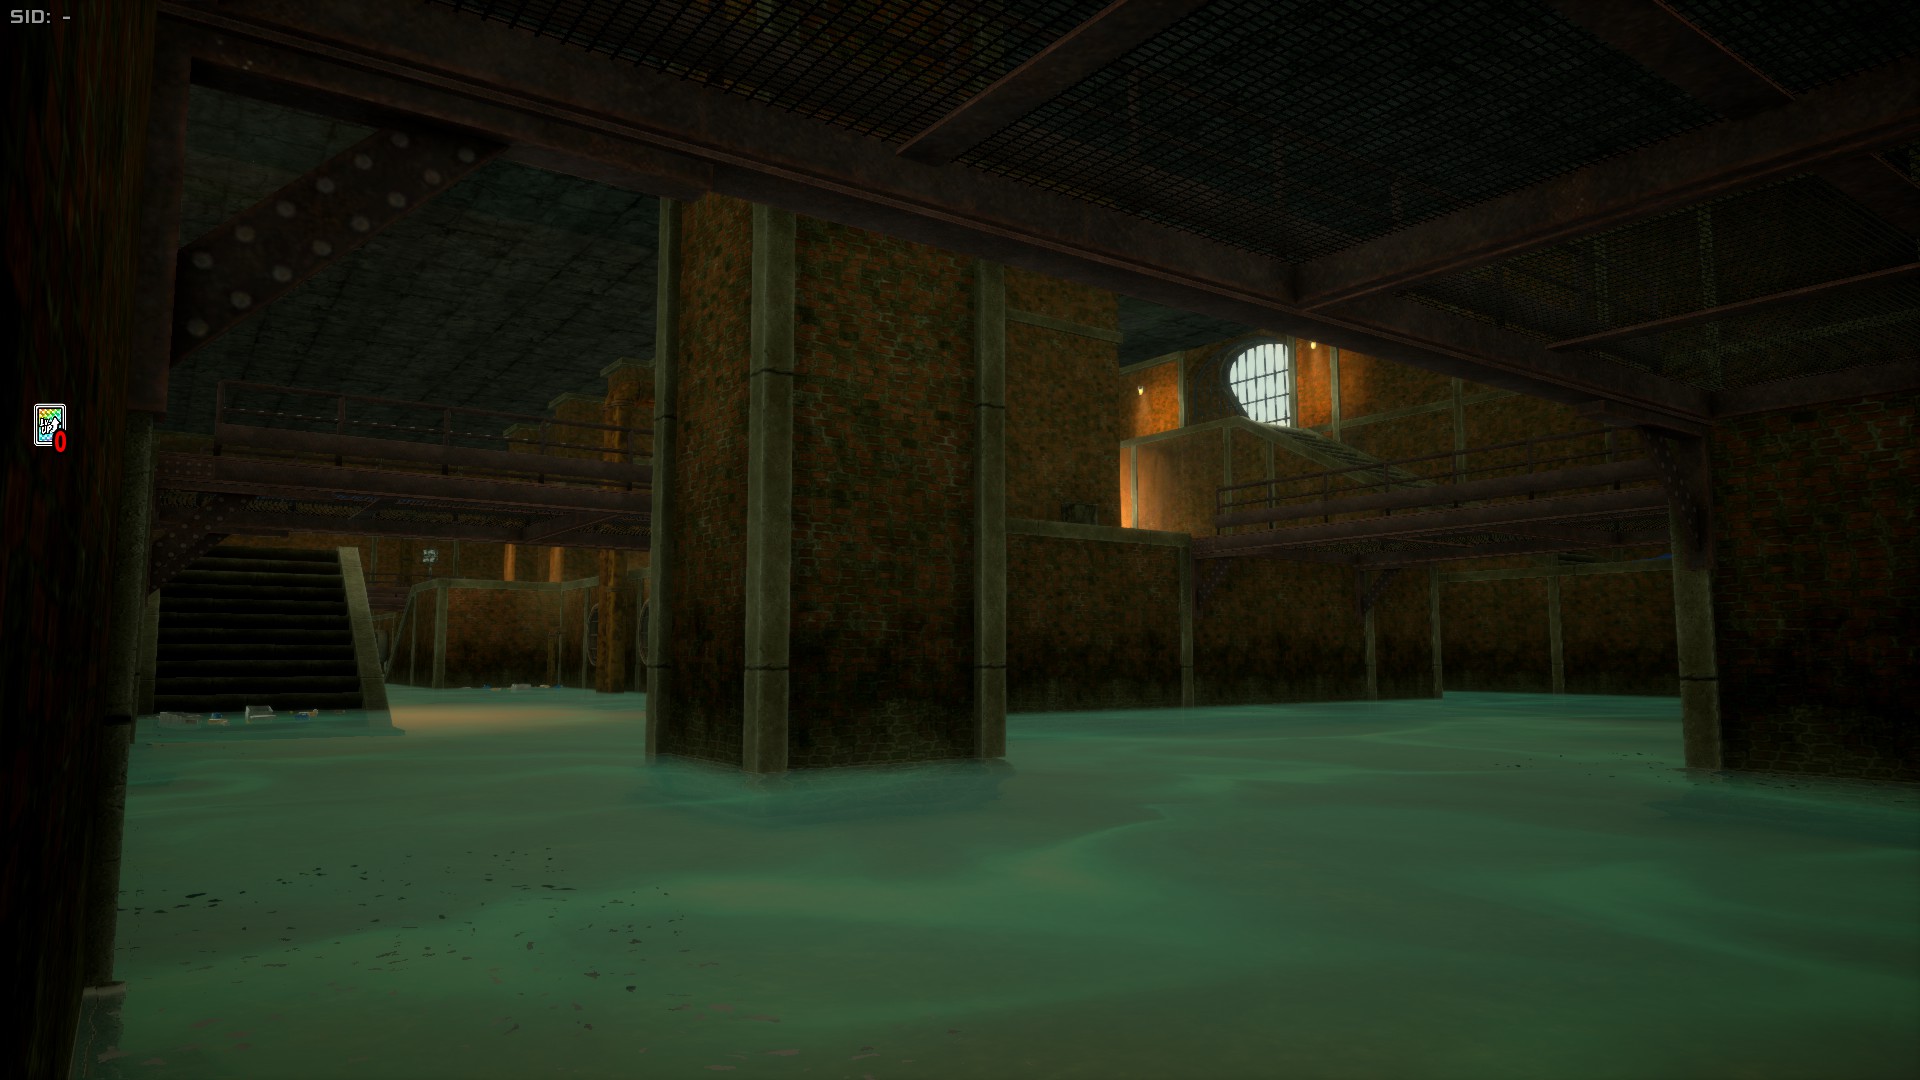
This is a massive indoors area with 2 floors plus an underground and a really ample rooftop. Unlike Chaos City's mansion, this building's indoors areas are quite spacious, allowing high mobility characters to shine while being a less ideal place for characters that usually perform best in buildings. The Hospital's parking lot has a few good hiding spots like trees, bushes and cars, as well as a few civilian boxes to get Revvie Cards from, however, you can actually access what's below it through manholes by breaking the cover or the parking lot's ground itself, which will lead players to a small Sewers area. The Sewers have a few areas to hide but aren't too spacious of an area. These connect to the actual Hospital Underground, which is the Research Lab Area.
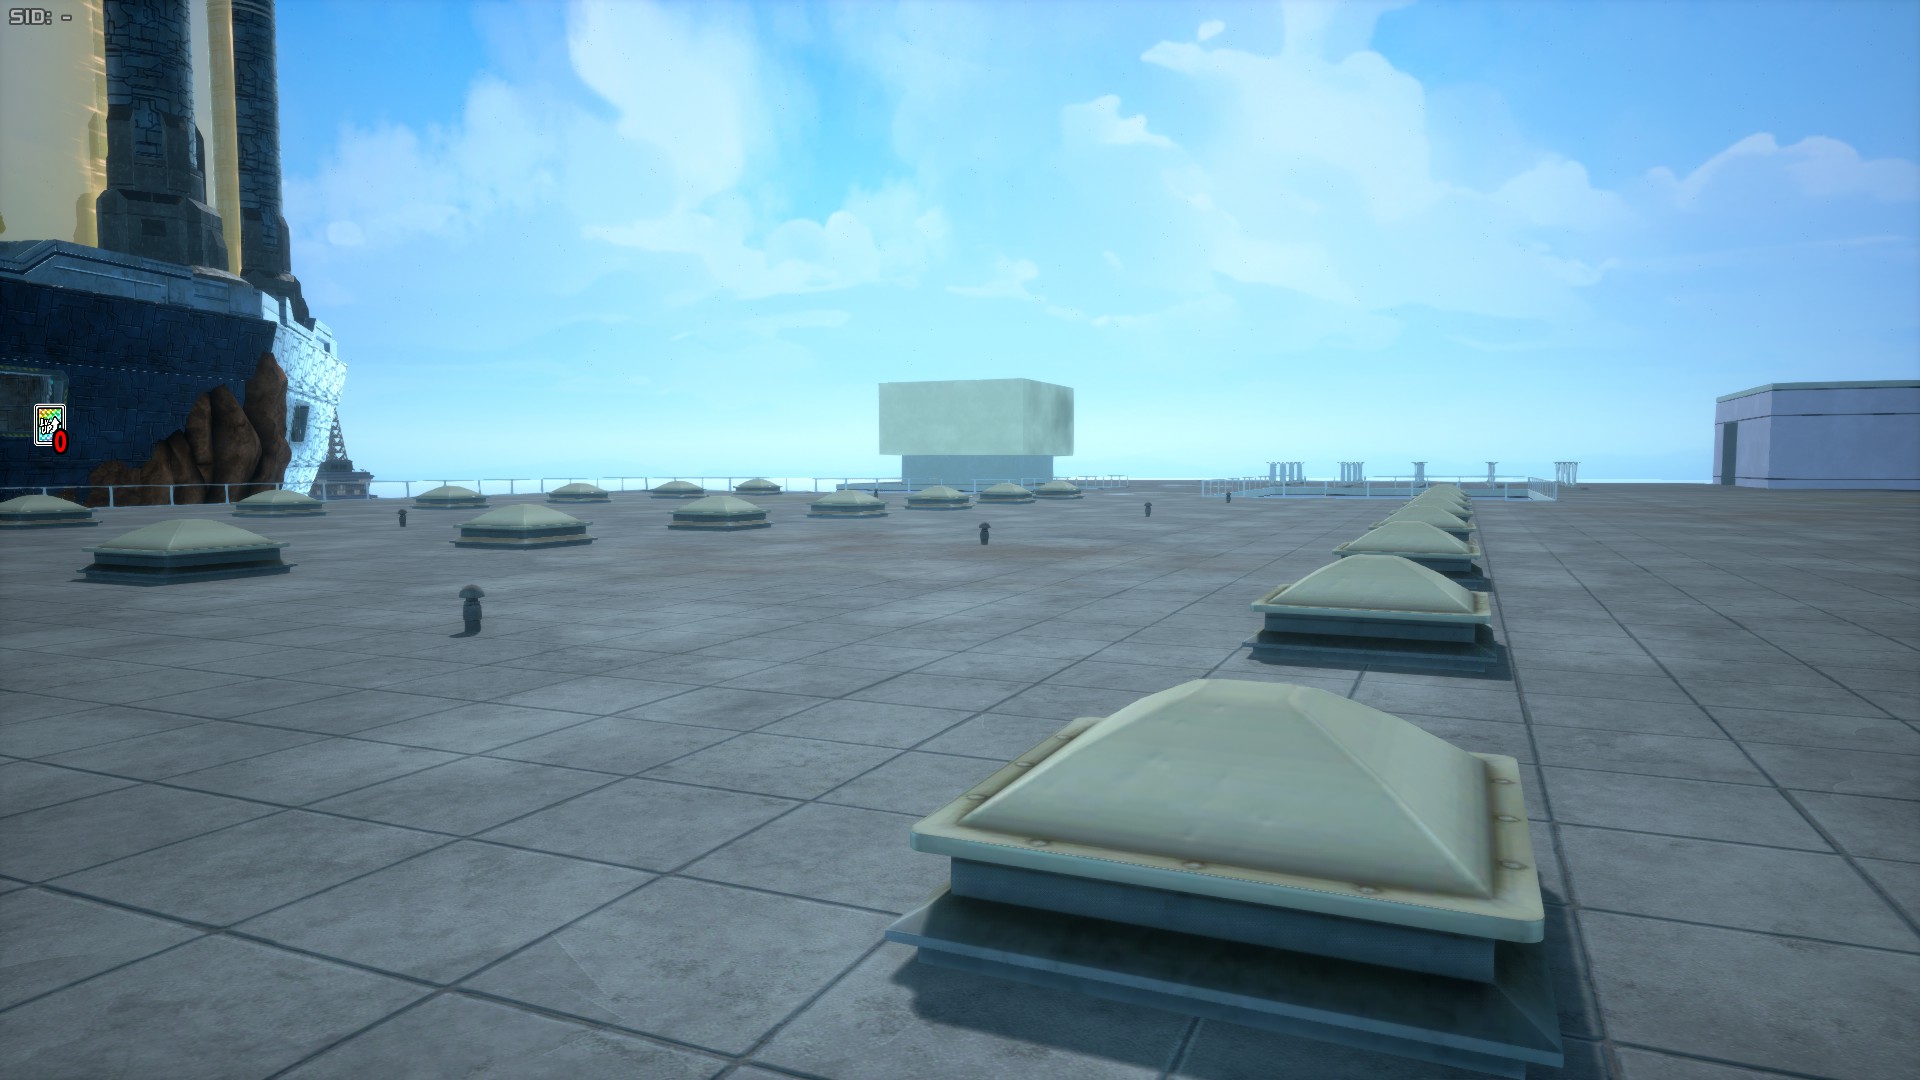
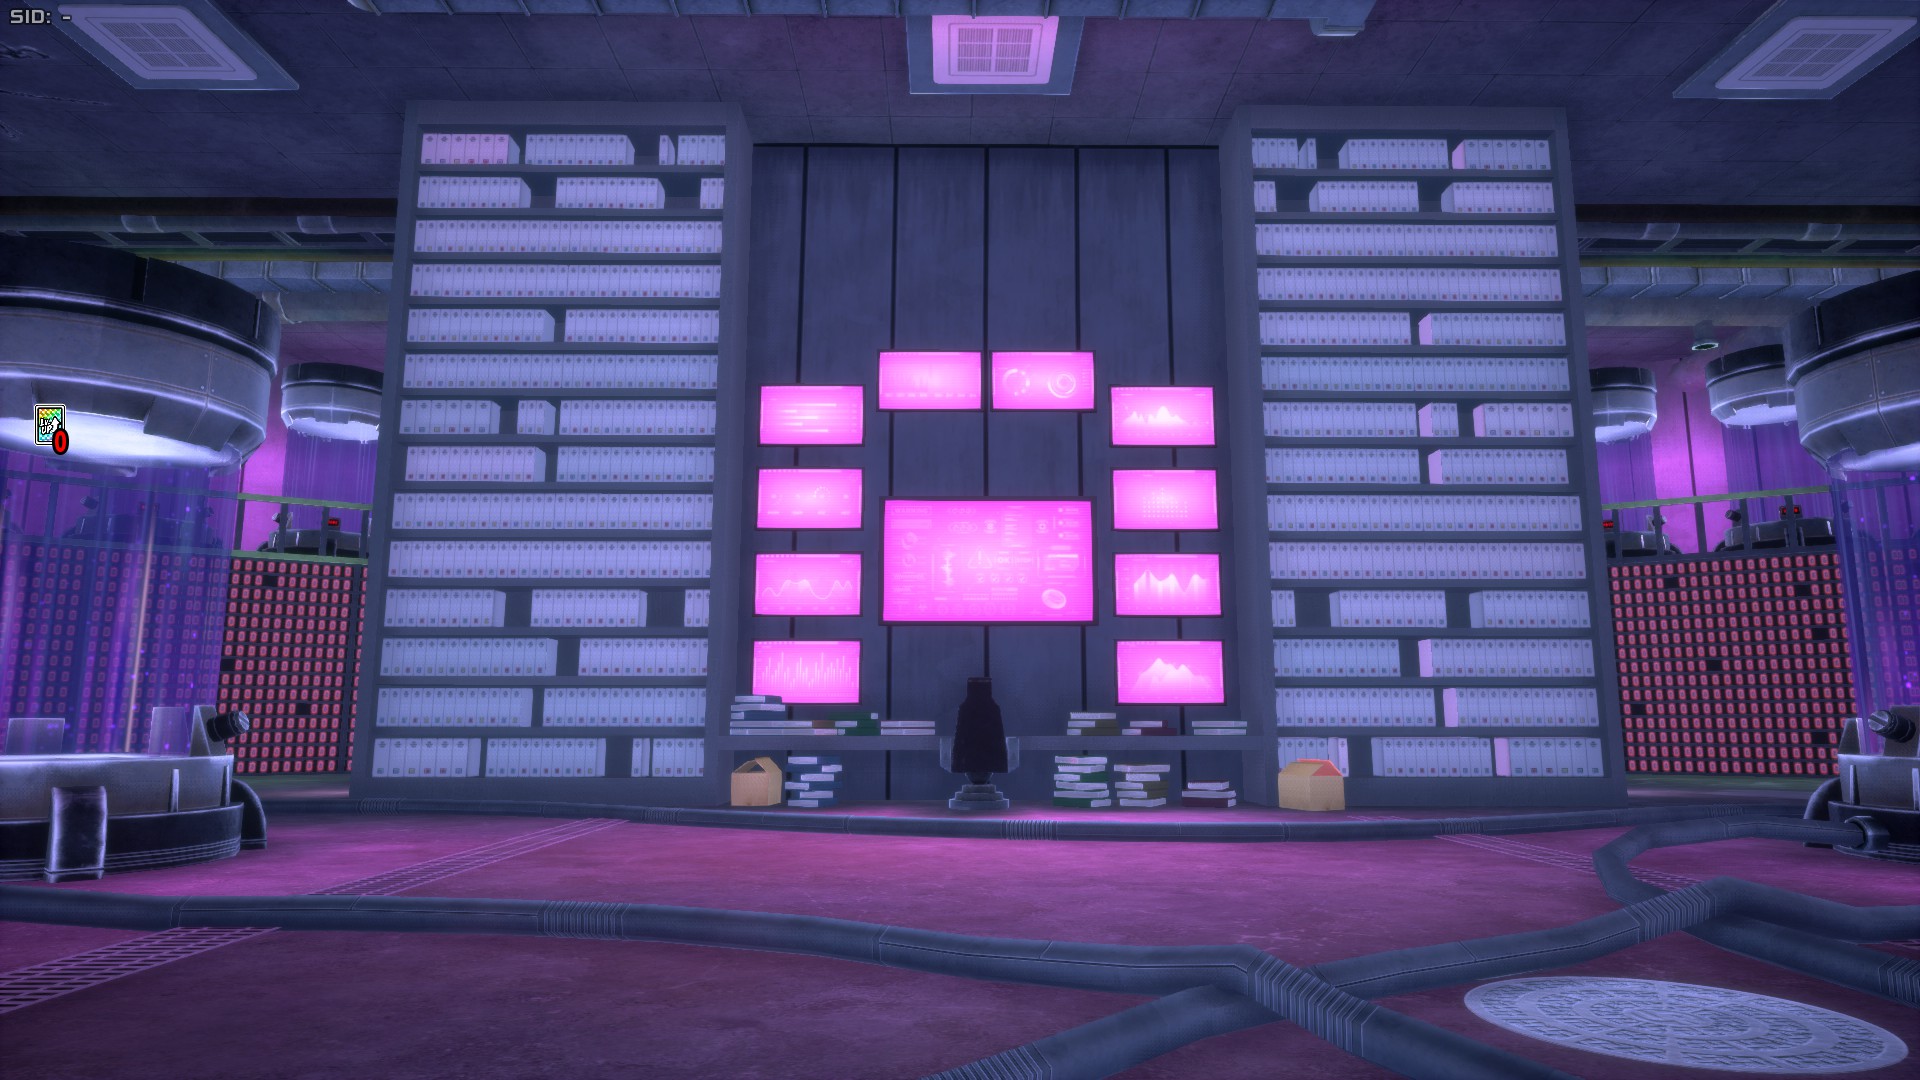
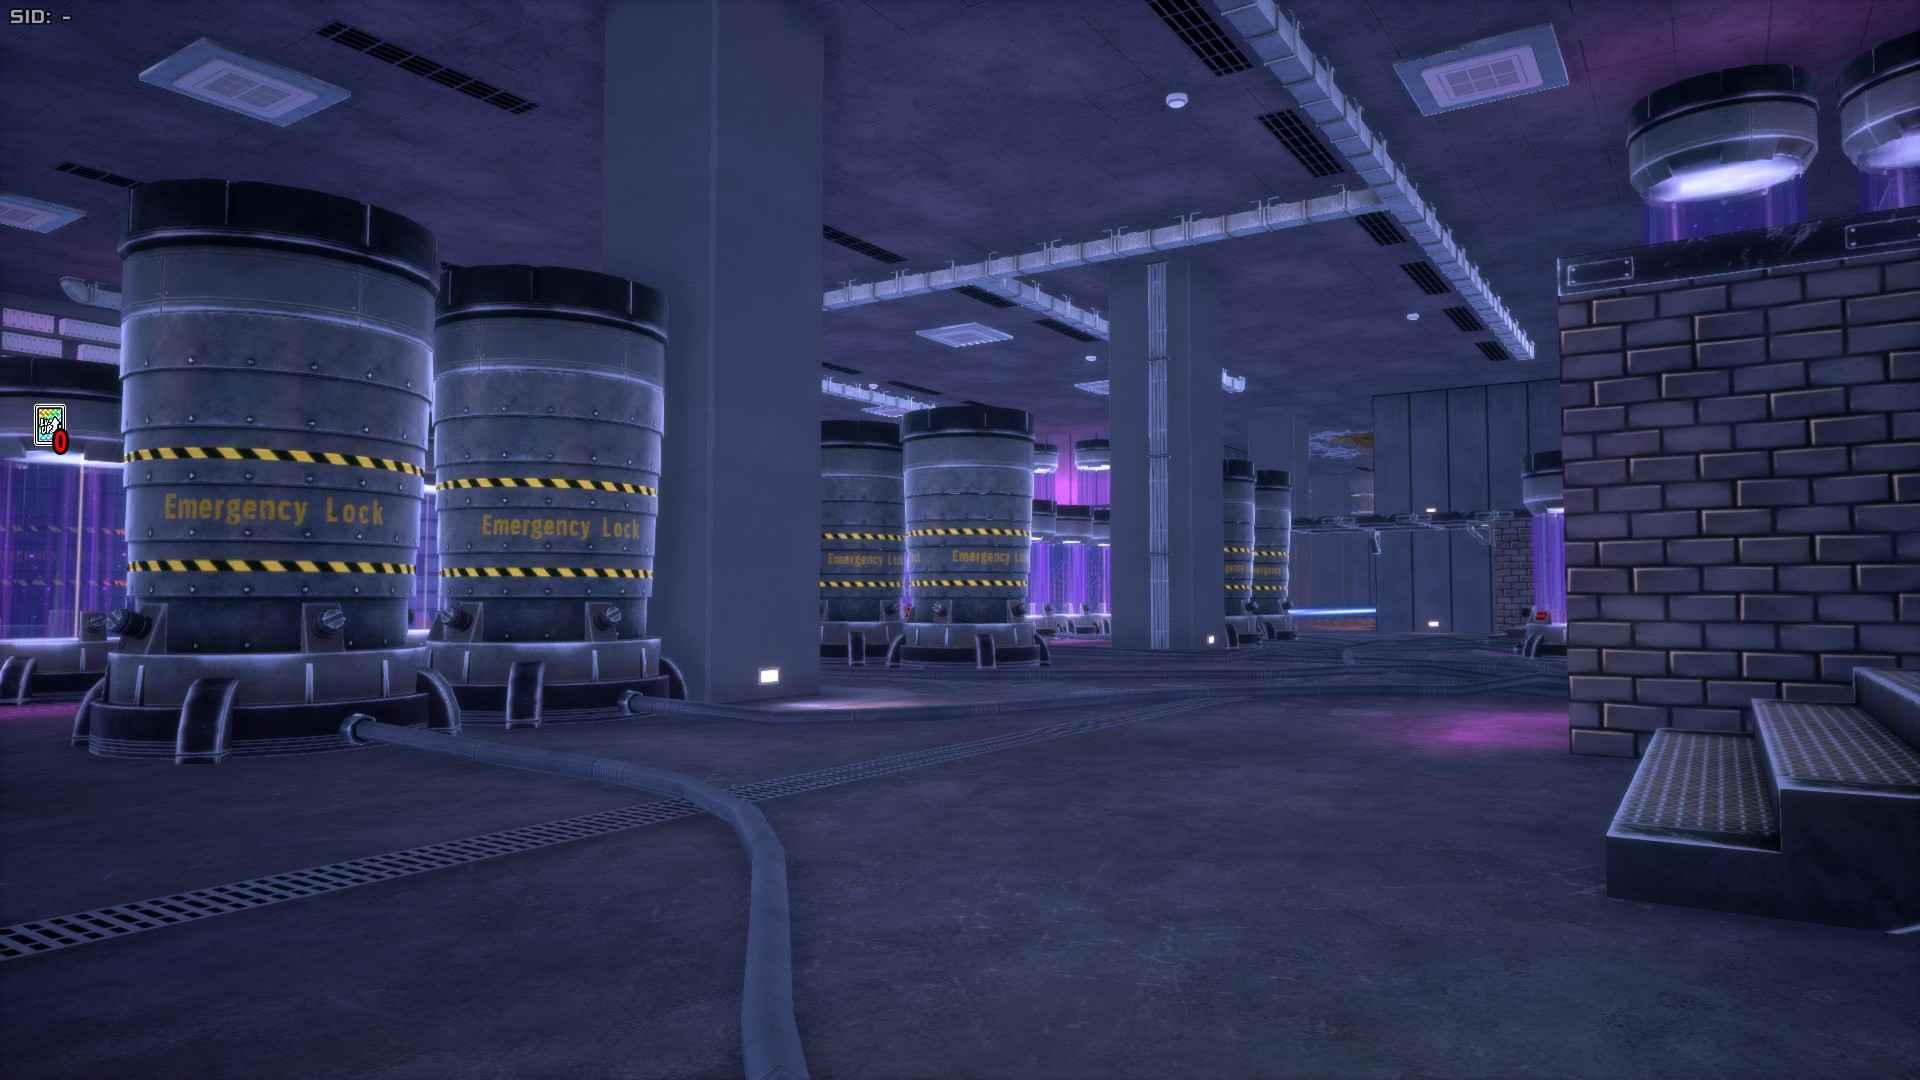
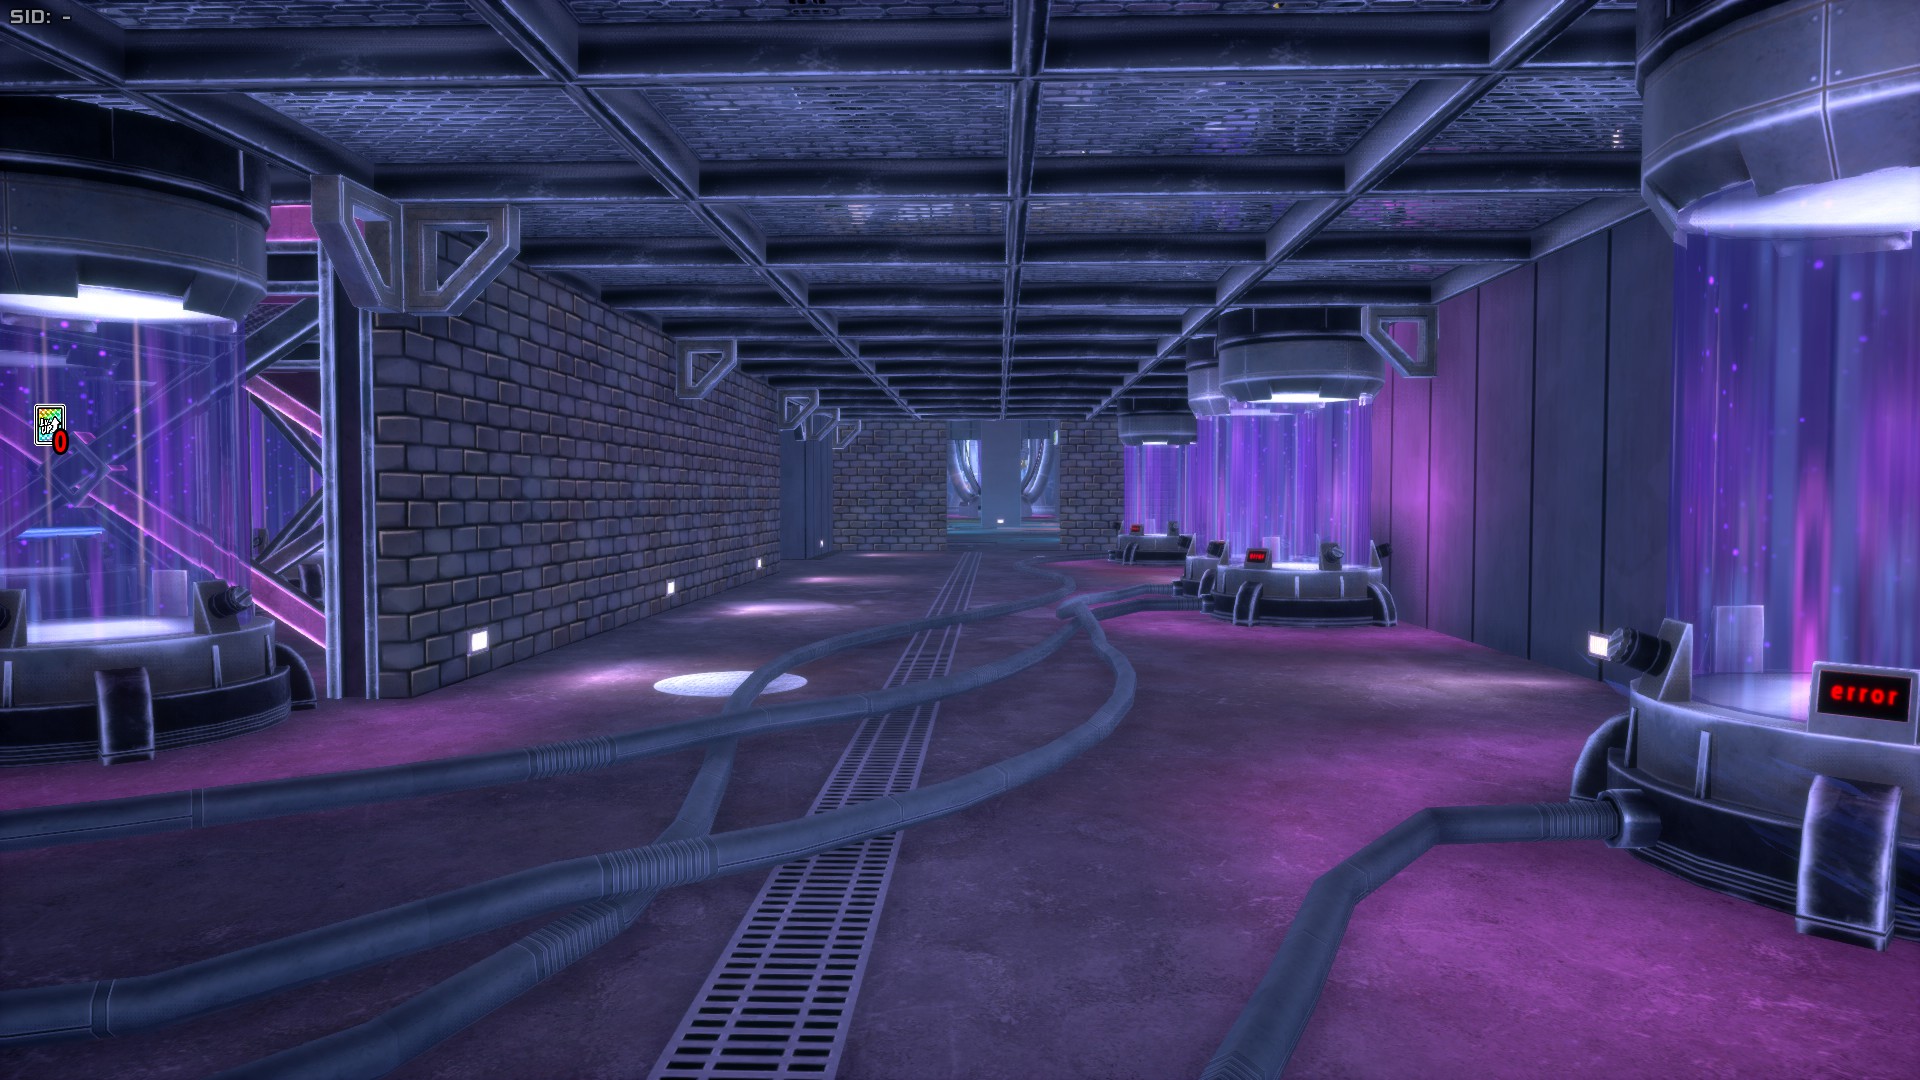
The Research Lab Area features a purple-hued laboratory with various liquid tanks that often have items inside. This place can be a useful hiding place when the Hospital is cluttered with people, especially if you find a pocket of safe zone. The Hospital along with the Research Lab are based in the Jaku Hospital seen mainly at the beginning of Season 6 of the anime, which is the Hospital that Kyuudai Garaki used to produce High-End Nomus and "evolve" Tomura Shigaraki.
Contruction Area
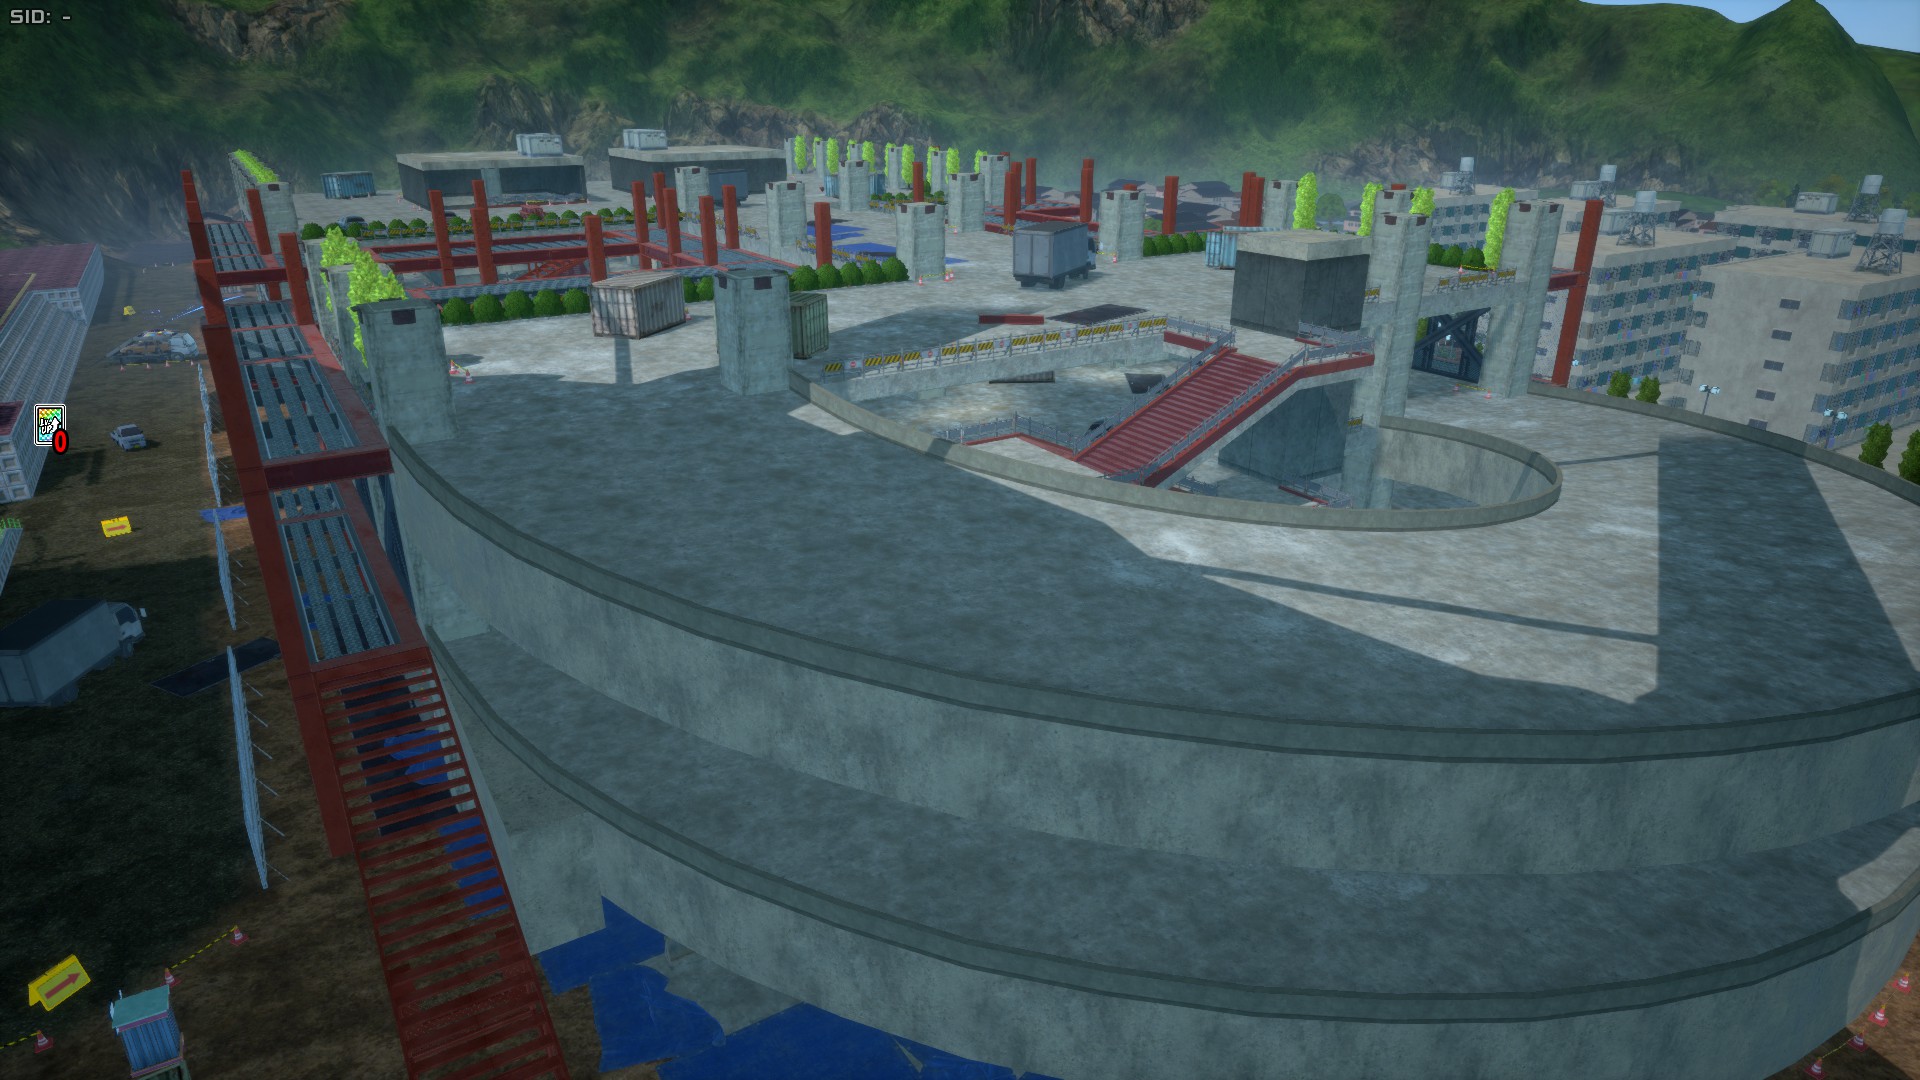
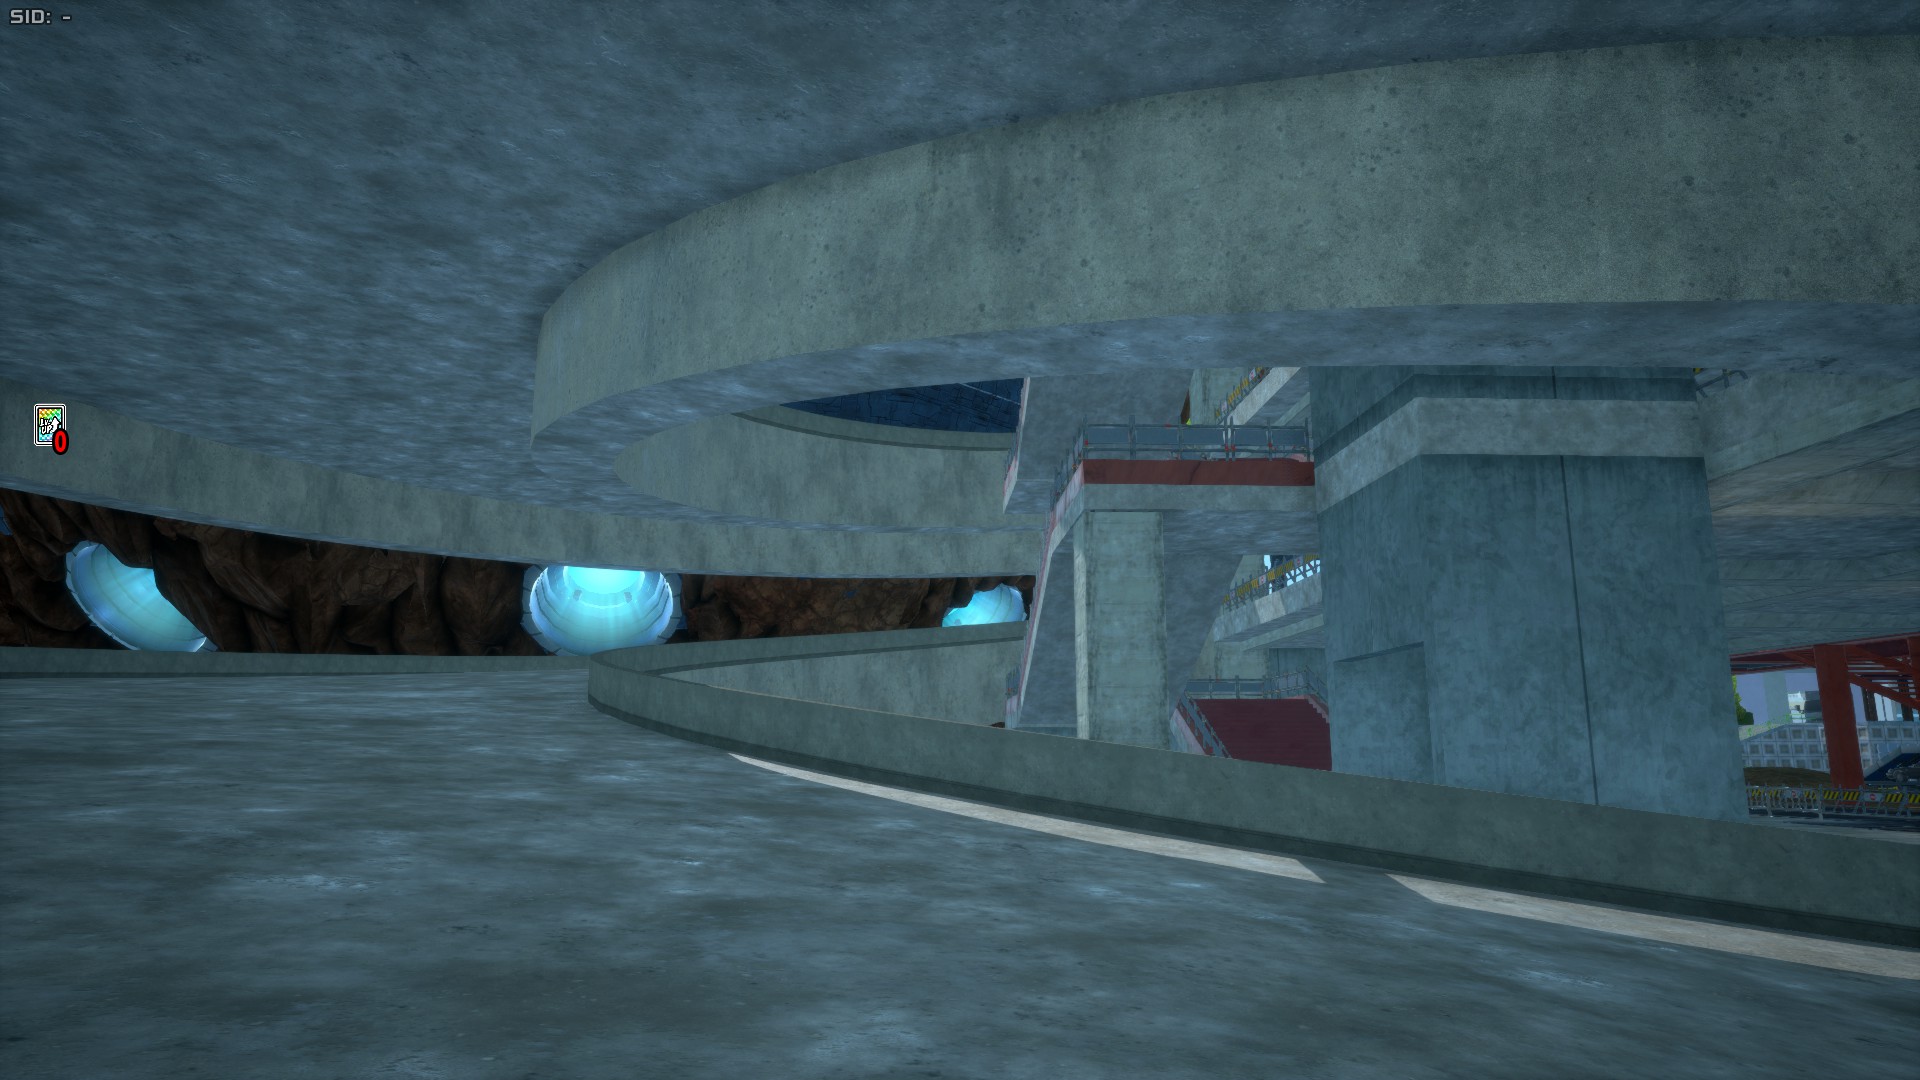
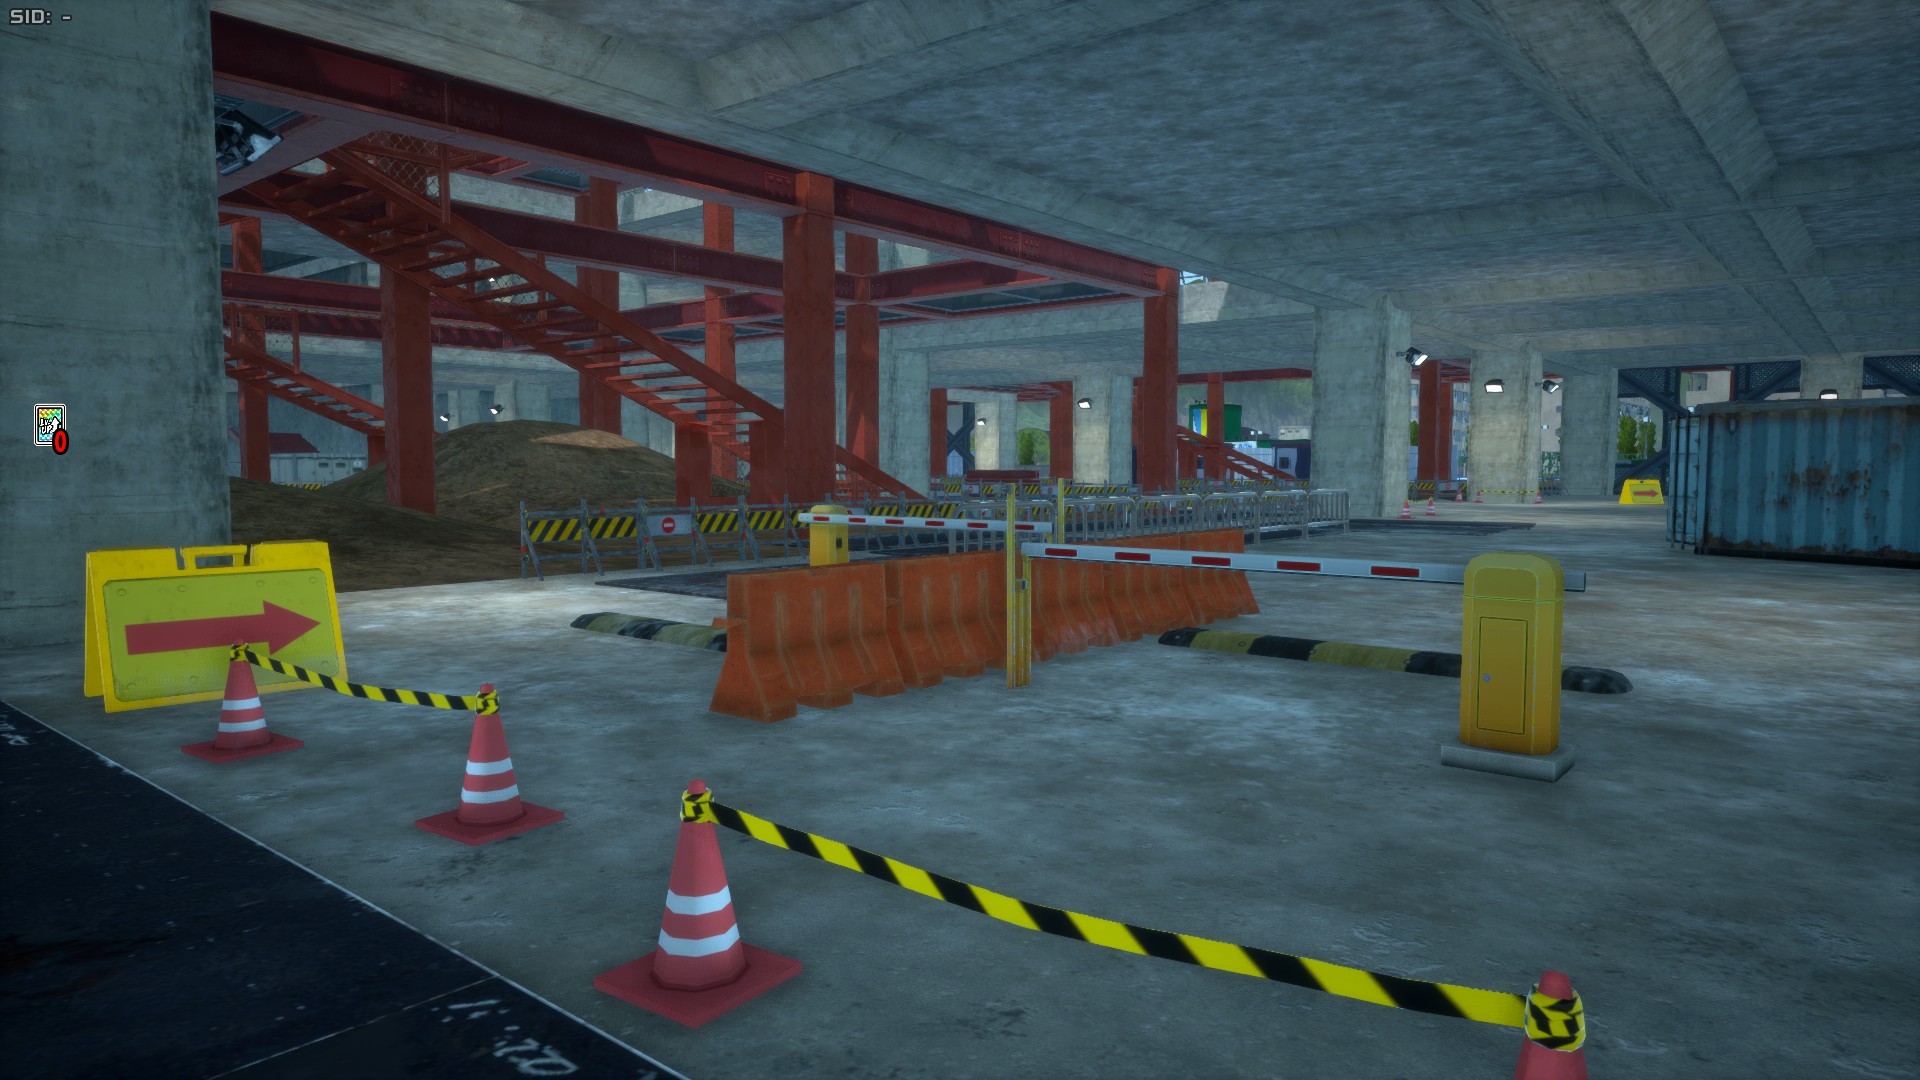
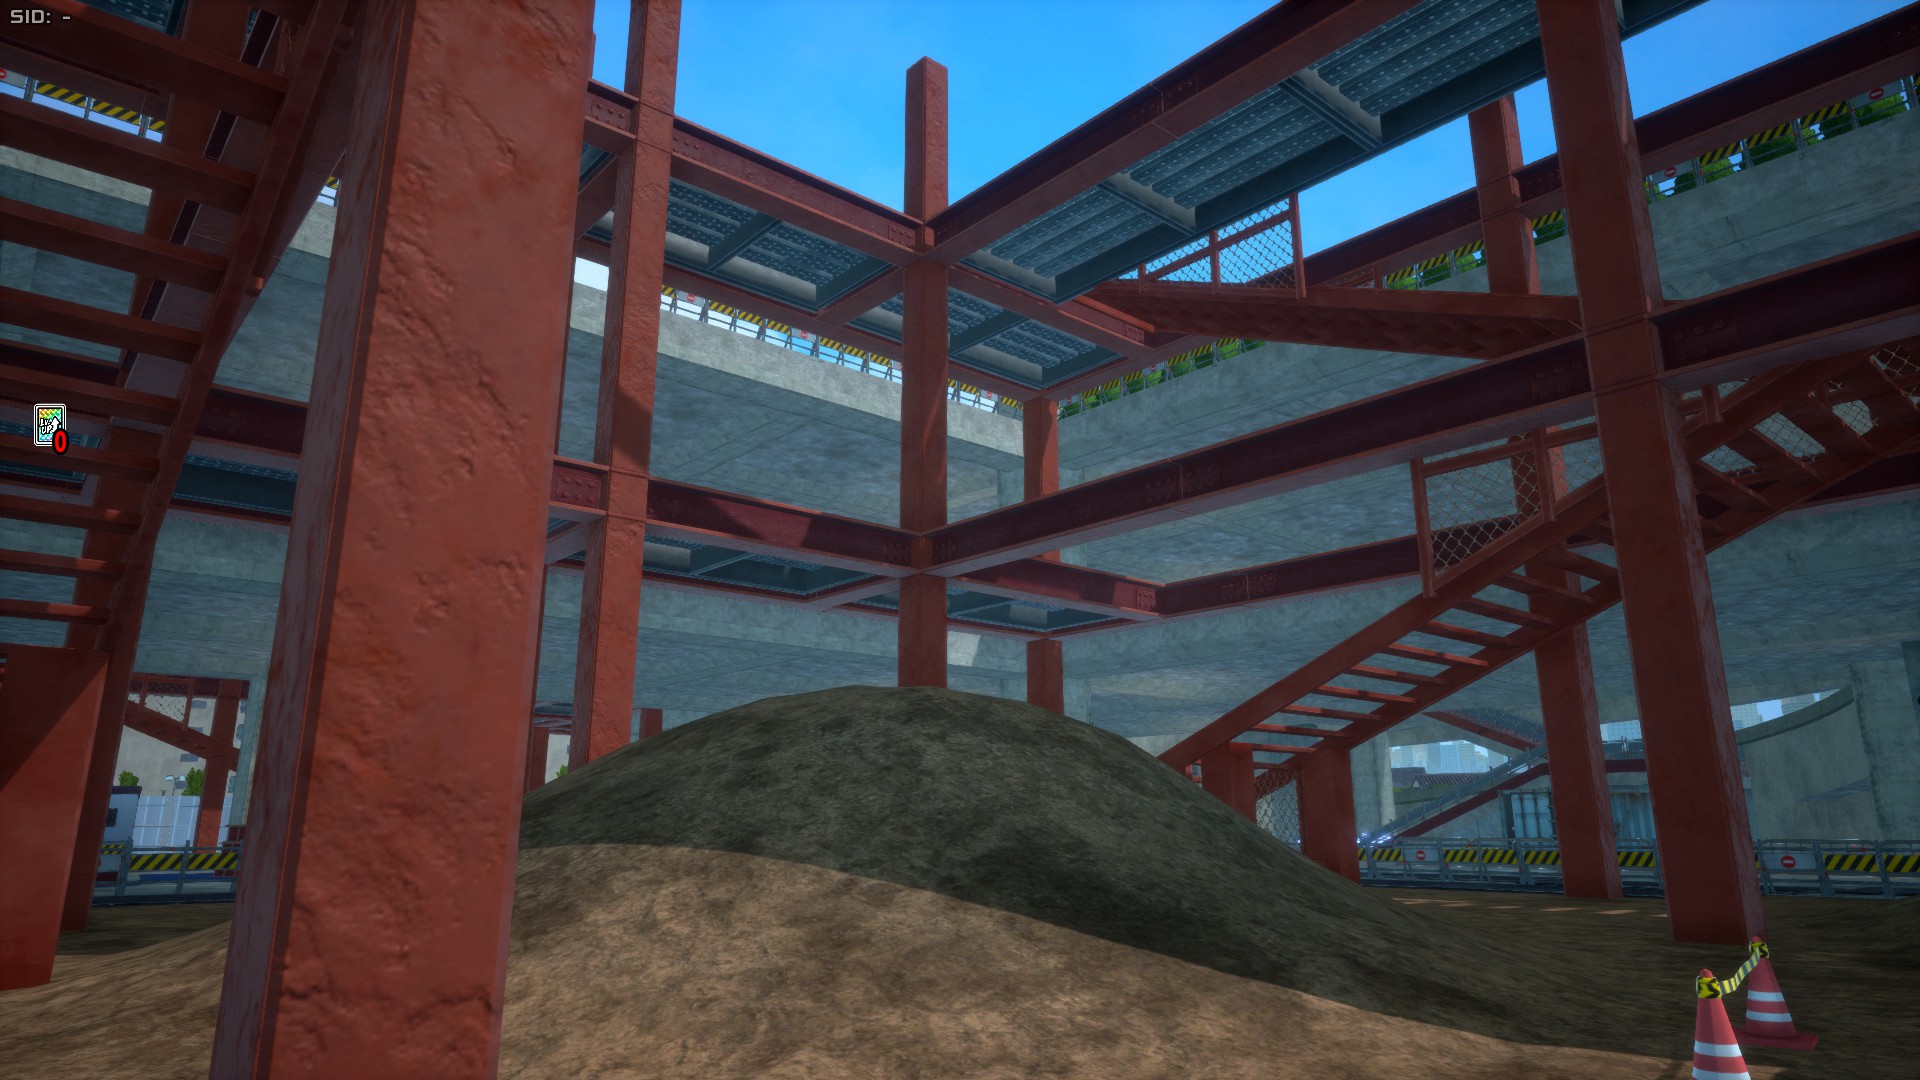
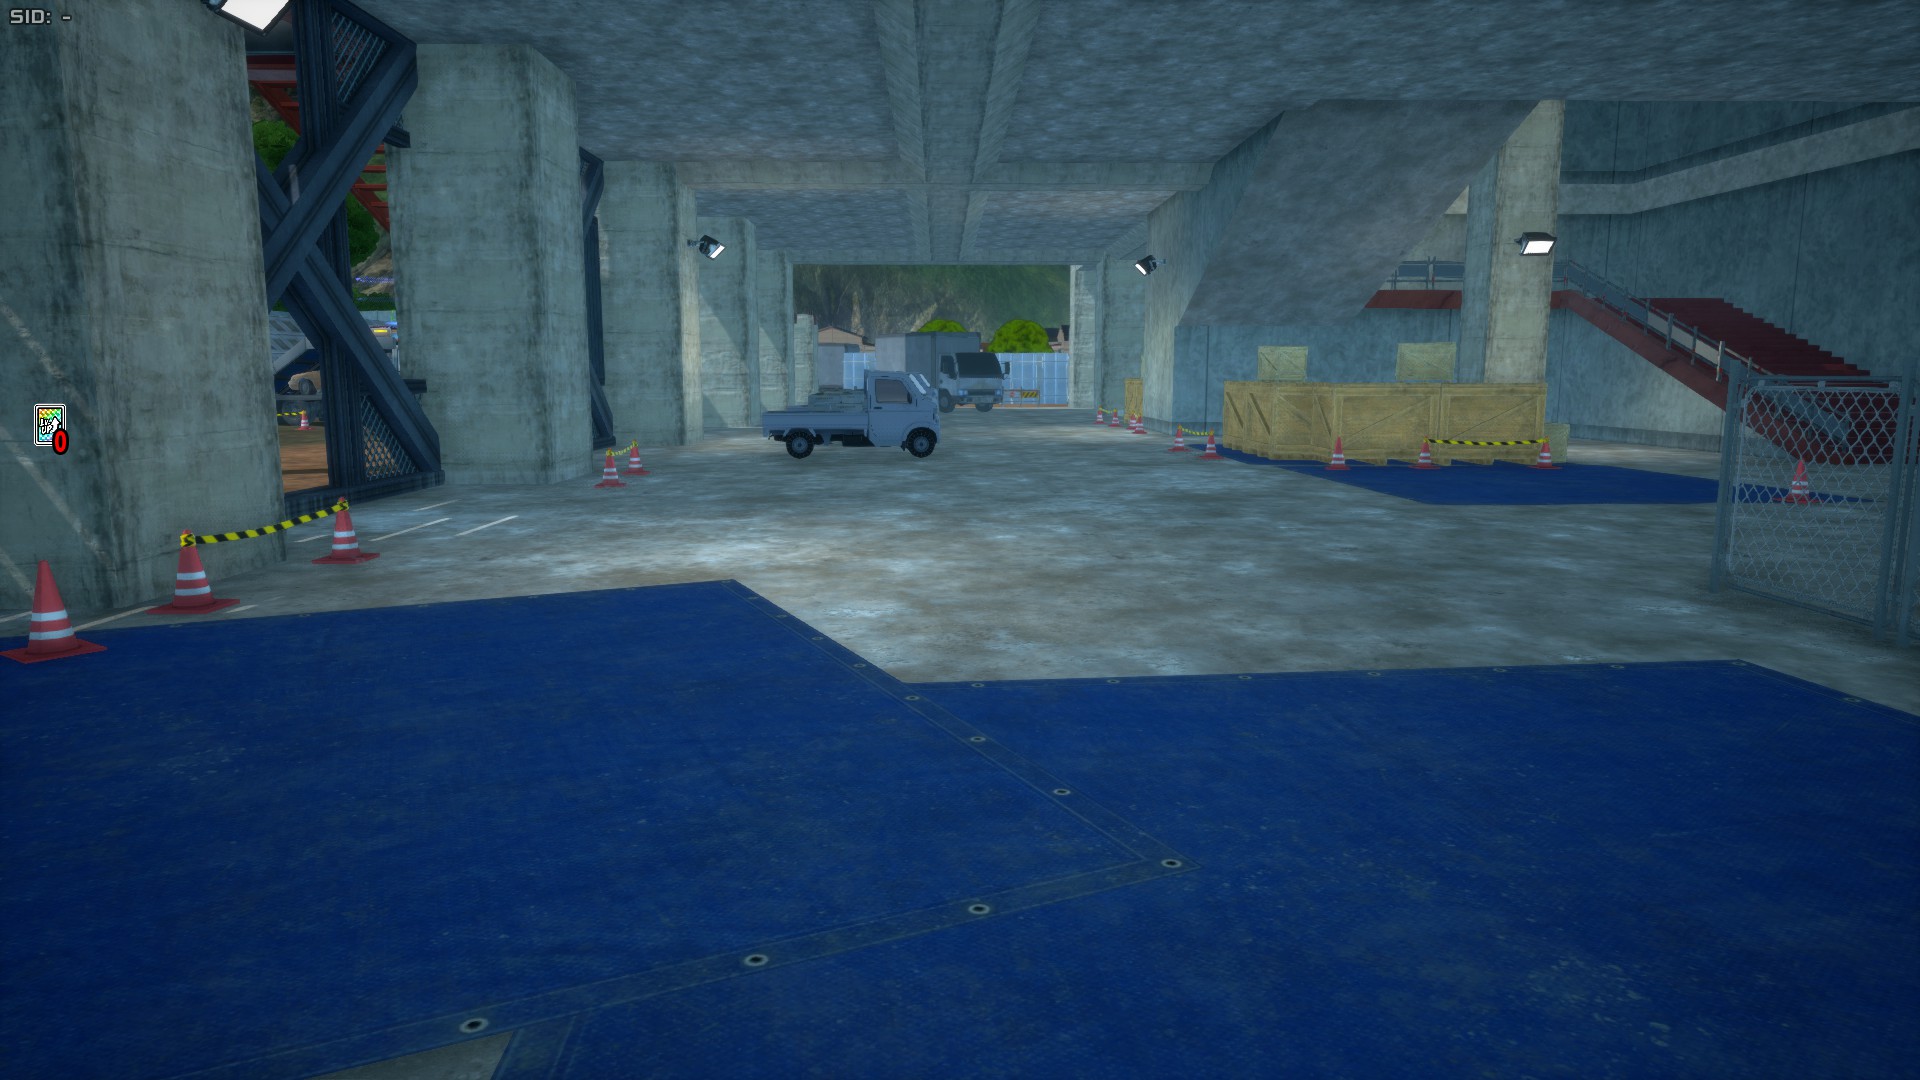
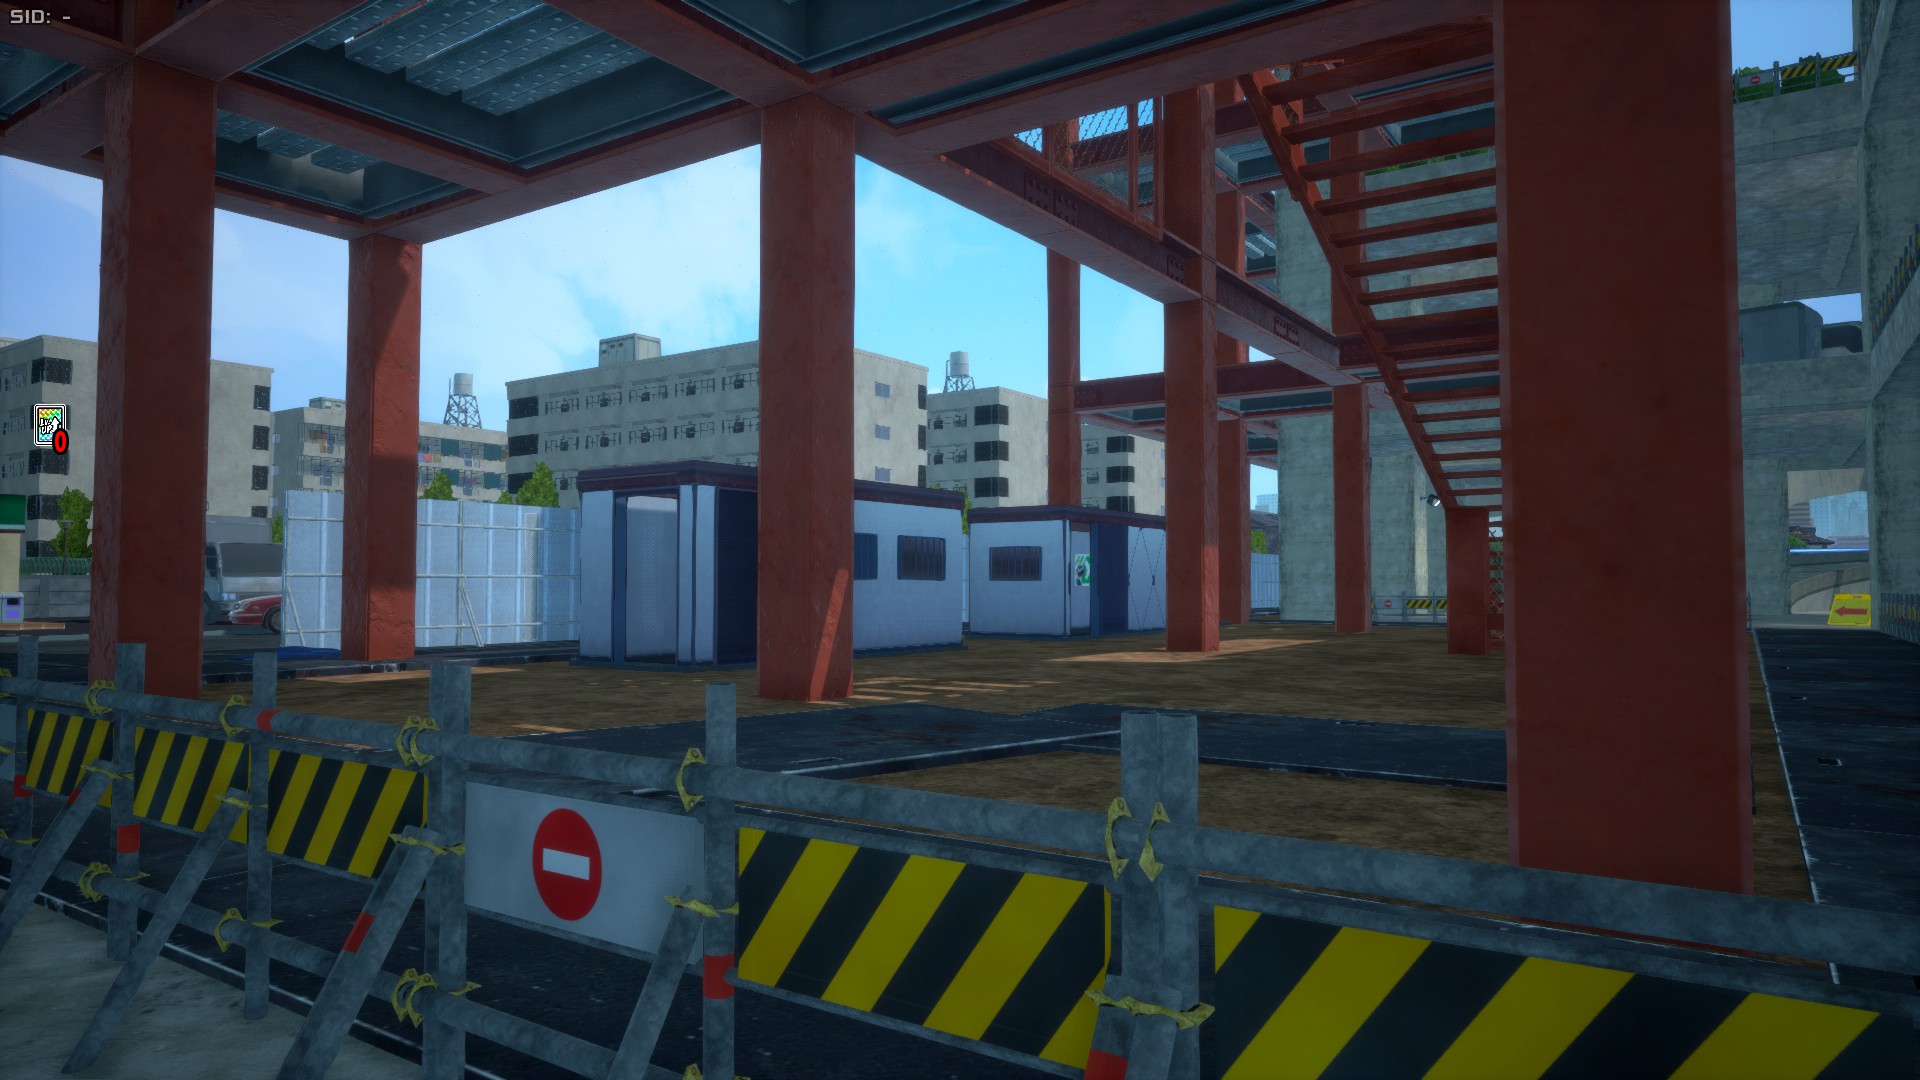
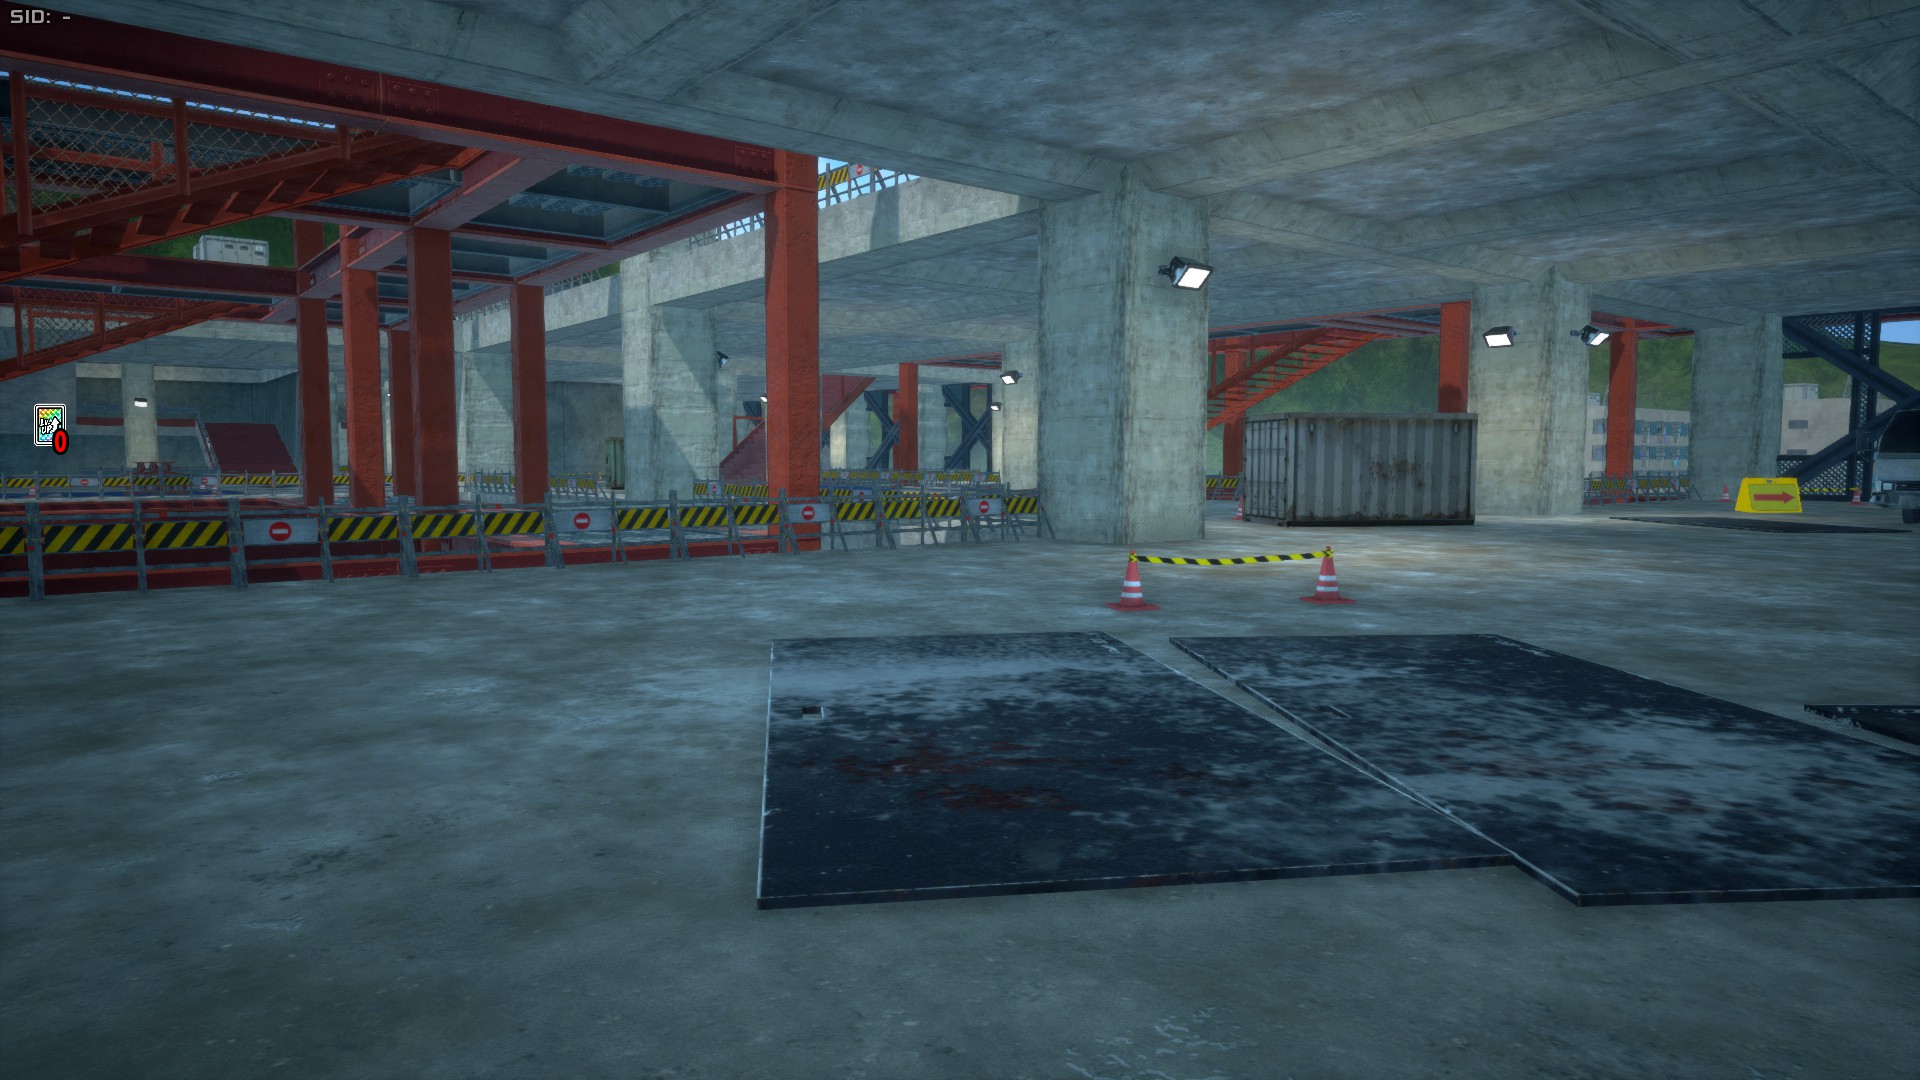
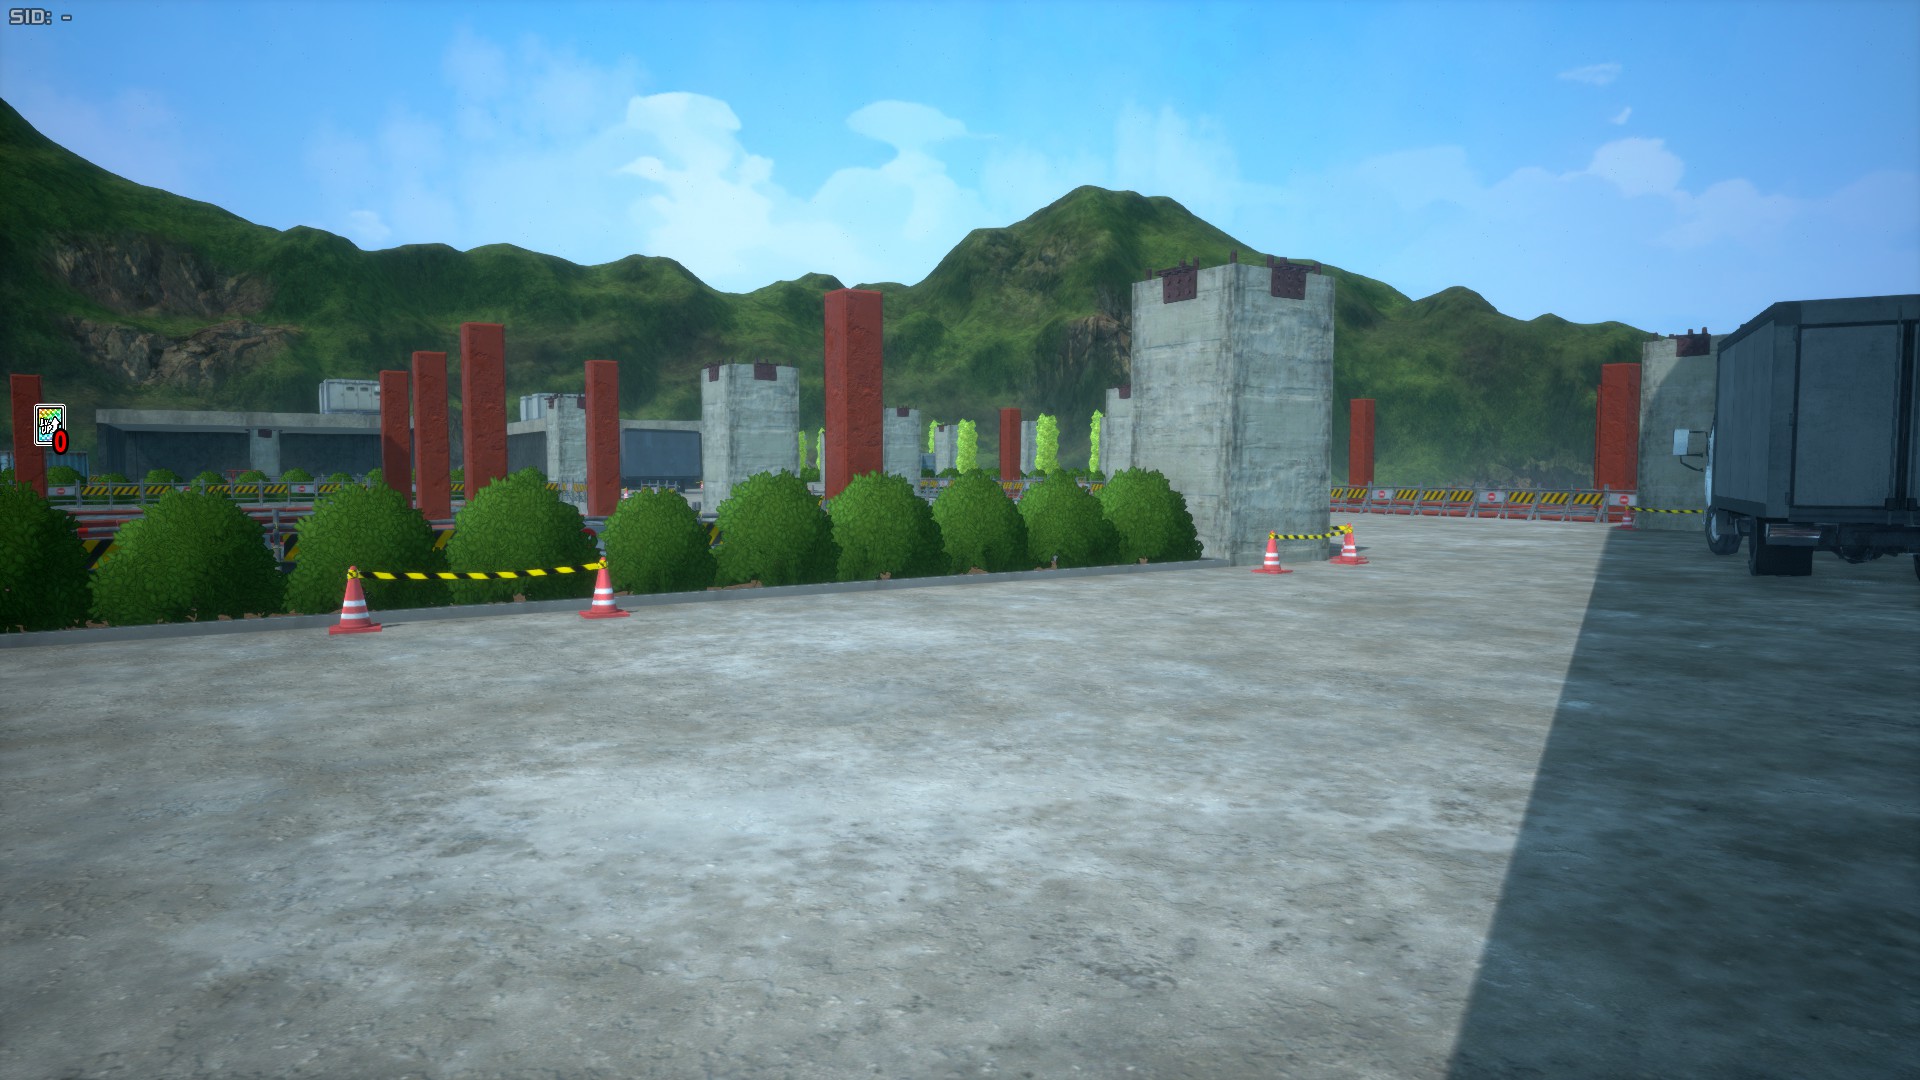
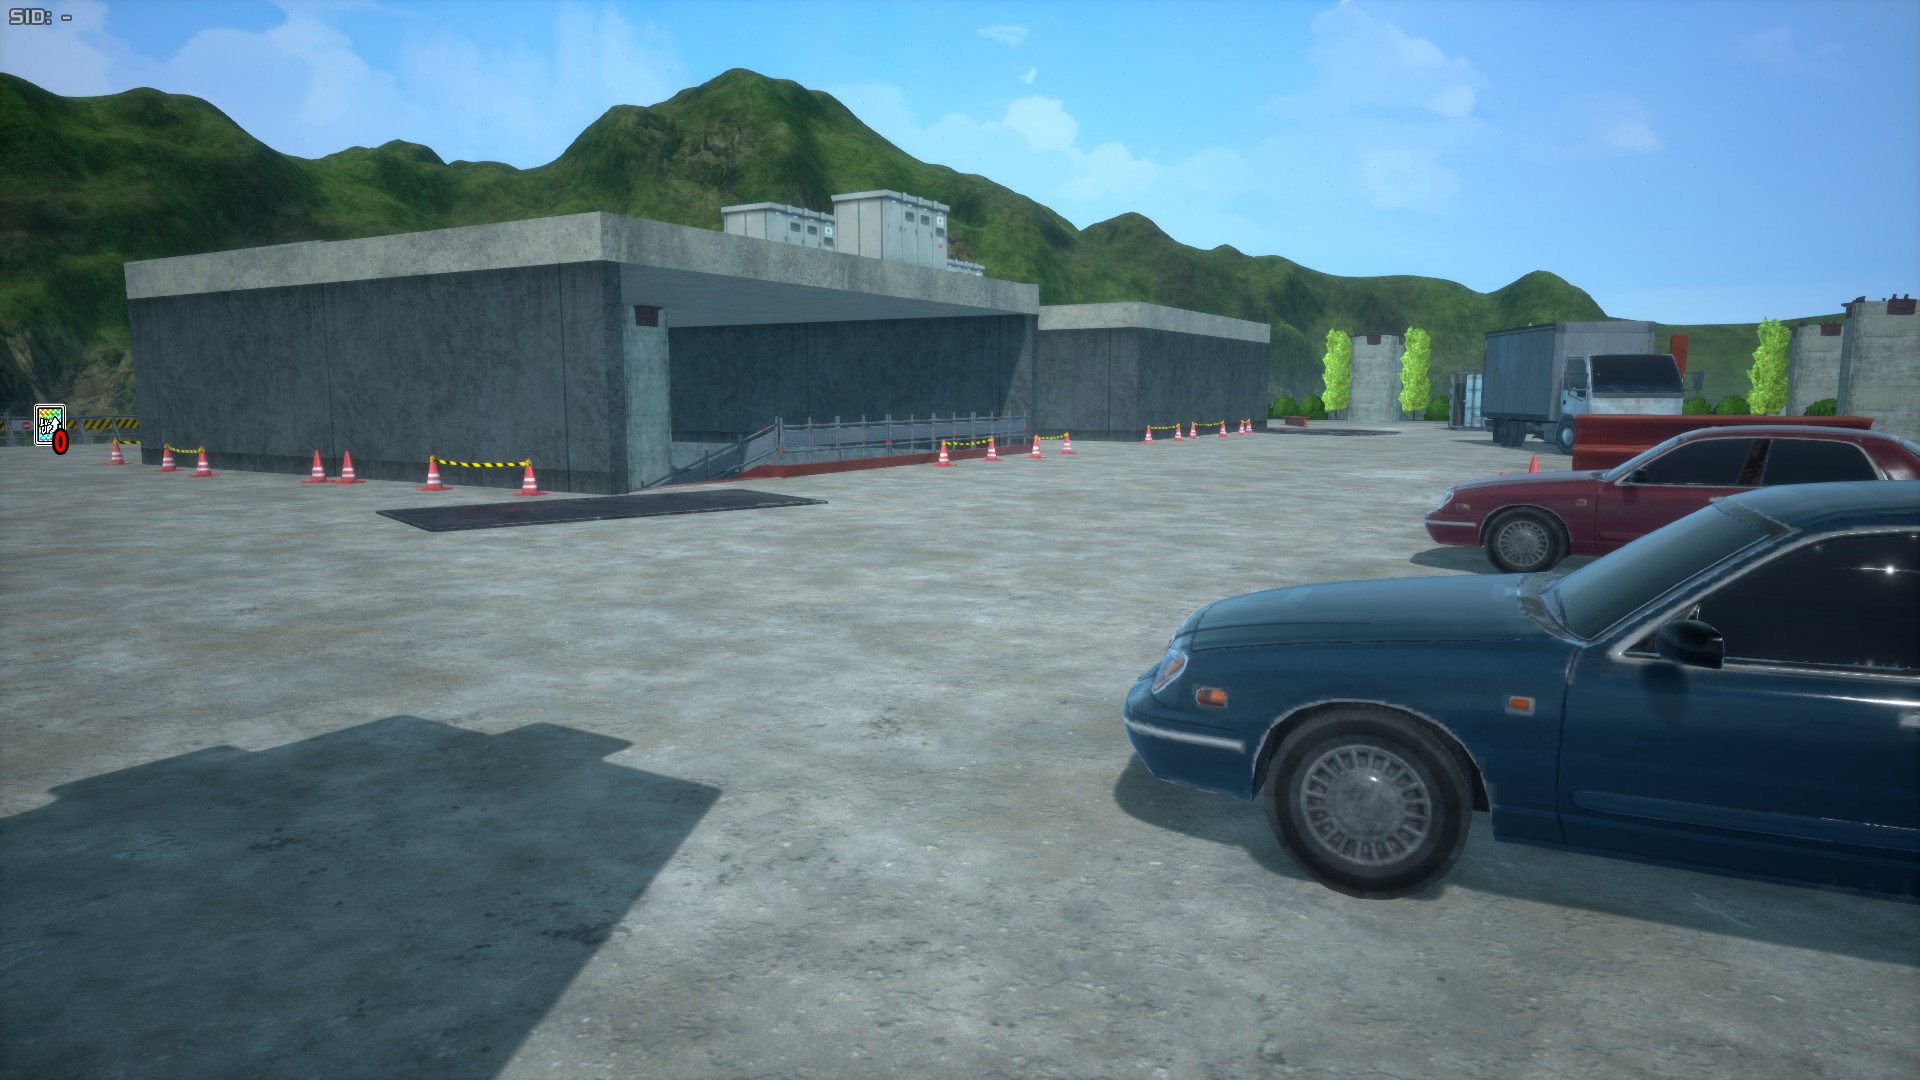
Construction Area occupies half of the western side and the south-western side of the map. It features a 3-floor construction zone that's based in the construction place seen in Season 4 of the anime in the battle between Izuku Midoriya and Gentle Criminal. Mobility characters can maneuver this area in ways that can make it hard for them to be tracked, which when paired with the lowkey useful hiding spots it offers can make it easier for them to survive even when chased.
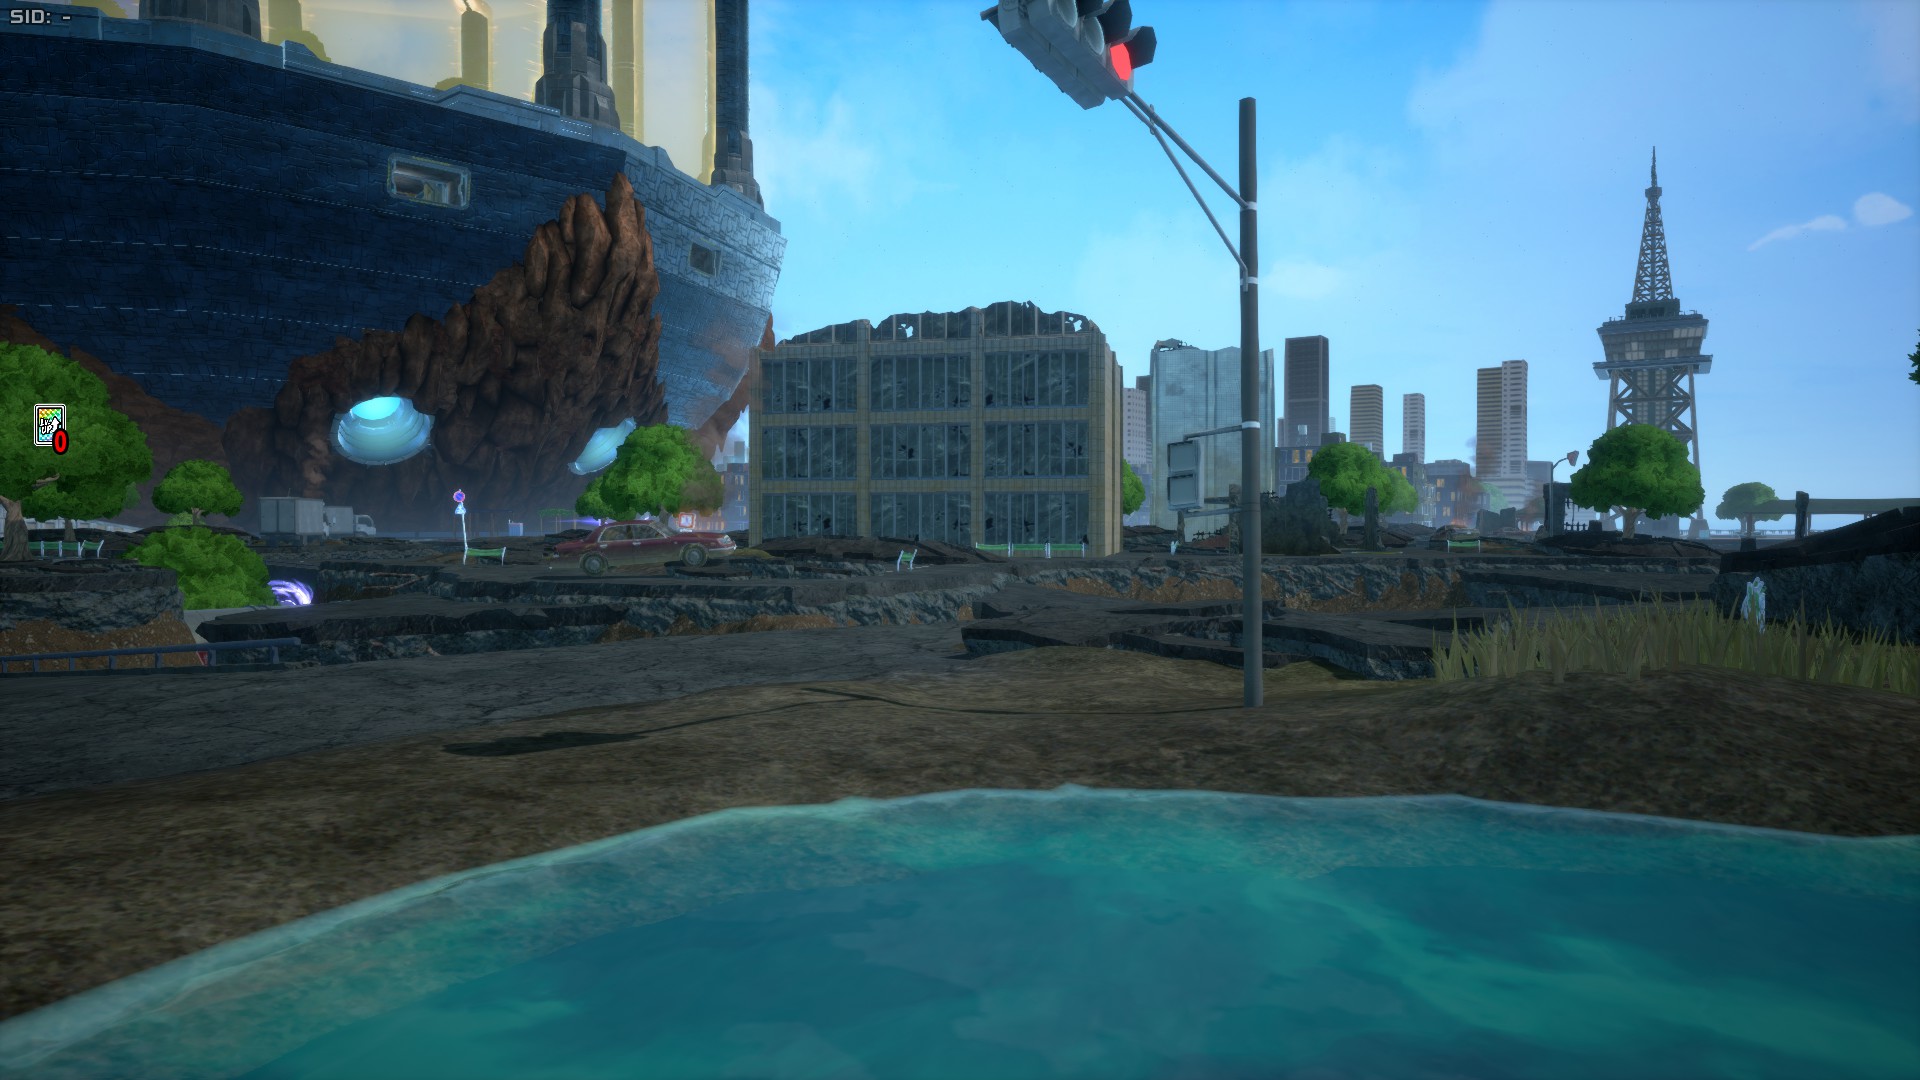
Flood Area
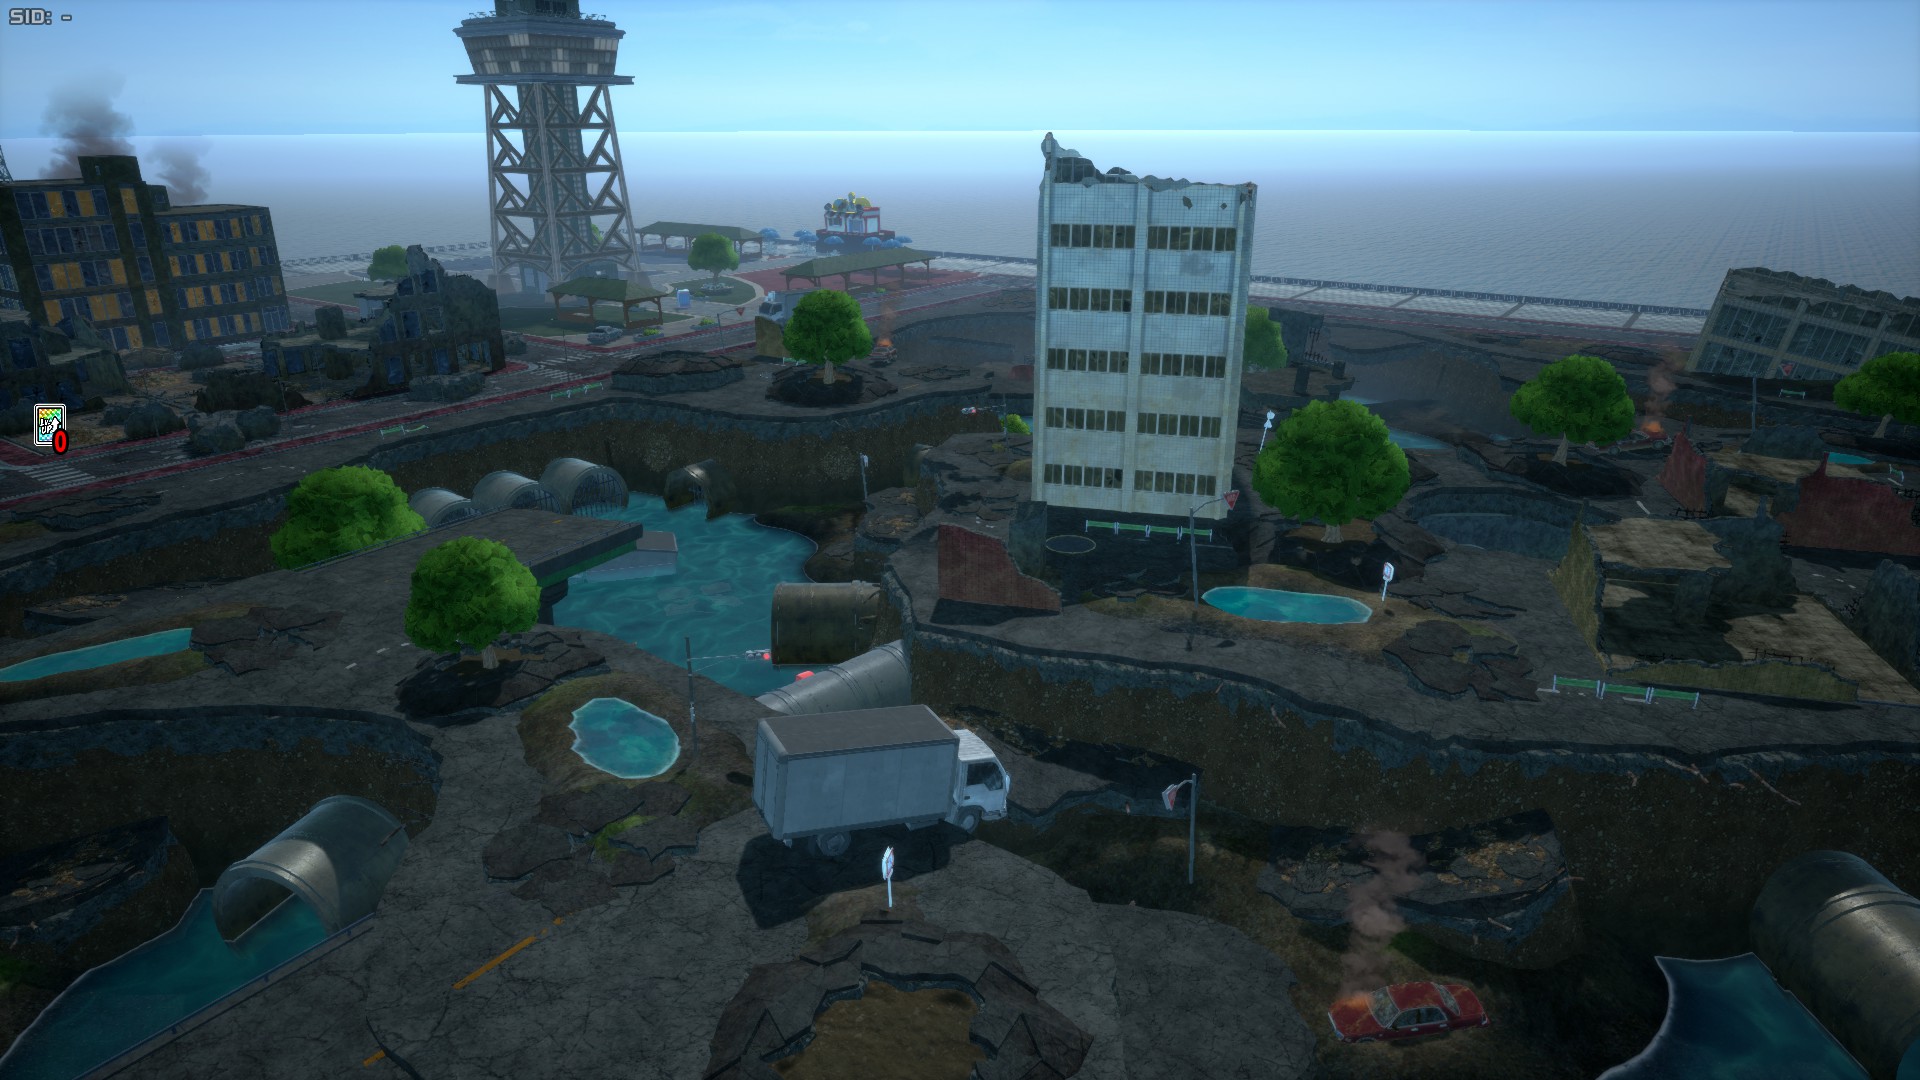
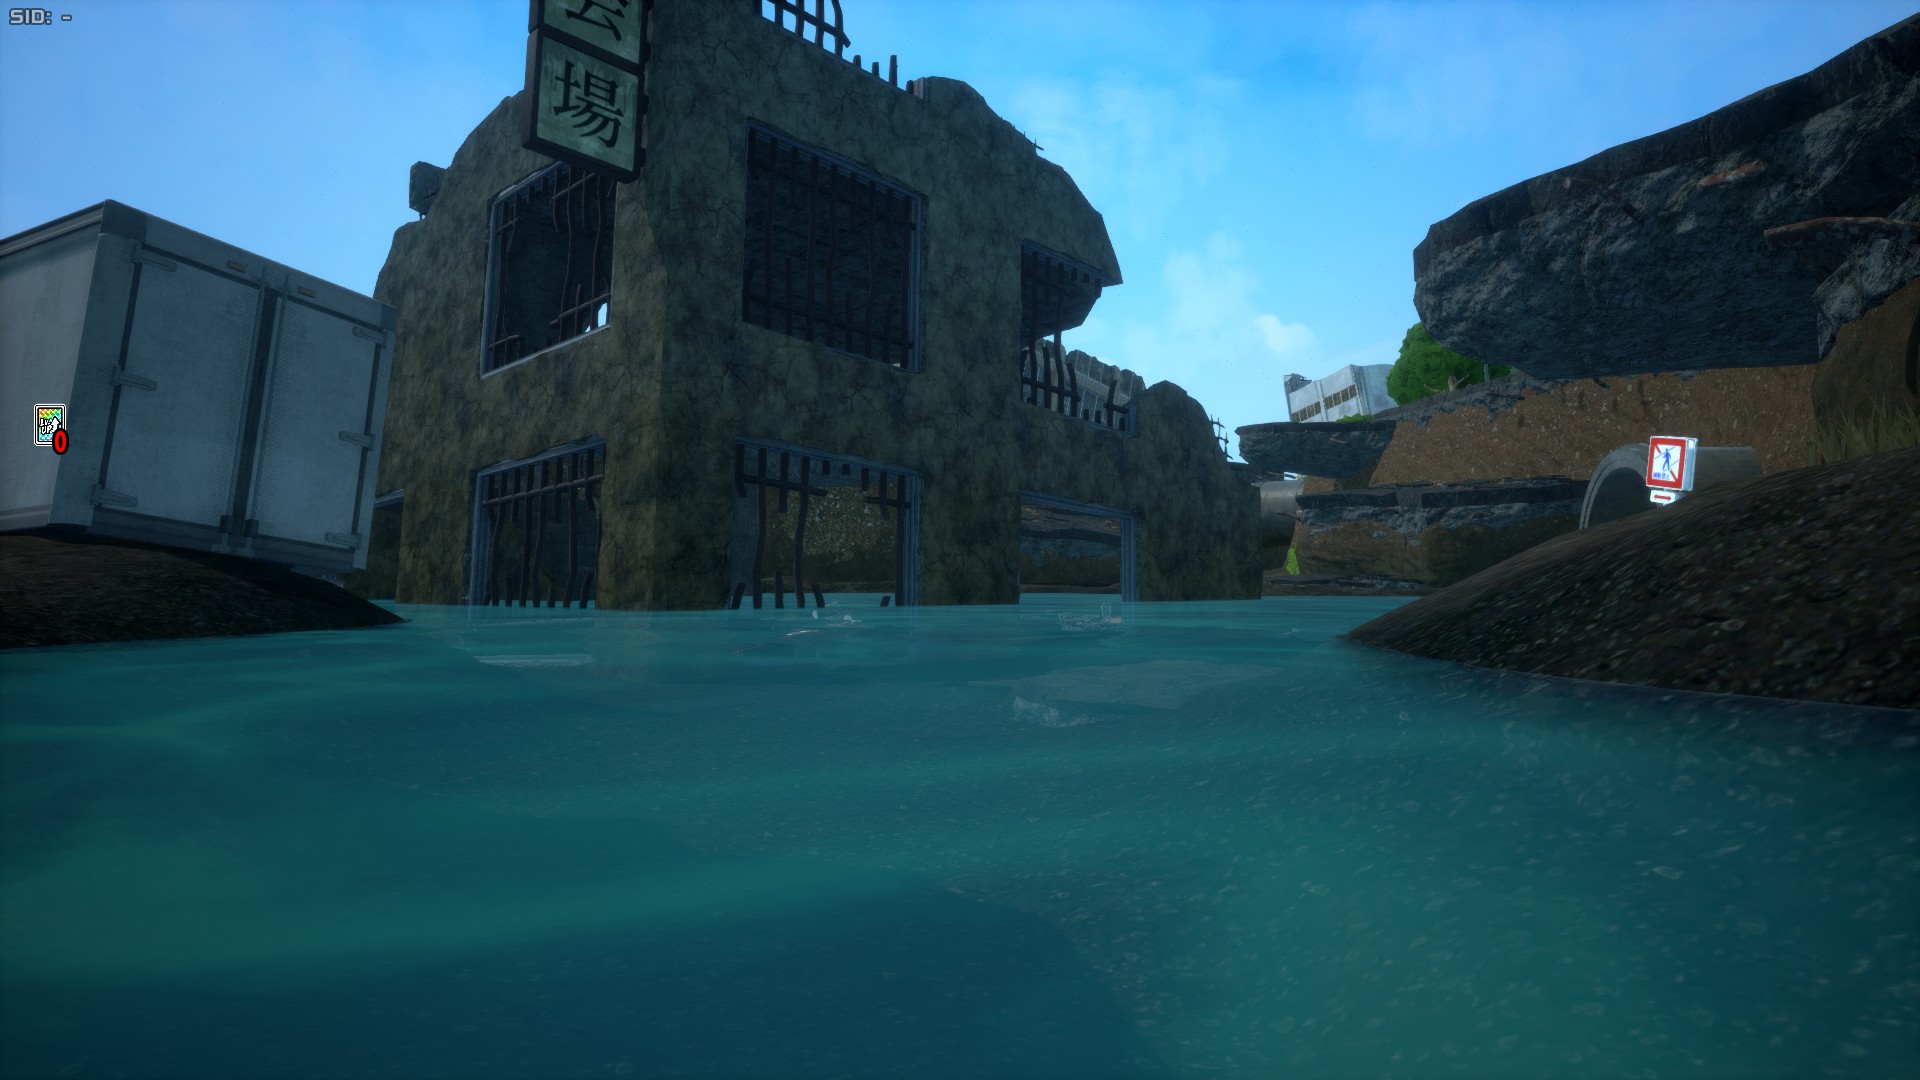
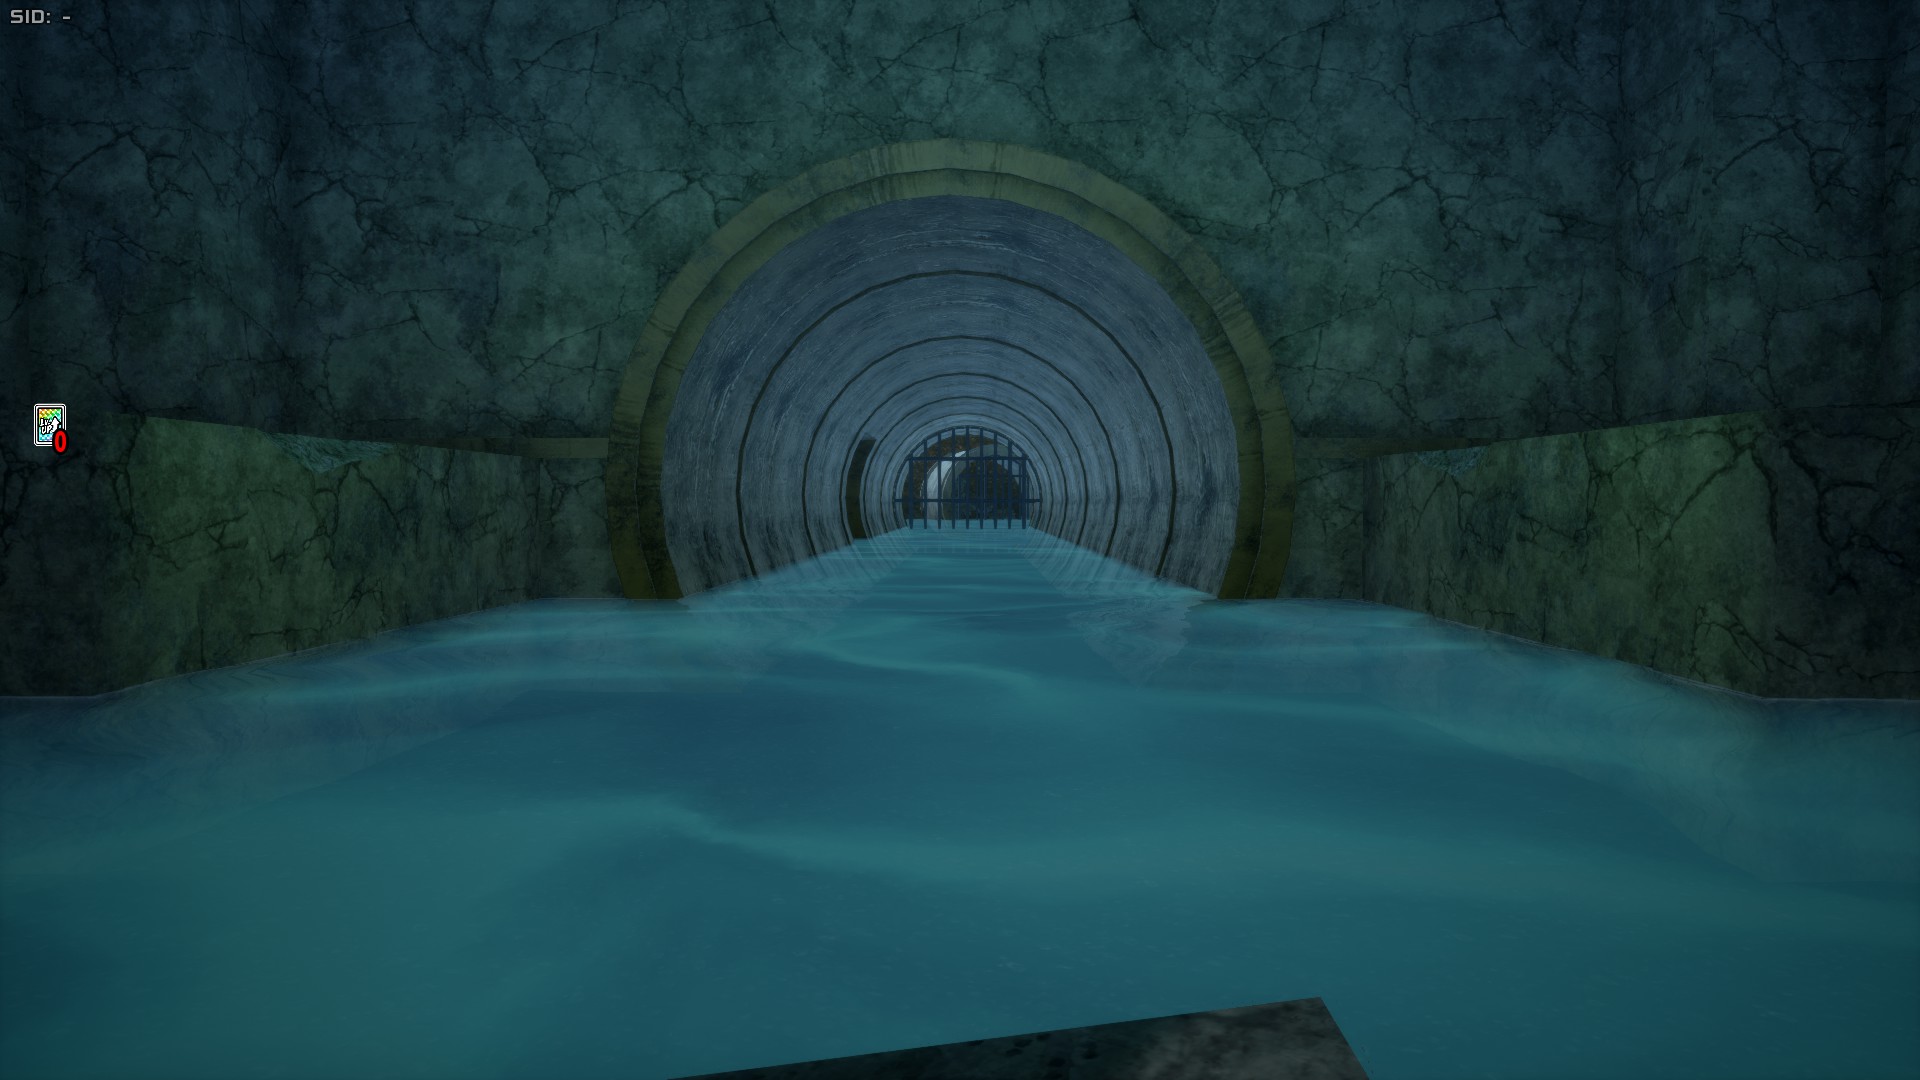
Flood Area occupies basically all of the eastern side of the map, and features two main height levels. The main appeal of this area as a battlefield is often its pipes system, which allows some characters to shine due to the narrow space it offers, though it can also be your doom depending on your enemy, as a Strike Shigaraki can easily invalidate this. This area has quite a few Nezu Boxes to get civilians from, though they're mainly close to the worldborder, but you can also destroy the destructible buildings for a chance of spawning a civilian.
Japanese House Area
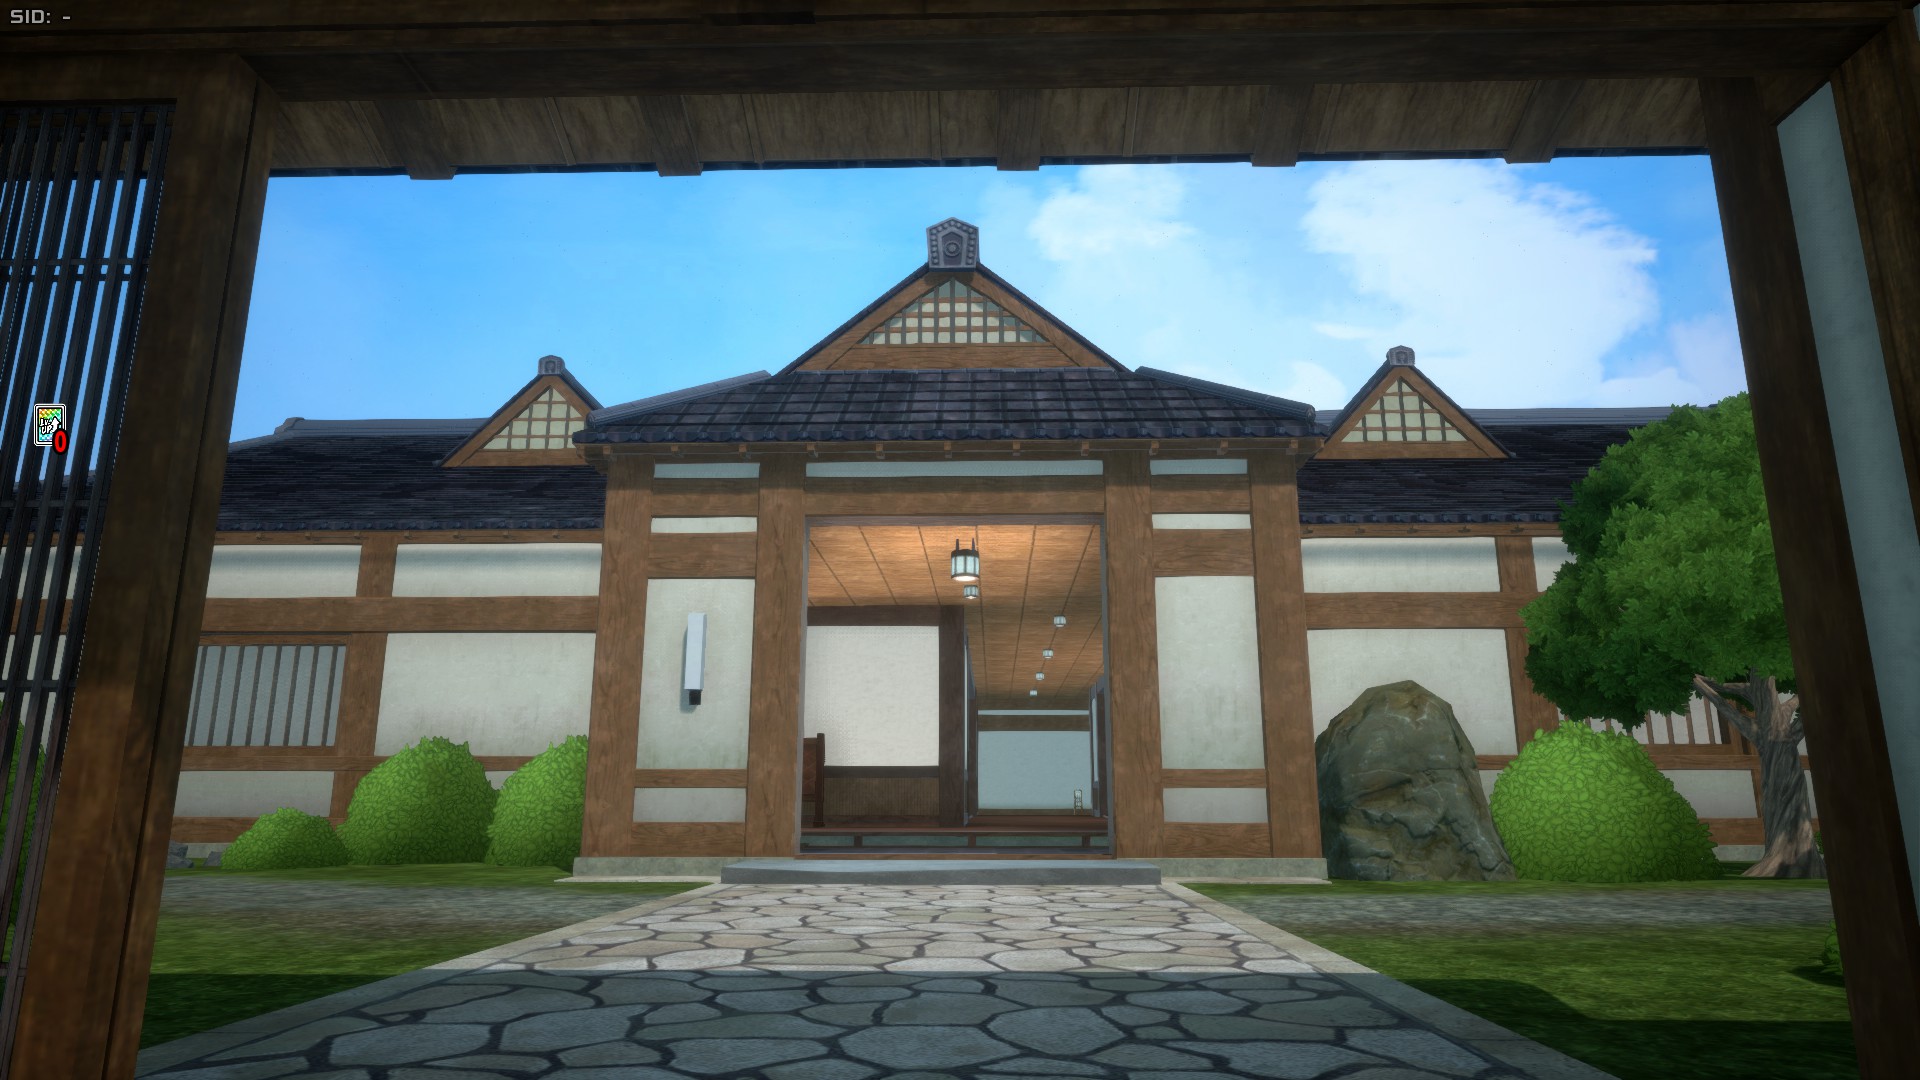
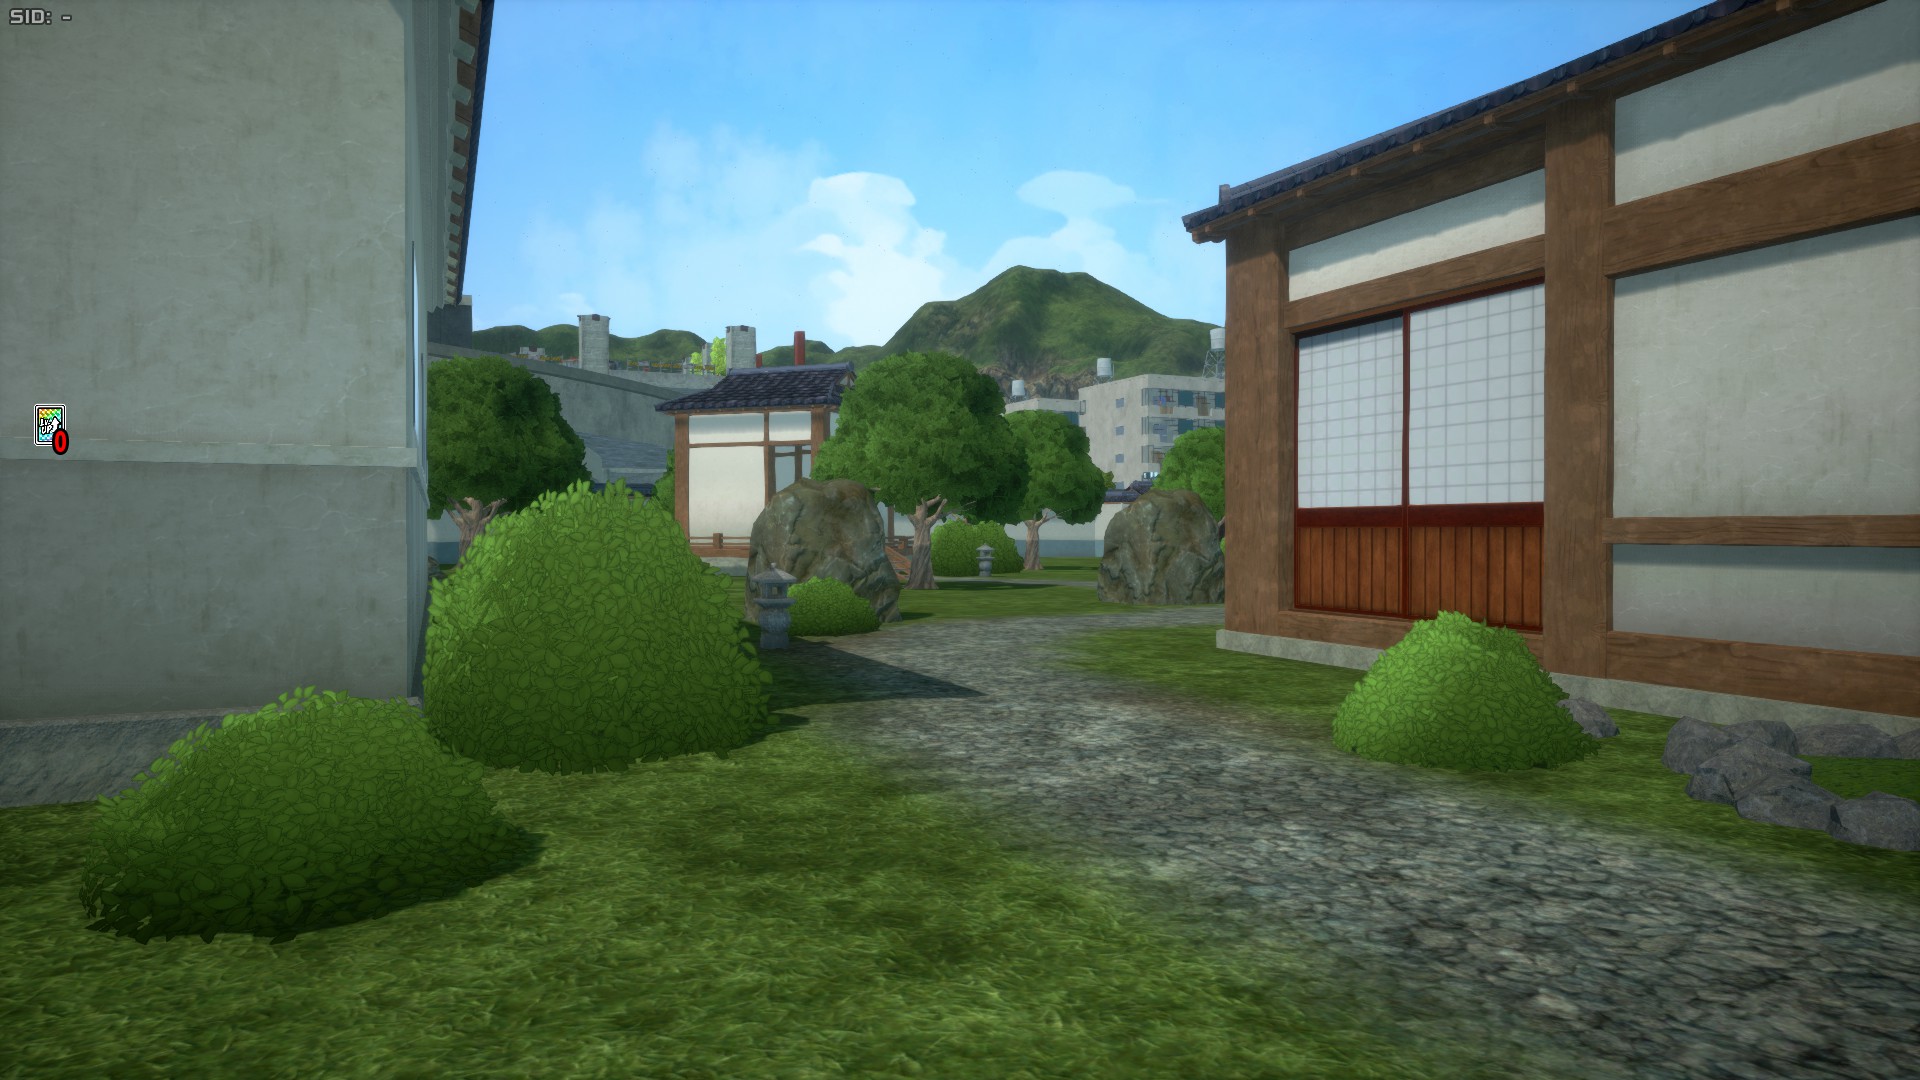
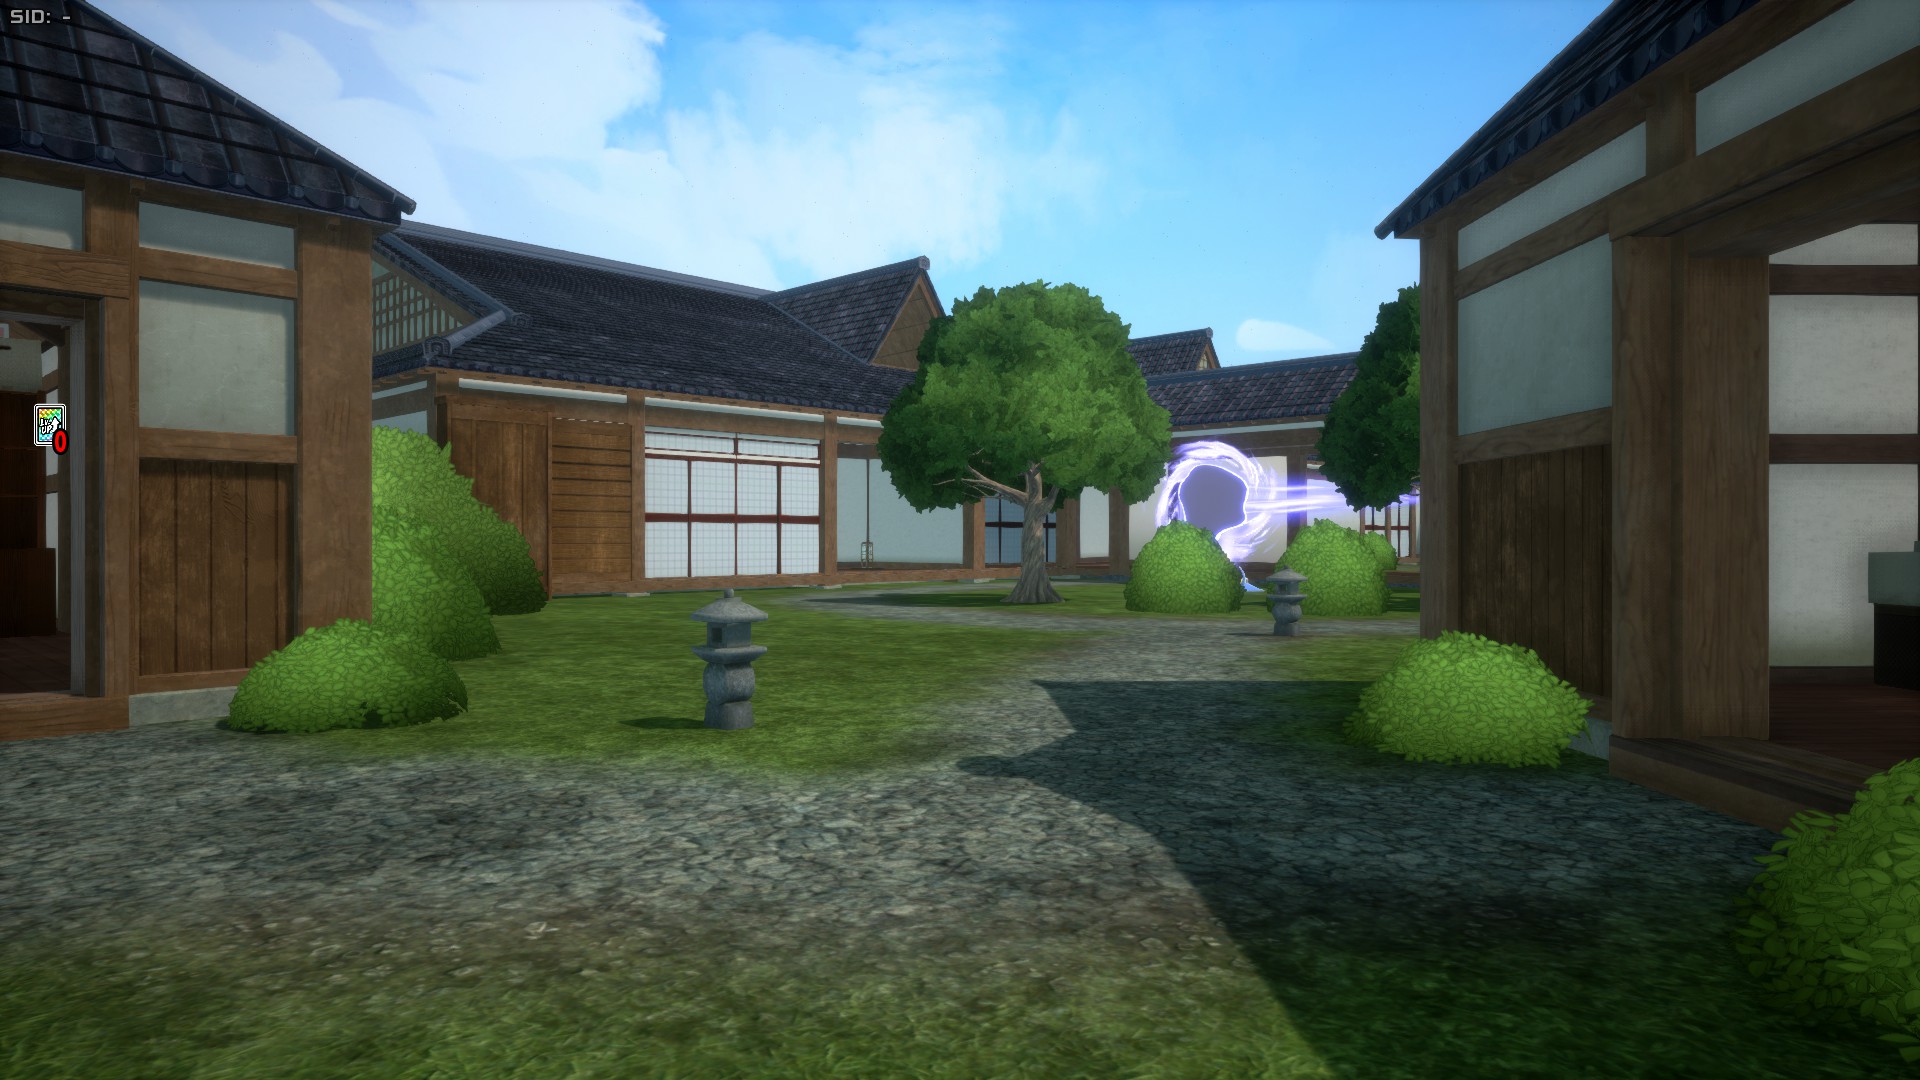
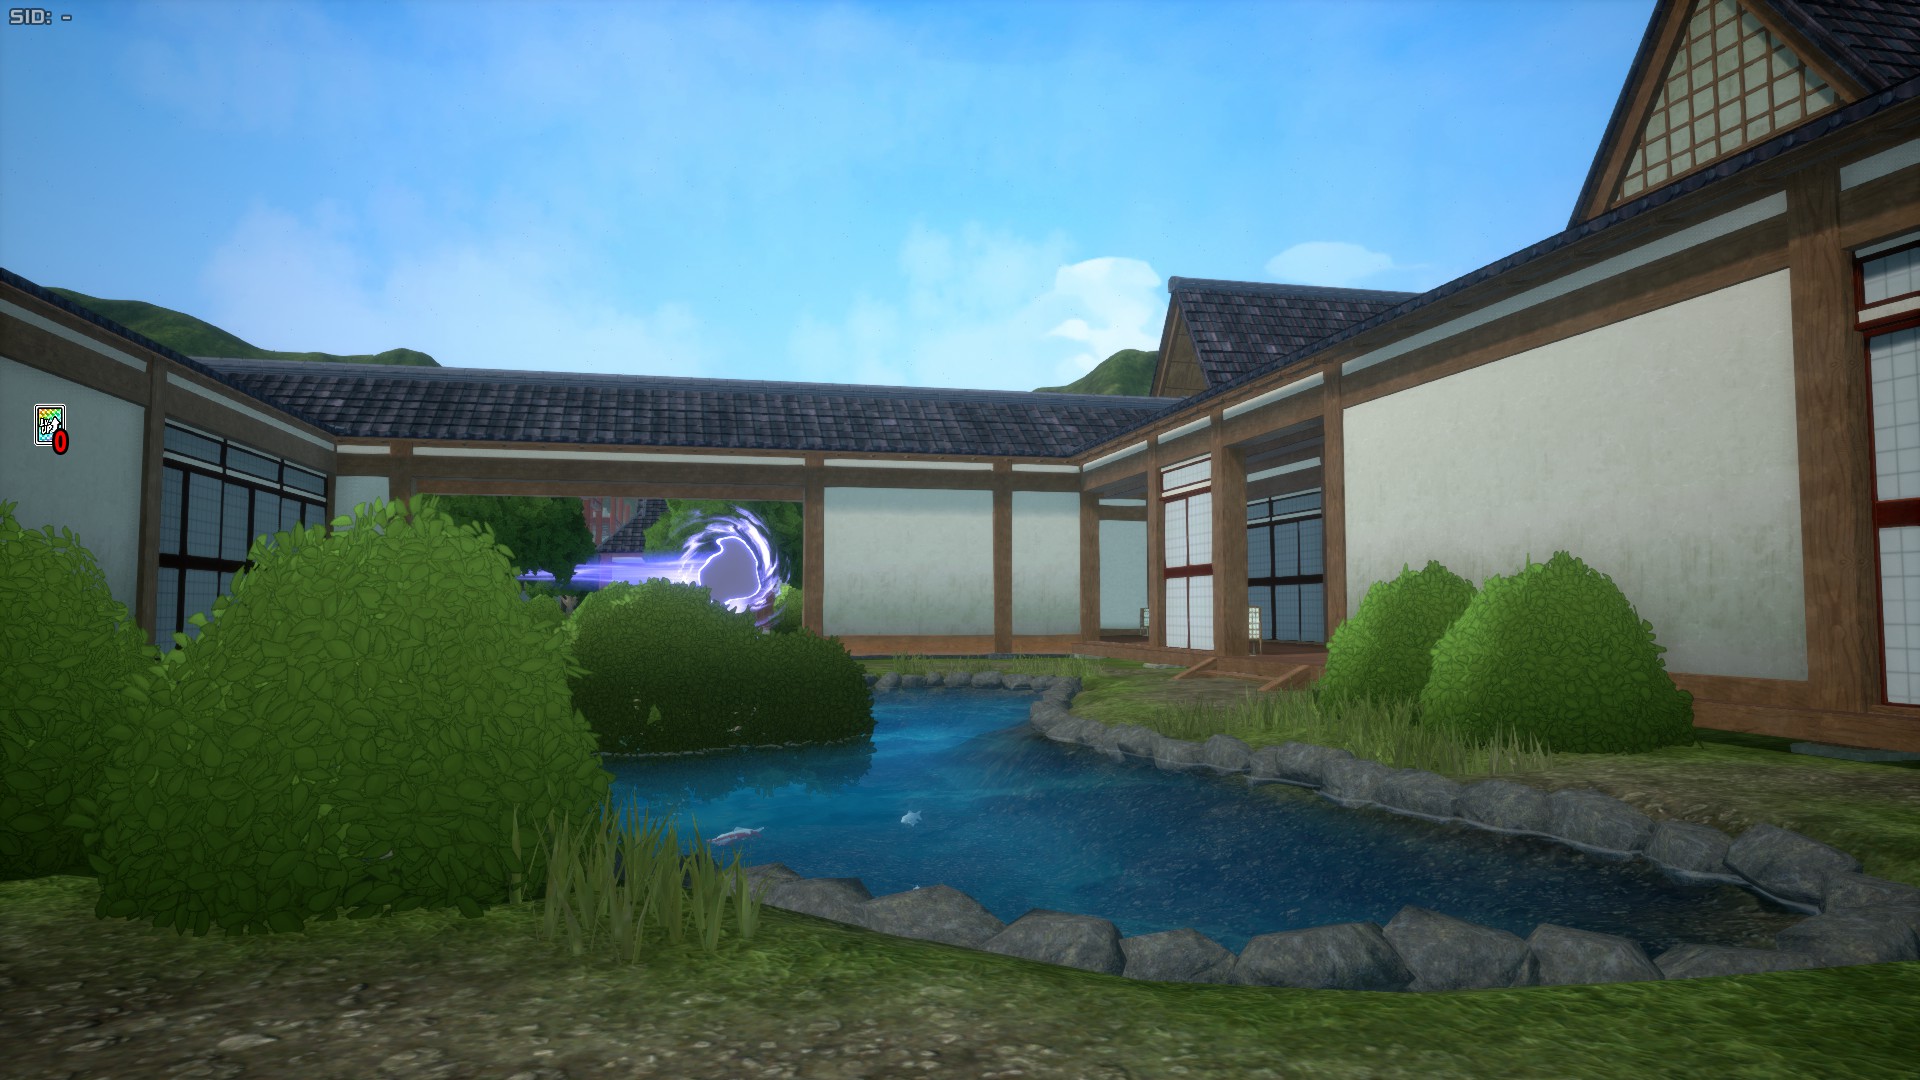
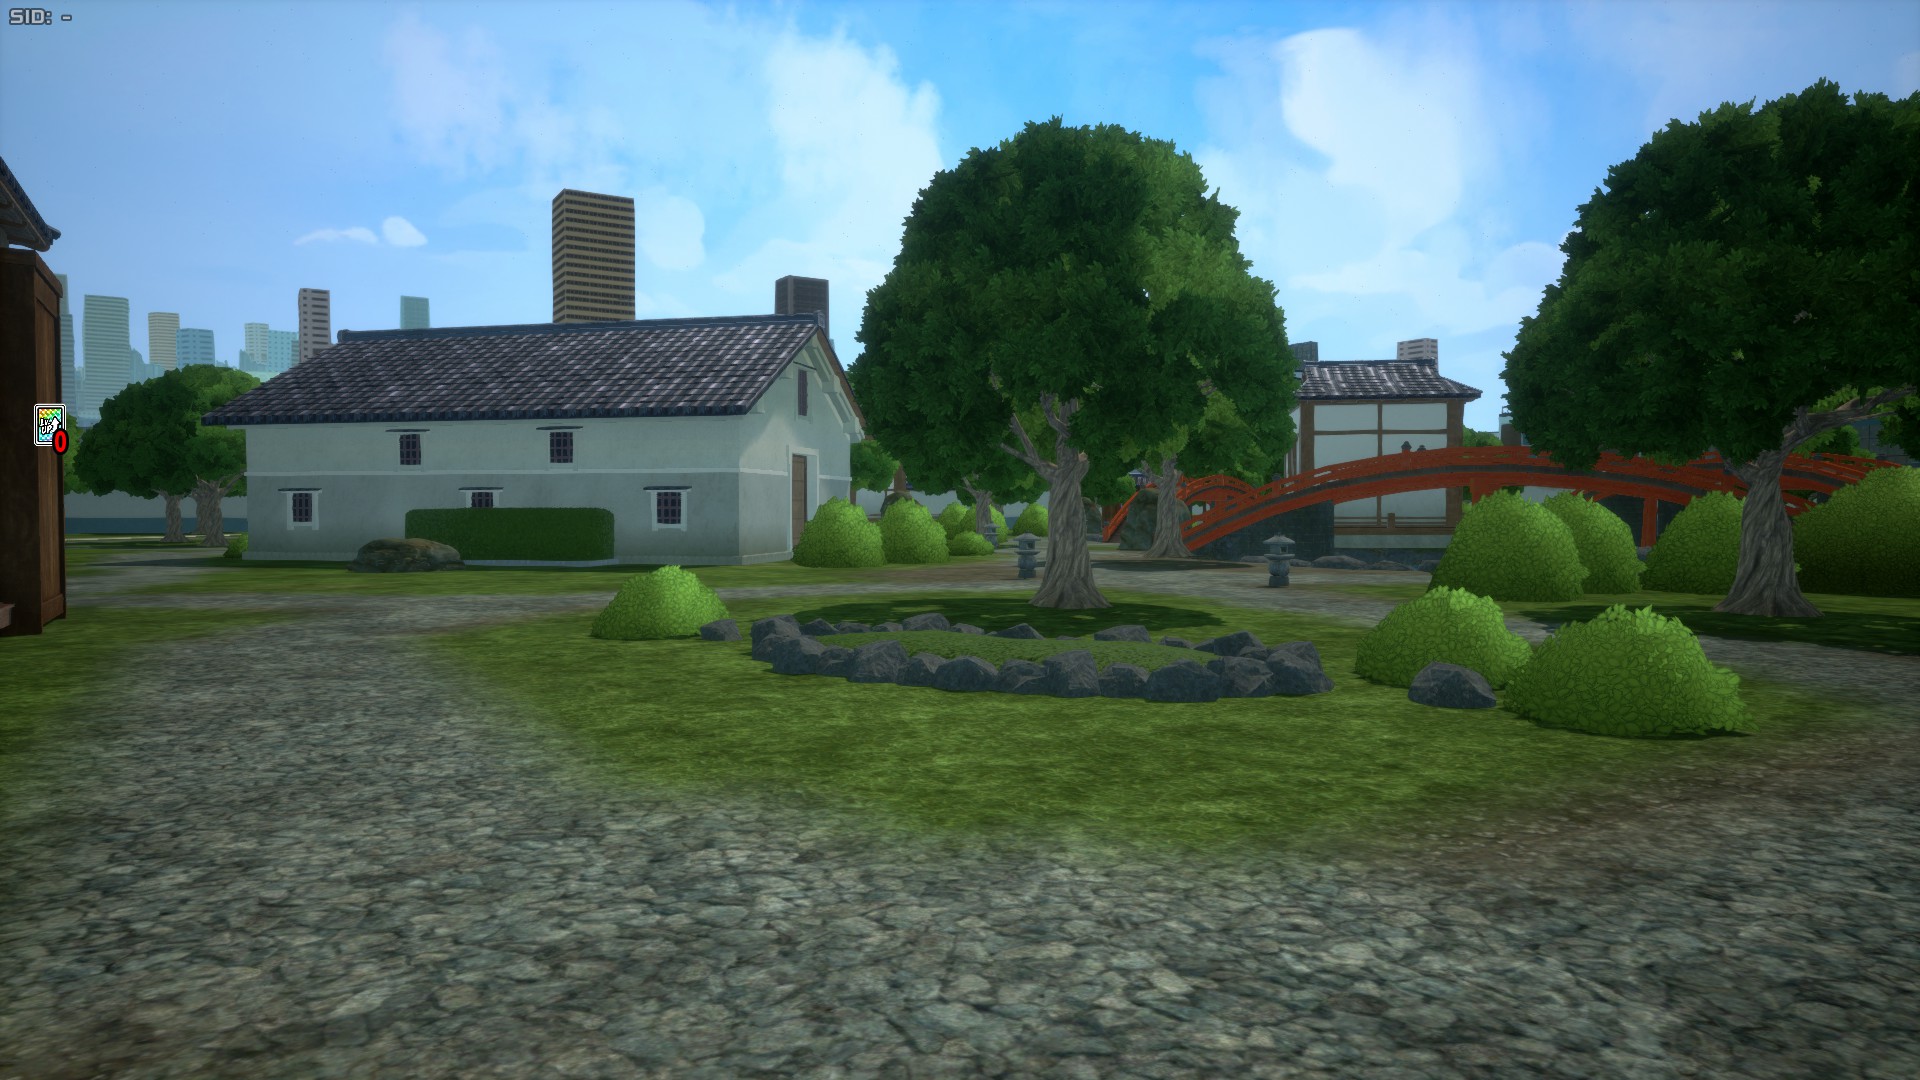
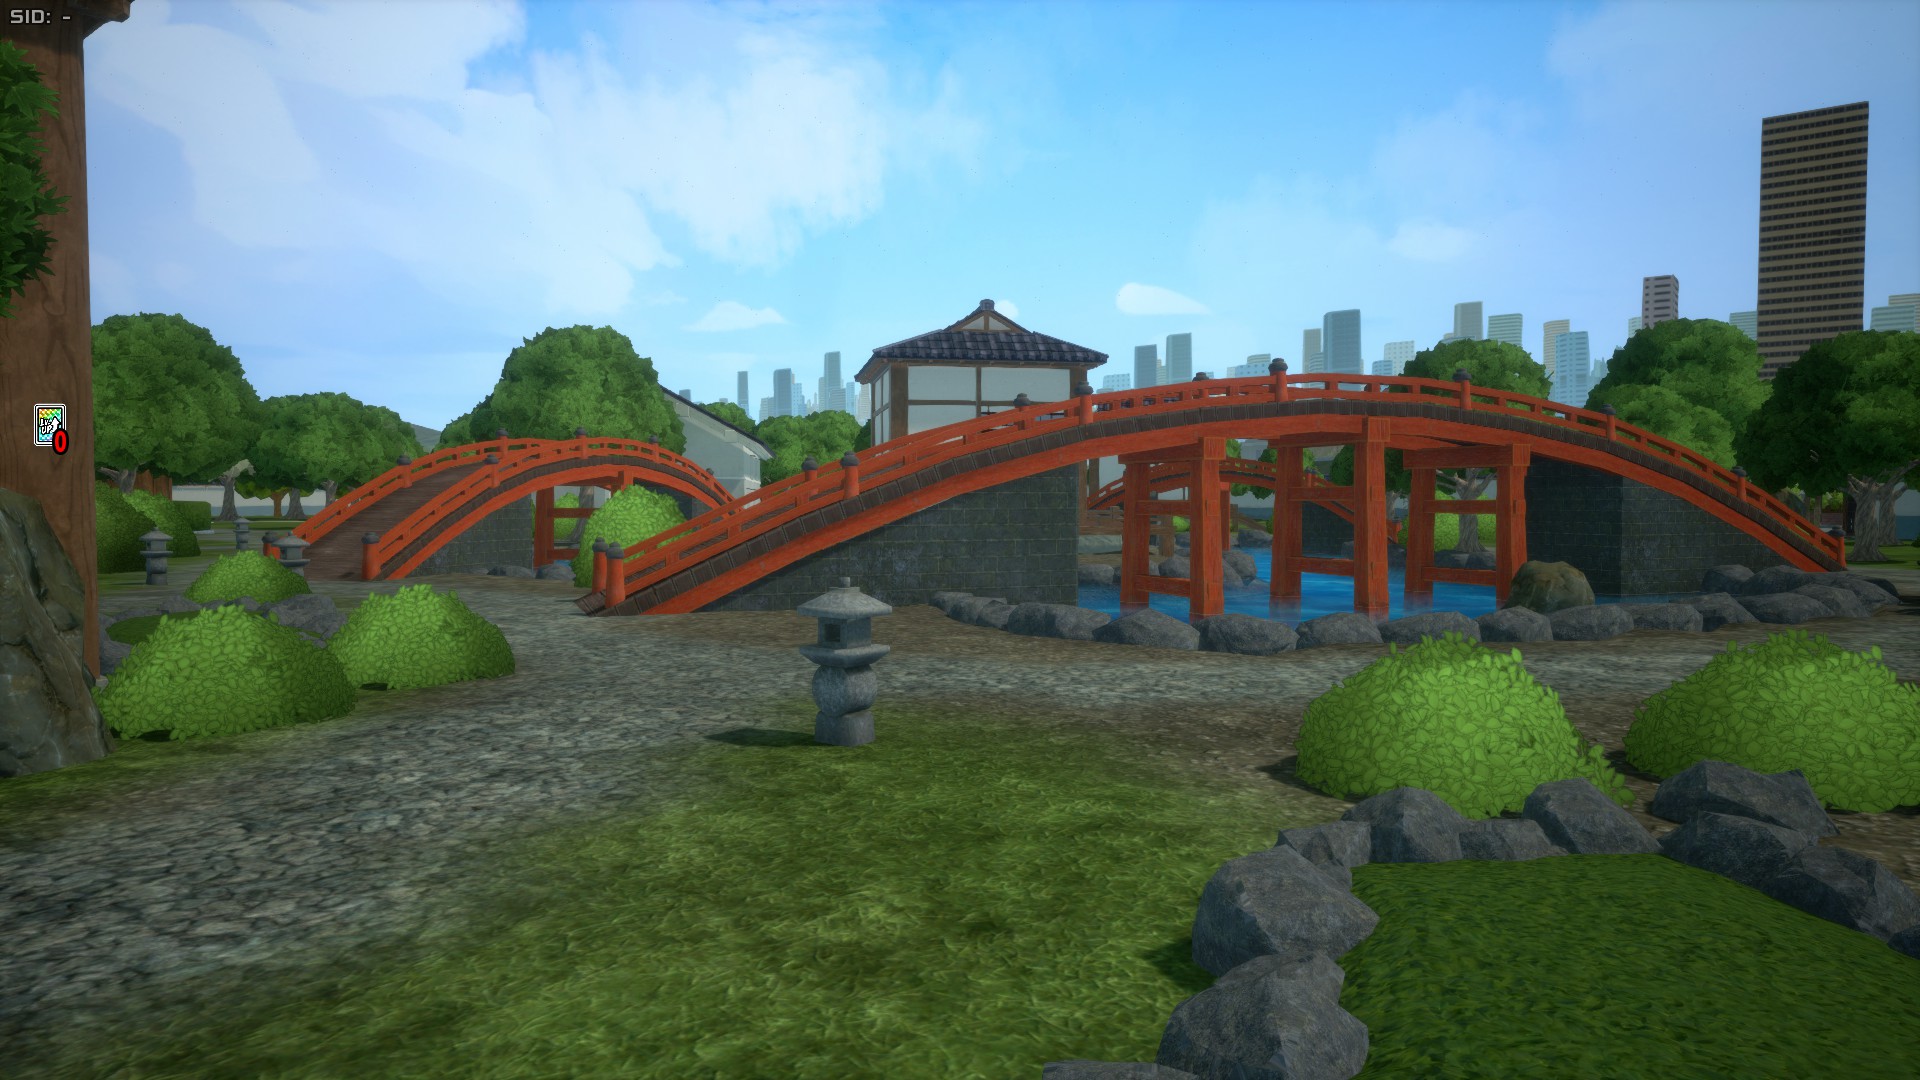
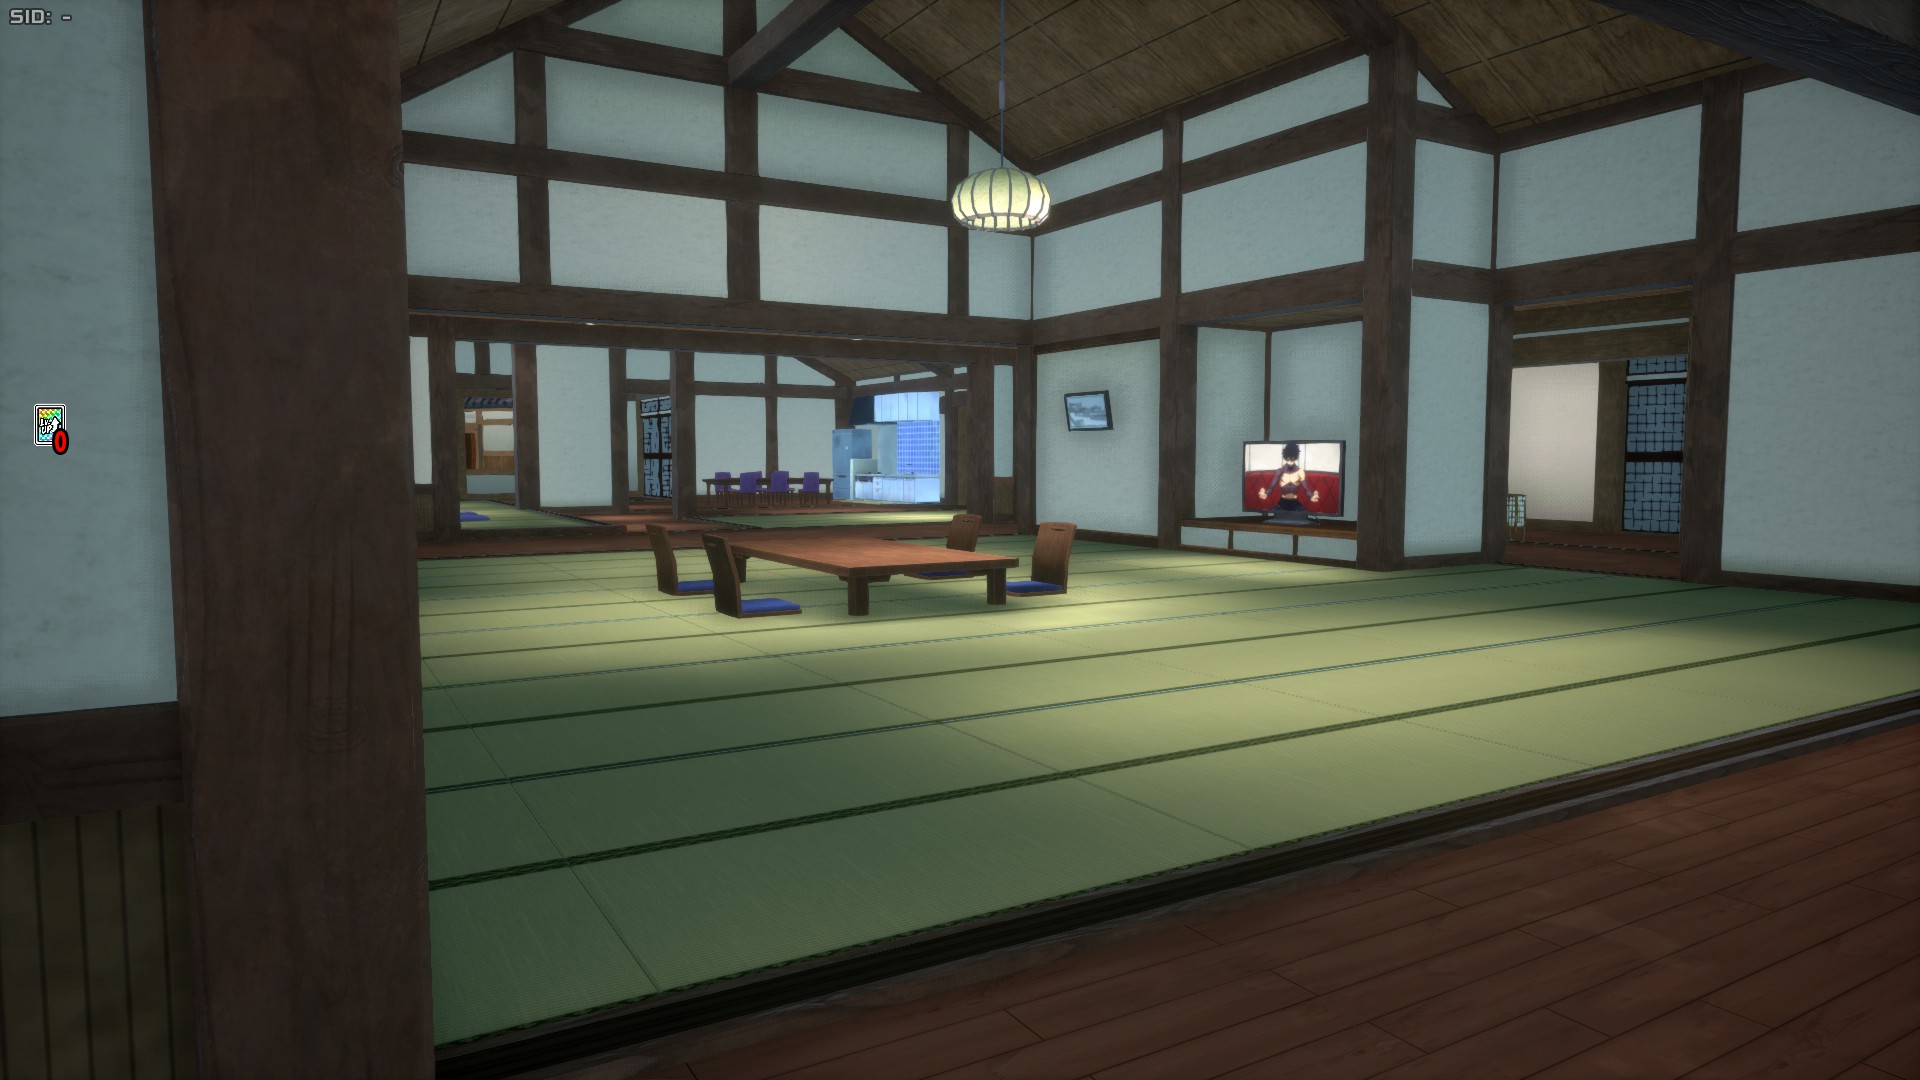
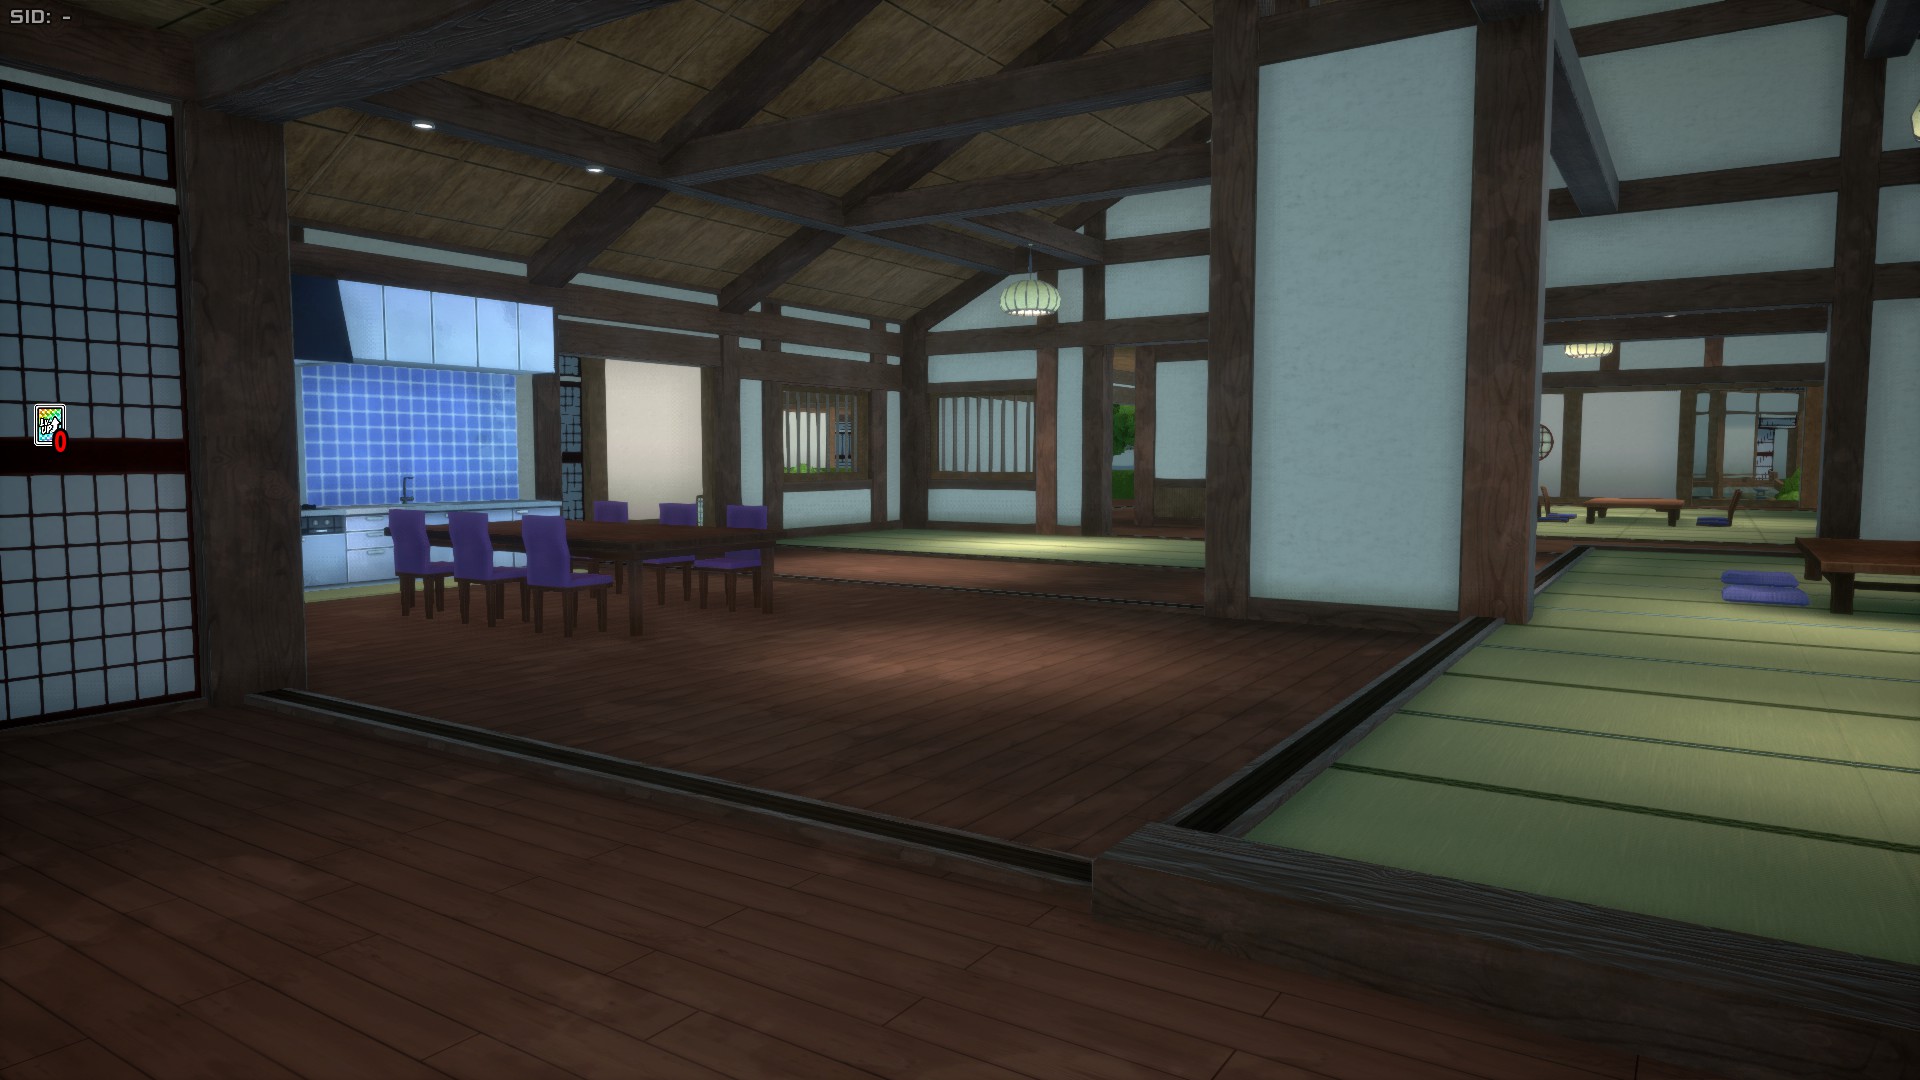
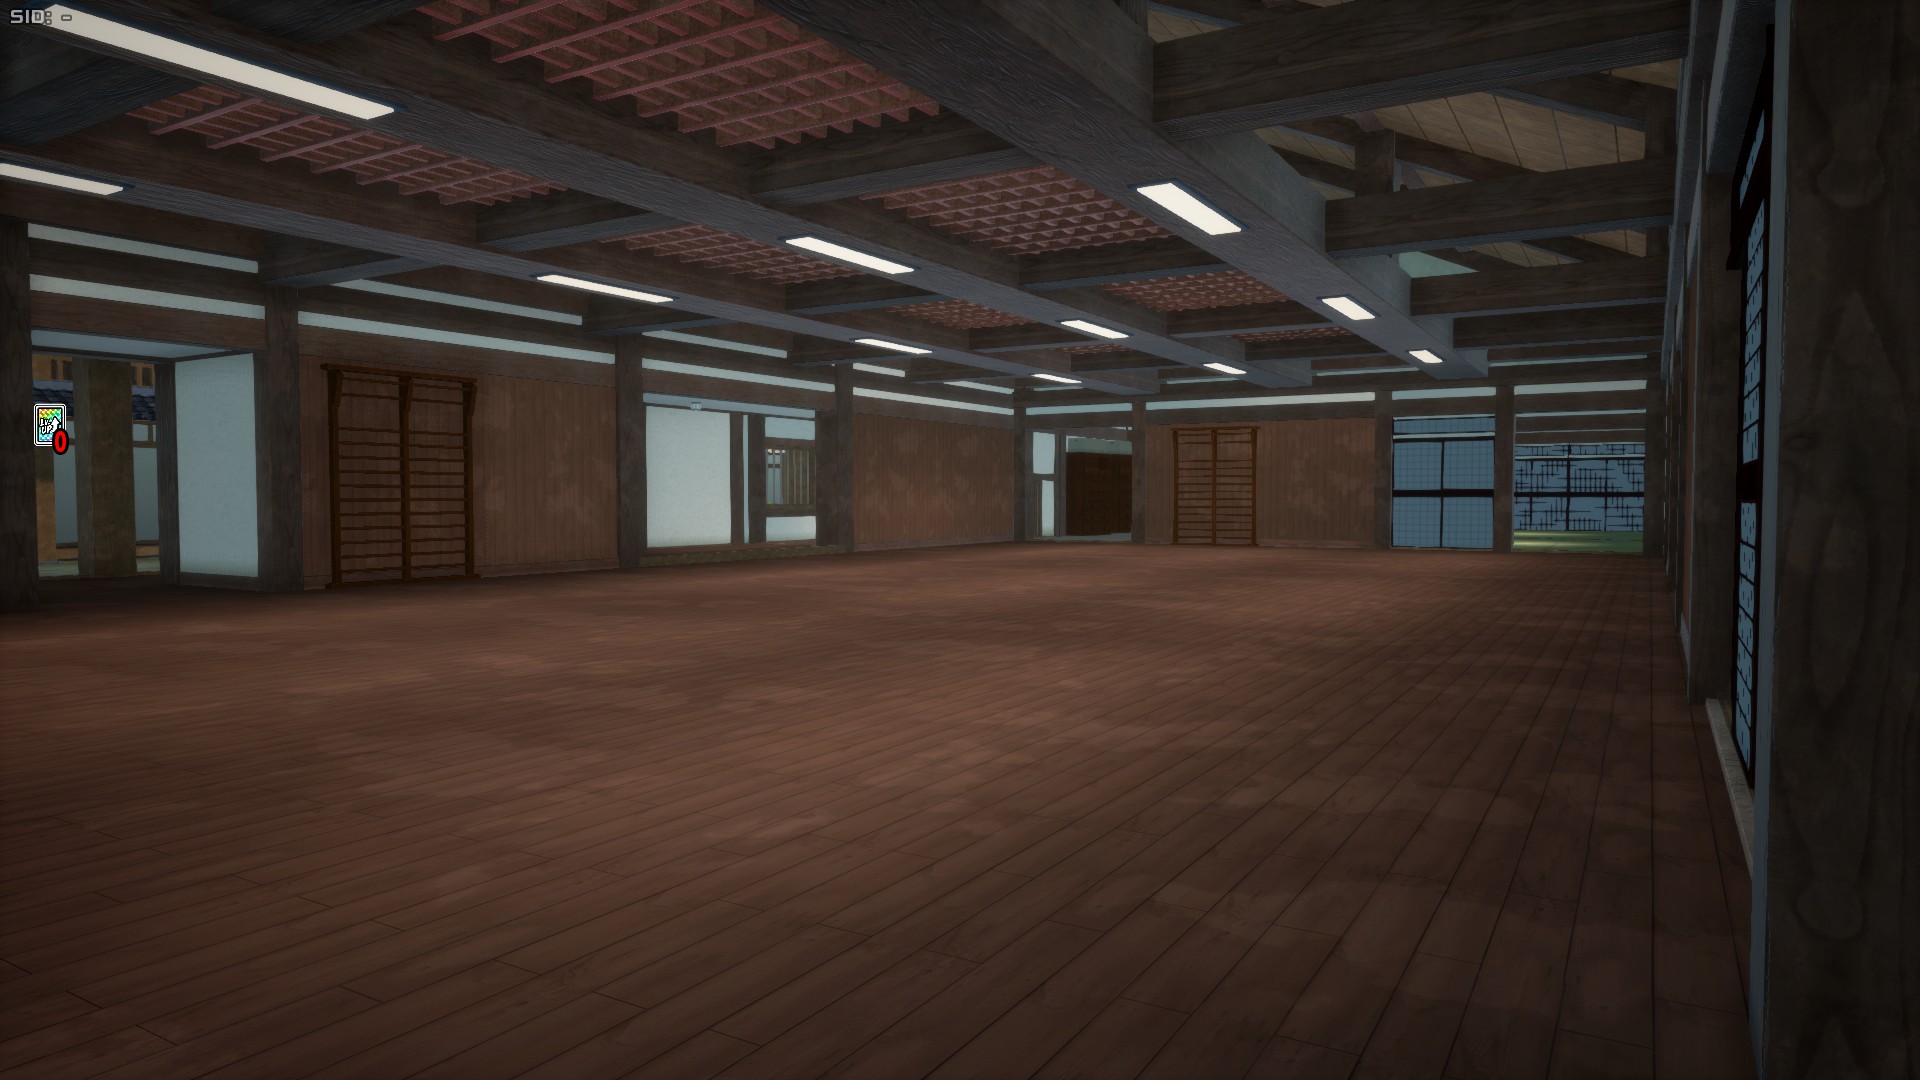
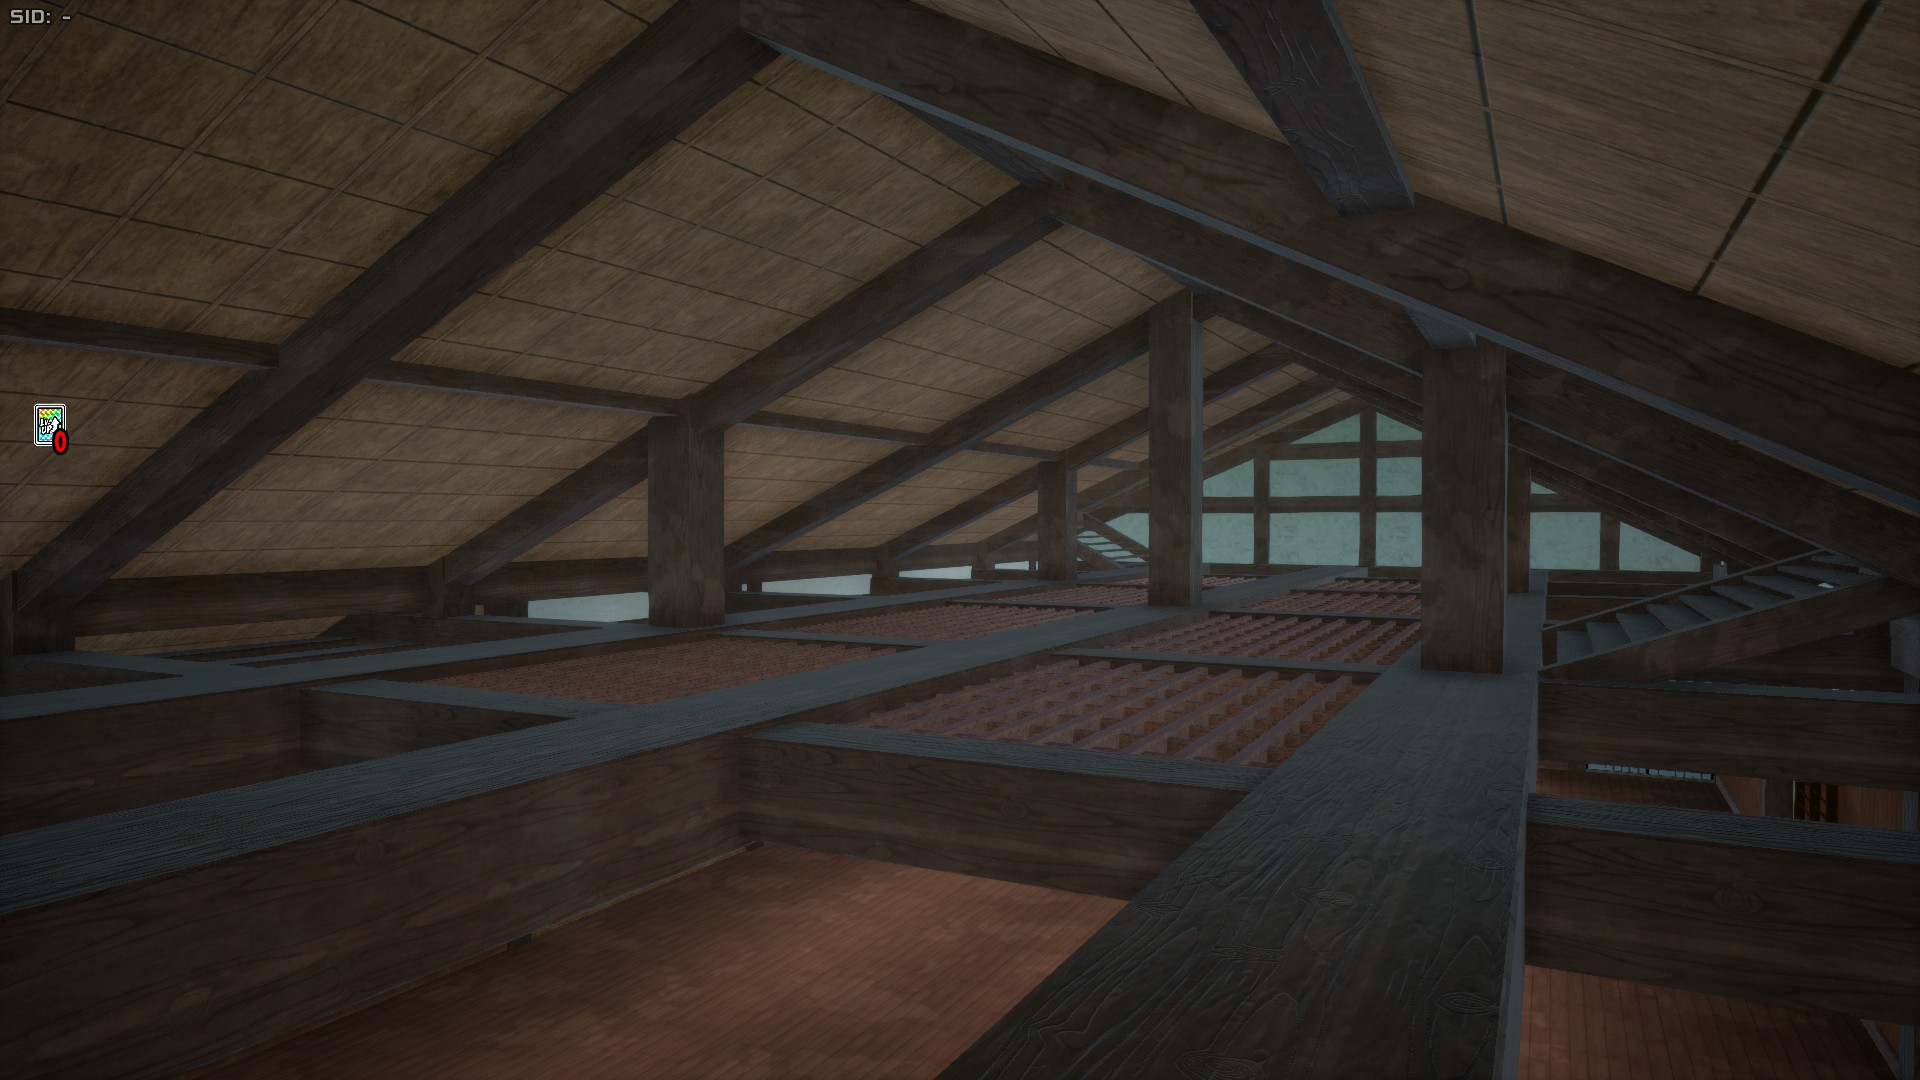
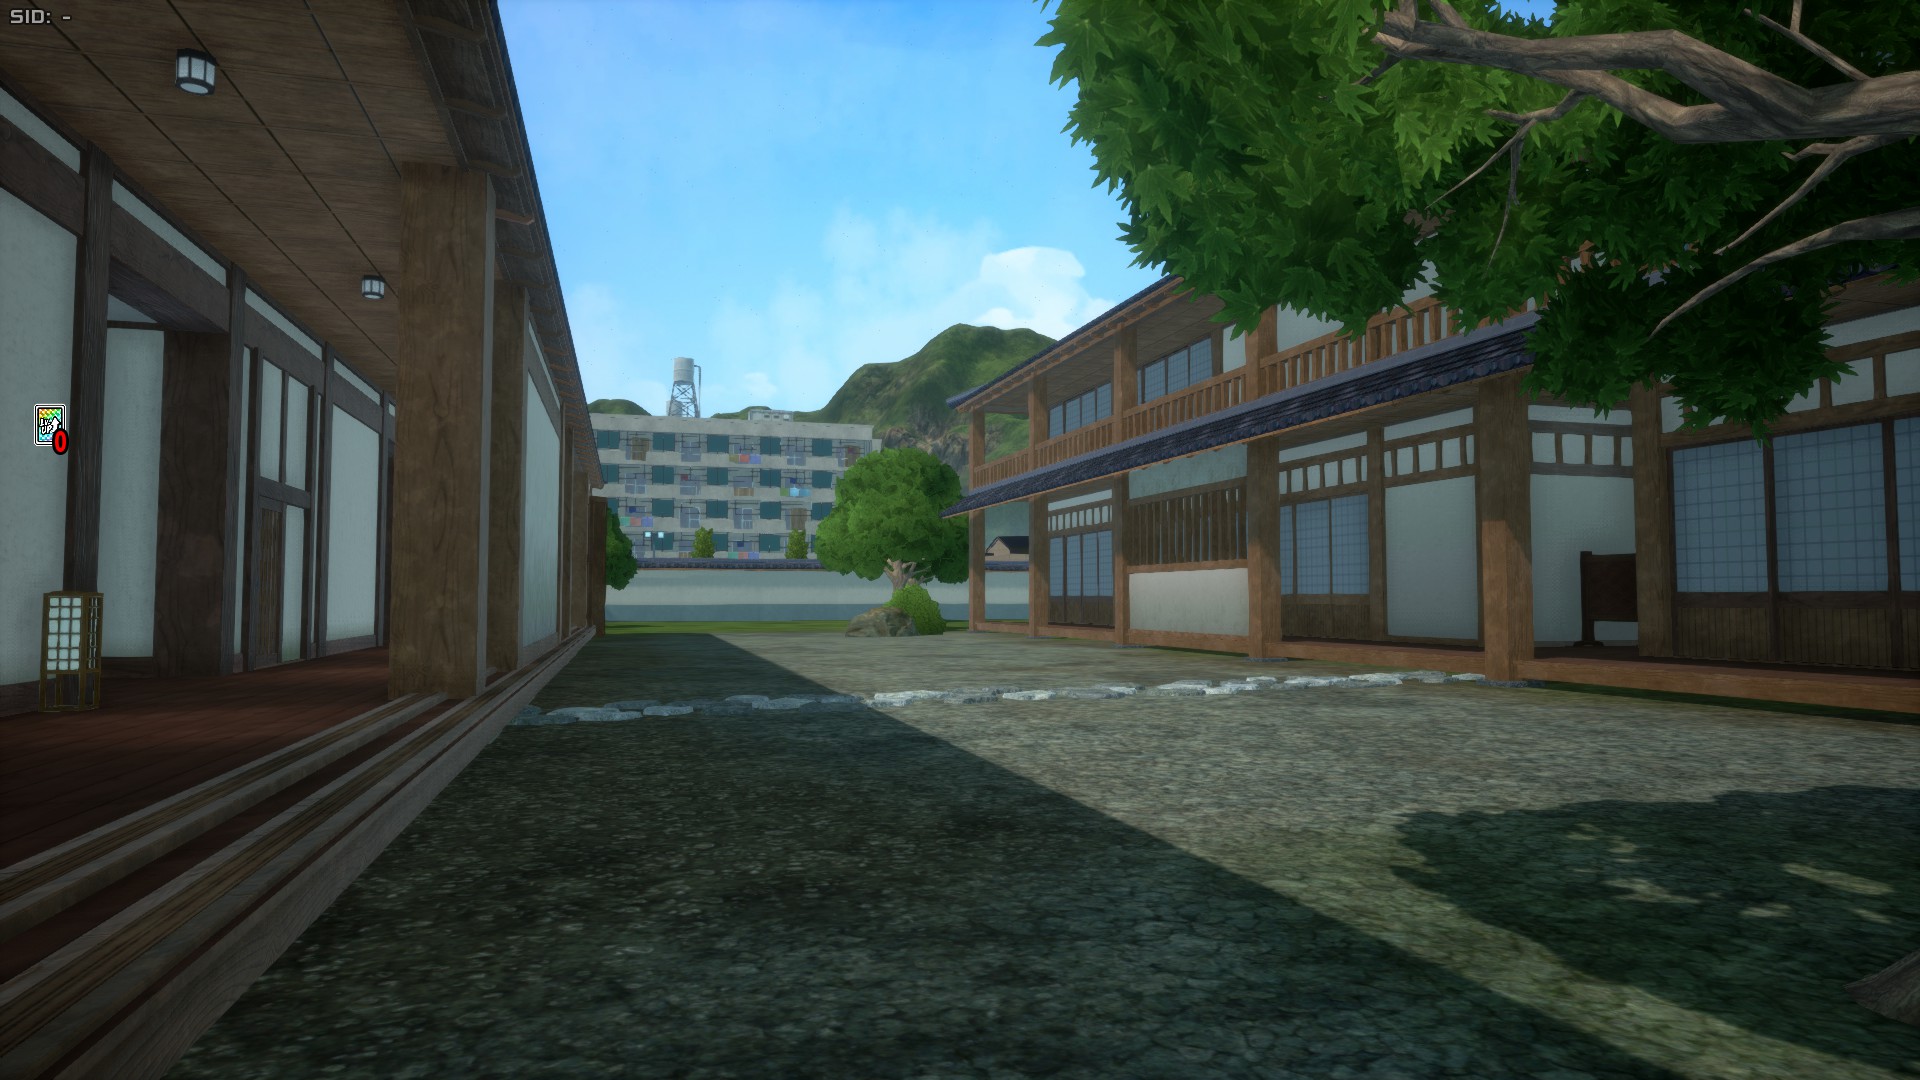
The Japanese House Area occupies mainly the western/north-western side of the map, featuring a main japanese-style mansion along with a dojo and other japanese-style buildings. Something not many people realize is that the dojo building actually has a walkable "attic", and the main building also has some elevated wooden support poles you can get on top of to sneakily heal, as most people don't expect to see somebody up there. This area is meant to represent the Todoroki Mansion, where Shoto Todoroki and Endeavor live, which is why you might see pictures of Endeavor and Dabi on the TV.
Other Locations
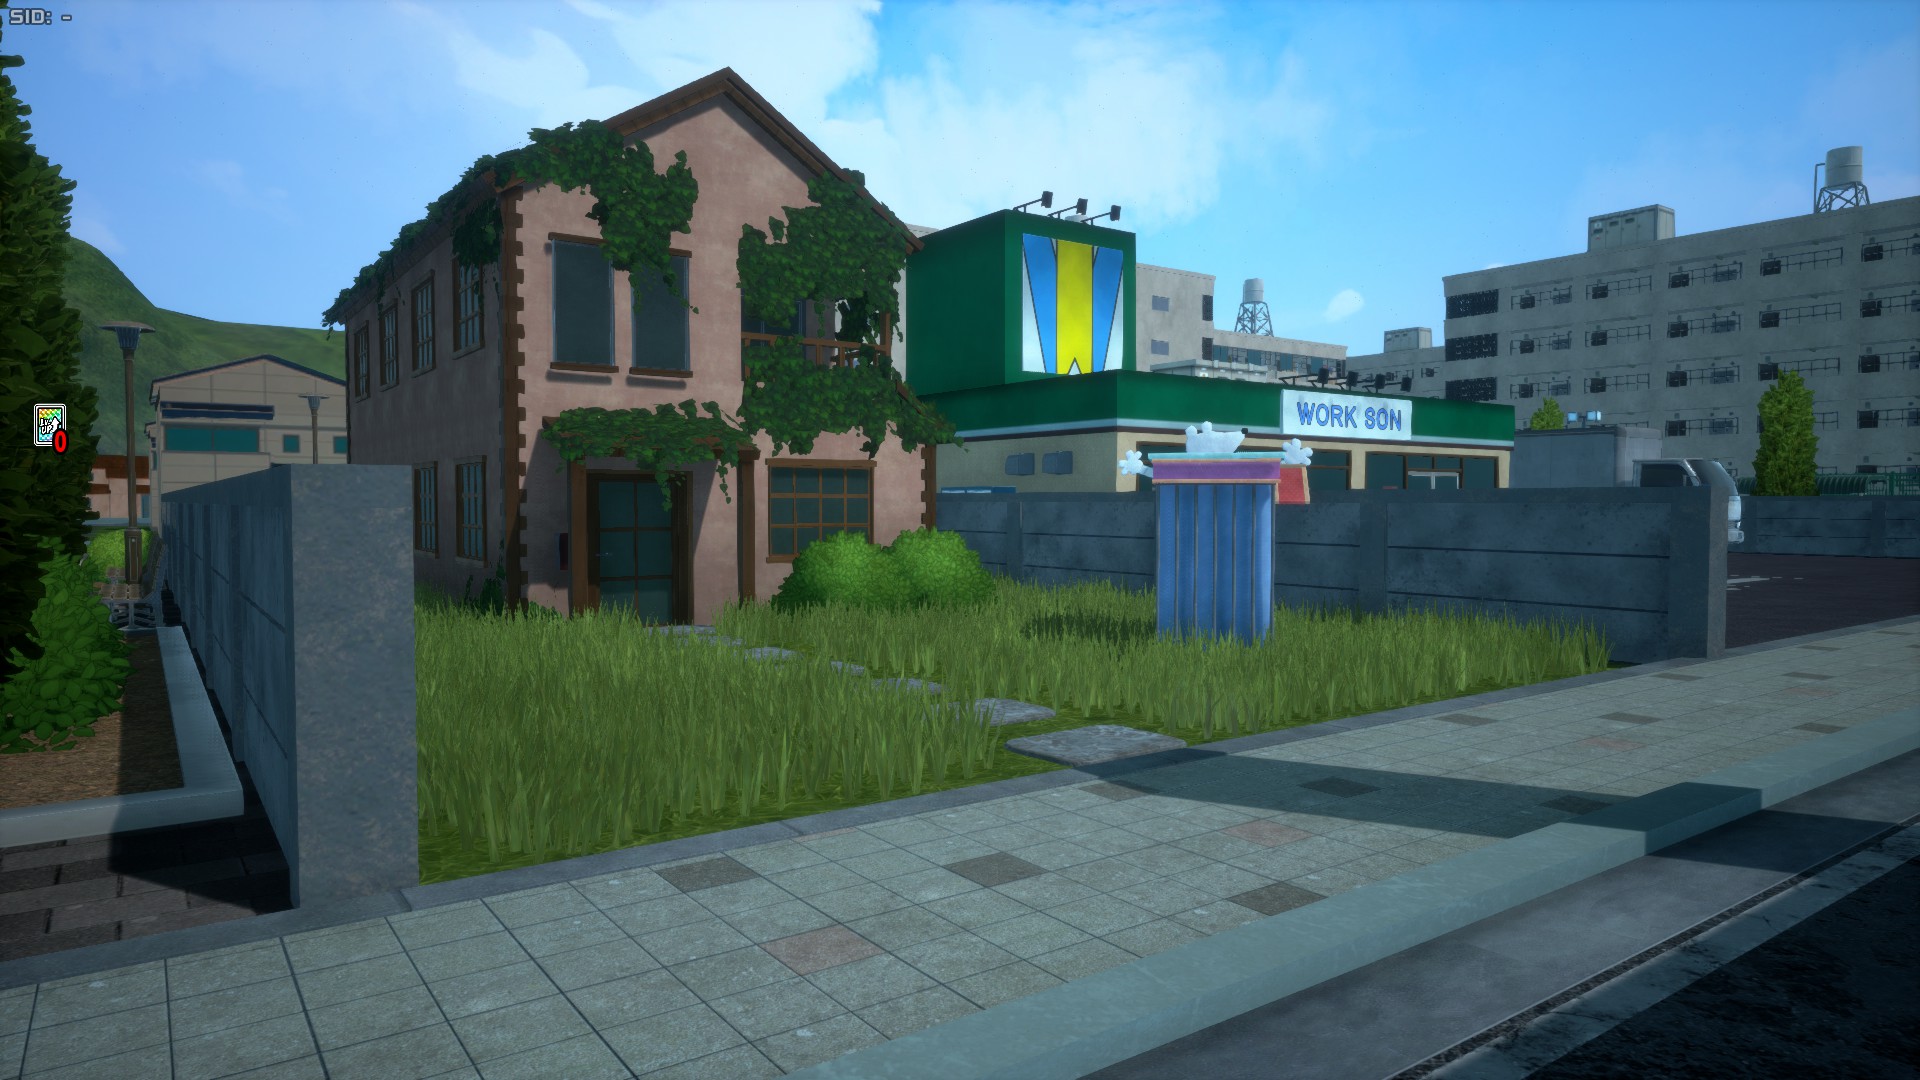
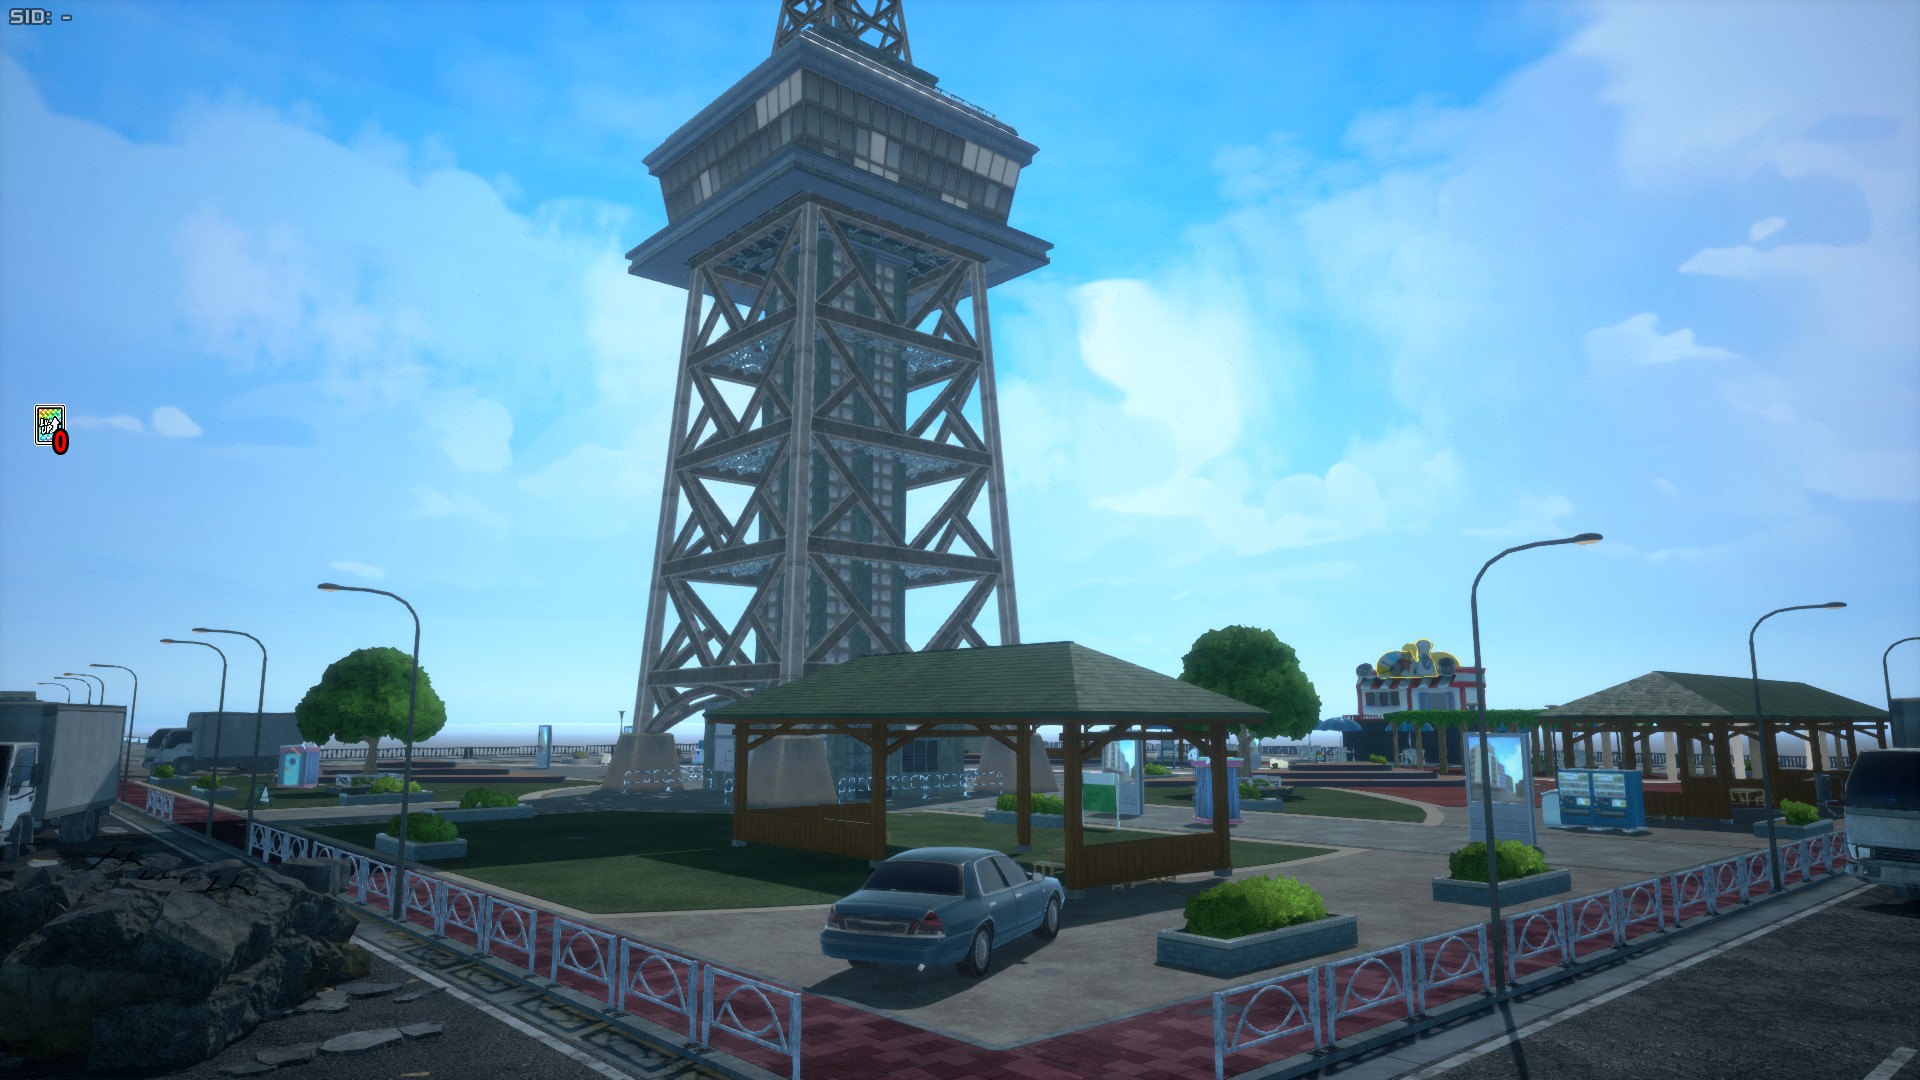
Neo Academia also has a few spots that aren't really tied to any specific areas thematically, such as the the little appartment area near the western worldborder behind Construction Area. In early leaks of Neo Academia there were mentions of a "Deku House", it's likely this small area is or was meant to represent Deku's city block. Moving slightly south from this area you will find a convenience store and a house made out of wood, these are a reference to establishments visited by Gentle Criminal and Deku during this the arc of their fight. In the north-eastern side of the map you will also see a tall communication tower with not very generous collision boxes. It doesn't have much to offer besides one or two Nezu Boxes, but the tower is still worth mentioning.
Stage 5
The stage 5, also known as St05, is an upcoming map that will come to Ultra Rumble in a later season (presumably BUT NOT CONFIRMED in Season 21). Nothing is currently known about this stage beyond its existence datamined in Season 15.
Area Control Stages
Gym α
Gym Alpha (also known as Stage 101 or St101), is the very first Area Control map, featuring a blue-hued mechanical area. It was introduced in Season 12 with the addition of the Area Control gamemode, and received a sneaky structural update in Season 13, mostly in Point B. This stage has 3 patterns, which change the structure of the left and right side of the map, while preserving most of the central area as is.
This map is especially good for characters who can cover large areas with their attacks and those who shine in close combat and enclosed spaces, such as Technical Shoto Todoroki, Young All For One, Strike Tomura Shigaraki, etc.
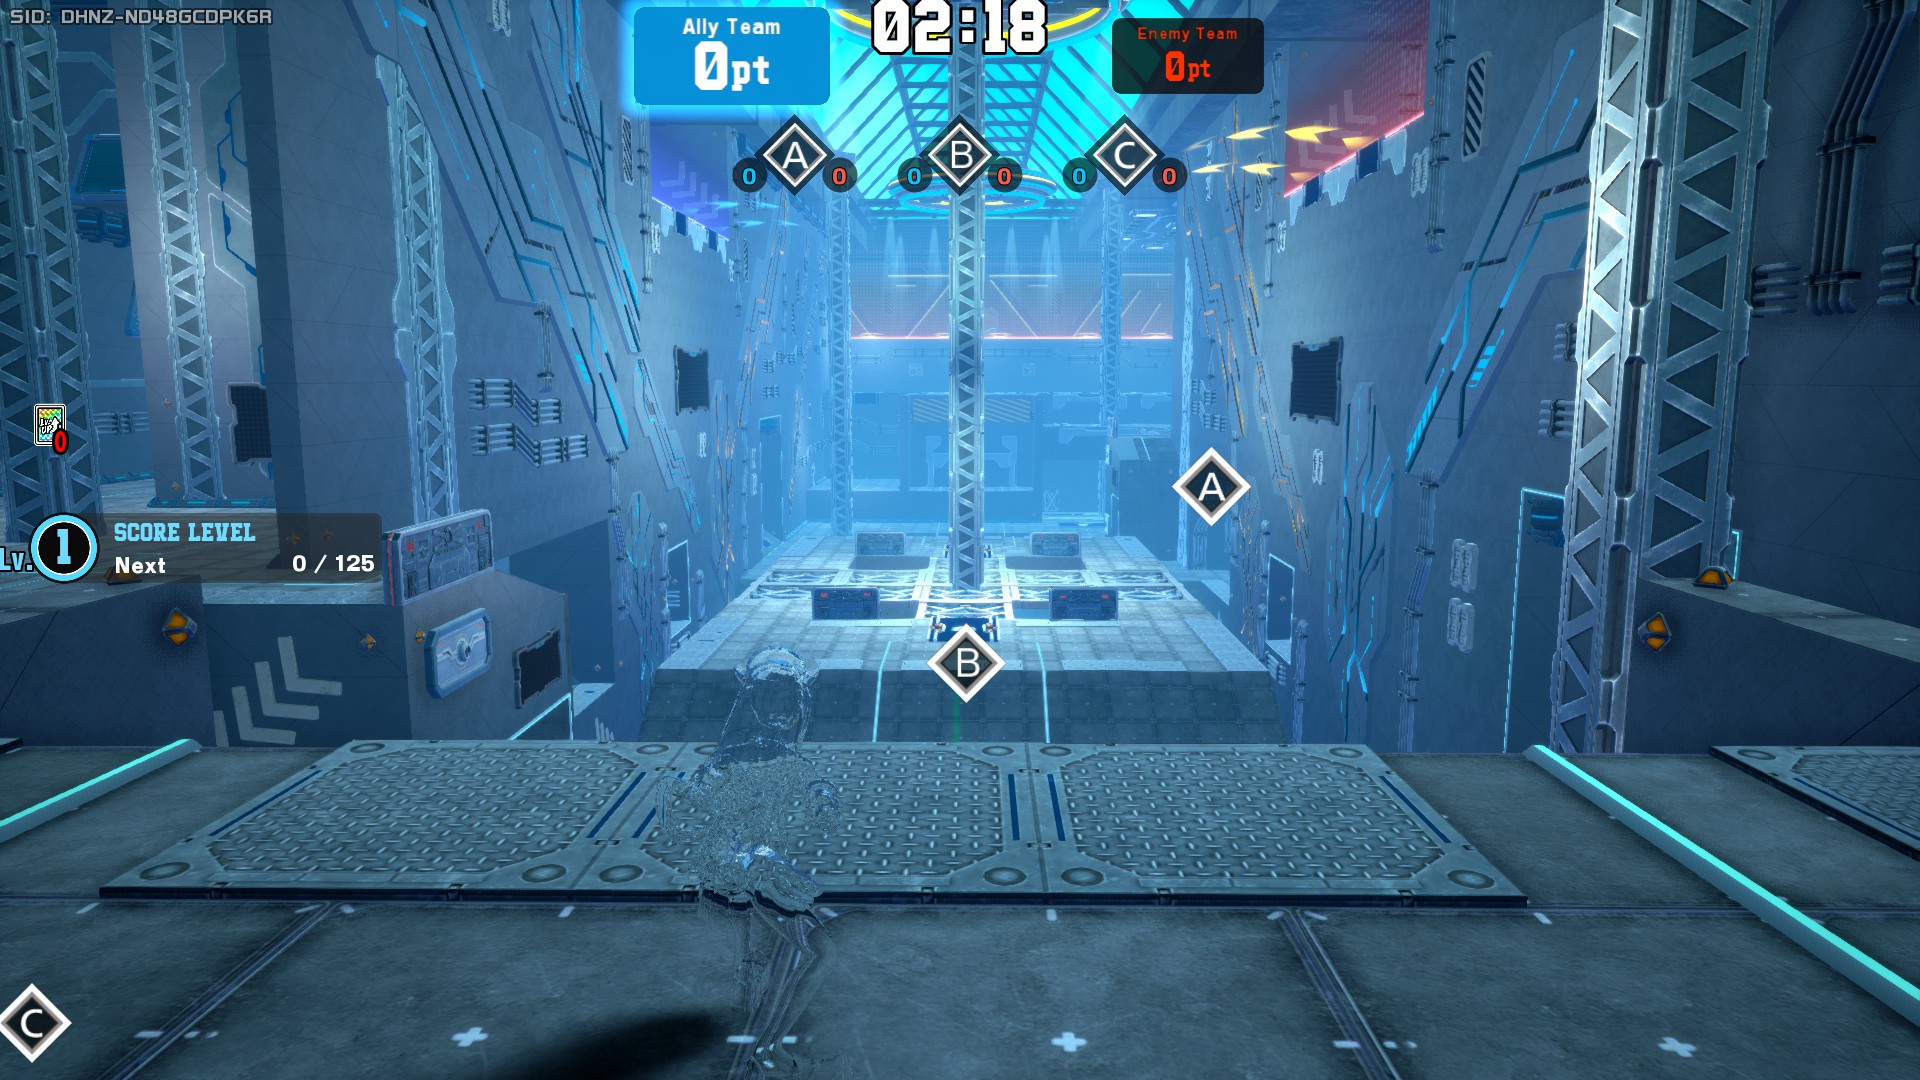
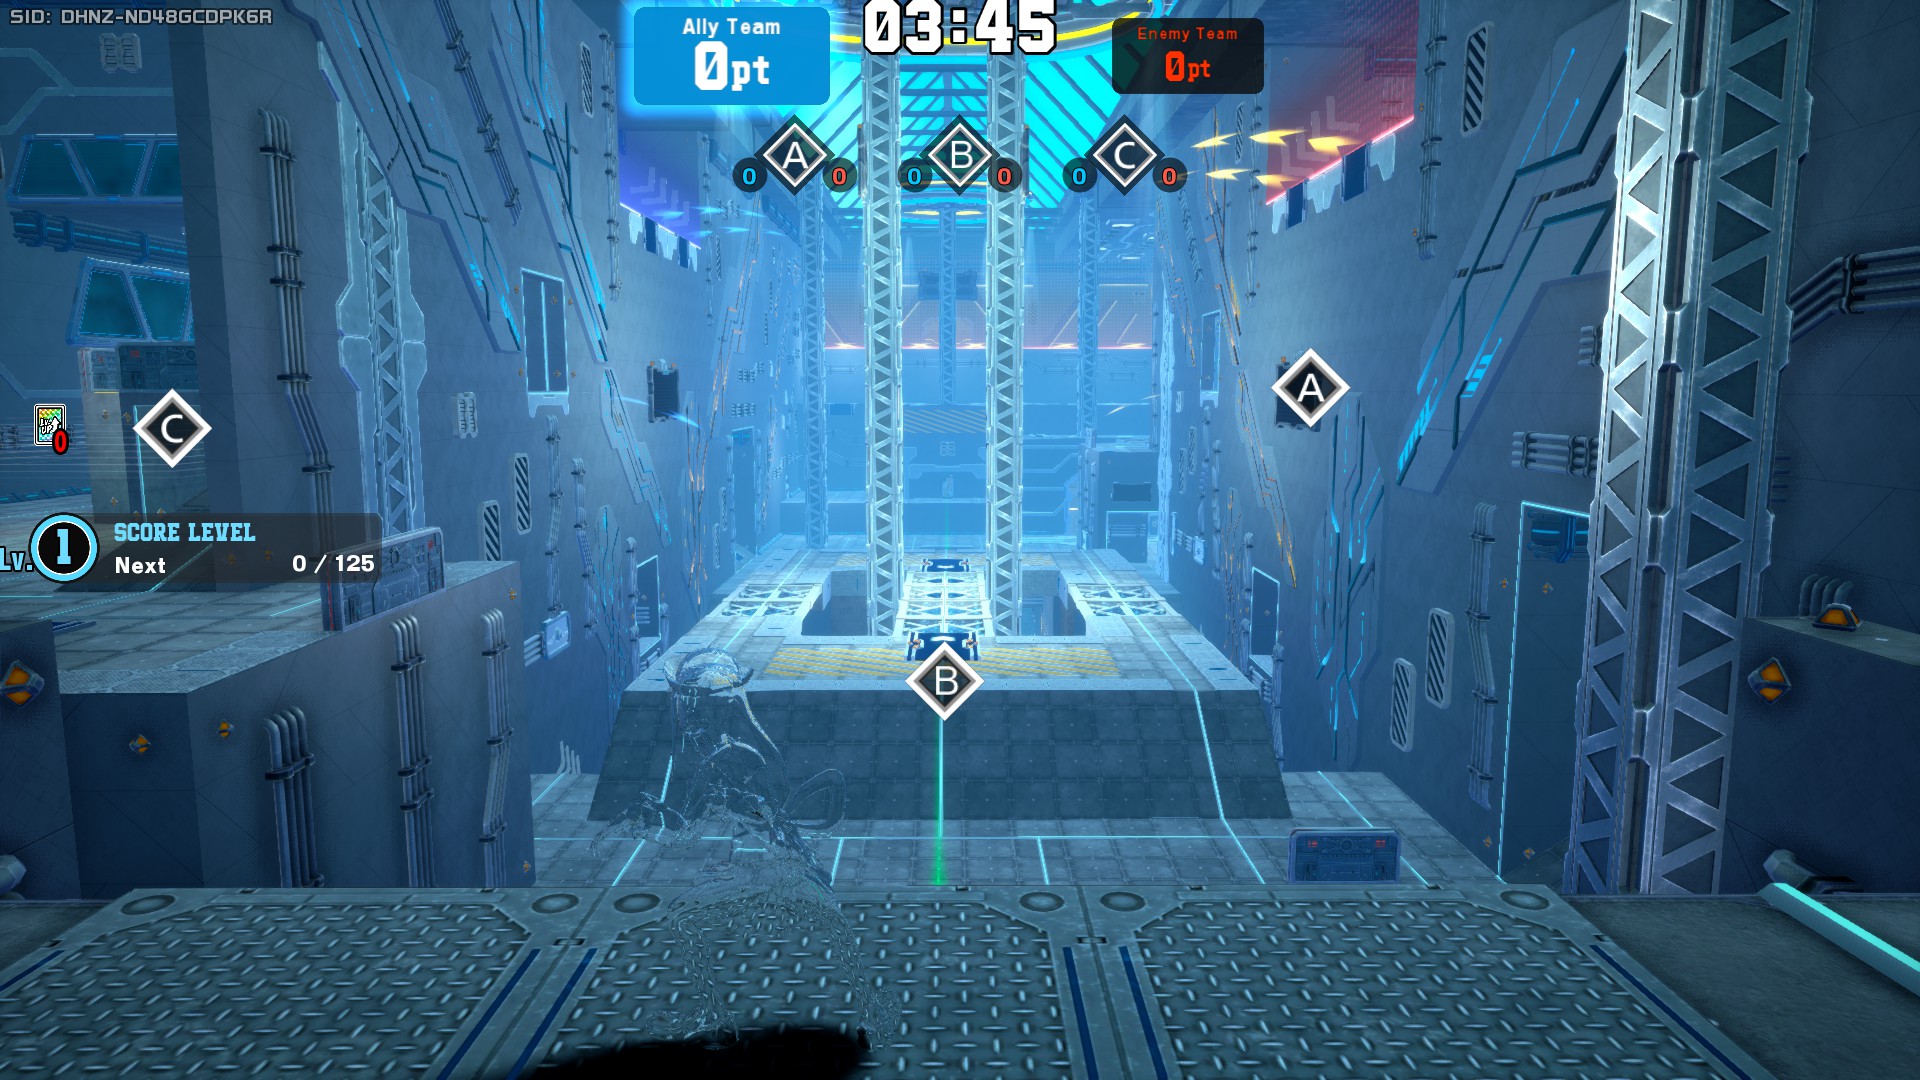
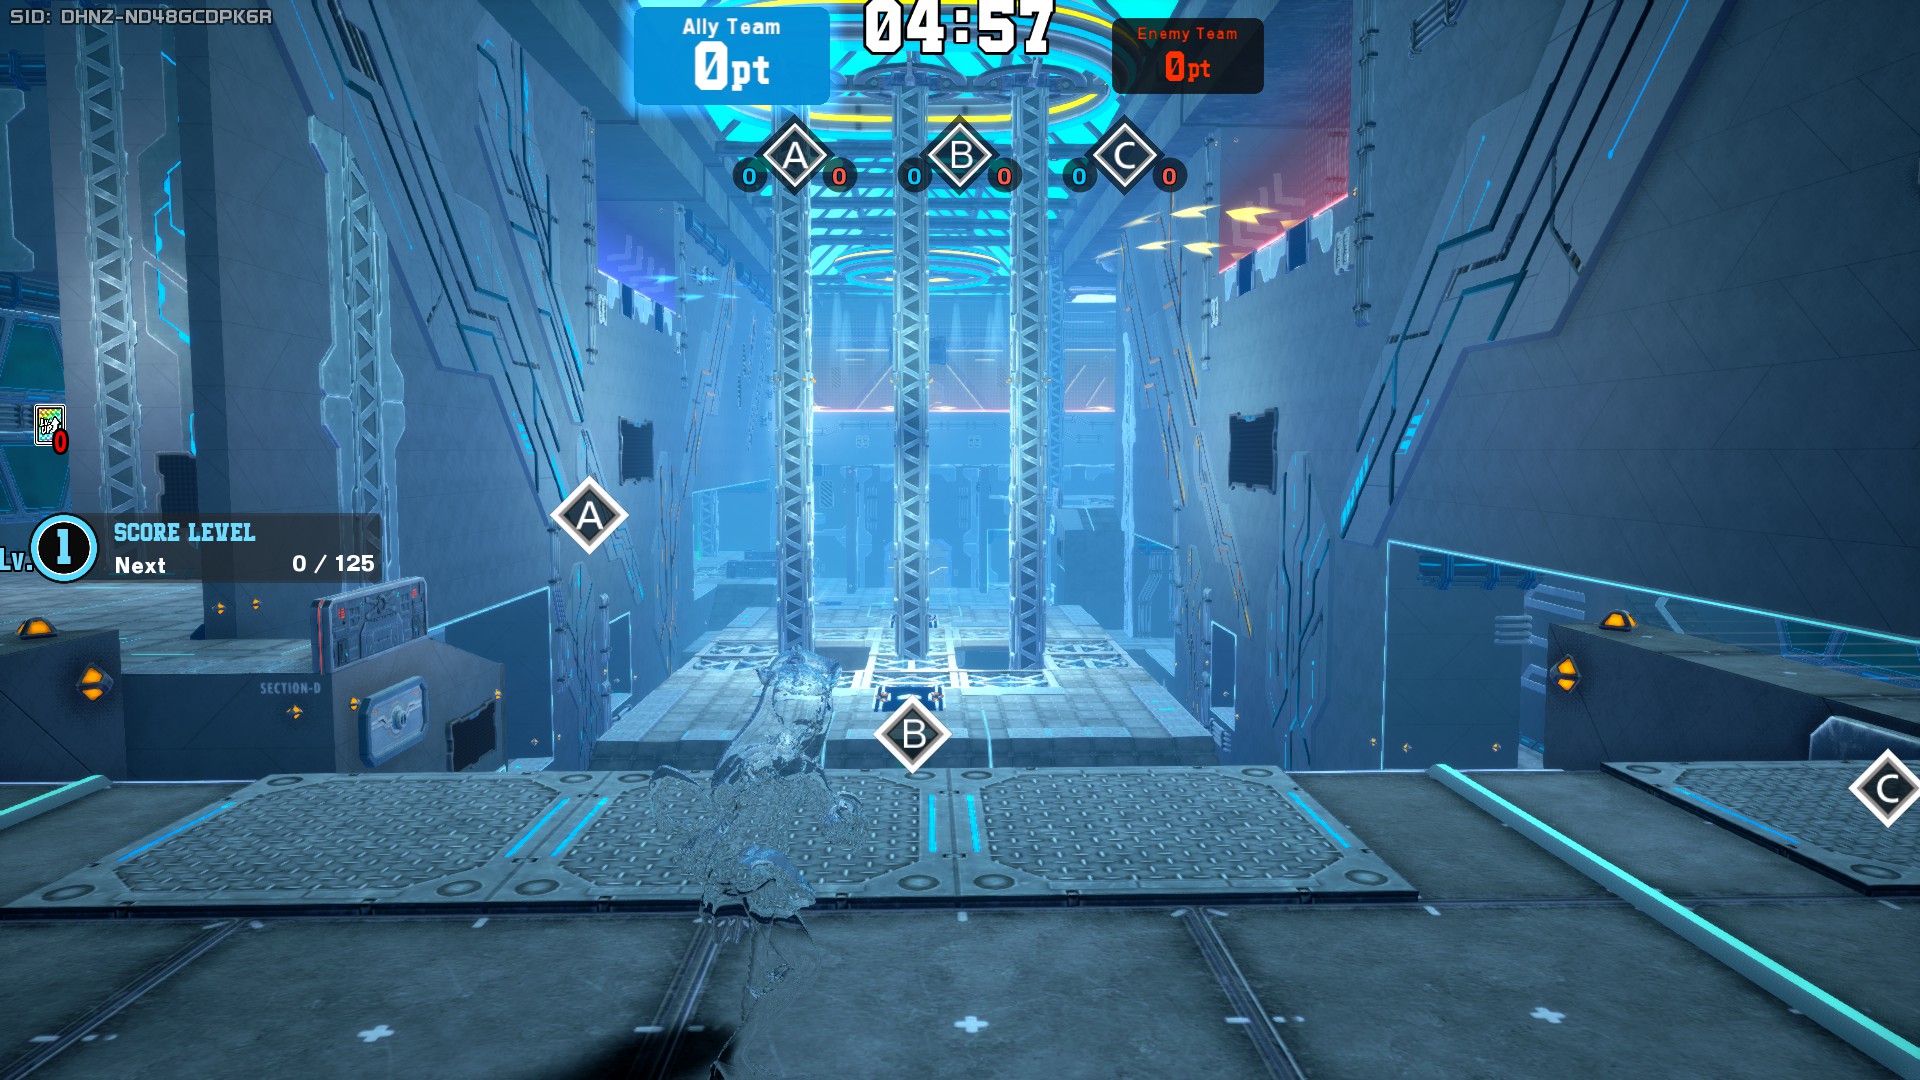
Pattern 1
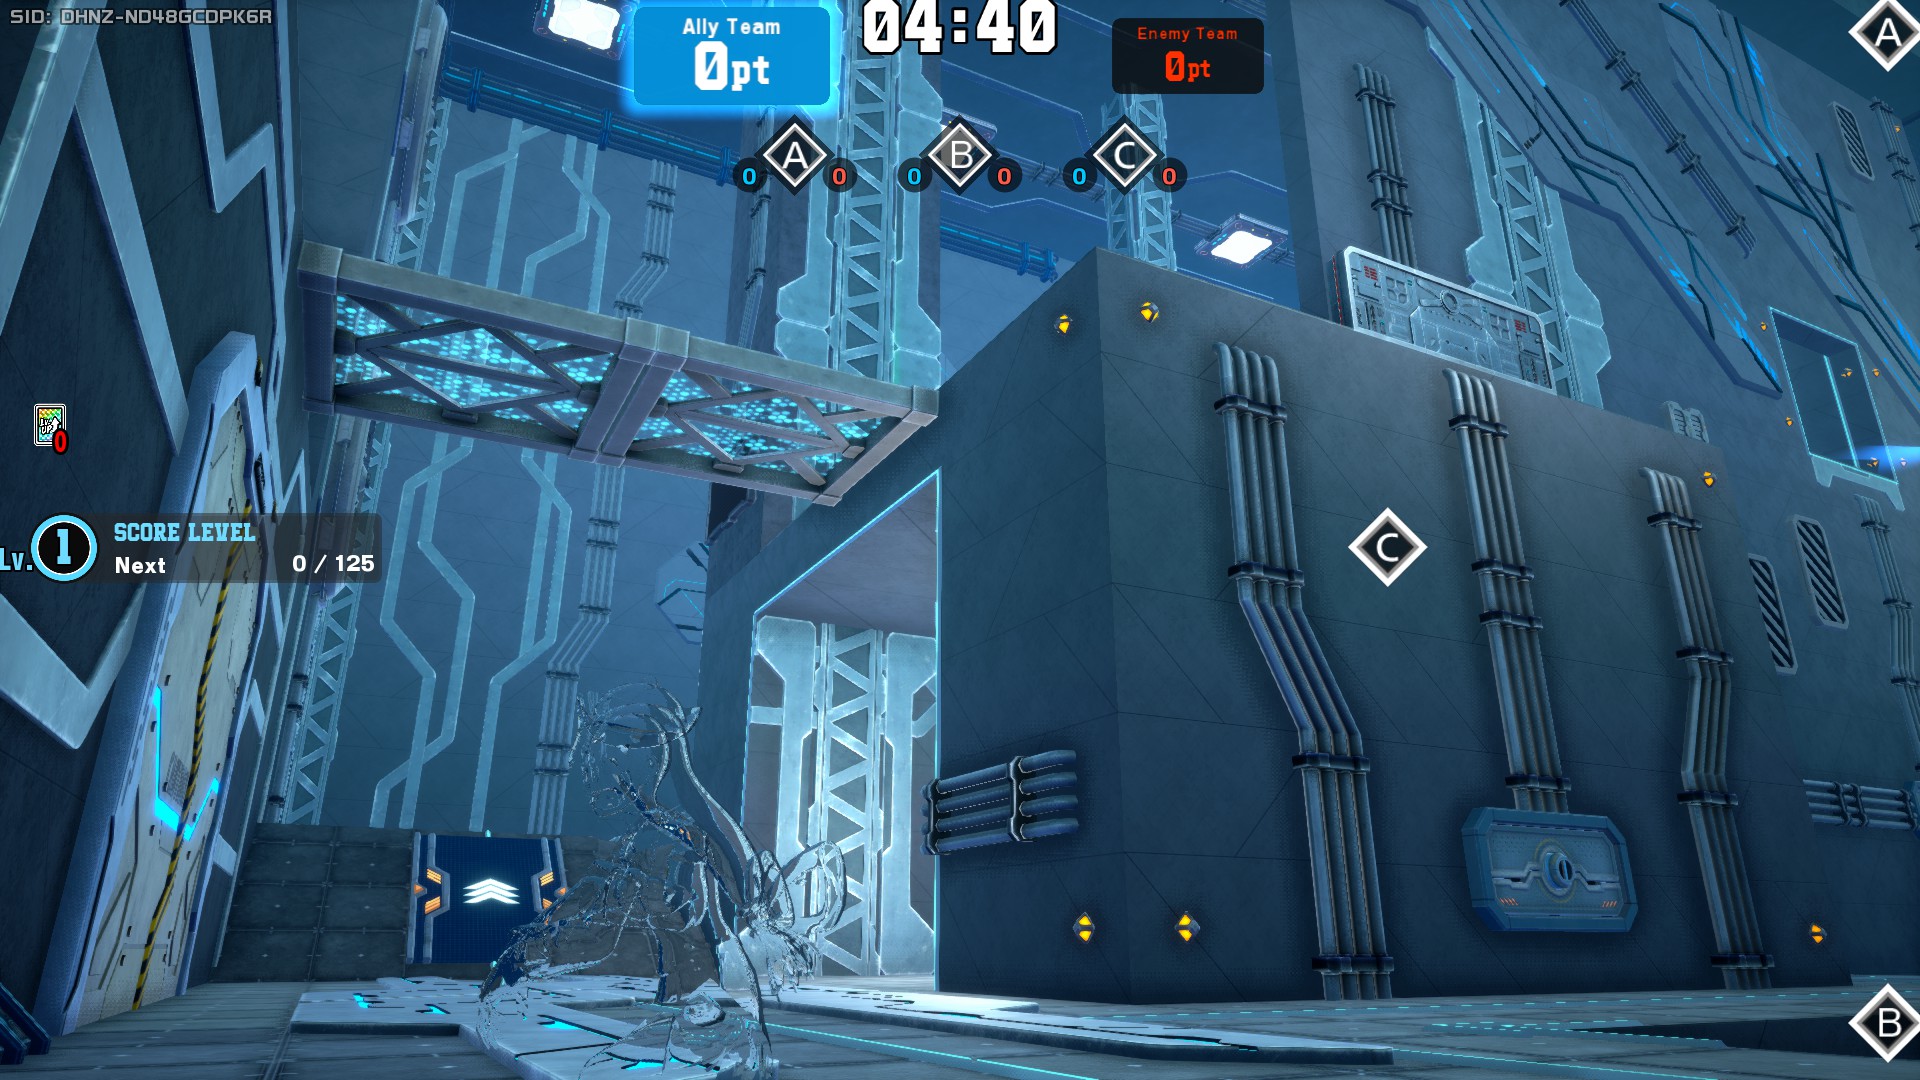
Pattern 1 of Gym Alpha features a 2-floor lateral section that is home to Area A and Area C, which is always found in a mildly open area in the lower floor. They size of Area A and C in this pattern is pretty small, so it's easy to cover it with a few constructions.
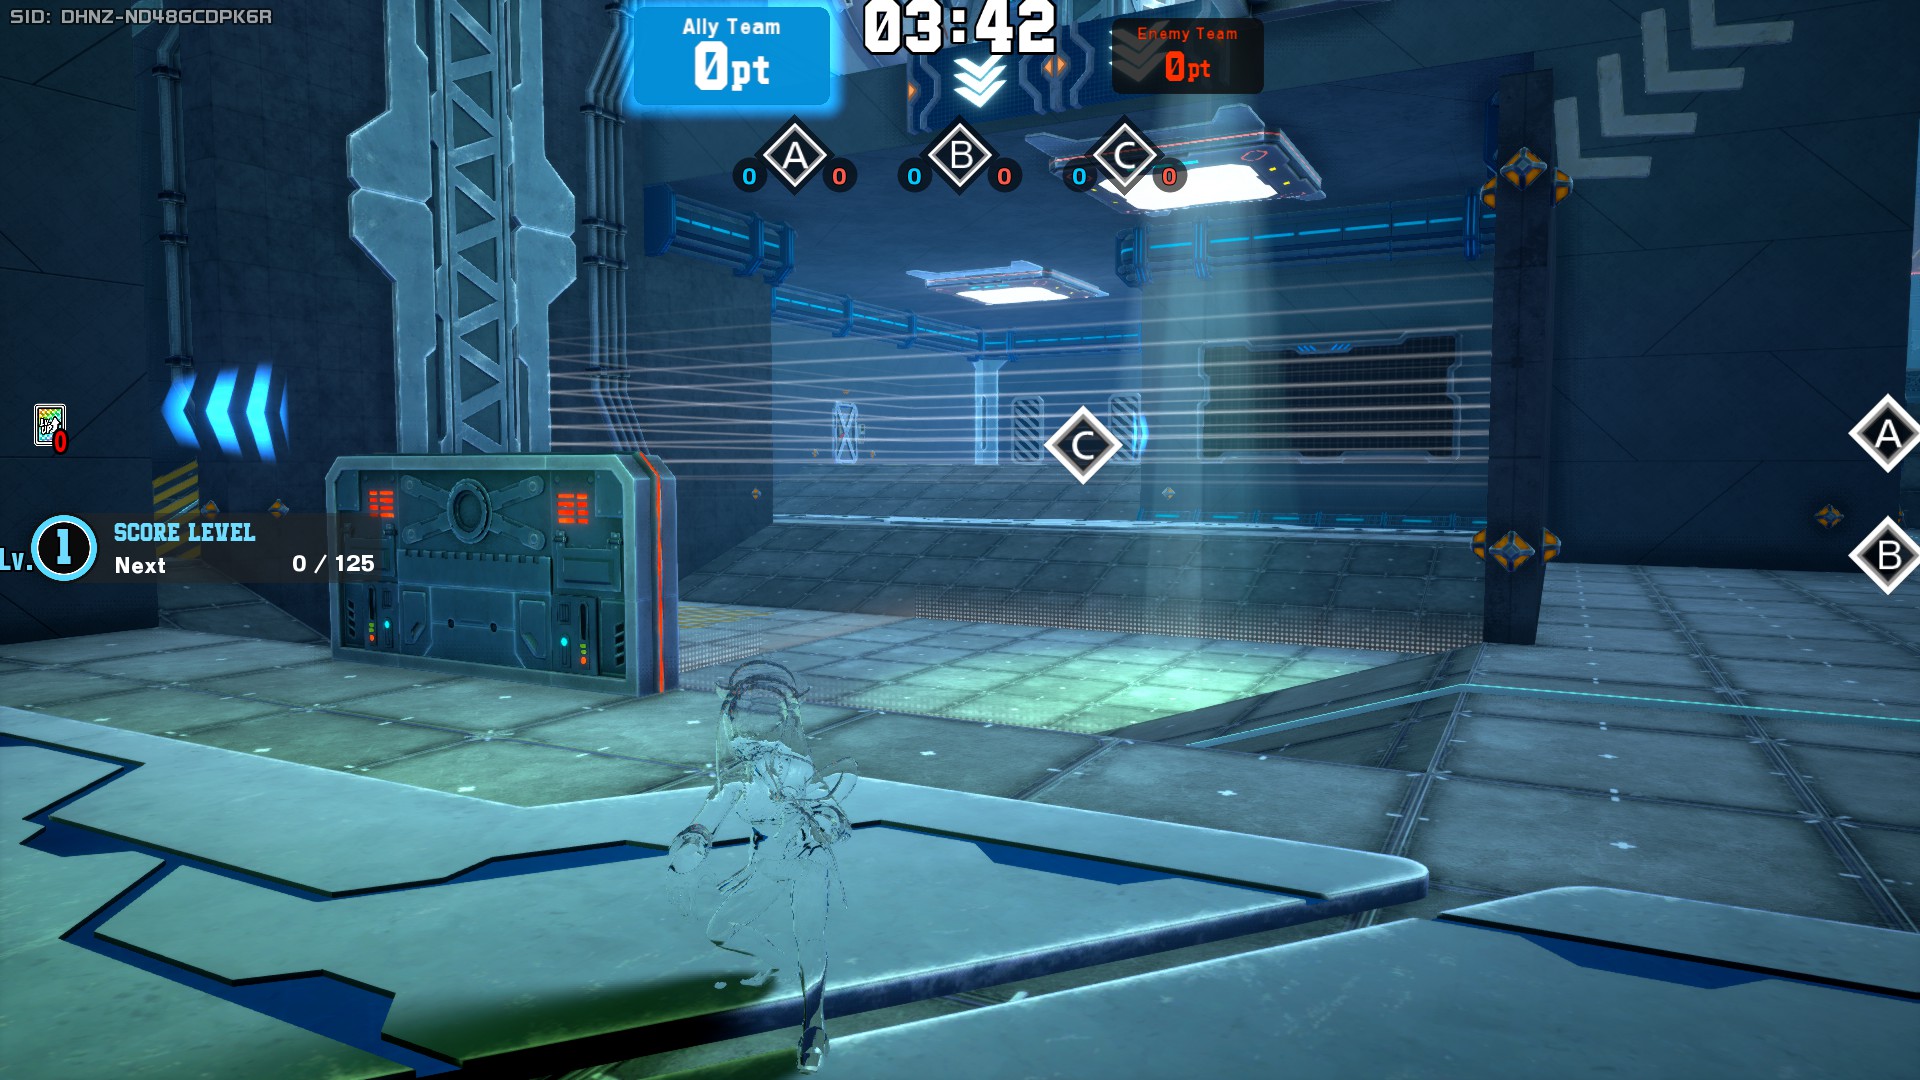
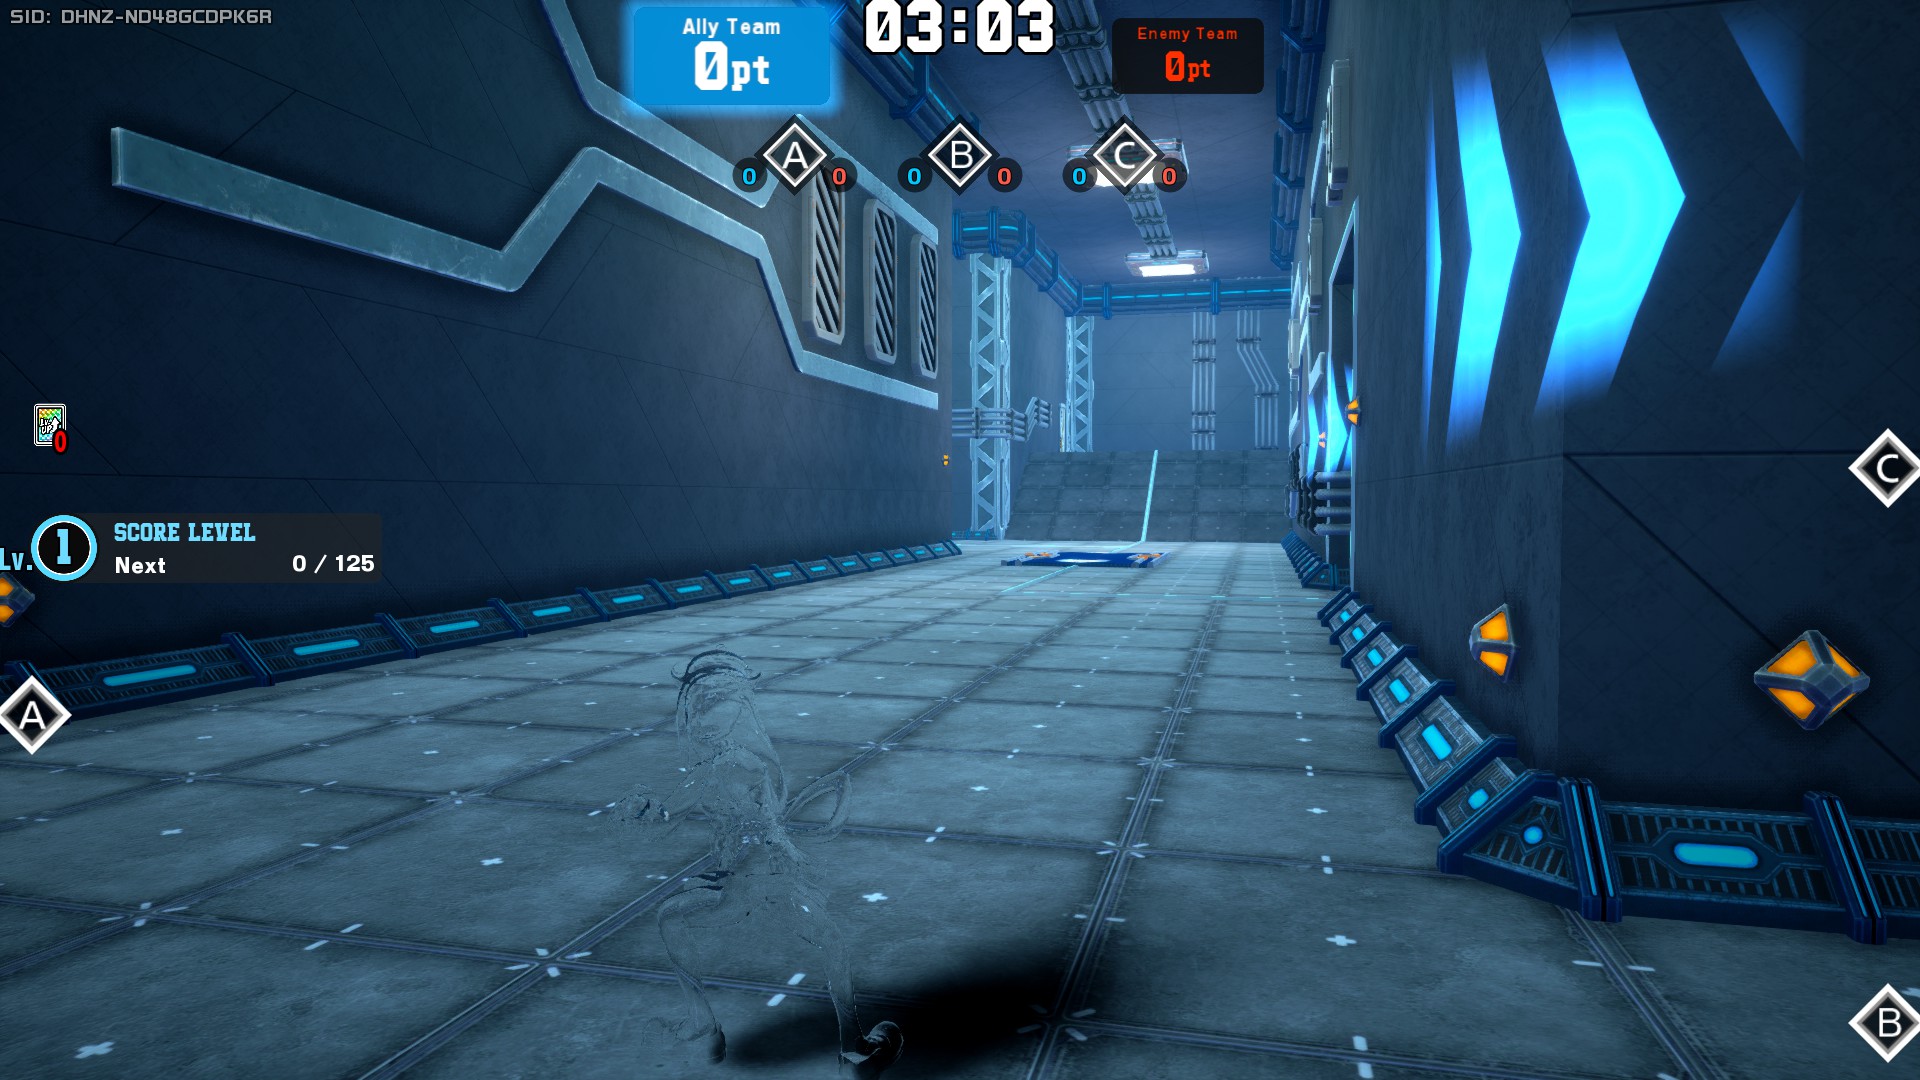
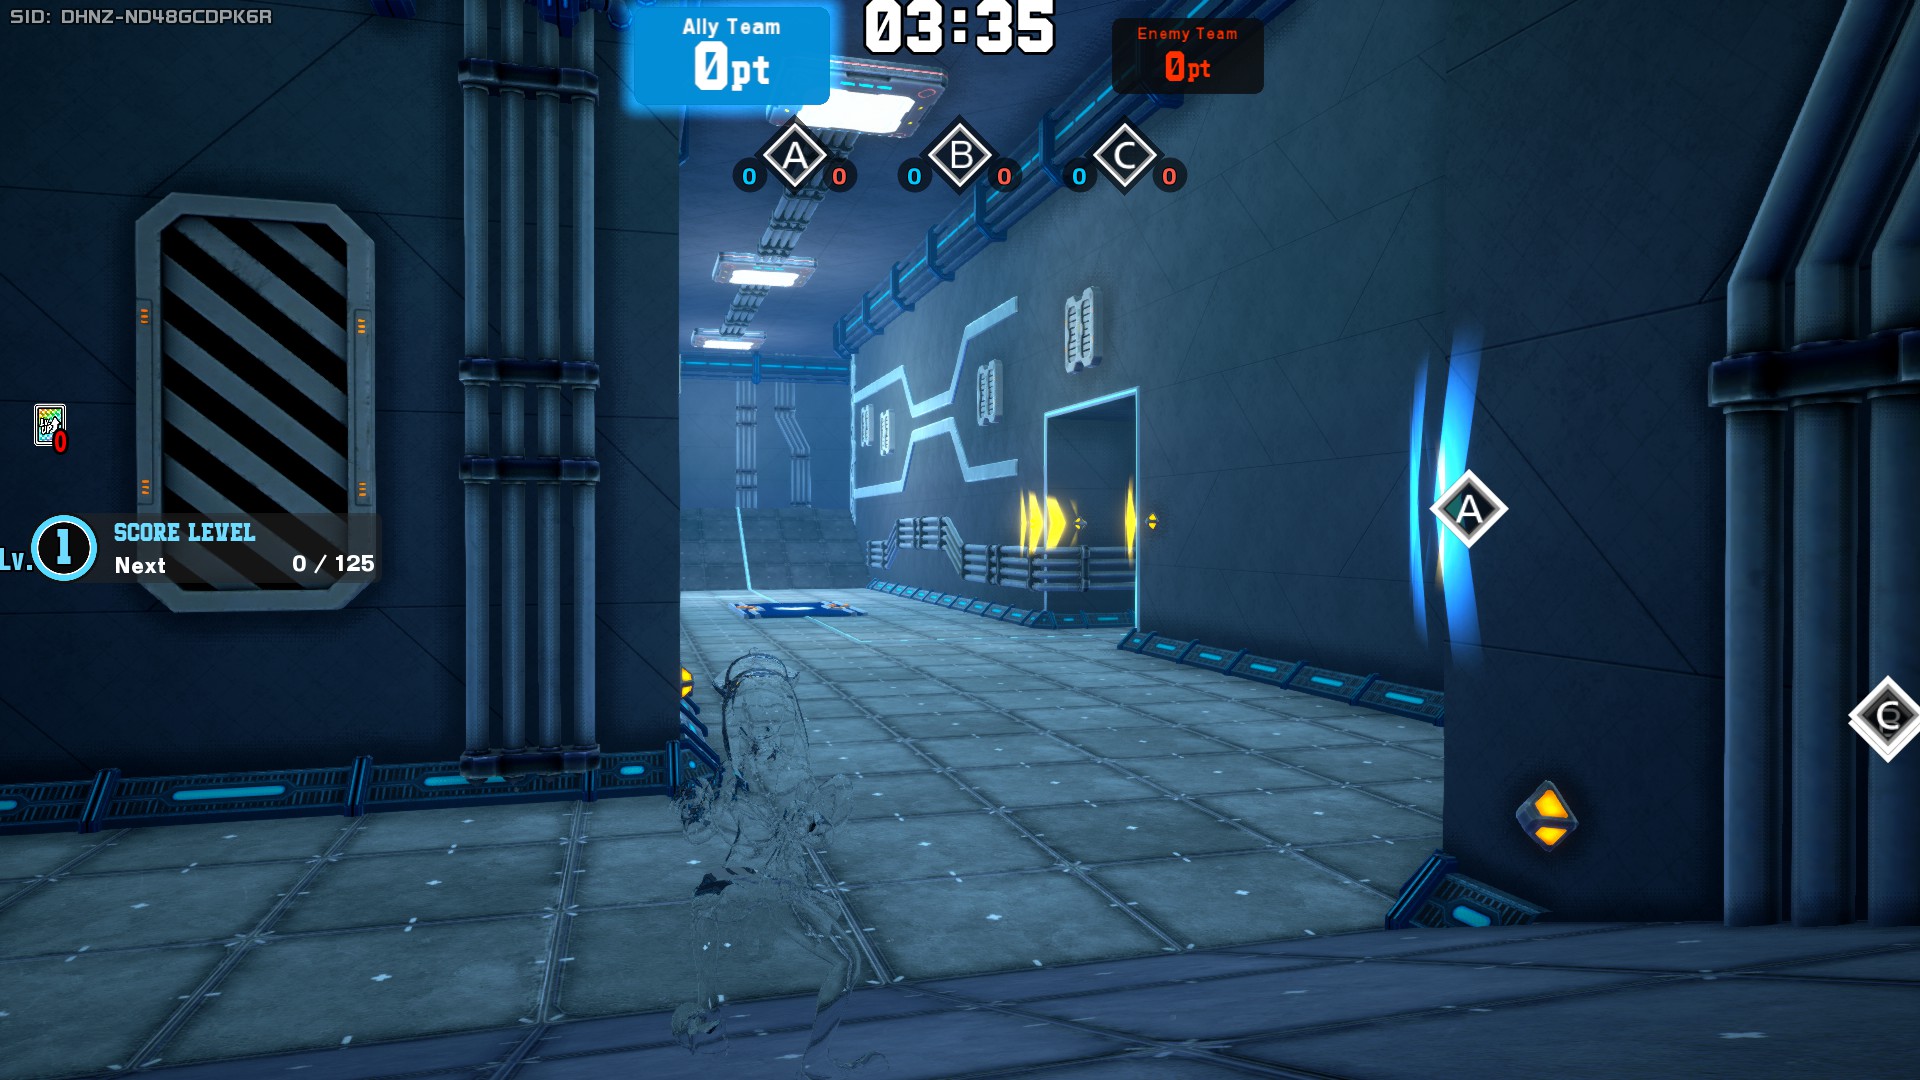
The central area features one metal pillar at the very center of the map surrounded by walkable panels in all 4 cardinal directions. Area B can be accessed either via the central lower passage, or by descending down the slopes on the sides. Area B itself is rather simple, a bigger capturable zone surrounded by 4 short walls that give a bit of cover and a central metallic pillar.
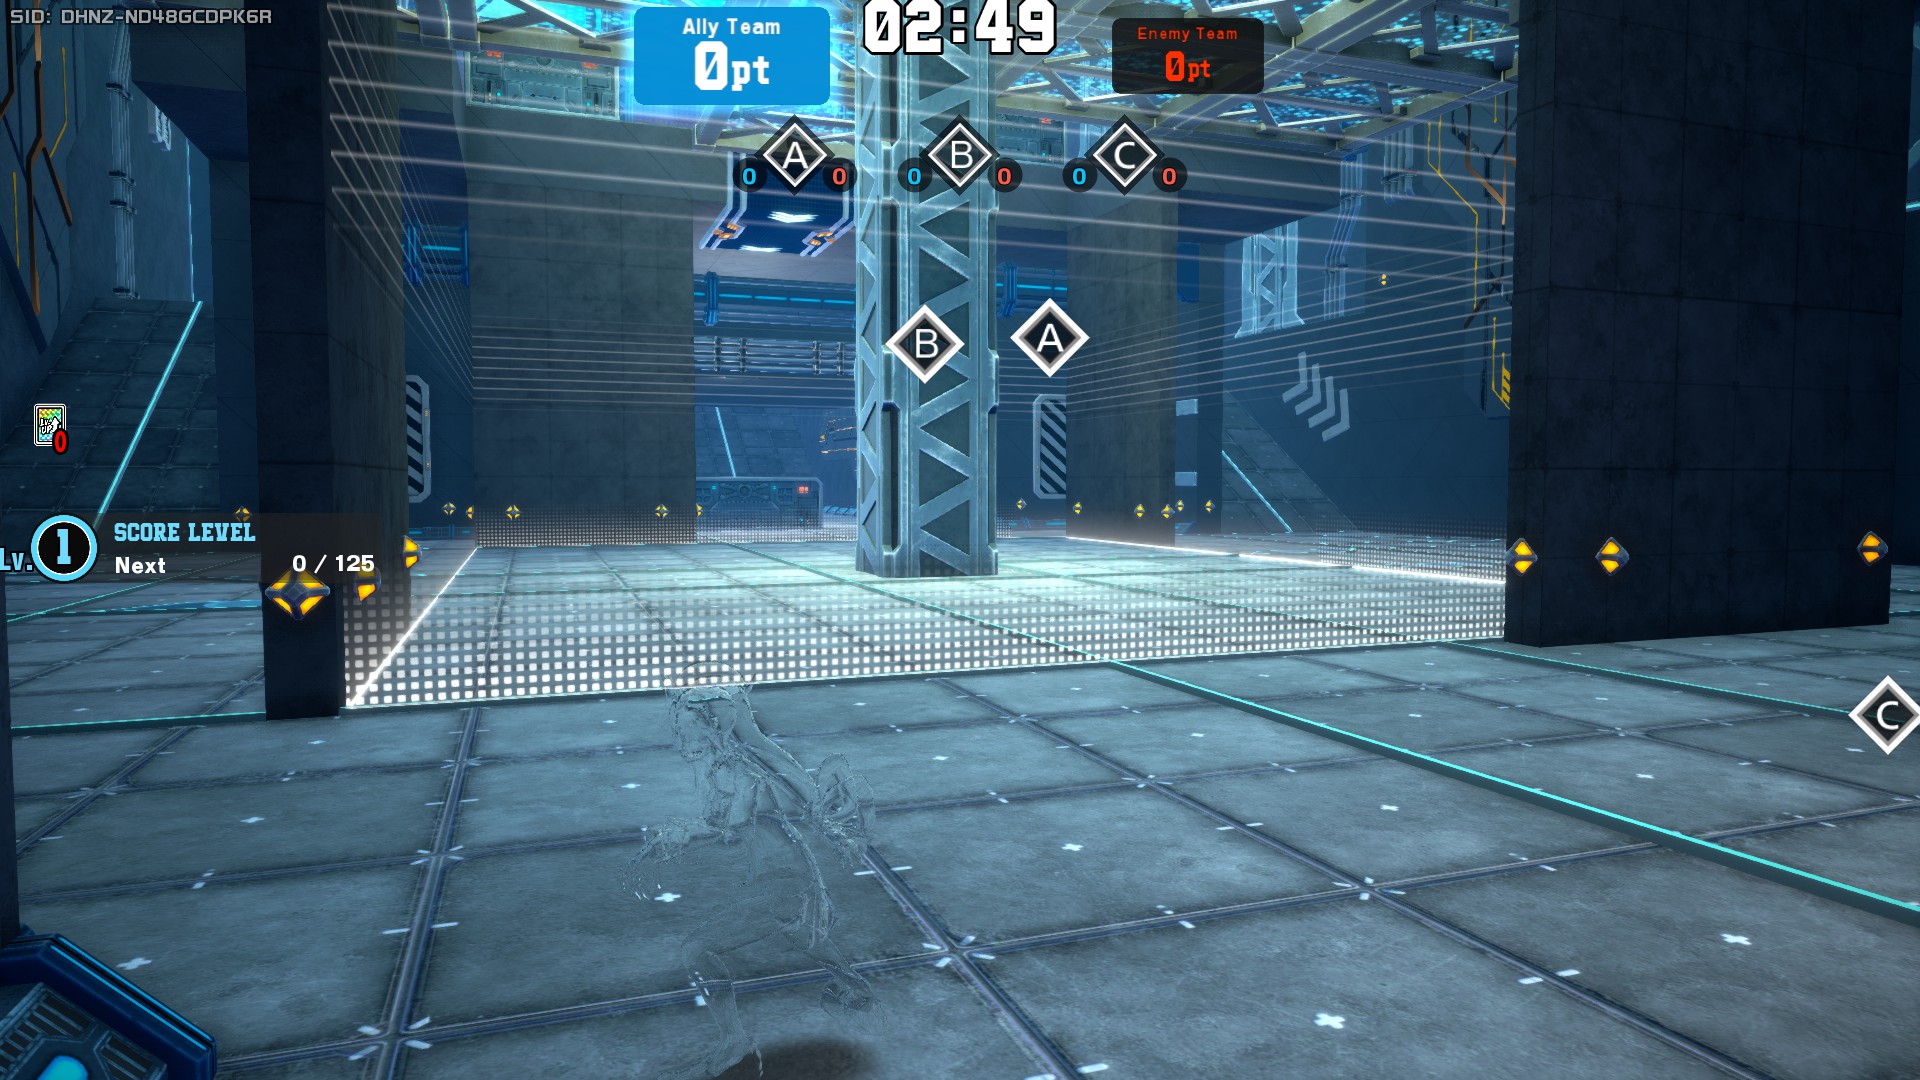
Pattern 2
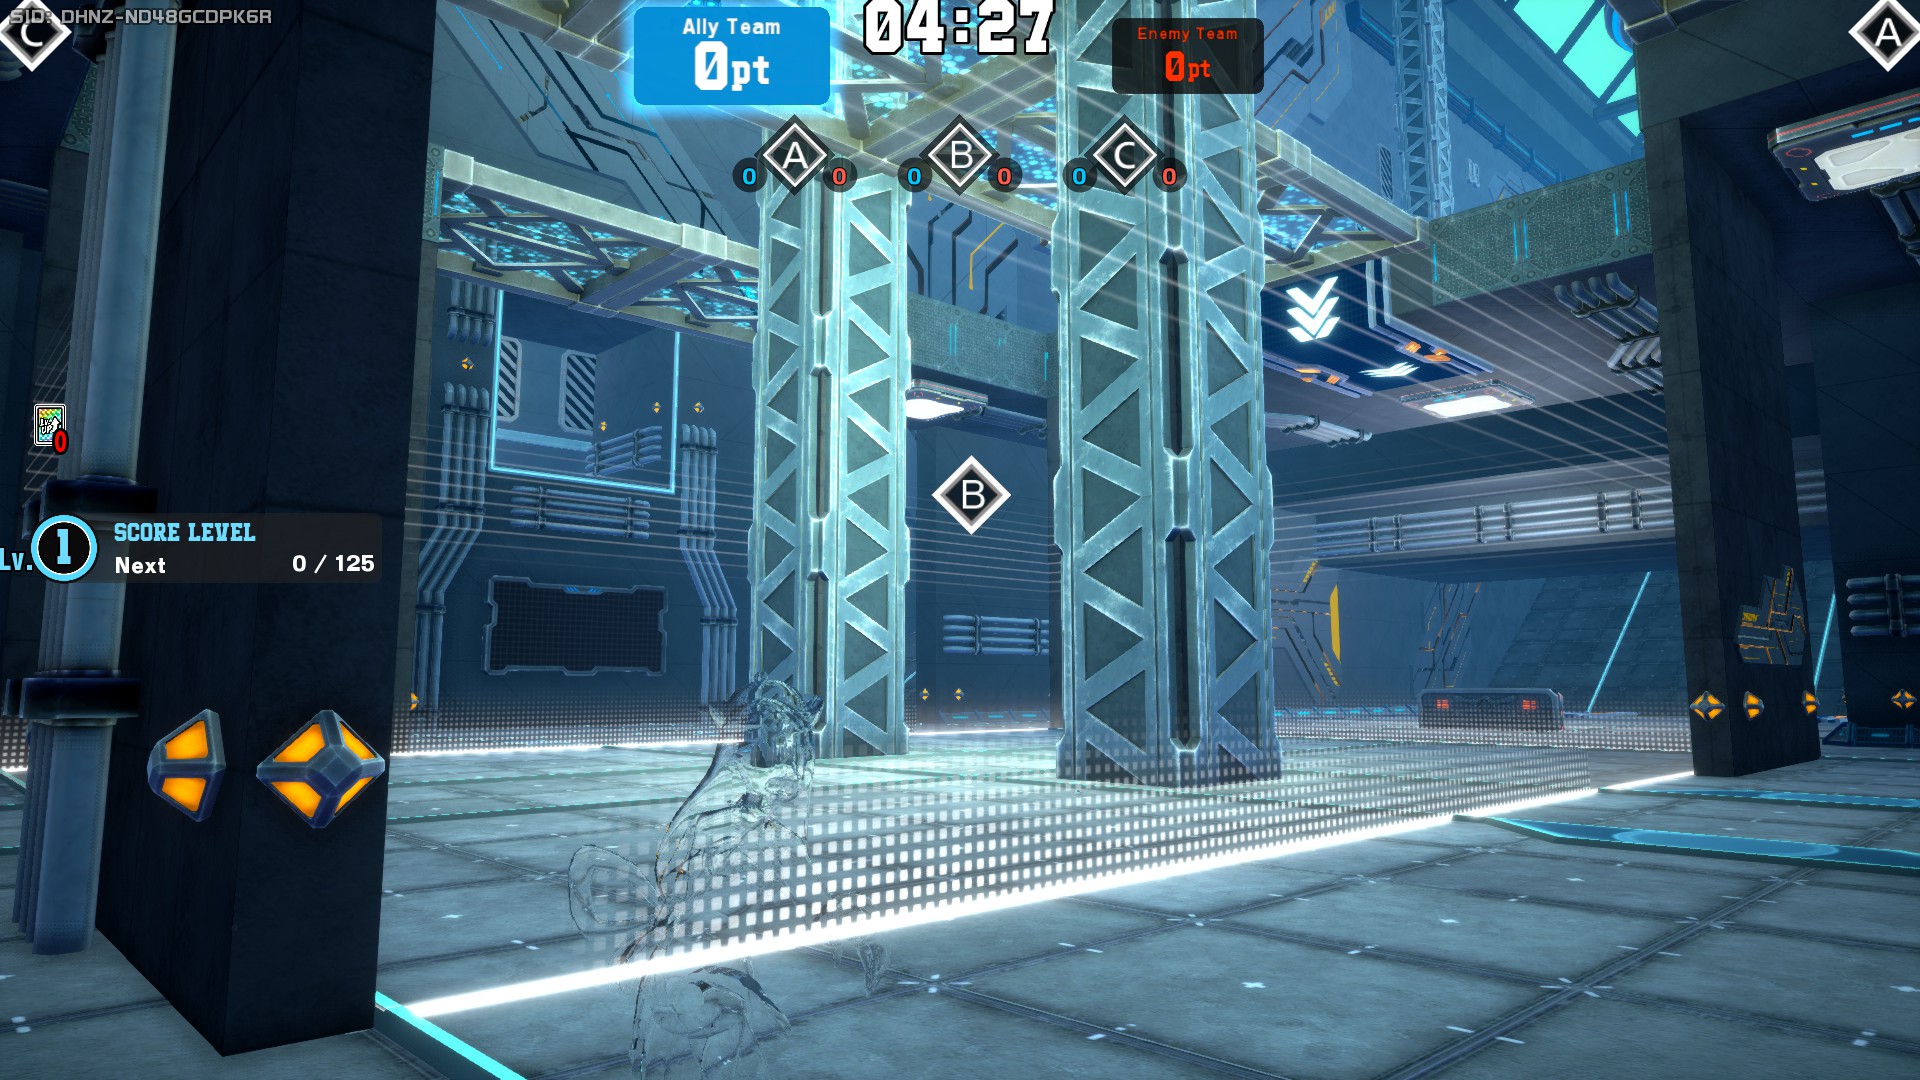
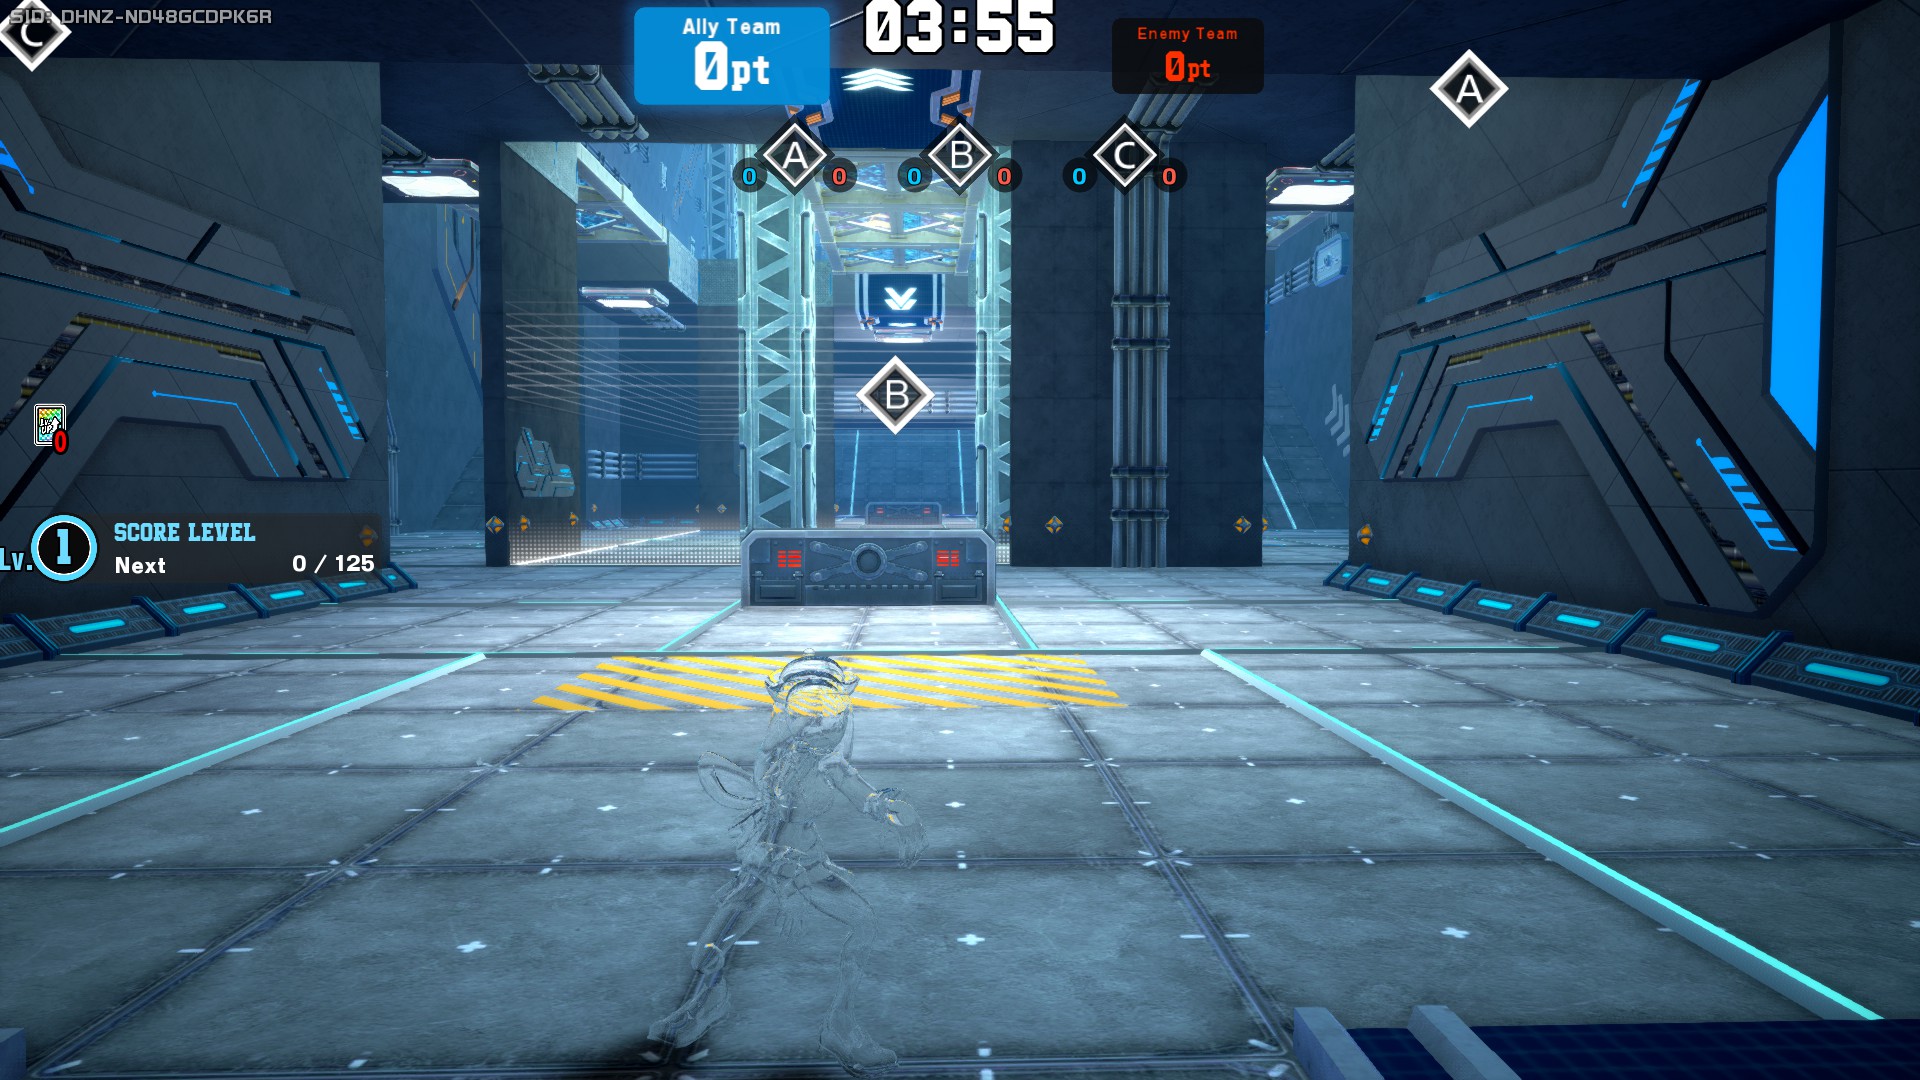
Pattern 2 of Gym Alpha features another 2-floor lateral section that is home to Area A and Area C, which is always found in the upper floor as a small area with a pillar on one corner and an a small L-shaped tunnel on the opposing corner. This tunnel is key in this area's dynamics, as attacks that pierce through walls or that allow people to enclose themselves result particularly useful. The upper floor can be accessed from a small panel bridge, or from below through slopes. Alternatively you can use a small gap in the wall which will leave you on top of the tunnel.
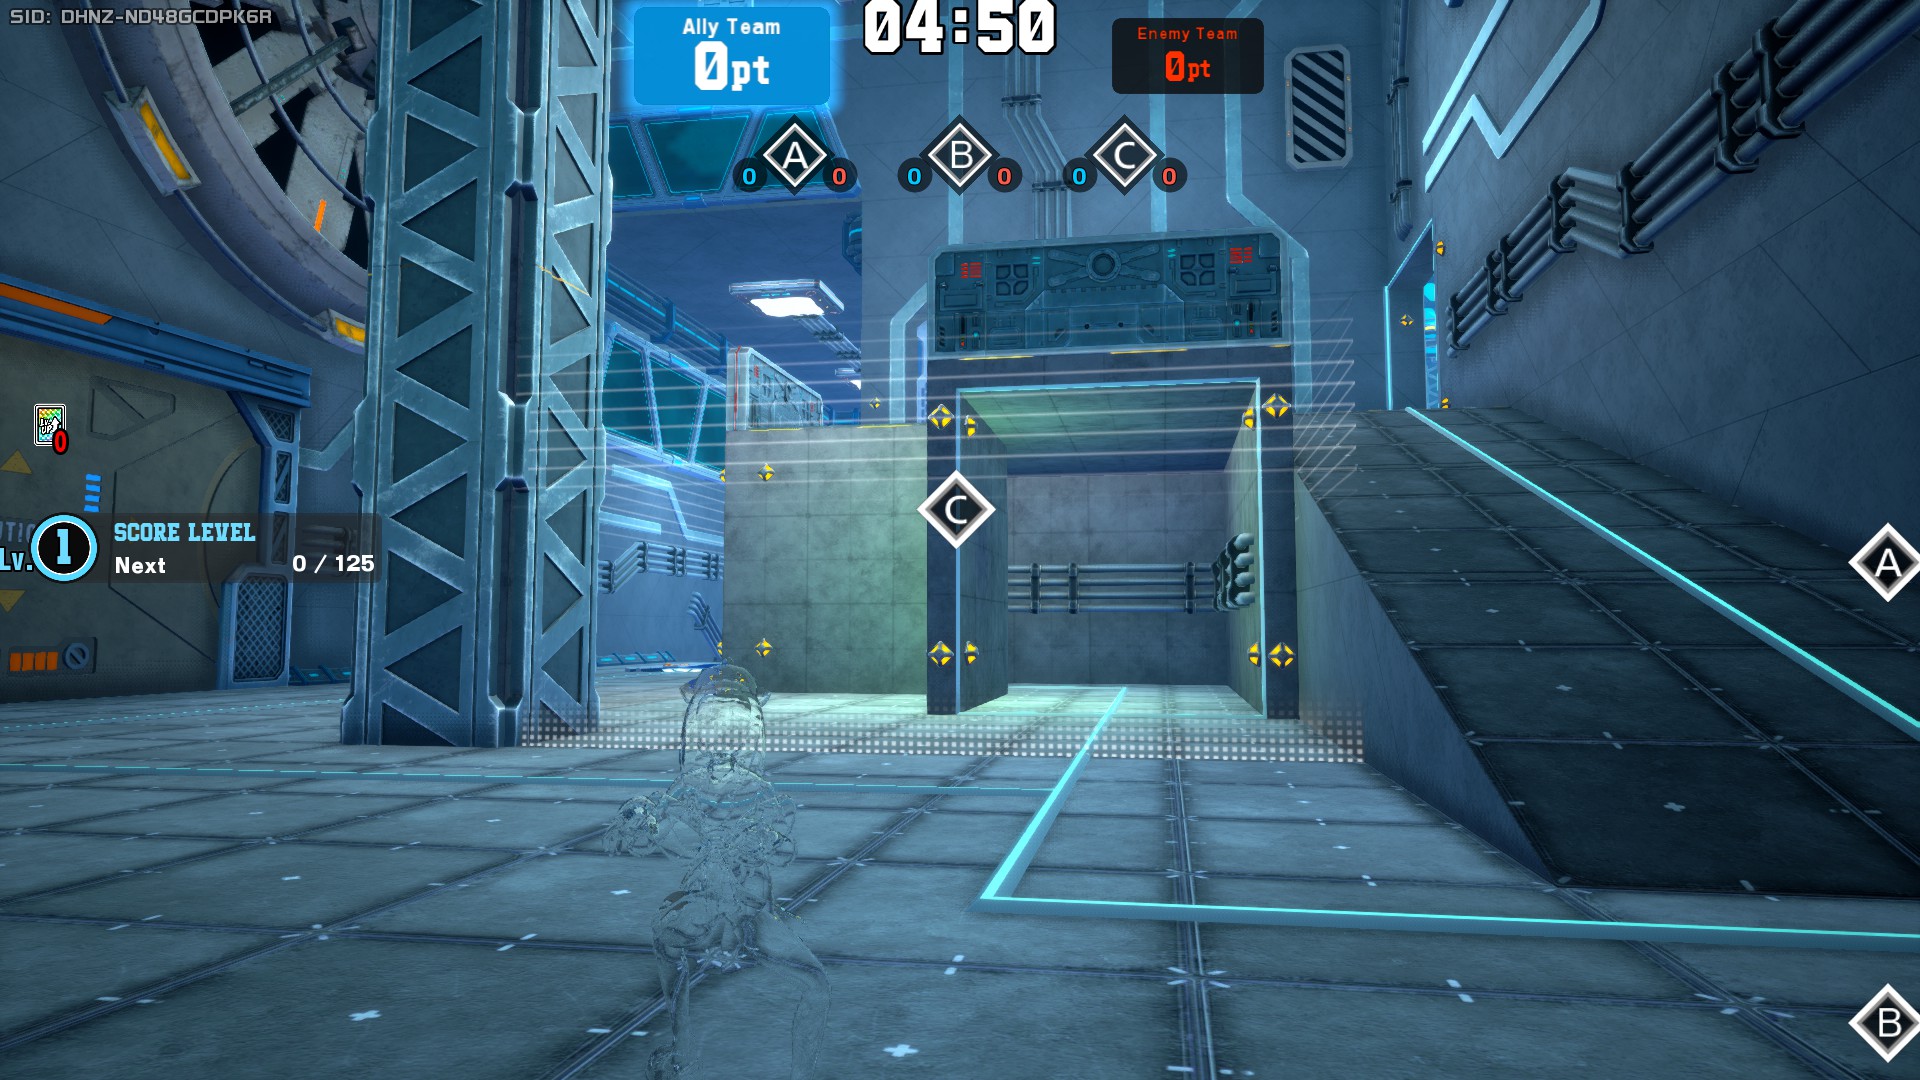
The central area isn't much different from the previous, featuring two metal pillars at the very center of the map instead of one, and the panels are distributed in a straight line going between both pillars. Area B can be accessed either via the central lower passage, or by descending down the slopes on the sides. Area B itself is the same, but with two pillars instead of one.
Pattern 3
Pattern 3 of Gym Alpha features another 2-floor lateral section that seems to be a mix of Pattern 1's lower floor and Pattern 2's upper floor. The A and C areas themselves are a tiny elevated platform with some equal-level ground surrounding them. These areas can be more chaotic due to the small size of the area, and the elevation makes it inconvenient for some characters, but very convenient for others.
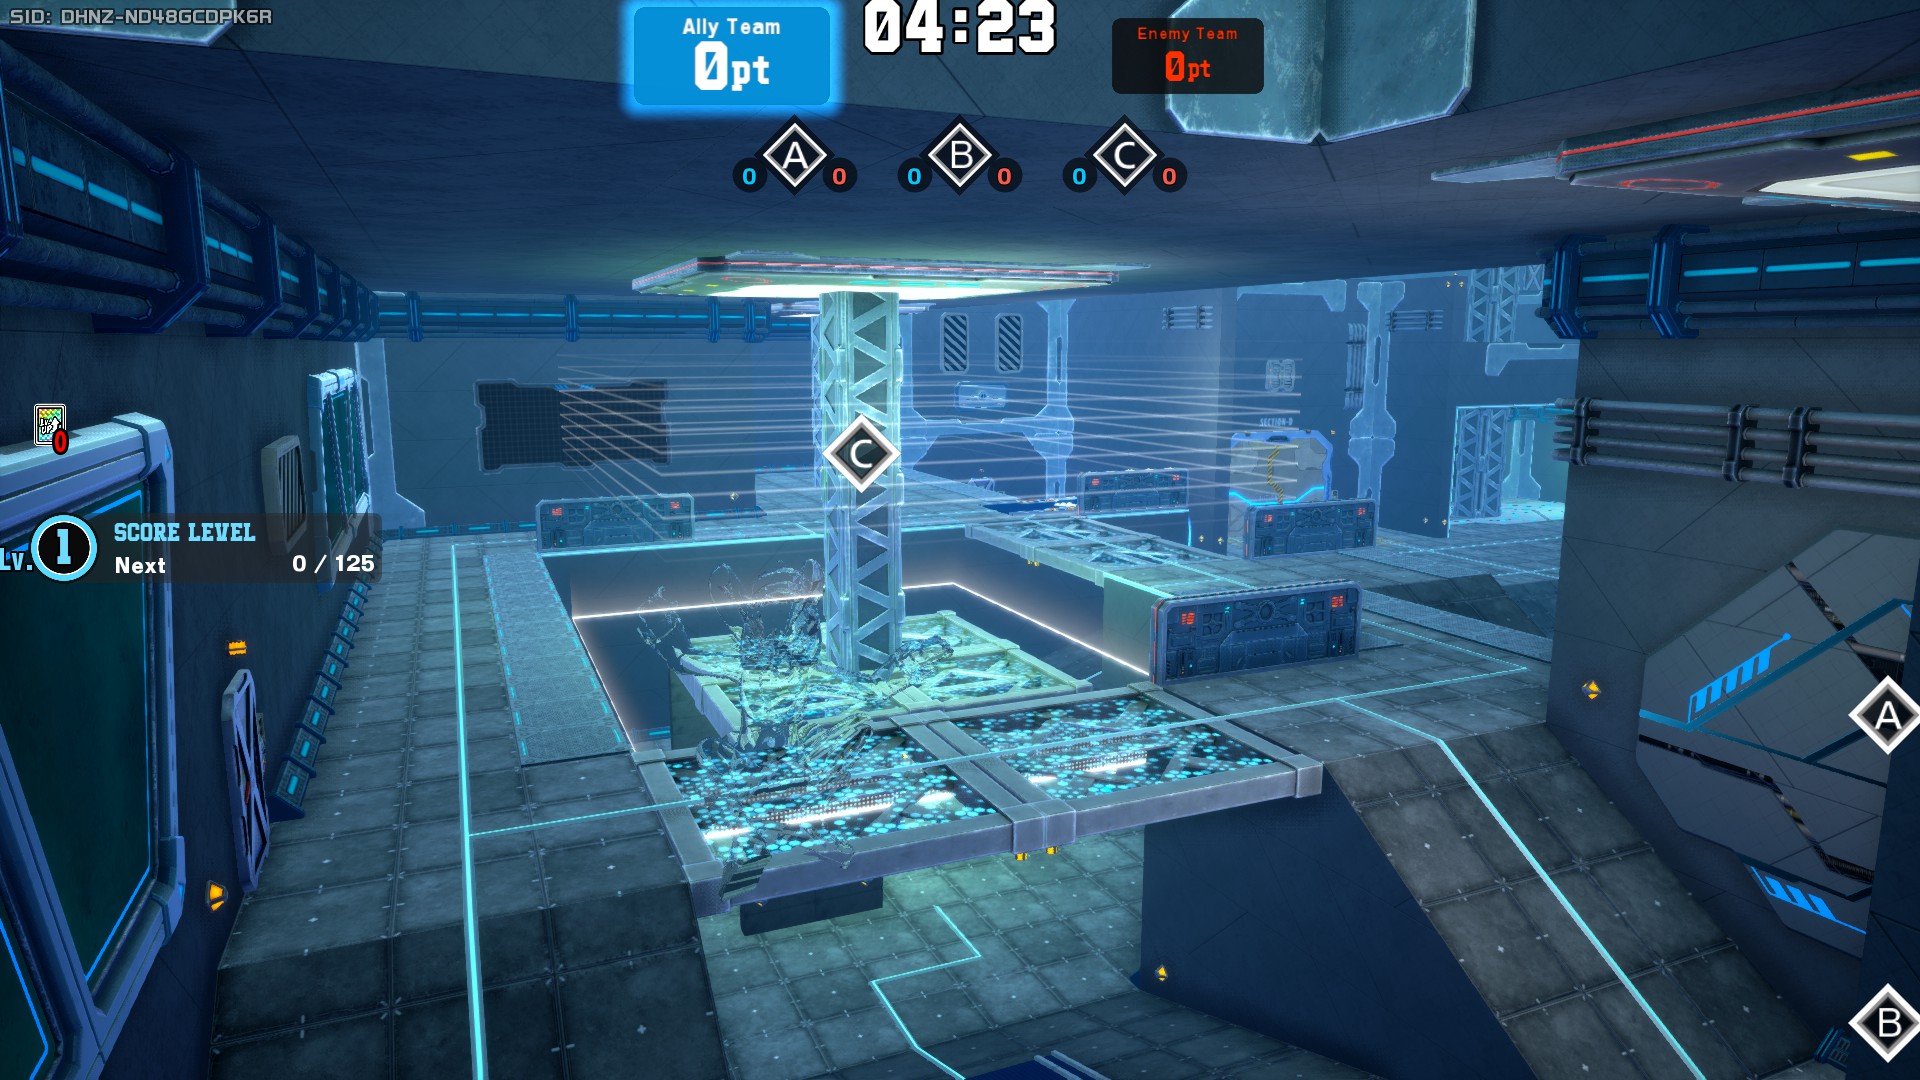
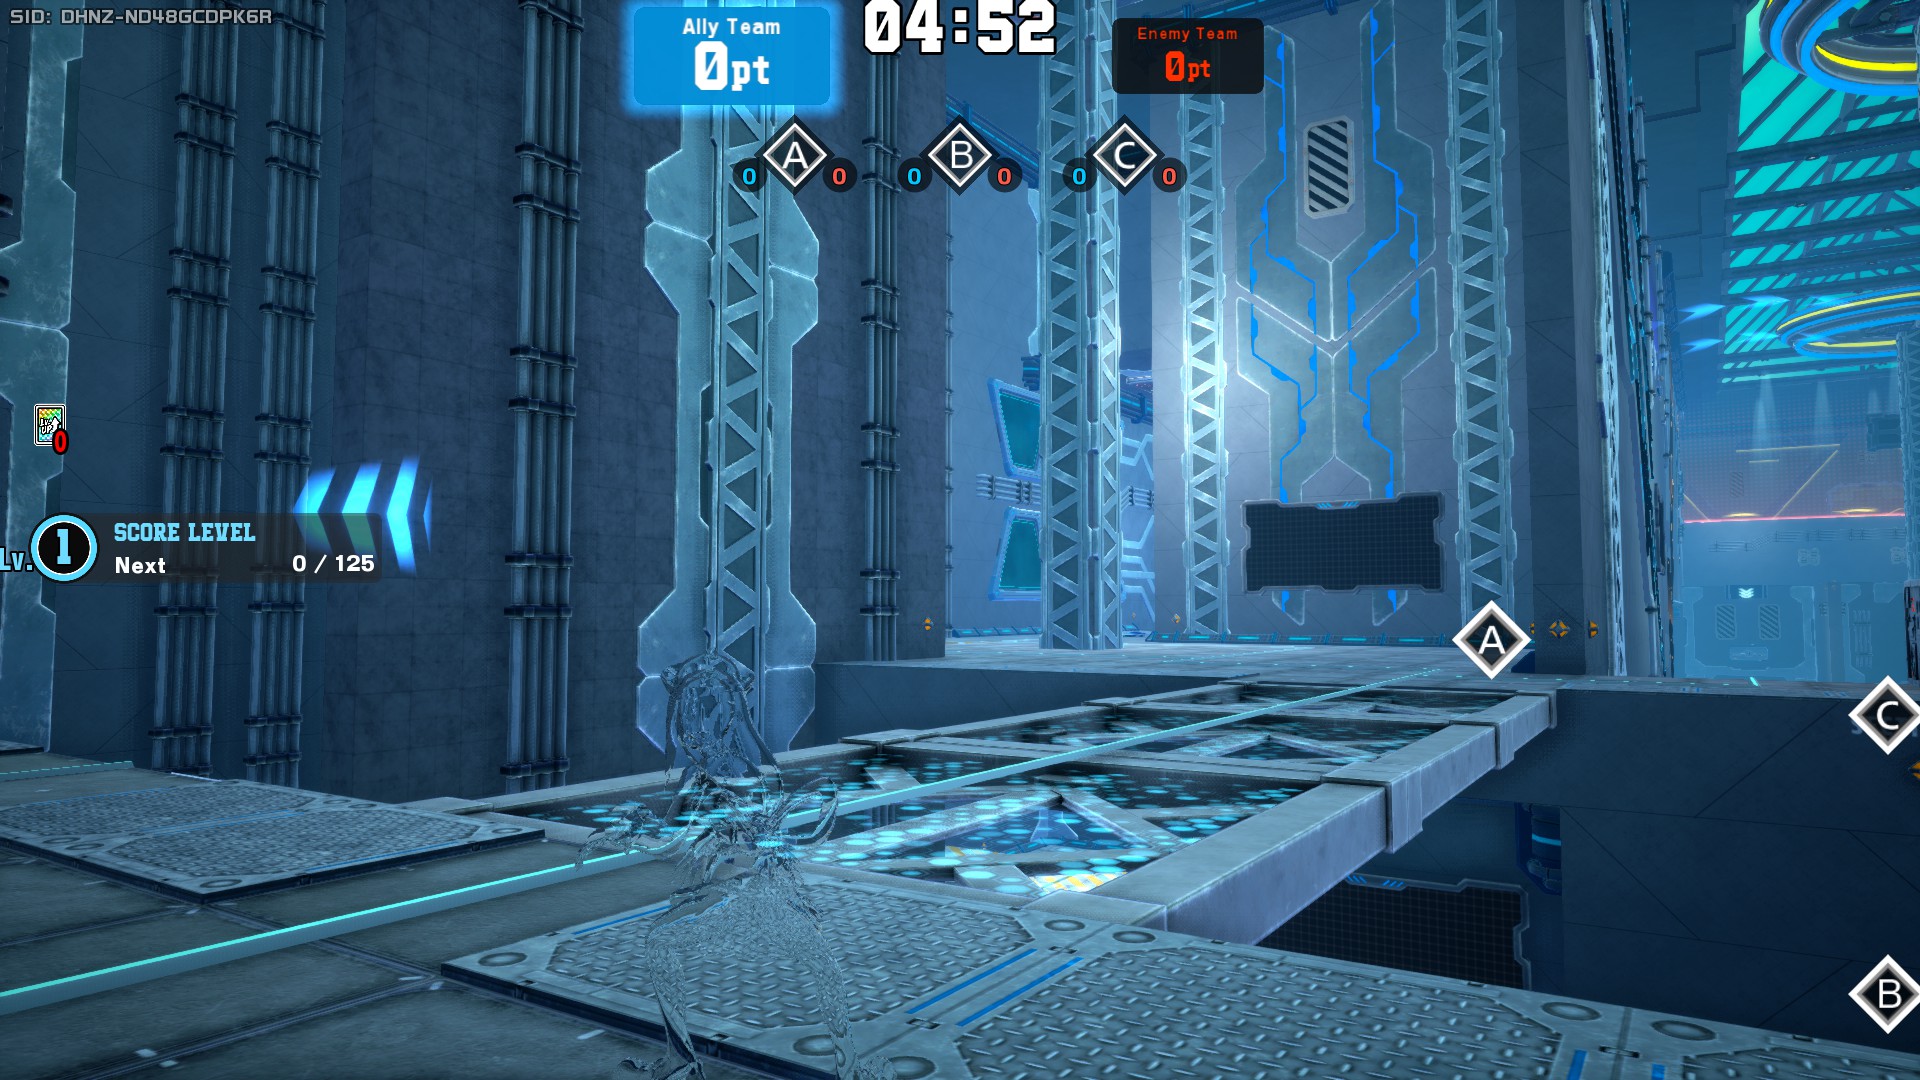
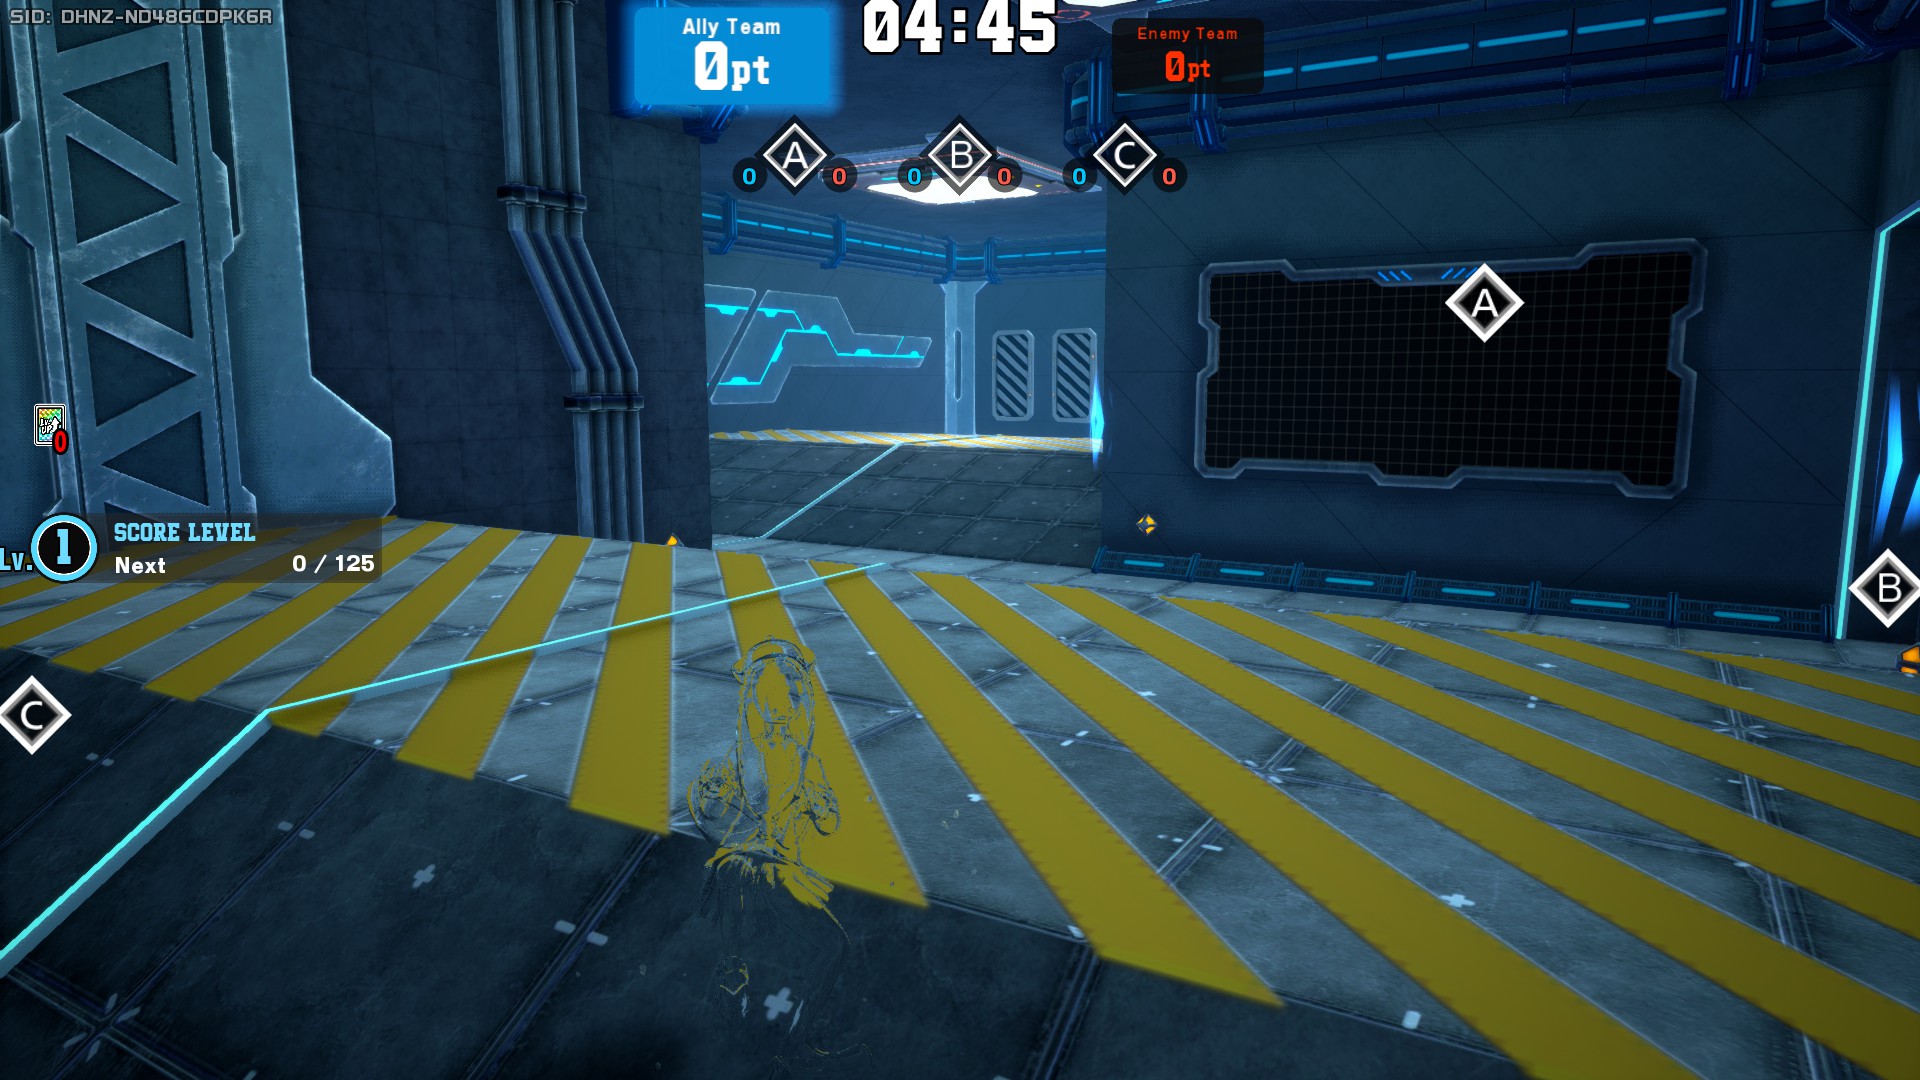
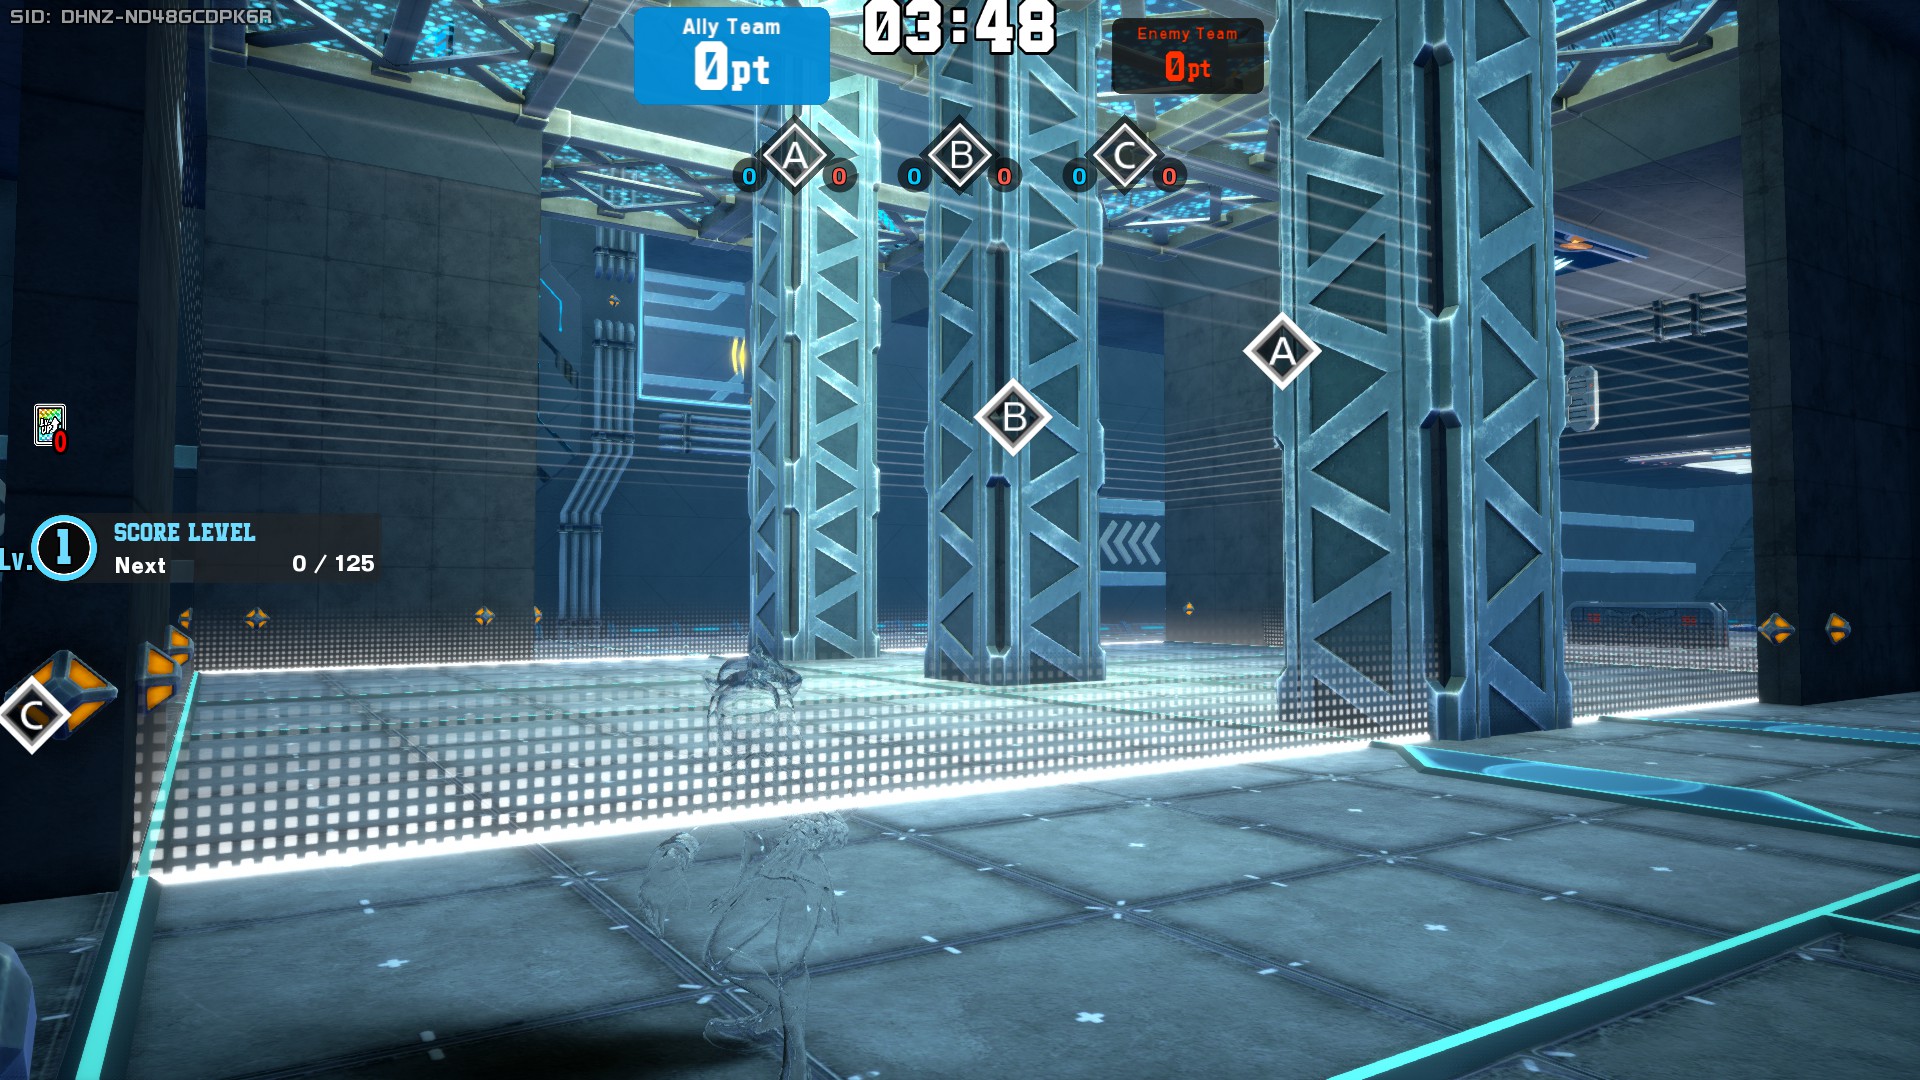
The central area isn't much different from the previous again, featuring three metal pillars at the very center of the map instead of one or two, and the panels are distributed in a rotated H shape. Area B can be accessed either via the central lower passage, or by descending down the slopes on the sides. Area B itself is the same, but with three pillars instead.
Gym β
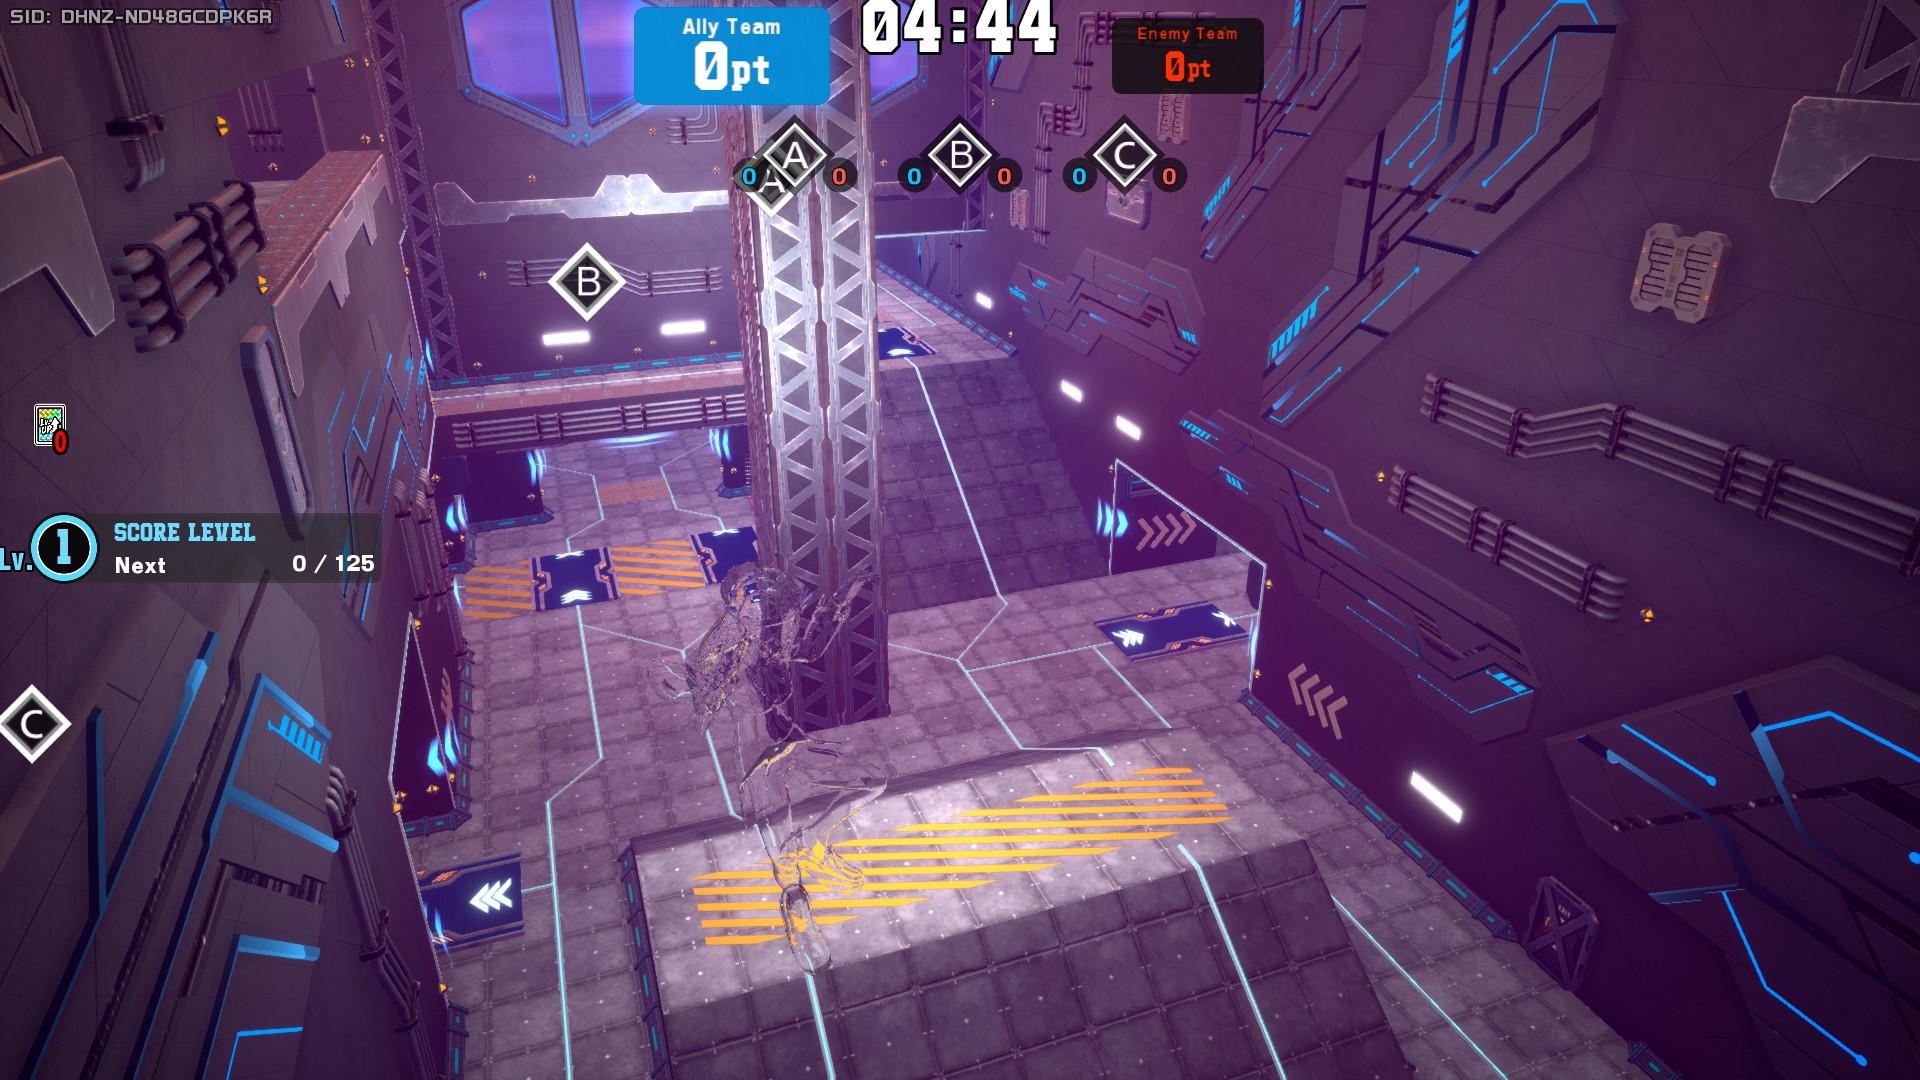
Gym Beta (also known as Stage 102 or St102), is the second Area Control map, featuring a red-hued mechanical area similar to Gym Alpha. It was introduced in Season 16 with the addition of event rankings. This stage has 3 patterns, who unlike Gym Alpha, modify the central area noticeably.
This map, like the previous, is good for AoE and close combat characters, however, Pattern 2's central area allows some characters to shine that didn't perform as well in other Area Control stages and patterns, such as Technical Denki Kaminari and Present Mic, as well as potentially discouraging the use of some AoE characters like Technical Shoto Todoroki in those areas due to the high verticality of the map.
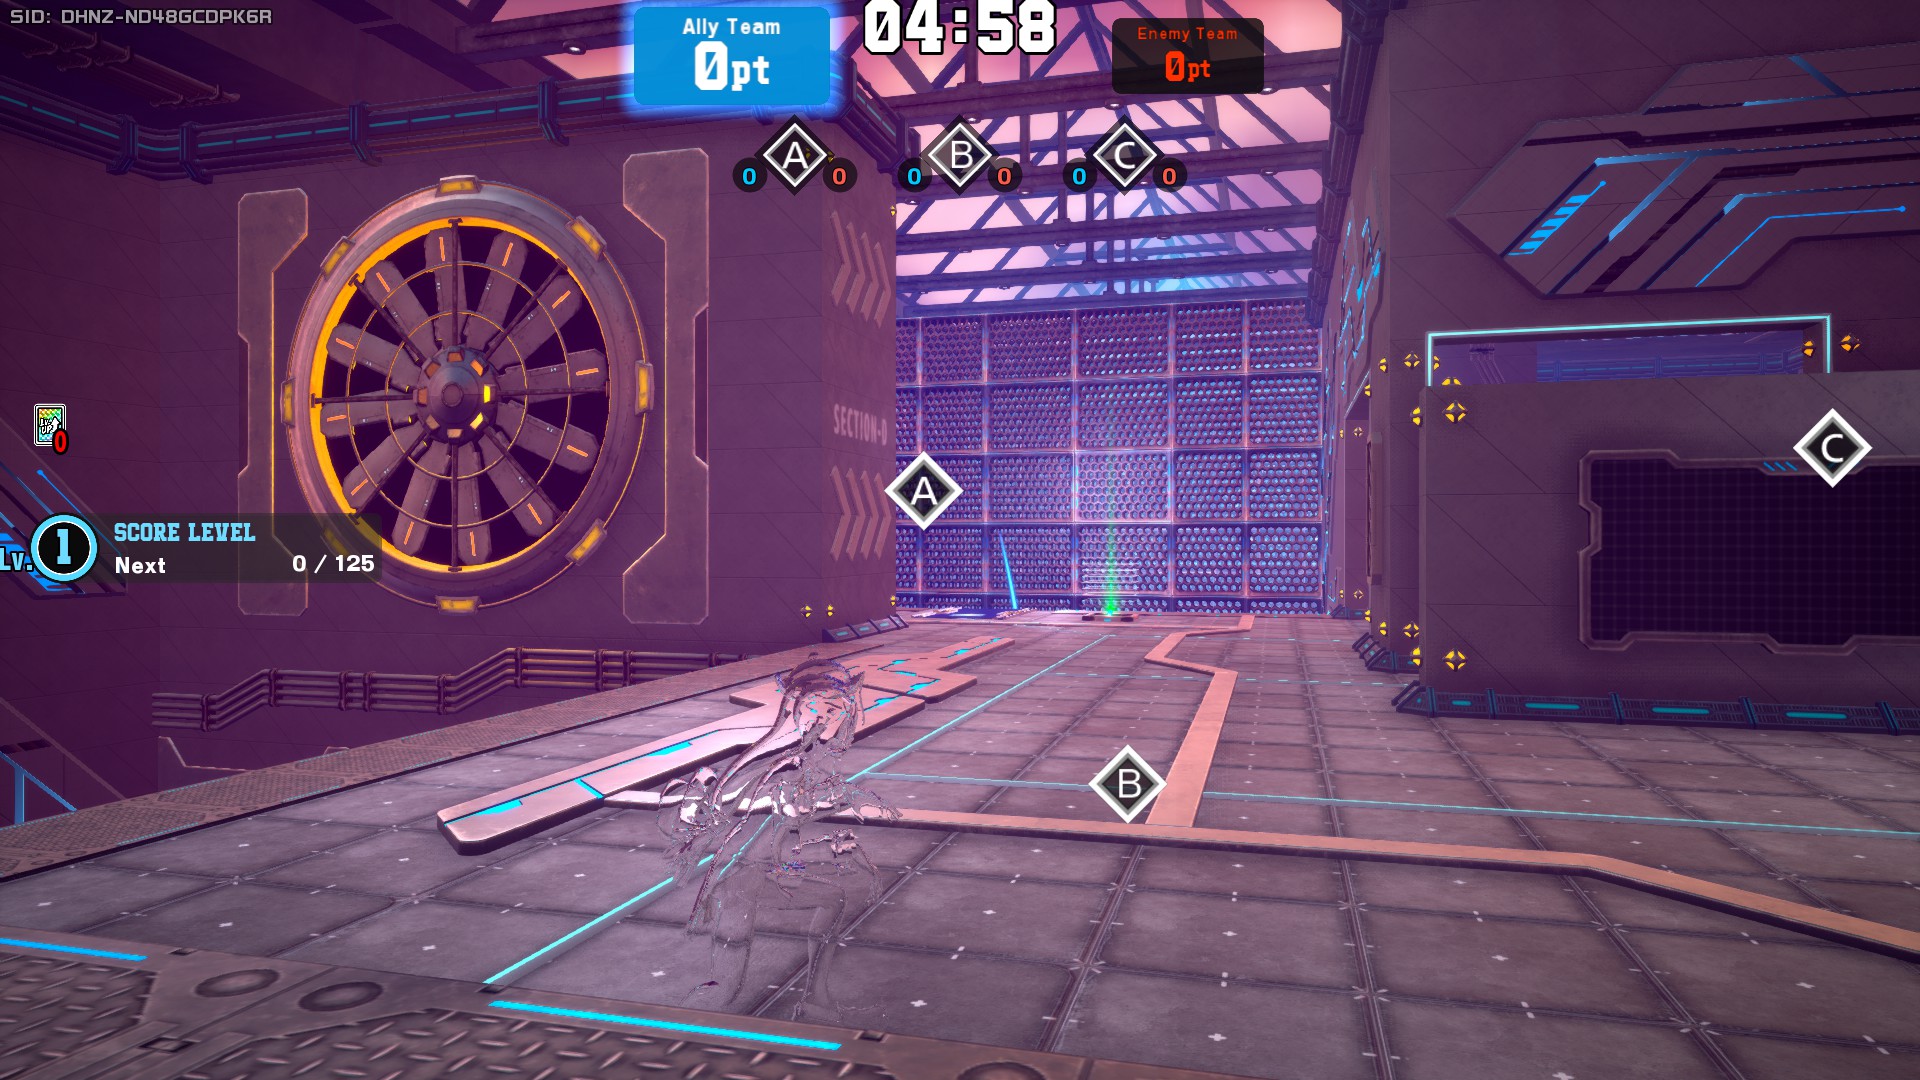
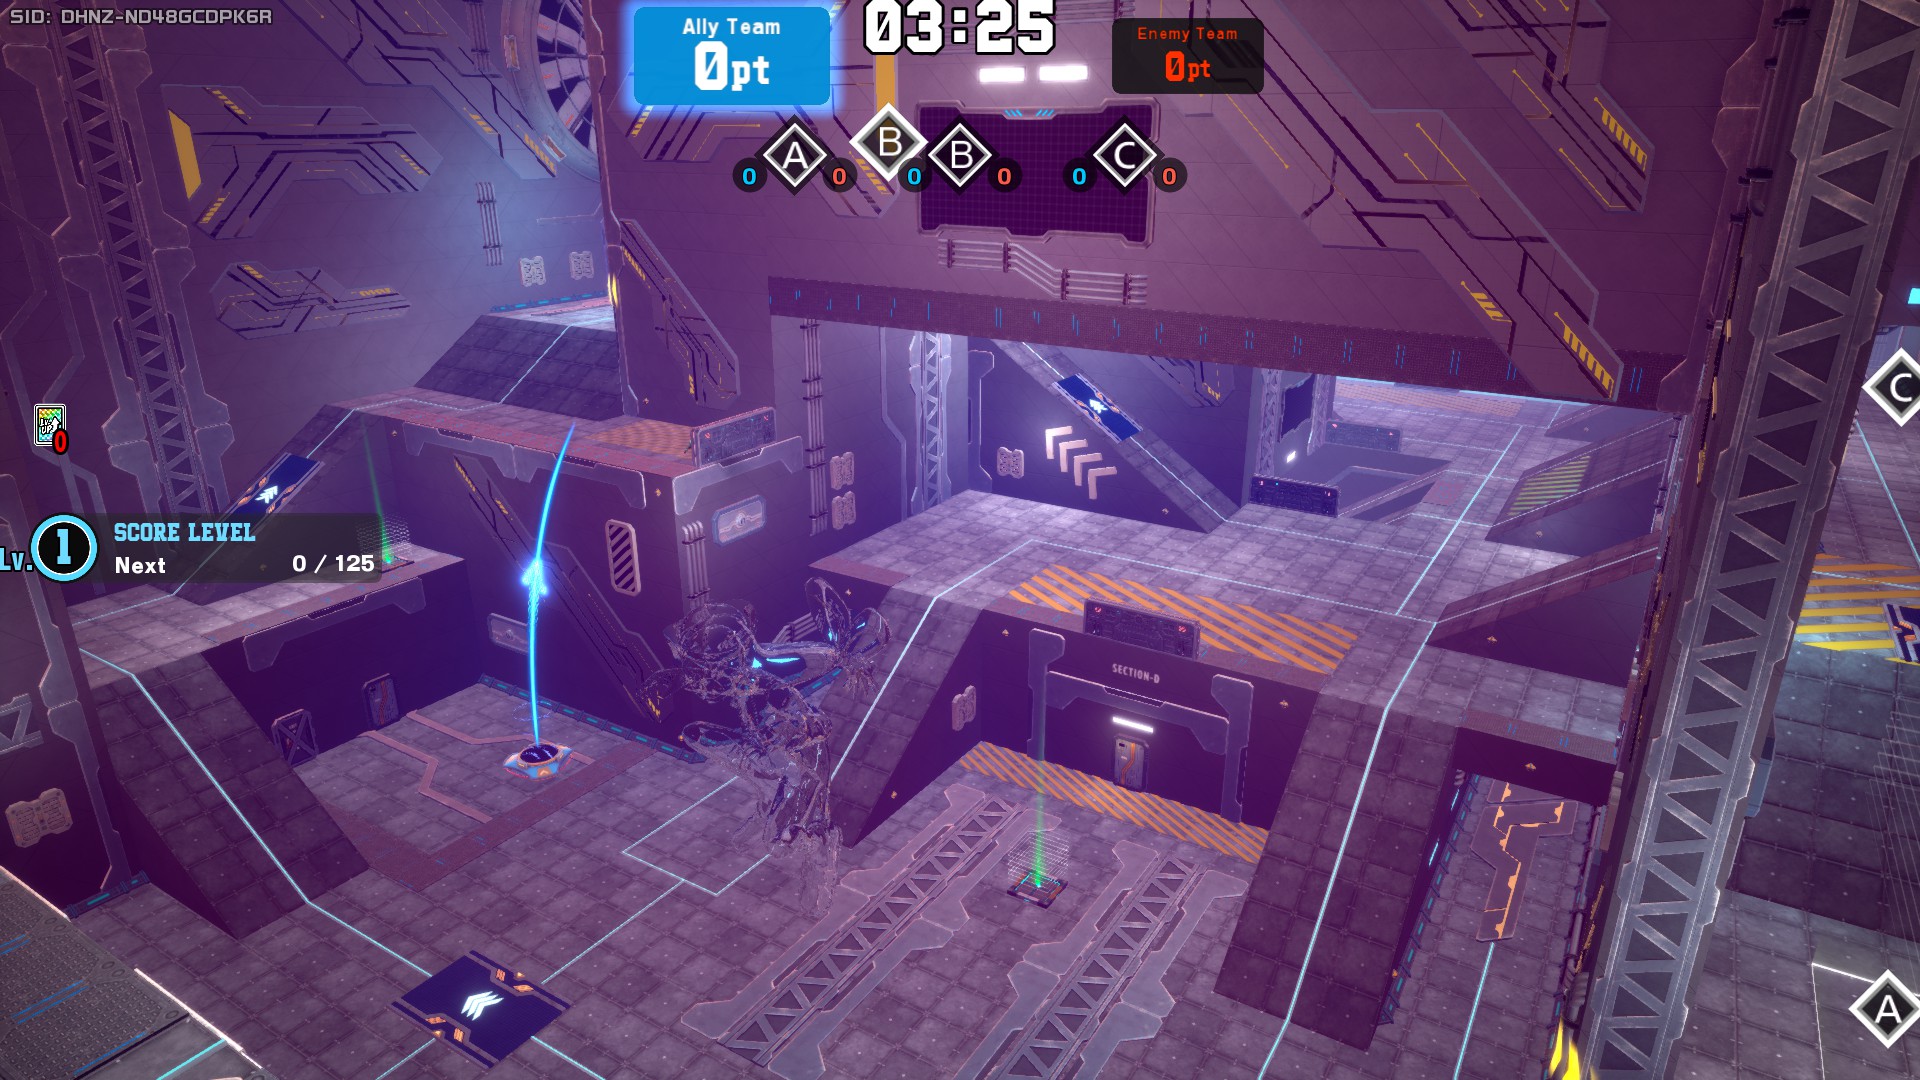
Pattern 1
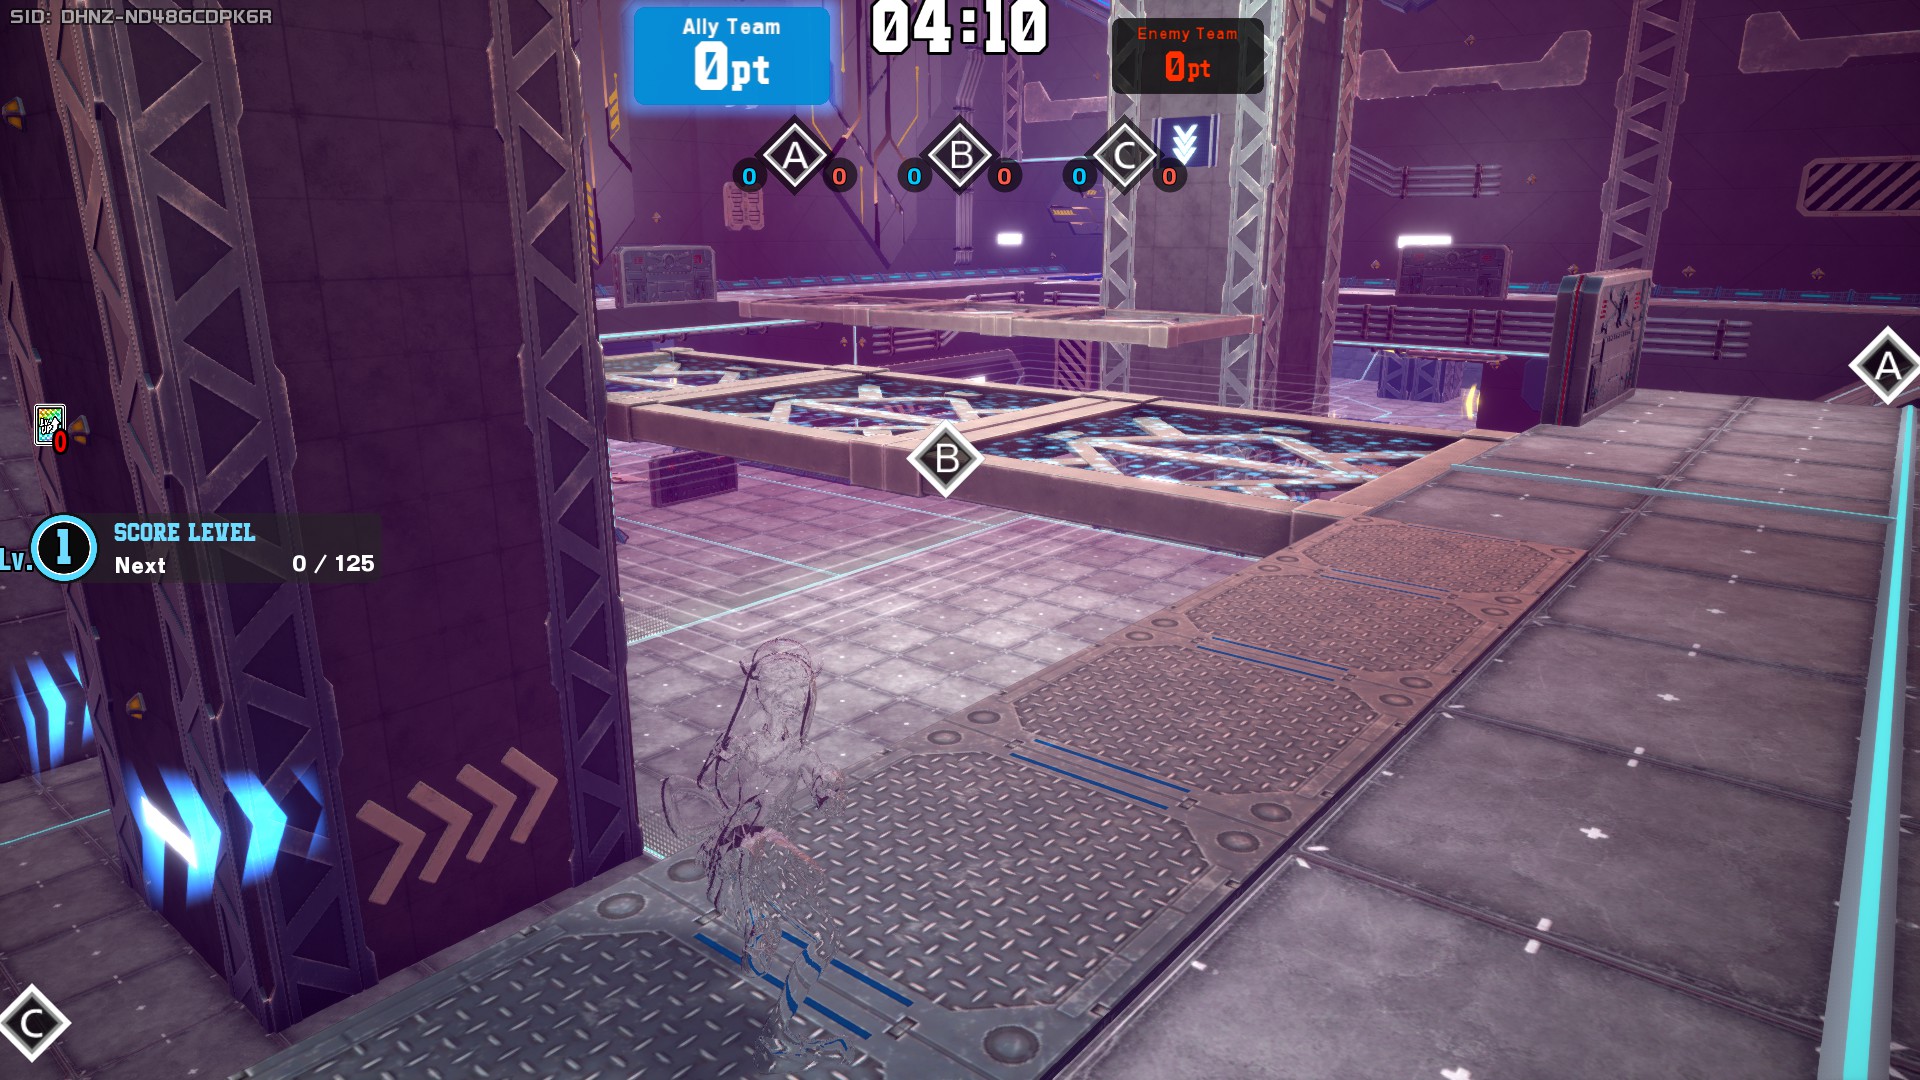
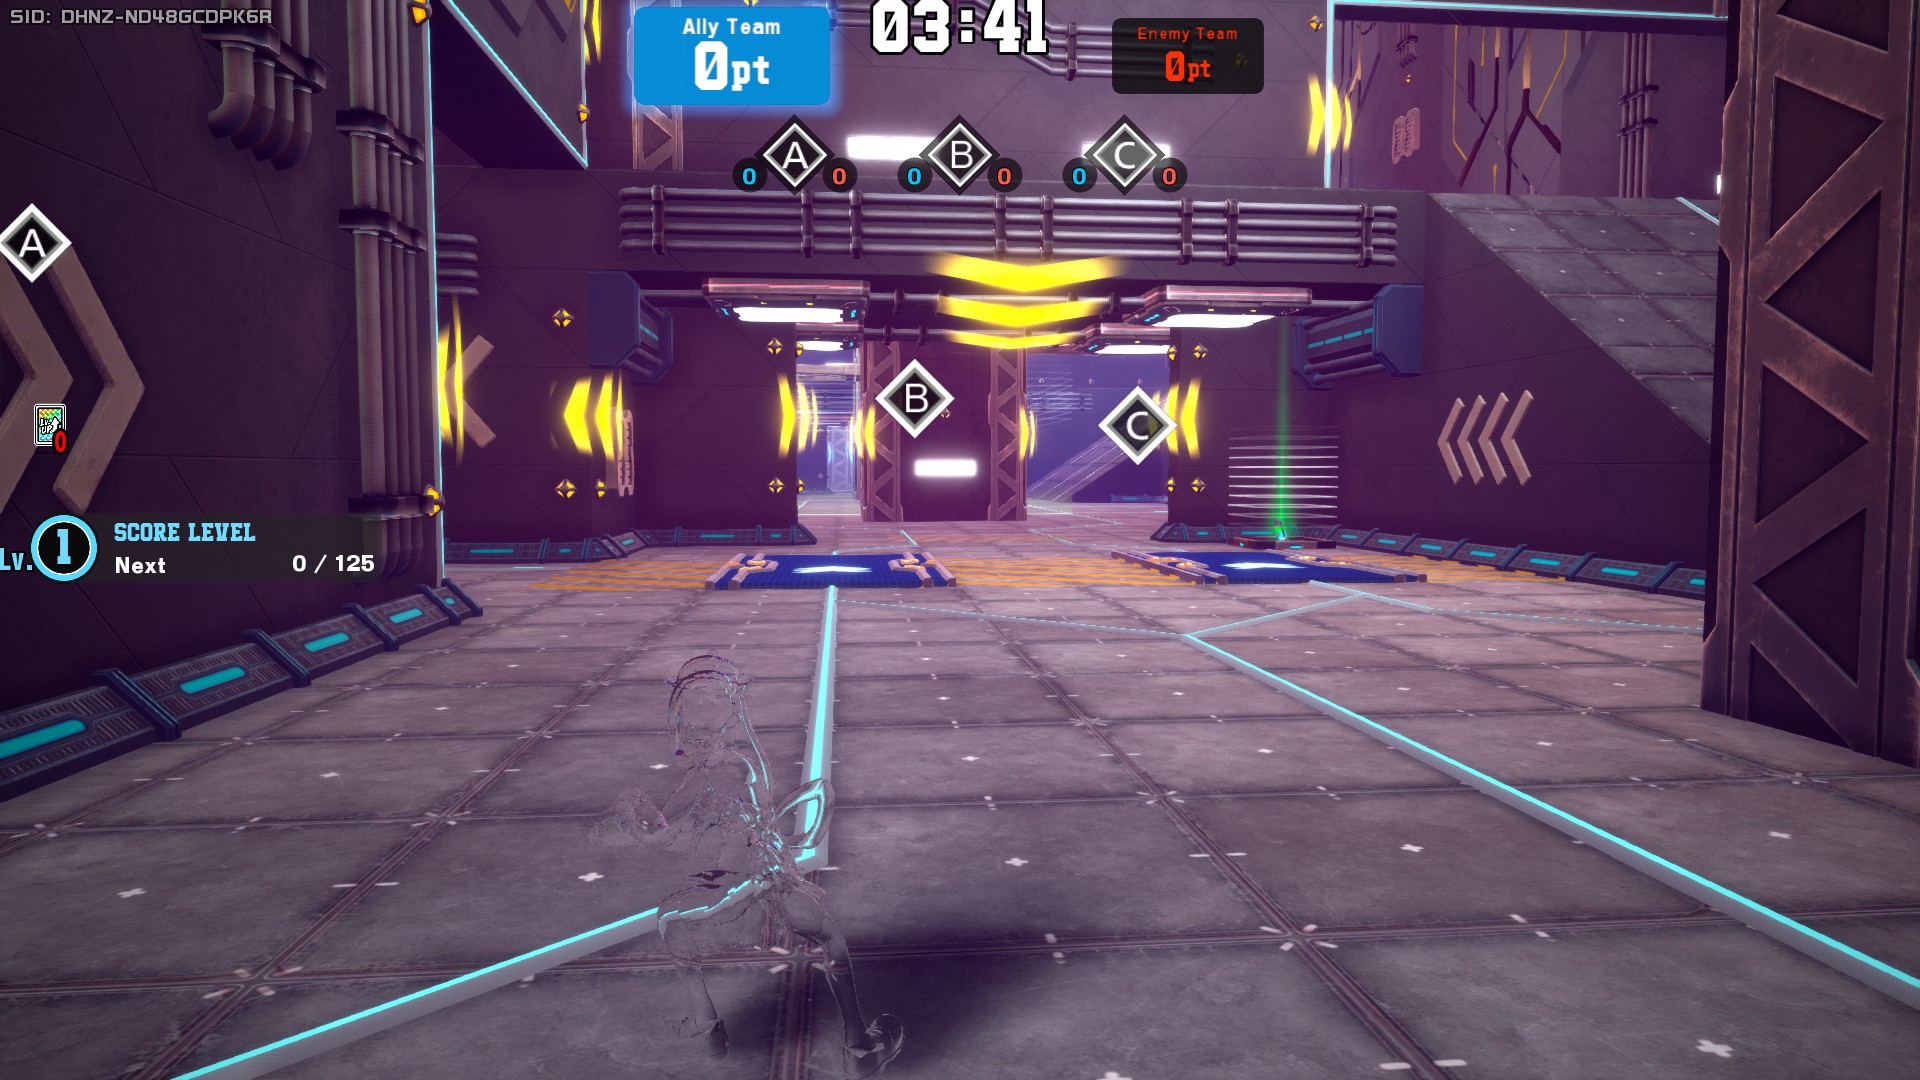
Pattern 1 of Gym Beta features 2-floor corridors and open zones where Areas A and C are located. The areas have some basic cover, but aside from that it doesn't offer much in that regard. These zones are vertically prominent, allowing airborne characters to shine. This area is amazing for Tamaki Amajiki, as his gamma cannon can easily cover Area B from Area A/C, which can be especially fun with a PU Power Intensified+Full Burn build.
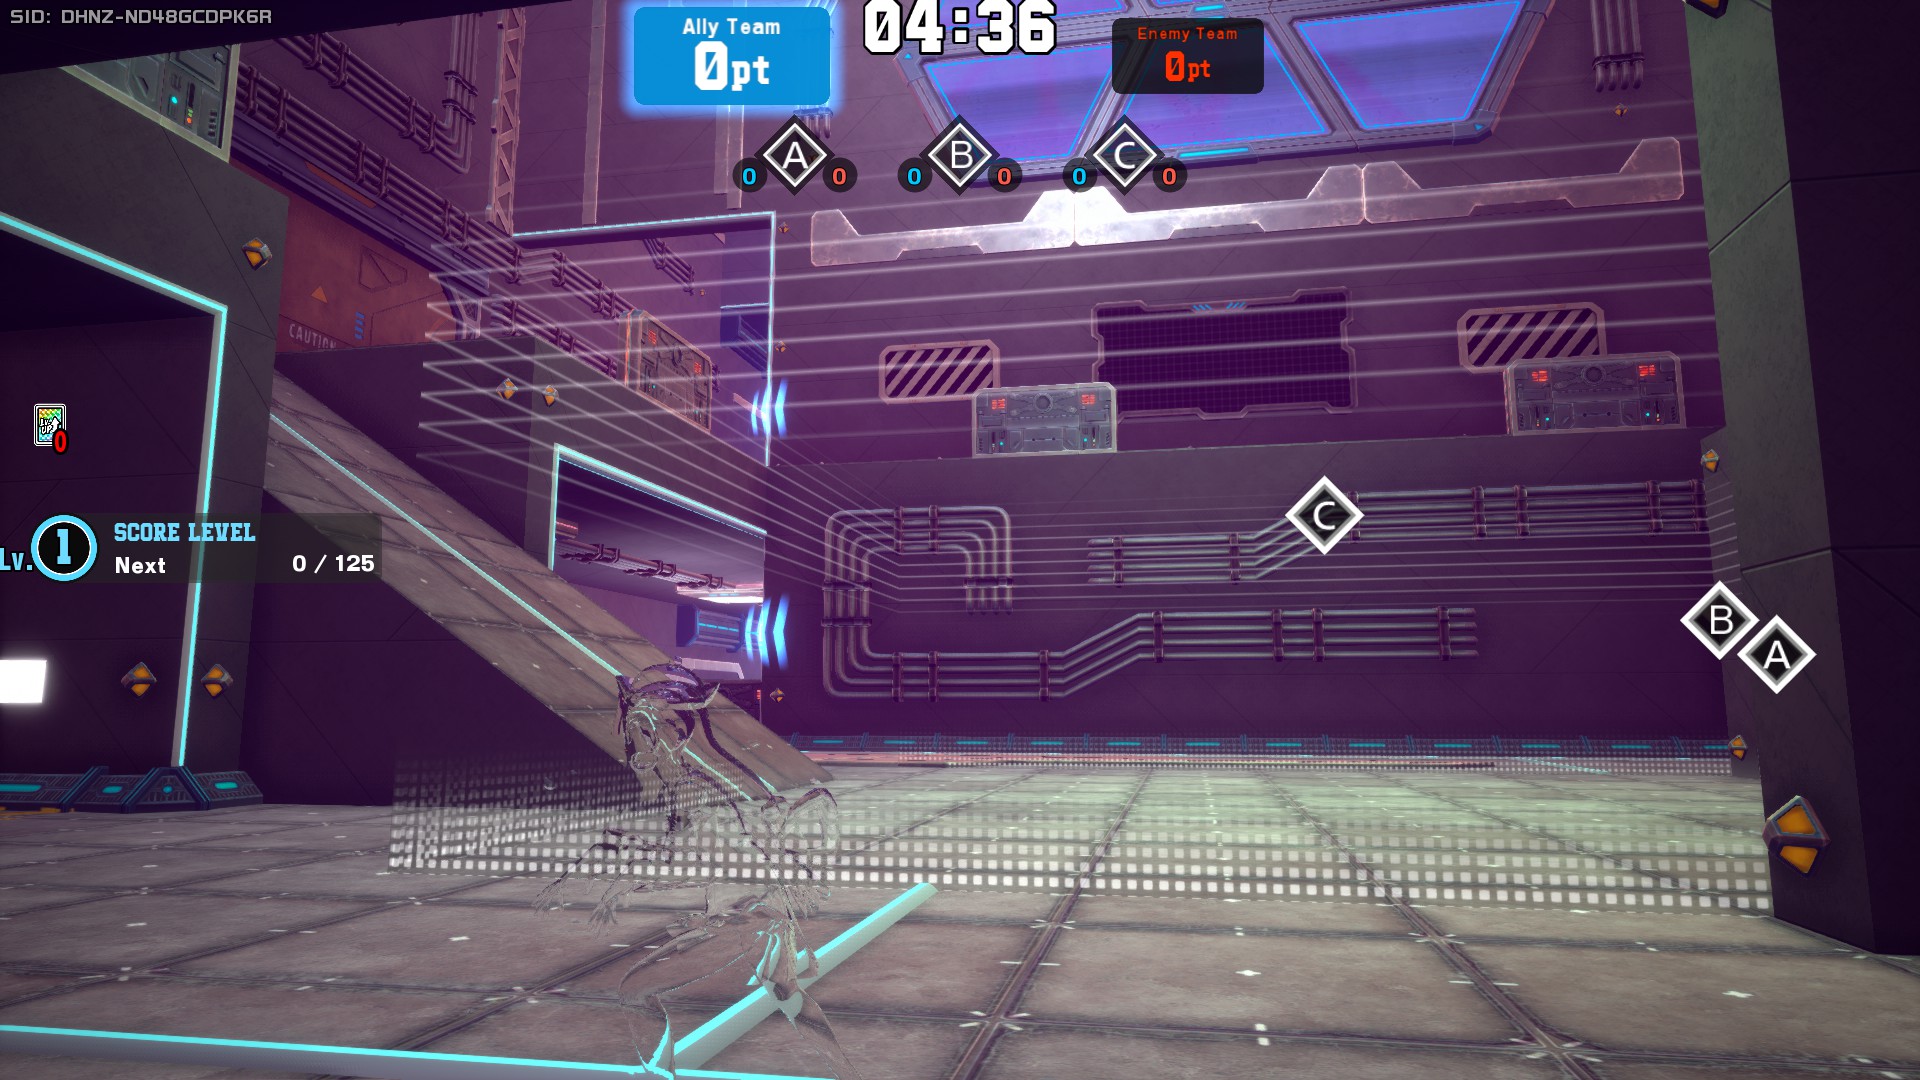
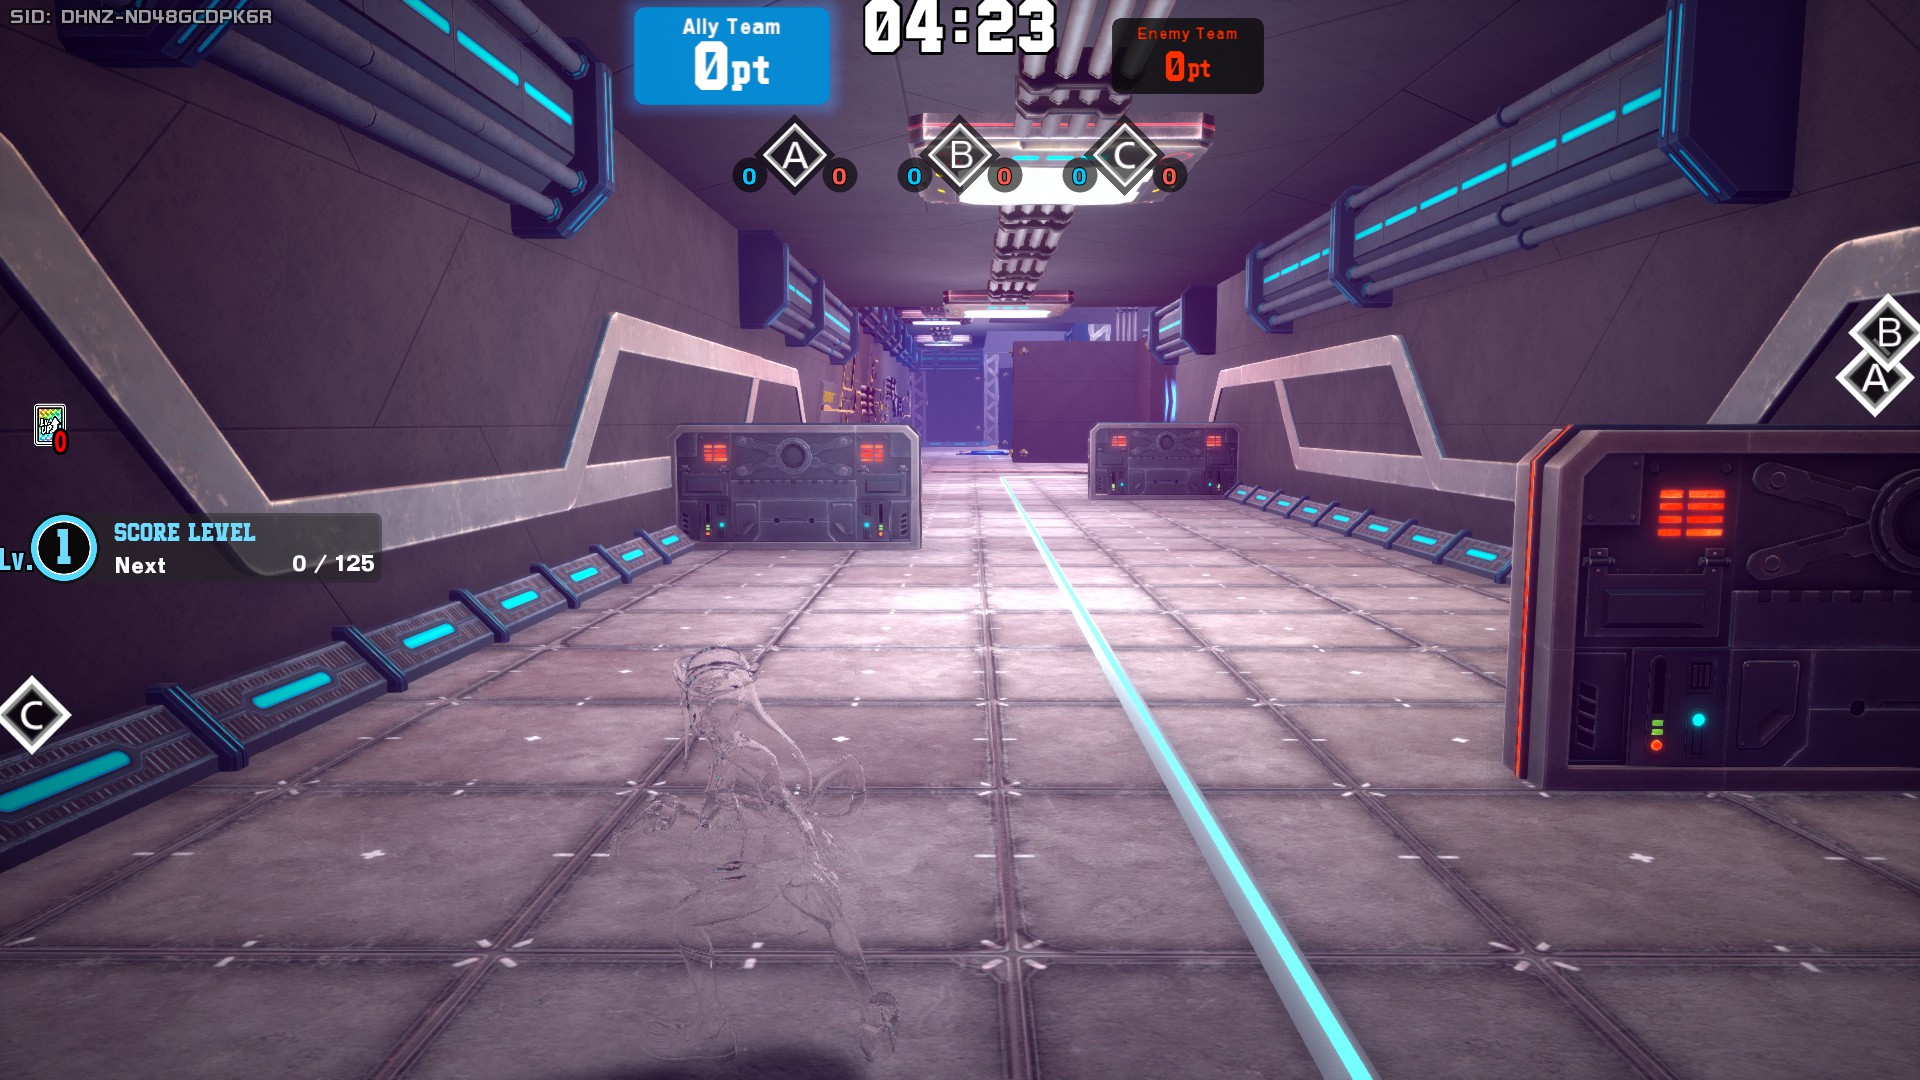
The central area features a decent-size Area B with two pillaws on the short sides of the area and two panels above, along with a lateral area that's connected to Area A/C that can be used to apply pressure while not being in the middle of the crossfire. This area has good verticality too, so characters that like such spaces shine here.
Pattern 2
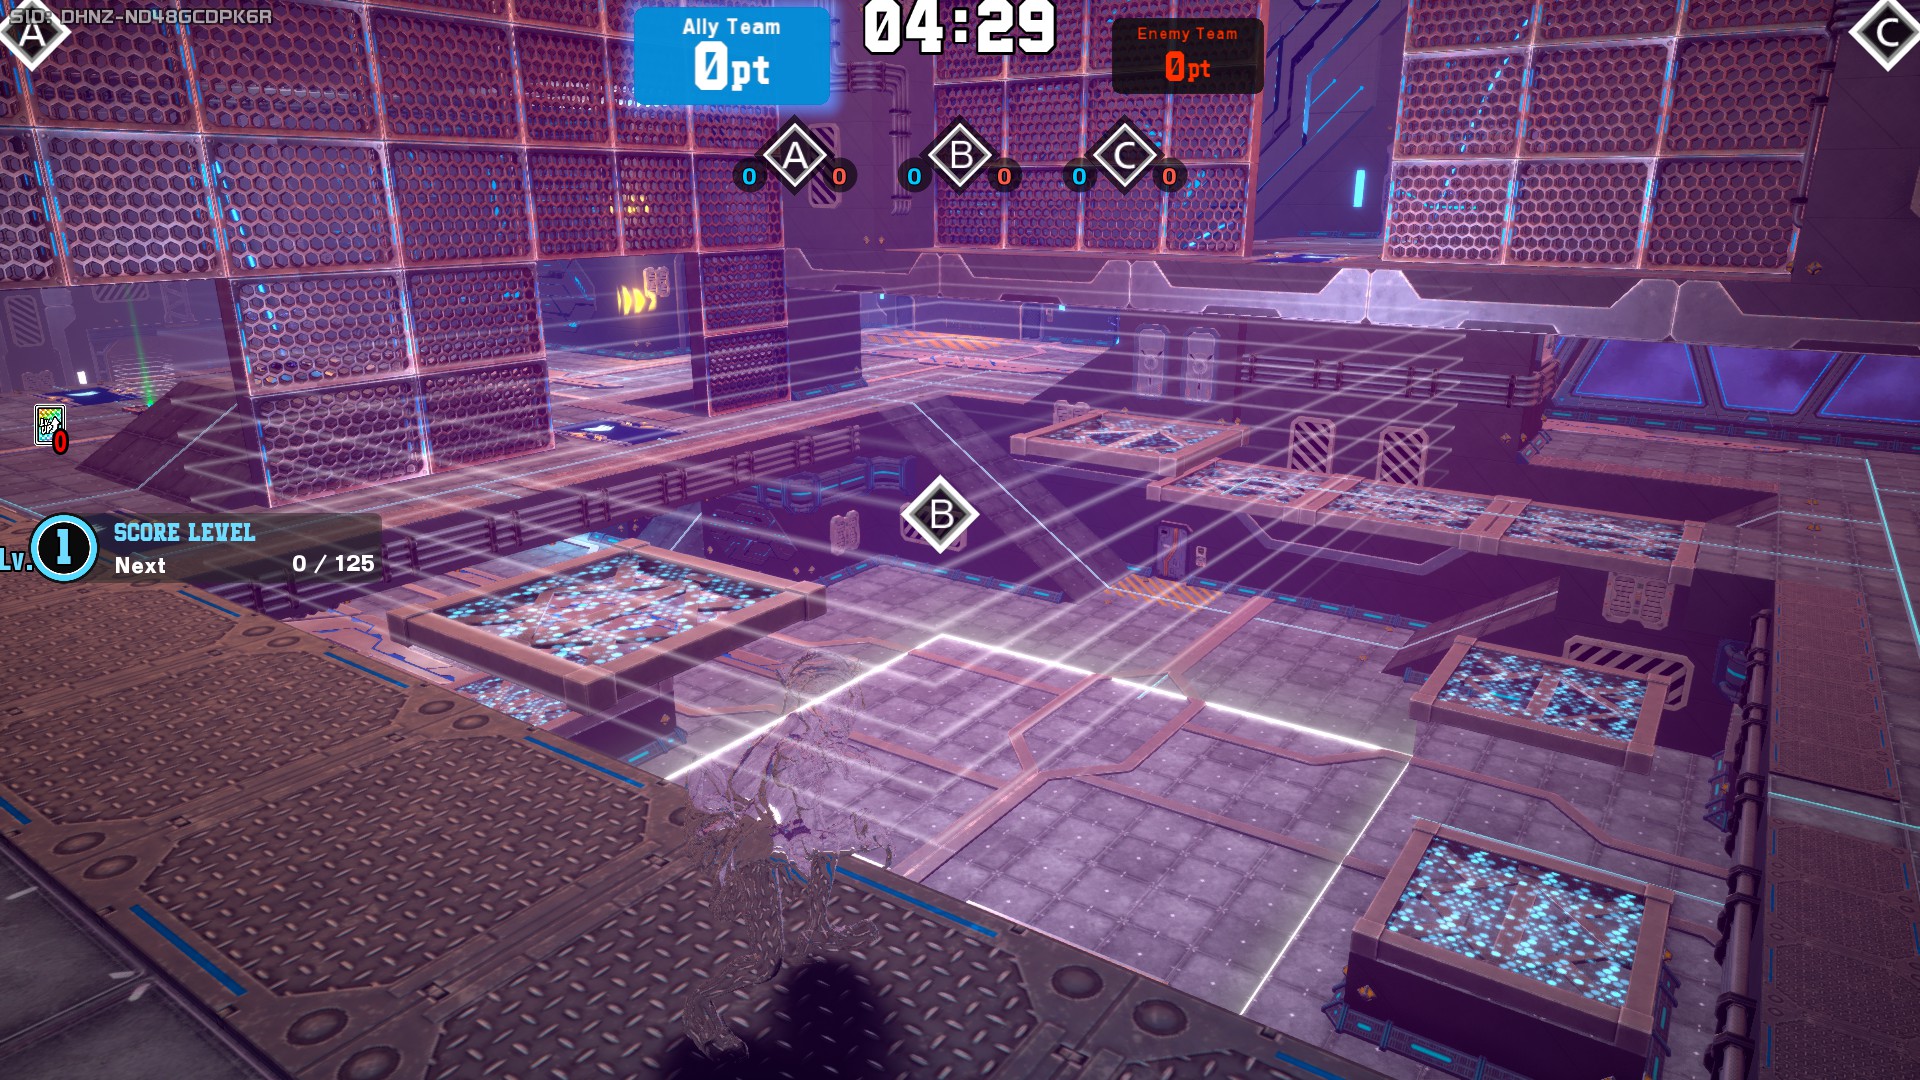
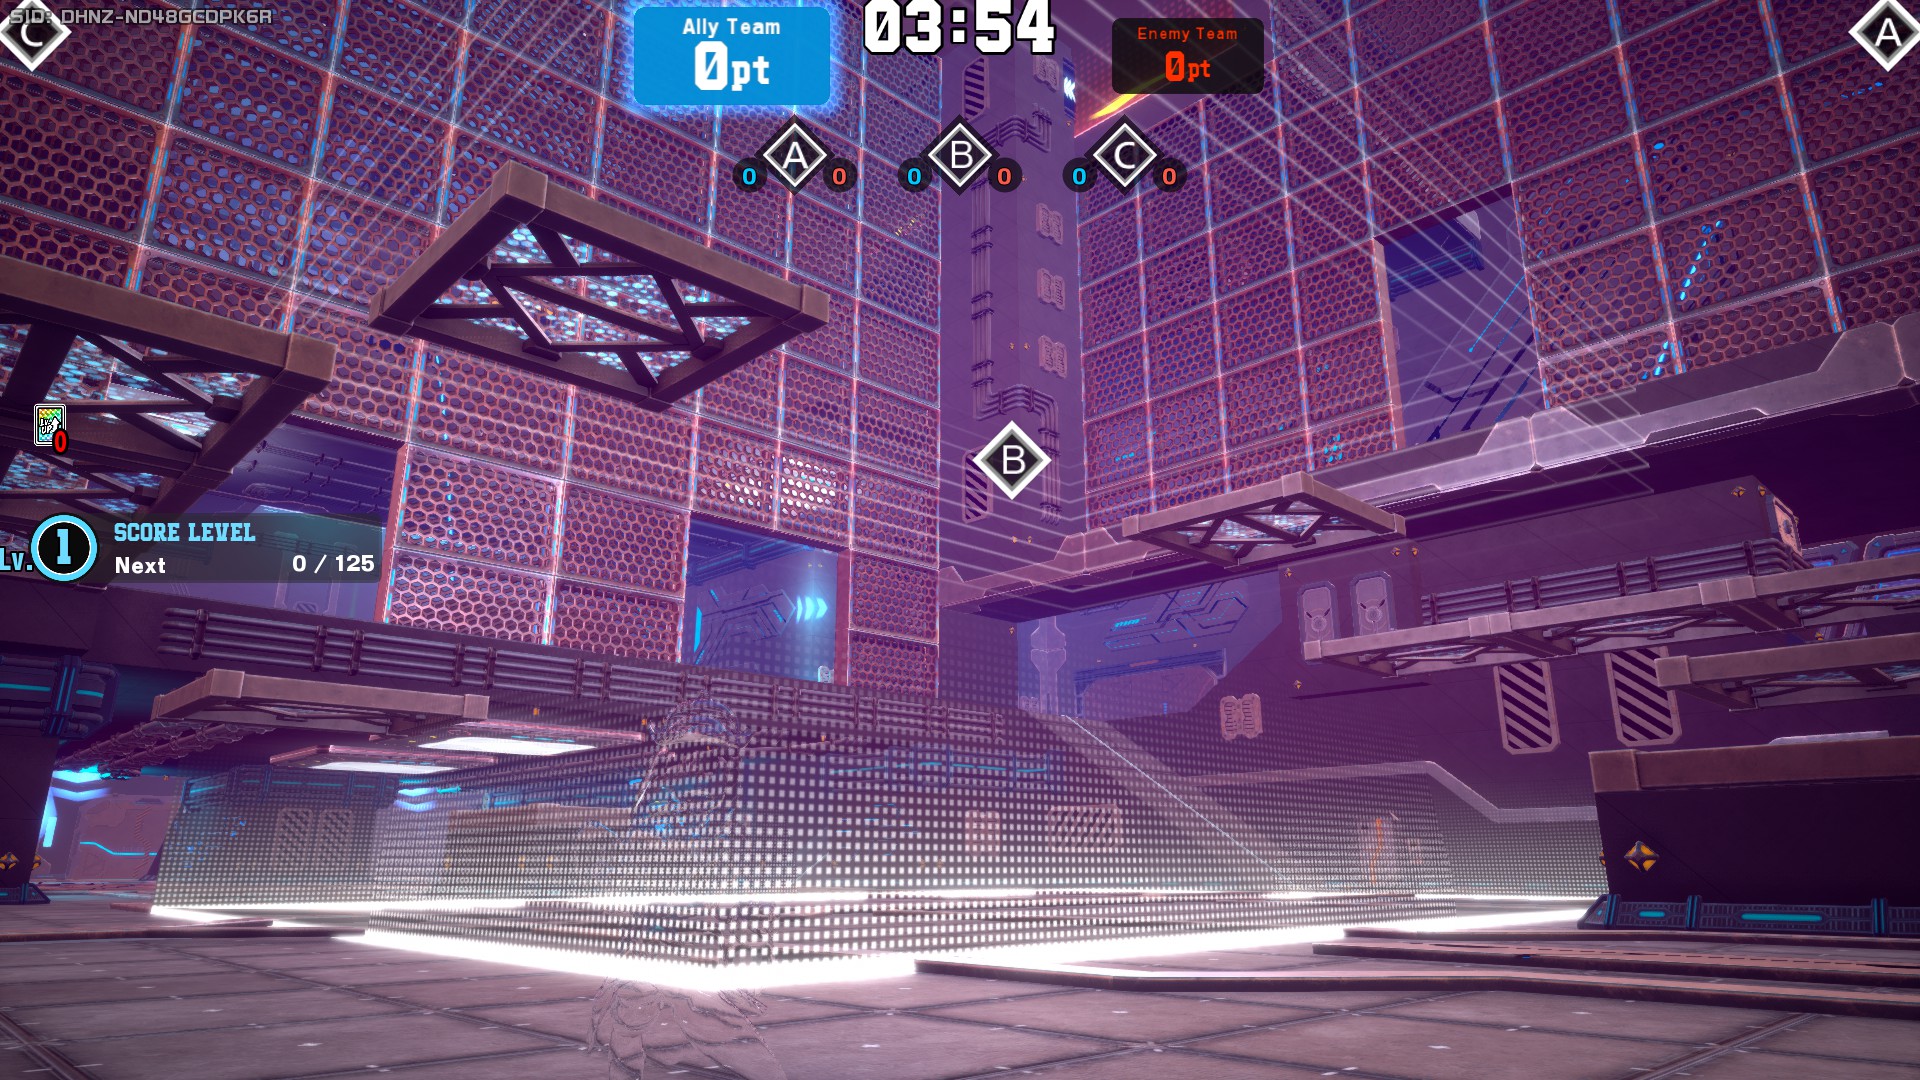
Pattern 2 of Gym Beta features a floor that leads directly into Area A/C and lets players descend if they move forward. This area has no cover within its boundaries, with the only cover being outside of those, but the area is quite big, giving more room for movement. The ceiling is high but not enough for Mt Lady to go giant. If you decide to visit the enemy A/C area, you will be able to take jump pads or a slope.
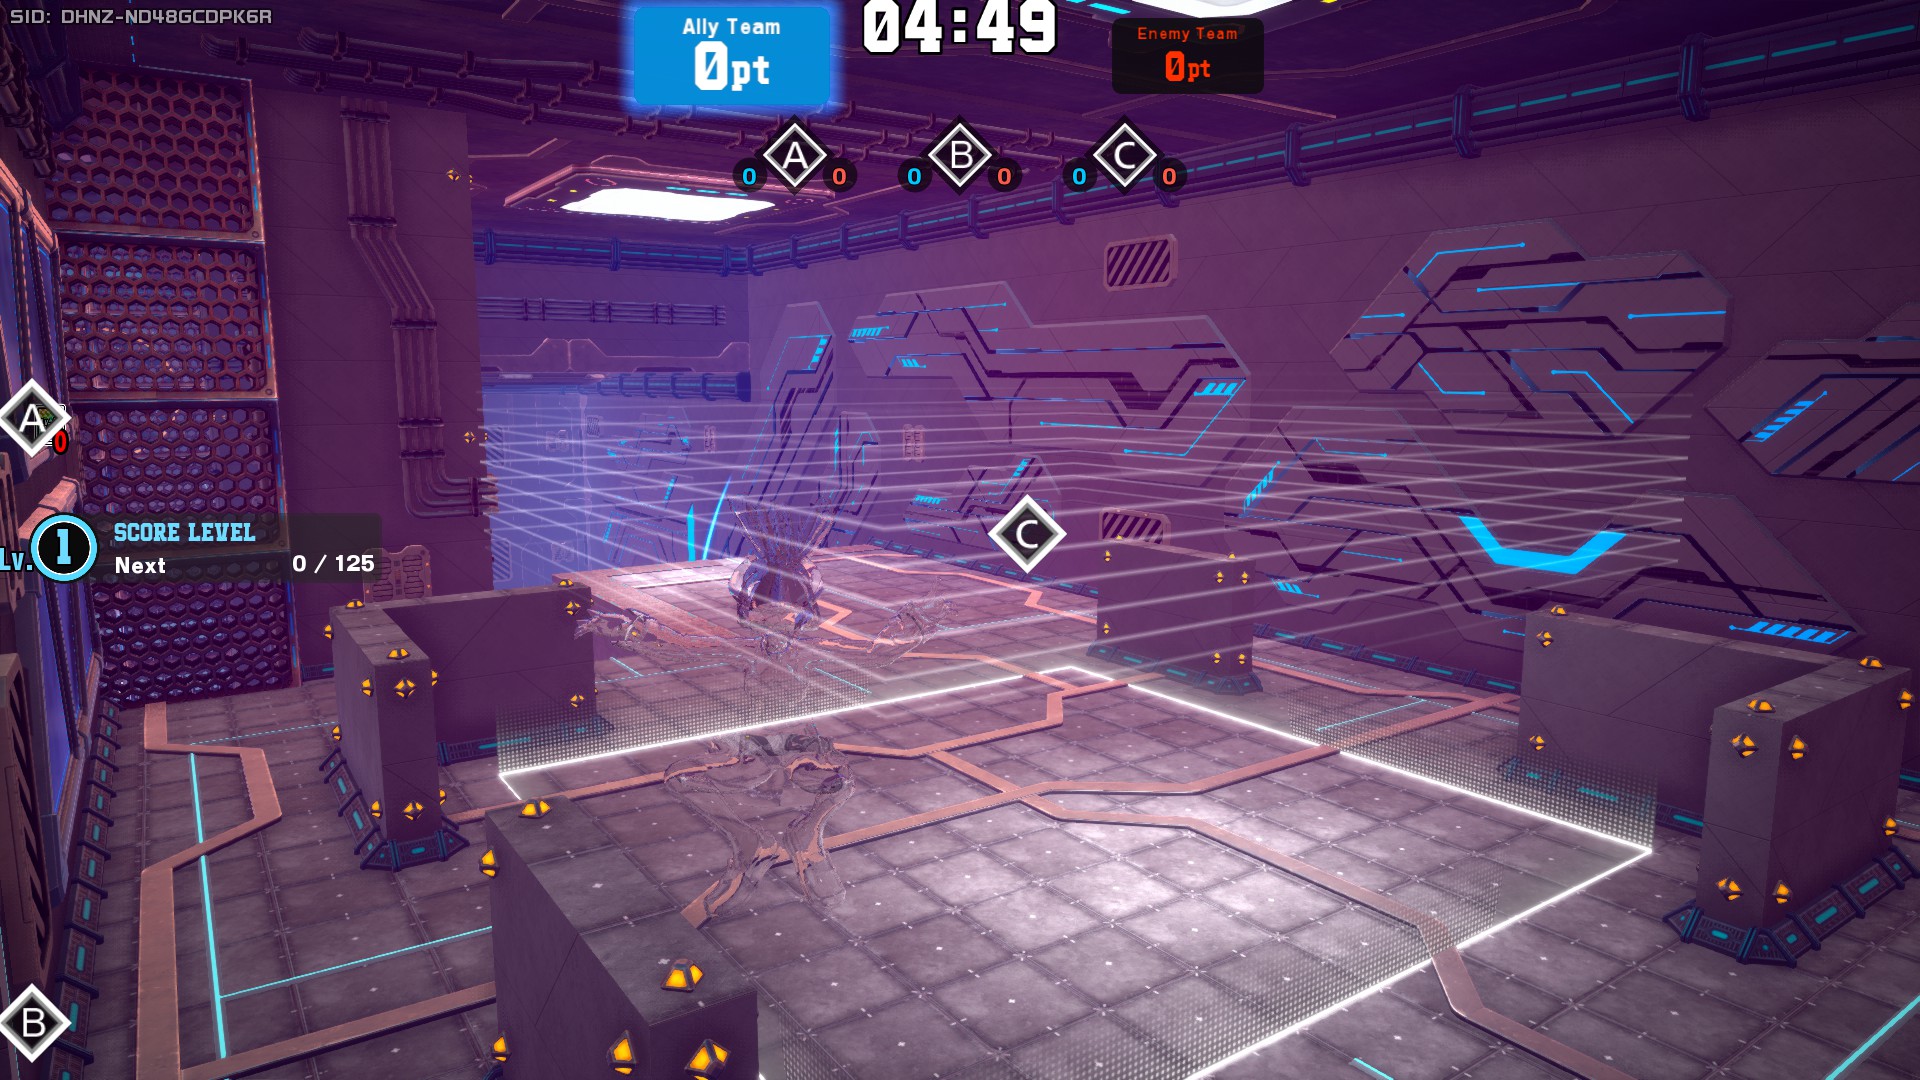
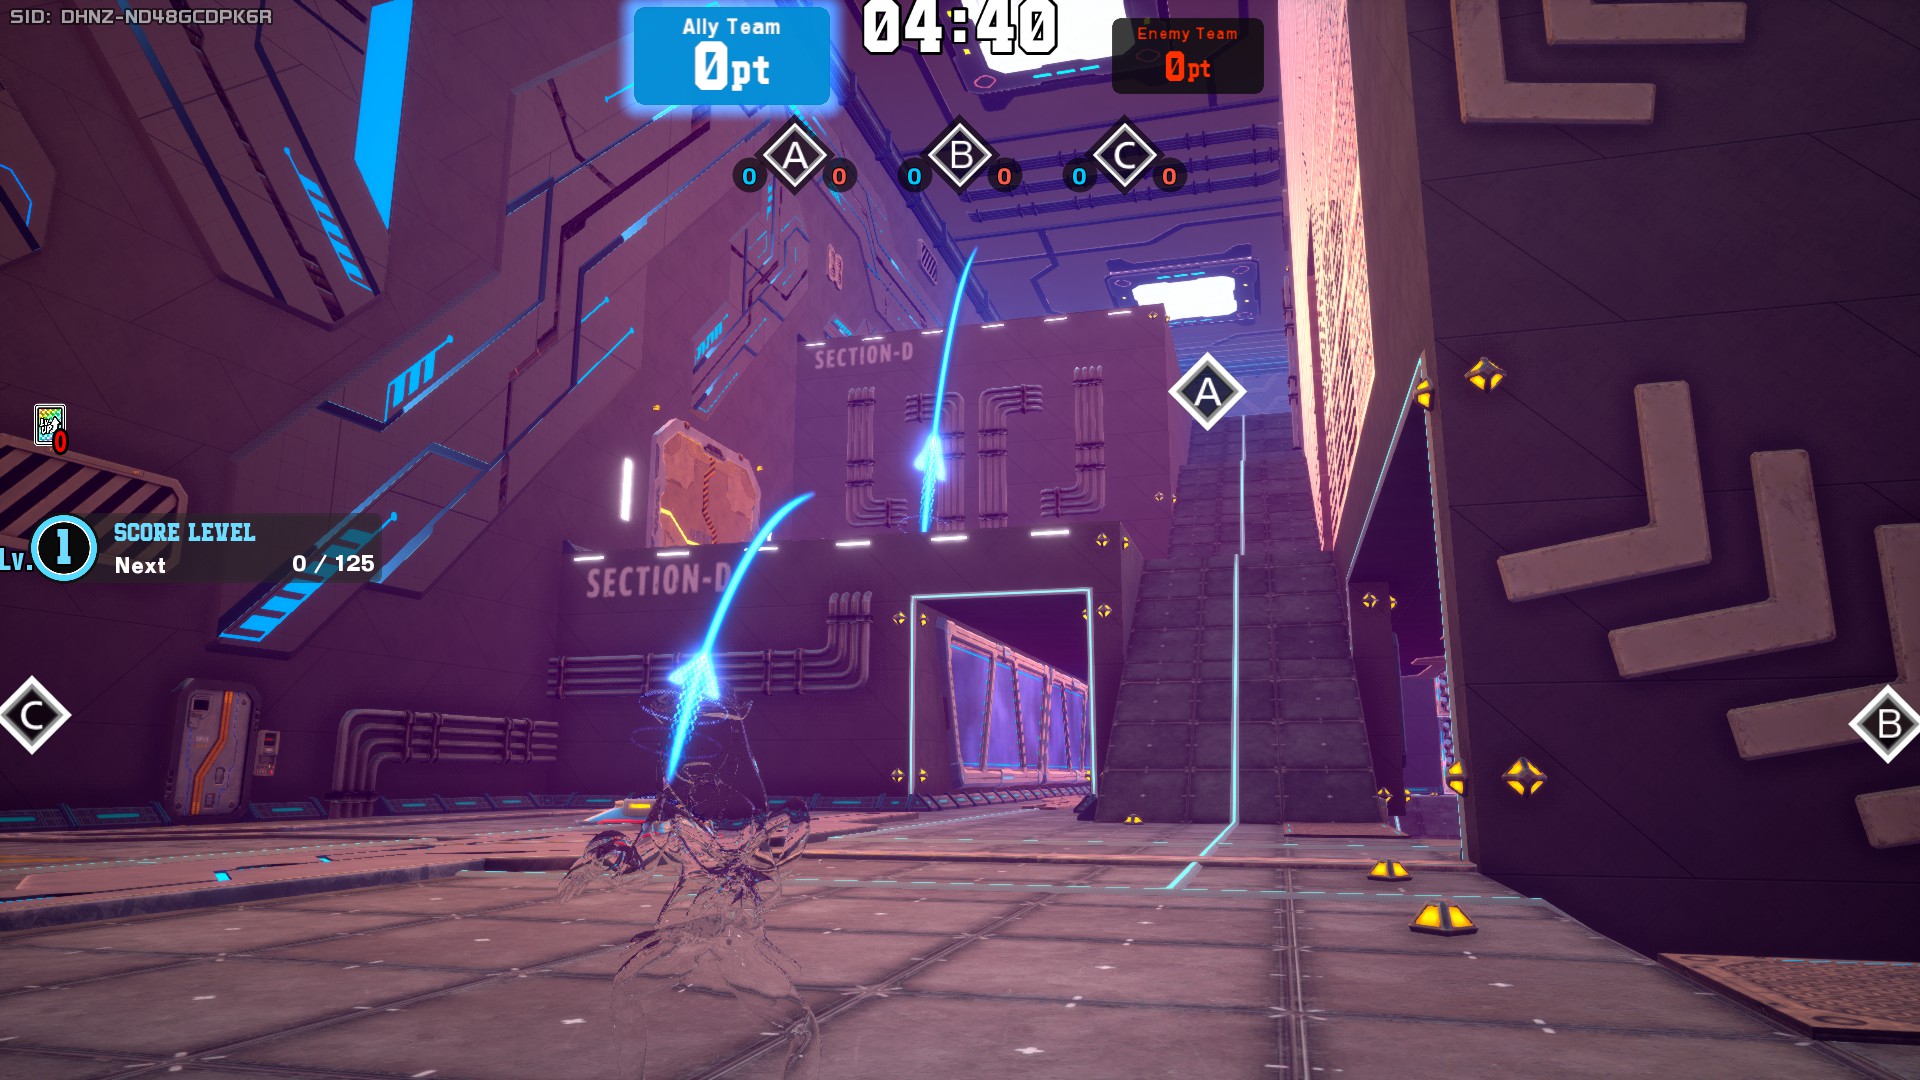
The central area features a massive area with floating panels and an elevated side area, along with long horizontally-open spaces leading to this area. This zone is so big it can hold many players inside while not being susceptible to AoEs easily. Some characters that normally have limited room to shine (but may or may not still be good in other patterns) include Technical Denki Kaminari and his ability to snipe many people from the sidelines. Mt Lady and her ability to go giant to deal high damage in a massive area, or Strike Present Mic to pressure with high damage high width projectiles and his high damage beta.
Pattern 3
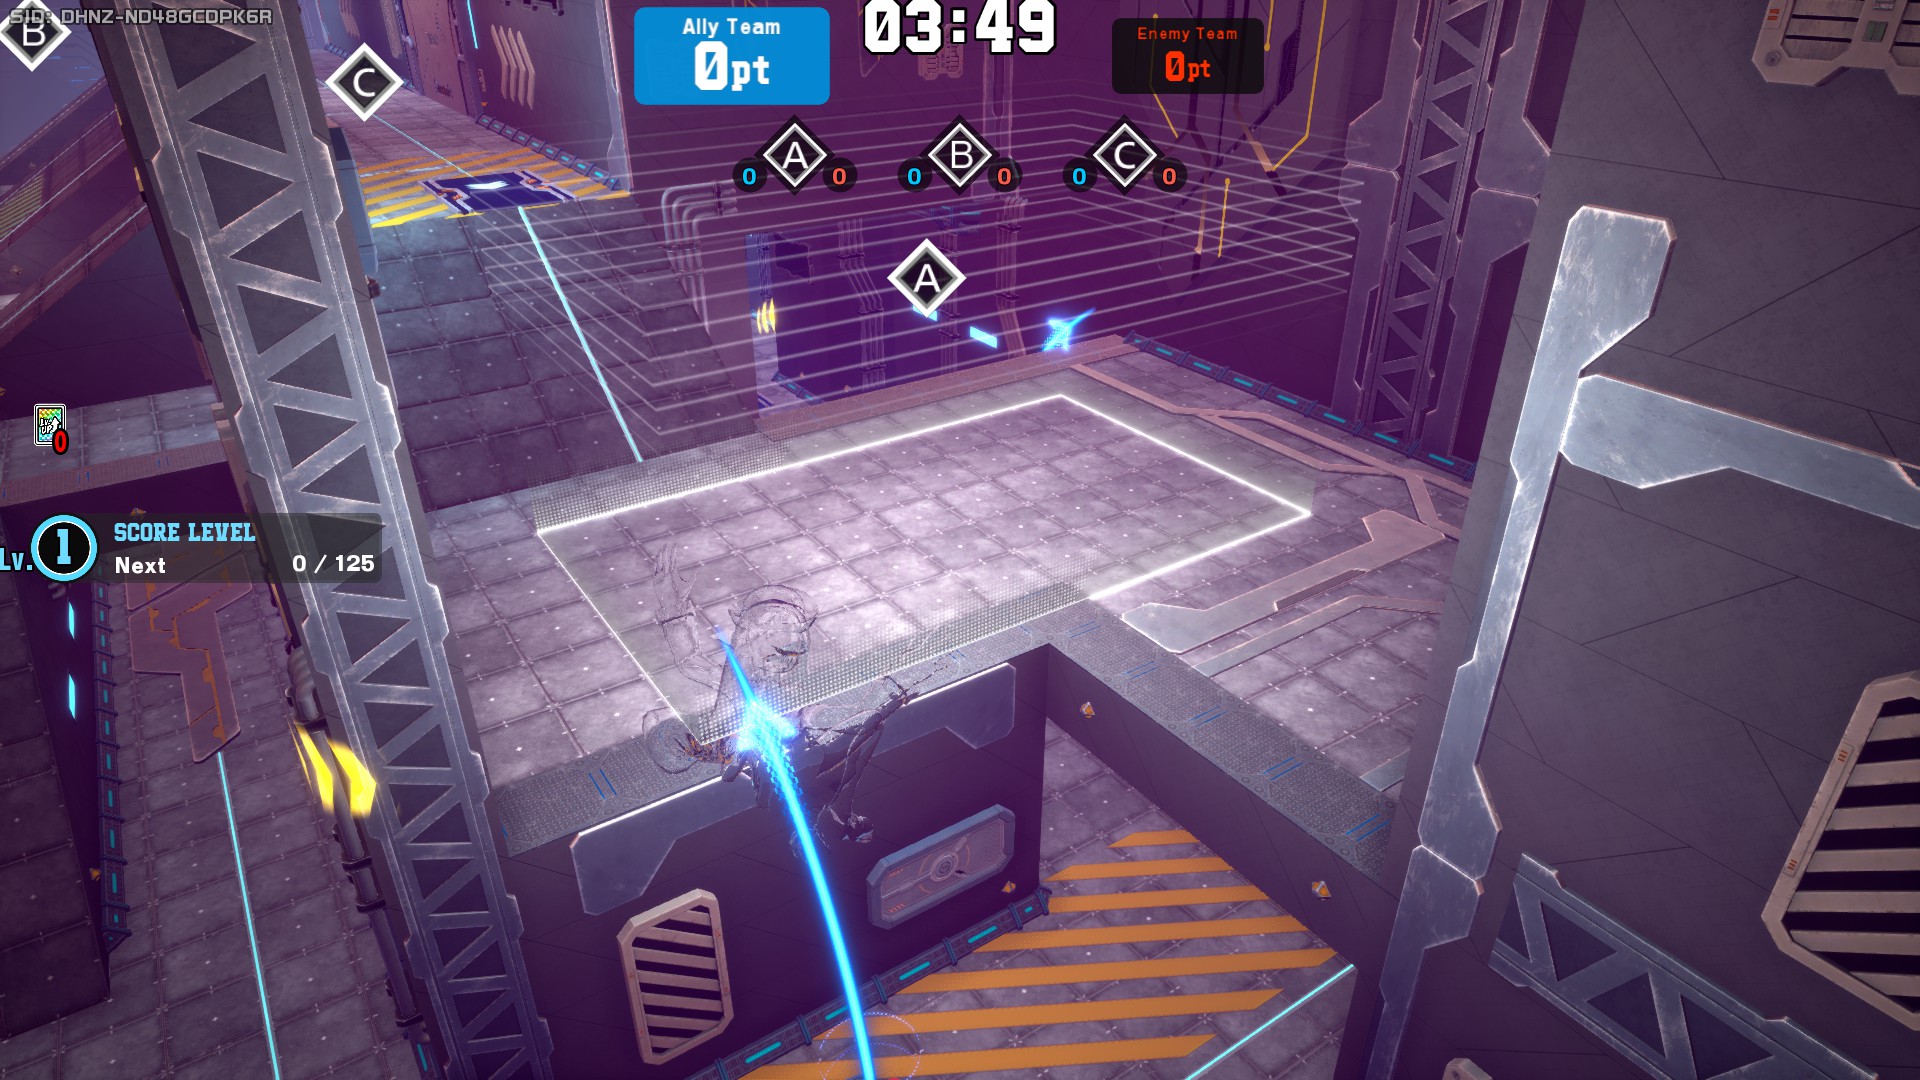
Pattern 3 of Gym Beta is probably the most unique of all patterns. Usually, areas A and C are mirrored identicals, however in this specific pattern of this specific map they're actually different. Area A features and elevated area that is directly connected to the upper floor of that lateral section. If players move to the lower floor they can either get Full Recovery Drinks or advance towards Area C following the straight corridor.
Area C on the other hand remains on the lower floor, with some panels above it. The dynamycs between Area A and Area C can be interesting, as normally these two sides are often at war.
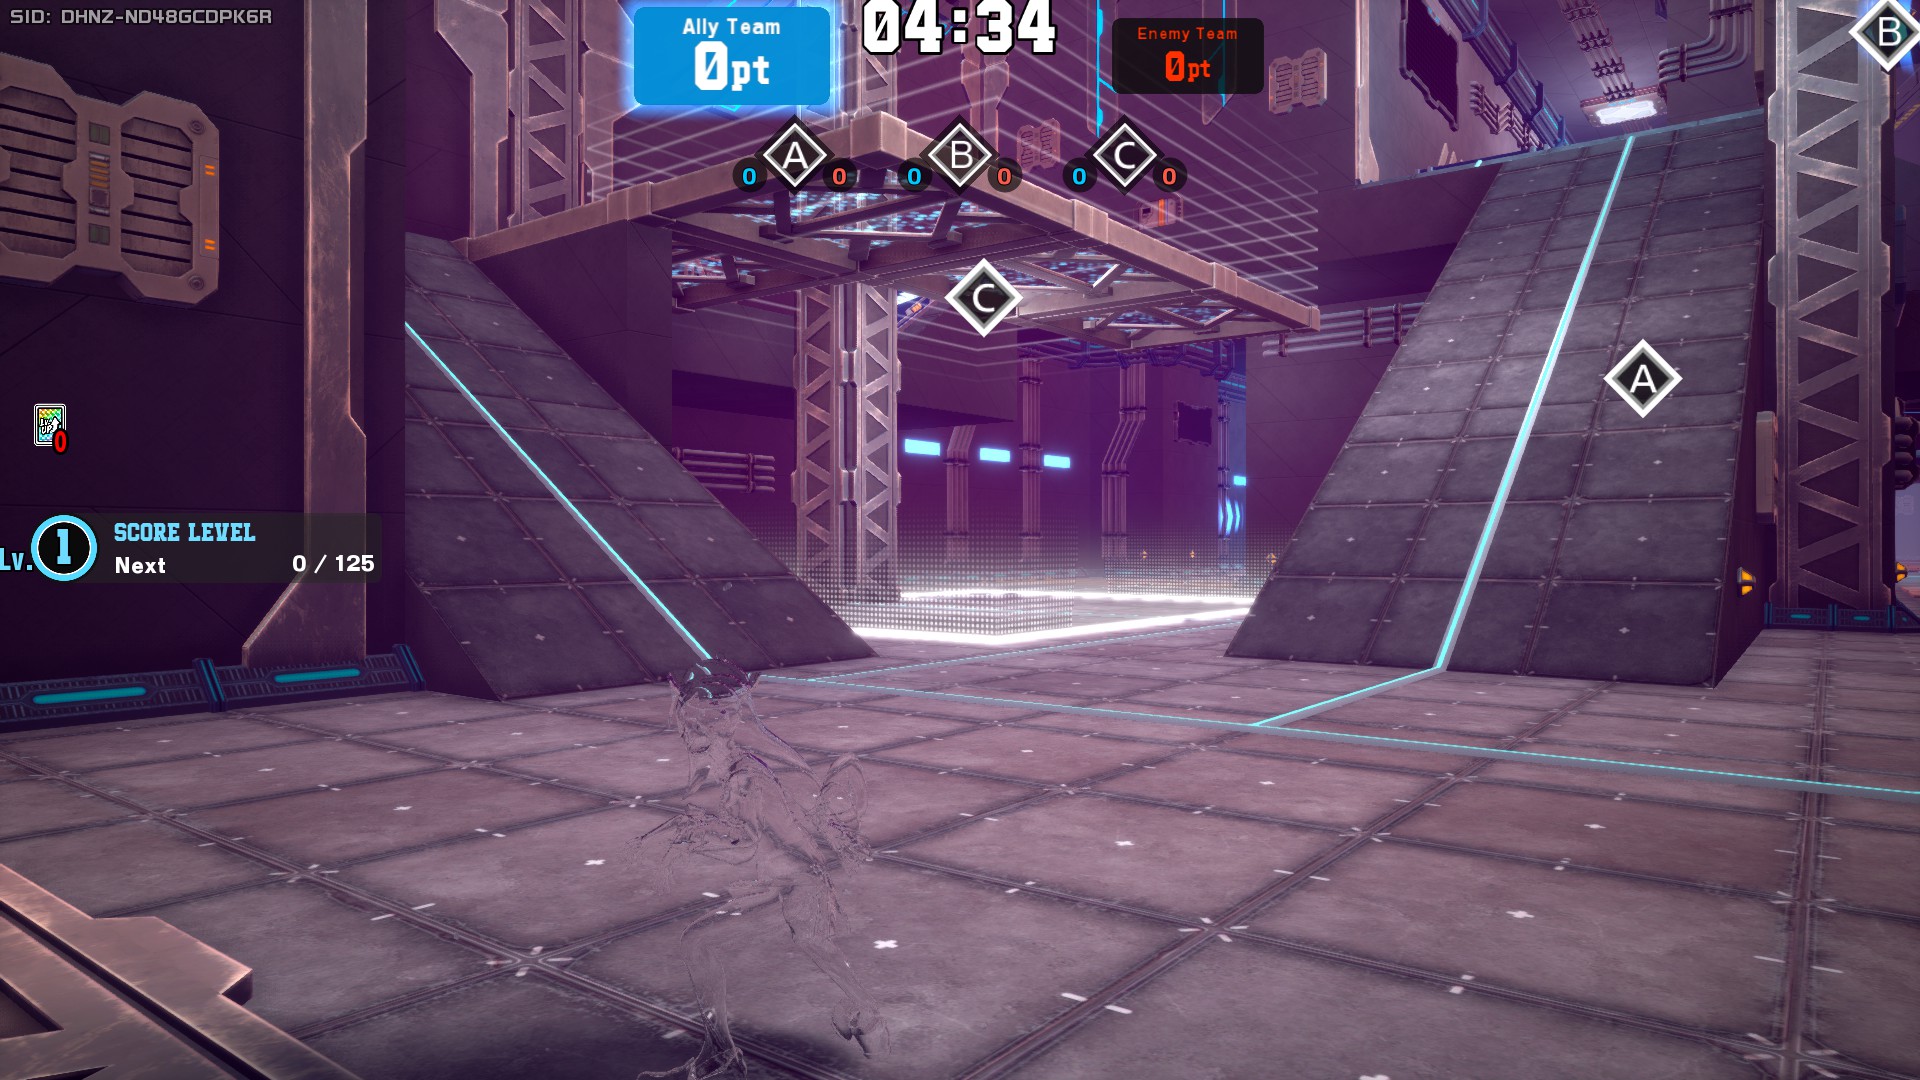
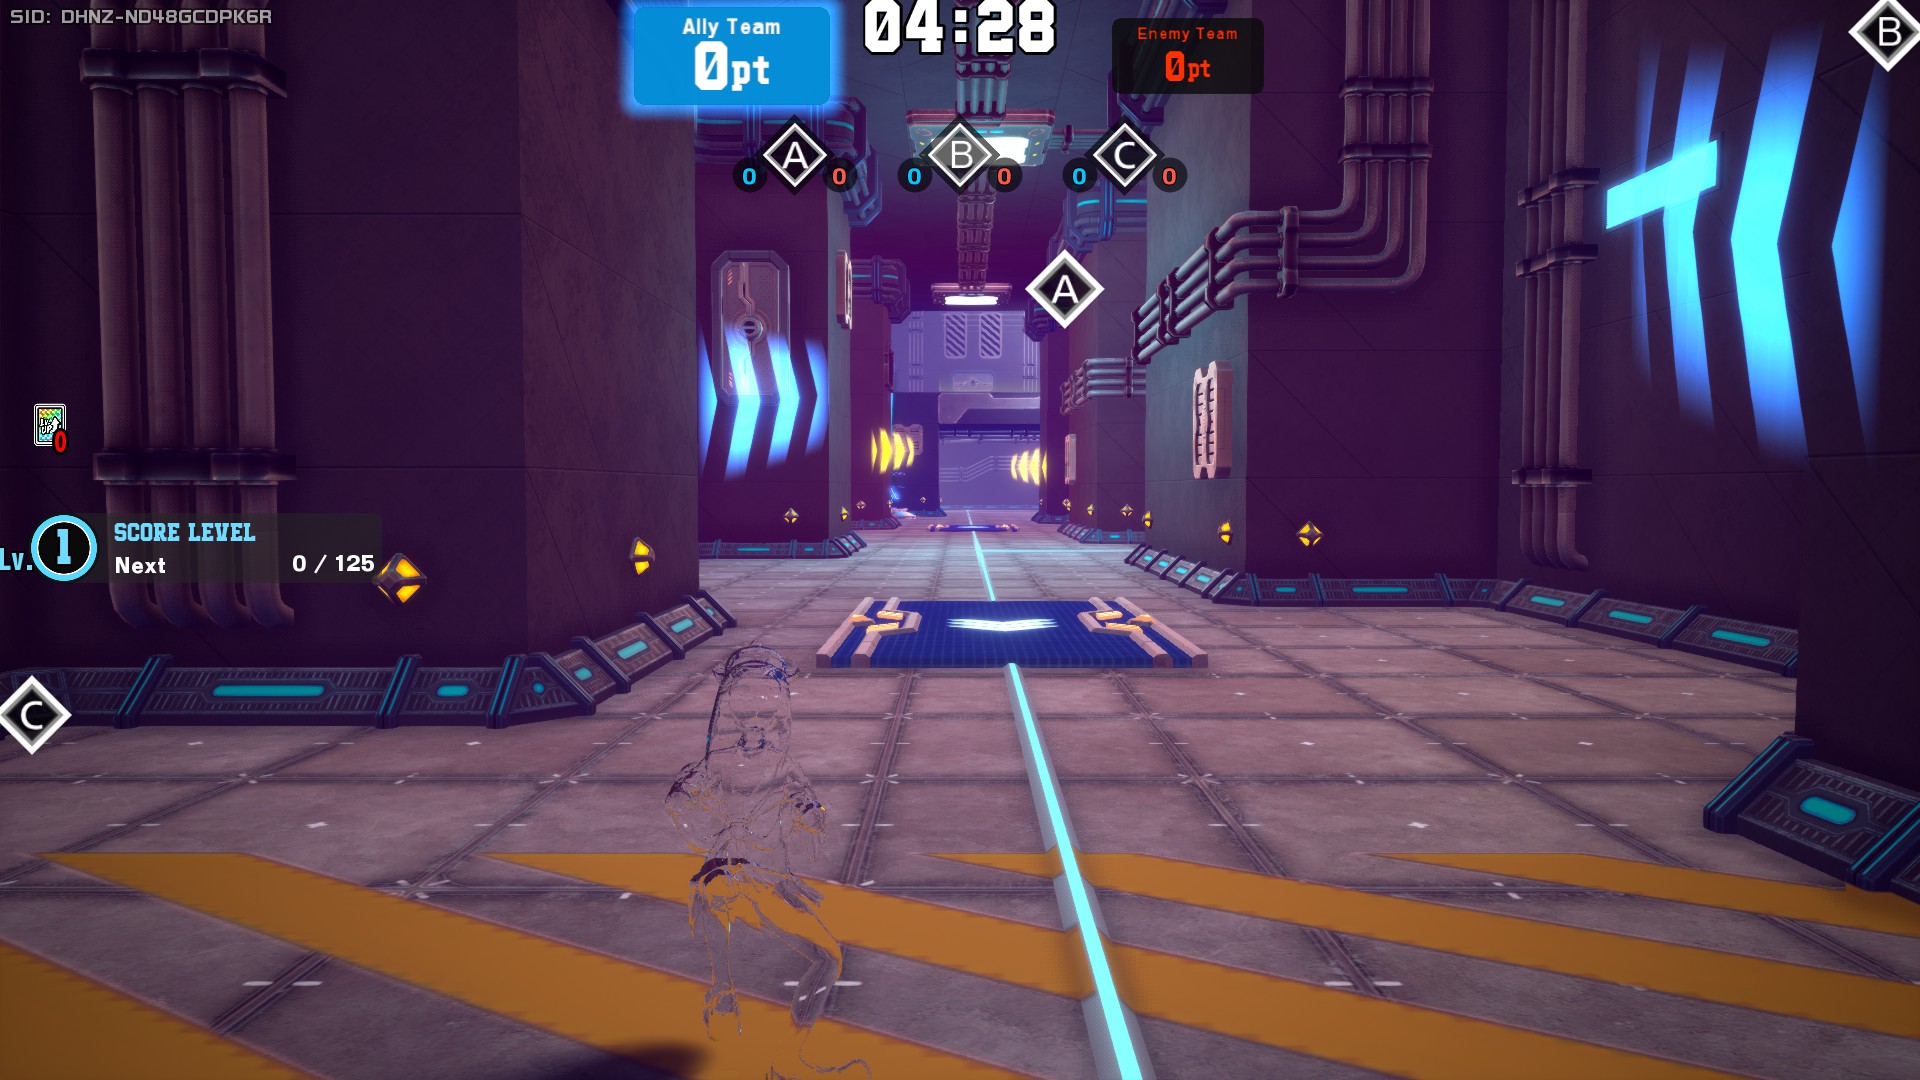
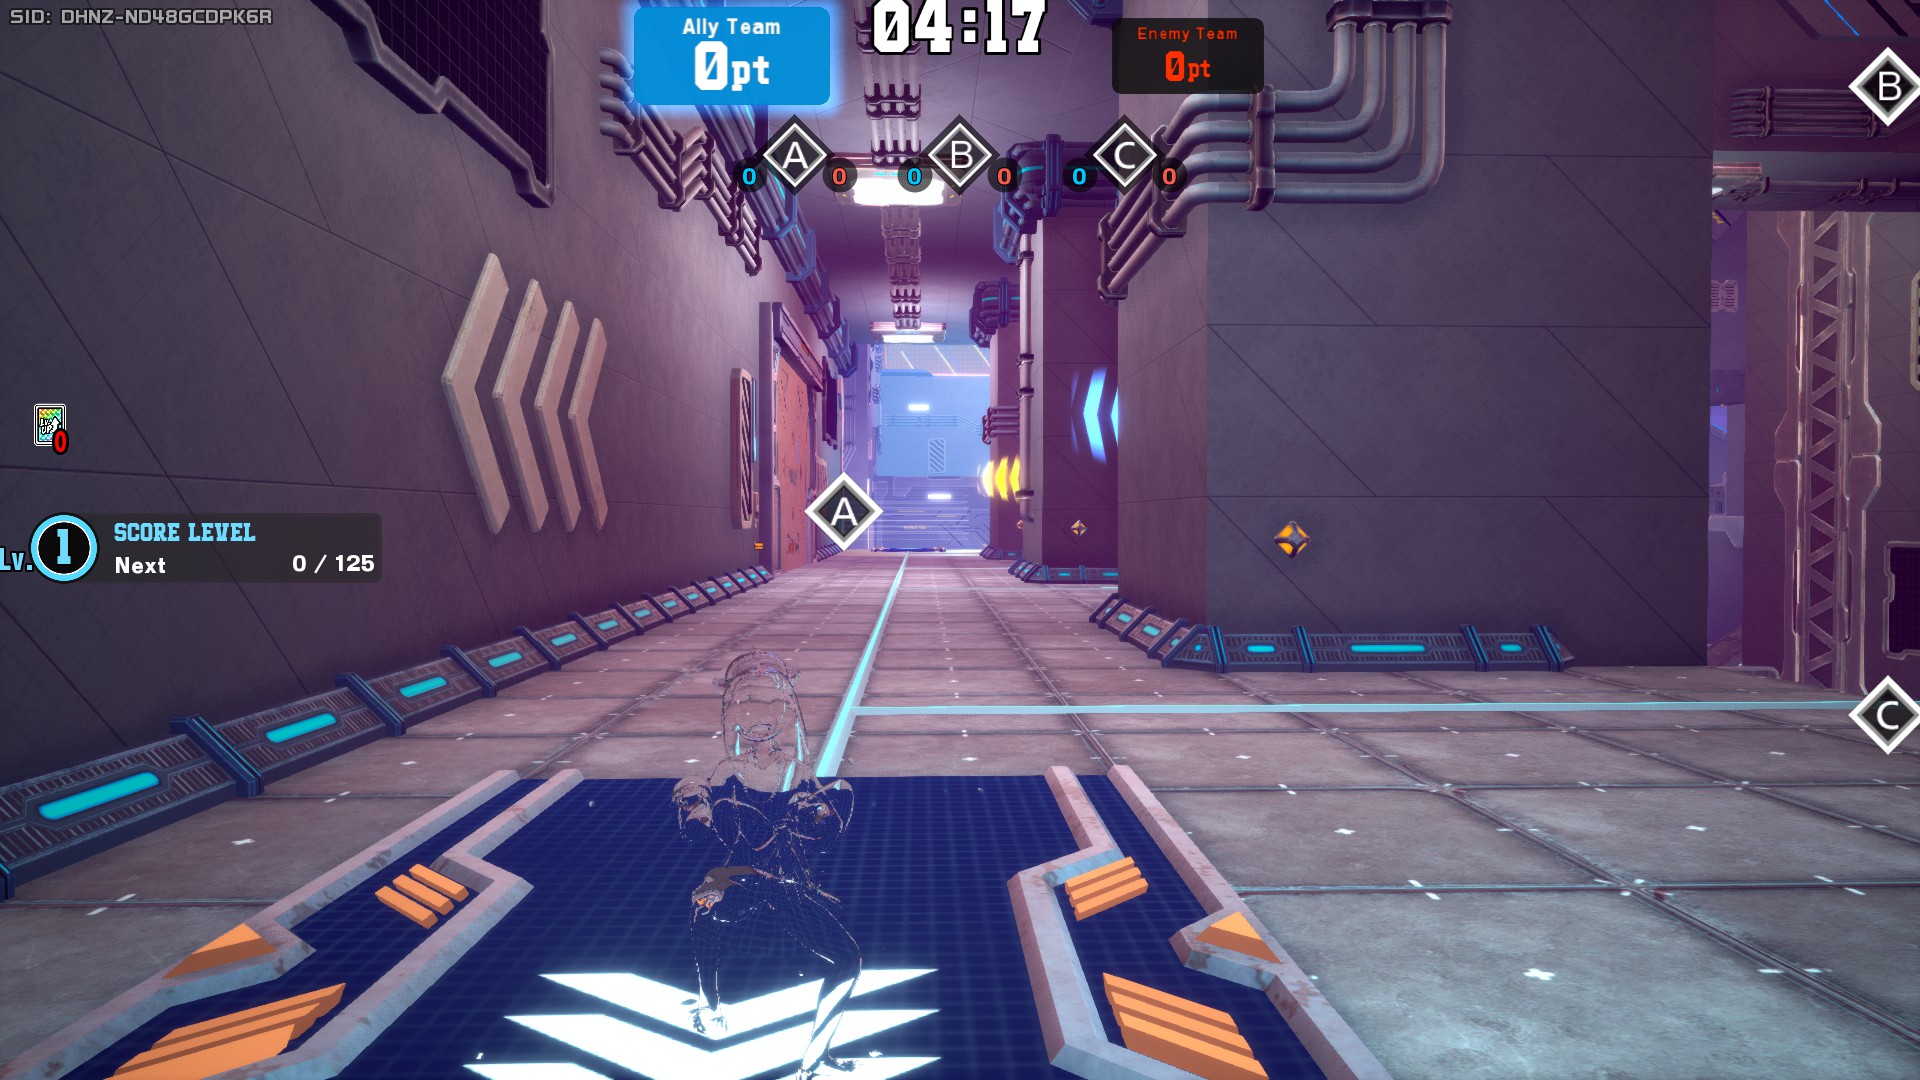
The central area is quite unique too, as it doesn't sit in the absolute center of the map, but instead it is located to the opposite side of the map, as in one side you have Areas A and C, and in the other you have Area B. This distinction apparently makes this pattern's Area B the least populated Area B of all Area Control Patterns.
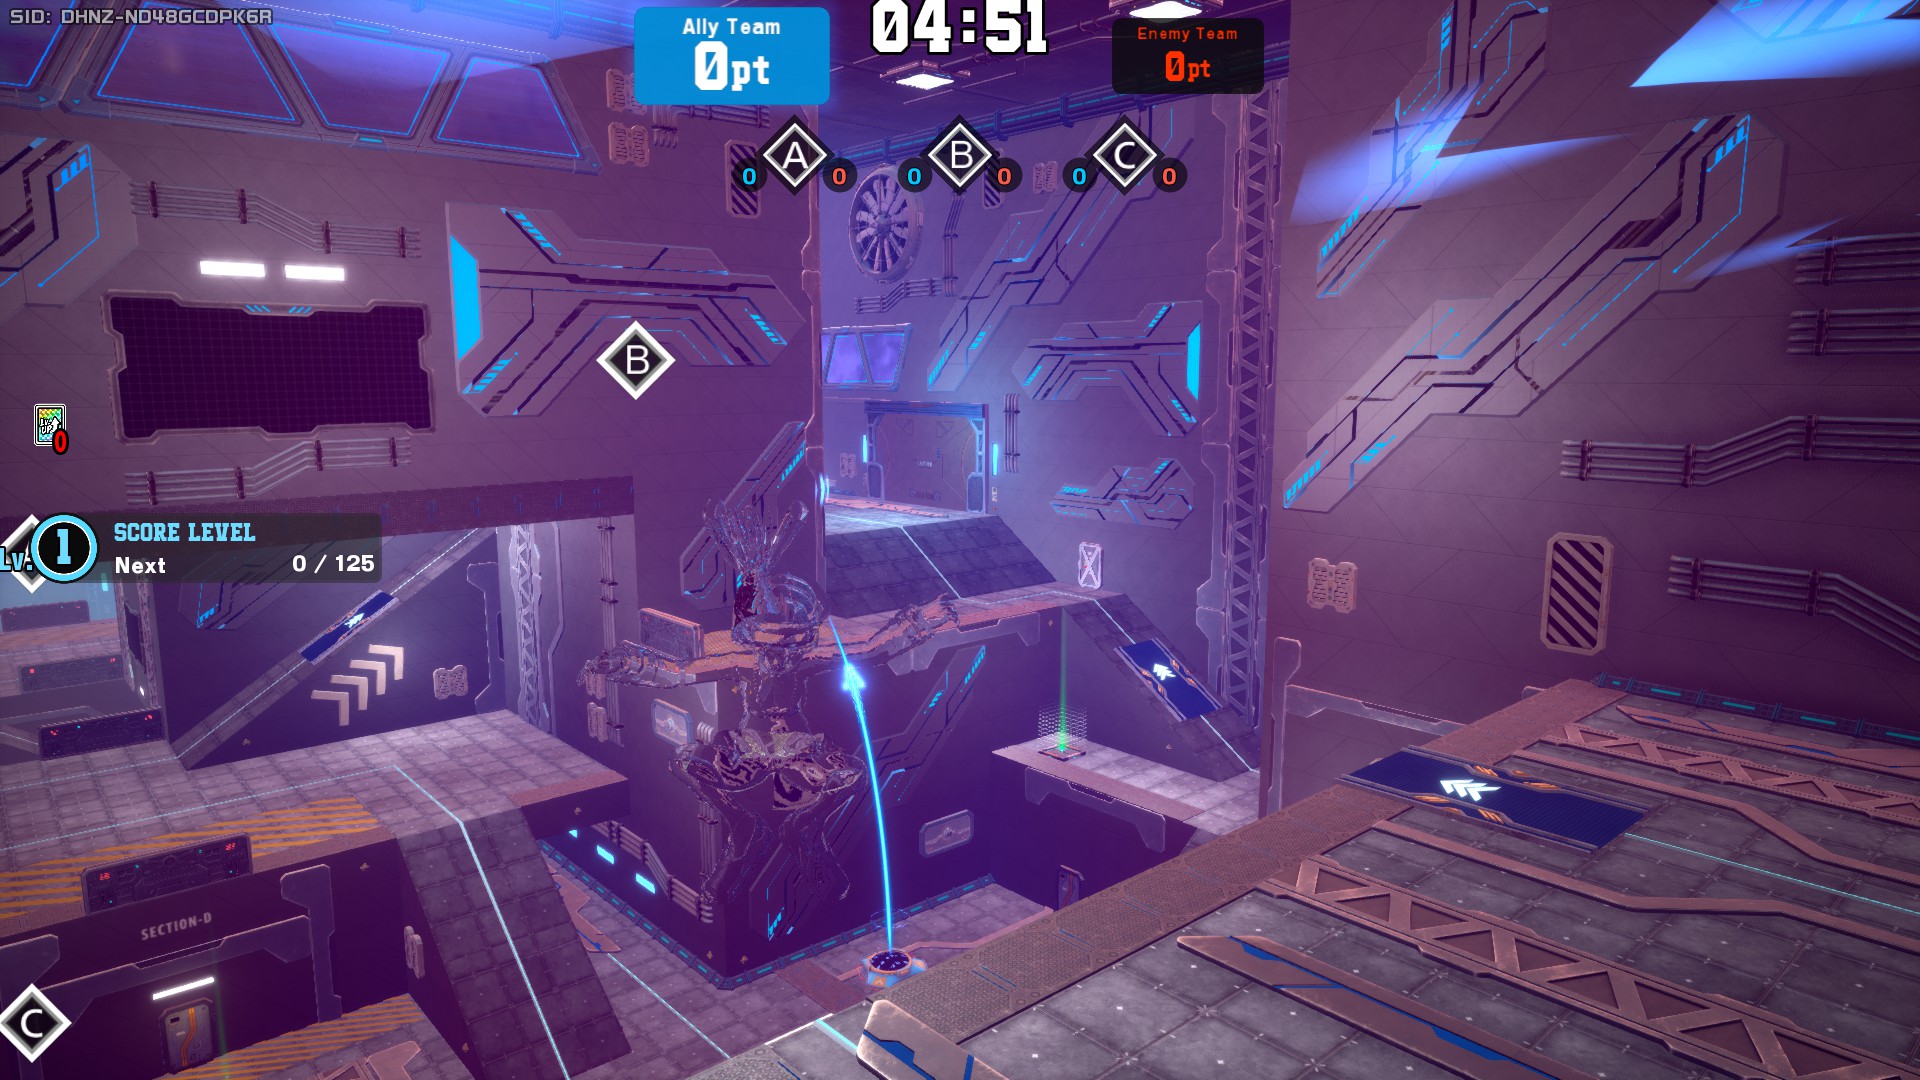
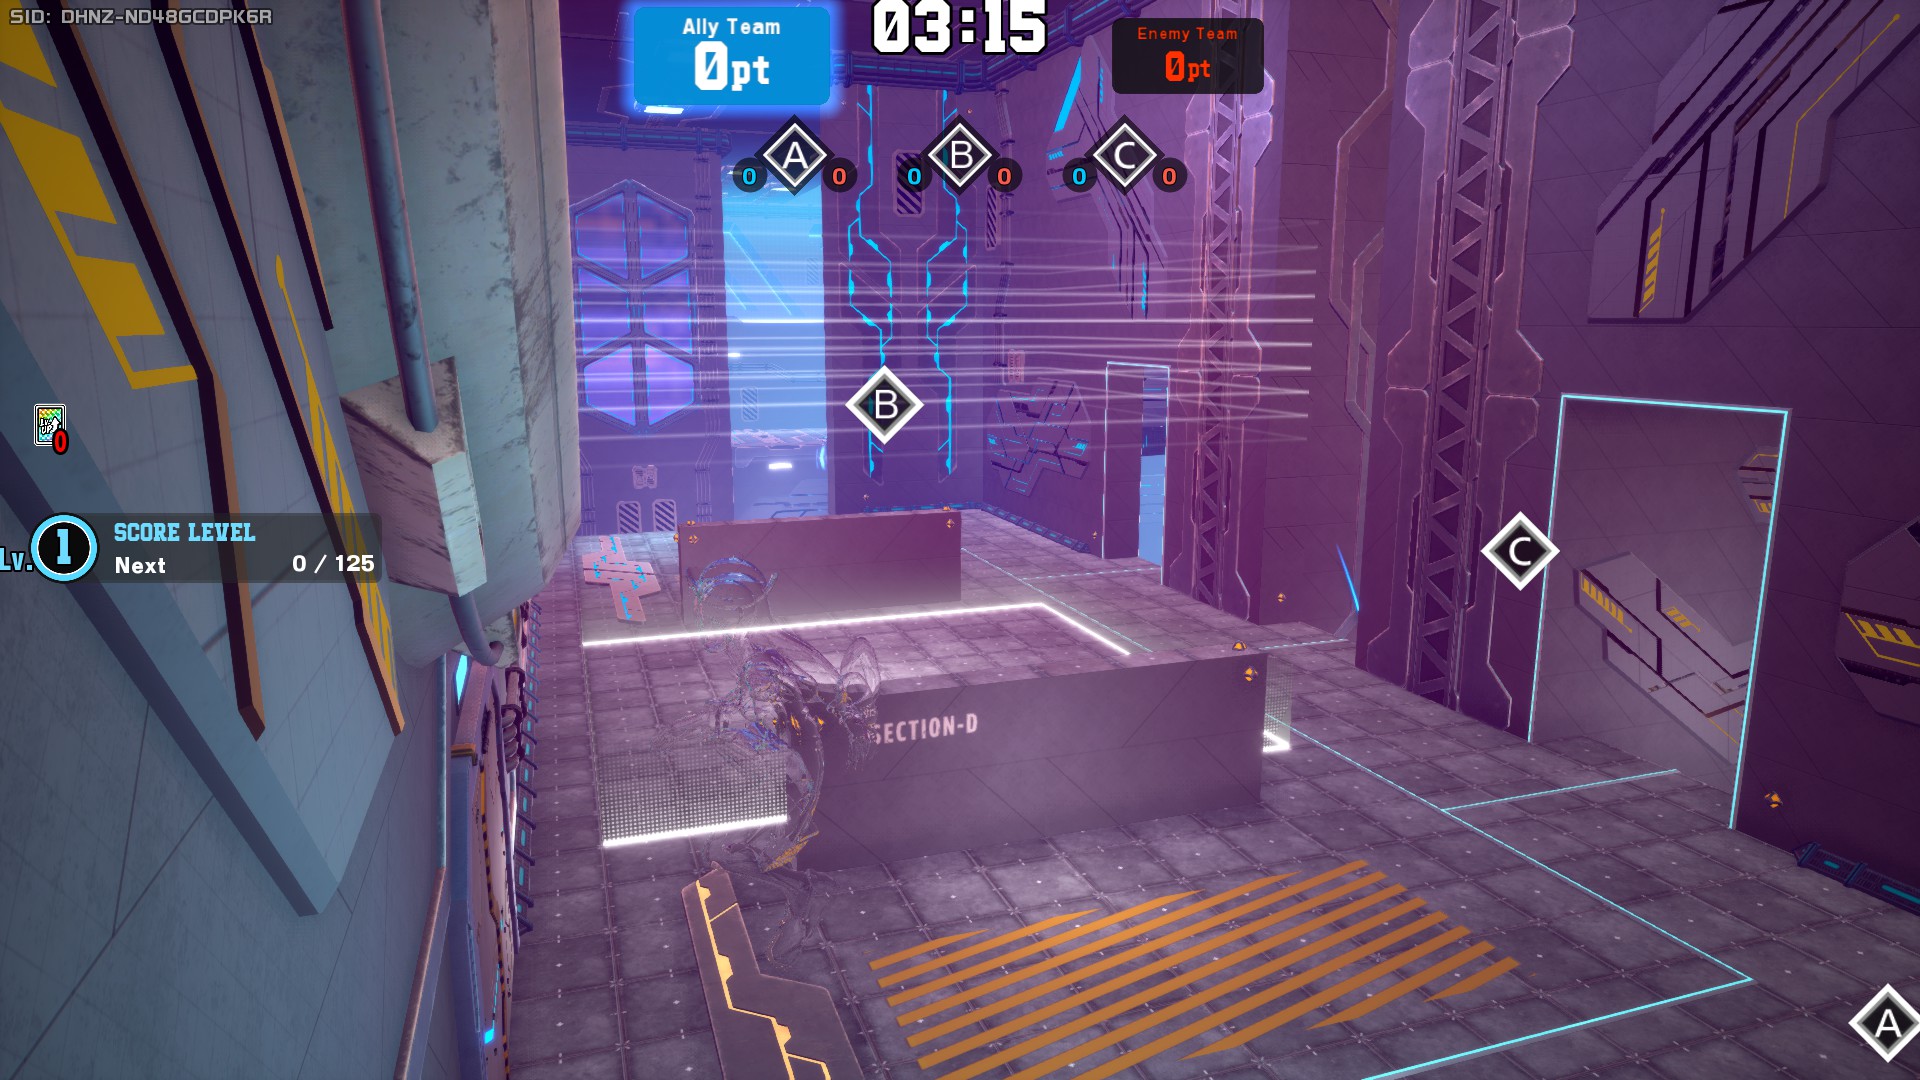
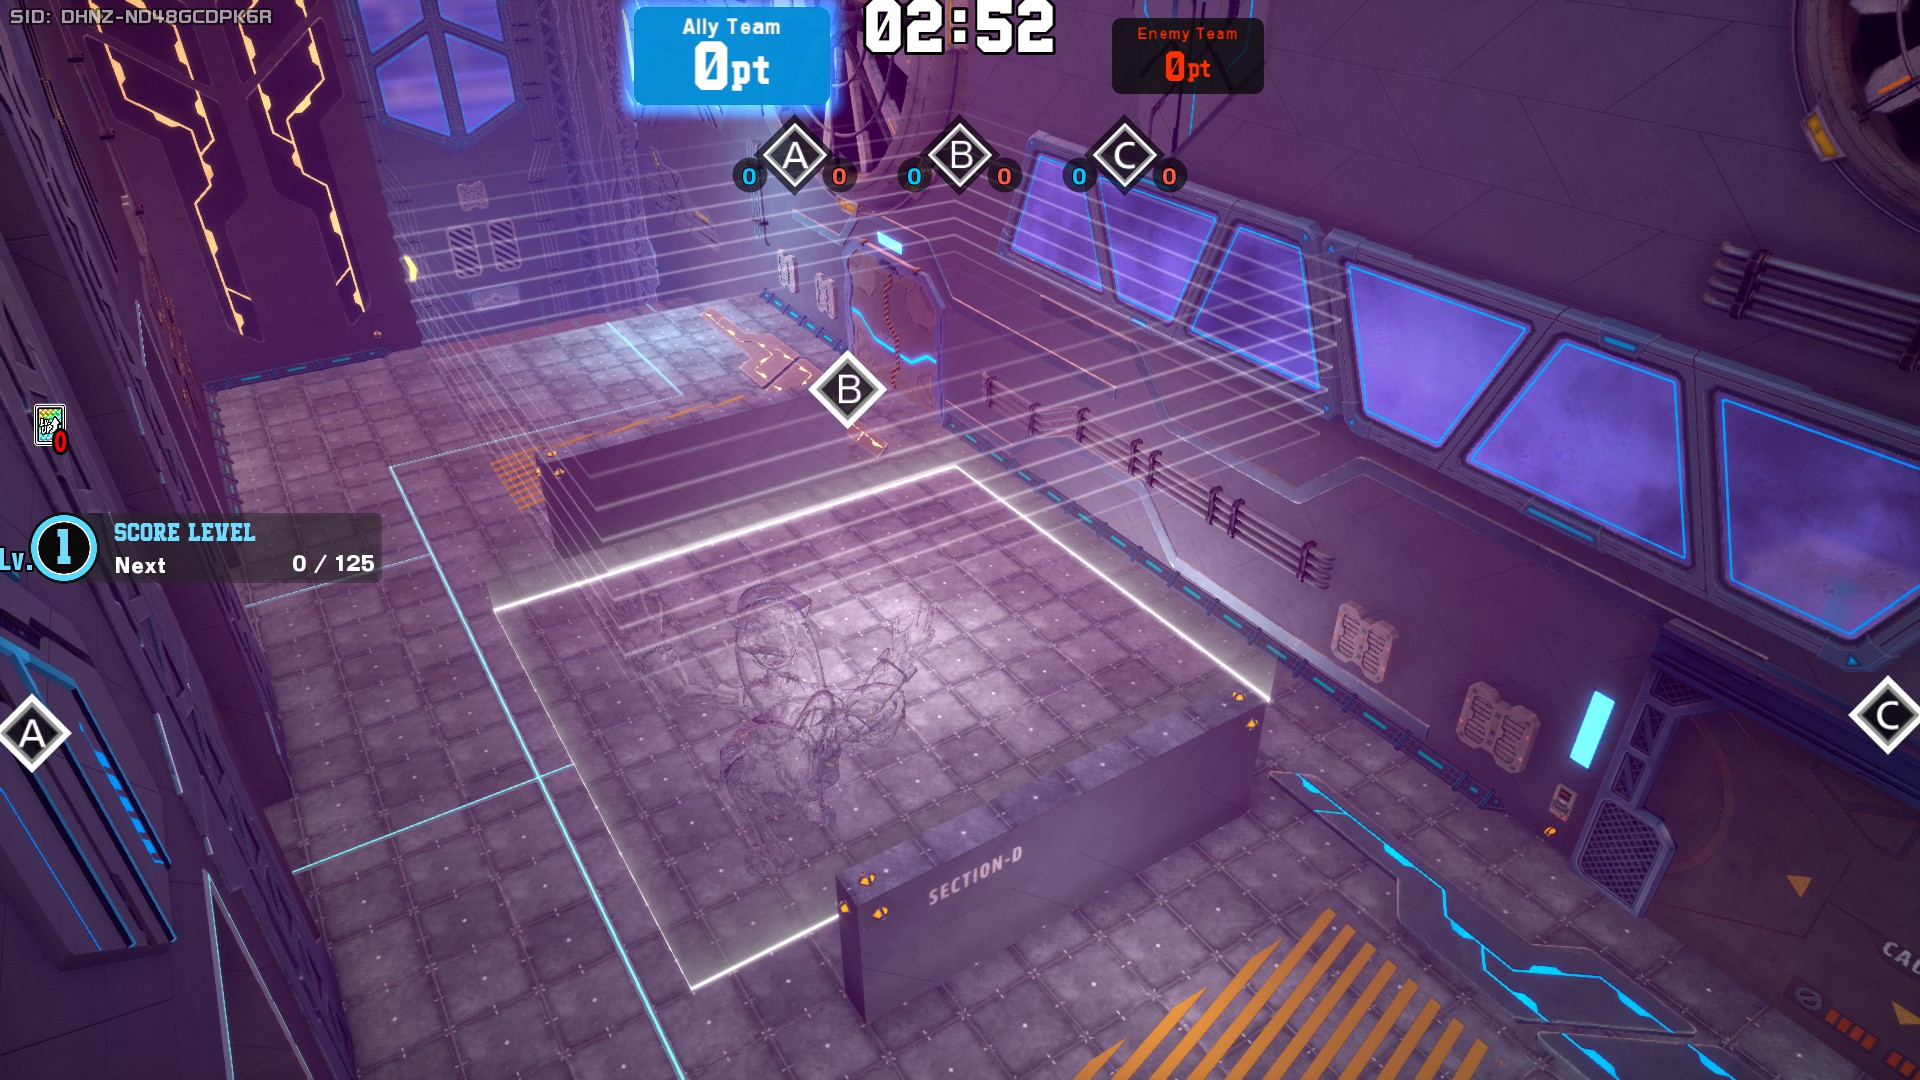
This pattern also features a center that's mostly filler area only used for traversing, but that can get interesting with tunnels.