

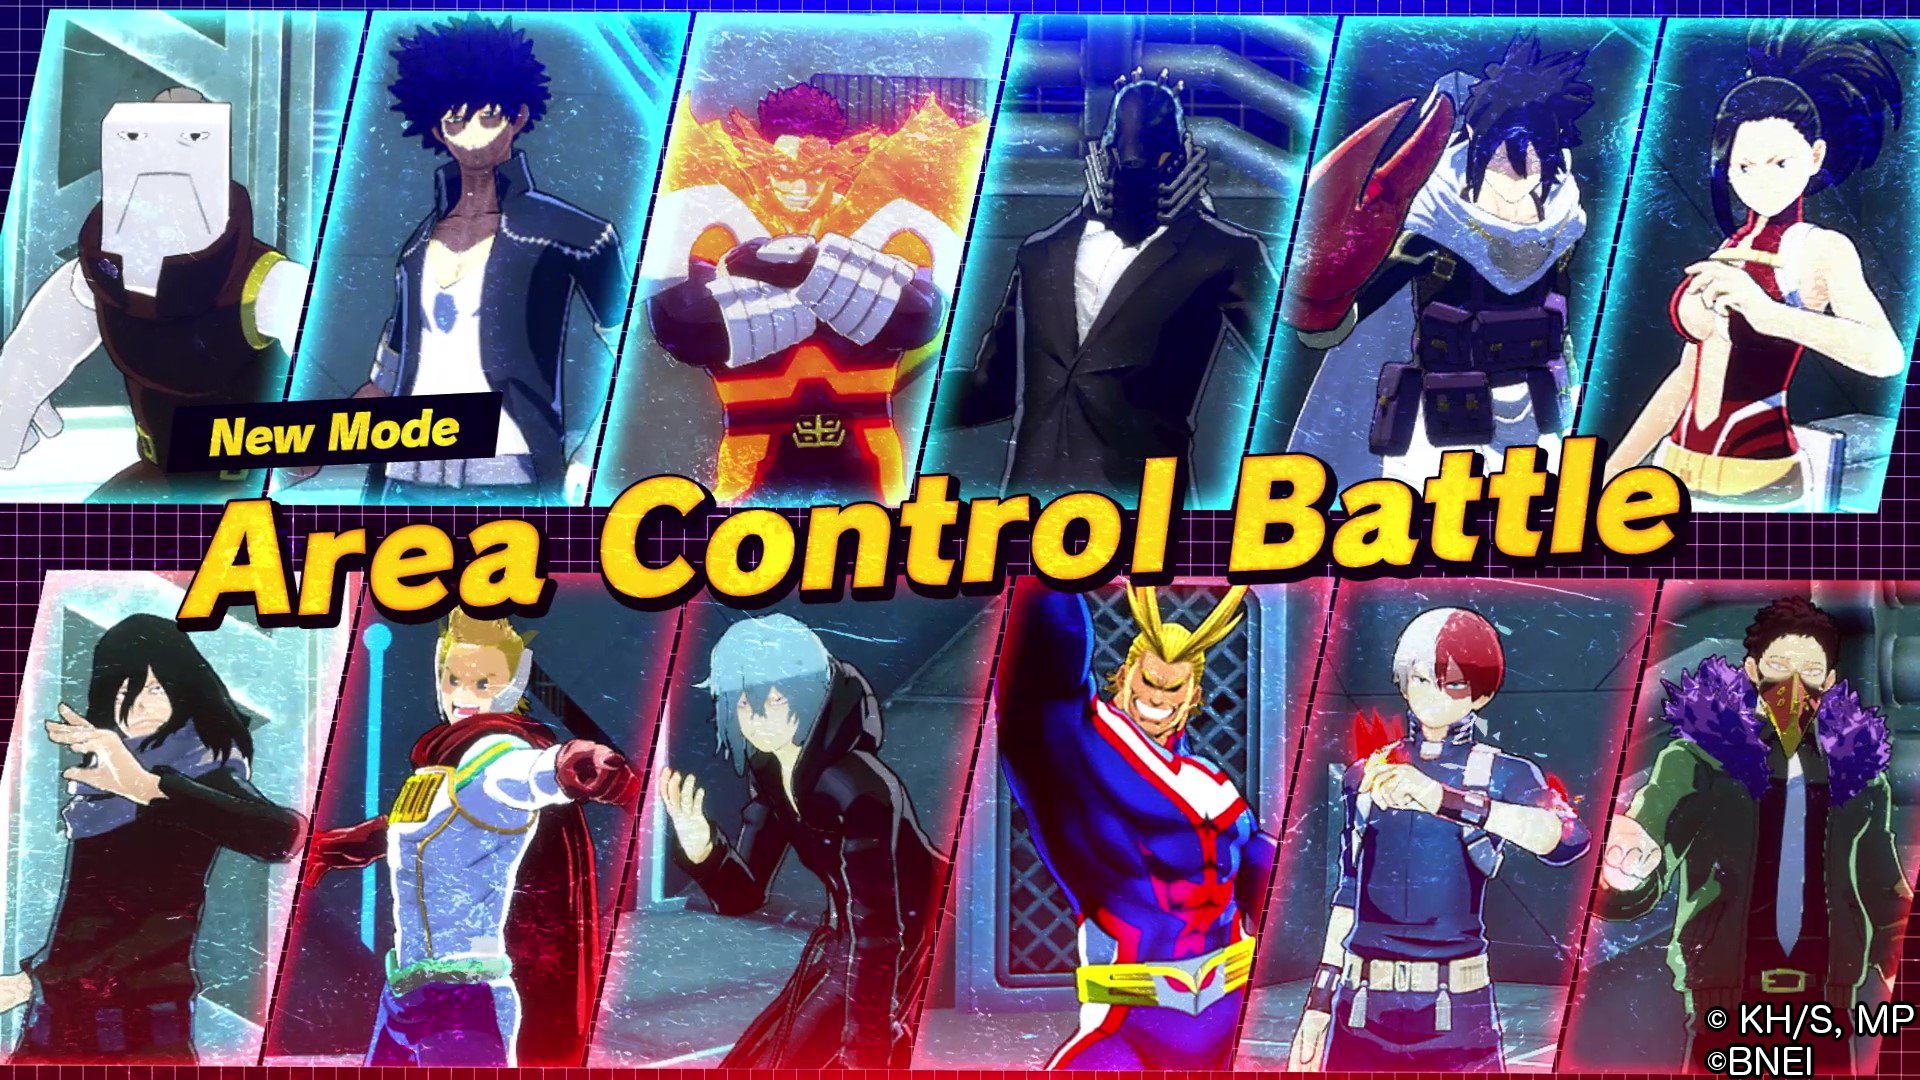
AREA CONTROL BATTLE
In this sub-guide you'll learn about the area control battle gamemode! A mode where two teams of 3 compete against another two teams of 3 for areas and points!
Pre-Lobby: Pointer Character and Capture Character
Area Control Battle has one thing that differentiates from the Battle Royale mode from the very beginning, and that is the possibility to select two characters instead of one. These characters will be the Capture and the Pointer.
The first character you select will be the Capture, and this character will have the ability to claim areas faster than usual. Usually, you want mobile characters on this role to quickly claim every unprotected area available. Recommended characters are: Both Ochaco Urarakas, Red Hawks, Purple Mirio Togata, Tenya Iida and Red Eijiro Kirishima.

The second character you select will be the Pointer, and this character will have the ability to increase the point gain when staying inside of Area B while it belongs to your team. Here you usually want very destructive characters with large attacks that cover a good chunk of the area to secure your position in Area B. Recommended characters are: Purple Shoto Todoroki, both Endeavors, Present Mic, All For One, and Red Tomura Shigaraki.
Just like in the Battle Royale mode, you cannot choose the same character as your teammates, though, this does not apply relative to the other ally team, which means you might have two Ally Dabis. Keep in mind that Special Actions that require you, an ally, or the enemy to be DOWN will not work in this gamemode, as characters cannot be DOWNd, as when you lose all of your health you simply get KOd instantly.
The Sally
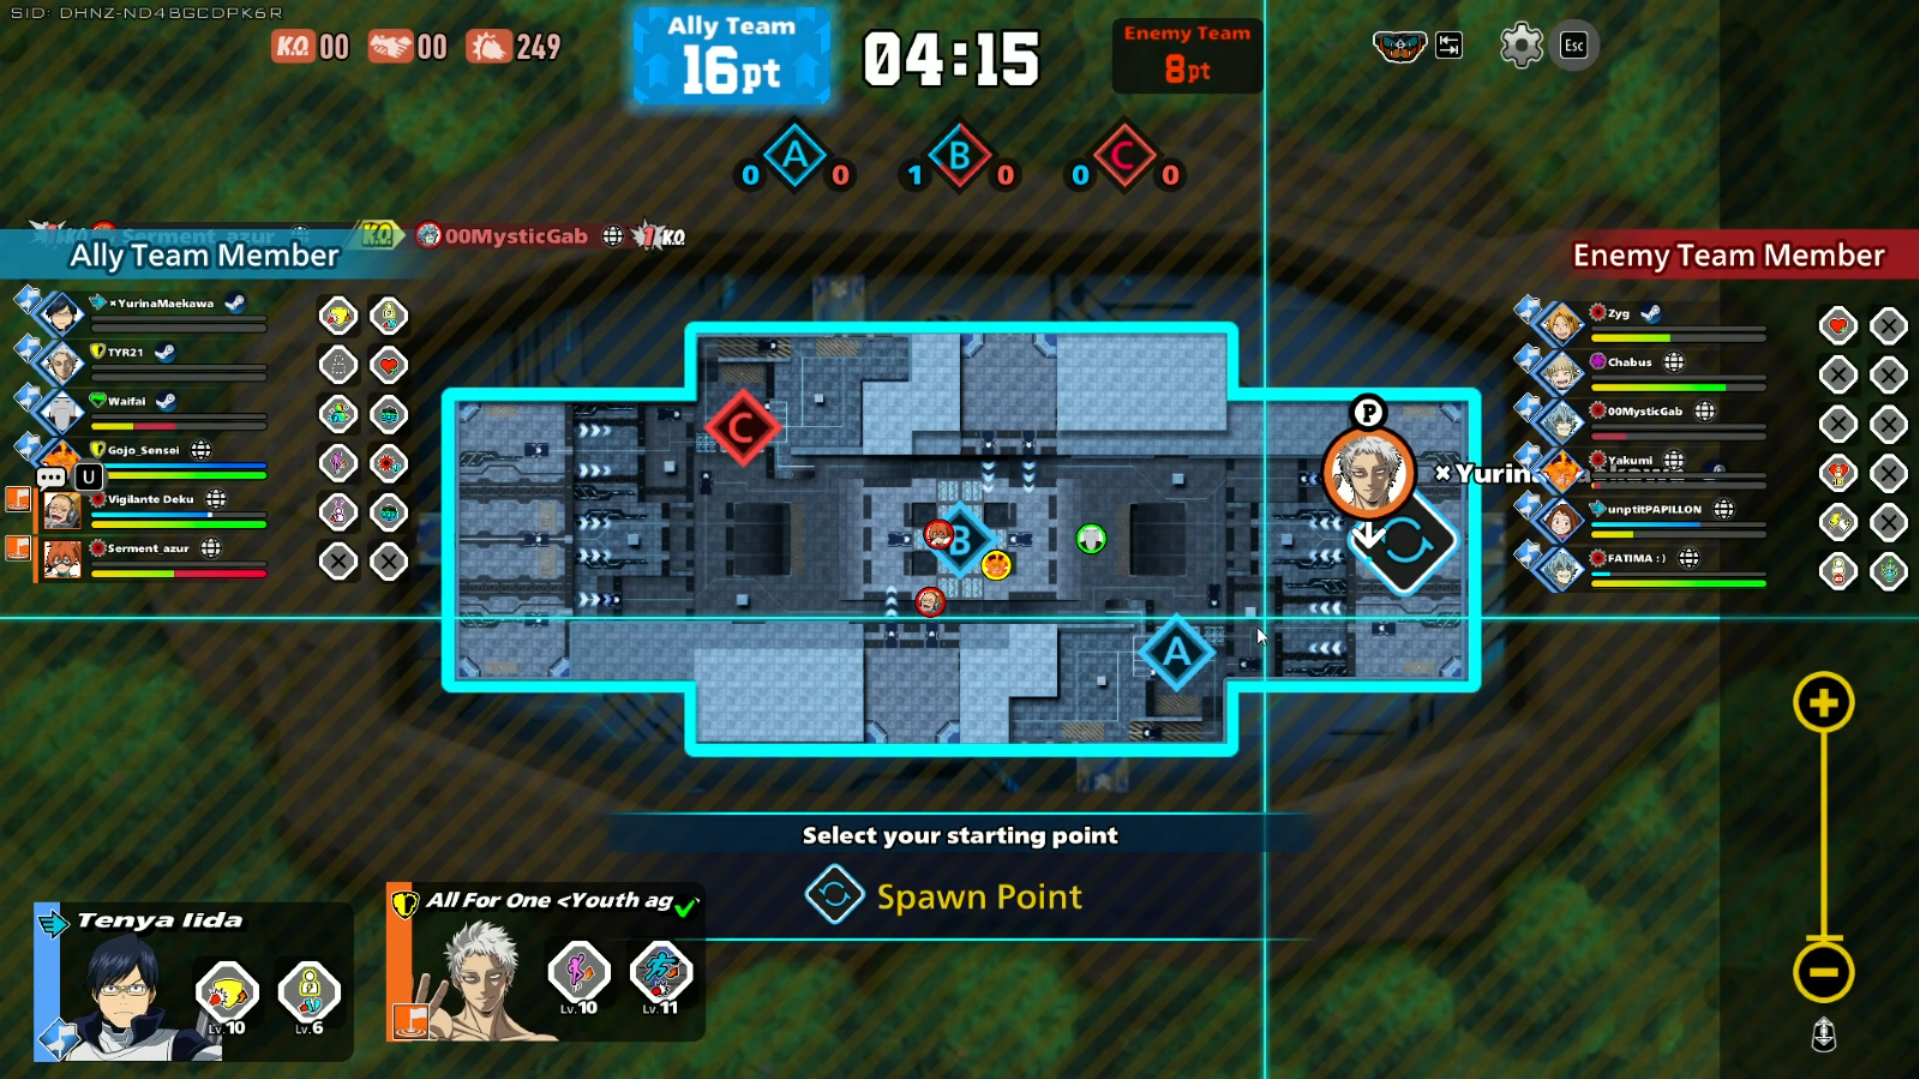
Area Control Battle's sally is a bit different from the Battle Royale's. Here your only landing spots are the icons with arrows circling. At first you will only see one, either on the left or right side, but as the match progresses, you will be able to land above or below the center.
Here you can also choose which of the two characters you've picked you want to play as in the moment. You can see whether your teammates are playing as a Capture or as a Pointer by their icon ring color (Blue for Capture, Orange for Pointer).
The Actual Gameplay
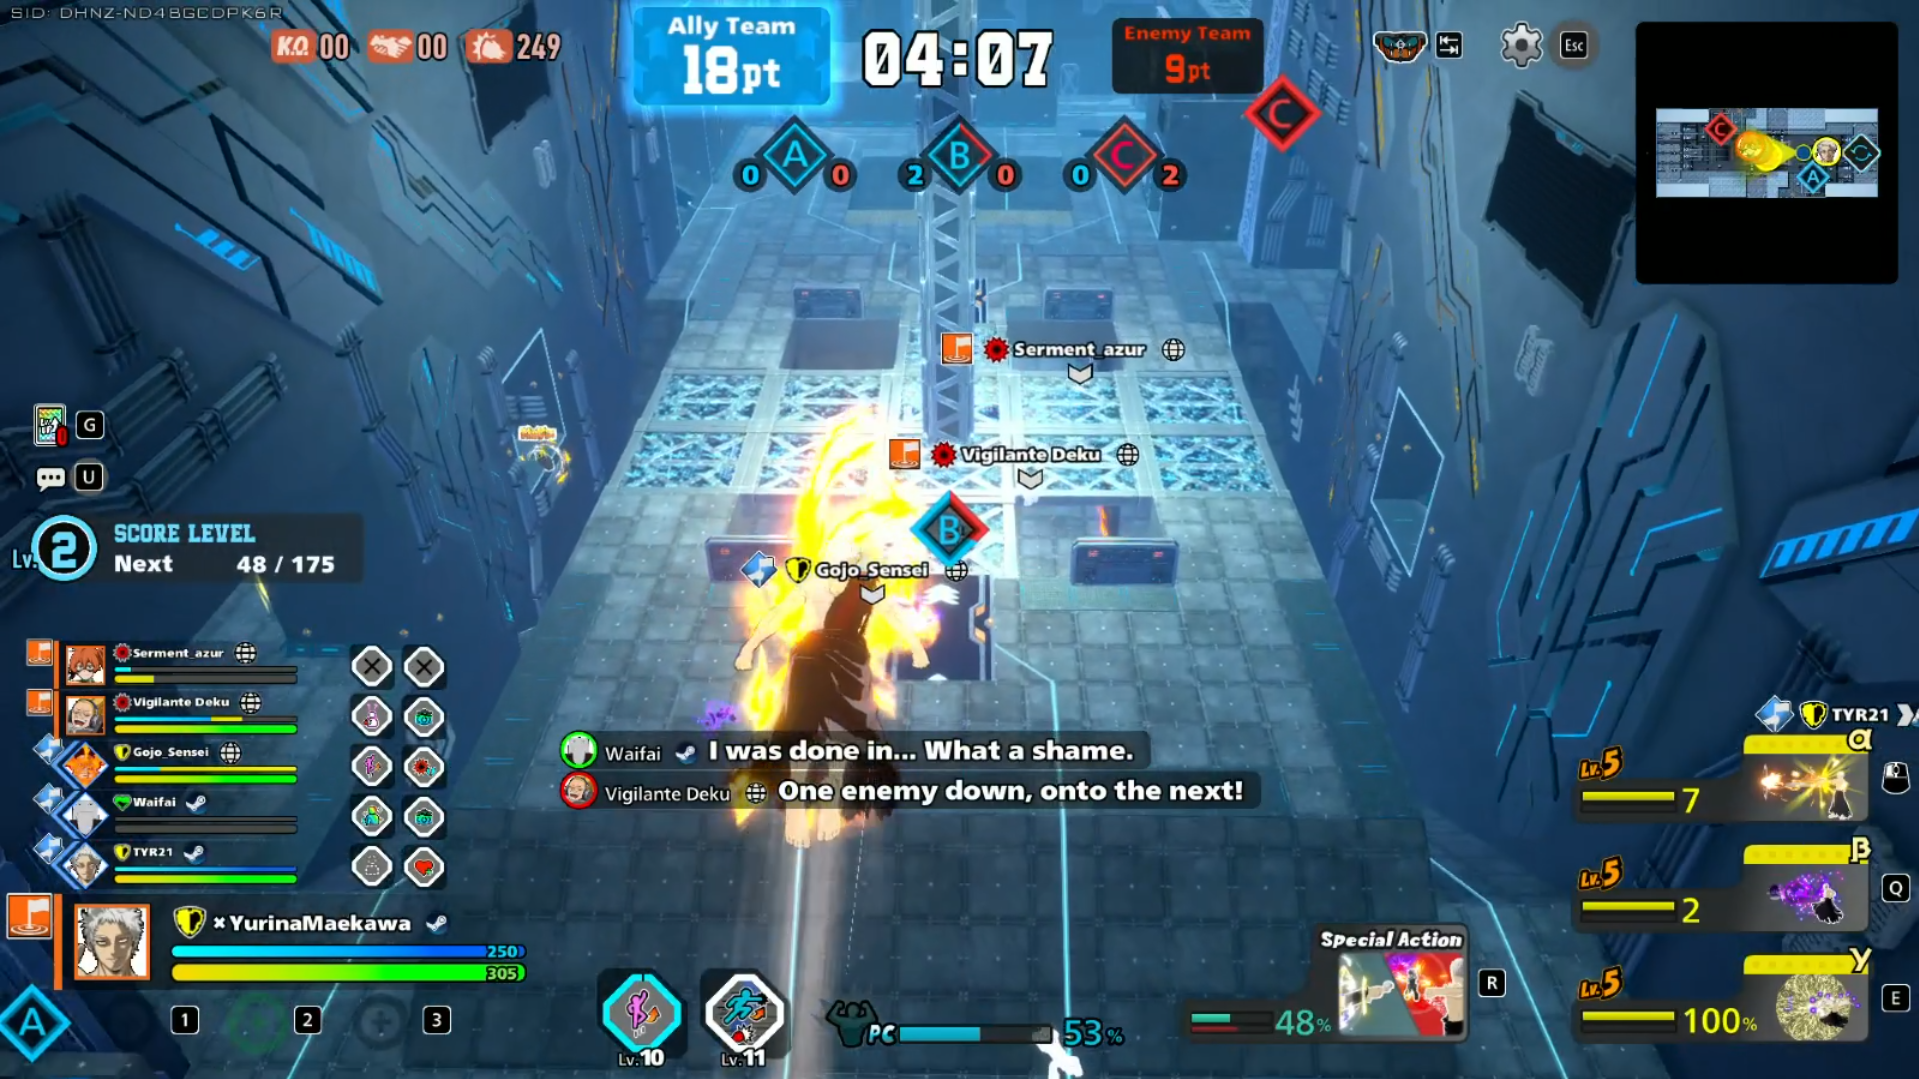
Area Control Battle is a mode where you have a time limit of 5 minutes to get more points than the enemy team. If the timer reaches zero, the team with the most points will win. Points are earned passively from claimed Areas (Area A, Area B and Area C), hence, your goal is to have as many claimed areas as possible so you get three sources of passive point gain and prevent the enemy from getting points themselves.
However, the victory conditions aren't actually this simple. If a team has all three areas under their control, a 1 minute countdown will begin. If any of the three areas is claimed back by the enemy, this countdown stops, but if it reaches zero, then the match will end in a victory for the team that had the three areas claimed. There's also an Overtime mechanic that applies when the 5-minutes timer reaches zero, where if one team has more points than the other, but the other team has more captured areas, then the game goes into indefinite overtime until either the team with the most claimed areas surpasses the points of the other team, OR the team with the highest points also has the majority of claimed areas. If the 5-minute timer reaches zero and both teams have the same amount of points, then the match will be considered a Tie.
Areas A and C are always located to the sides, of the map, one closer to your spawnpoint, and the other closer to the enemy's spawnpoint. The structure of the sides of the map as well as Areas A and C change according to the map's "Pattern" (This mode has 3 patterns that rotate every hour), Area B is always located at the center and stays the same across all patterns, it's usually the most chaotic and populated area. To claim an area hyst stand on them until the icon above gets fully blue. You can only claim an area while there are more ally teammates inside of it than there are enemy teammates. Once your team claims an area, your Plus Ultra/Plus Chaos gauge will be filled by +35% and your three skills will level up by 1 the first time you claim Area B. You can also level up by picking Level-Up Cards dropped by enemies you KO. You start with all your skills at Level 4, so keep that in mind.
In terms of sustain, you will find a new type of healing item near areas called "Team Support Drink". These items act like tiny Full Support Drinks, recovering tiny amounts of both GP and HP for your whole team. These are often drunk inside claimed areas while you wait for the enemy to come, or drunk from a safe place with a character that can use dangerous area attacks from afar (though this is slightly less advised since having a teammate outside an area means they cannot contribute to the count or might not provide enough aggressivity.
If your HP and GP reach zero, you will be KOd instead of DOWNd, making Special Actions and Tuning Abilities that rely on the DOWNd state useless, such as every revive special action. Once you die, you will have to wait a few seconds before you're sent back to the sally to either switch to your other character or select a different landing spot if available.